With it getting cooler out I started thinking of some fun winter crafts. I don’t celebrate Christmas but I do love decorating for the different seasons. I saw an idea for yarn hats on Pinterest and thought I’d try out a few versions. This is the easier version so I will show you how I made them.

The supplies you need are: yarn, a toilet paper roll and scissors! That’s it! First you will need about 20 12” pieces of yarn. I wrapped my yarn around a ruler and cut it to make it easier but you can snip each piece if you want. Feel free to mix colors, too. I find that thinner yarn works better than thicker.

Next you need a paper towel or toilet paper roll. Measure about 3/4” and cut.
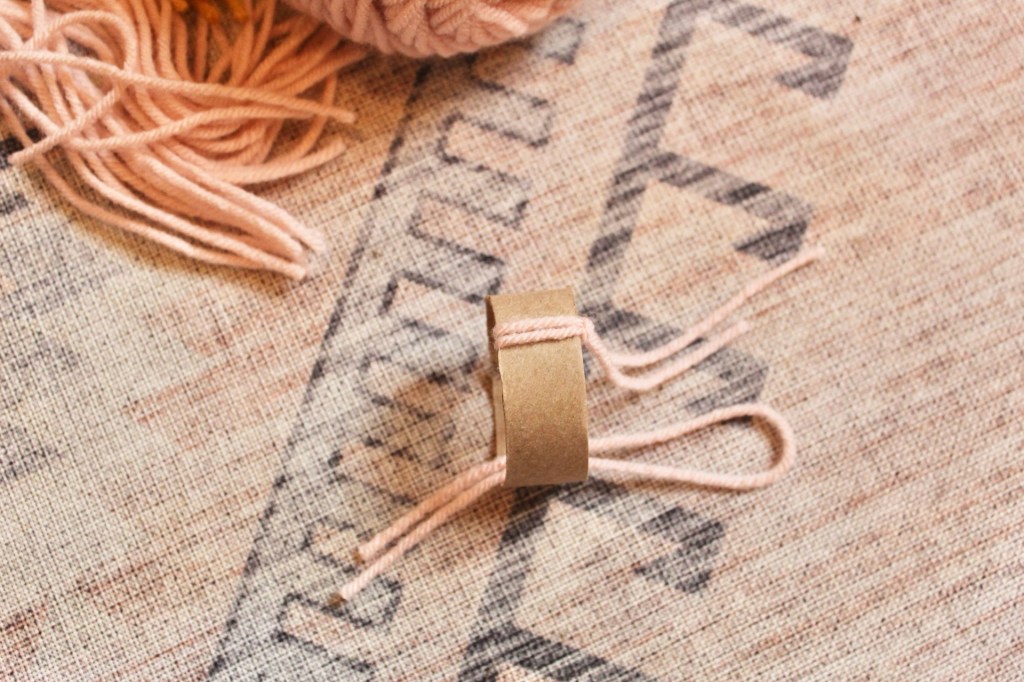
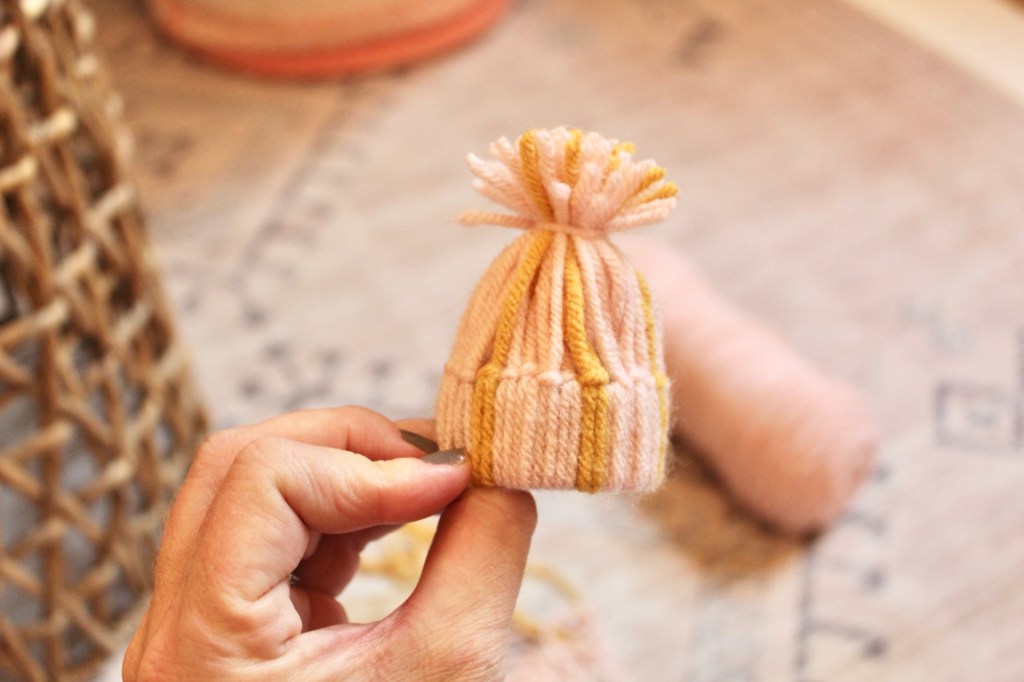
You then want to take a piece of yarn and make a loop. Pull the loop under the roll and take the two loose ends and tuck them under the loop. Tighten the yarn and the top.
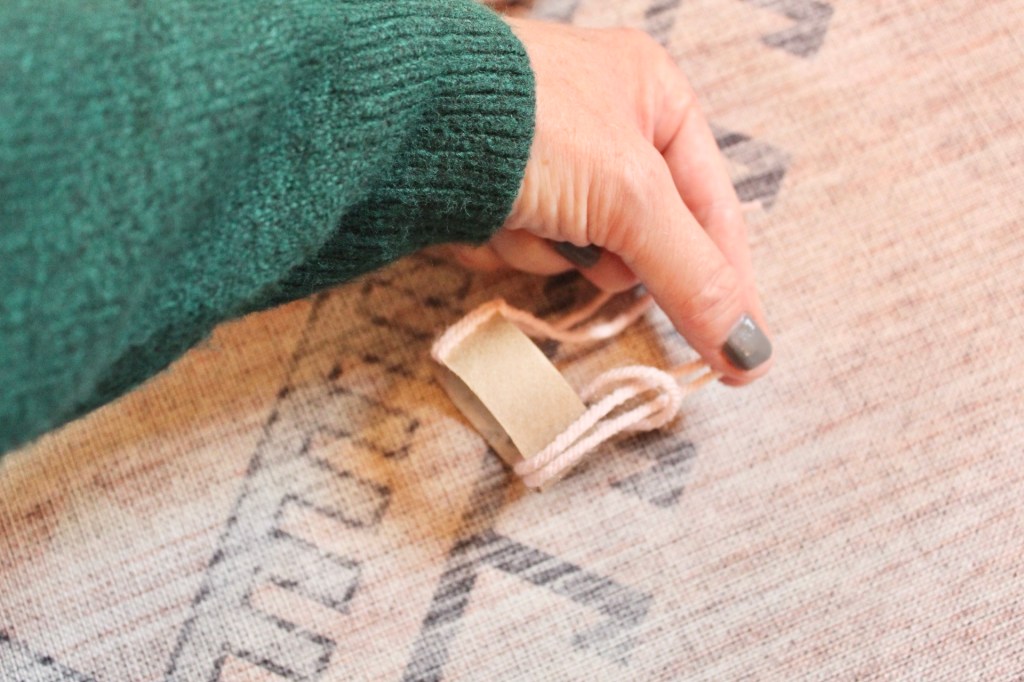
Keep going until you make it all the way around the roll.

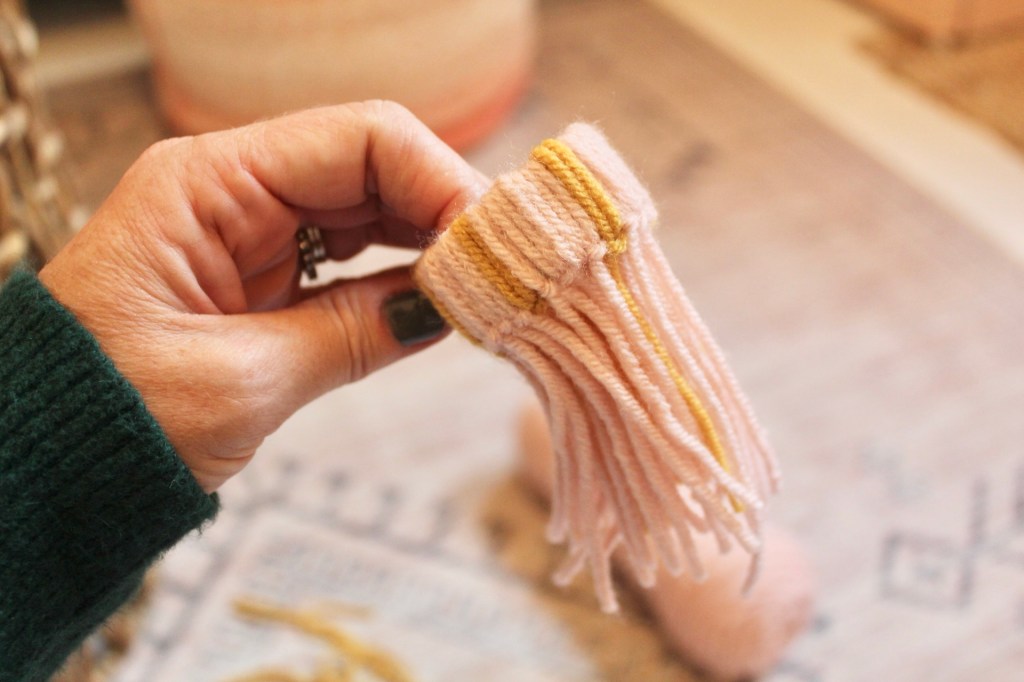
Next you will take a piece of yarn and wrap it about an inch above the cardboard. Tie a knot and then trim the excess to make a little pom!

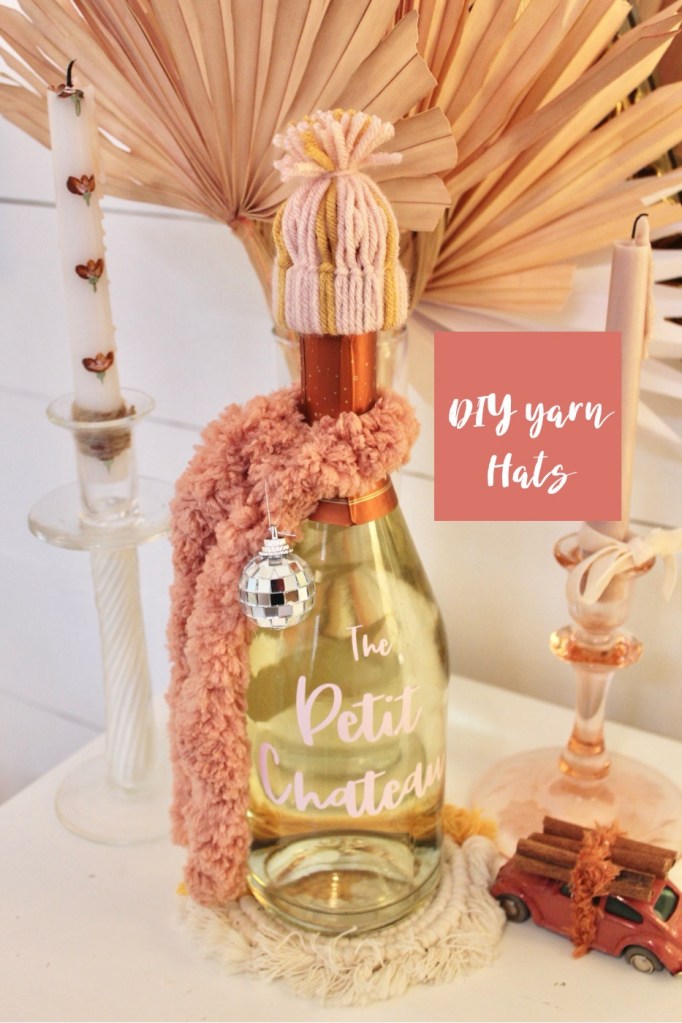
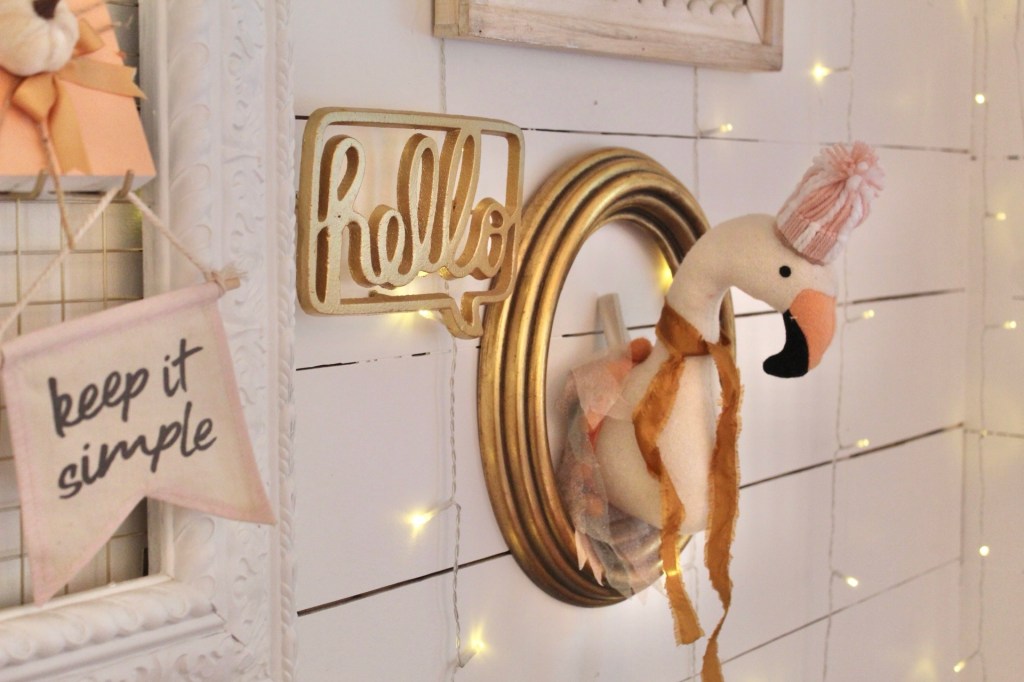
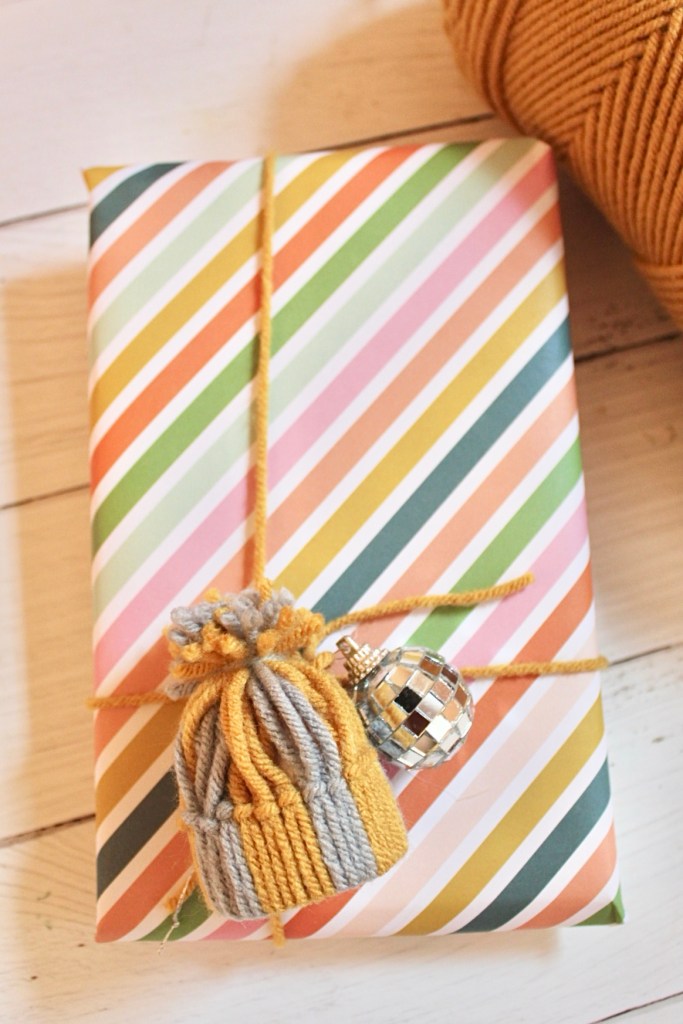
Depending on how you plan on using the hat you may want to add a ball of tissue paper to the inside to fluff the hat up. I would recommend that if you are using it as a garland or gift topper. But, on a wine bottle it won’t be needed. Here are a few ways to use the hats!
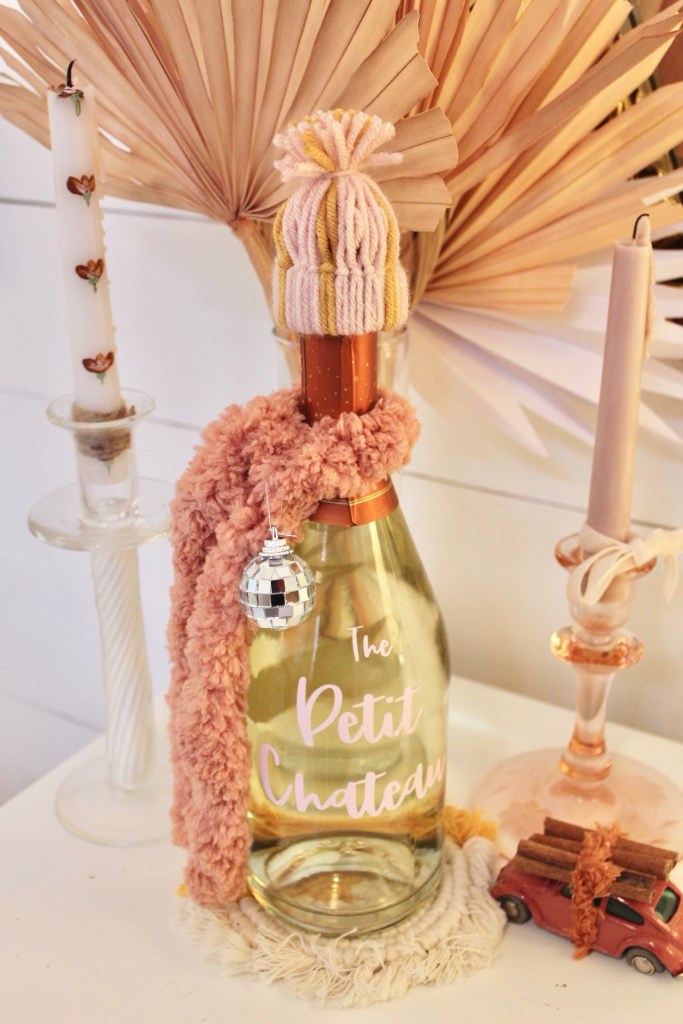
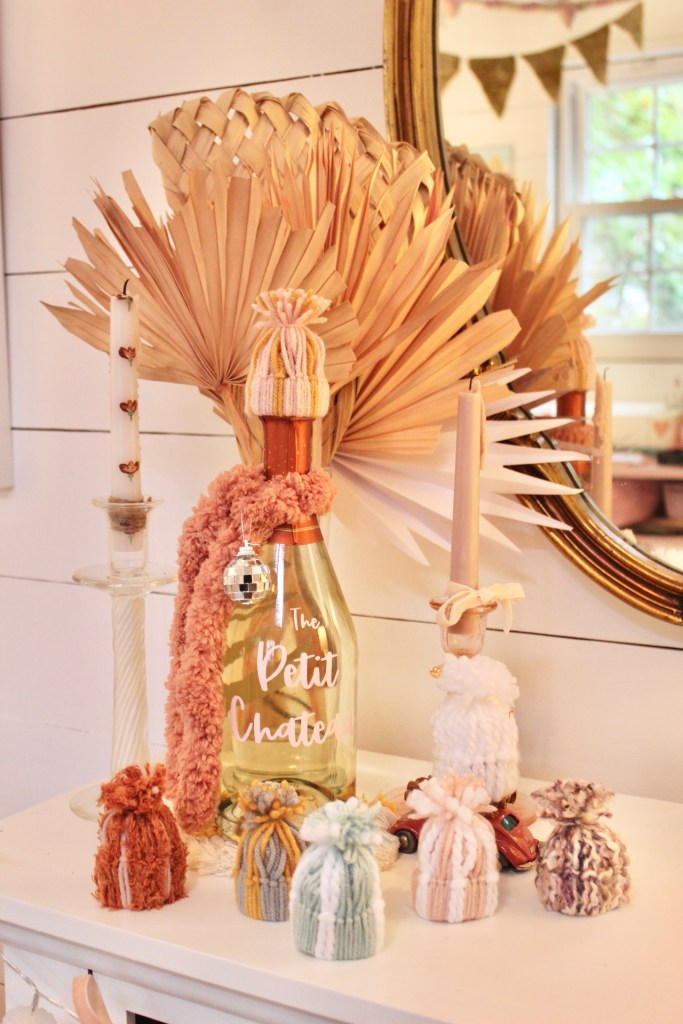
My favorite option is to use one on a bottle of wine! I added it to the top and took some chunky yarn to create a scarf. What a cute hostess gift!! You can also customize the wine bottle if you want. Just soak the bottle in warm water to peel the label off and then add a sticker or a Cricut decal.
These were so fun to make and I’d love to know what you think!