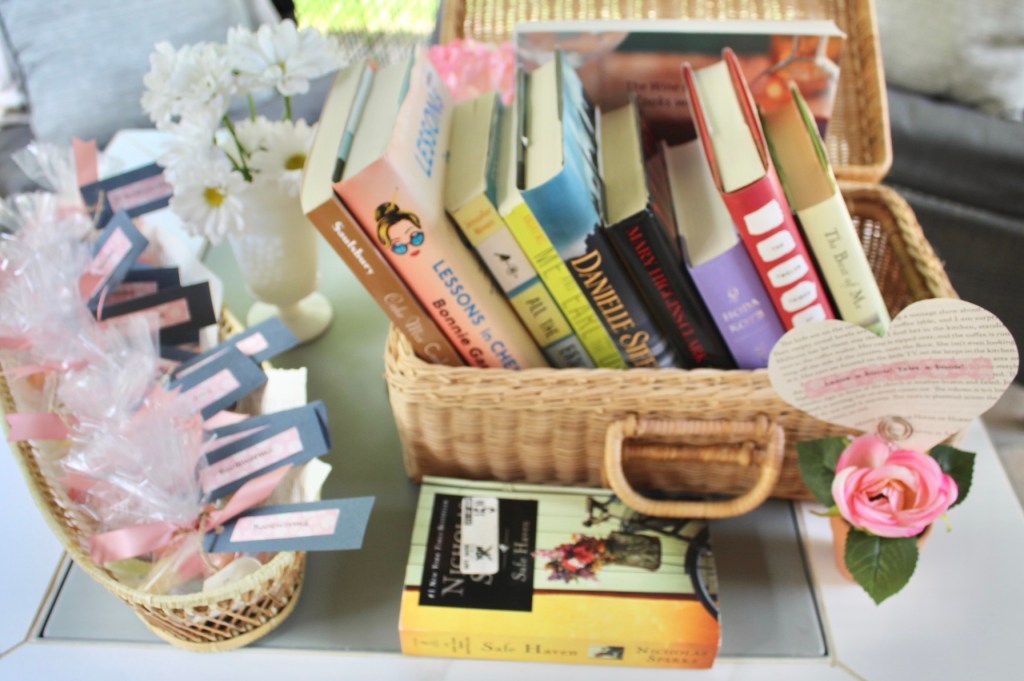
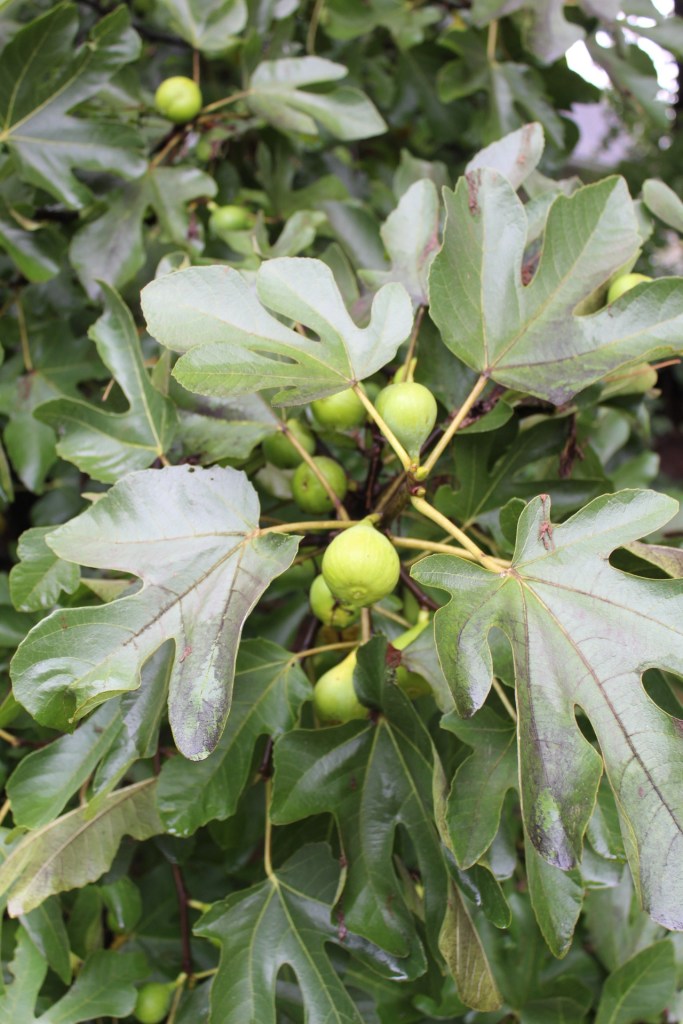
I am planning a “Saturday Swap” with some friends and was trying to think of something fun to make. Well, I have some craft ideas but I really wanted to make something homemade and delicious for them, too. We have a HUGE fig tree in our neighborhood. It is growing in a common area, so lots of neighbors grab figs from it. So, I decided to grab some and try making a fig jam!

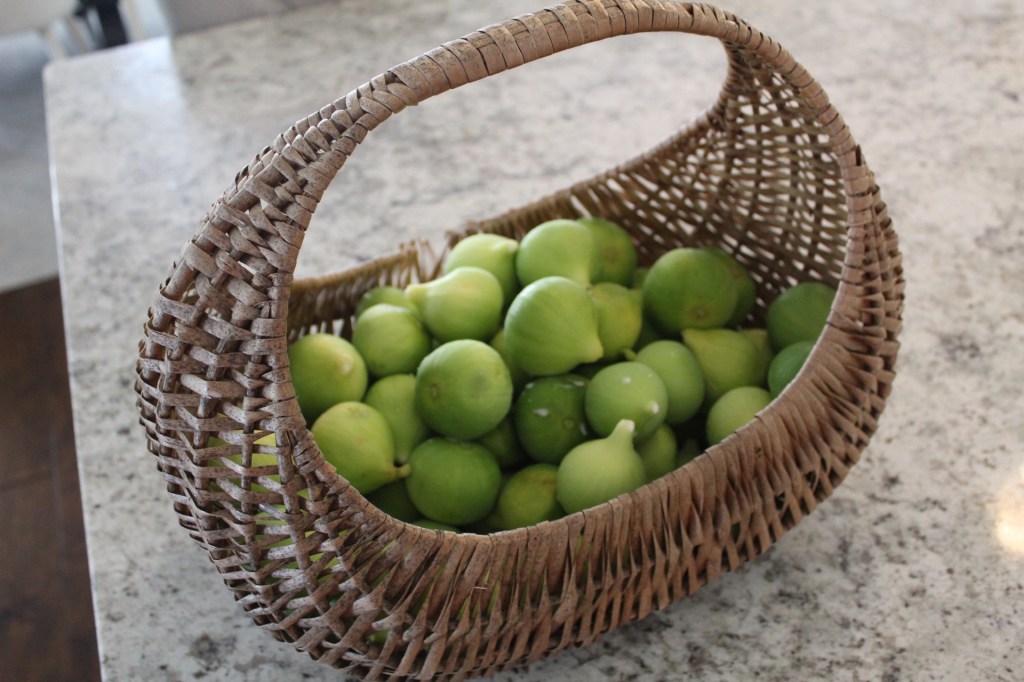
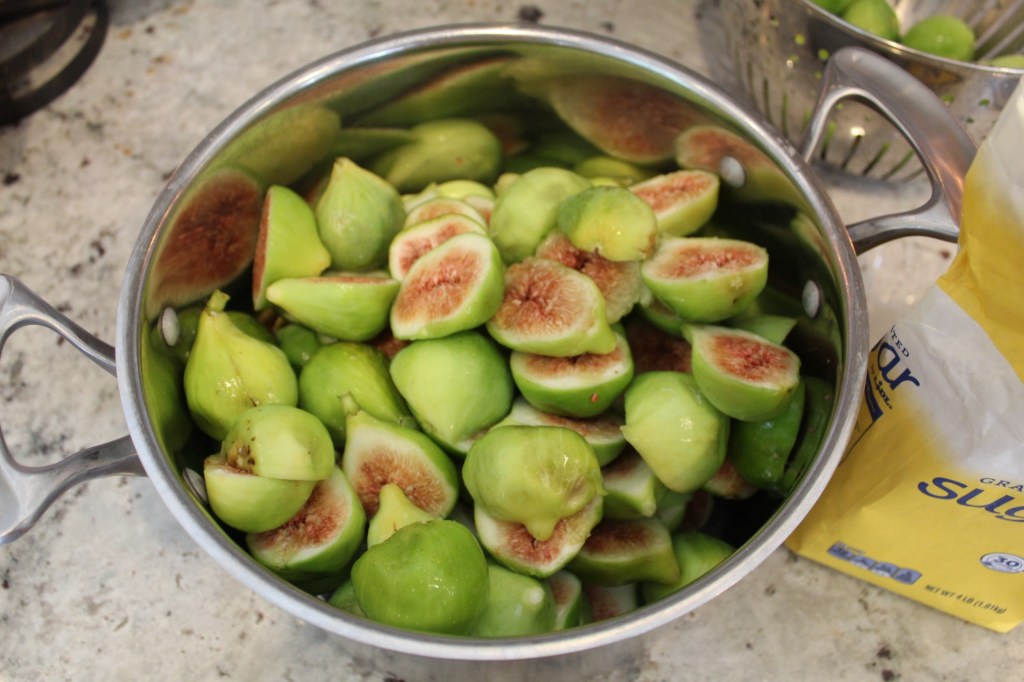
Off I went and filled up a big basket. I washed them up and looked up a few recipes. I knew I wanted to keep it simple and didn’t want to have to do the entire canning process. So, I chose to make a recipe where the jam can be refrigerated for up to three months.
The interesting thing about figs is that they naturally have pectin, so you don’t need to add pectin to the jam!
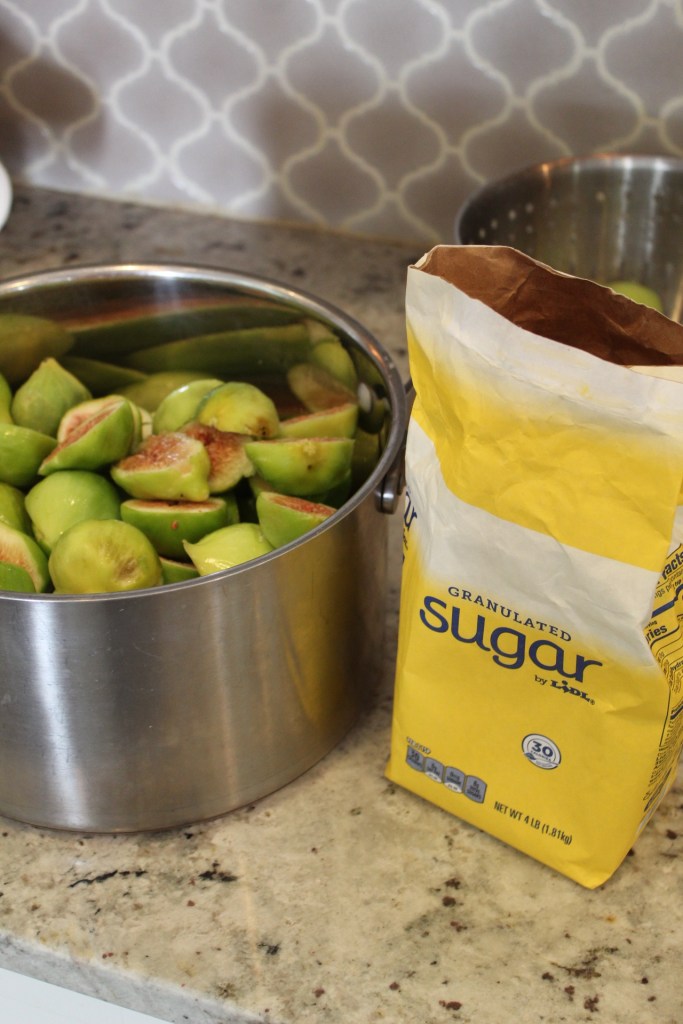
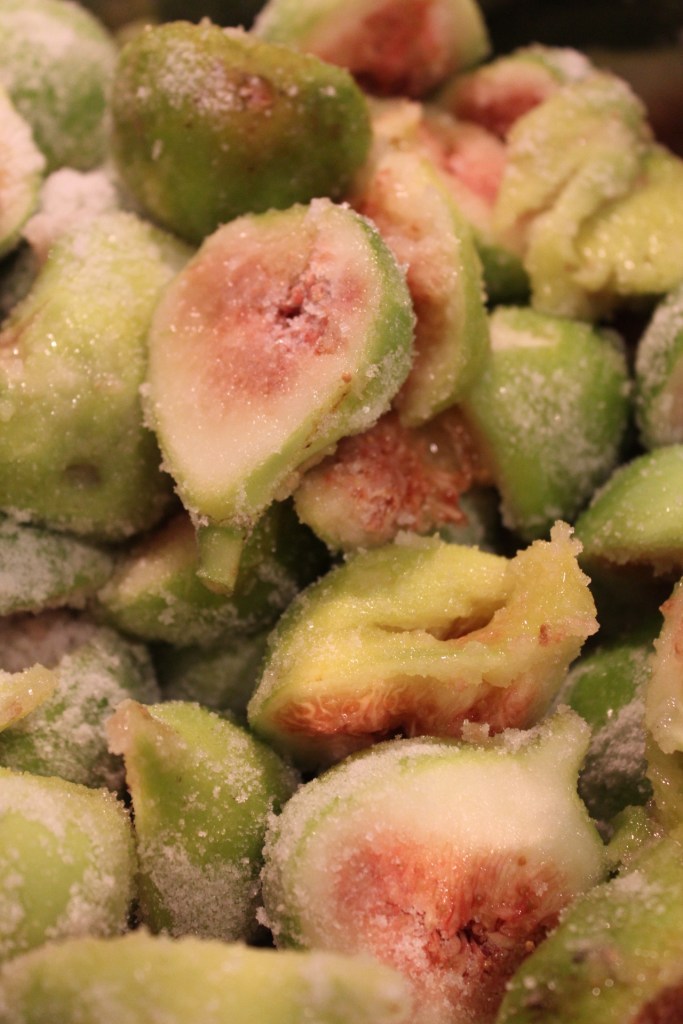
I will include the recipe below. I basically cut them, added sugar and let them sit a bit in a large pot. Then I added some vanilla, lemon juice and water and brought it to a boil while continually mixing and breaking up the figs.


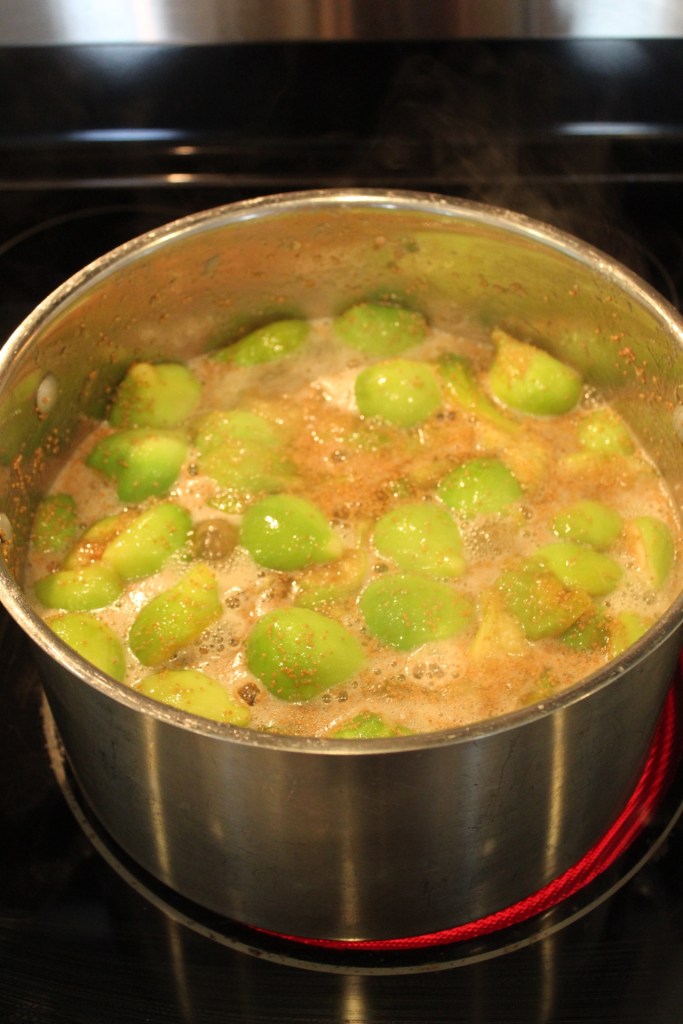
Once it boils reduce it to medium heat and make sure to continually mix it so it doesn’t burn at the bottom. This part is tedious. I cooked my figs for about 45 minutes. I wish I had an immersion blender, but I didn’t, so I scooped out portions and blended them and added it back to the pot.
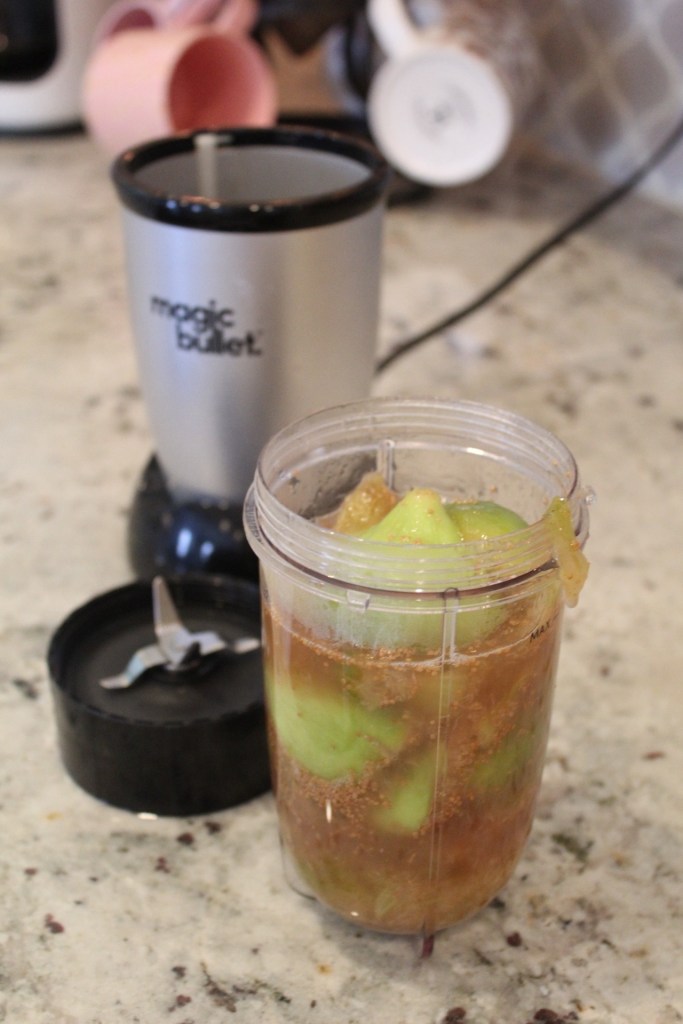
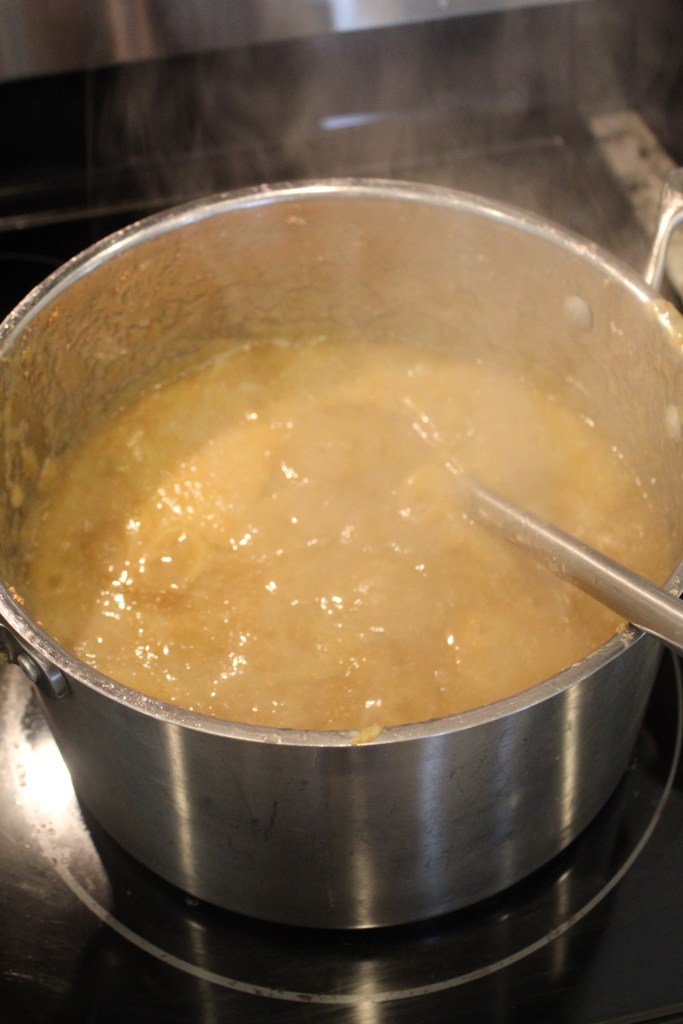
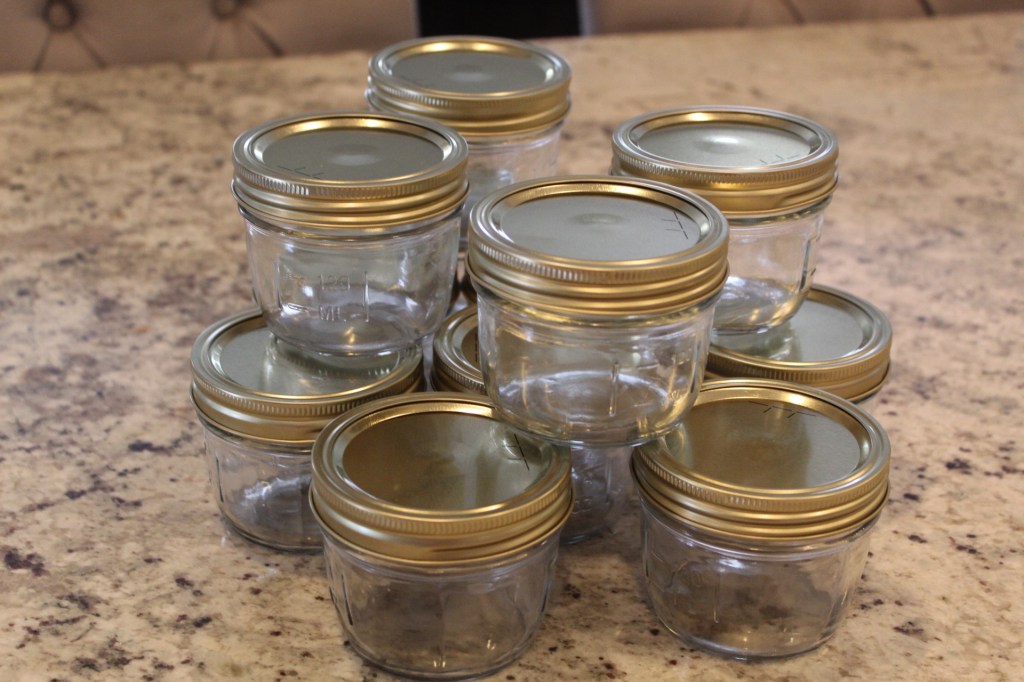
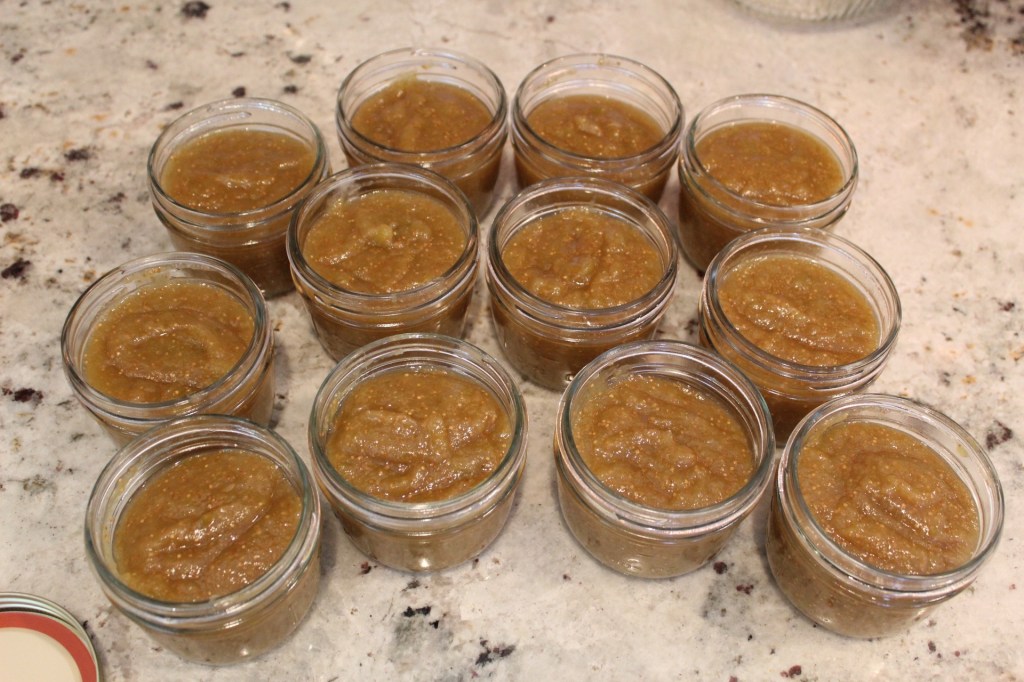
All of the fig is good to use, even the skin! So it was all blended in. Once cooked I added them to jars, let them cool and then refrigerated them.
The jam is a light consistency. I was hoping it would be a bit thicker, but it is perfect for toast or to add a spread on a charcuterie board!
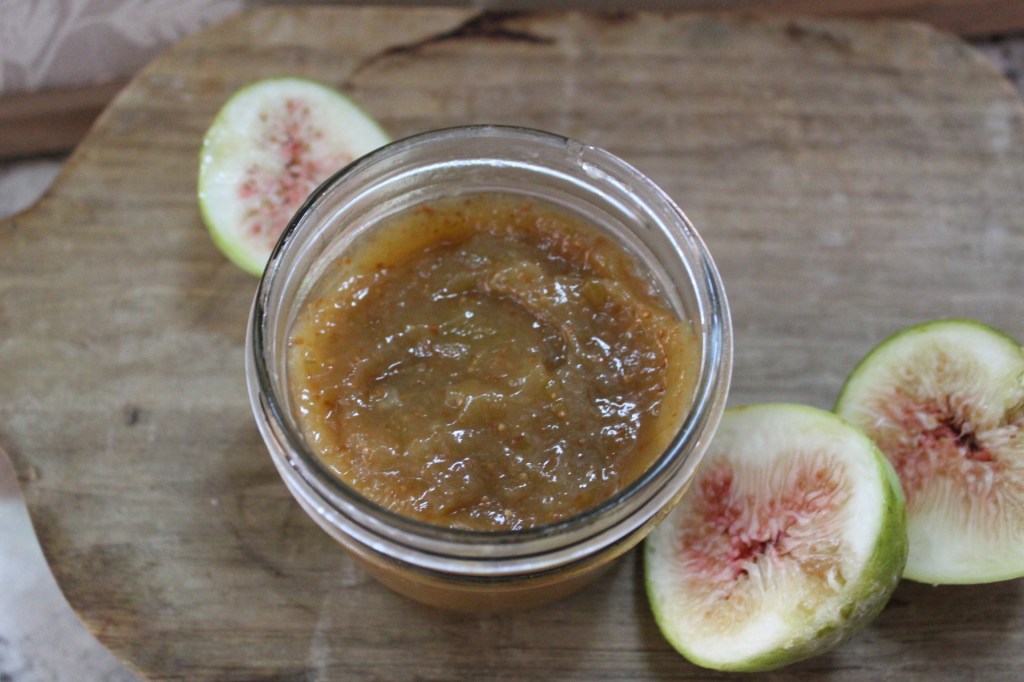
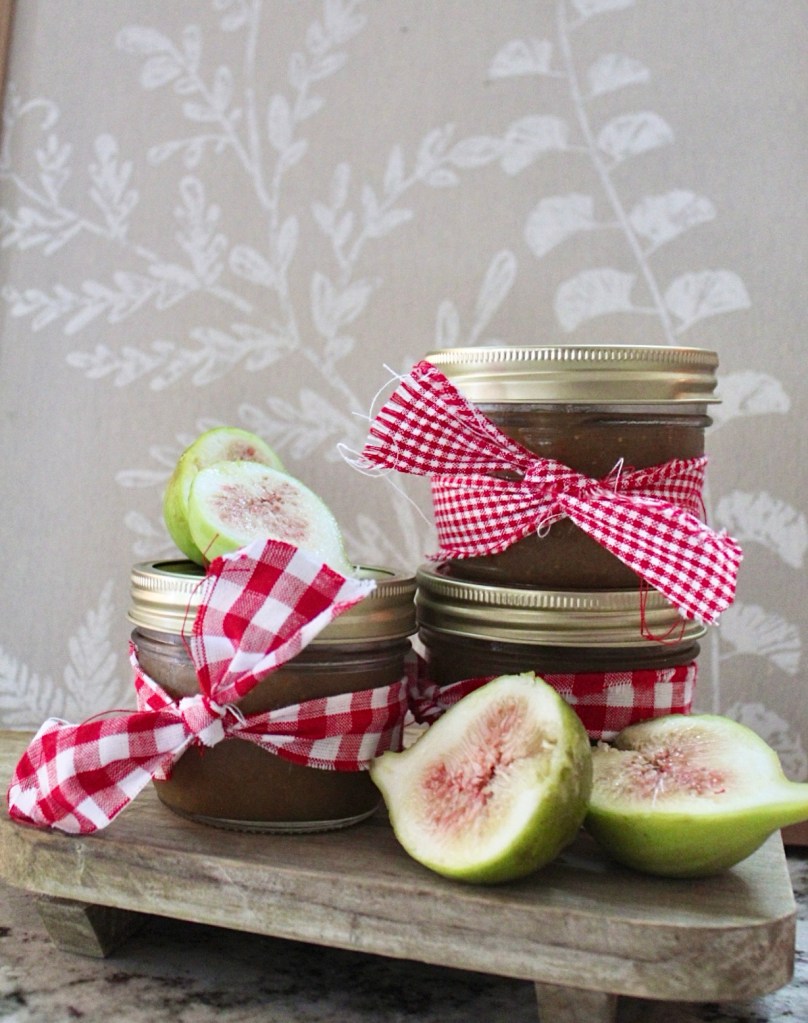
FIG JAM RECIPE
• 6 lbs fresh figs
• 3 cups sugar
• 1 cup fresh lemon juice
• 1/2 cup water
• 3 tablespoons vanilla
Wash and cut figs. Add to a large pot with the sugar, mix and let it sit for about 15 minutes. Add all other ingredients and bring to a boil while mixing. Reduce heat to medium and continue to mix and cook. As the figs break down mash or use an immersion blender to combine. Cook for about 45 minutes and continue to mix until the mixture thickens. Place in canning jars, cool and place lids. Jam will be good for three months in the refrigerator.
I’m so excited to gift these to friends at our Saturday Swap. I will share all the cute and fun ideas as the party gets closer!