Craft Room Decor

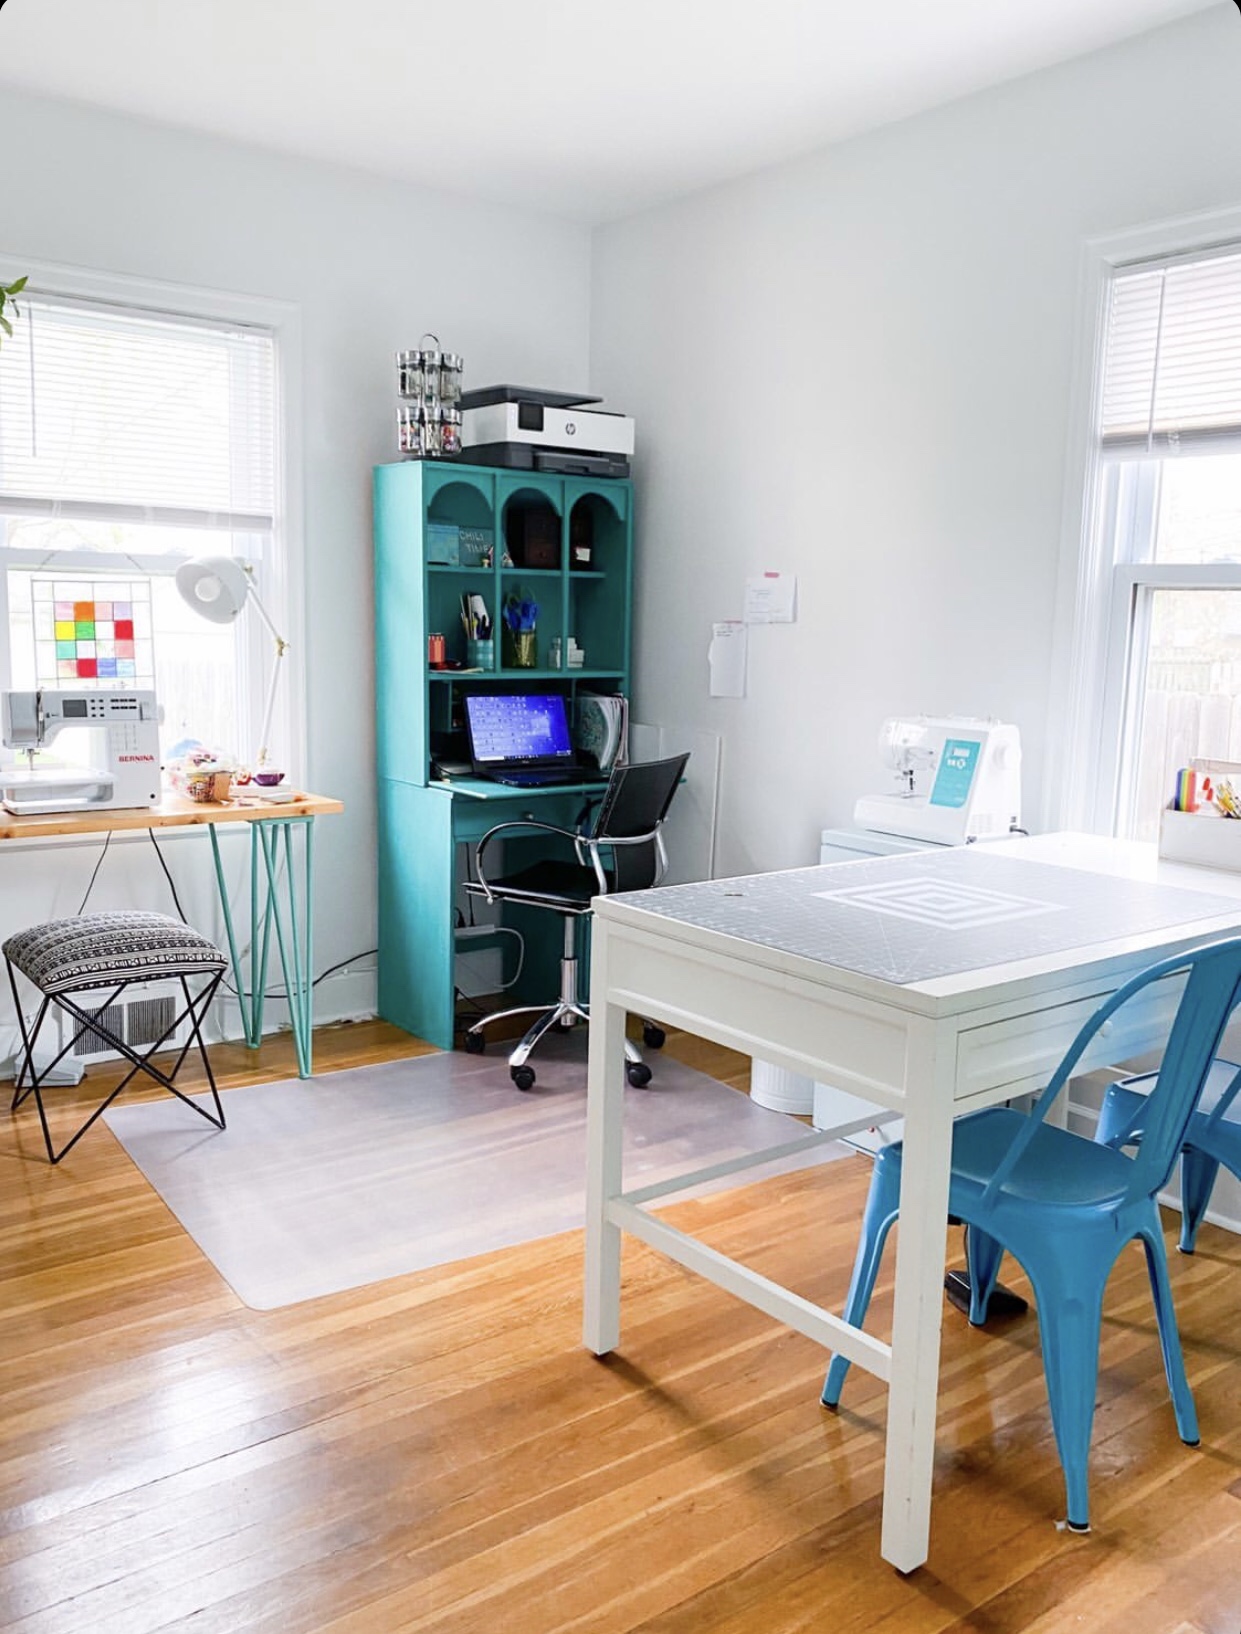
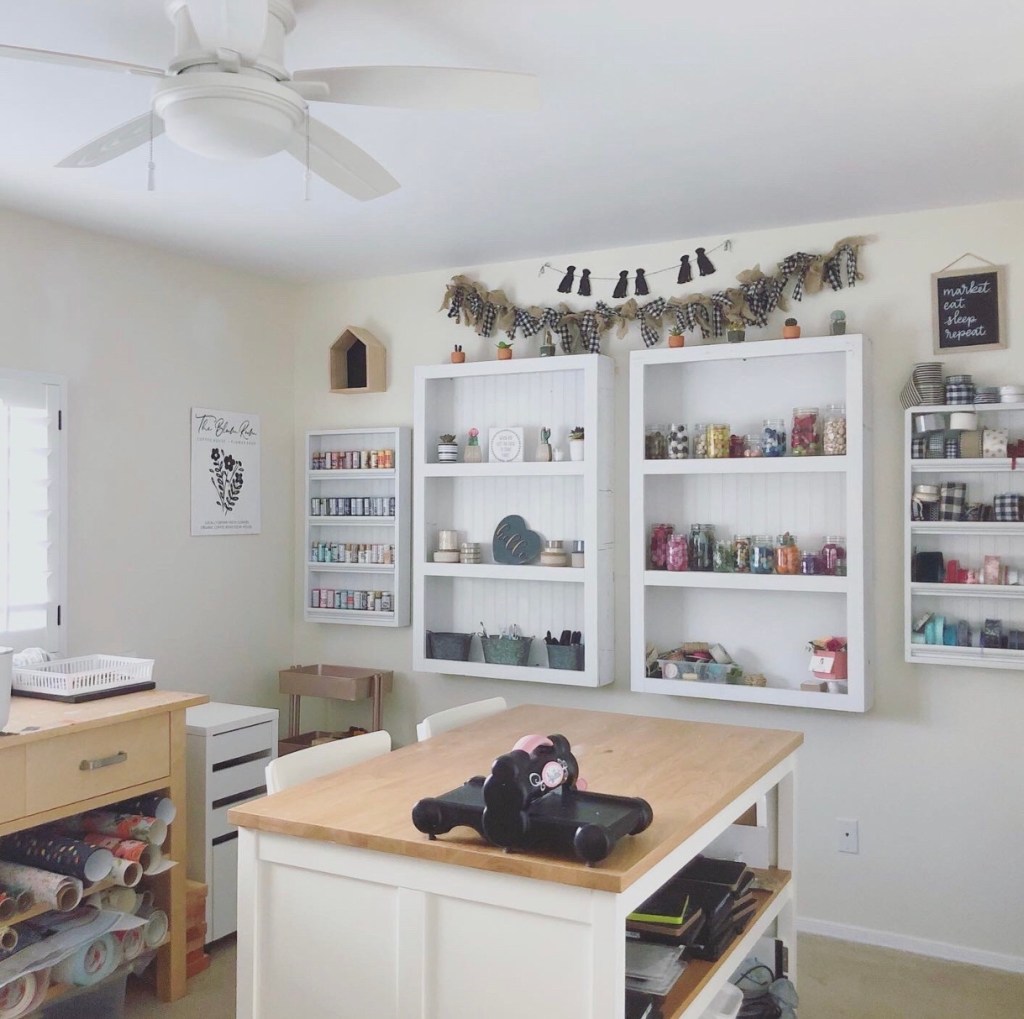
When I started crafting I dreamed of having a craft room. I would search Pinterest and save photos of craft spaces. My designated area was my kitchen counter. I would grab my supplies, make something, pack it all away and do the same thing the next day. A craft space seemed like a dream.

I have two boys, and we have a “bonus room” in our house. This was a new term to me. Growing up in New England I had never heard that term. Here in the south, it’s common. It’s basically a bedroom, but most use it for a playroom/game room. That’s what we used it for, too. There were kids toys for years and a TV and couch. As my boys got older there were less toys and I started thinking I might steal a small corner.

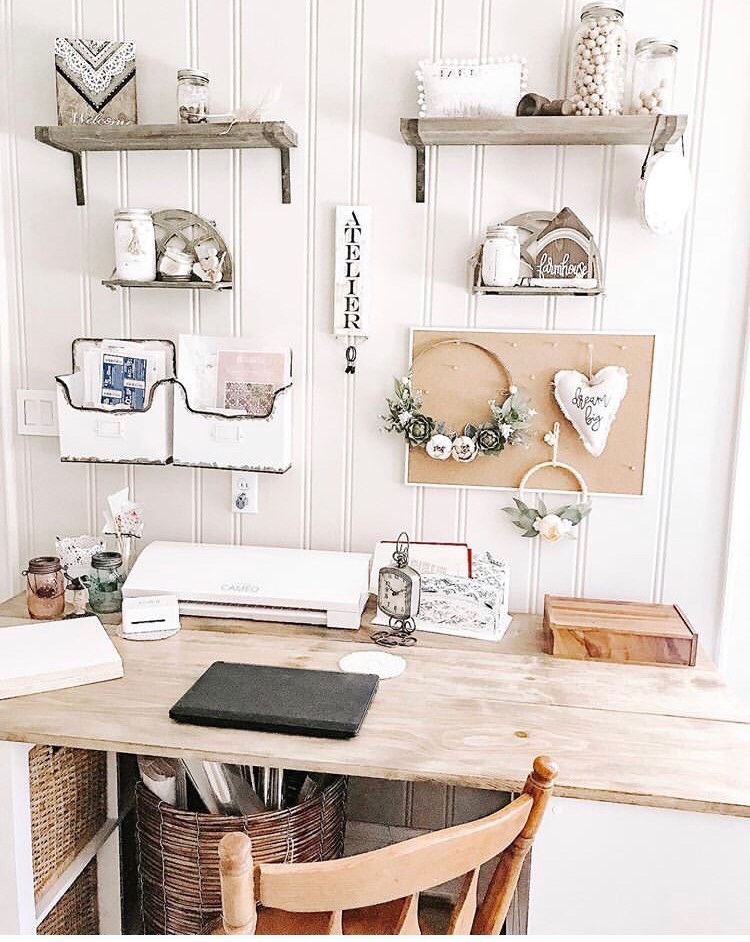
So, one day I was on Facebook Marketplace and spotted a farmhouse style desk that would fit perfectly in front of a nook in the room. It was $40.00 and I grabbed it and claimed my spot! (Even better is when I went to pick it up the man selling it gave it to me for $20.00 since it was a practice piece he made!)
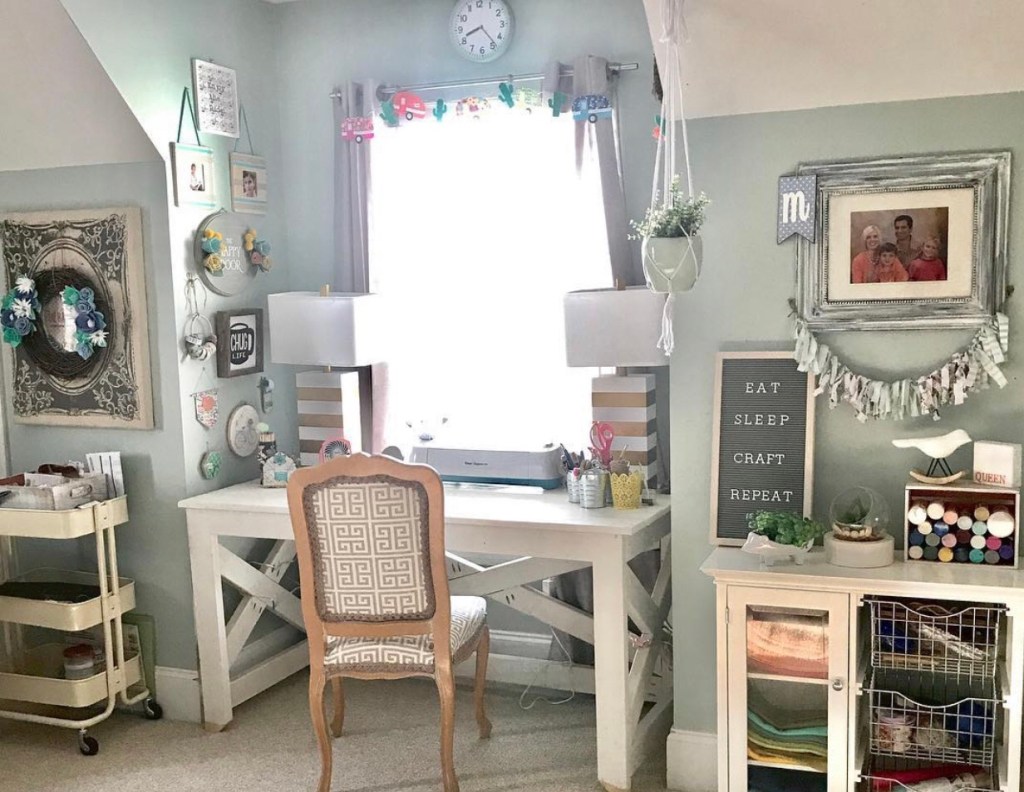
The desk started it all.

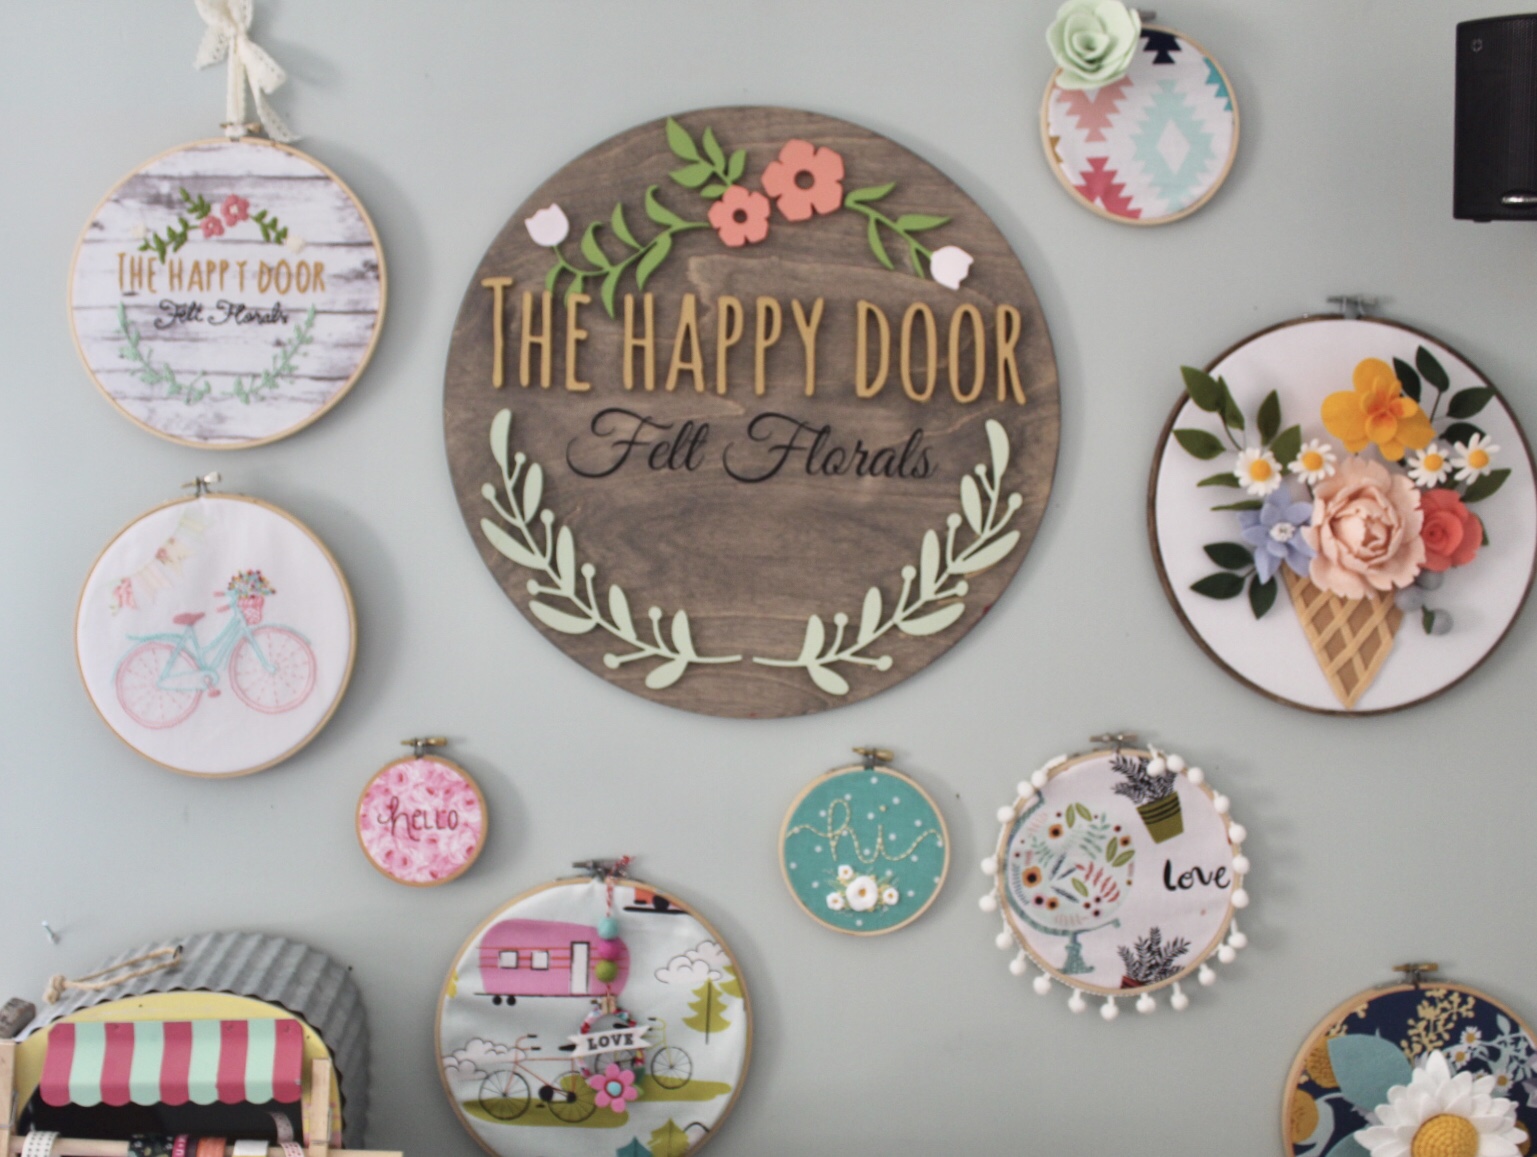
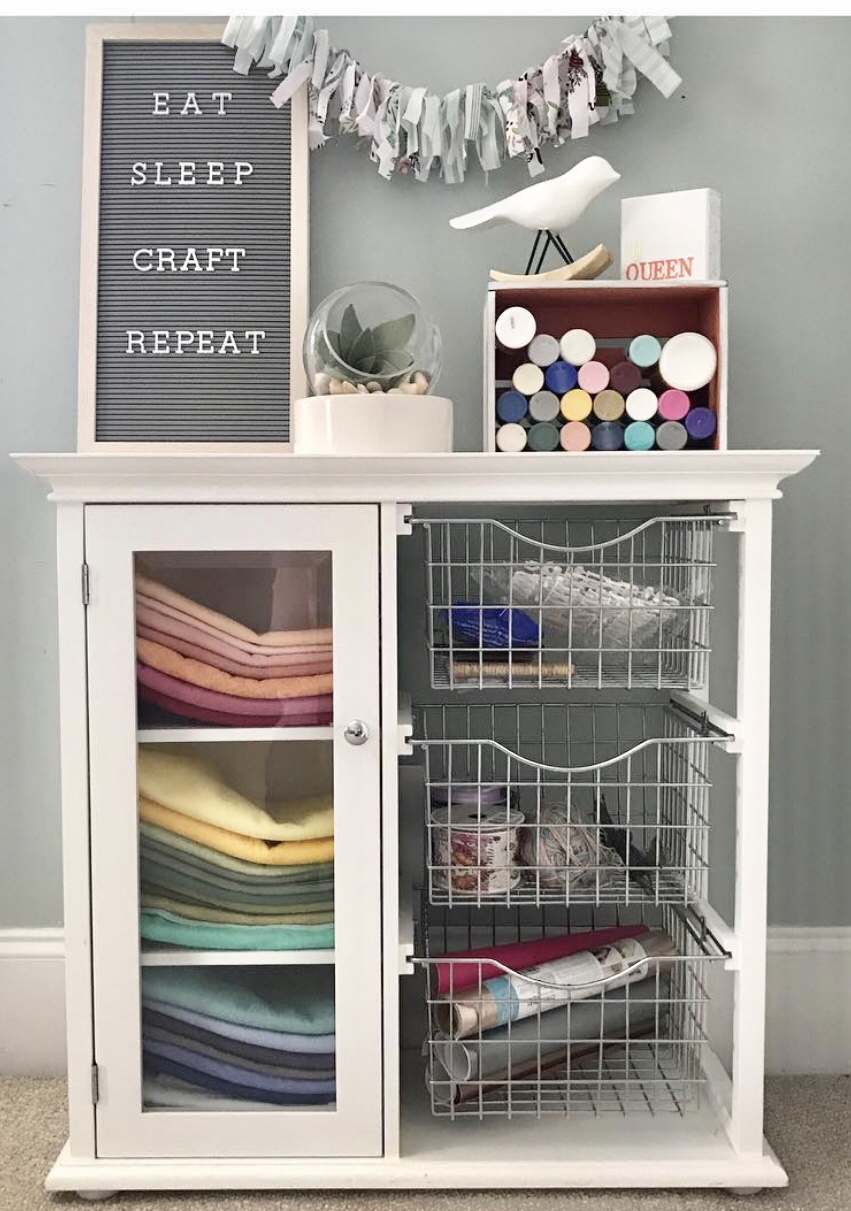
I had a rolling craft cart I moved in the space. I added some pieces on the wall from some small shops. My neighbors had two shelves they were getting rid of. I grabbed them! One had a glass shelf and baskets that were perfect for storage.

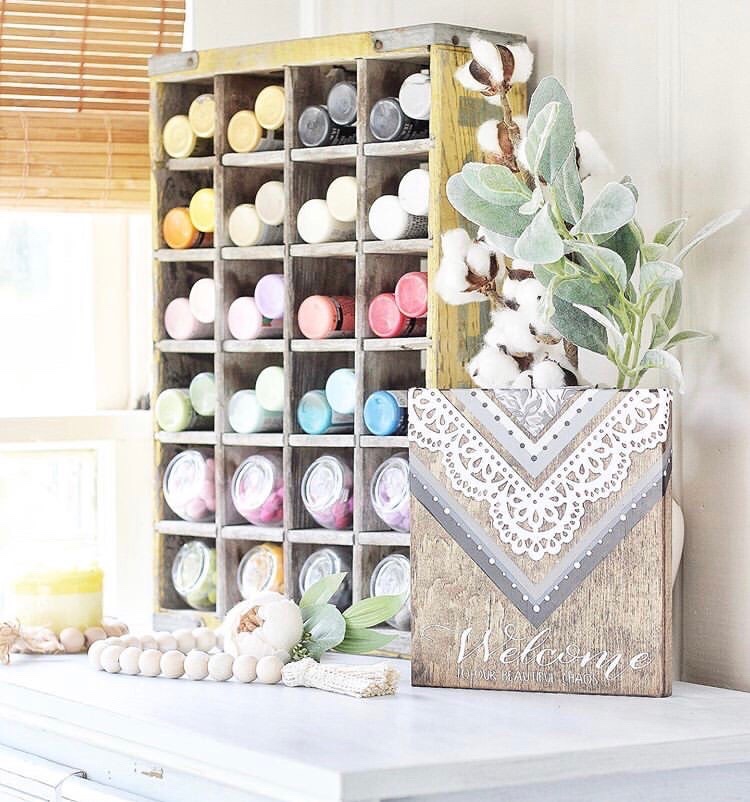
What I quickly learned is that everything doesn’t have to be perfect! I found deals and hand me downs and tried to make it all my own…which made it even better.
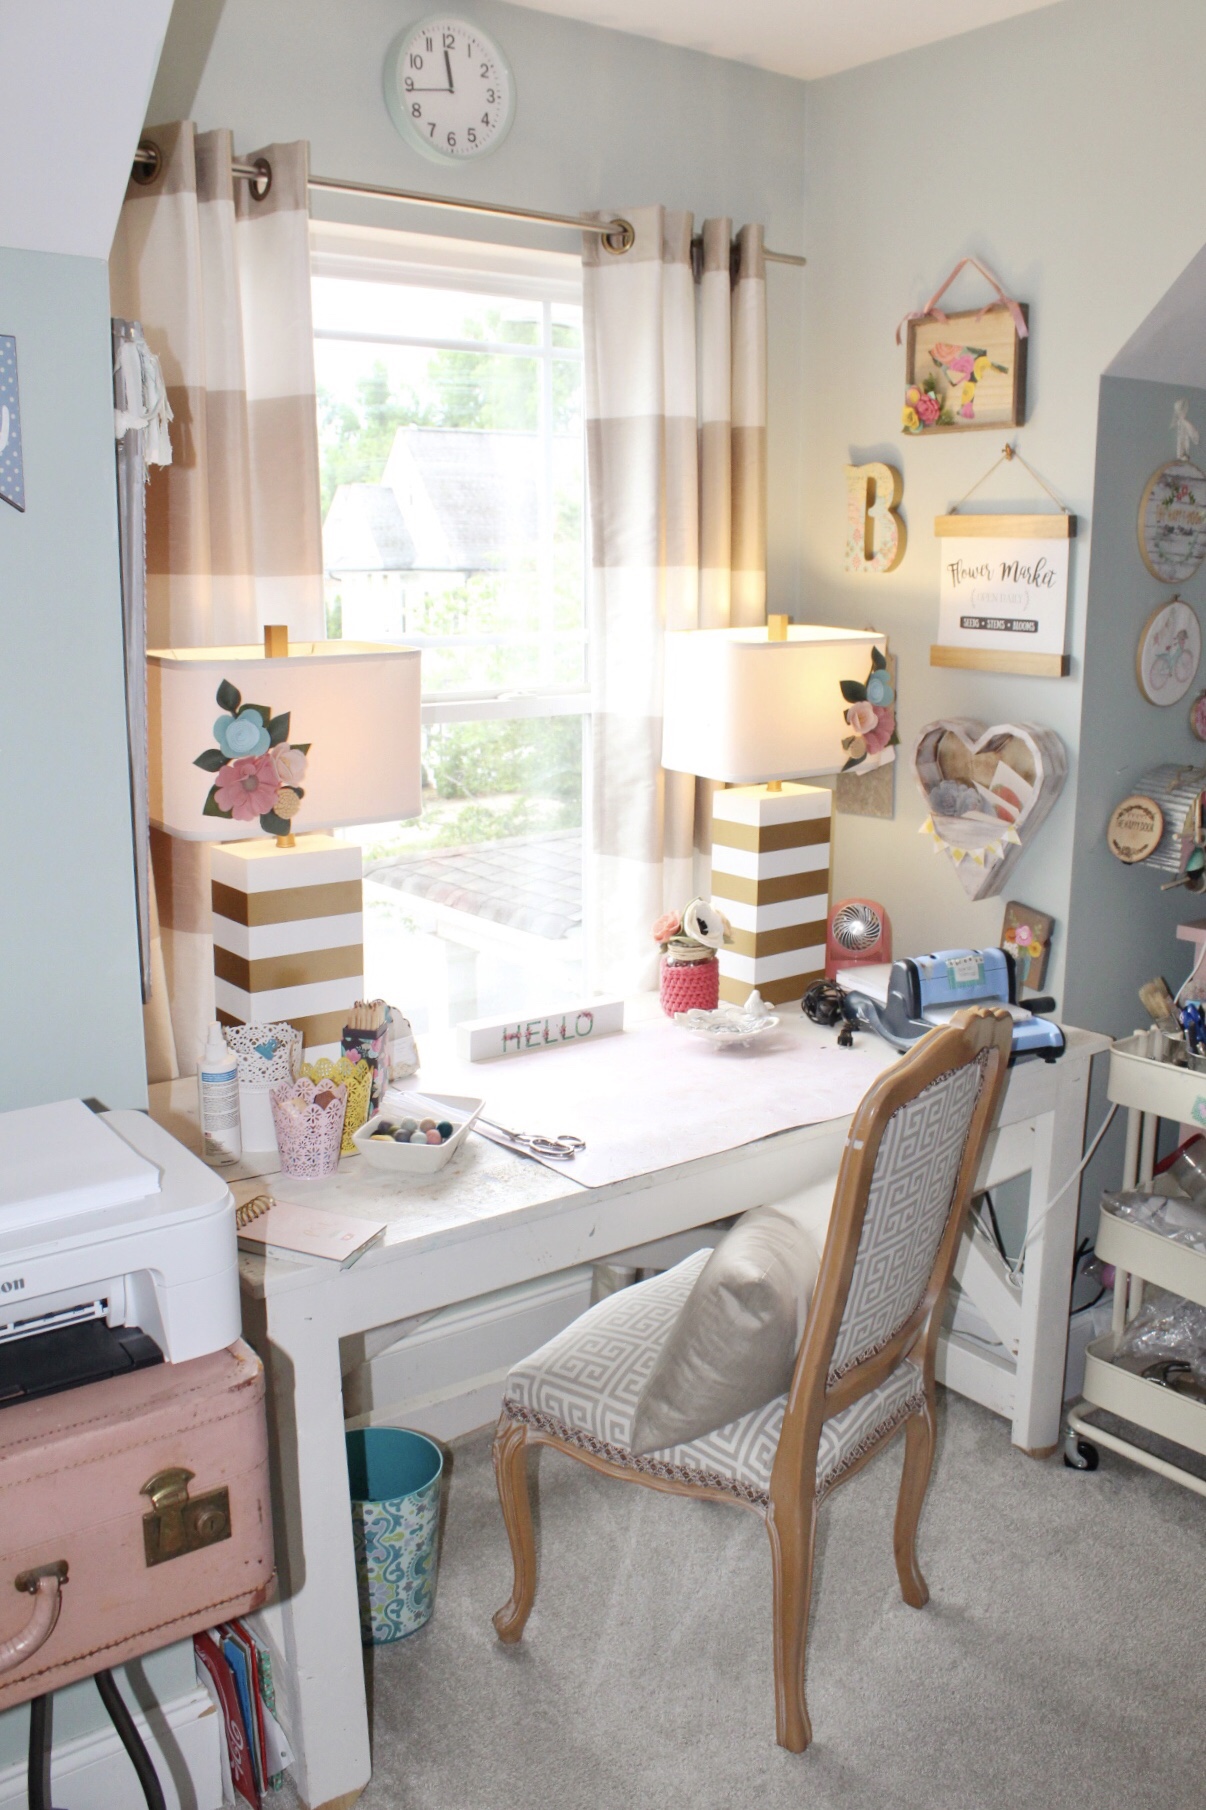
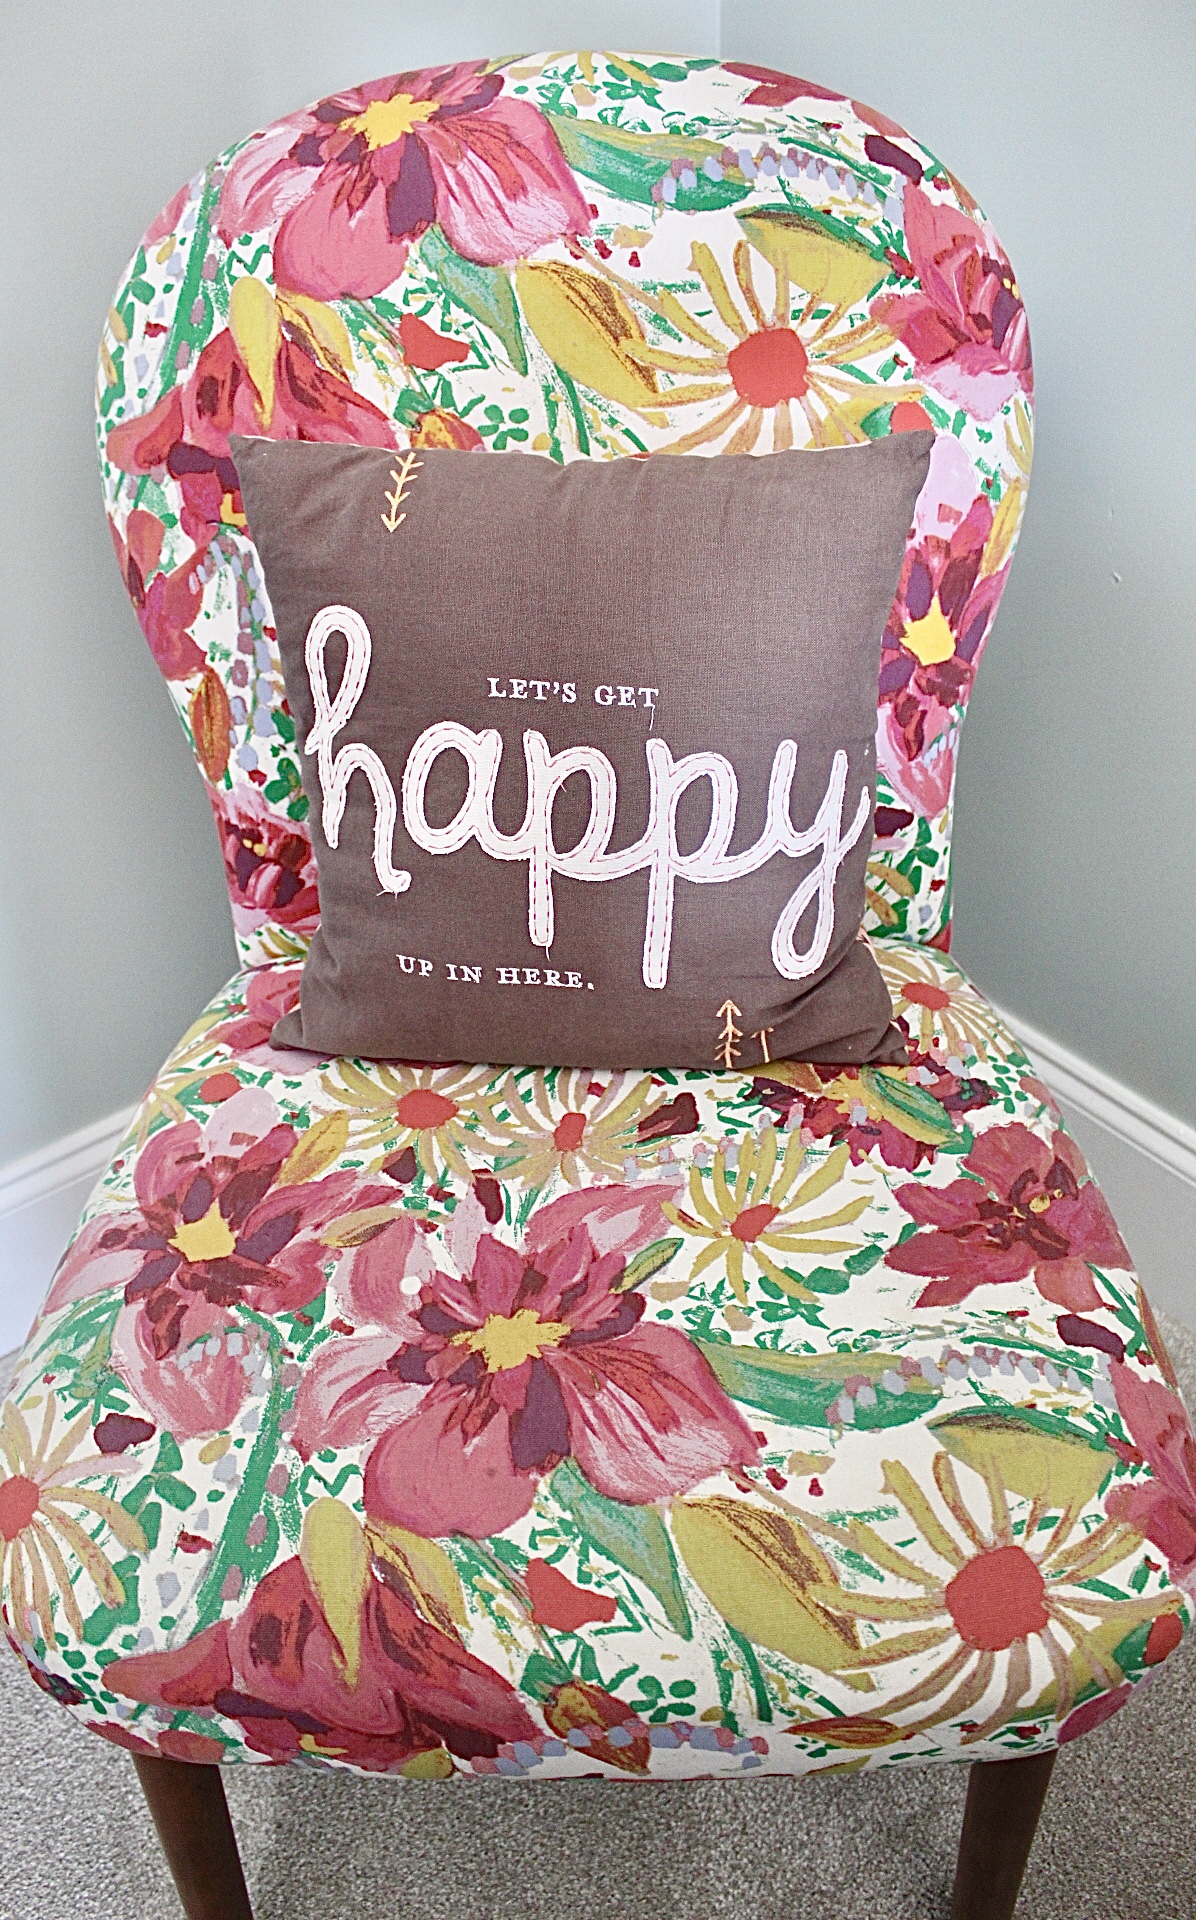
Sometimes I switch things up! Recently I found some vintage suitcases and put the pink one on a stand to create a table. I then found two floral chairs (on Facebook Marketplace again!) and added one as my chair at my craft desk!

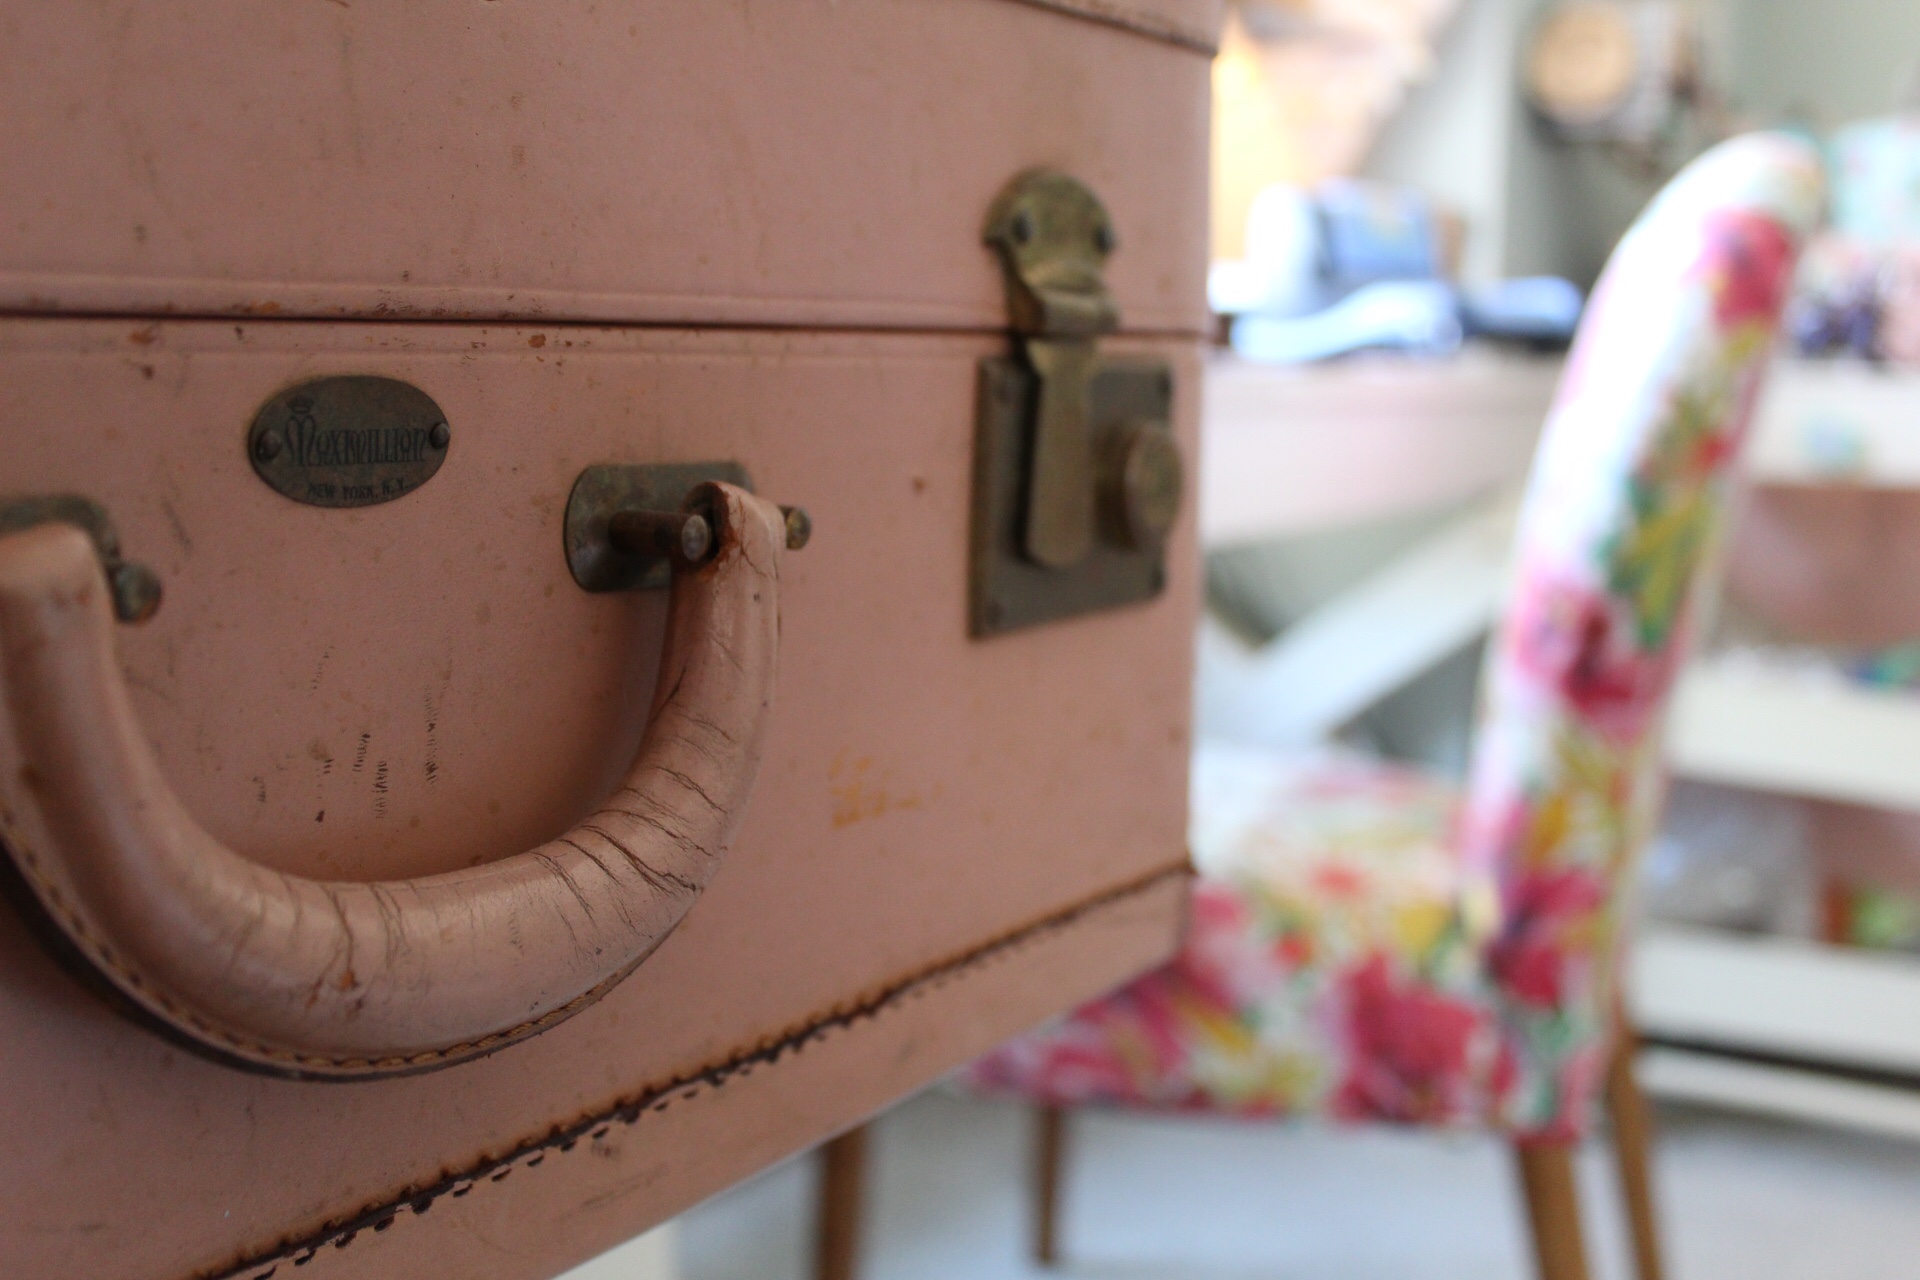
I love having a place that inspires me to create!

There are things I would love to add or change! What I’ve learned is instead of waiting for the perfect craft room I’m going to take what I have, be creative and make it my own. So, if you’re looking to create a space, go for it! Even if at first you can only have a small desk in a corner somewhere, it’s a start! Add a few things that make you happy and get inspired!

Sharing more inspiration!

I thought I would also share some inspiring craft spaces from some of my super talented Insta-friends!
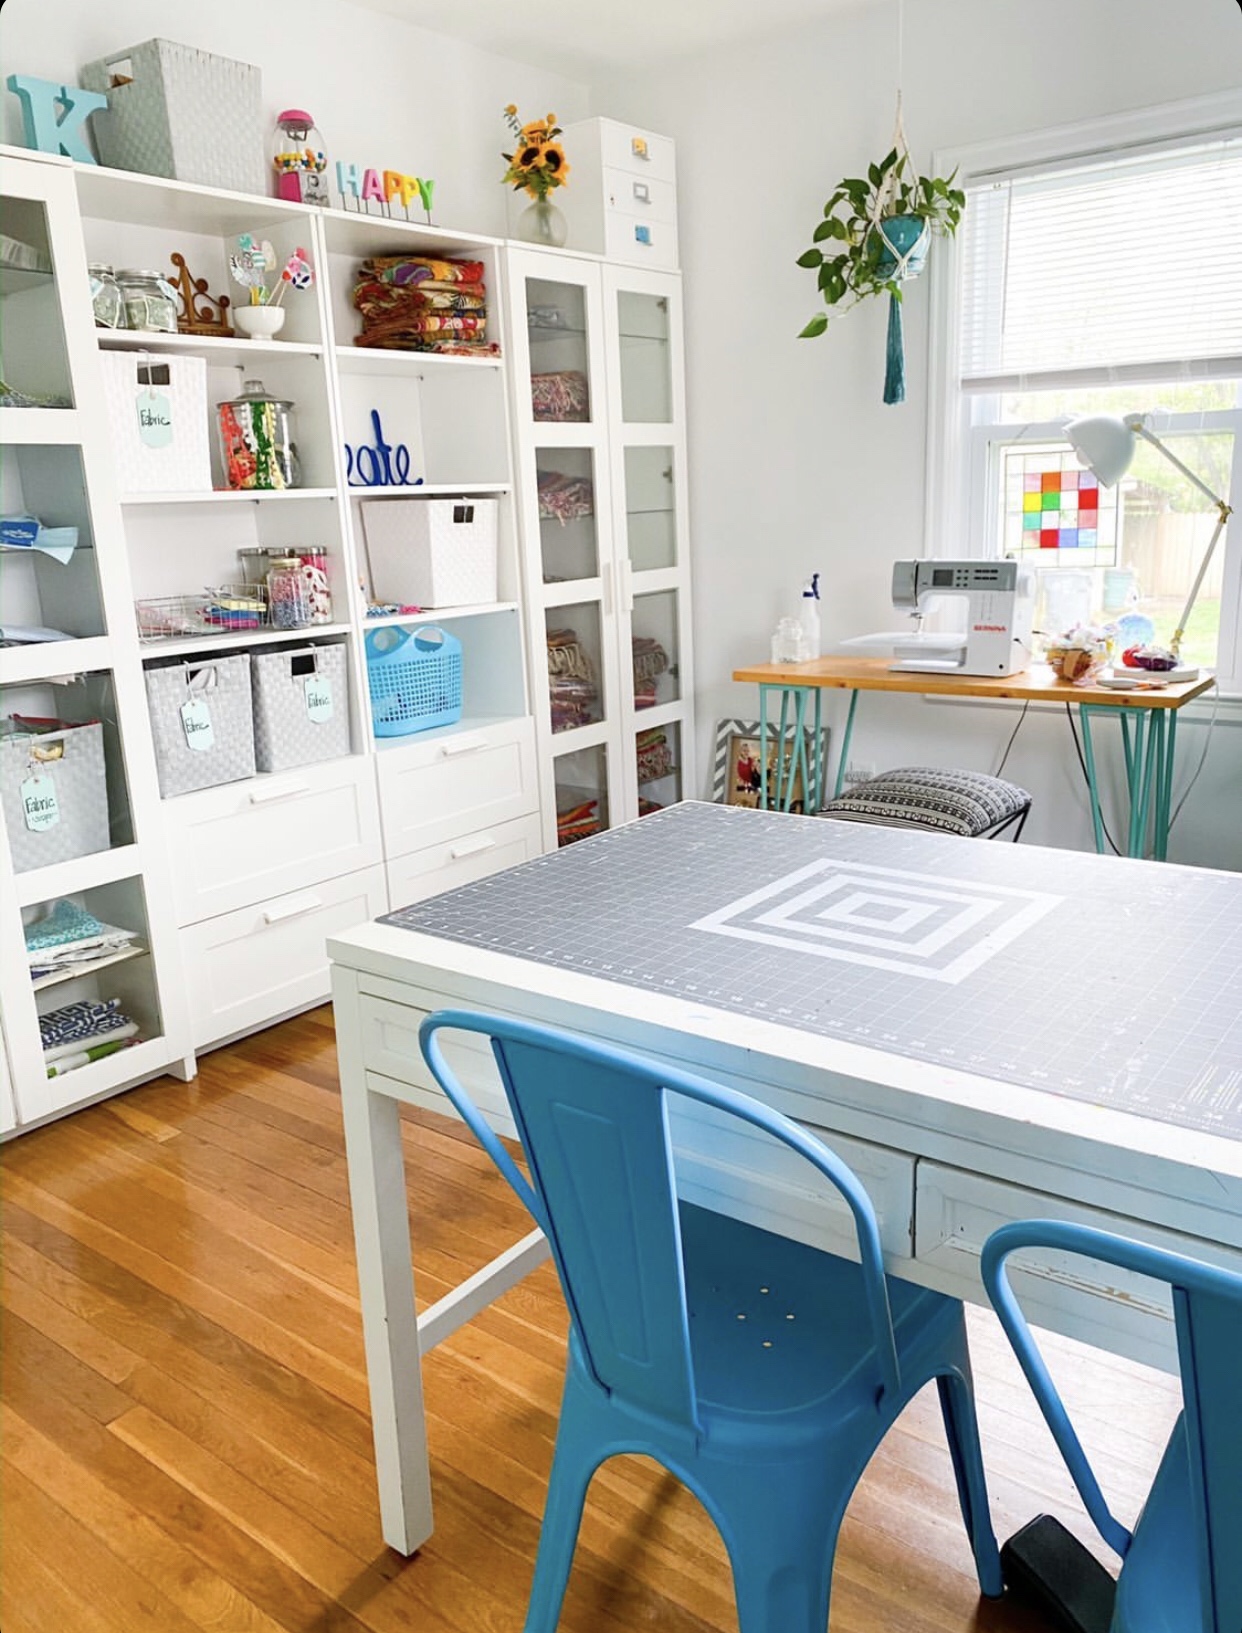
Lovely Lily’s  Place
I love the space Tricia from Lovely Lily’s Place created. It’s so bright and organized!
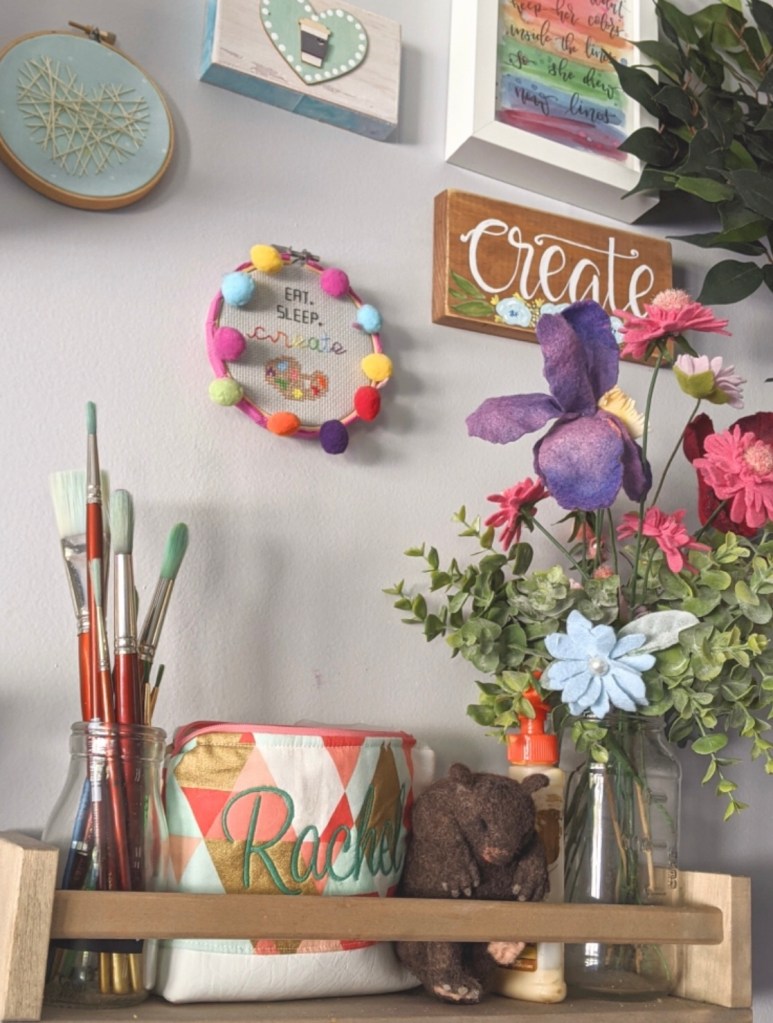
Rachel Israel Art
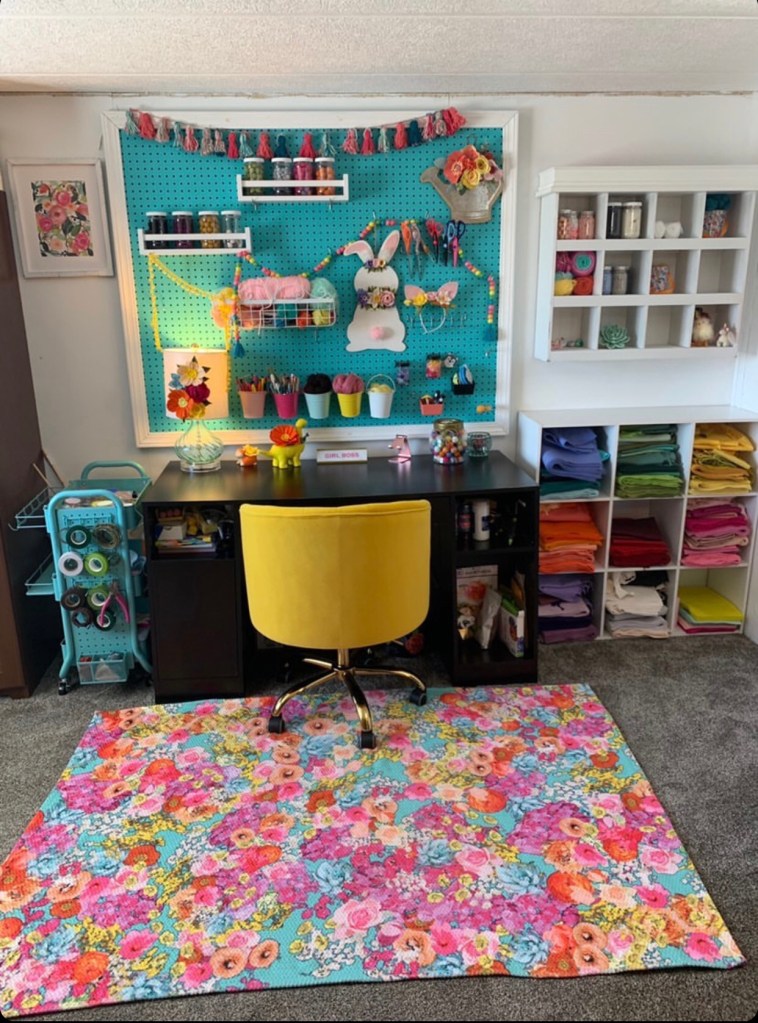
Rebekah from Little Felt Flower Shop created such a great space. I think I want that yellow chair!
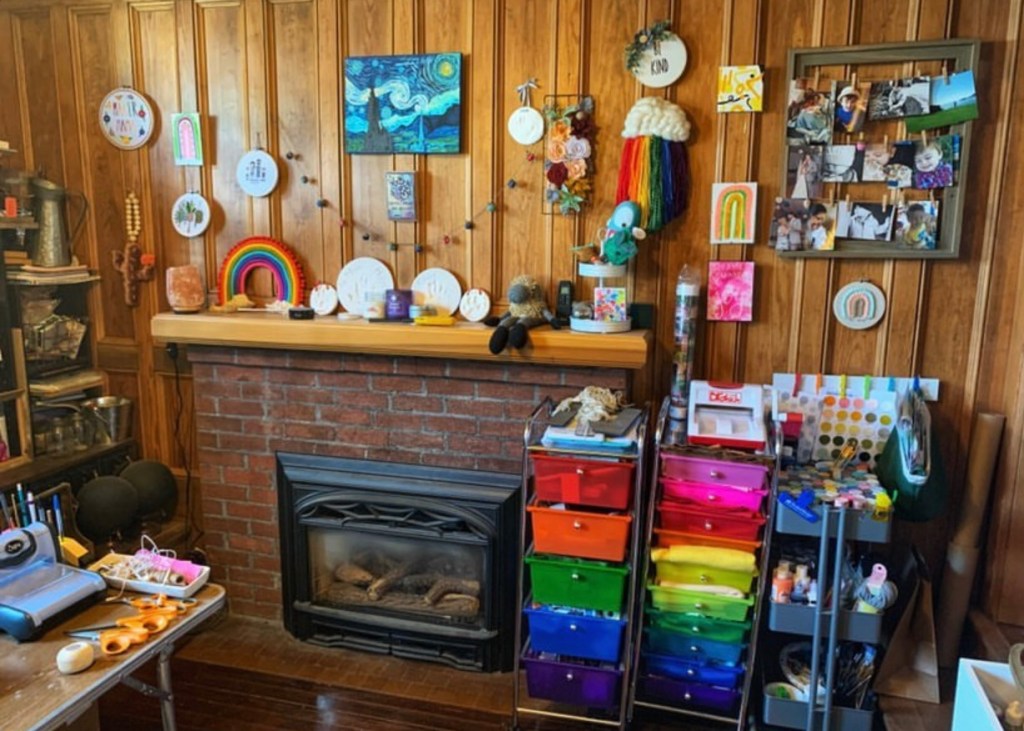
Imagine crafting by this cozy fireplace! Amanda from AC Artfully Crafted made a cozy spot to get creative!
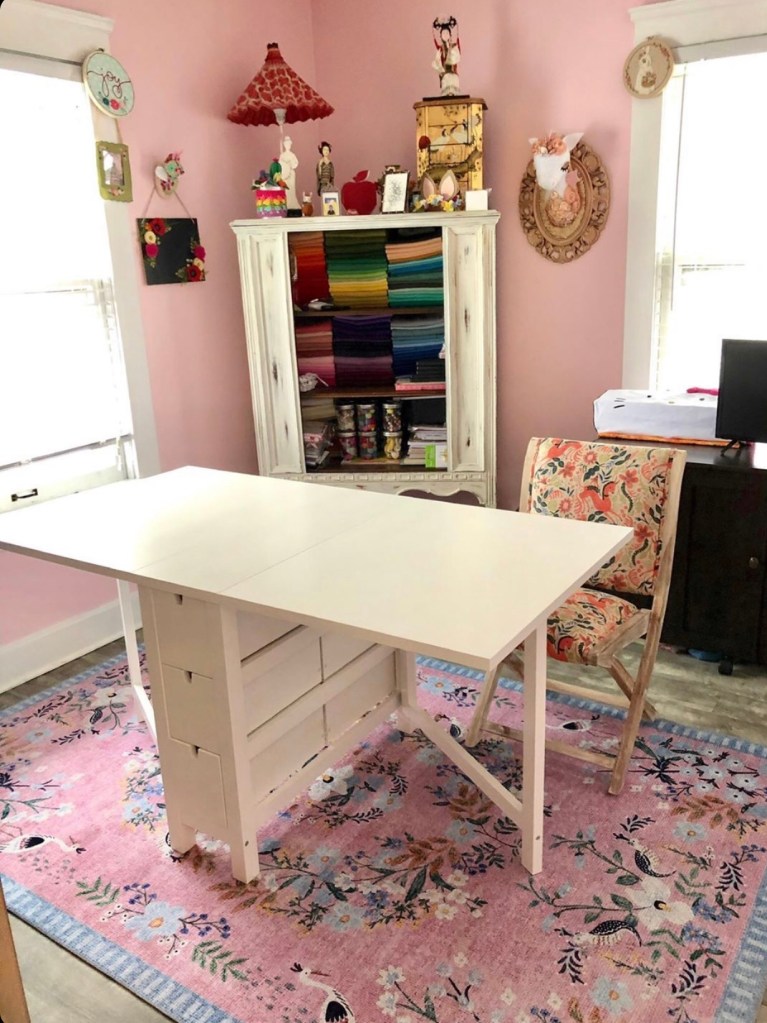
This space is perfectly pink! I love all of the touches Natalie from Felt and Fauna added to her craft space!
Ana Paula from May Darlings created a beautiful farmhouse feel in her craft space!
Tiffany from The Turquoise Leaf was able to claim her living room as a craft space! She has so much storage!

I hope you have had fun touring some craft spaces! Decorating can be so much fun, especially when decorating a space to be creative.

Felt Flower Tuturial

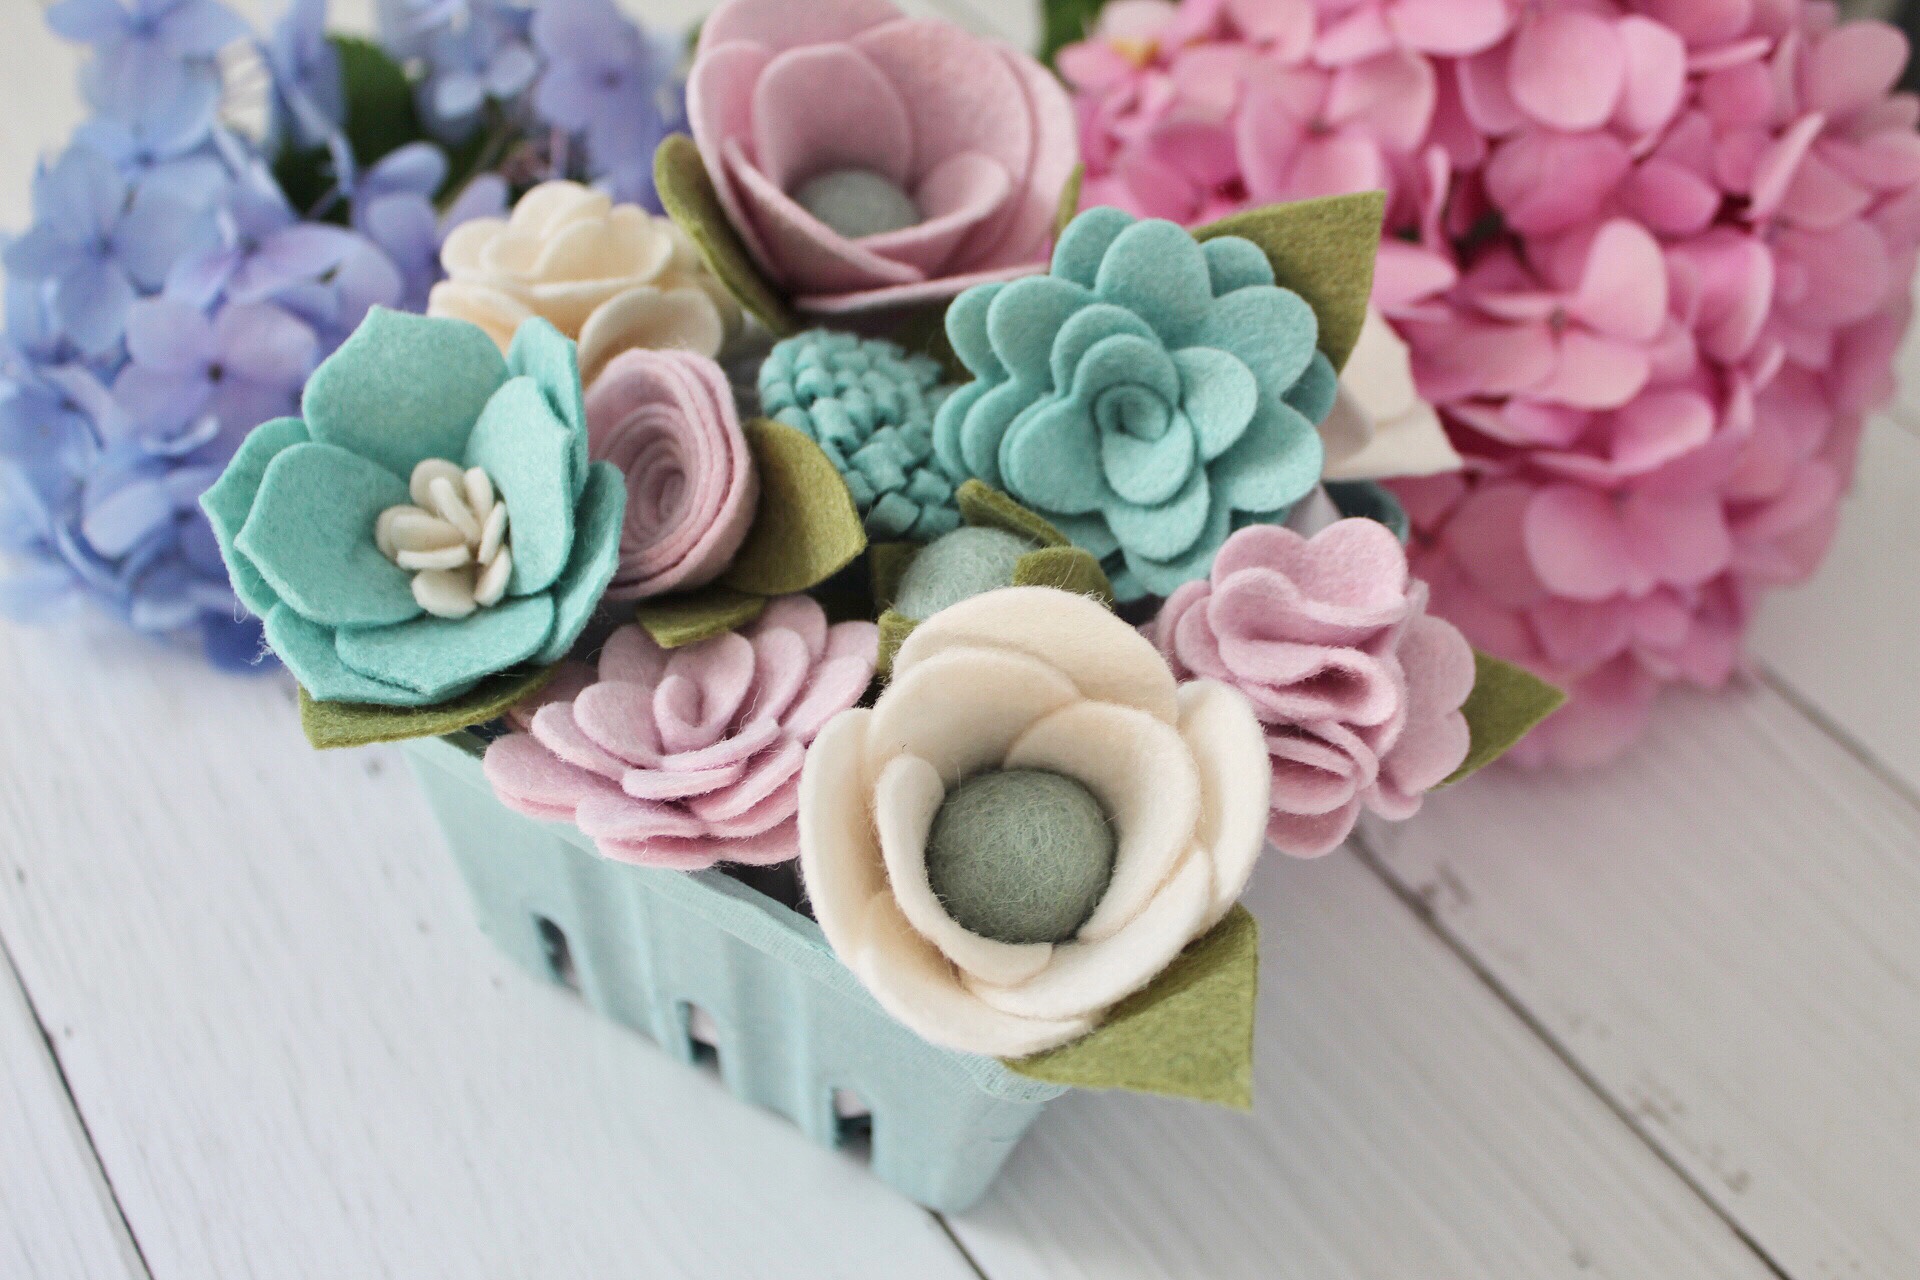
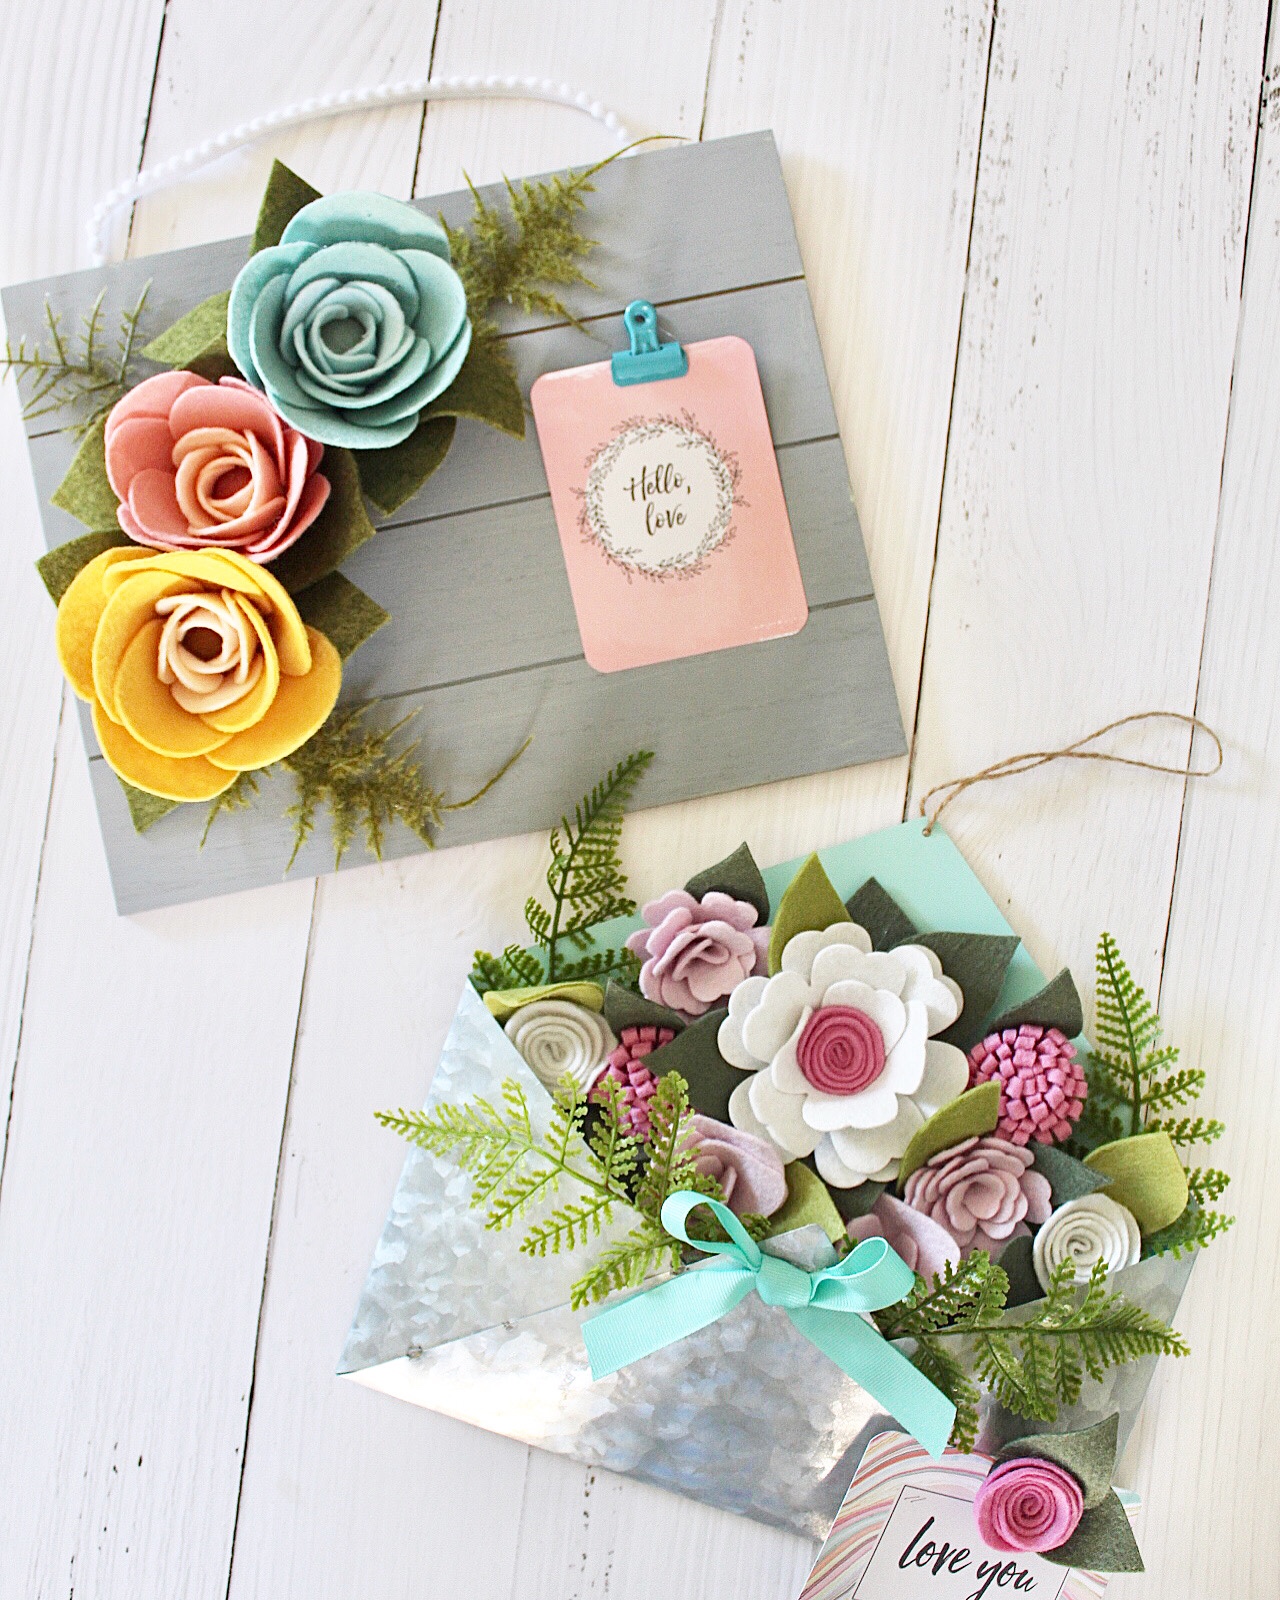
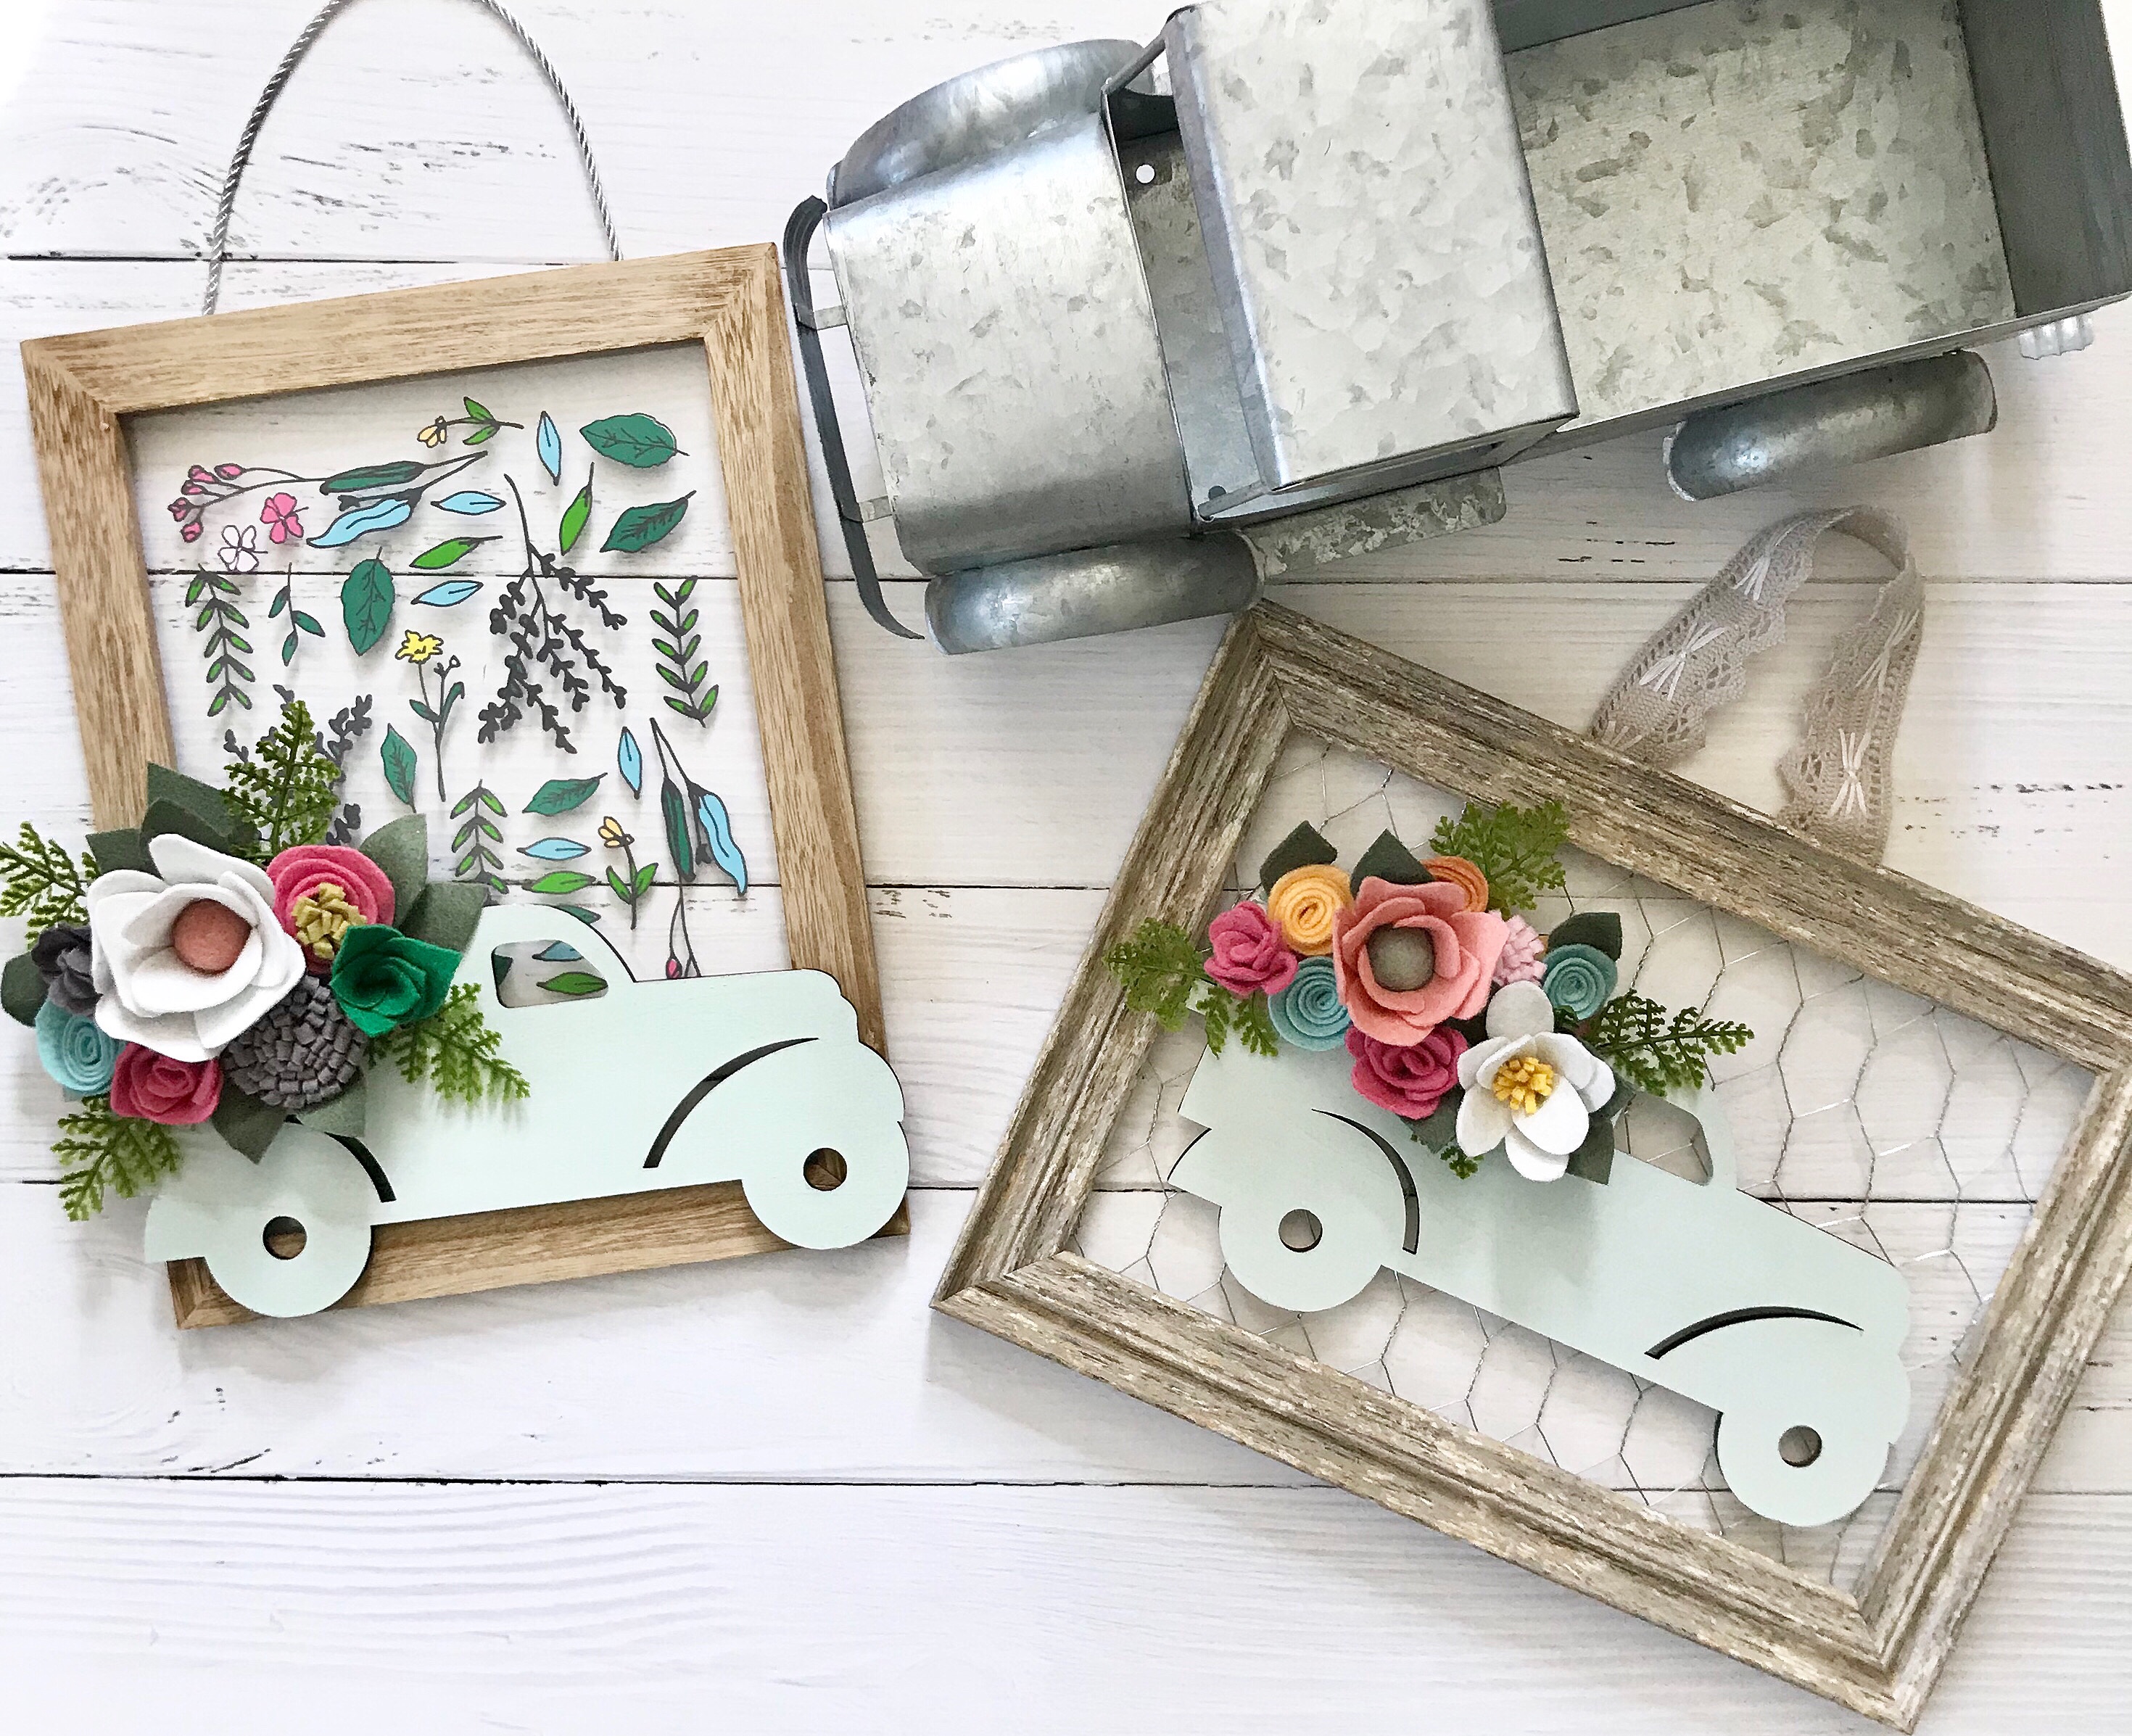
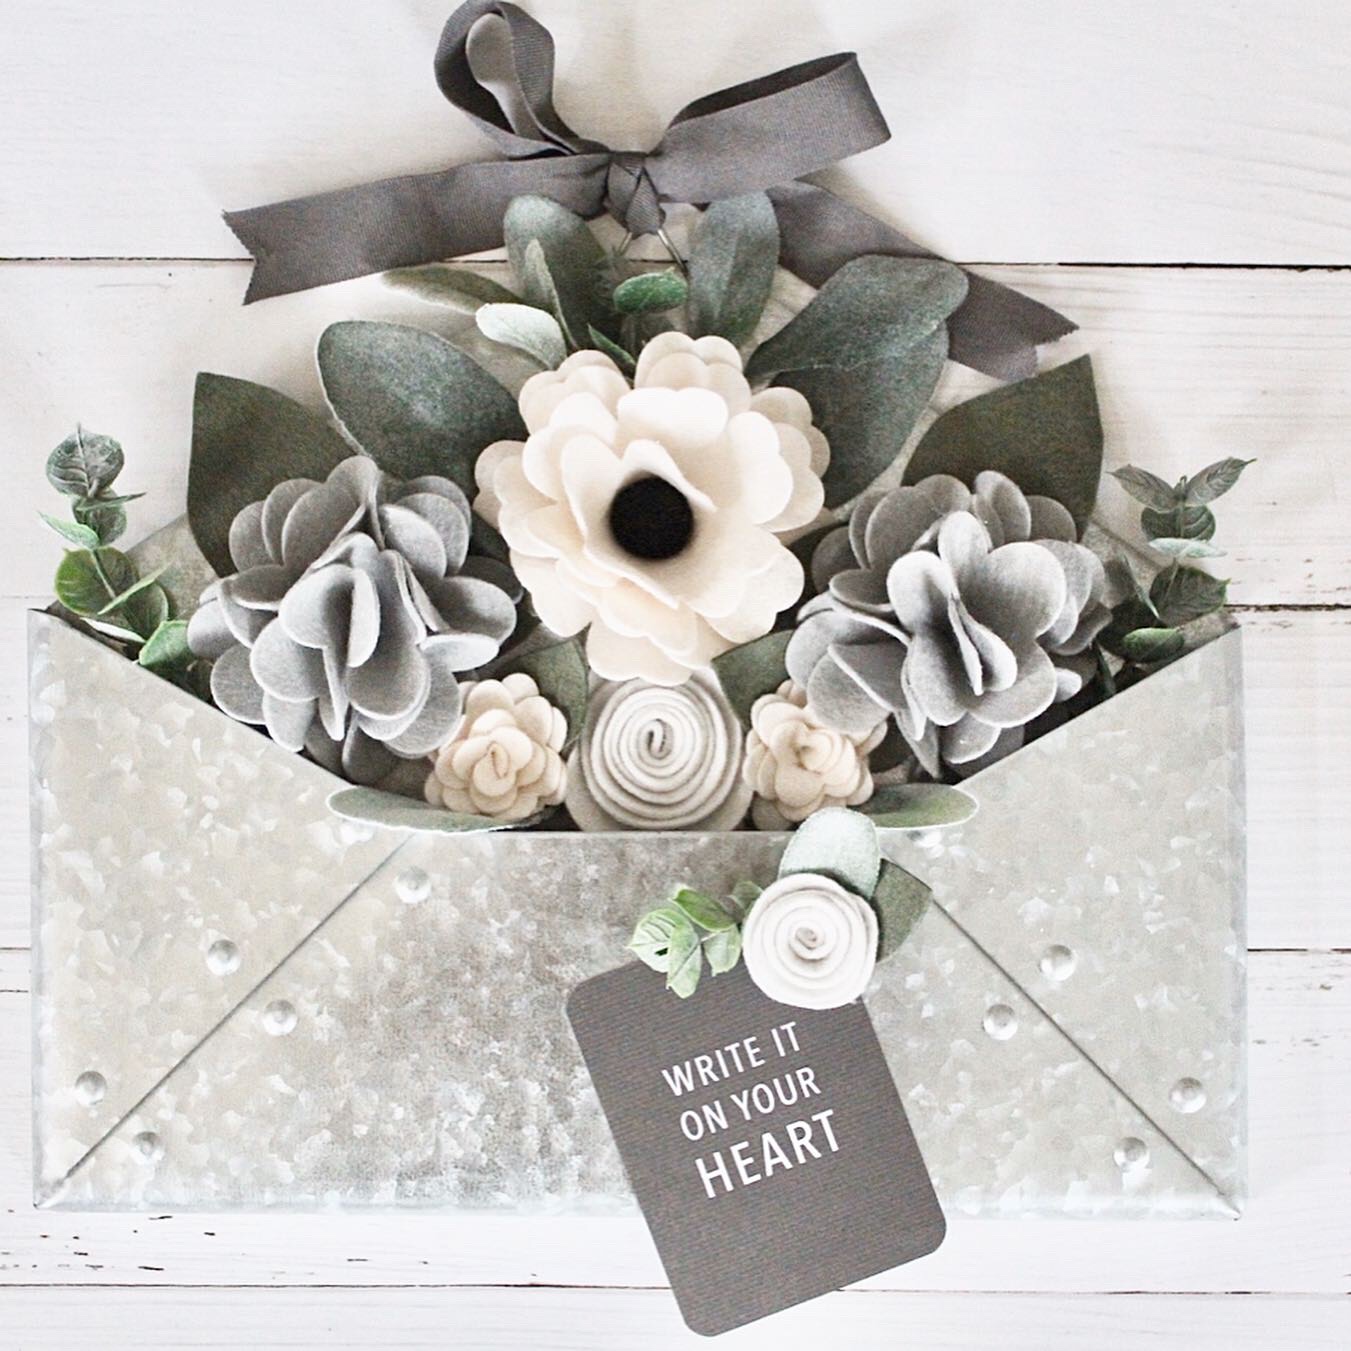
I have had a love of making felt flowers for years. So much so, I started an Etsy shop ( The Happy Door ) to sell my felt flower creations!

I have had people ask me if I had any tutorials available in the past. Honestly, I felt that there were many more talented felt florists out there and it made me feel intimidated to share. I am learning that you have to start somewhere! I am also embracing the idea of sharing my knowledge and love of crafting. So, here we go!

There are many different style of felt flowers. After years of practice I still have lots to learn. There are also many methods and ways of making felt florals. Some I make on a die cutting machine, but many are hand cut.

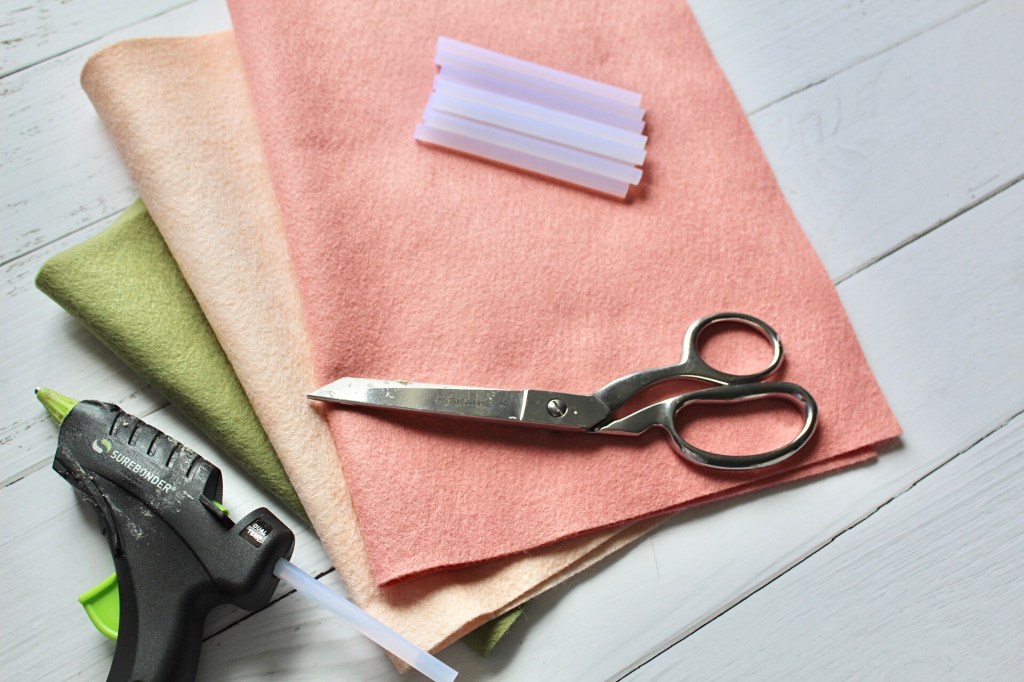
I thought I would show two different styles that are easy to learn and can be done without any special equipment. You will need felt ( I recommend and wool blend felt, which can be found by searching Etsy ). If you choose not to invest in wool felt you can buy some at a local craft store. I will warn you: the results and colors will not be the same! You can always practice on that type of felt to get started, if you decide to.

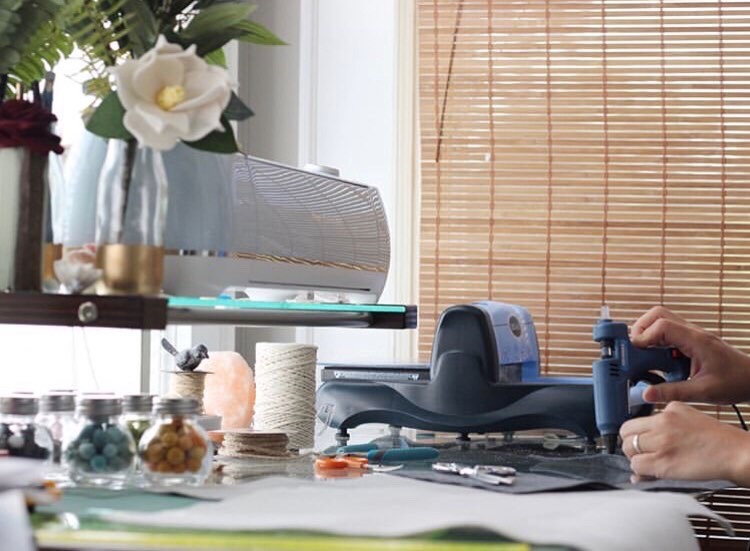
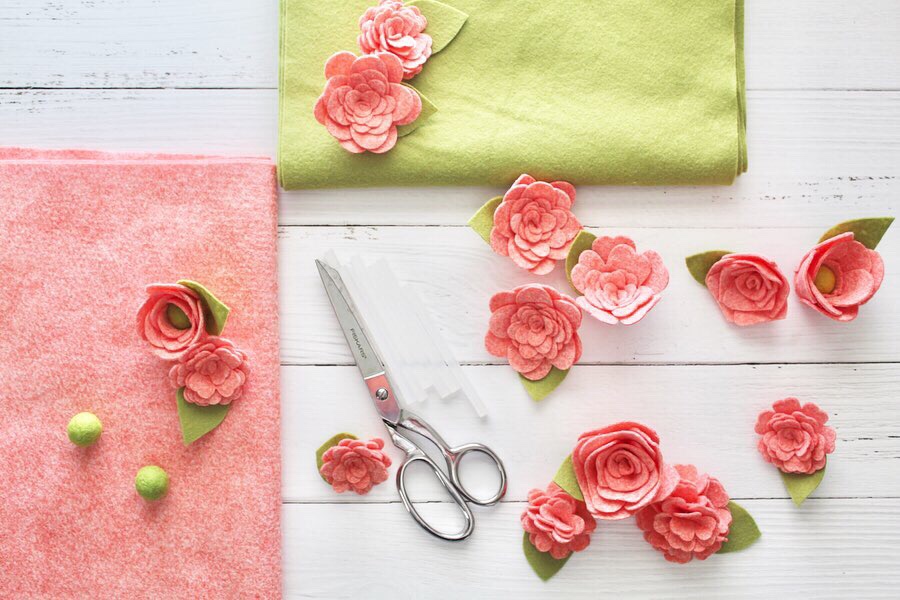
Supplies ready to go! As you can tell, my glue gun gets lots of use.

The other supplies you will need are sharp scissors, a hot glue gun and glue sticks.

Let’s make felt flowers!

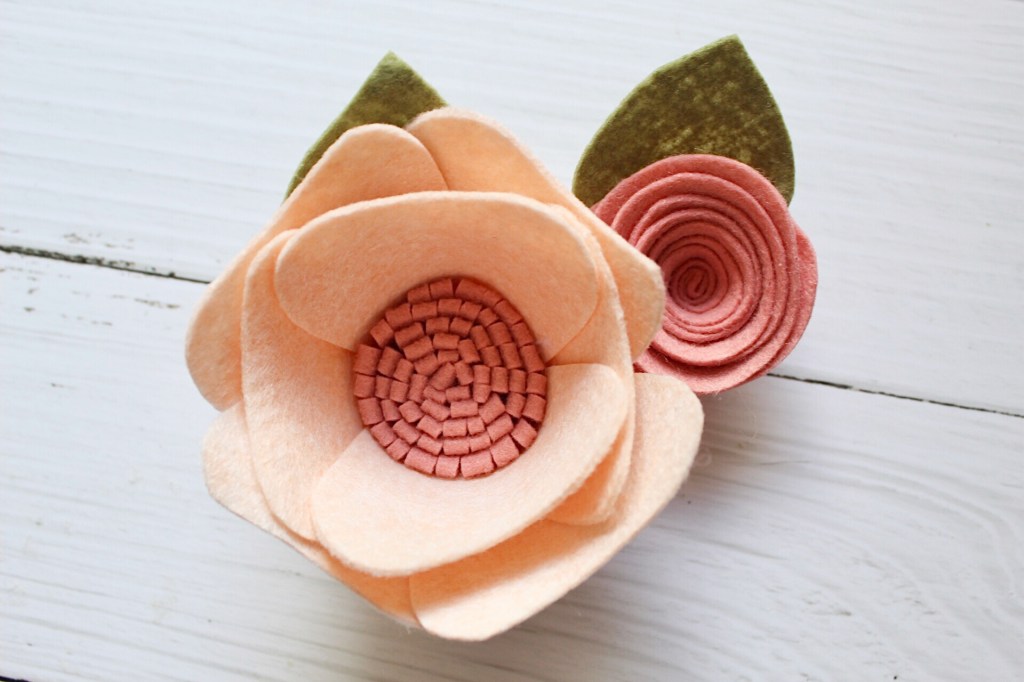
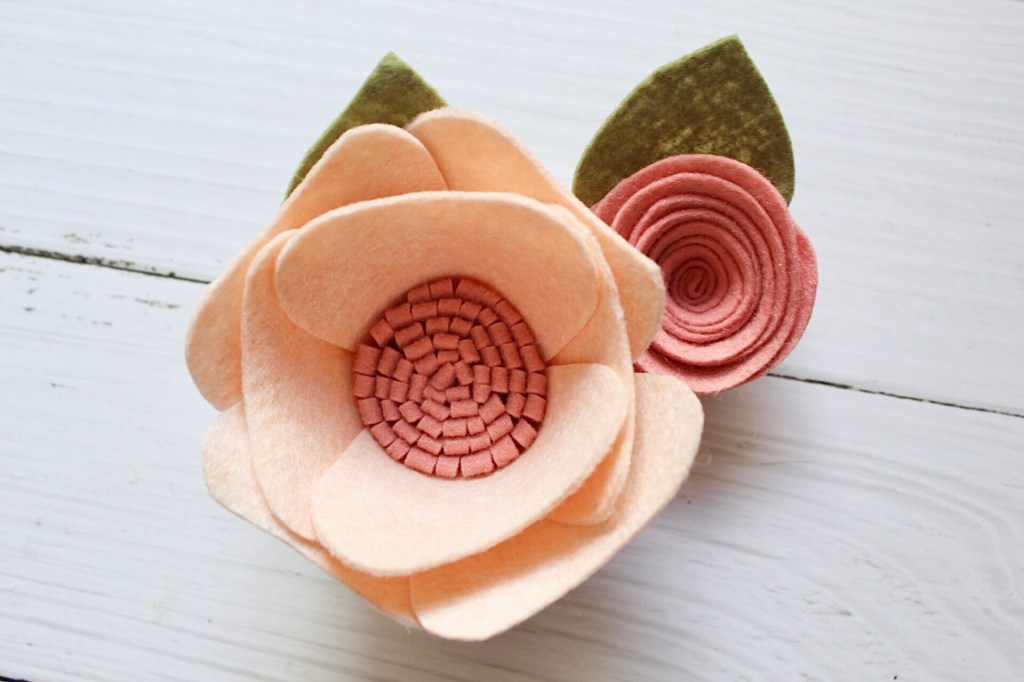
Here are the two flowers I will show you how to make.

First up we will make the small rosette.

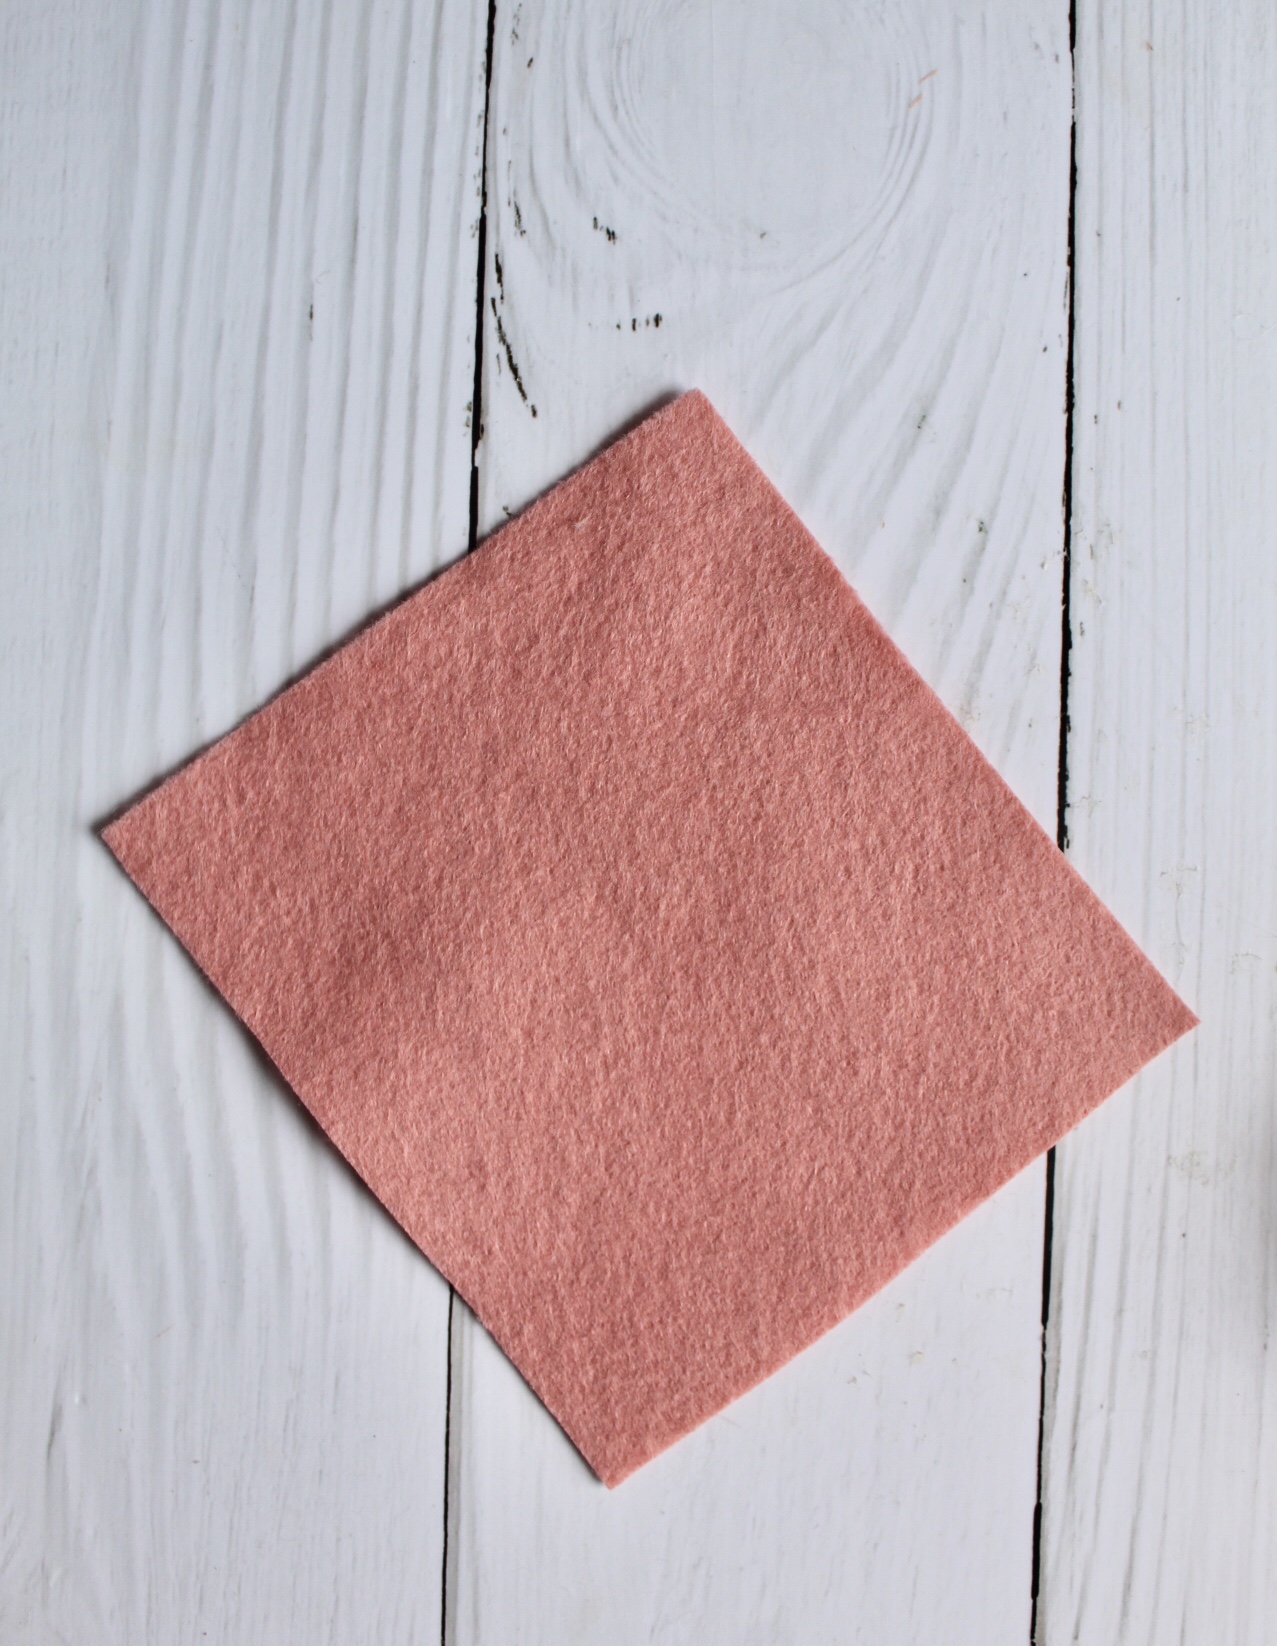
  • First cut a square of felt, any size you choose. Mine was roughly six inches. Then take that square and cut it into a circle.
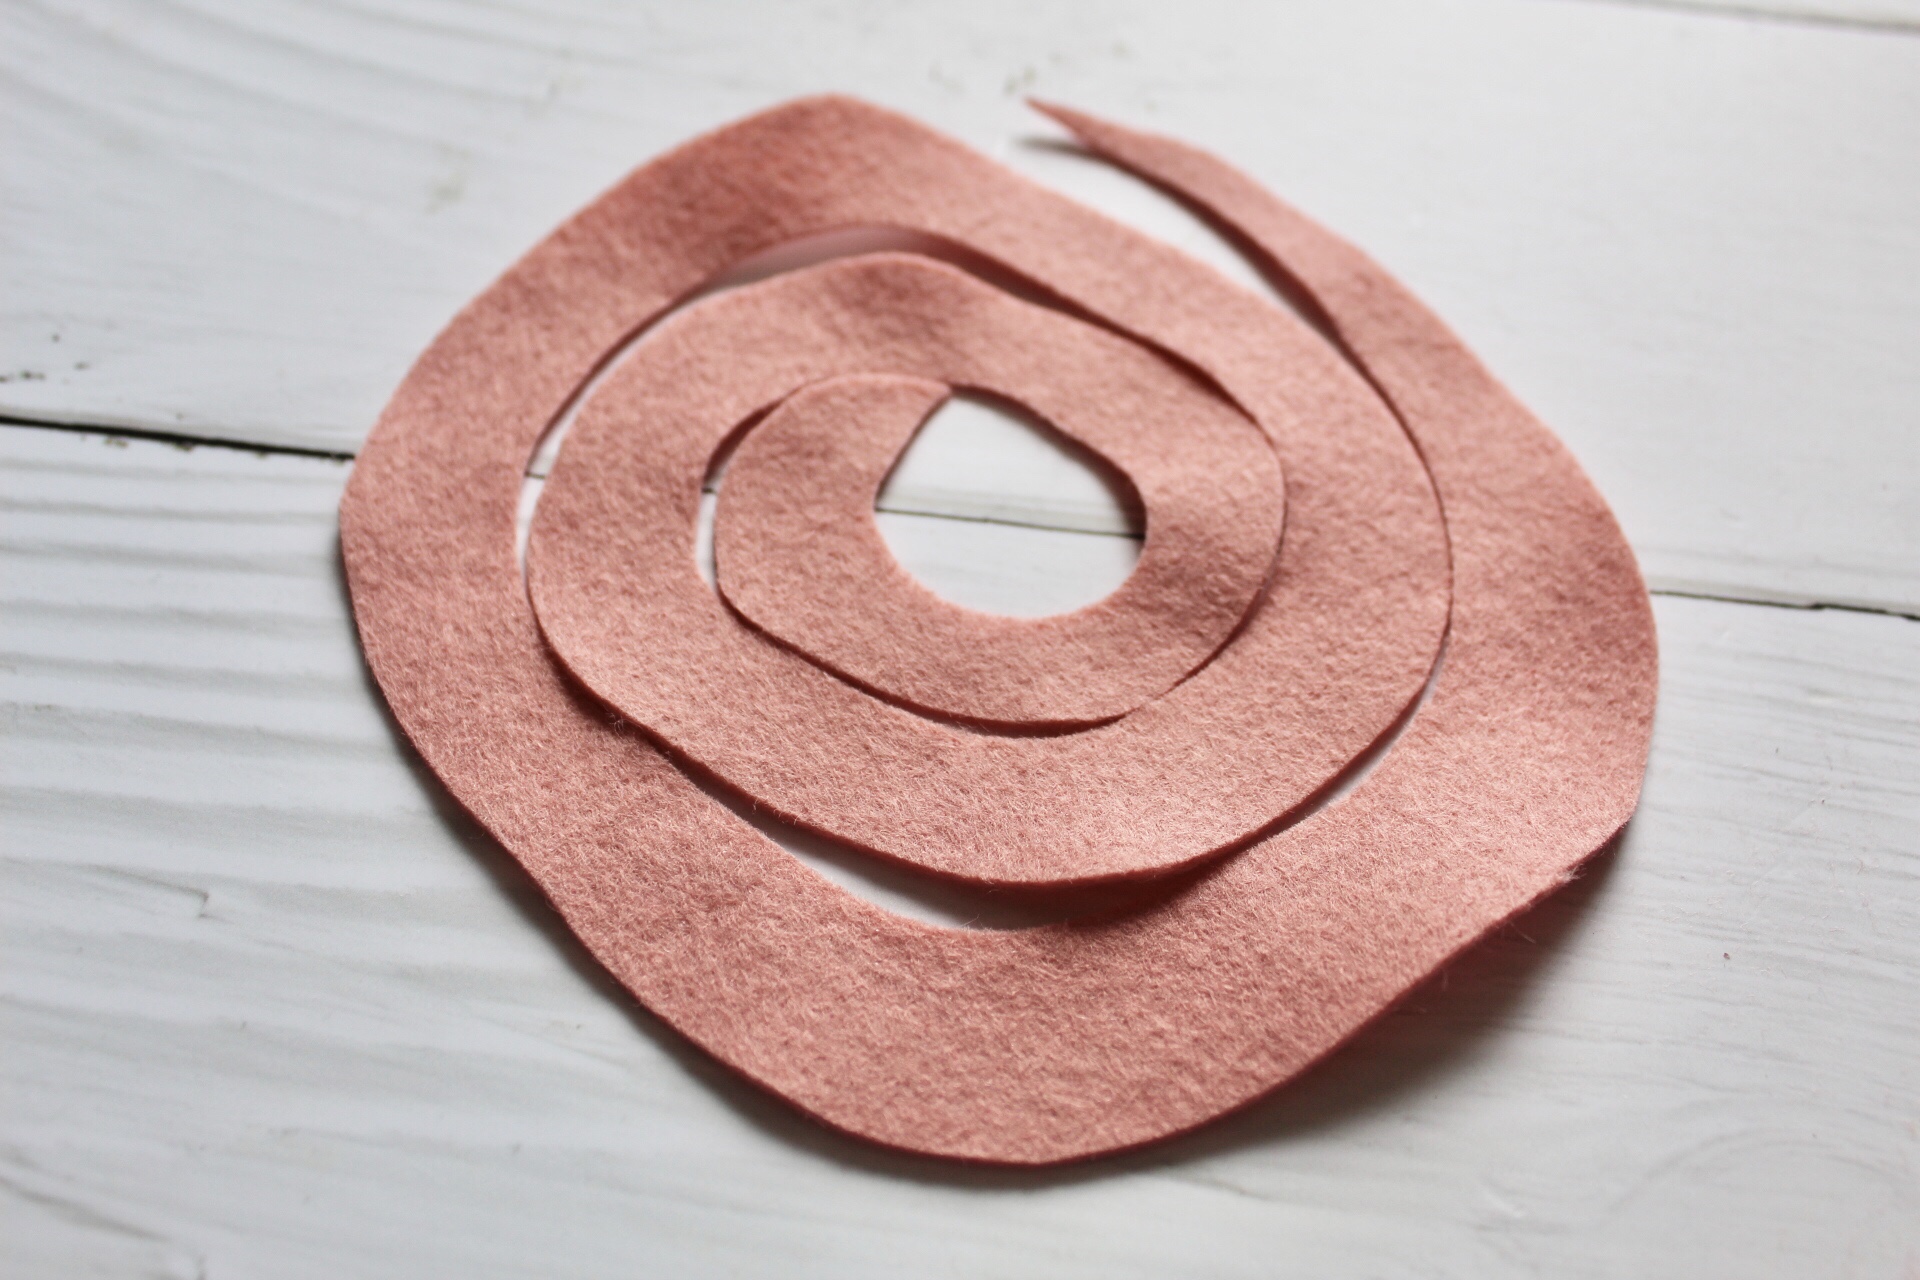
  • Next, cut a circle within the circle. Start at one corner and start cutting around the circle. You will be left with a tiny circle in the center that you won’t need.

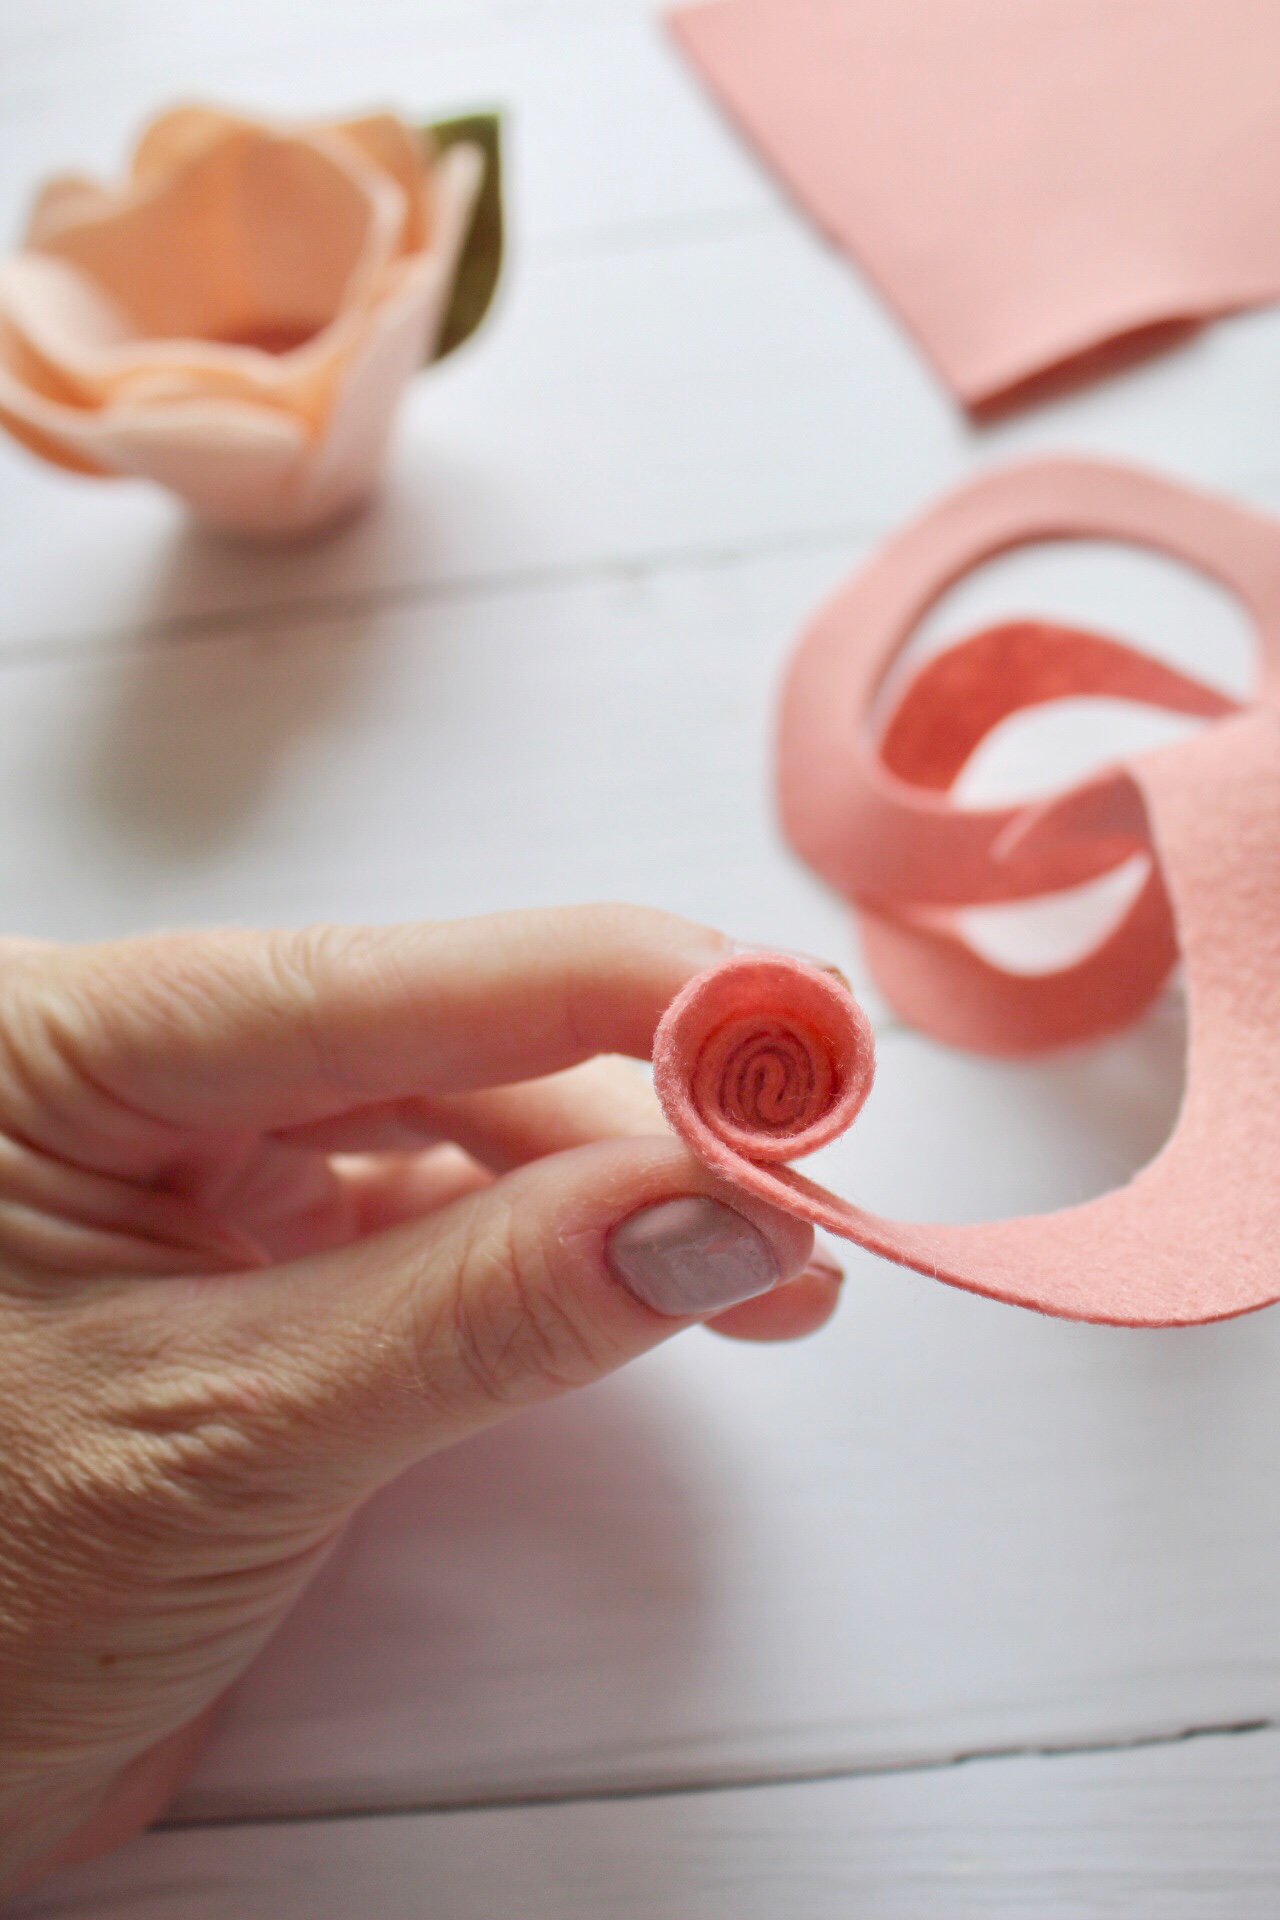
From your skinny corner you will start to roll the felt. First add a dot of glue and then roll. Every inch or so add a bit of glue and continue rolling until you come to the end. Tuck the last bit underneath and glue. Add a felt leaf.

Next we will make the larger flower, I call a poppy. You will create the center first and then place the petals.

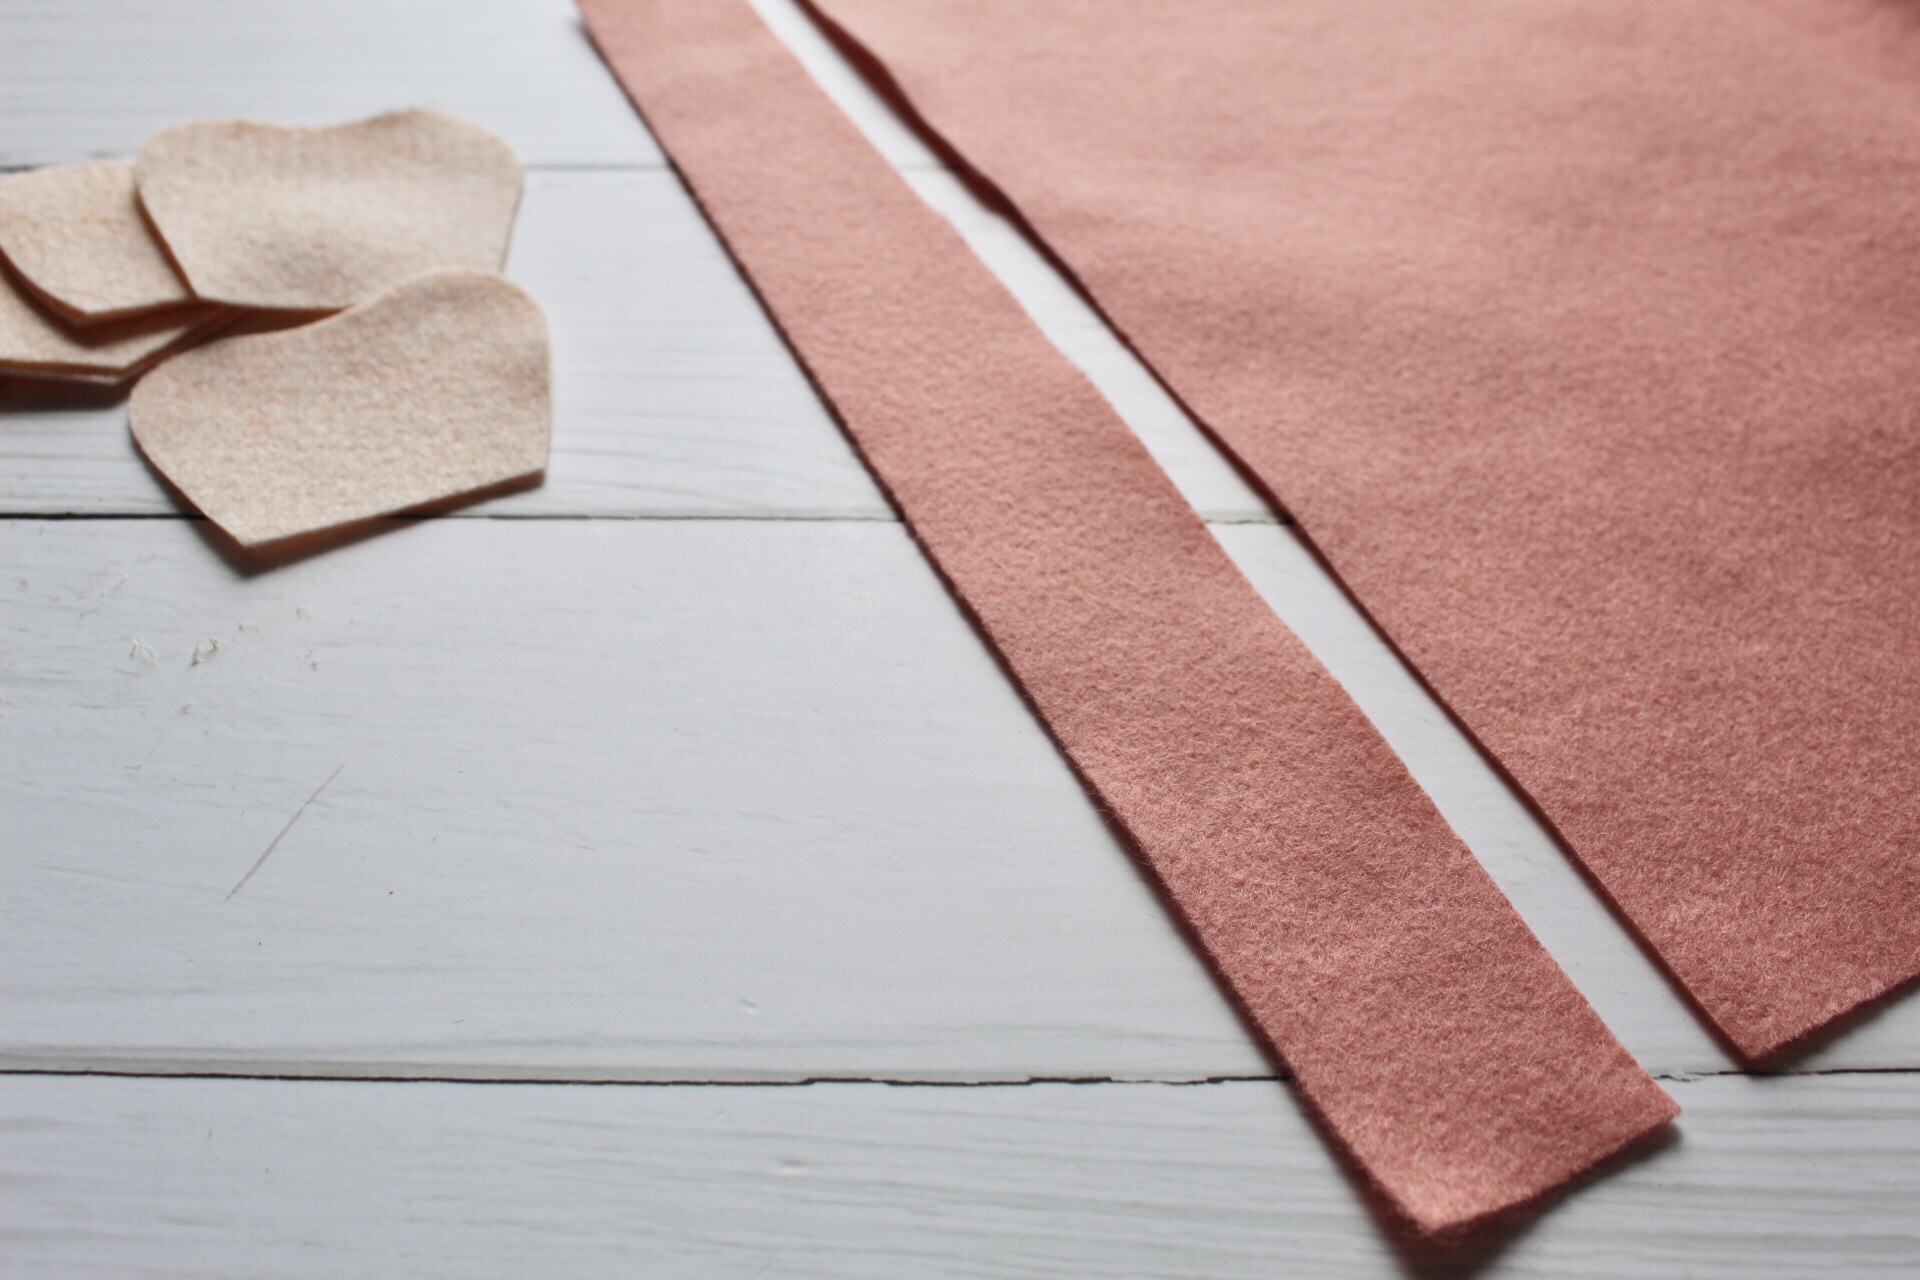
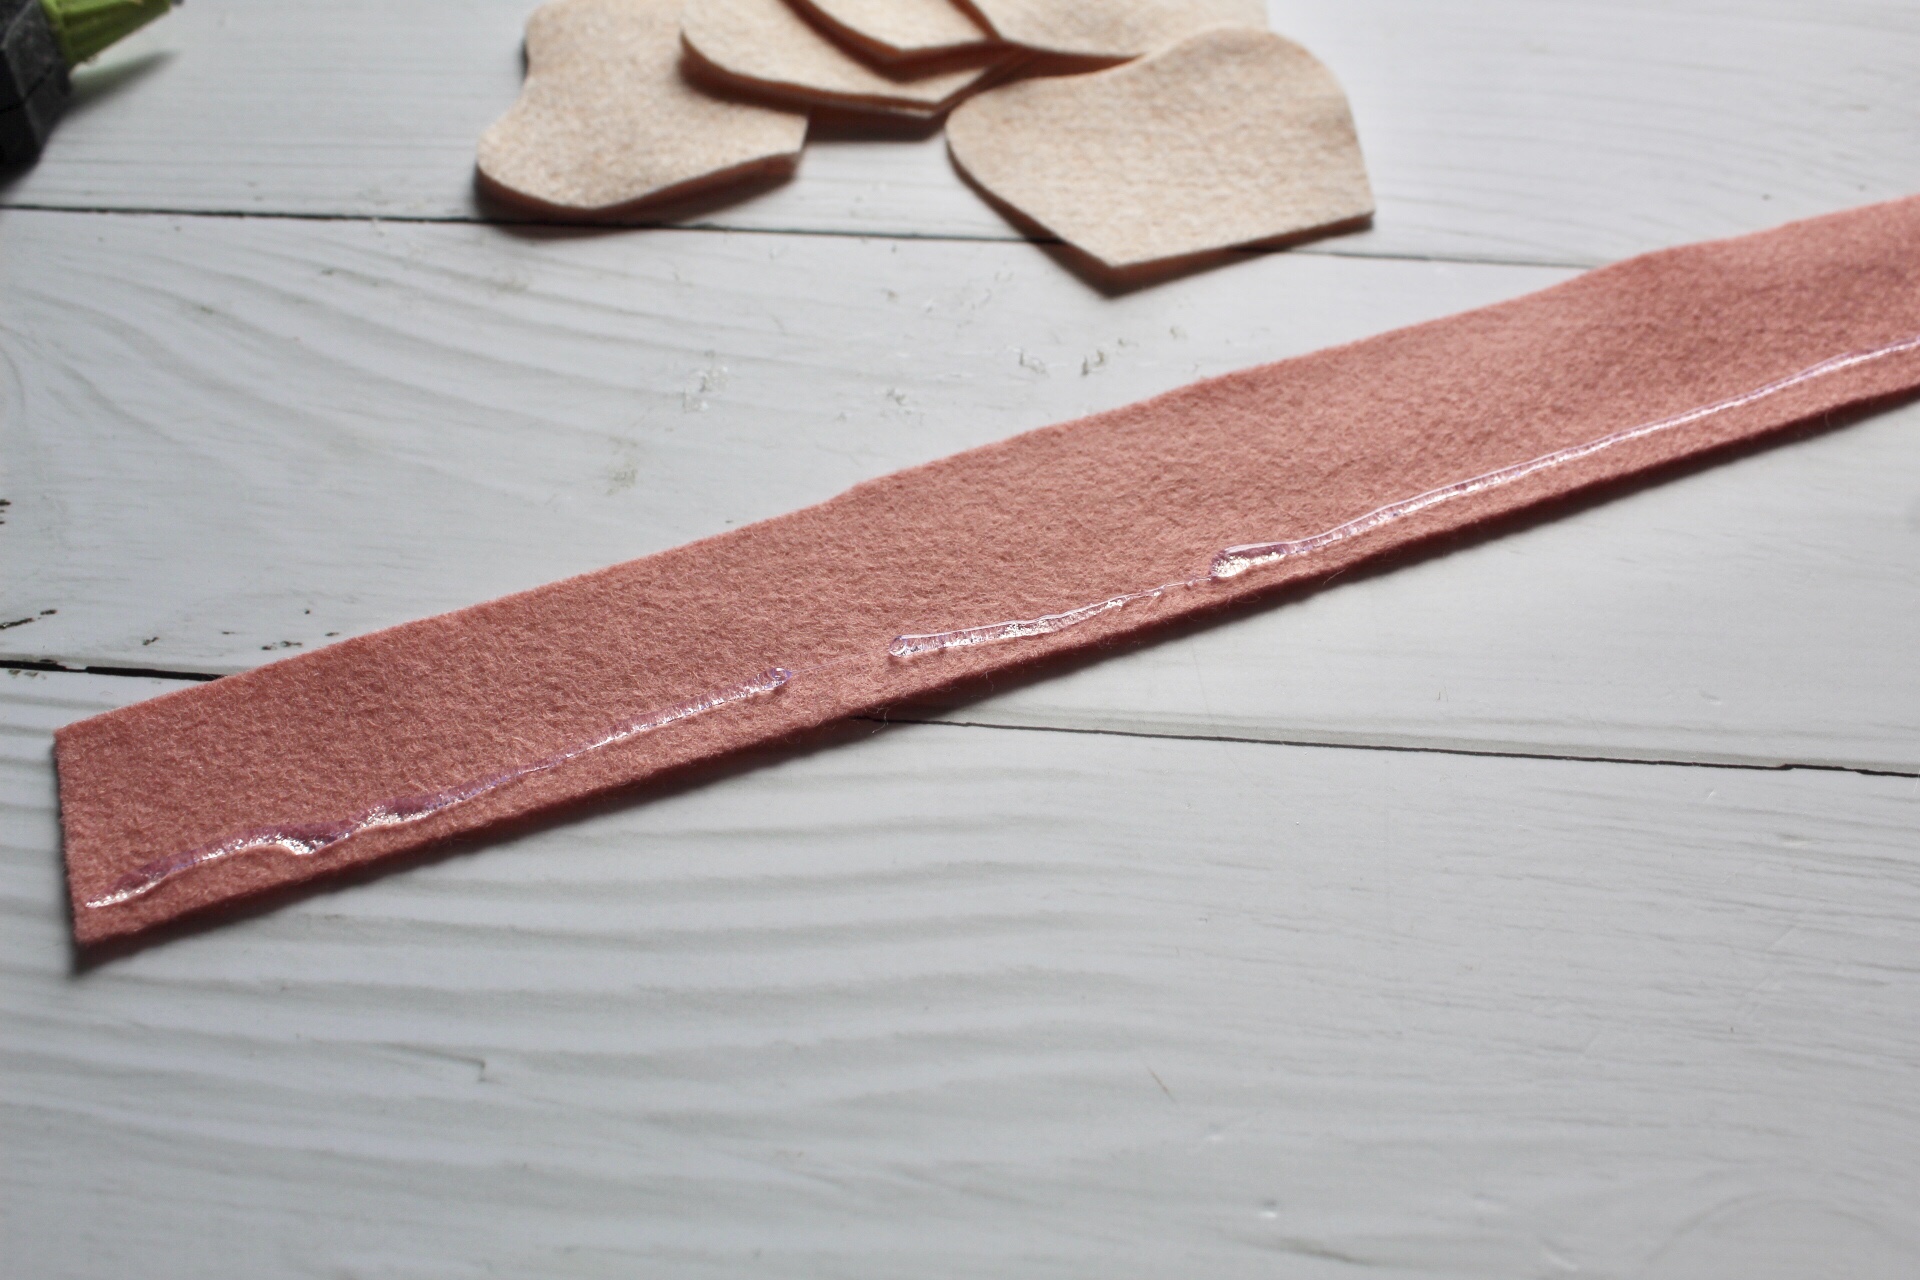
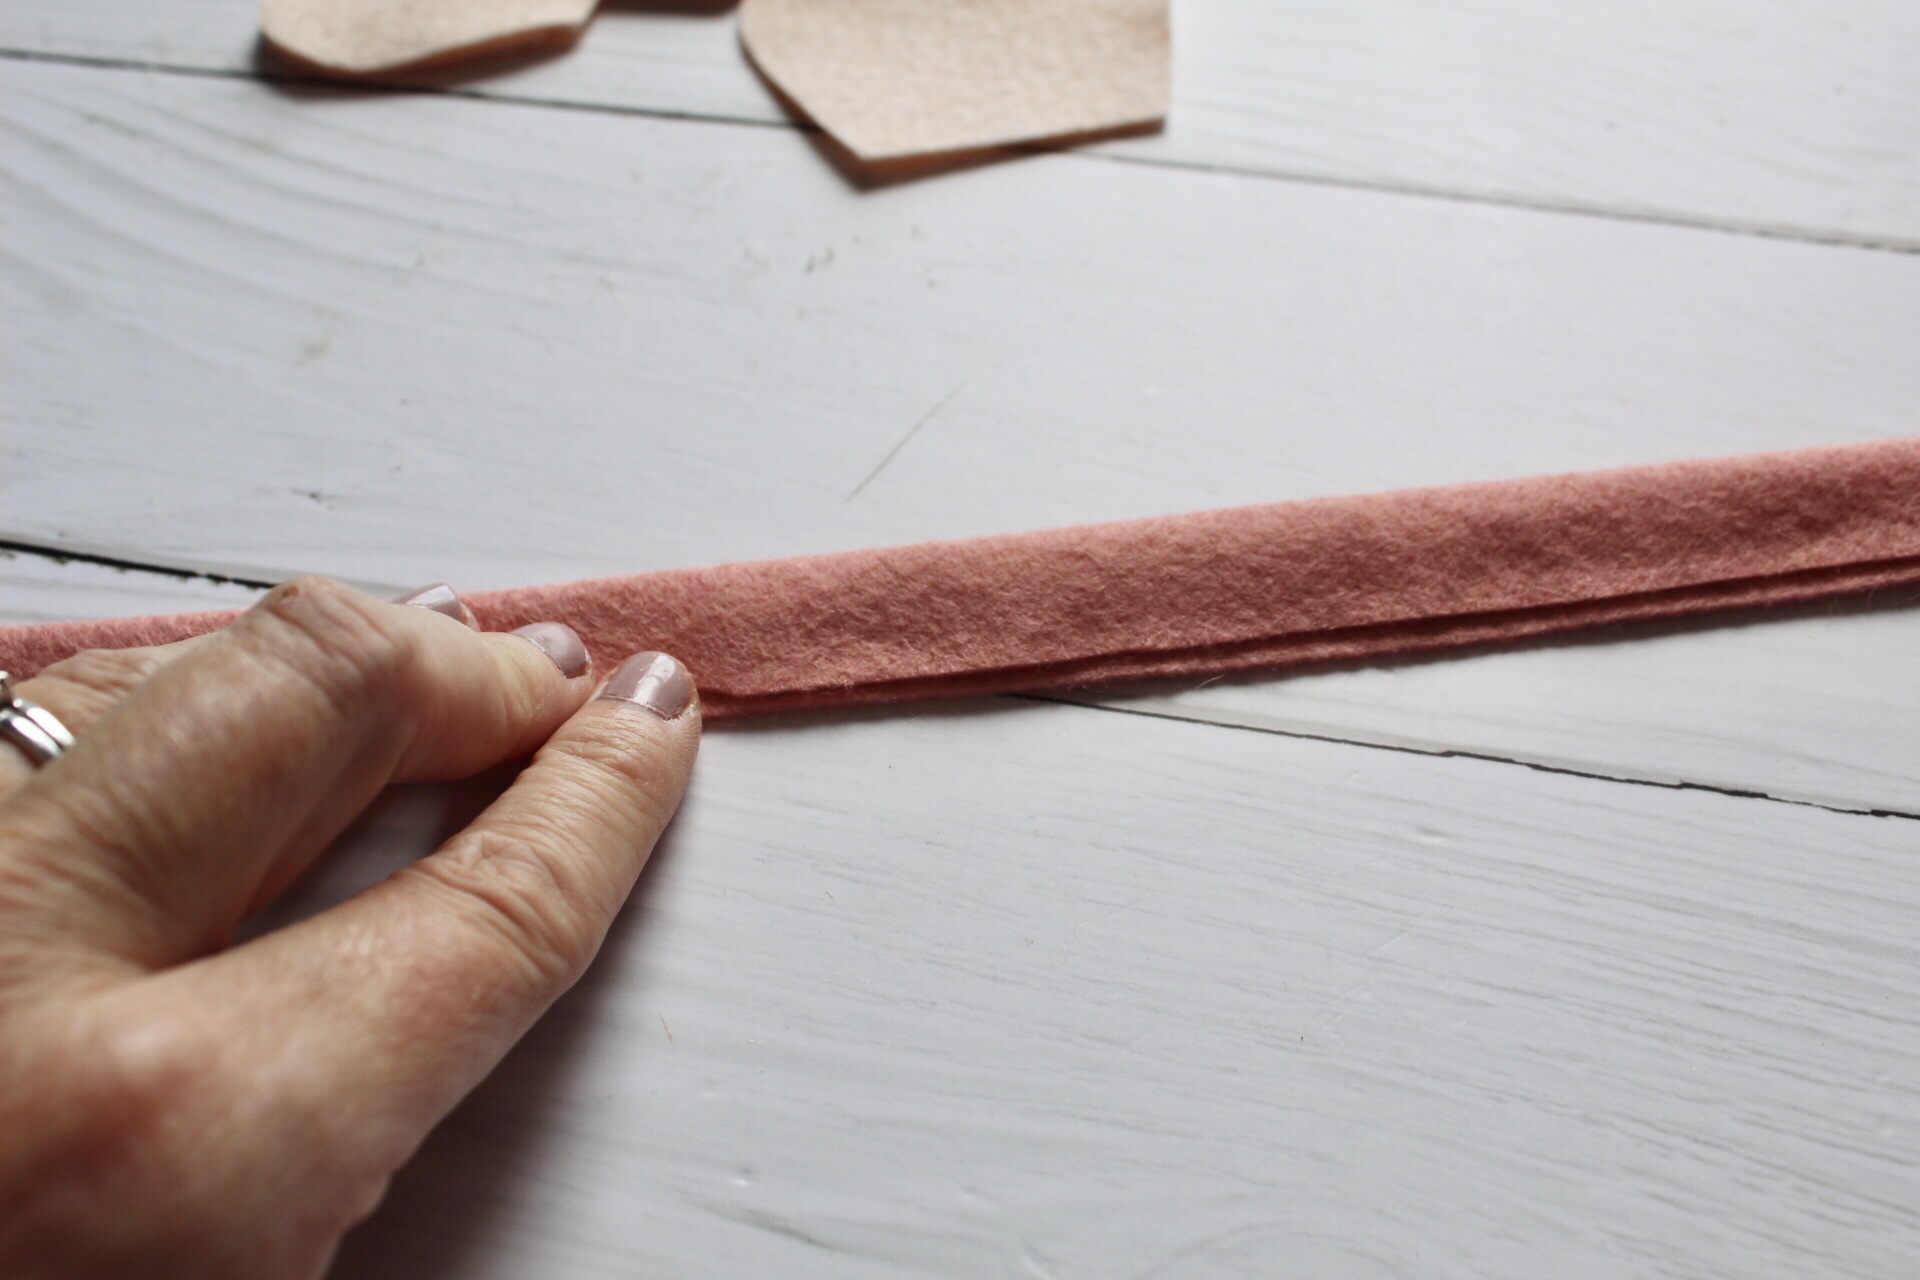
Cut a strip of felt, about twelve inches in length and two inches wide. You will then add a strip of glue and fold the felt in half.

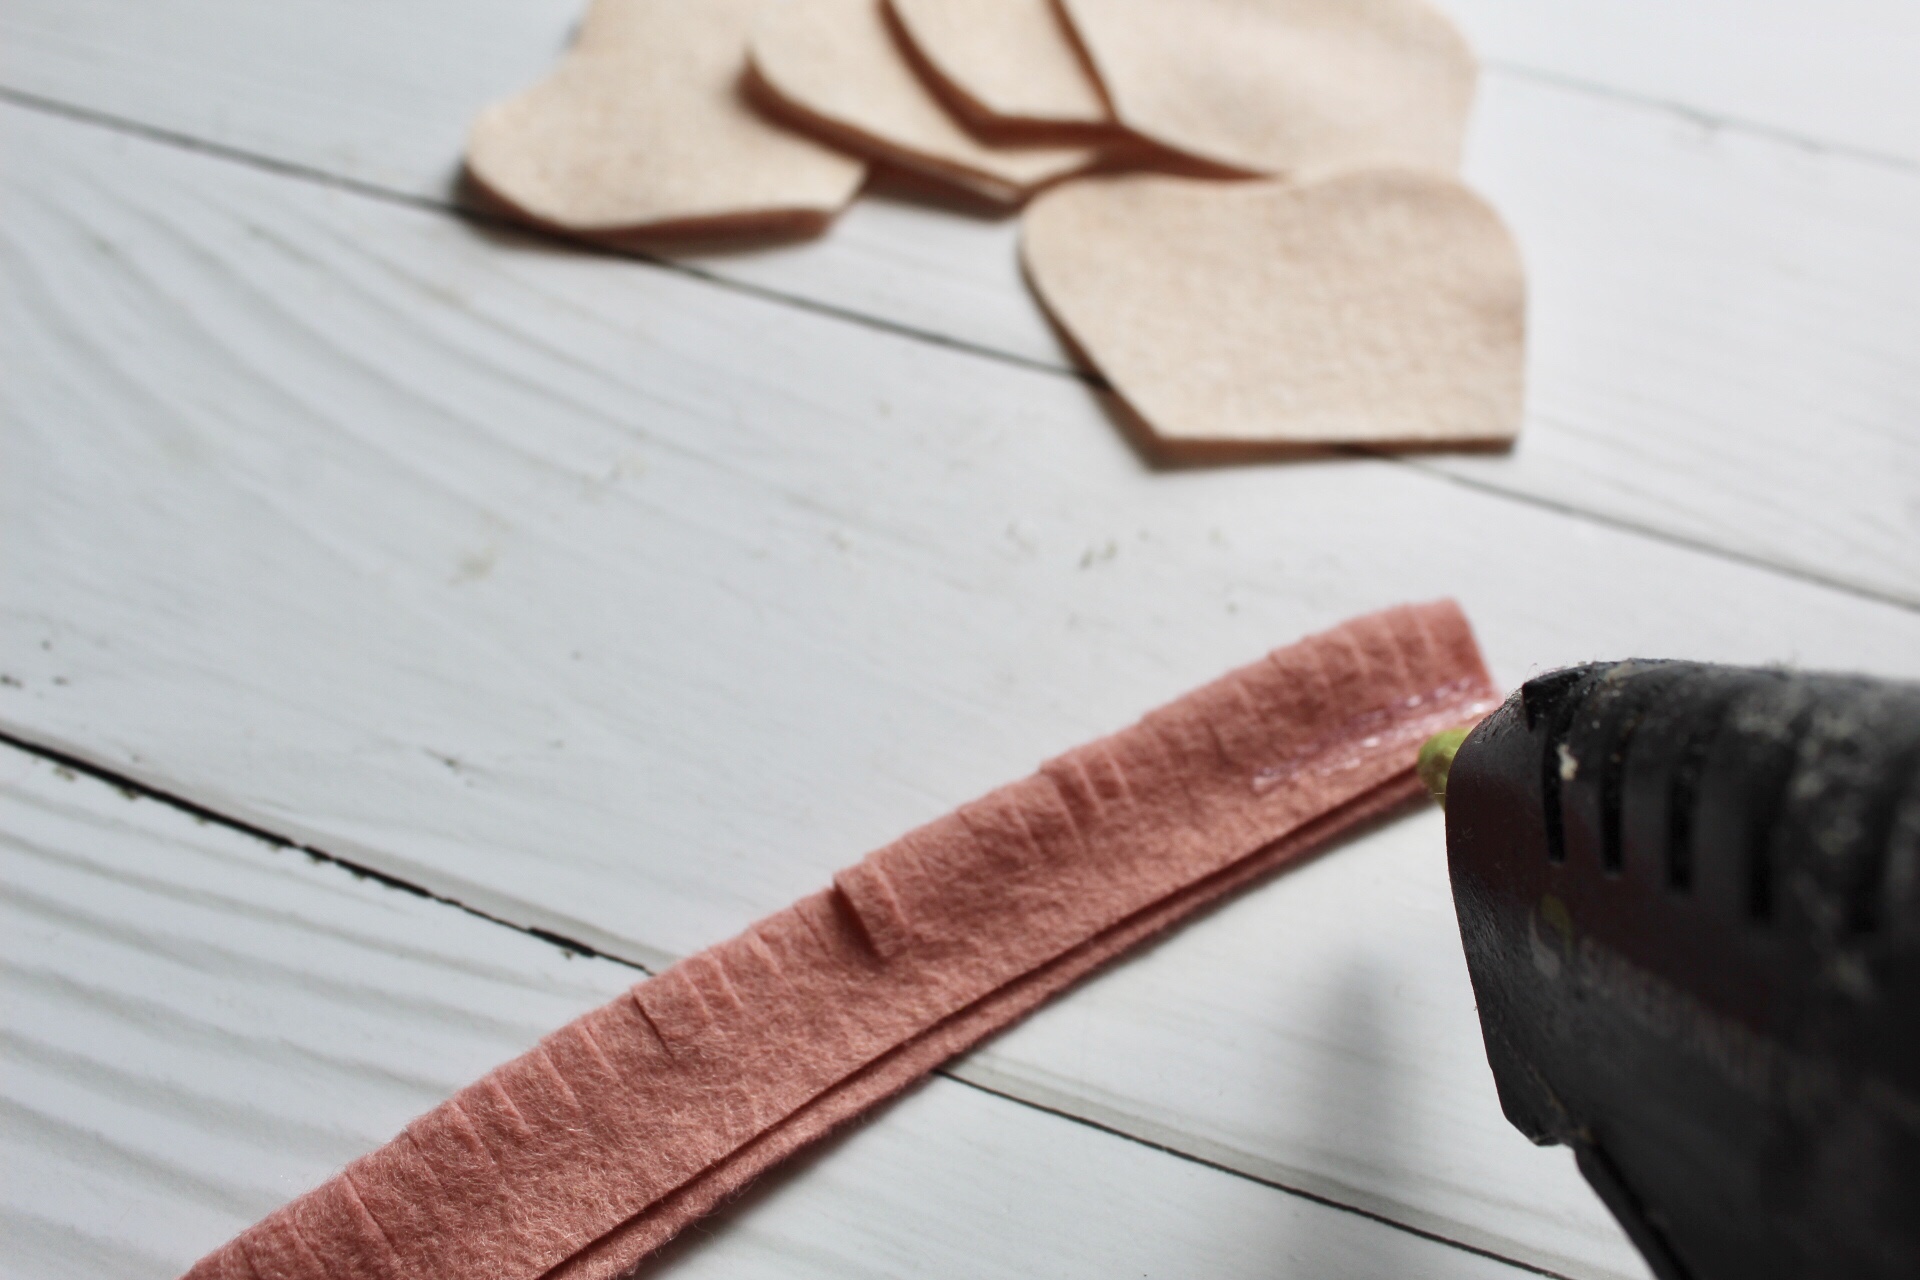
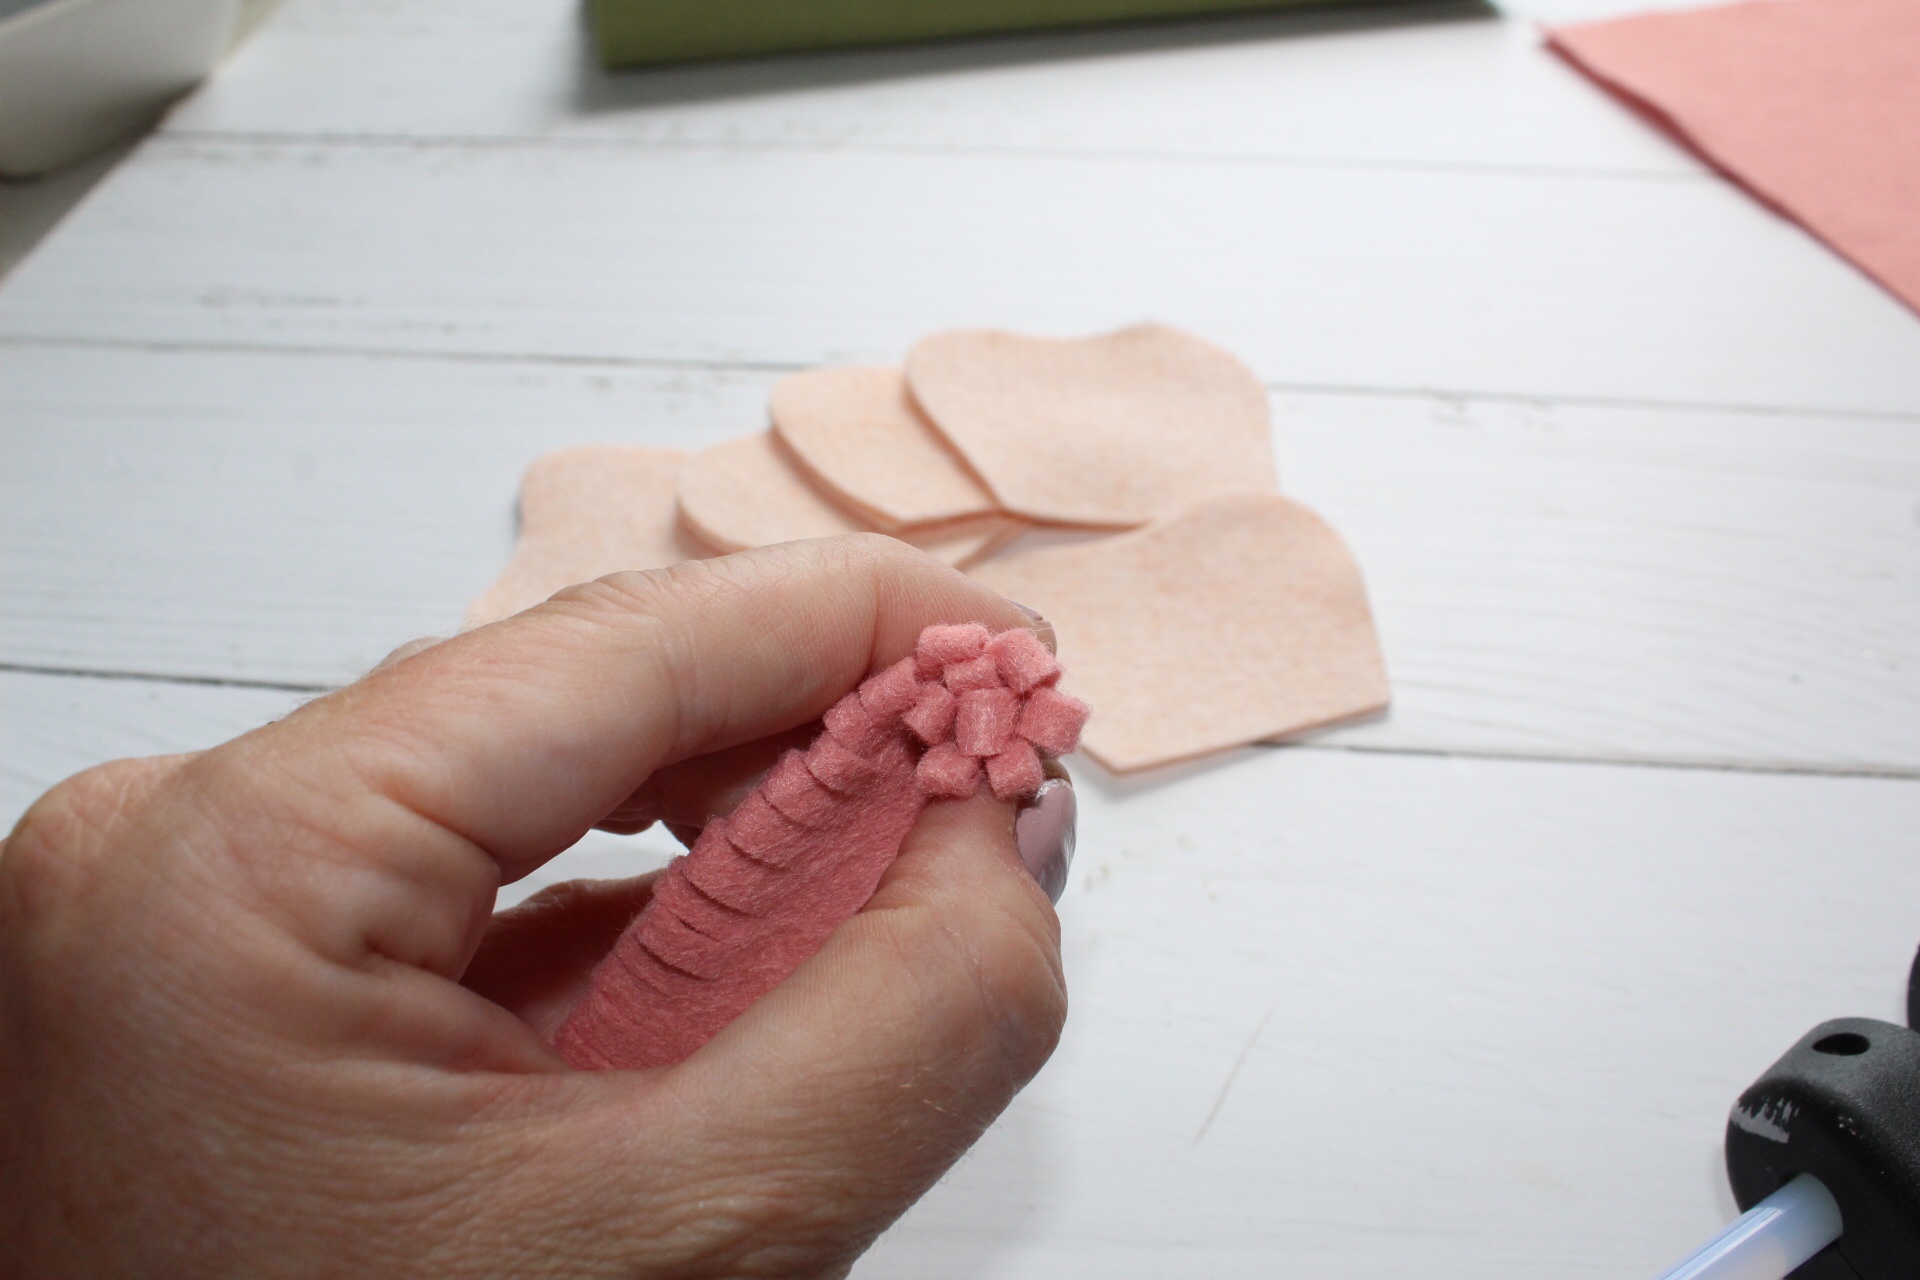
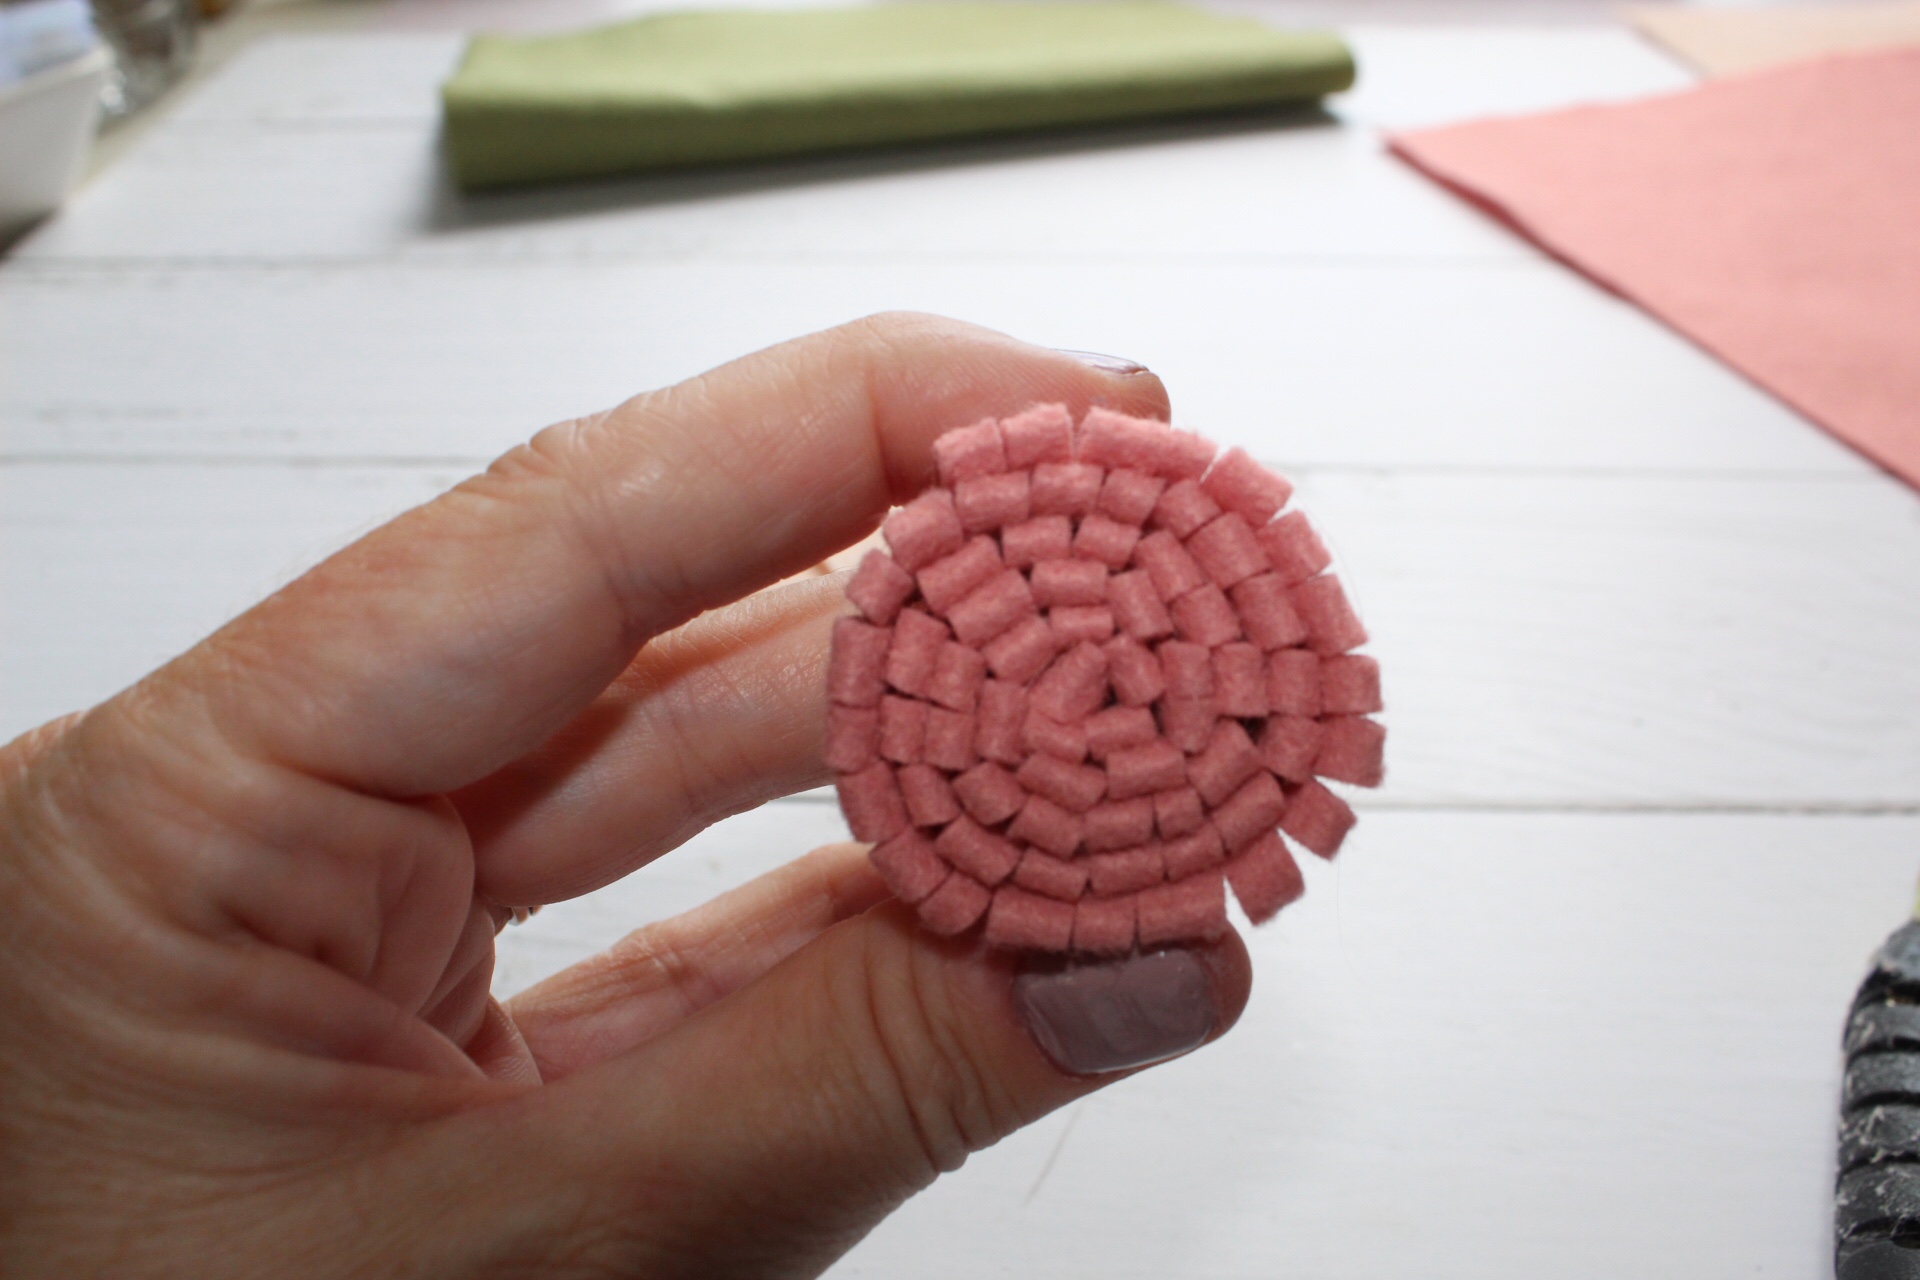
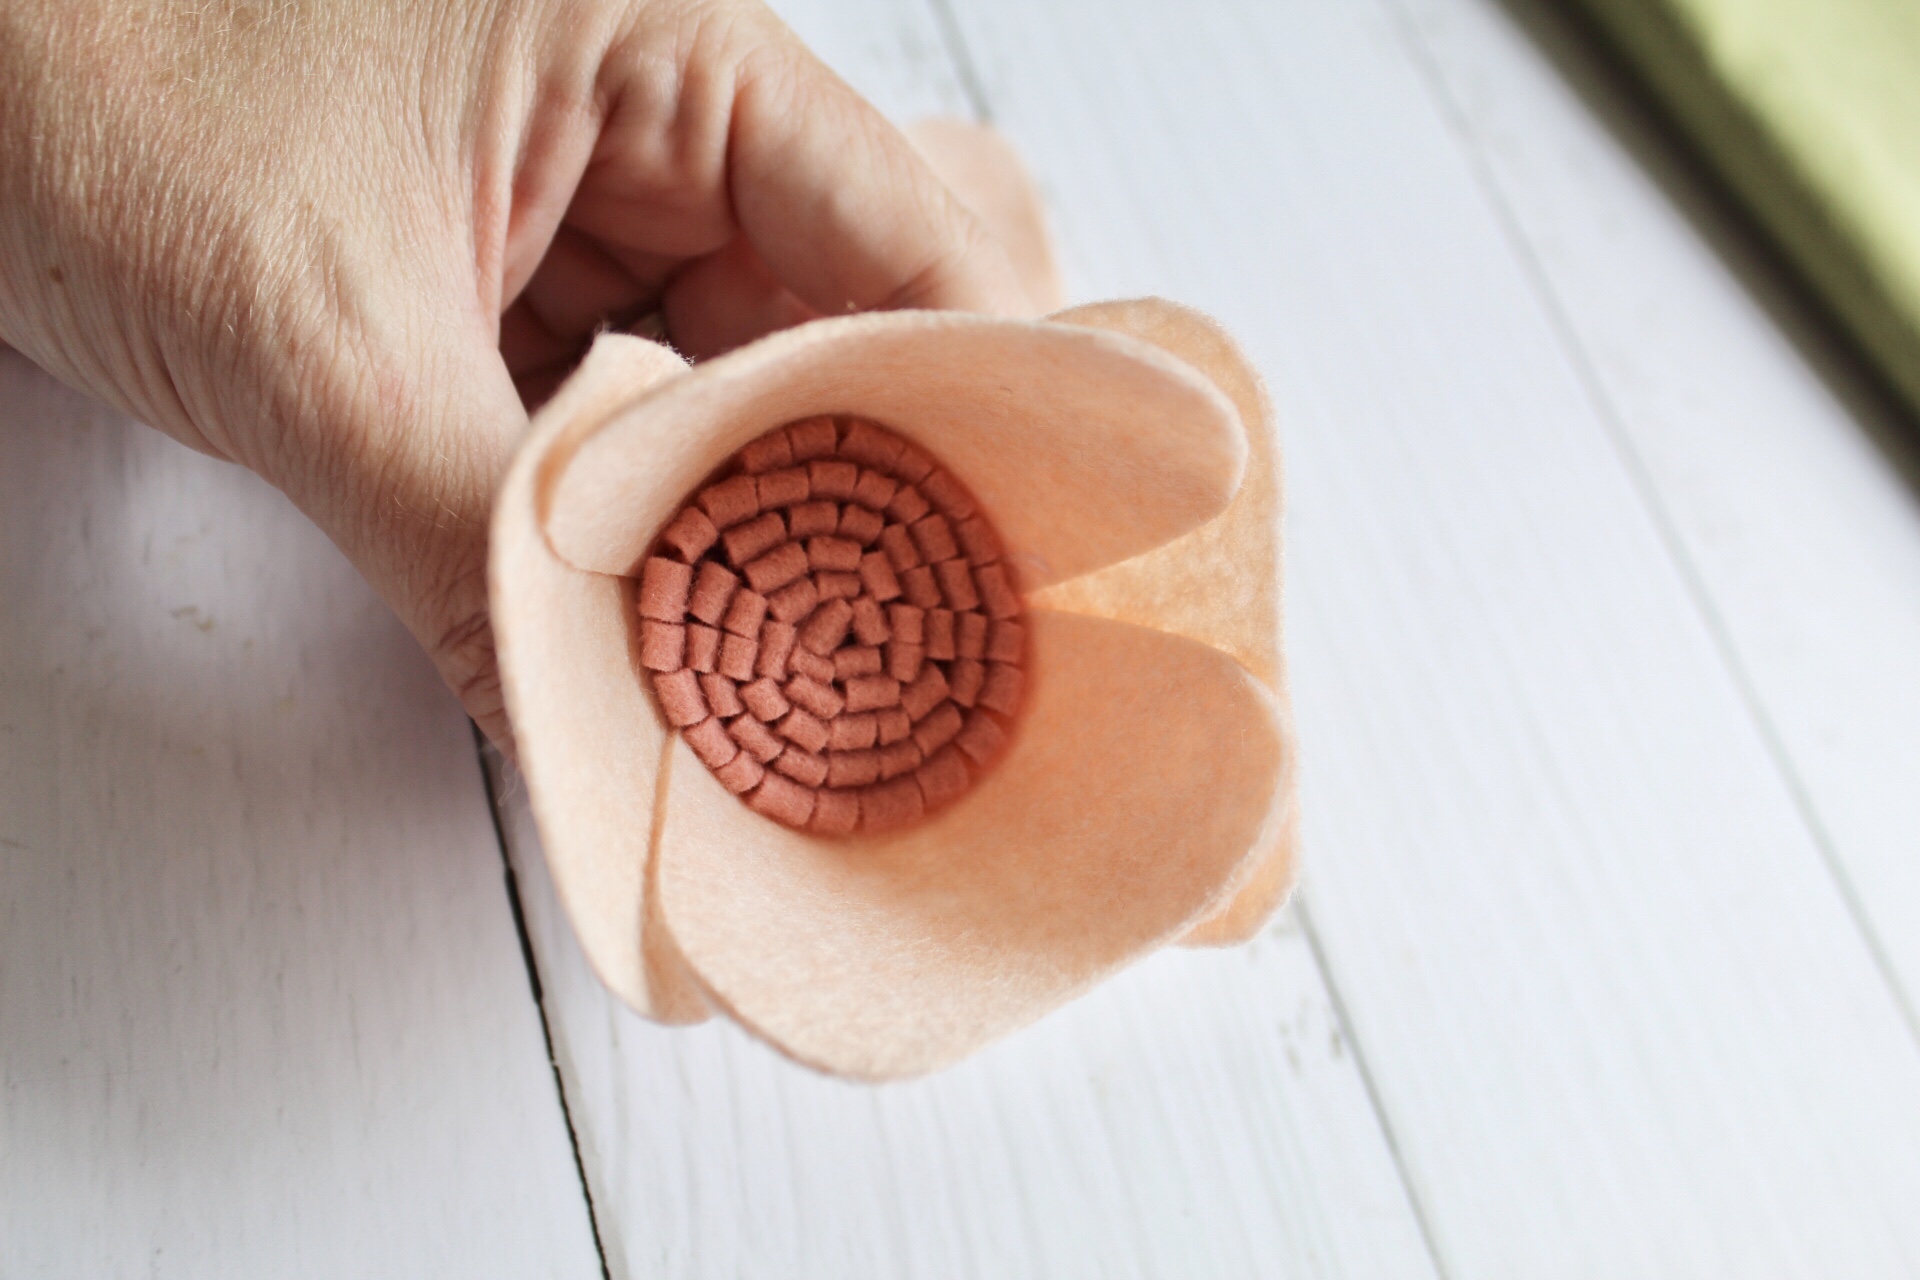
Next make small snips along the length of the felt, not going all the way to the edge. You then start rolling and glueing from one edge to the end.

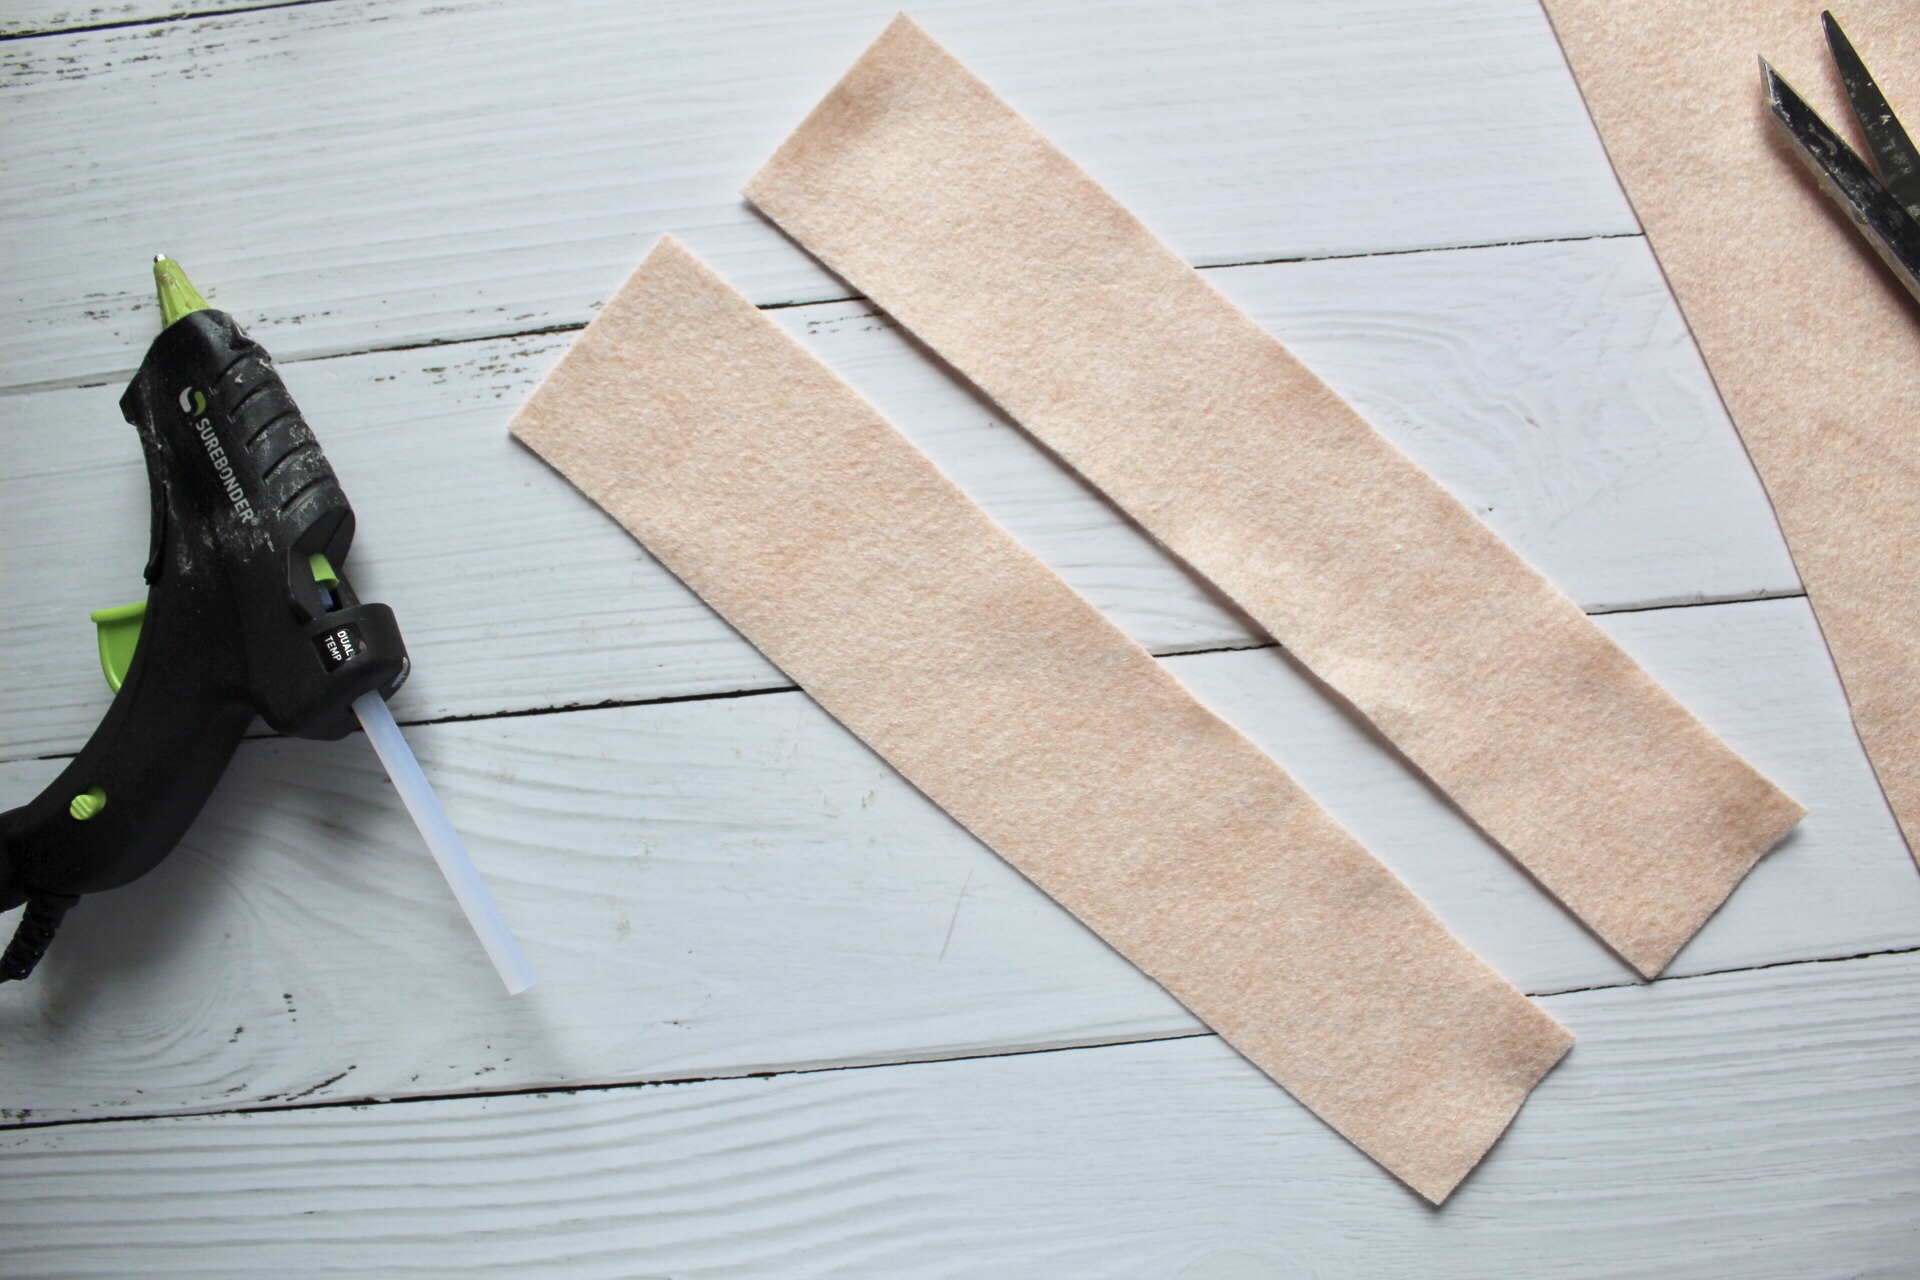
To make the petals you will cut two twelve inch strips of felt and then cut those into eight squares. From the squares cut a petal shape. I did mine all the same shape, you can vary the dips to create a different look.

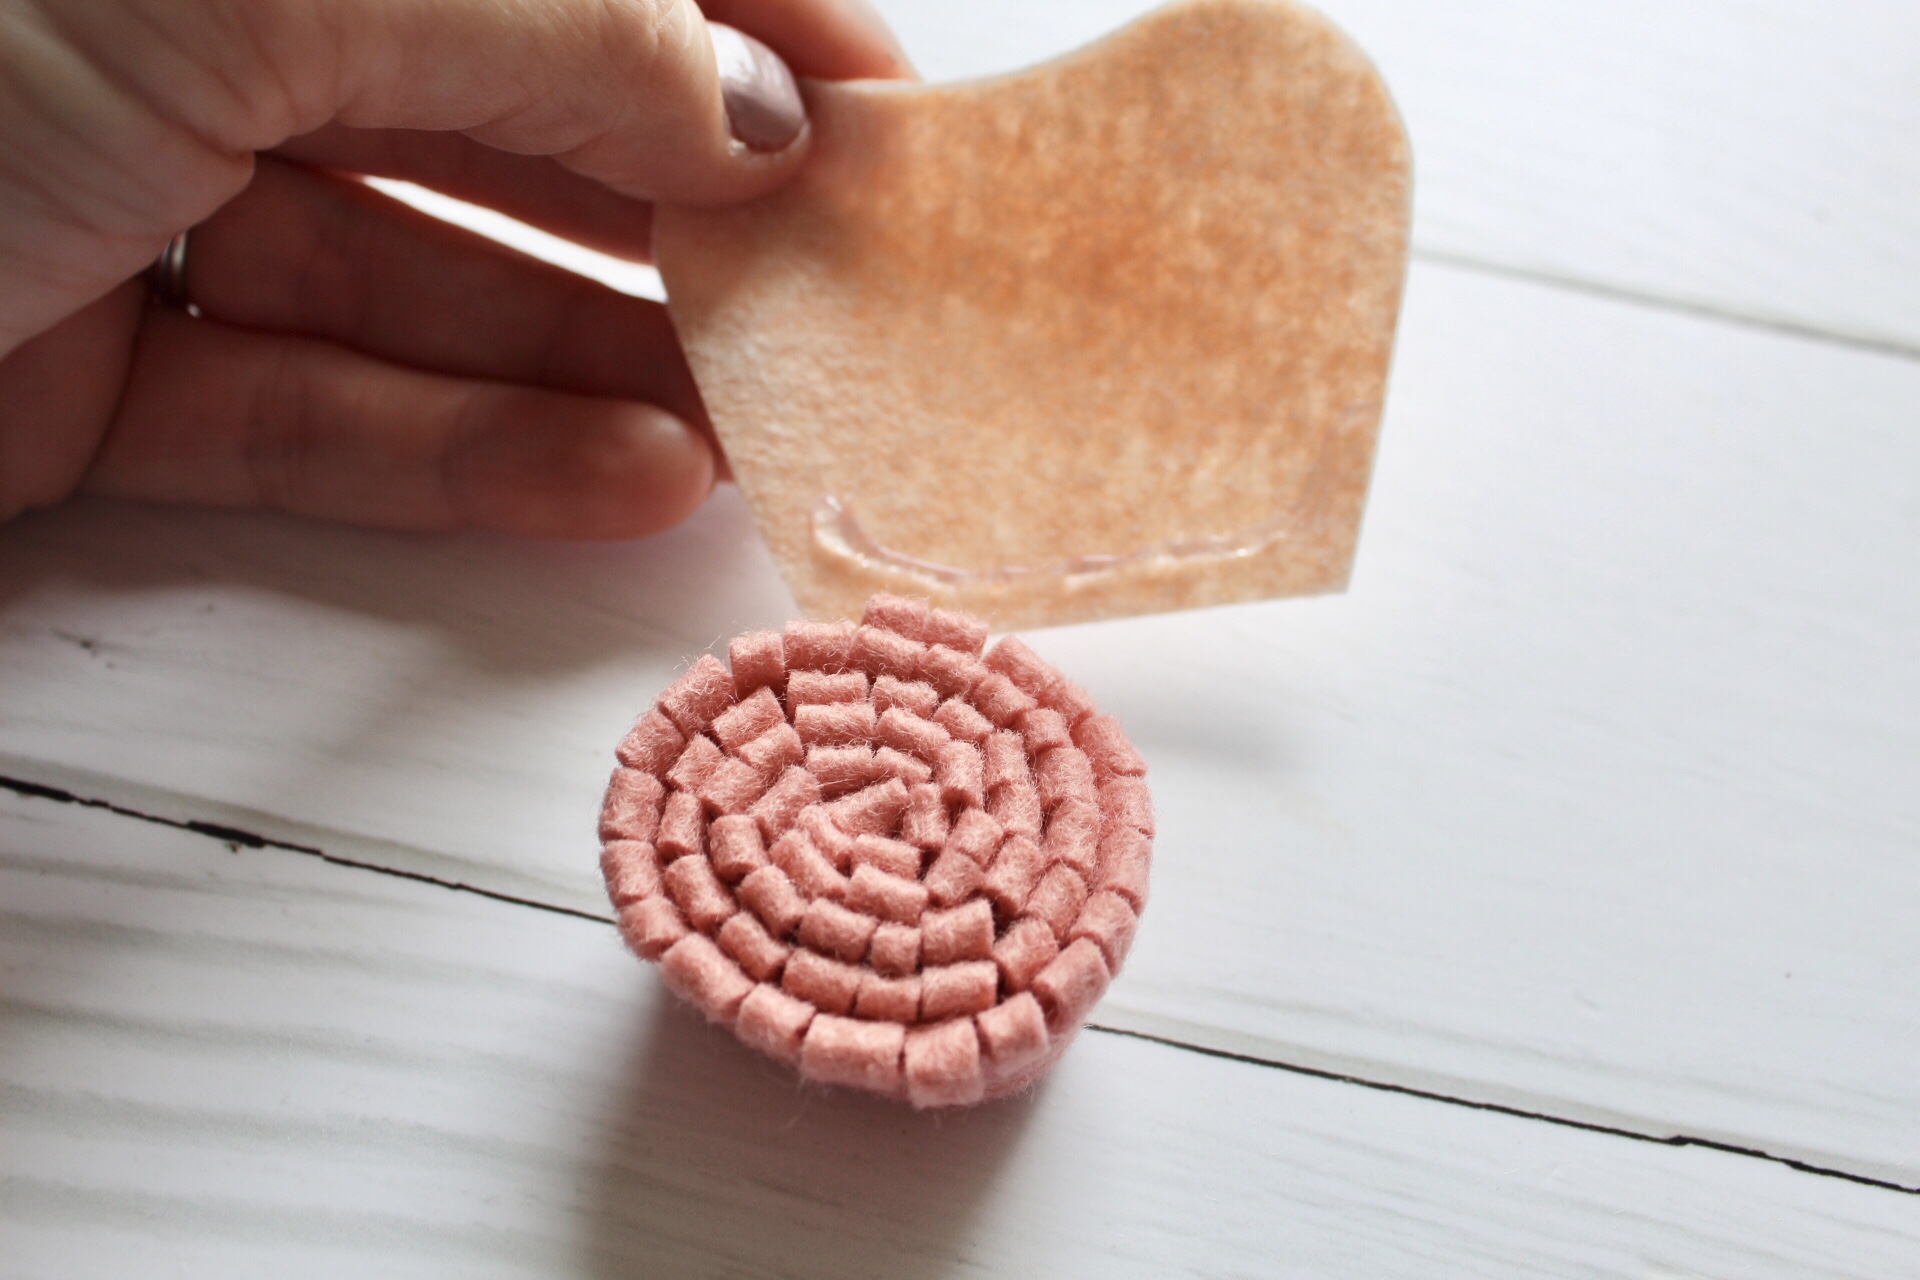
Next up you will attach the petals with some hot glue. Put a small strip and start attaching them to your rolled center. The first four petals I place evenly around the center. Then add the other four staggered in between your first four petals.

There you go! You’ve (hopefully) completed two felt flowers! Keep practicing, don’t hot glue your fingers, and have fun! I hope you enjoyed this DIY! Comment below with any questions or let me know if you’d like to see more posts like this.

Thanks for getting crafty with me!

Bathroom Updates

Bathrooms can tend to be bland and forgotten. We have a home that has two and a half baths. I have done a few upgrades that didn’t require much of a financial investment but give a great result! So, I’ll be sharing a few fun DIY bathroom ideas.

Project #1~ Stenciled Tile

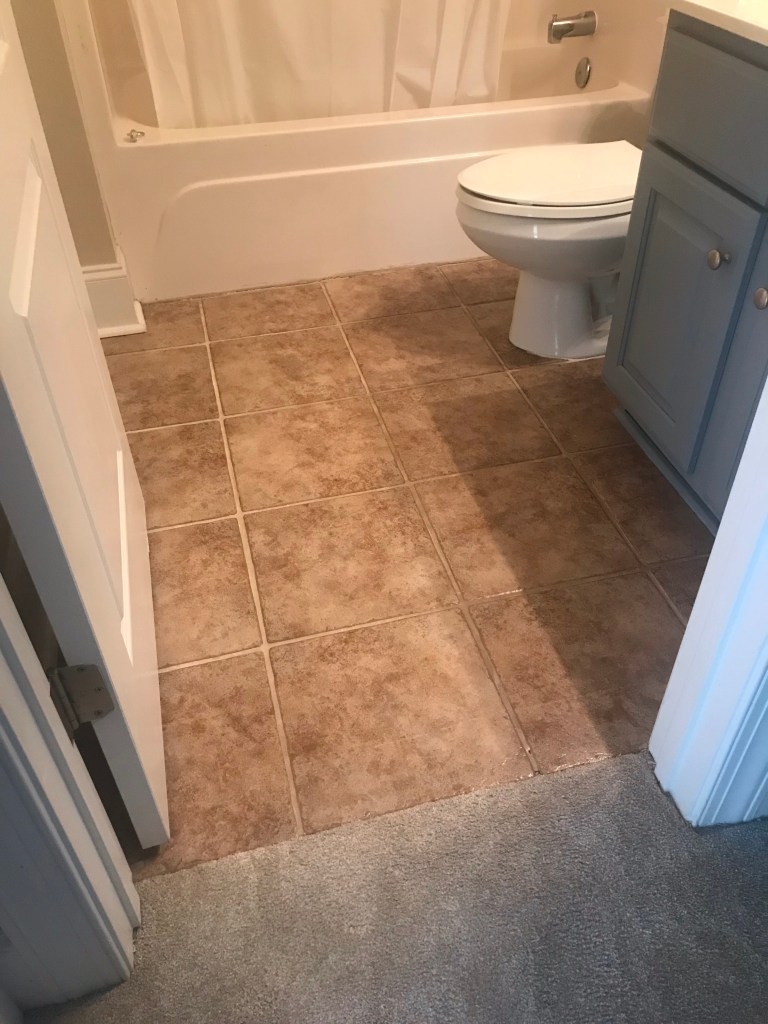
First I’ll show you a project that I did in my boys that bathroom. I absolutely hated the brown tile floor that came with the house when we built it. (I have to admit I did pick it, but in 2005 brown was so in!) We didn’t have a budget to rip it out the tile, so I used a stencil I received from Cutting Edge Stencils and decided to tackle the tile!

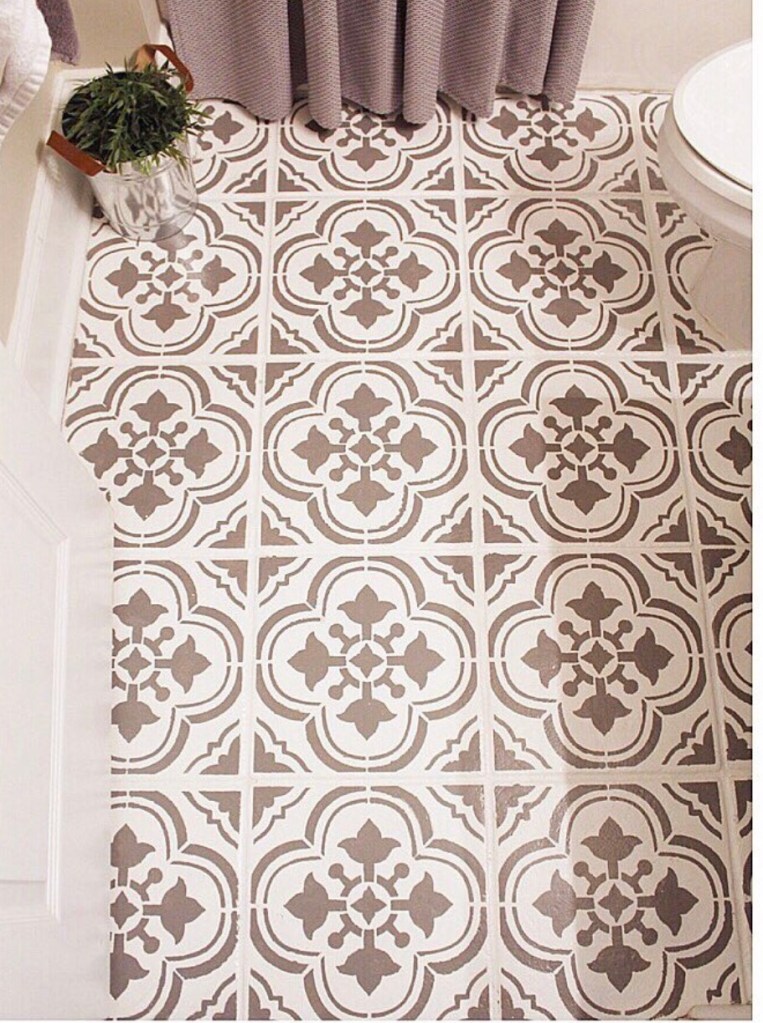
This is the after photo.

This is the before. Could it be more boring and blah?

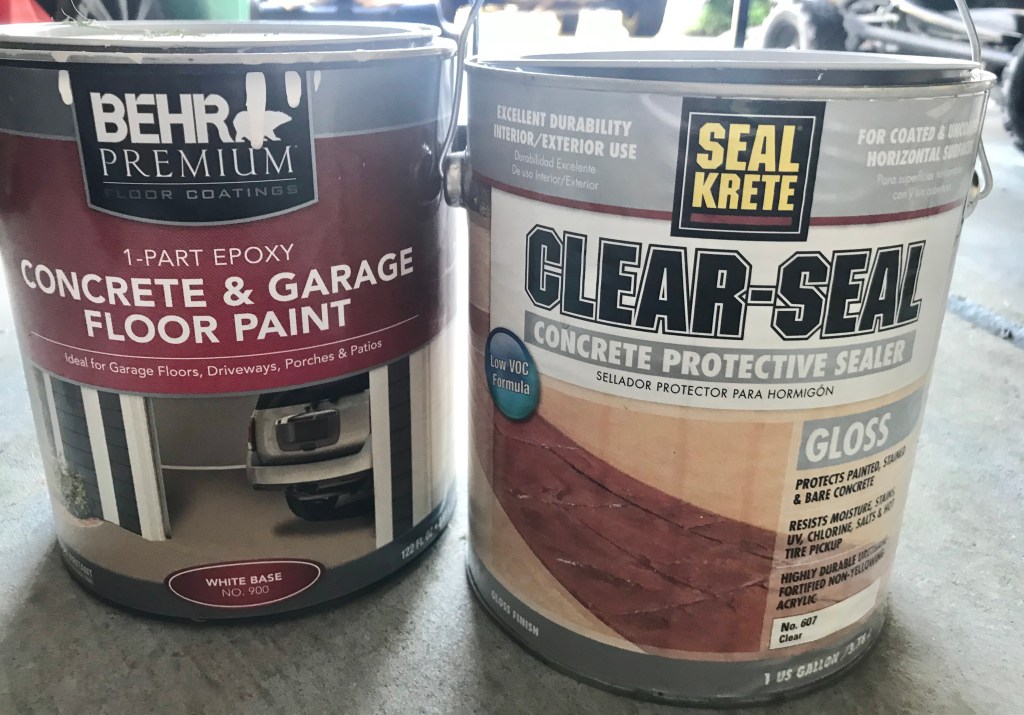
So, this project can be done on a weekend. Get some tunes ready (and maybe a cocktail!) and have fun! The things you will need are: sandpaper, a stencil, paint brush, roller, stencil brush, painters tape, garage floor paint and sealer.

The great thing about the stencil I used is it can be customized to fit the size of your tile. I highly recommend going that route if you want to try this project. The stencil lines up with your grout lines and gives the look of real tile.

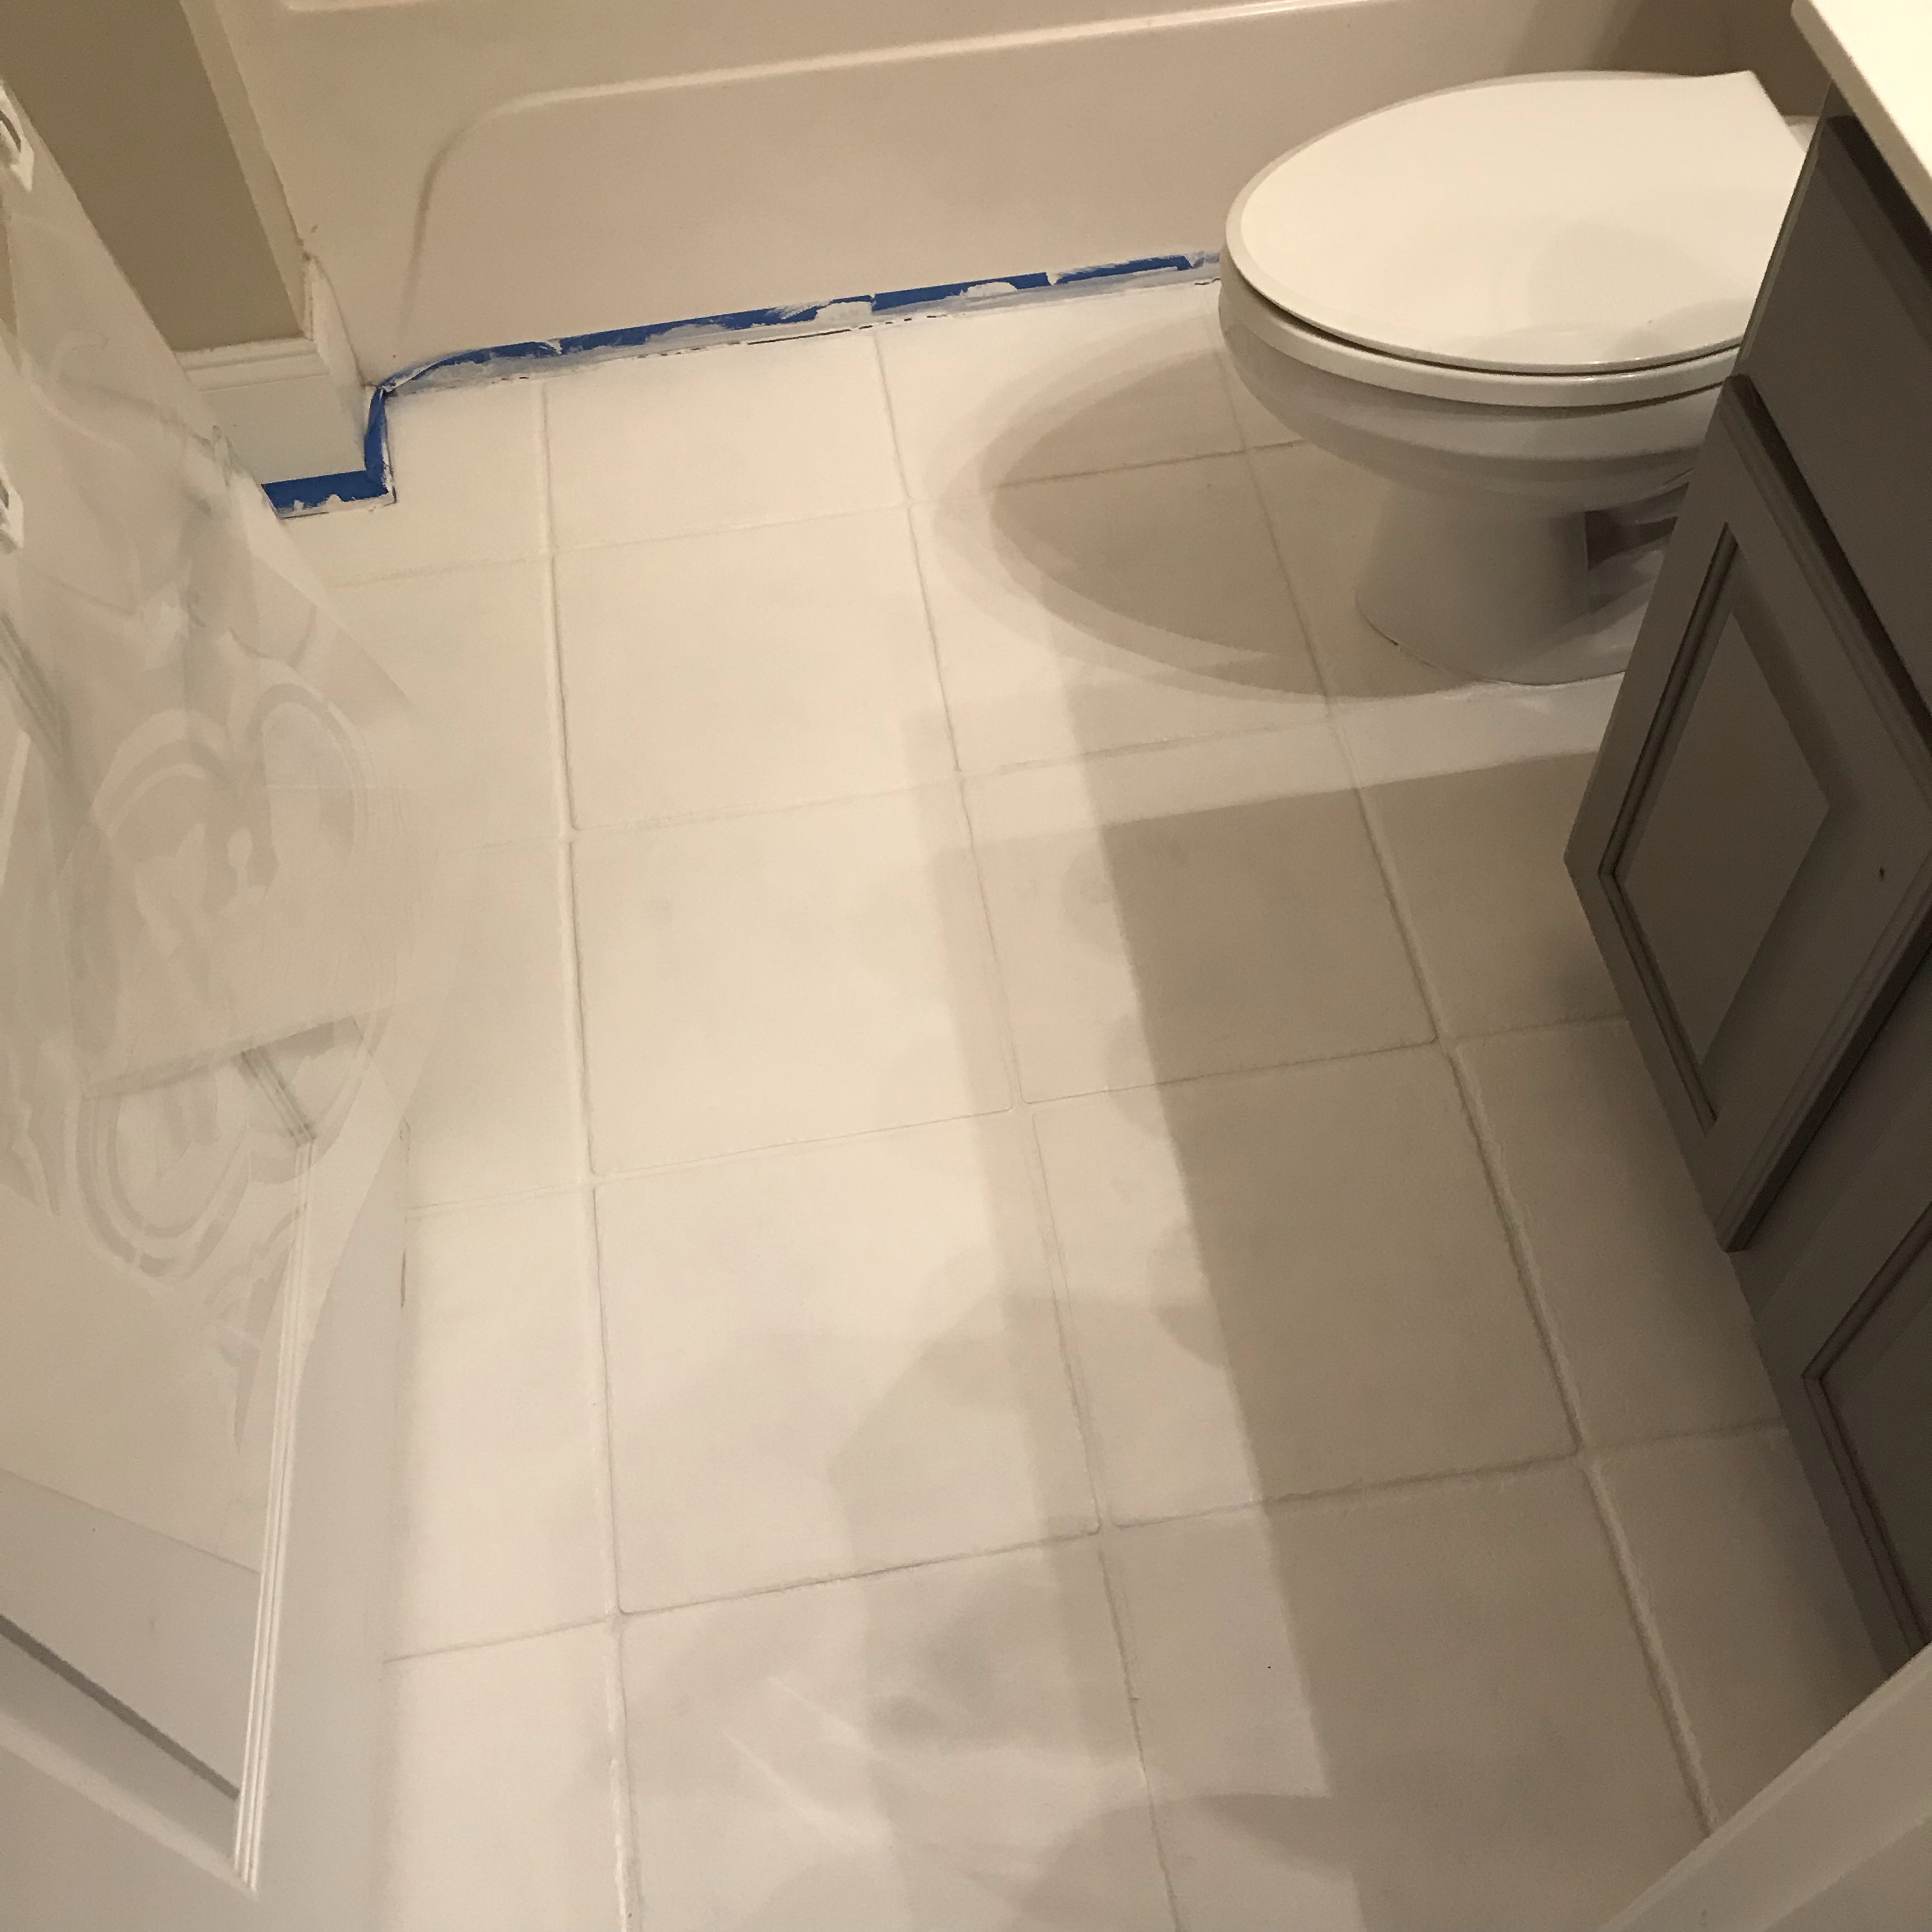
Your first step will be to lightly sand the tile and then give it a good cleaning. Then tape off all your edges. Next up you will roll on a coat of the garage floor paint. Here’s a tip: I had a small space so asked the staff at Home Depot to take some out and mix the color I was going to stencil! So, I had the gallon of white and a quart of the dark gray. (You can also have them tint the paint any color you choose).

This is the paint and sealer I used!
Start stenciling! I had two stencils, so I did my larger tiles first. The second stencil I used for edges and around the toilet, so I cut that one to fit those tight spots. I would advice going lighter with the paint, my rookie mistake was I went too heavy in some spots and had to touch up.
I love the result! After the stencil was dry I added three coats of sealer. I let it dry a few hours in between!

This has held up great! I did it about two years ago and do not have any complaints. Considering this is a boy’s bathroom that gets cleaned often I’m amazed how well it has held up. I’m so happy I did this project, it totally transformed the room.

Project # 2 ~ Bathtub Tray

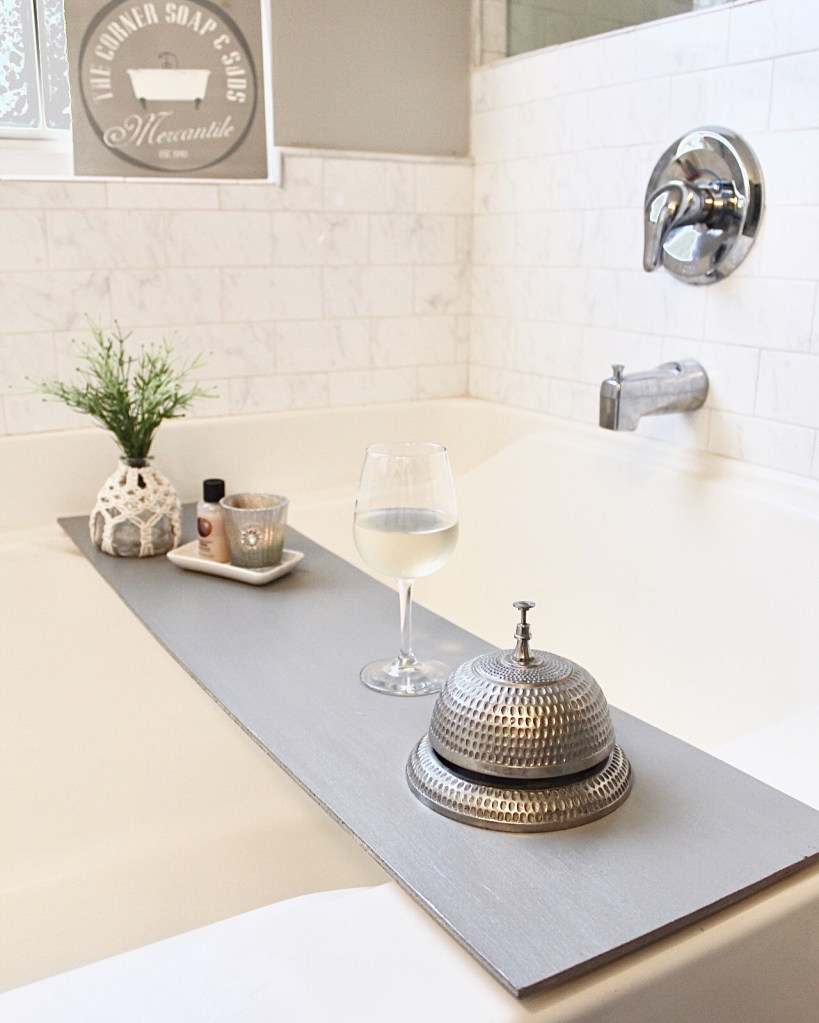
We have a large garden tub in our master bathroom. There is something so relaxing about taking a bubble bath. I always seem to bring in a glass of wine, a book or my phone and decided I needed a tray!

I found a long unfinished board in Michael’s . It was a bit too long so my neighbor cut it to size to fit my tub! I painted it gray and added a sealer. The same sealer I used on my tile floor!

Once it was dry I accessorized it! A candle, a relaxing soap and wine are necessities. The bell is there to call for more wine, but my family doesn’t seem to understand that!

There are so many options for trays. I’ve seen more rustic looks, some with handles or even book holders. Try to DIY one, it was easy and fun!

Project # 3~ Peel and Stick Tile Wall

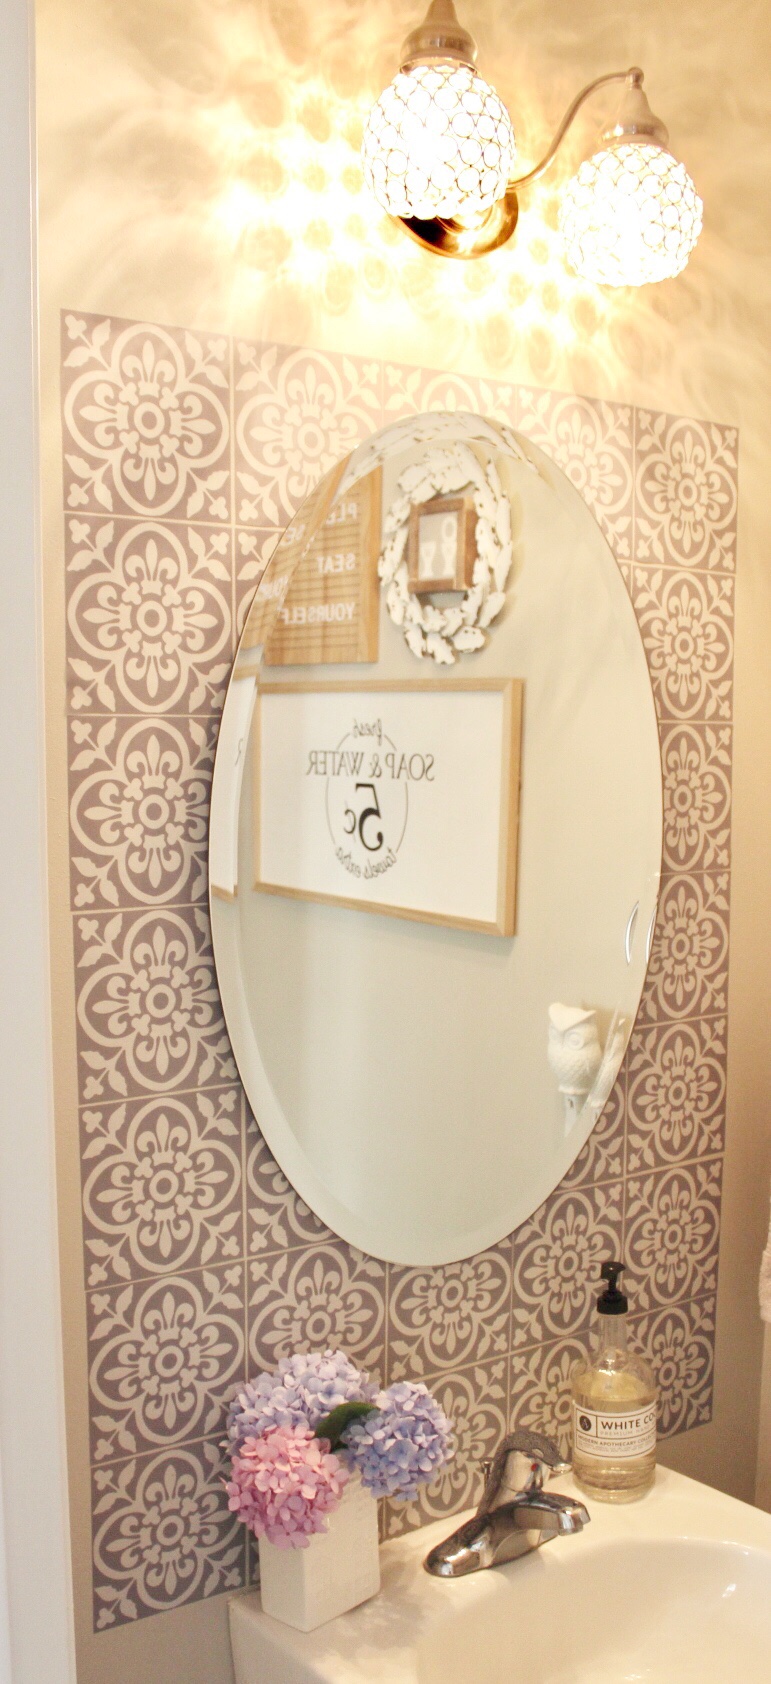
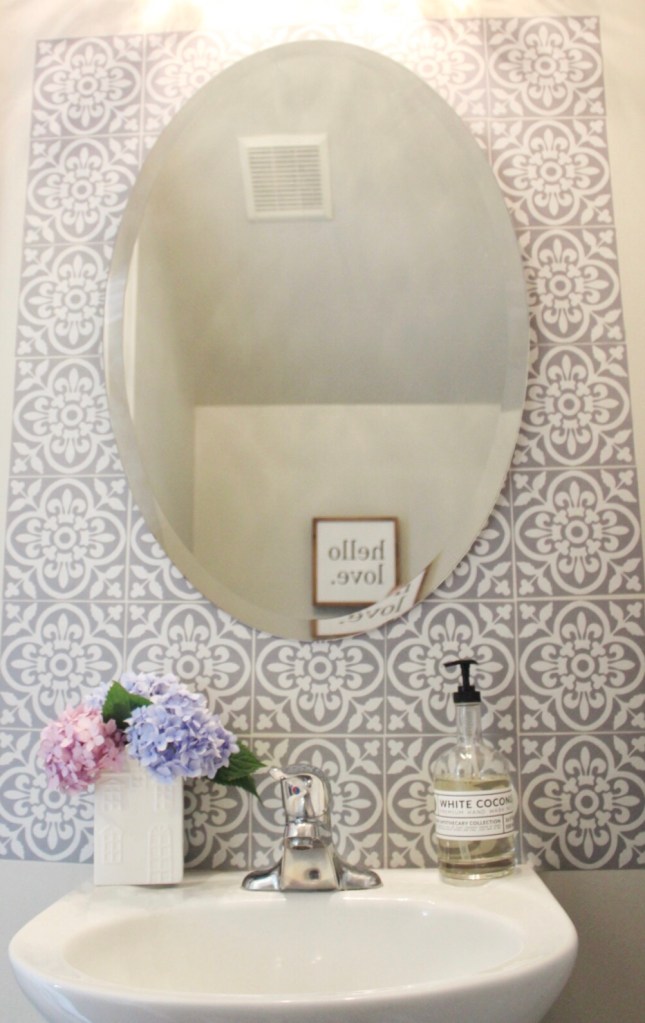
For a peel and stick tile I think it’s pretty cute!

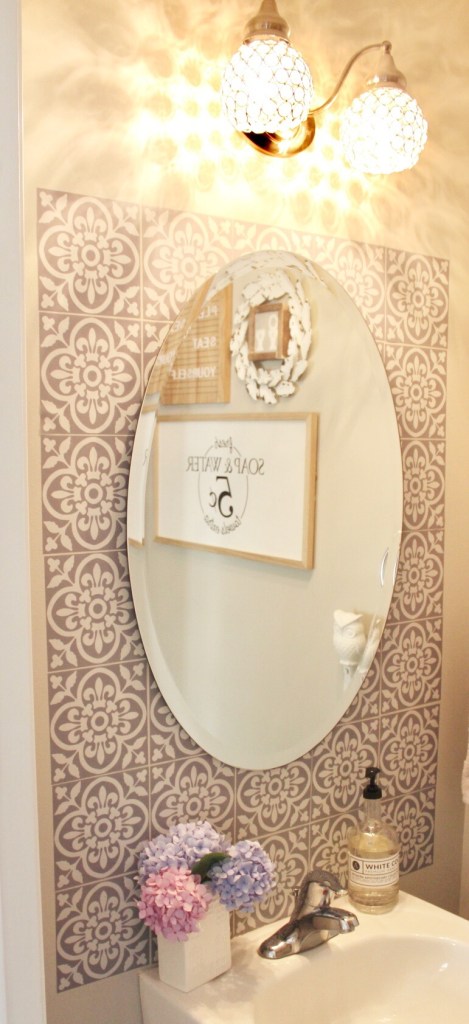
Lastly, I’d like to share a project I did in my downstairs half bath. It’s a small powder room that our guests use. I found these peel and stick tiles at Target and bought three packs of them, totaling $9.00! Looking back I wish I bought more. I didn’t know what I would use them for, but I thought they were so cute I knew I would find something to do with them.

When I got home I thought I would try them on the wall of the bathroom. I loved it! I wish I had more to do the entire wall, unfortunately all my local stores were sold out. For now, I think it’s a fun update and is easily removable!

Such a simple project for a big update!

There are many options out there for peel and stick tiles. I have seen them at Hobby Lobby and on Etsy. I’m sure a quick on line search would find even more cute options!

I hope you were inspired by some of my DIY bathroom projects!

Letter Board Love

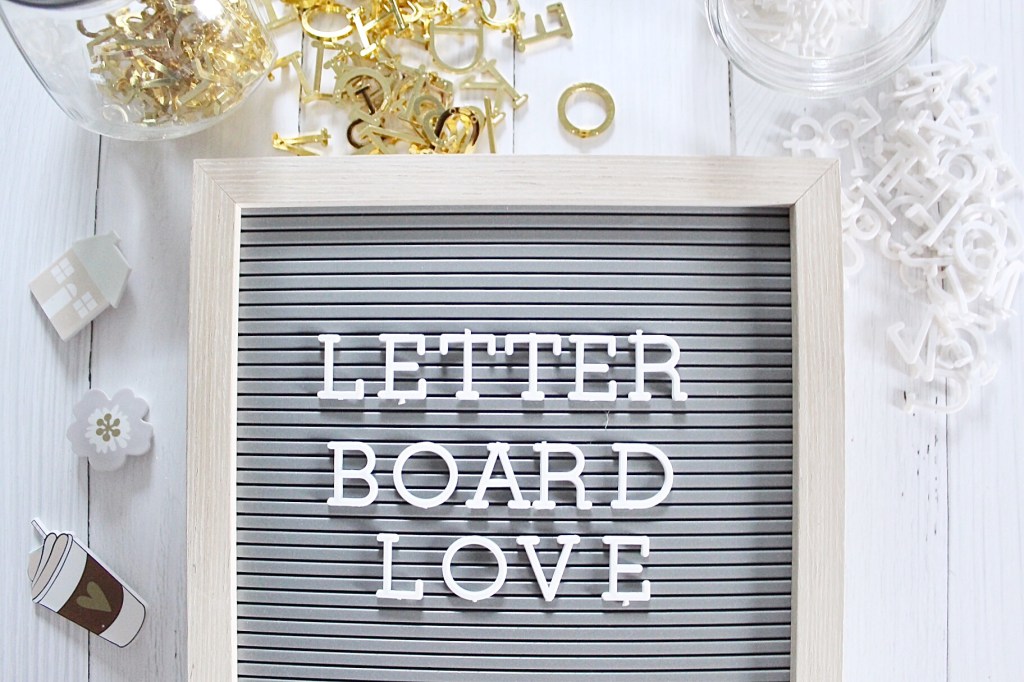
The letter board trend is one that I think is so fun. You can use a motivational quote, a funny joke or a seasonal pun and customize your board just for you!

I’m a sucker for all styles of letter boards. I’ve purchased many over the years and have used them for product photos or to brighten a spot in my home. Here are a few of my favorites!

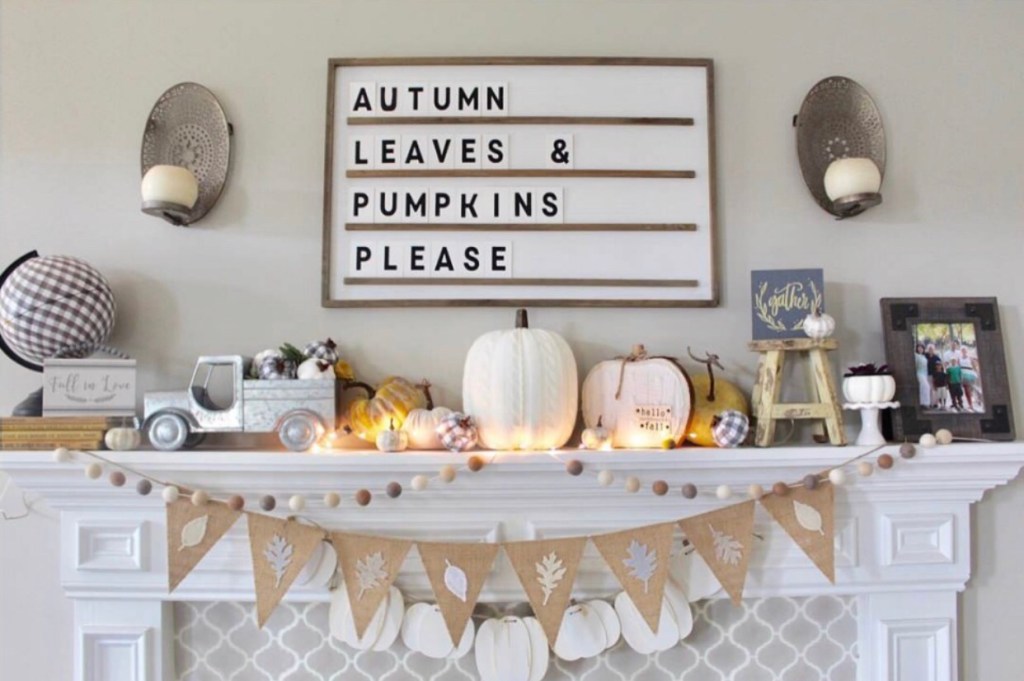
Decorating for fall is more fun with a letter board!
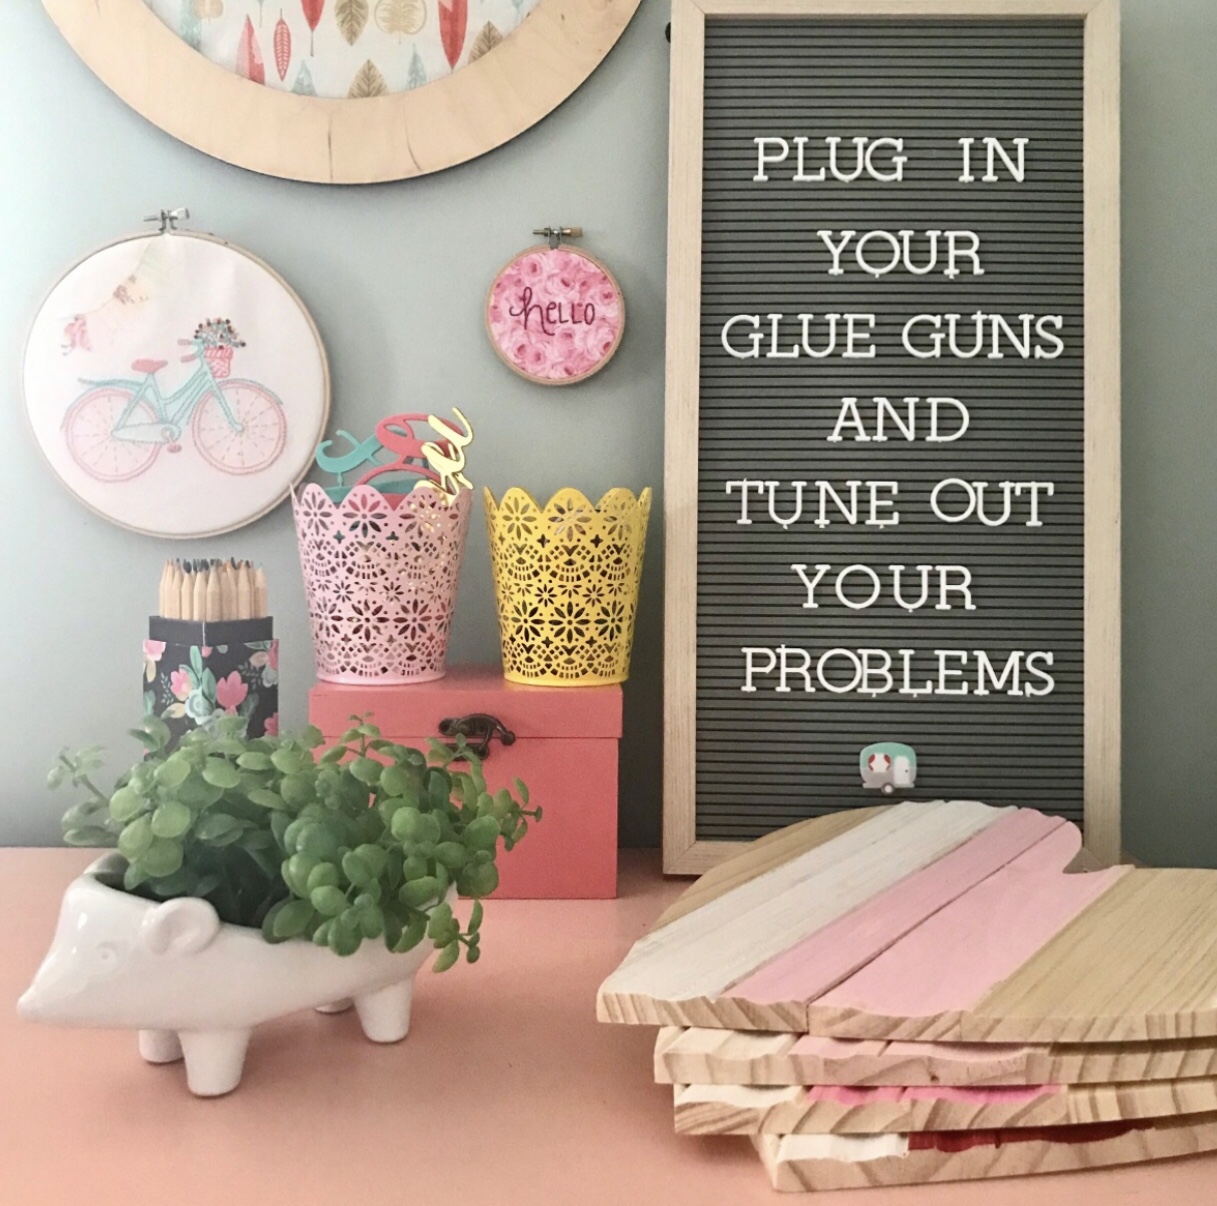
I love the different options to customize letter boards, these pink letters are so pretty.
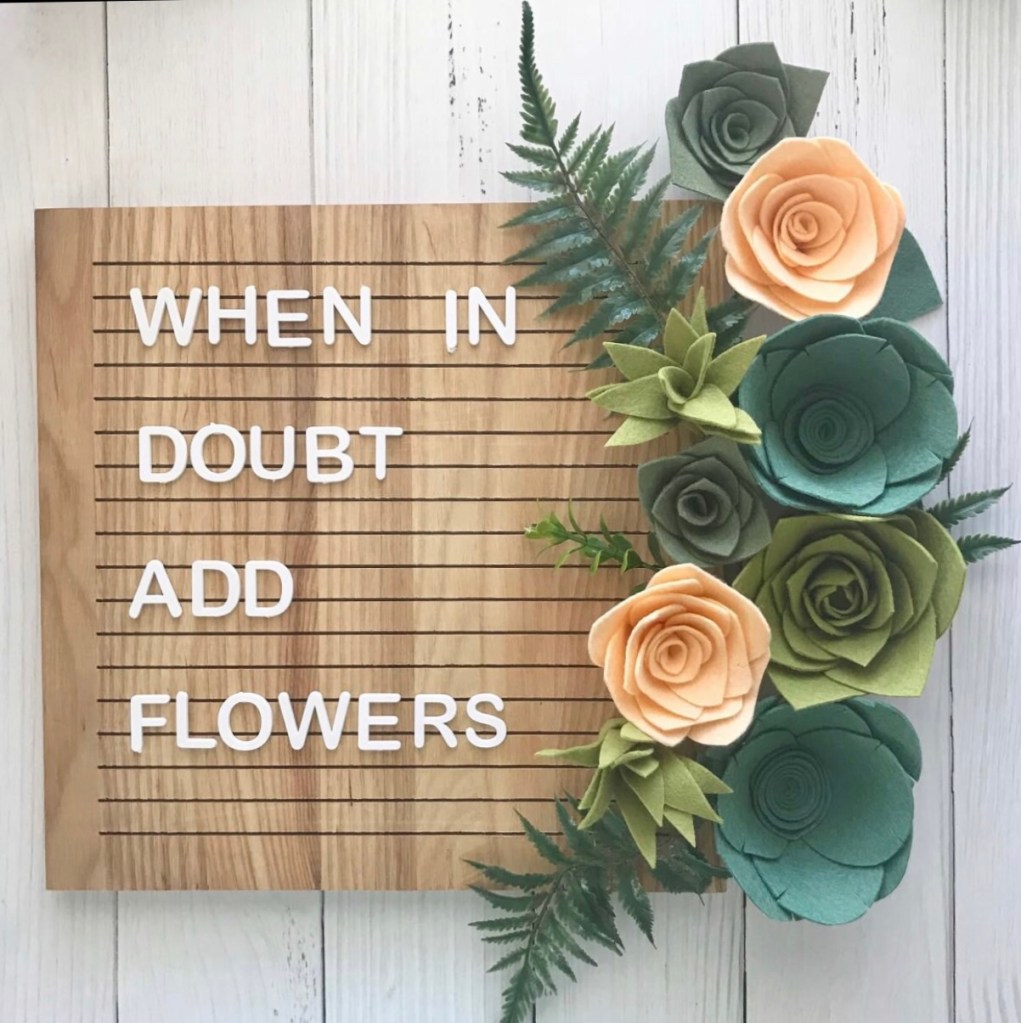
When I have the chance to showcase my felt flowers on The Happy Door Instagram page I do!
I added a fun gallery wall in my guest bathroom with a letter board!

There are so many options you can choose from. This is a trend that I hope lasts for a long time. Find an affordable option and get creative! Search for a cute quote or joke and add one to your home. I think you’ll love it.

Front Door Curb Appeal

We all know when welcoming people to our homes we want to make a good impression. Even if we are not having people visit, it’s nice to give our entry way some curb appeal. It doesn’t take much, but a few details will make it beautiful. I love adding a wreath, cute door mat and some potted plants.

I love a good layered doormat.
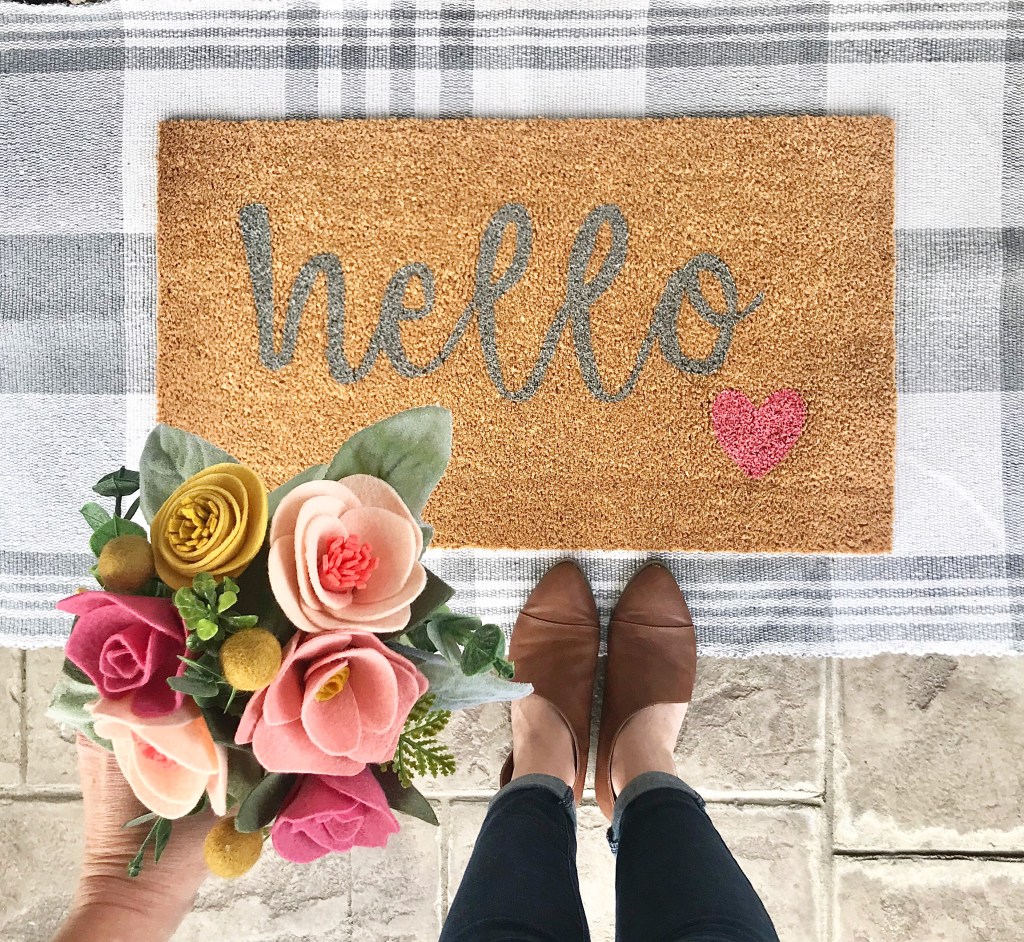
This sweet mat is a favorite by Southern Kreations by KB

The layered doormat look is one of my favorite trends. It adds some texture and makes things so cozy.

You can’t go wrong with plaid. And a mat by Painted Stork Designs

Remember simple touches can make a big impact. A fresh coat of paint on the door, a clean swept area and personal touches will make your entryway shine!

Our cherry blossom tree sure helps with curb appeal!
The Darling Door
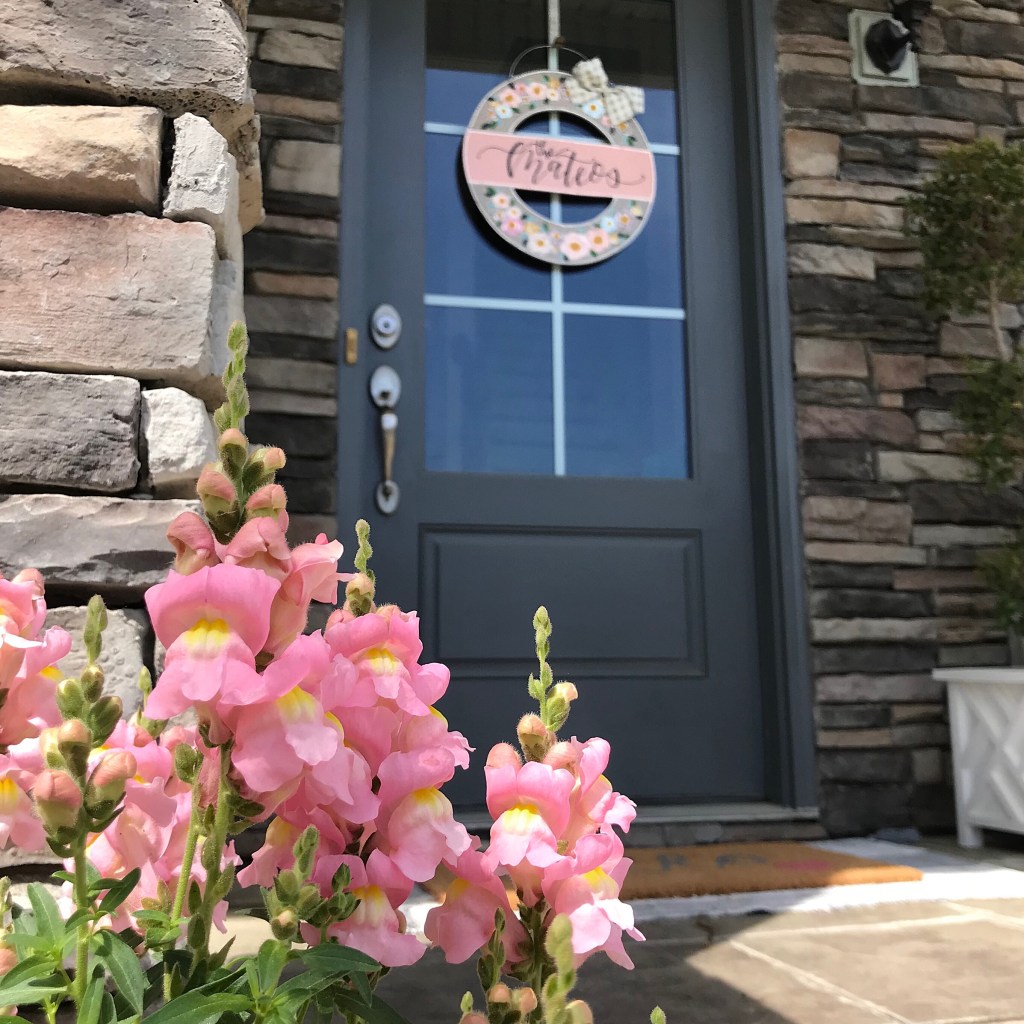
Spring blooms and a door hanger by The Darling Door
Wreaths don’t always have to be traditional.
I made this one with different elements to make it one of a kind.

So, remember, your outdoor space can be decorated, too! Have fun and think outside the box.

Welcome!

My name is Brandi and I am the maker behind The Happy Door!

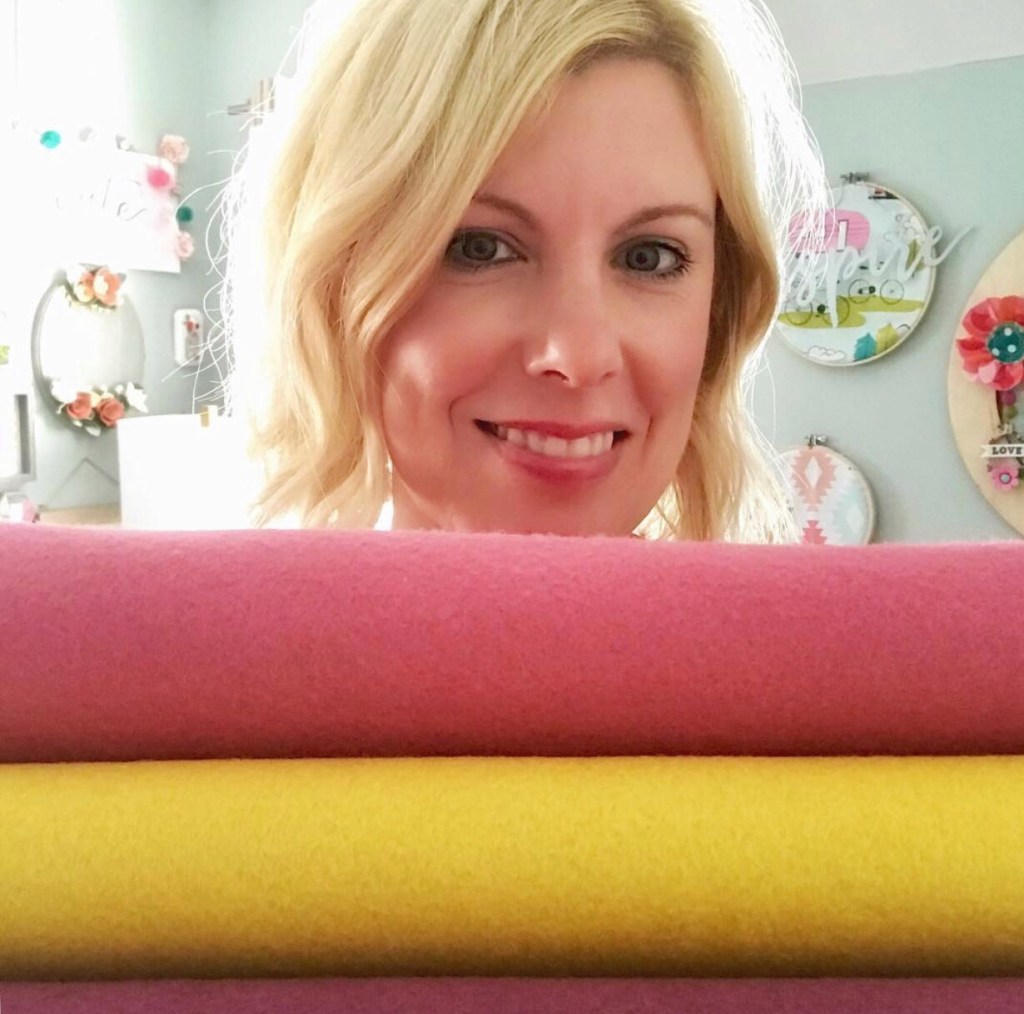
Hi. It’s me in my craft room.

I have always had a love of home decor and enjoyed adding special touches throughout our home. I stumbled across felt flowers and starting making wreaths for my door for each season. It always made me happy to drive up to my house and see a pretty wreath hanging on the door. Friends started mentioning I should try selling them. So, in 2016 I gave it a try by opening an Etsy shop. As time passed my skills grew and my love of creating did, too!

Create What You Love and You’ll Love What You Do.

I have learned in creating that when you love what you do, it shows. When I head to my craft room it doesn’t feel like work. I have found an outlet that brings me so much joy. I hope when someone purchases something from me they see the love I put into my work.

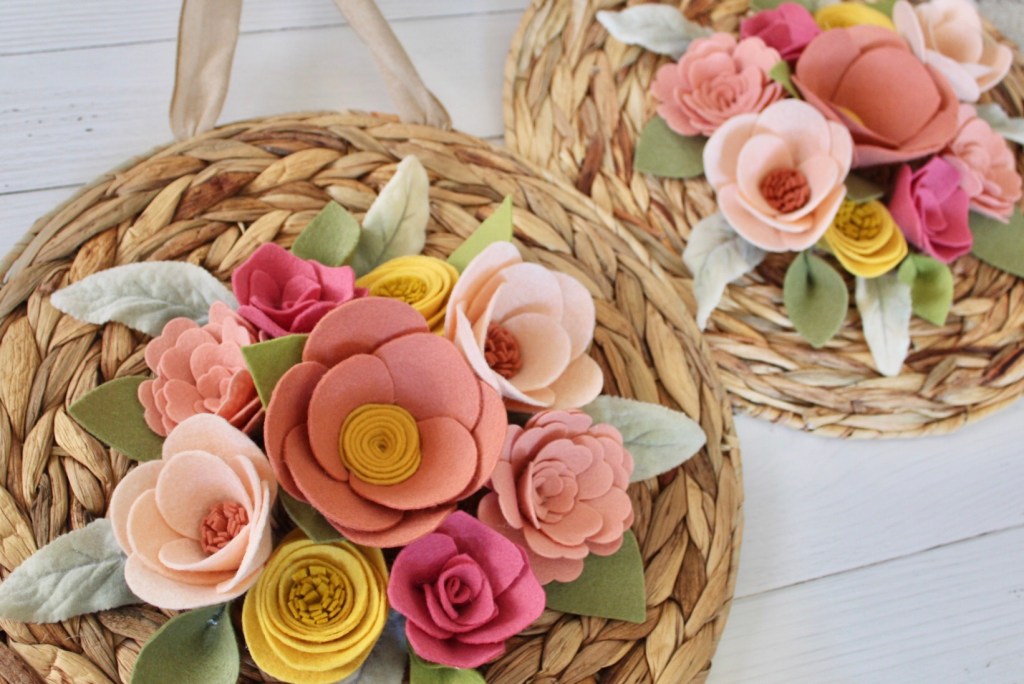
These wreaths are some of my favorite color combinations.
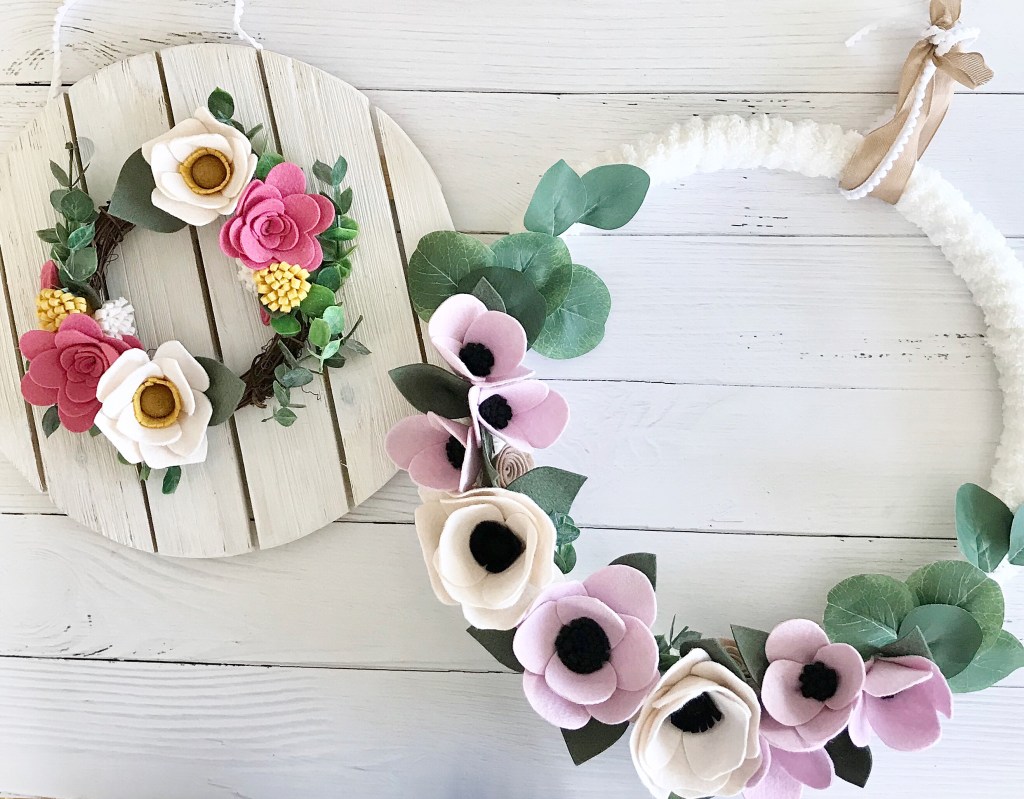
I’ve created all different styles of wreaths@the_happy_door

In starting this blog I’m hoping to share some more of my work, tutorials and behind the scenes. I also plan on showing my craft space, home decor and other things that I love. Thank you for joining me in my journey!