She Shed Tour

I am so excited to share a tour of the inside of my She Shed! We are still working on a few things on the outside, so I will hold off until we are finished to share those details.

If you’ve been following along on this journey you know that my husband built me this amazing shed for a craft studio. It has been four long months of working on the weekends but it is almost done! The electrical was run and I was excited to have power. Once the roof was shingled and all the doors and windows were installed it started getting really exciting!

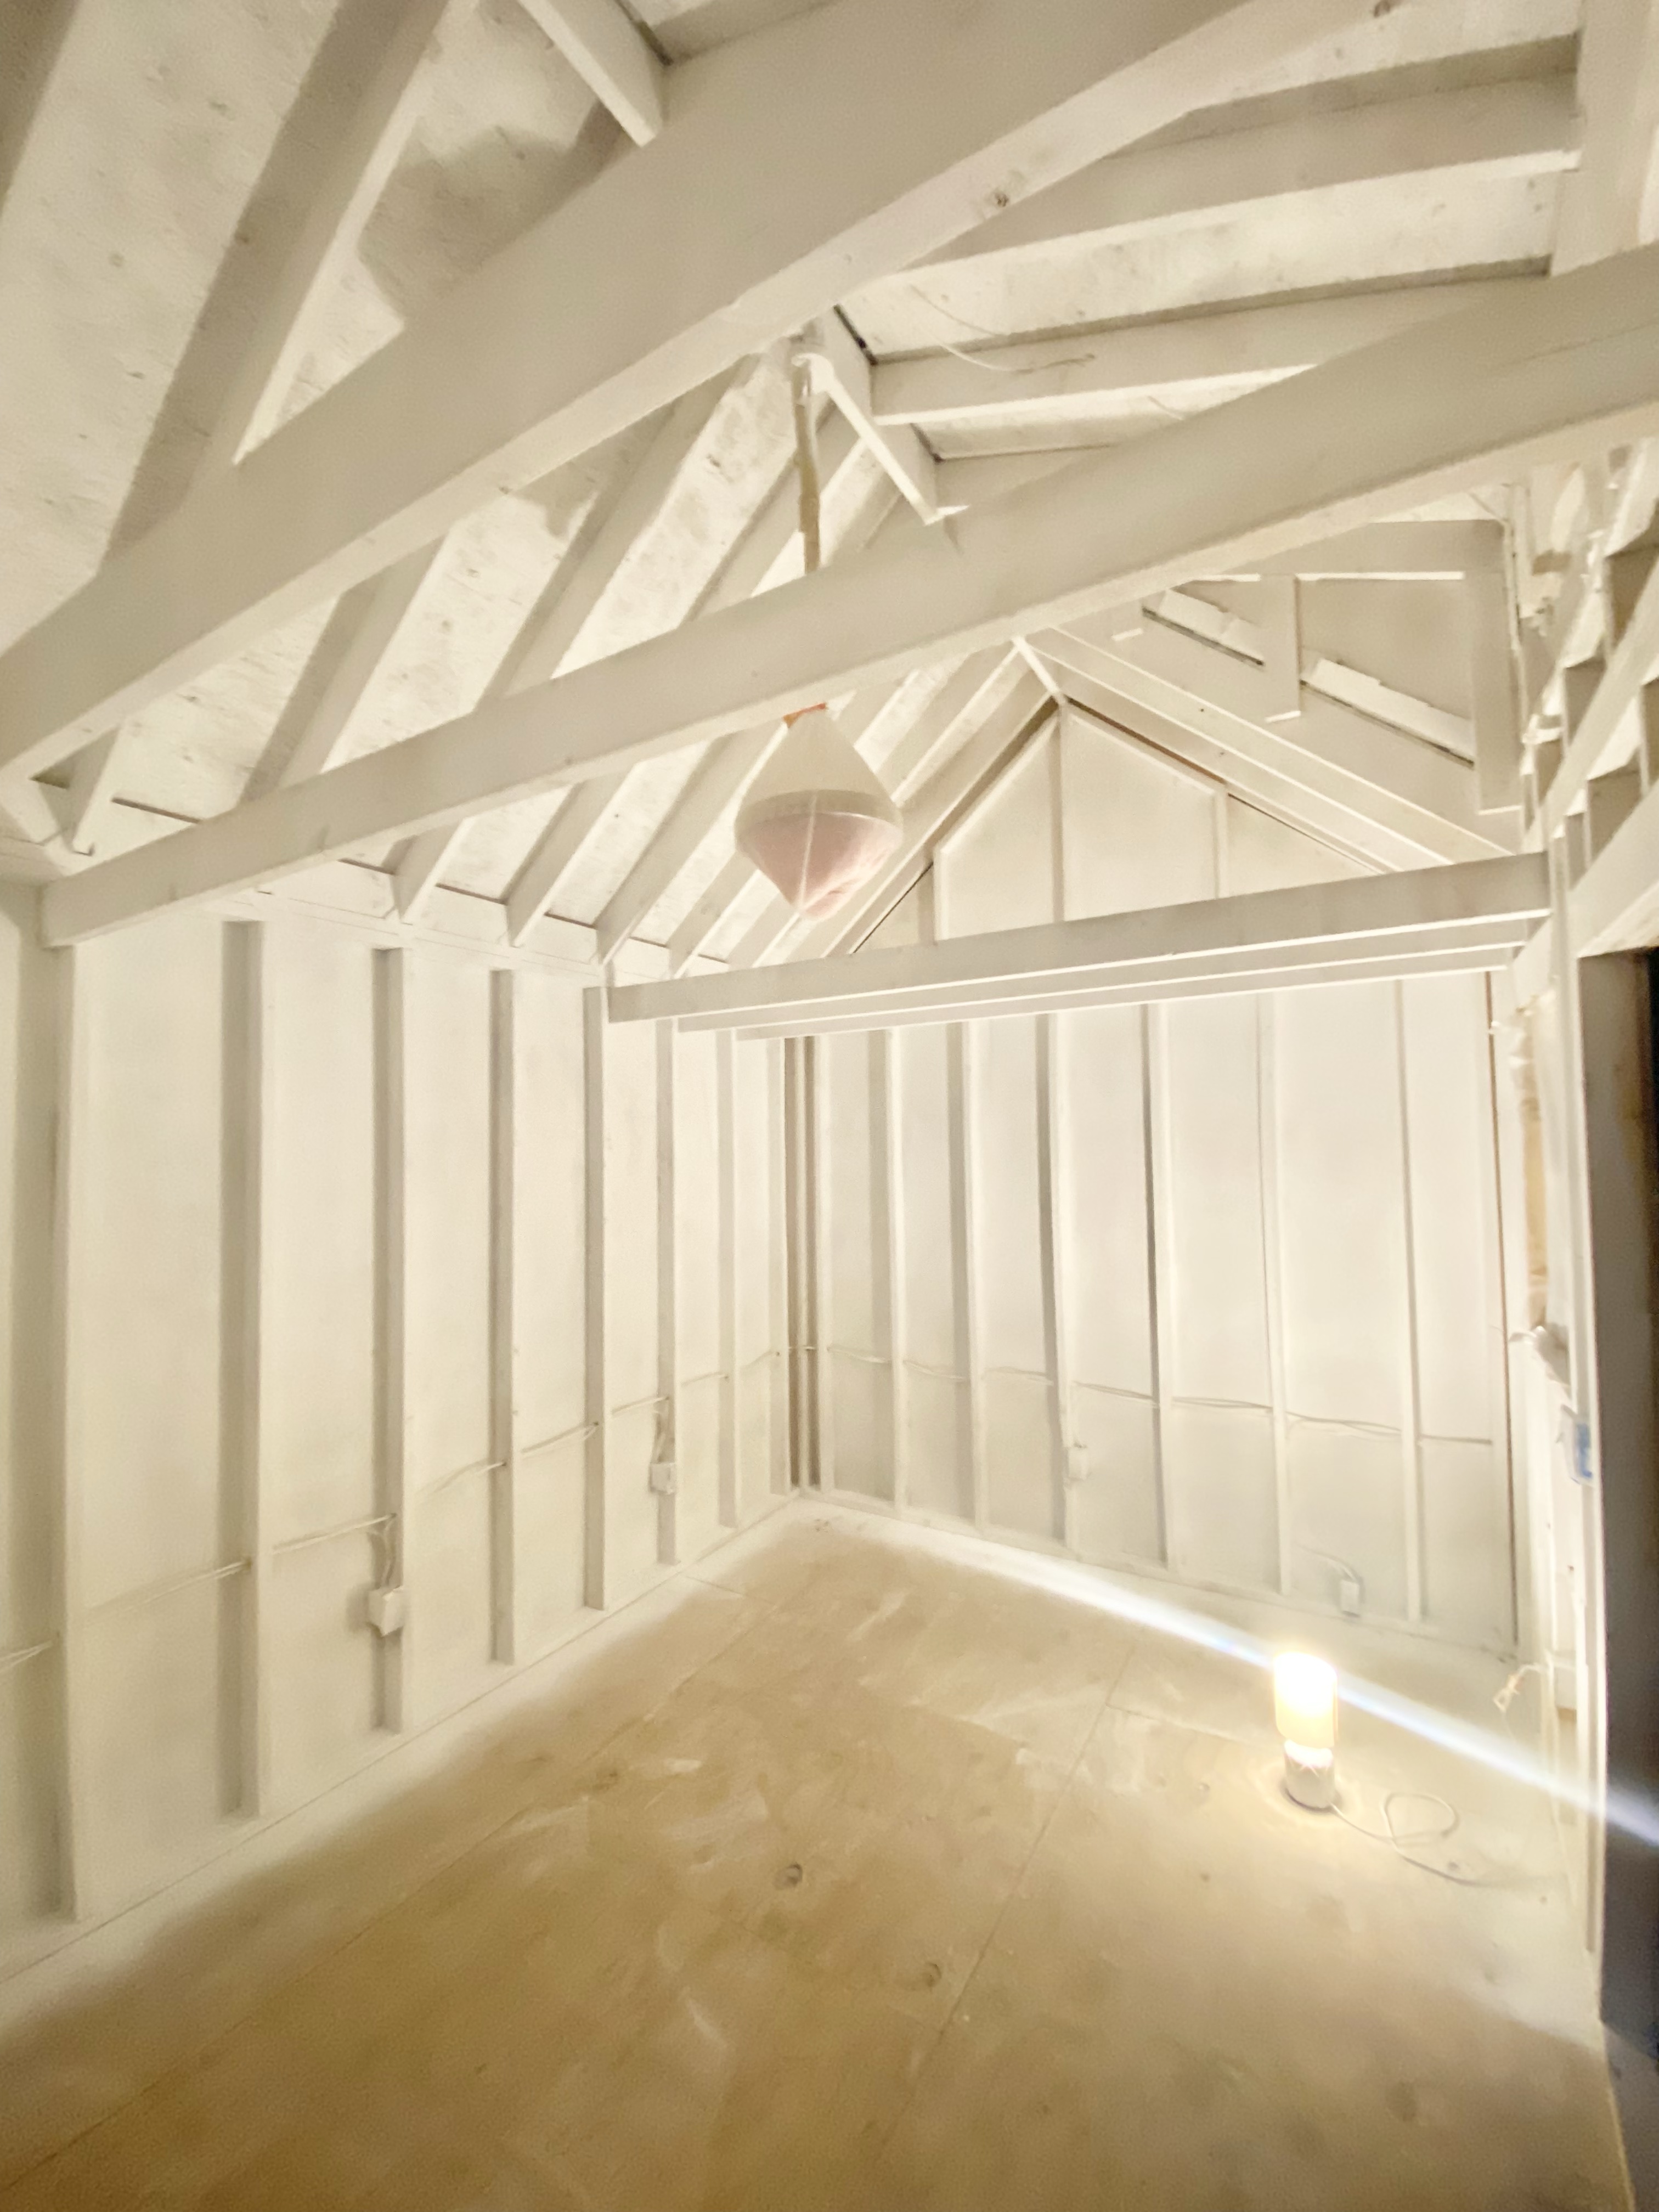
We opted to not insulate the shed yet. I like the beams and the rustic feel. Plus, we live in North Carolina where the weather is mild. I have an electric fireplace for heat in the winter and will put a AC unit in the window for the summer. I may change my mind down the road, but for now I am trying it this way.

I was anxious to decorate, but first up was painting!

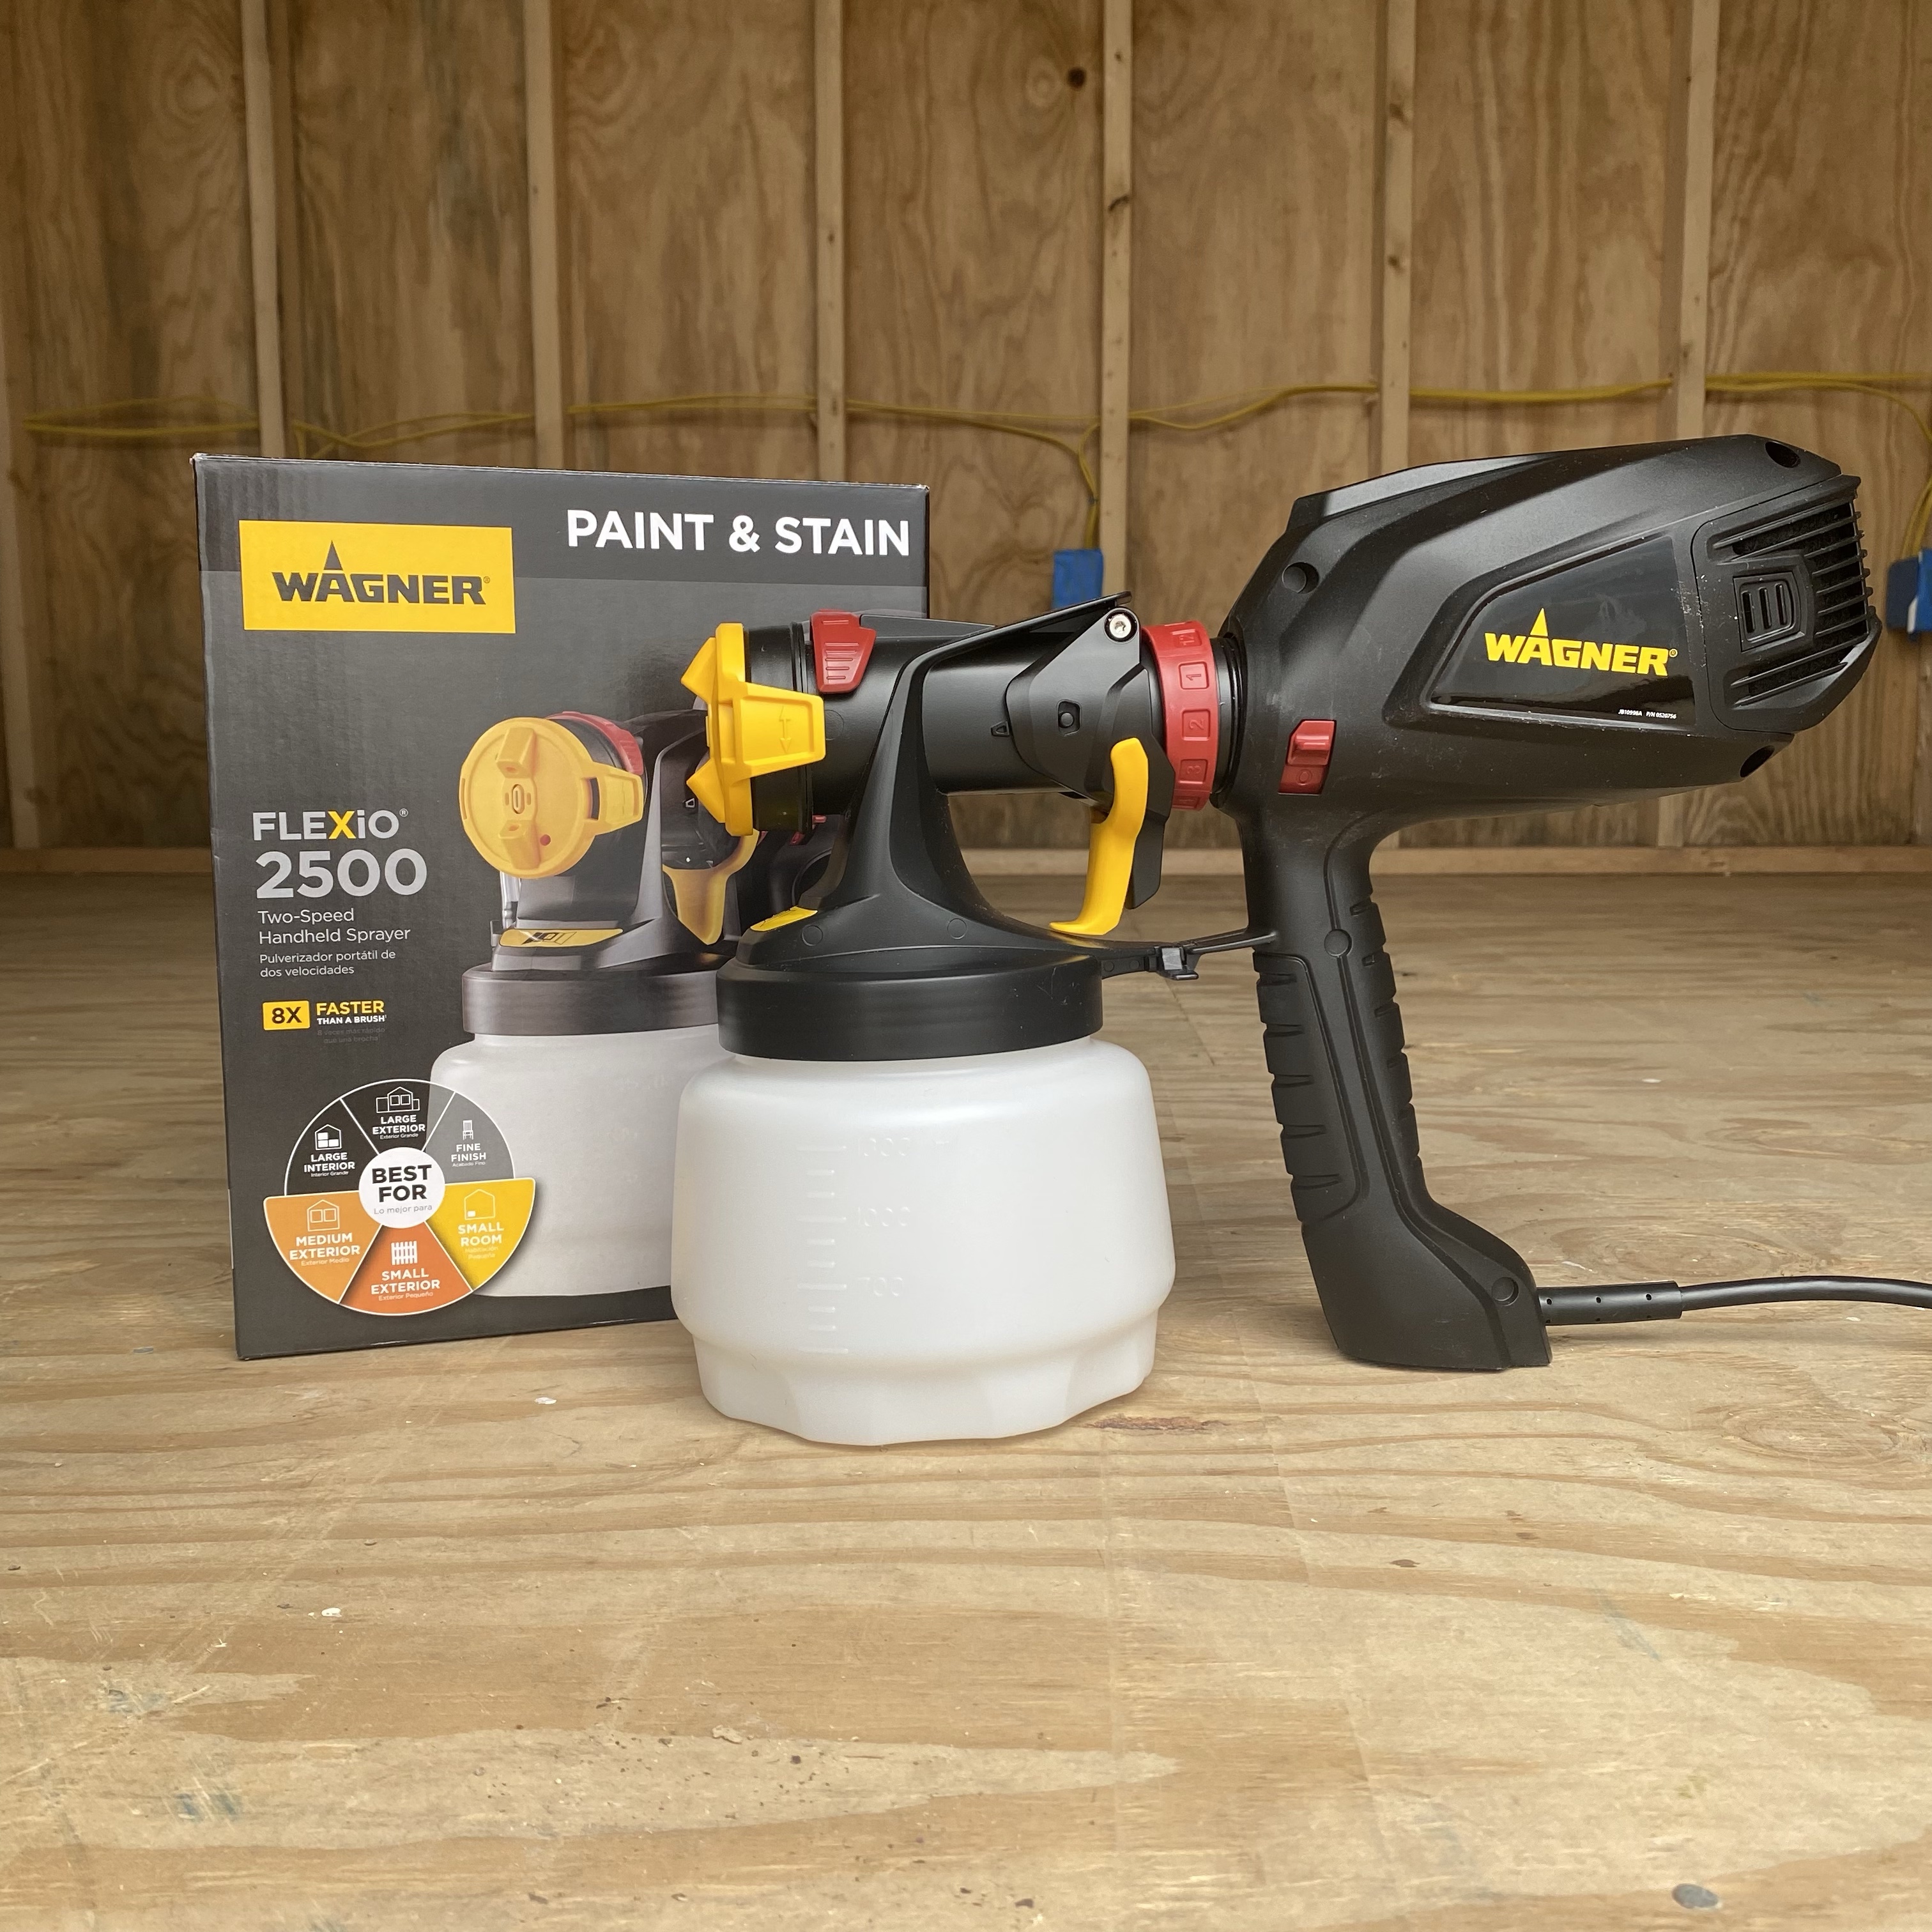
Painting was definitely more time consuming than I anticipated. The shed is 10×14 and the roof is high, so I had to stretch up on a big ladder to paint. I did have a Wagner spray gun which definitely helped! In the end I used one gallon of primer and three gallons of paint and primer to paint the interior. I’ll share what I used in case you ever need to paint a large area.
Then I bought a floor paint and had them tint it white. I rolled it on and let it cure for two days. Then the fun began! I started moving in furniture!
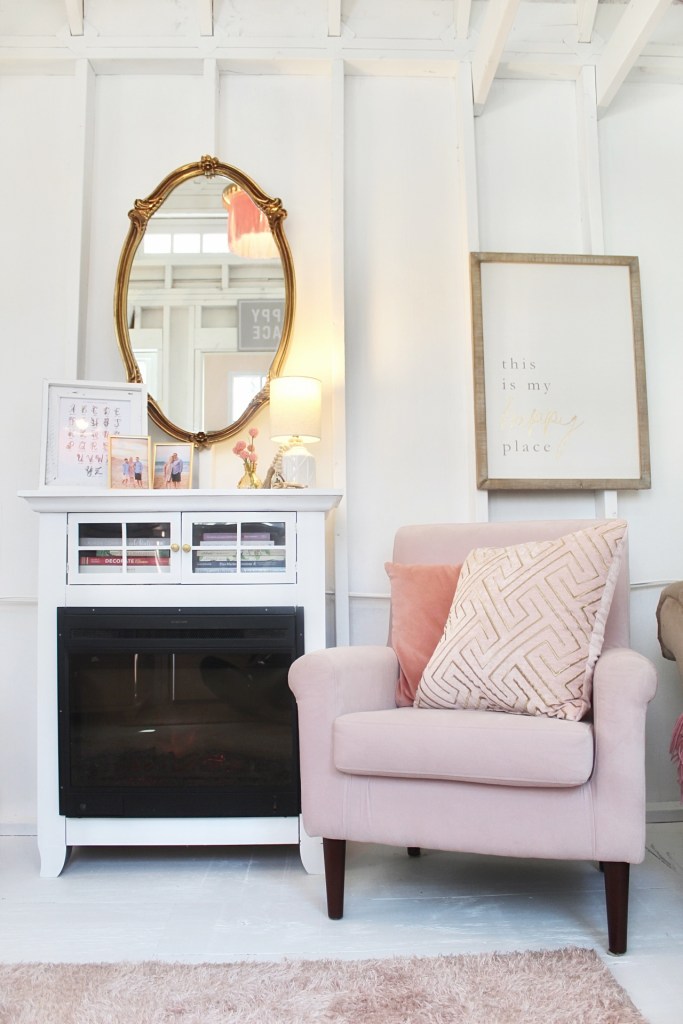
First up I moved in my electric fireplace and a pink chair!

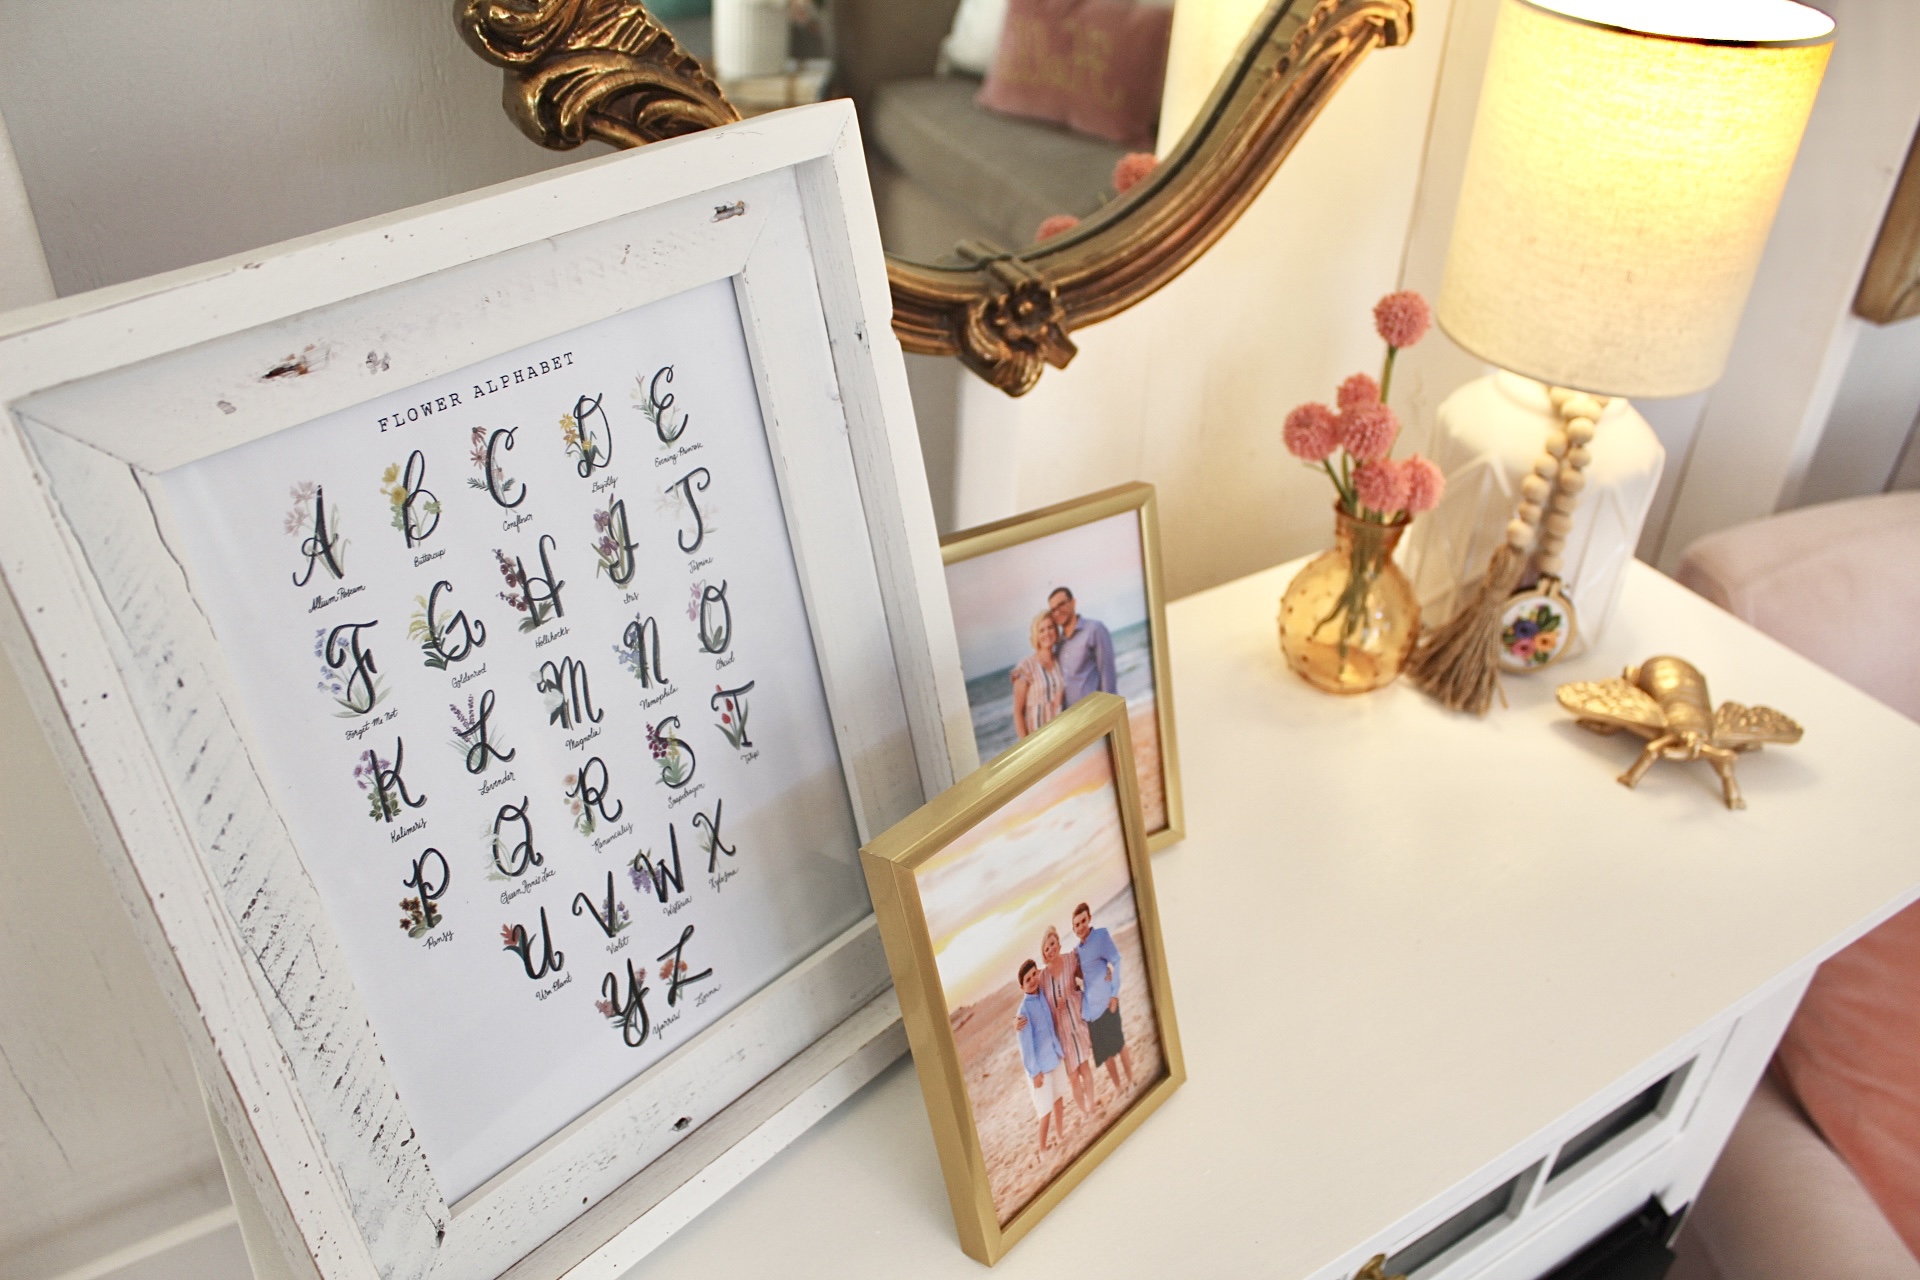
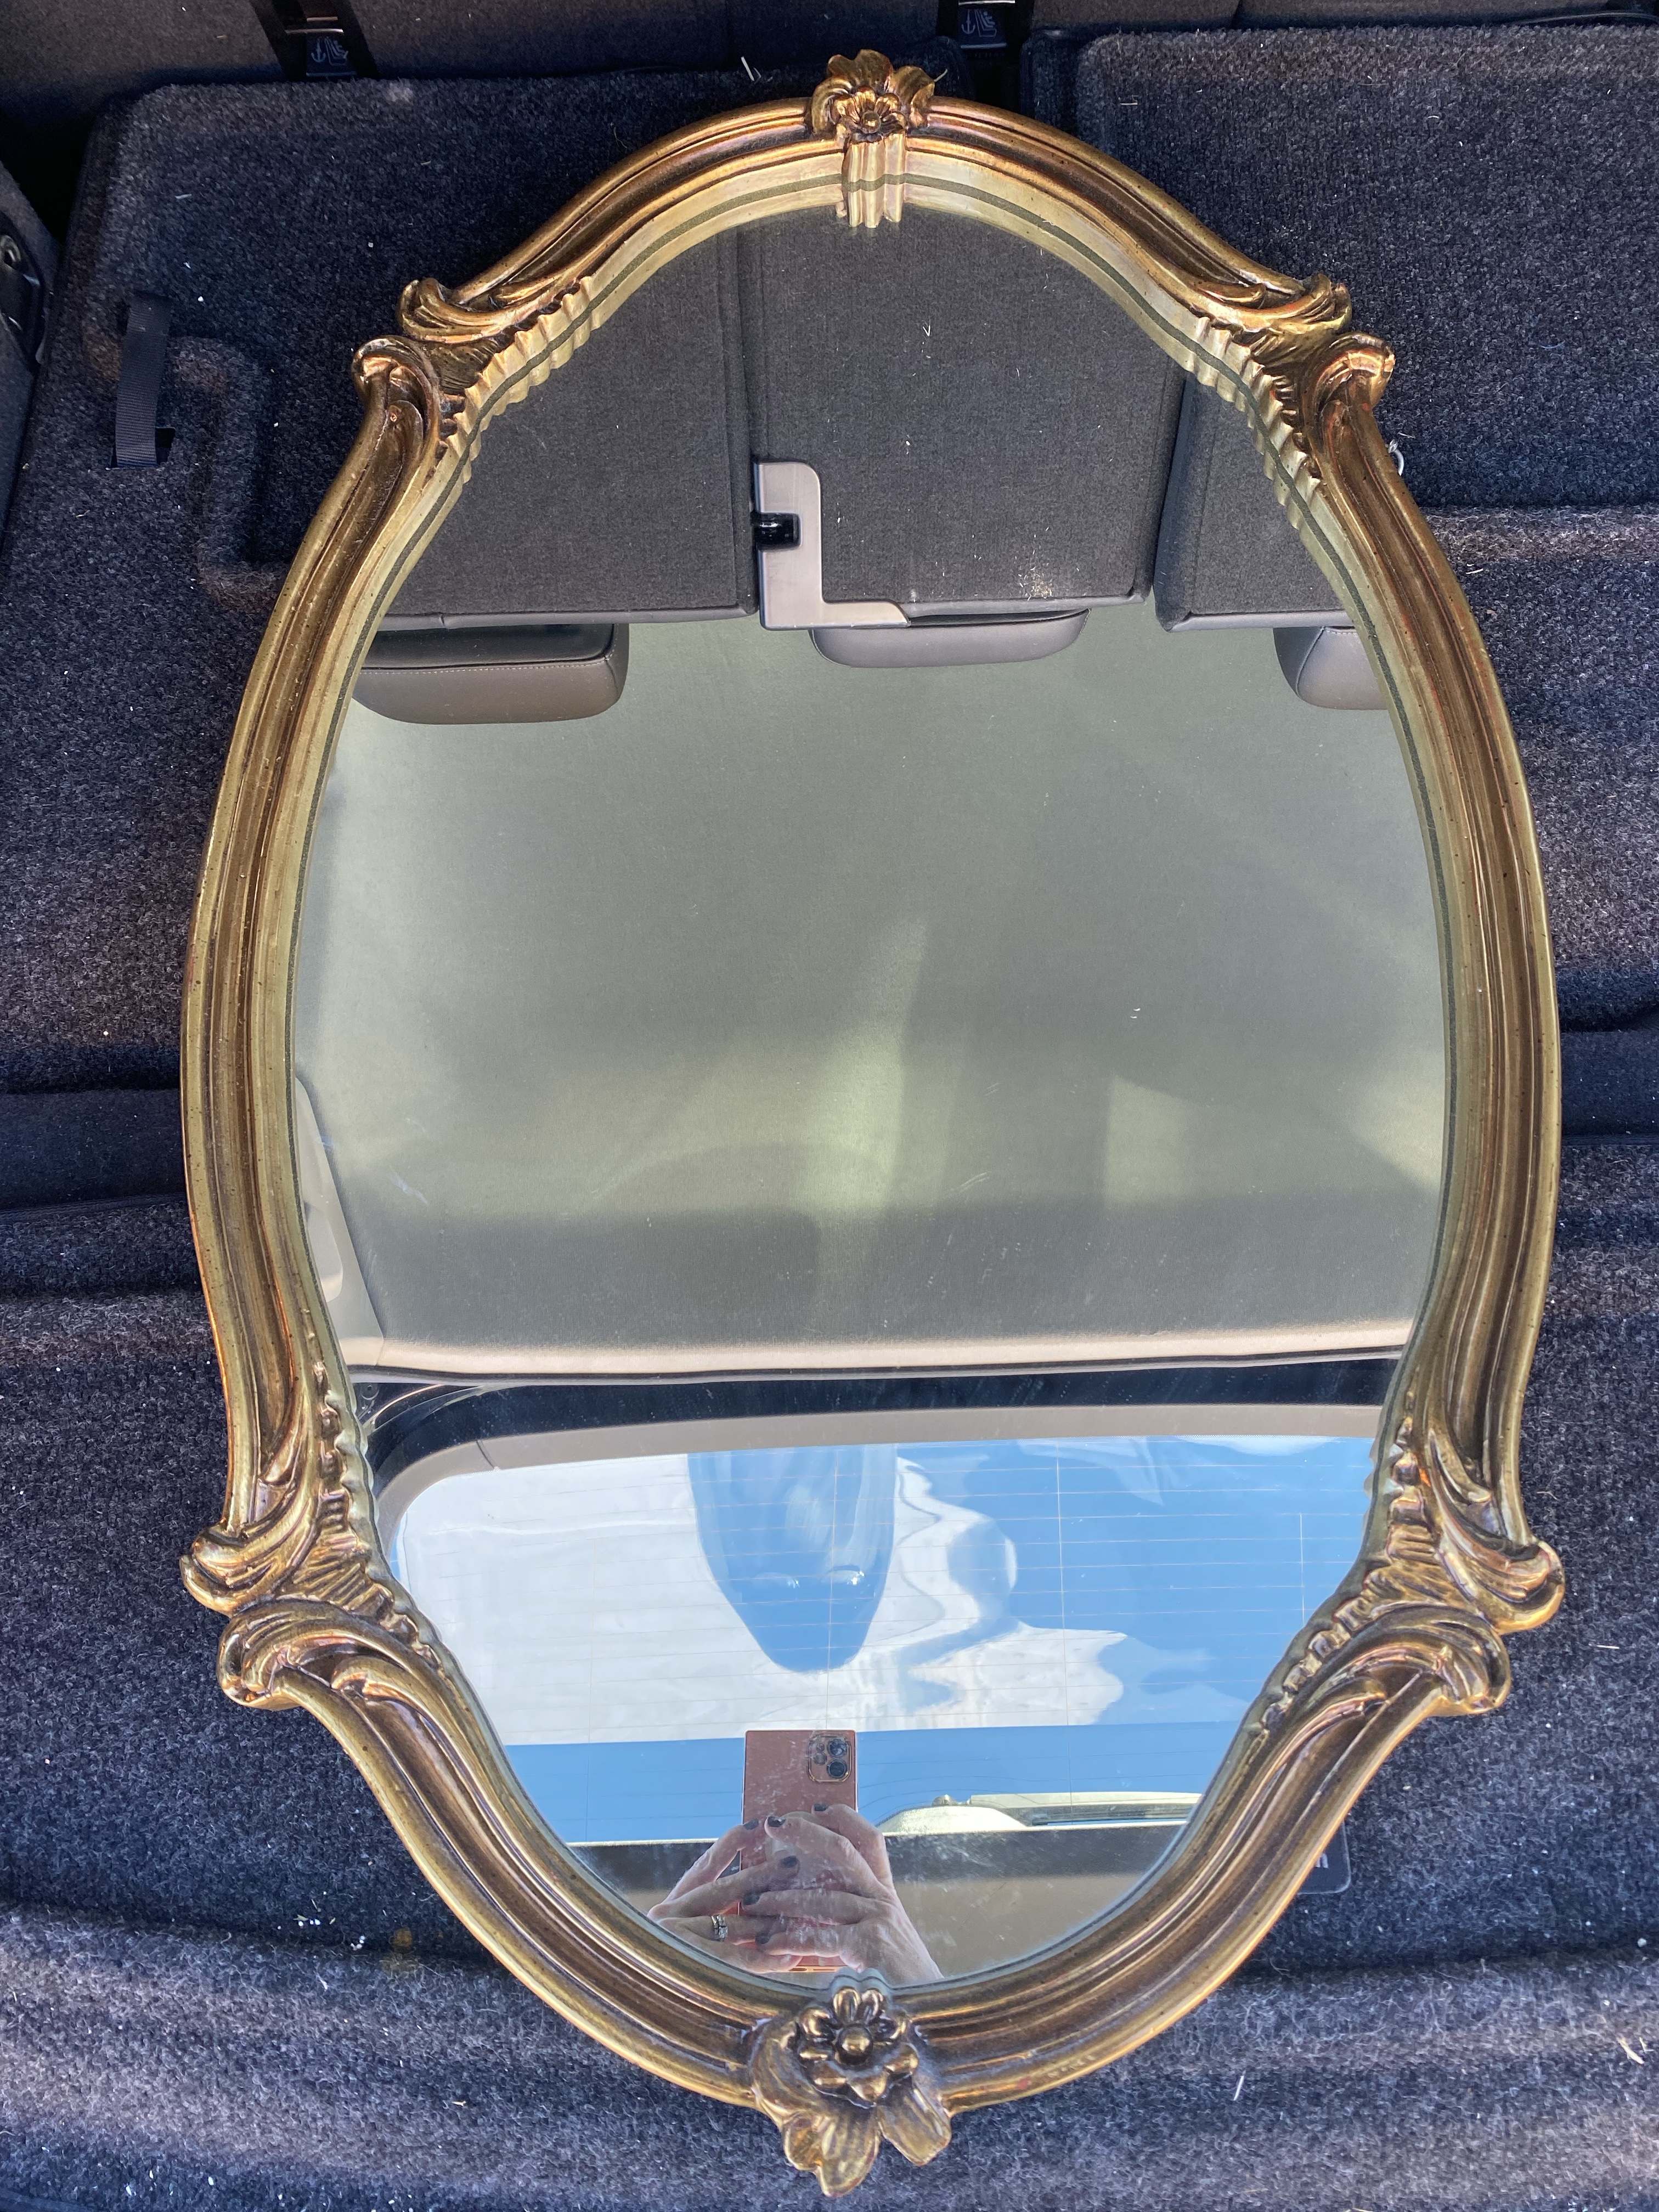
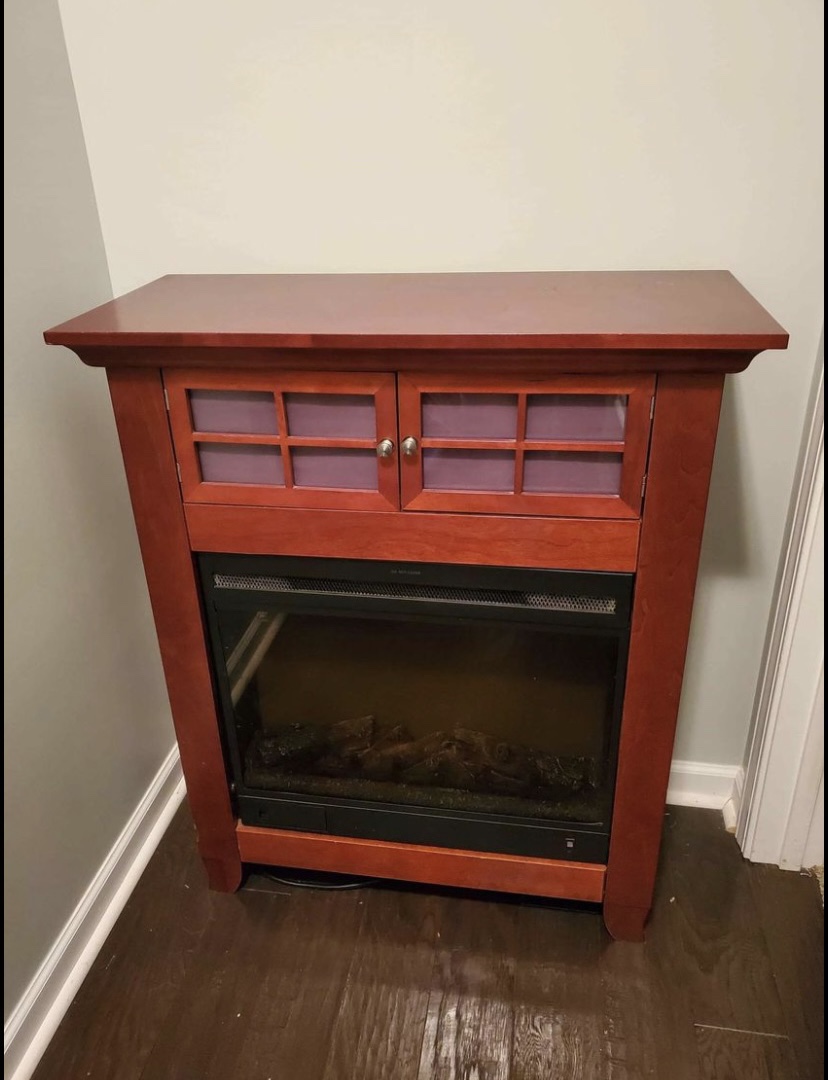
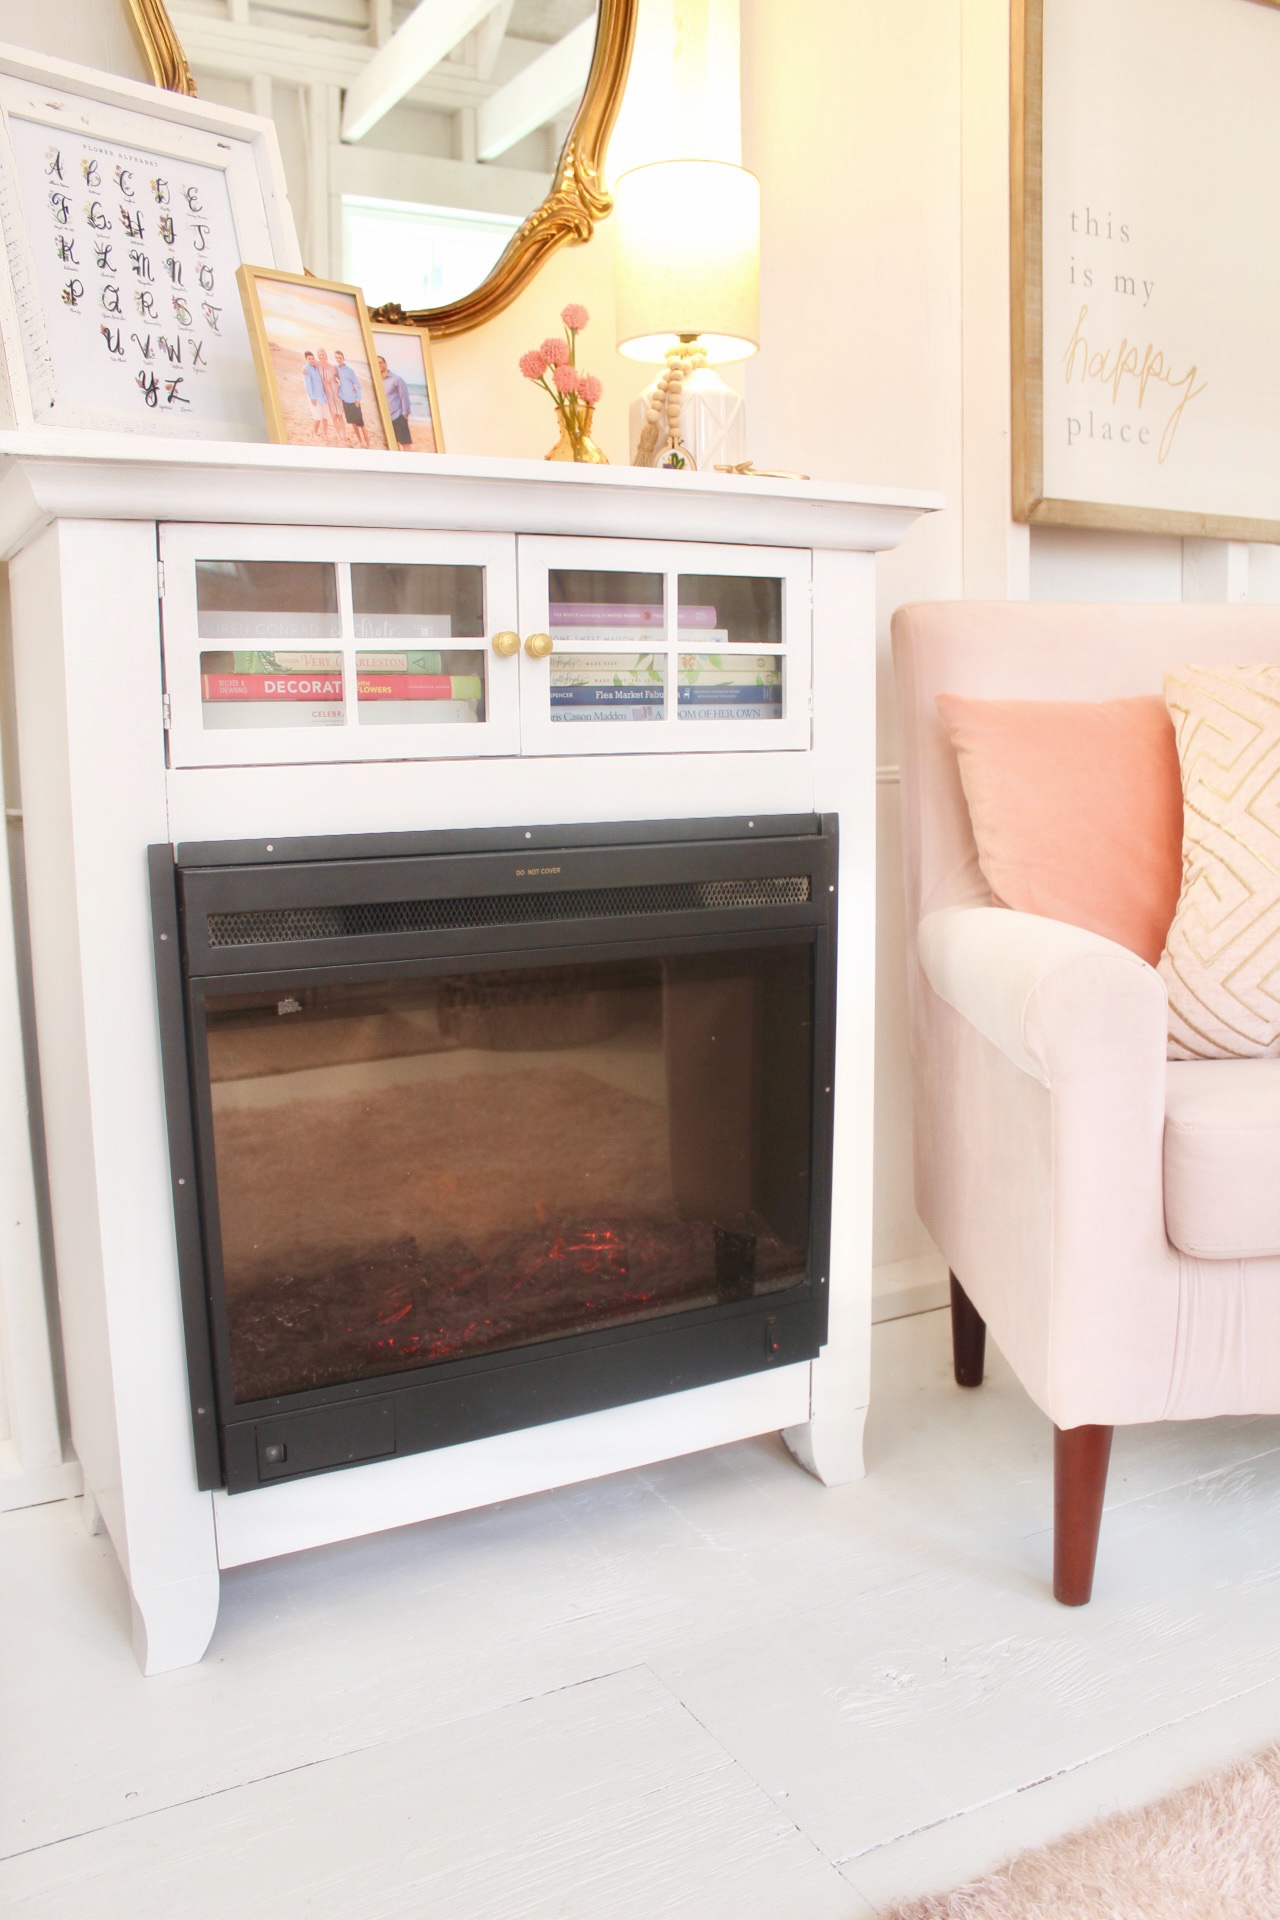
Other than crafting I love decorating and thrifting! So, I found this electric fireplace on Facebook Marketplace months ago. It works and really kicks out some heat! I painted it white and stored some cute books inside. I added some photos and a lamp. Then I put this pink chair beside it. Can you believe my neighbor had put this out on the side of the road for free?!? I’m so happy I snatched it up! I added a few pillows in pink to cozy it up. I had found that beautiful gold mirror at Goodwill for $4.99! Decorating on a budget is possible and can still be beautiful.
Moving in my desk and couch required some muscle, so my husband and a friend helped with that. Once I got it all in I started to decorate!

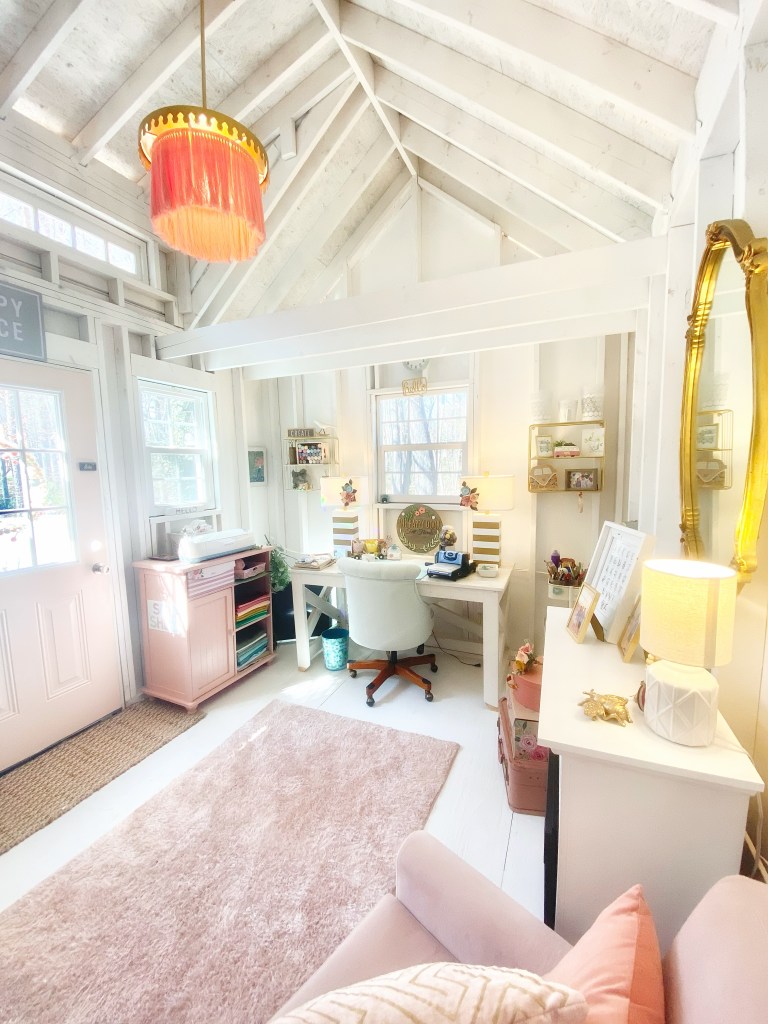
Here is the view of the couch and fireplace.
Here is the other side with my desk.

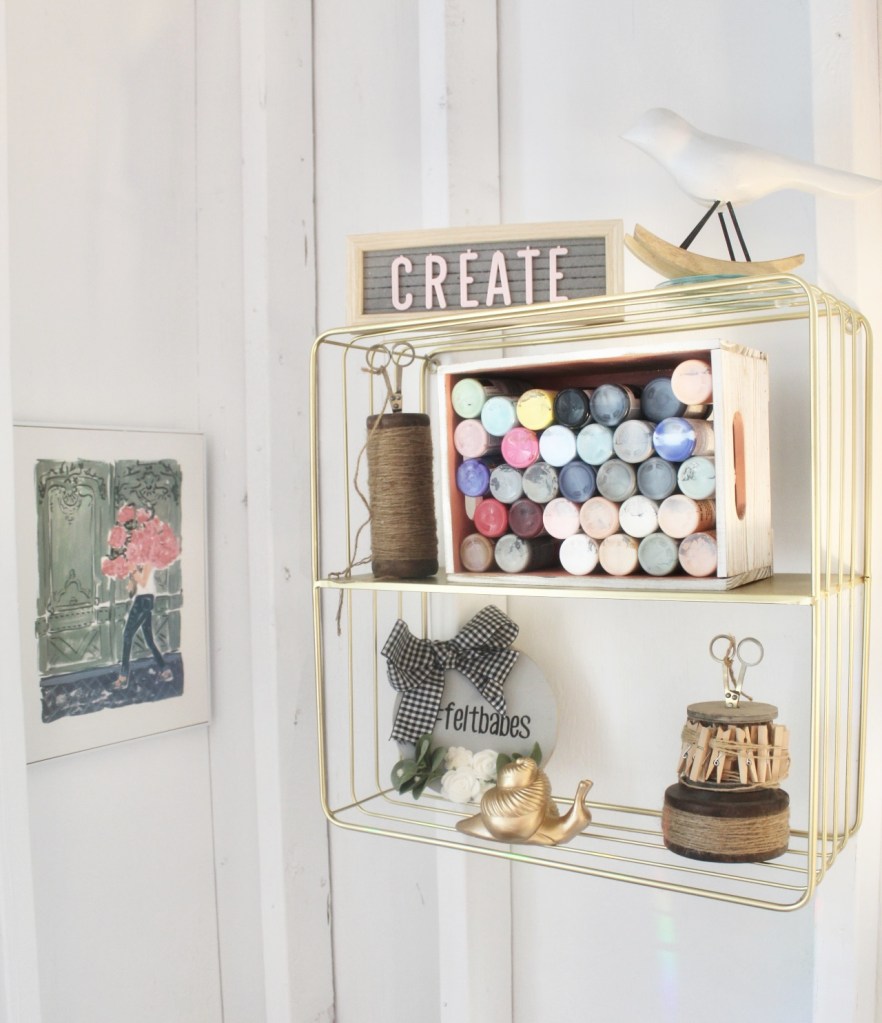
So, let’s take a peek at a few things I’ve done. On either side of my desk I hung two shelves. I found them at Habitat for Humanity for $4.00 each! I sprayed them gold and accessorized them with things I love. I had to add my VW Bus collection!

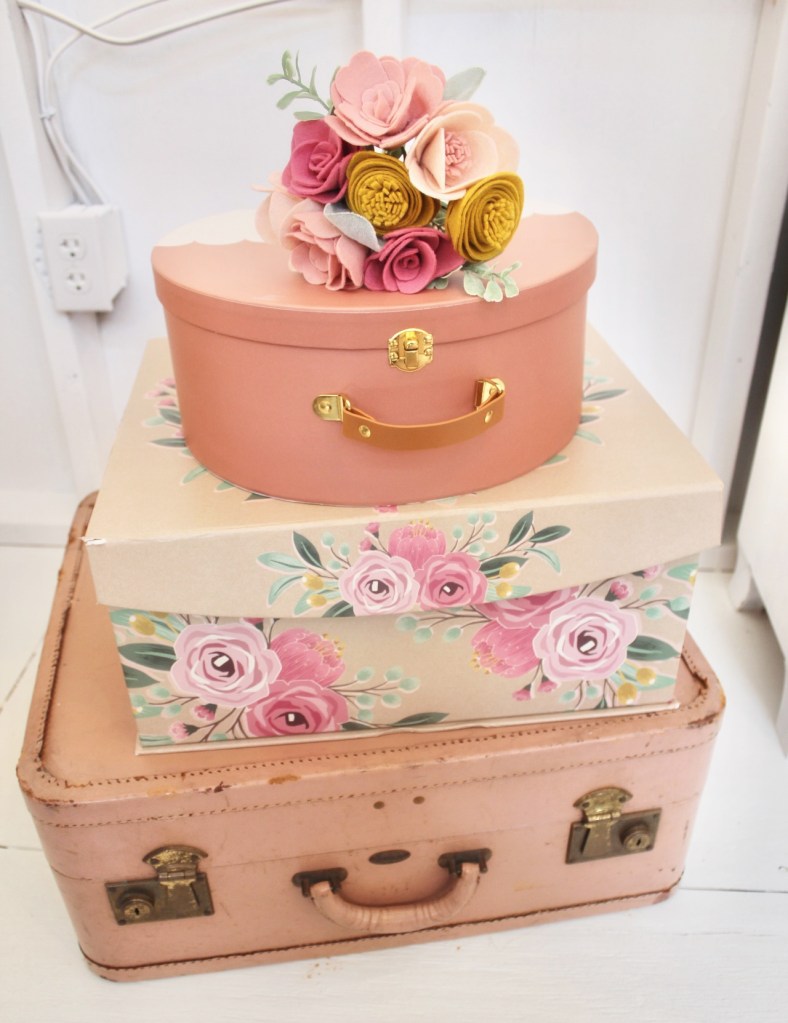
I had a couple of suitcases and a decorative box that I stacked. It’s a perfect way to add a bit more storage!
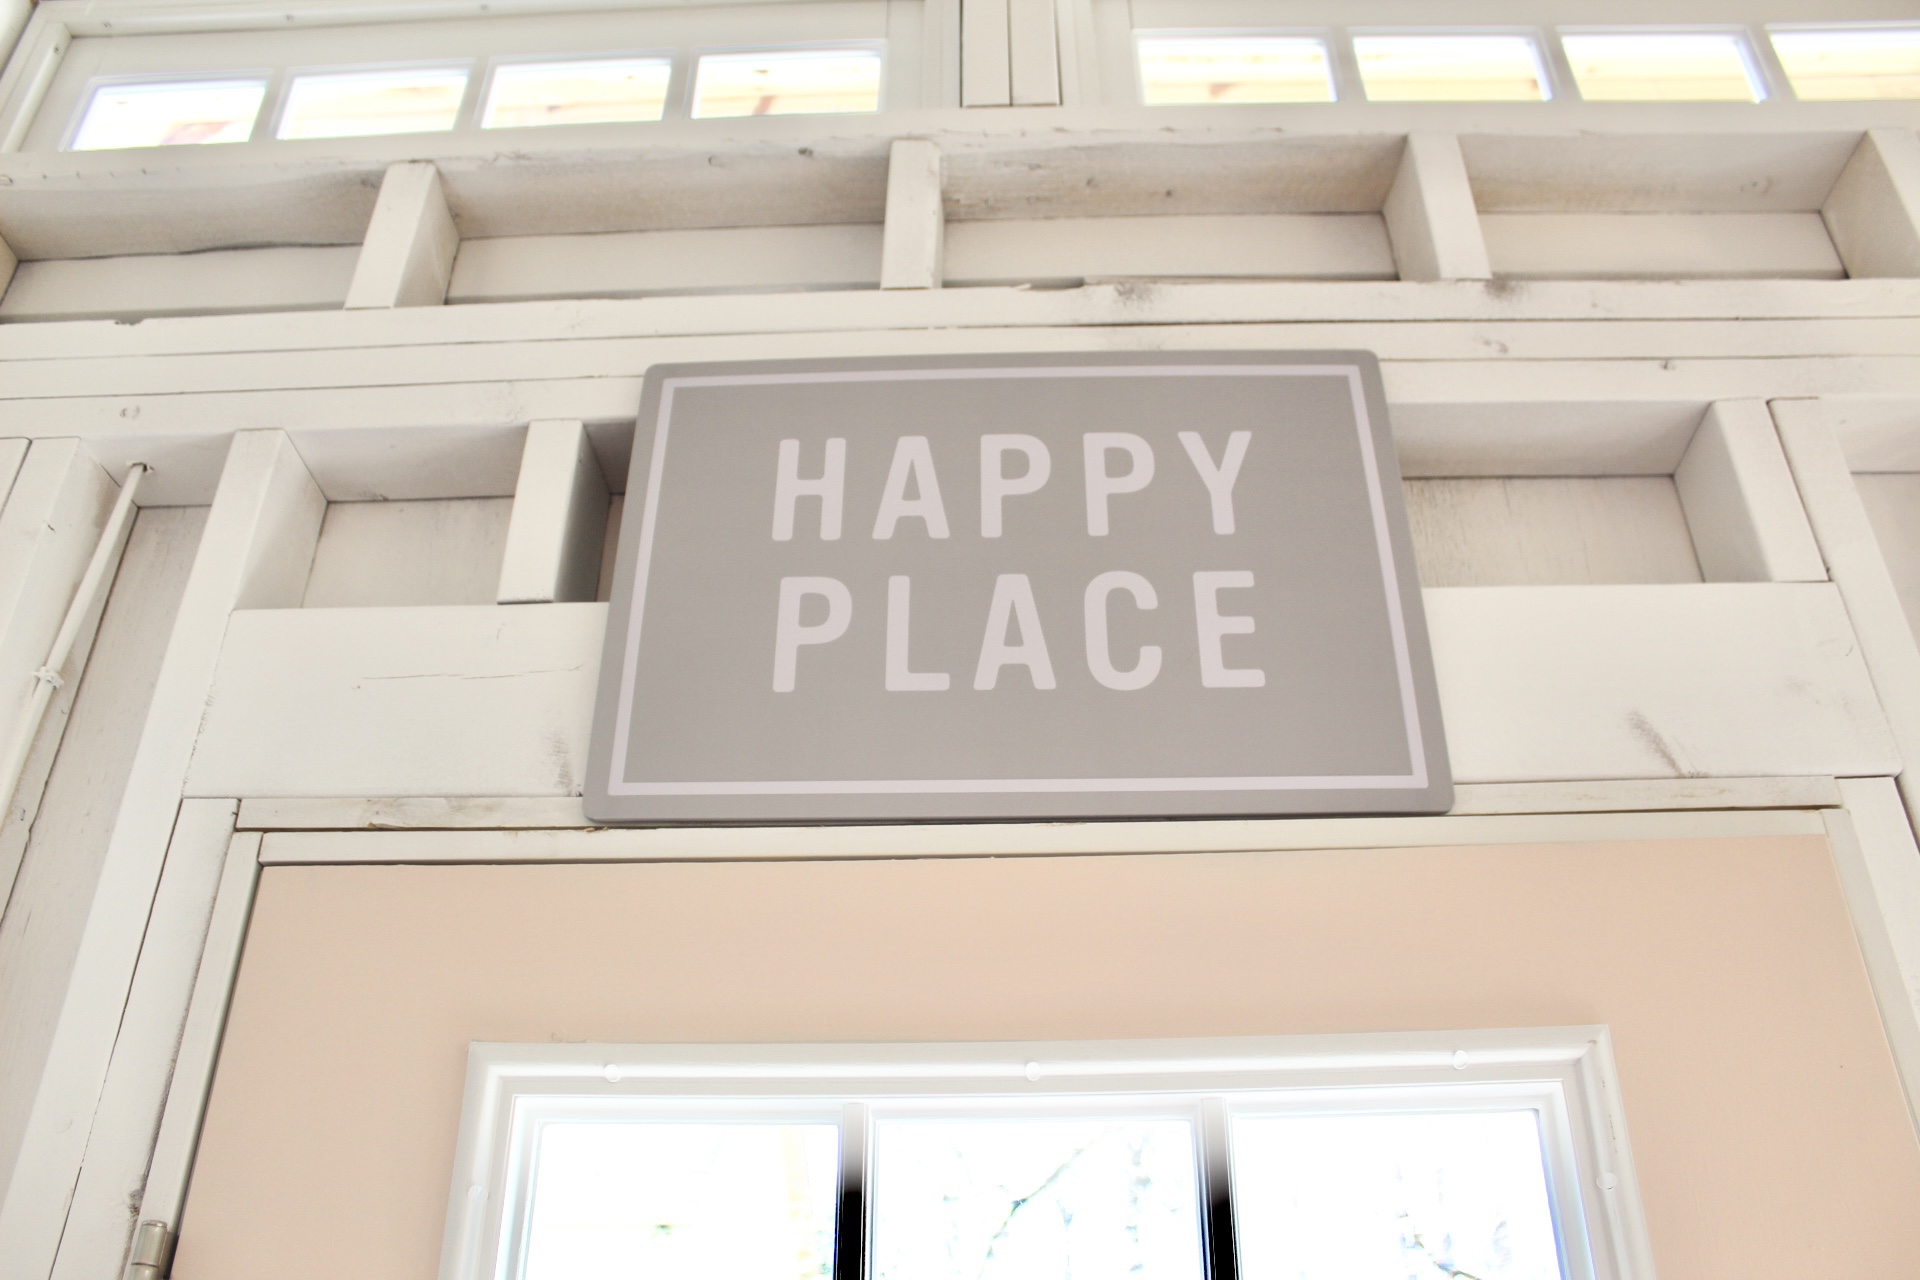
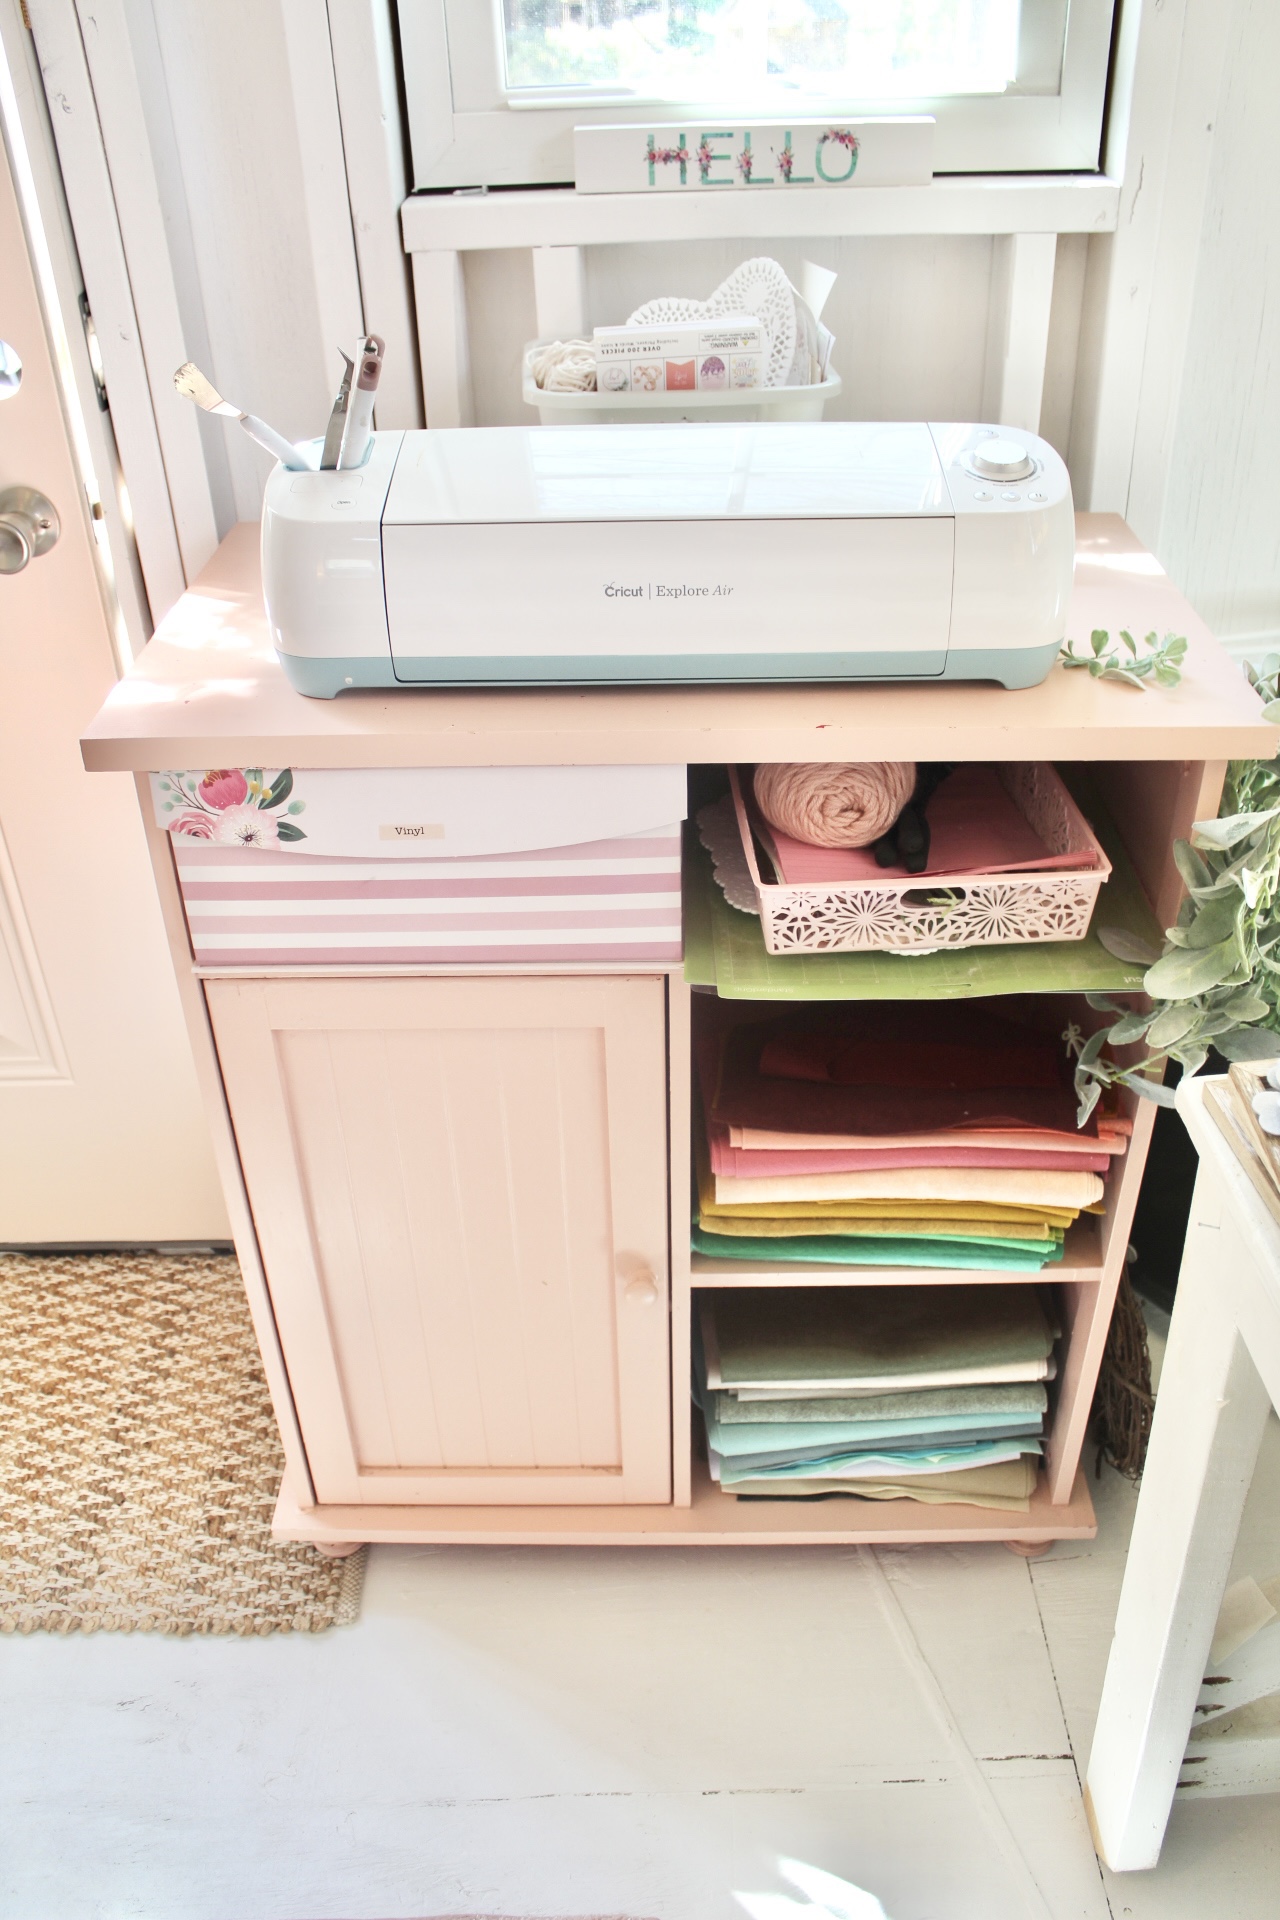
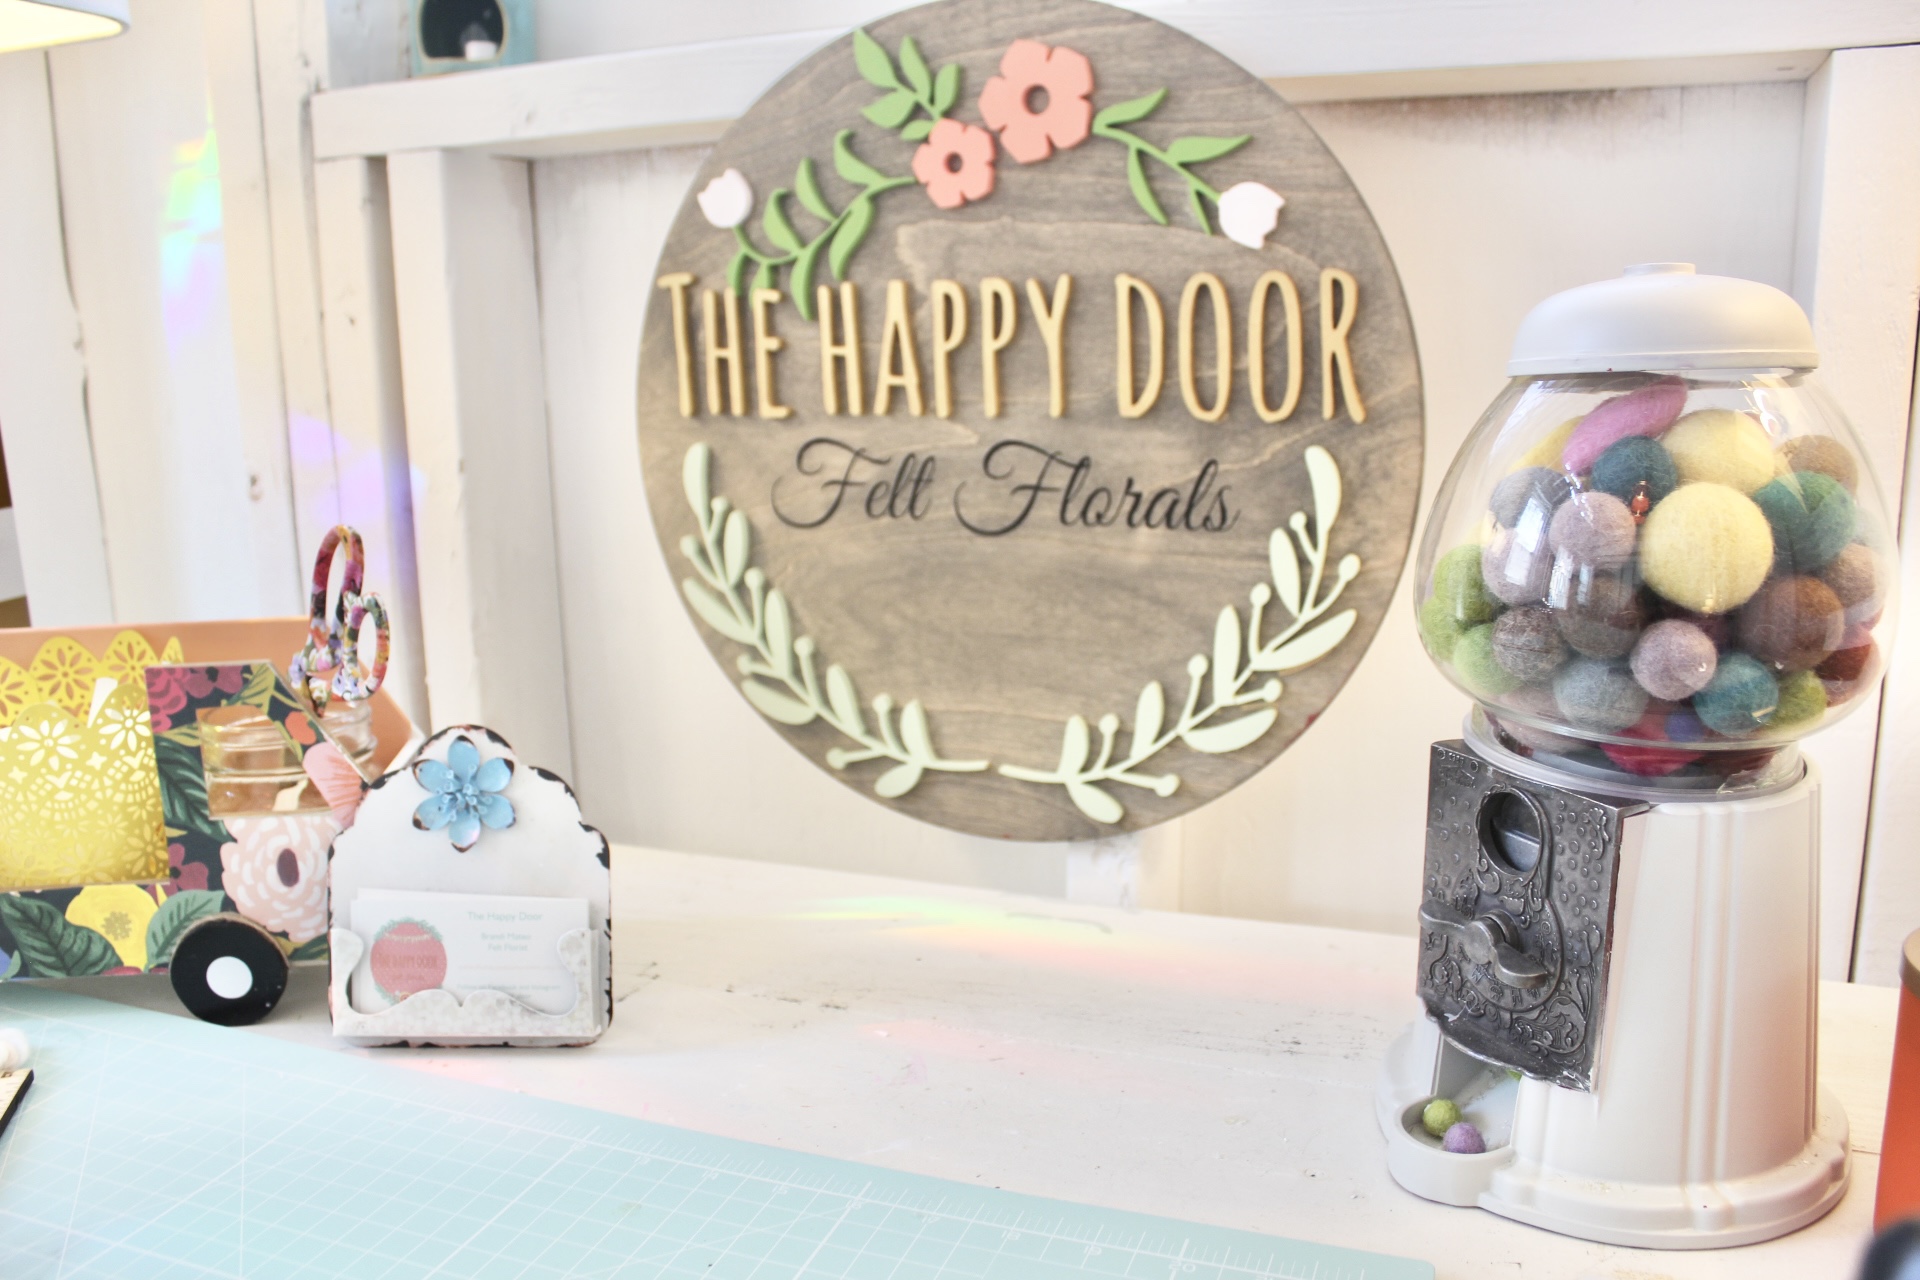
I brought my storage cabinet from my craft room in for my felt storage. I added my gum ball machine for felt balls and hung my Happy Door sign above my desk.
Since the shed is large I am so happy I could fit a couch! This was the first couch we bought when we got married (almost 20 years ago!) . It is in decent shape and it fit! It’s perfect to lounge on or even take a nap. Plus if friends hang out we have plenty of seating.

Above the sofa I had a frame I loved. I found a gold metal grid at Michael’s and hung it behind the frame to add some things that are special to me. I may add more on either side but I am still trying to decide.

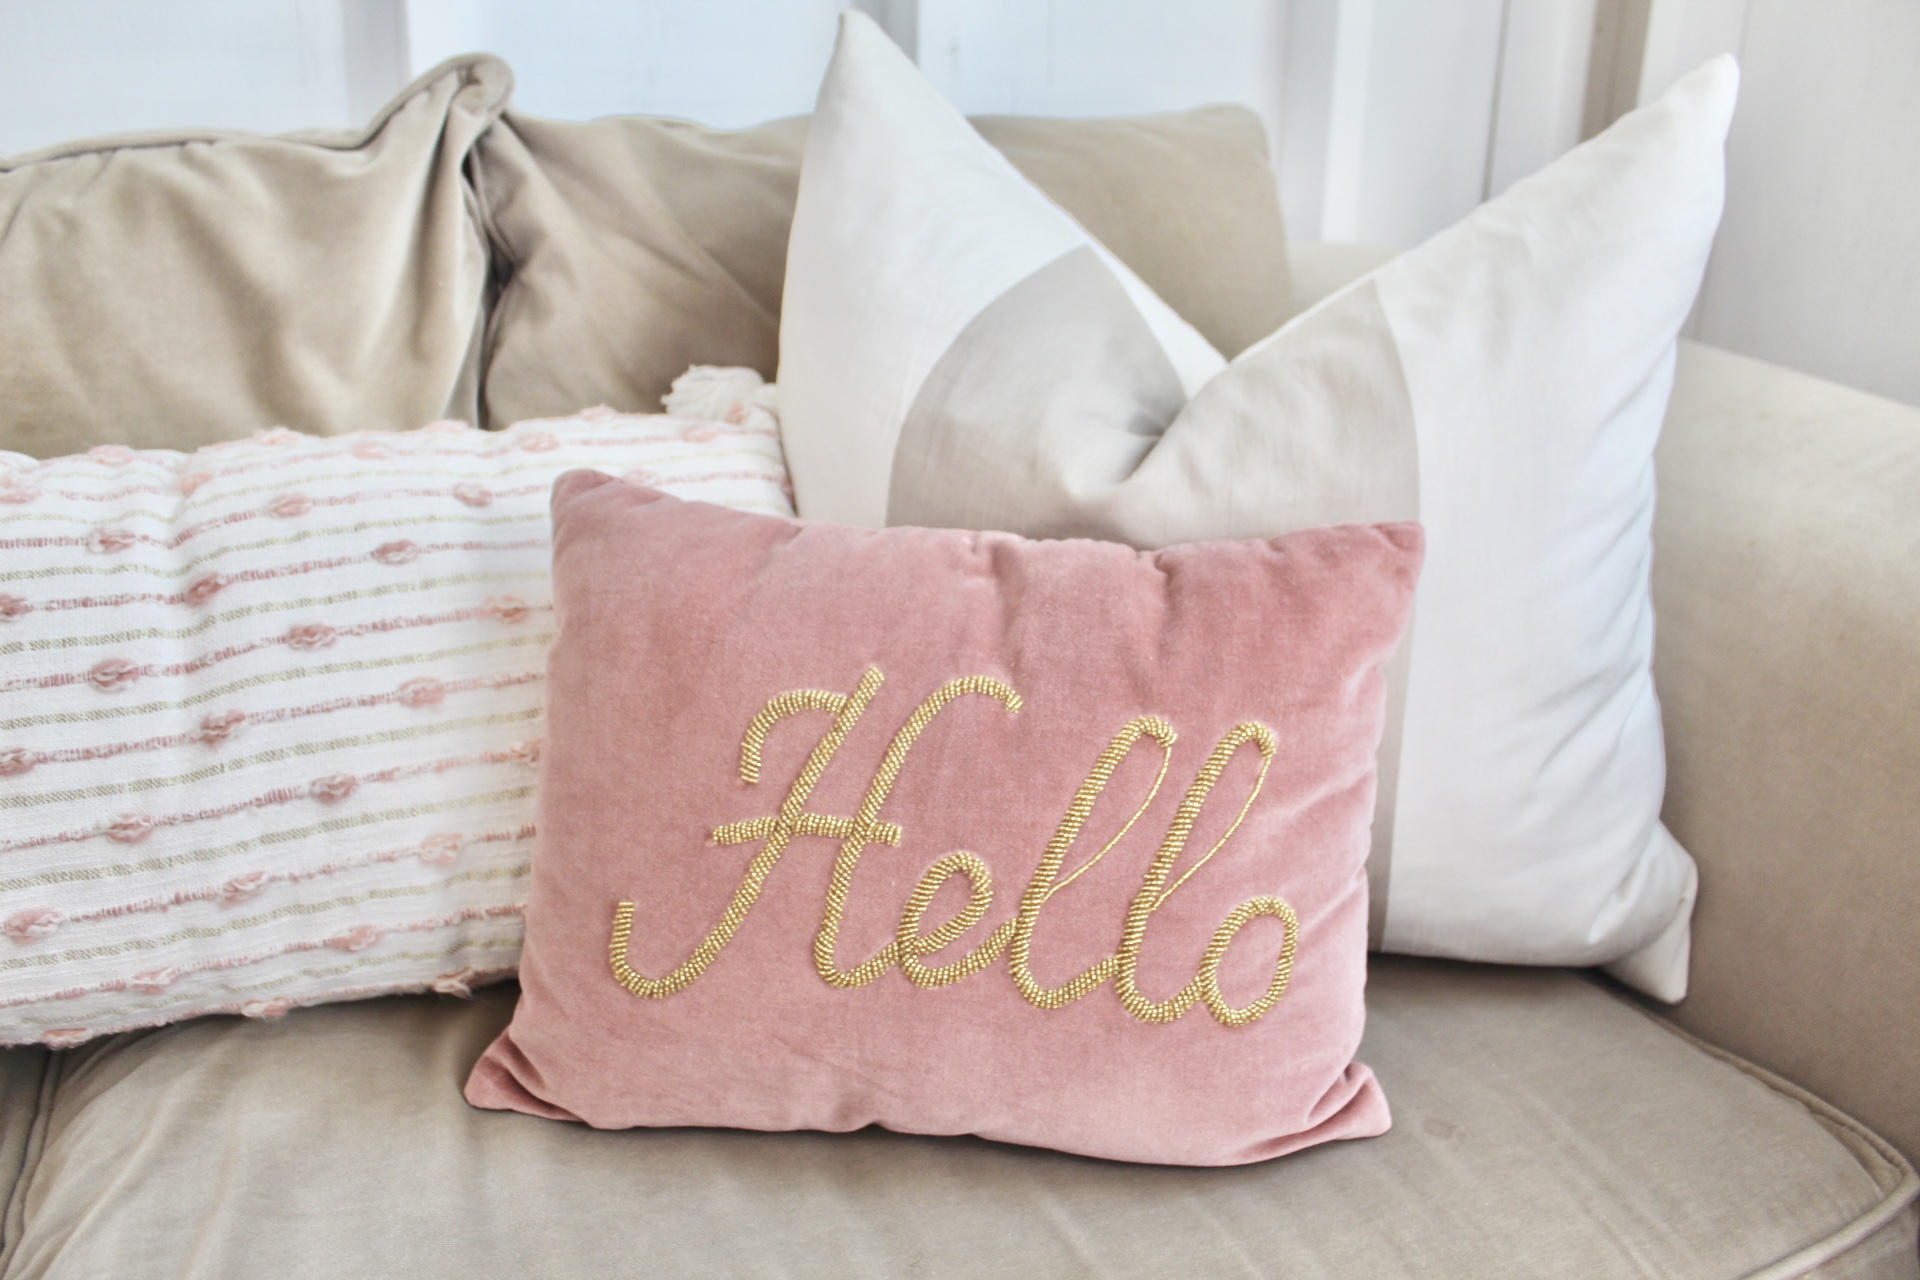
A few other things I did were easy and affordable touches. I had a laundry basket that I wanted to use as a table. I broke off the handles and flipped it upside down! I grabbed some pillows at Ross and Hobby Lobby in different shades of pink. And I found a Happy Place sign in the Target Dollar spot and hung it above the door! I added a few family photos and a small lamp on the fireplace.

I am still pinching myself that I have this space! I am so happy to have a place to create and be inspired. Next we will finish up the outside and I’ll add some landscaping. I can’t wait to show you how cute it is! I hope you have enjoyed this tour and I can’t wait to share updates.


Building my Dream She Shed Part Two

I haven’t updated you on the She Shed in awhile! I post lots of updates on my Instagram stories, but thought I should document them here, too.

On my last update we were just at the point of adding the walls! Lots has happened since then and we are entering the home stretch, hopefully!

This was where we were on my last blog post!

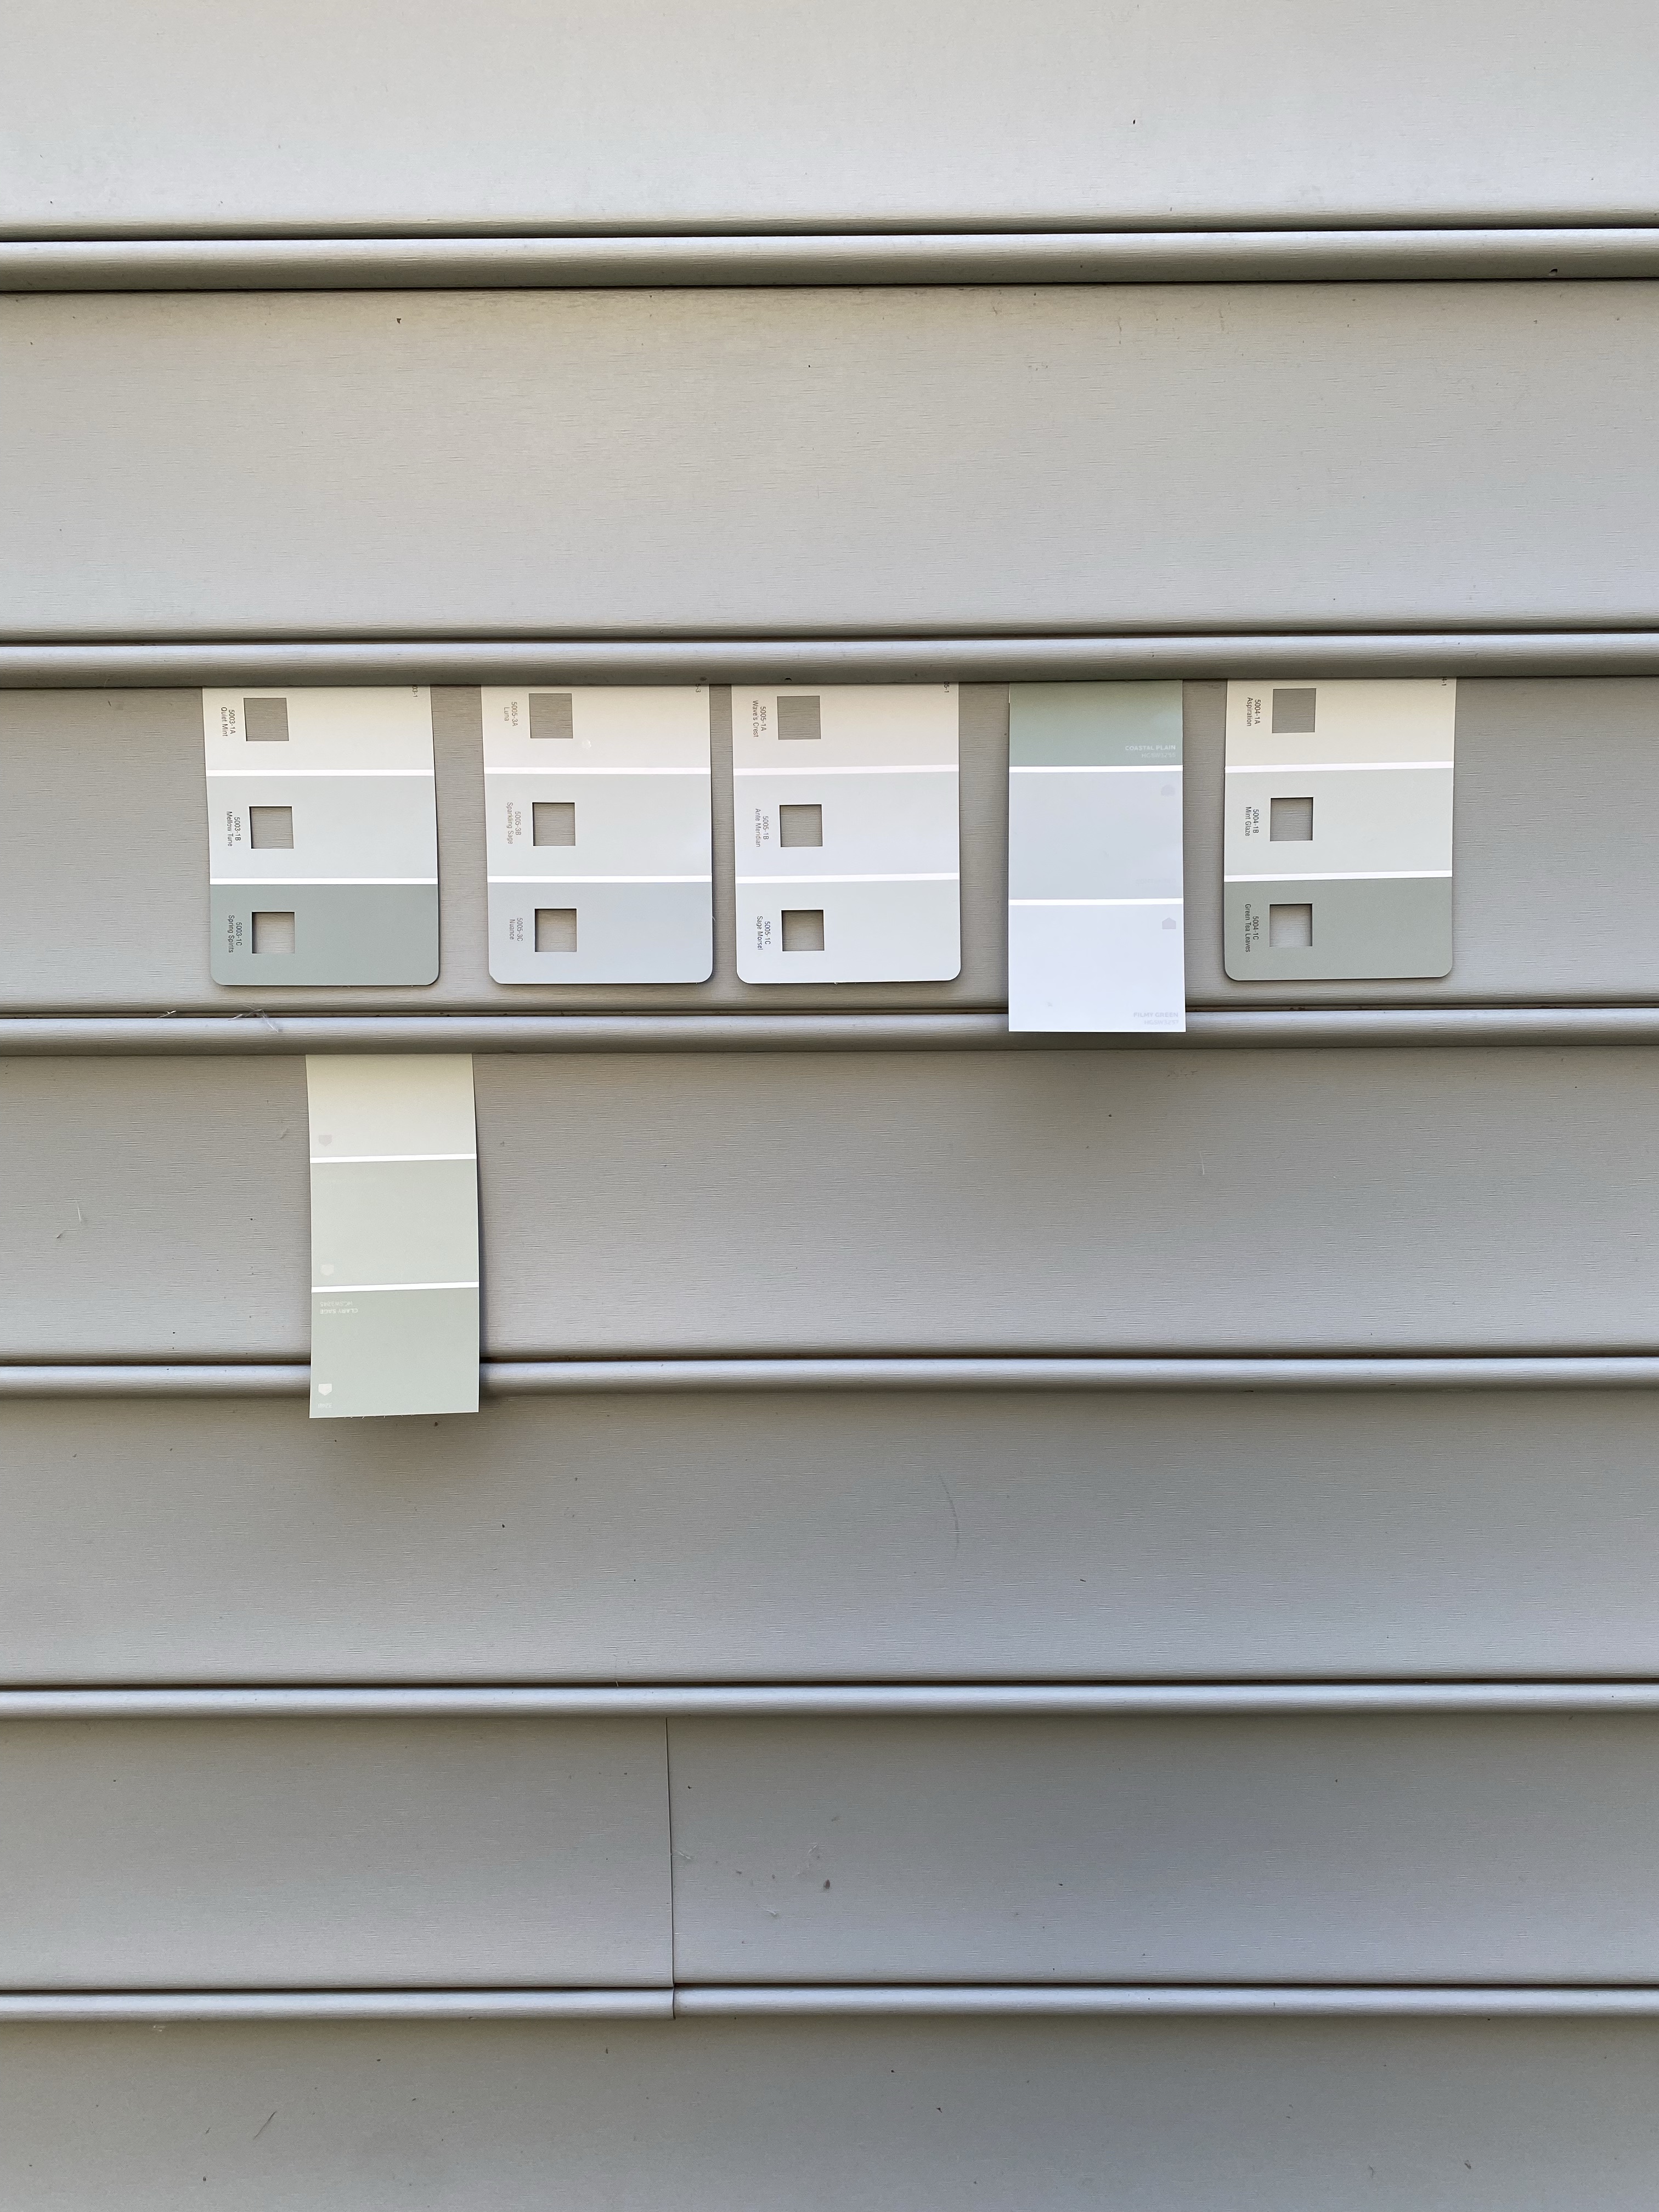
Once all the walls were up my husband told me it was a good time to paint all the siding. I wanted to match it closely to our house color. We live in a neighborhood with an HOA so we had to have all the plans approved ahead of time. We had also told them the shed would match the house. So, I grabbed some swatches and tried to decide!

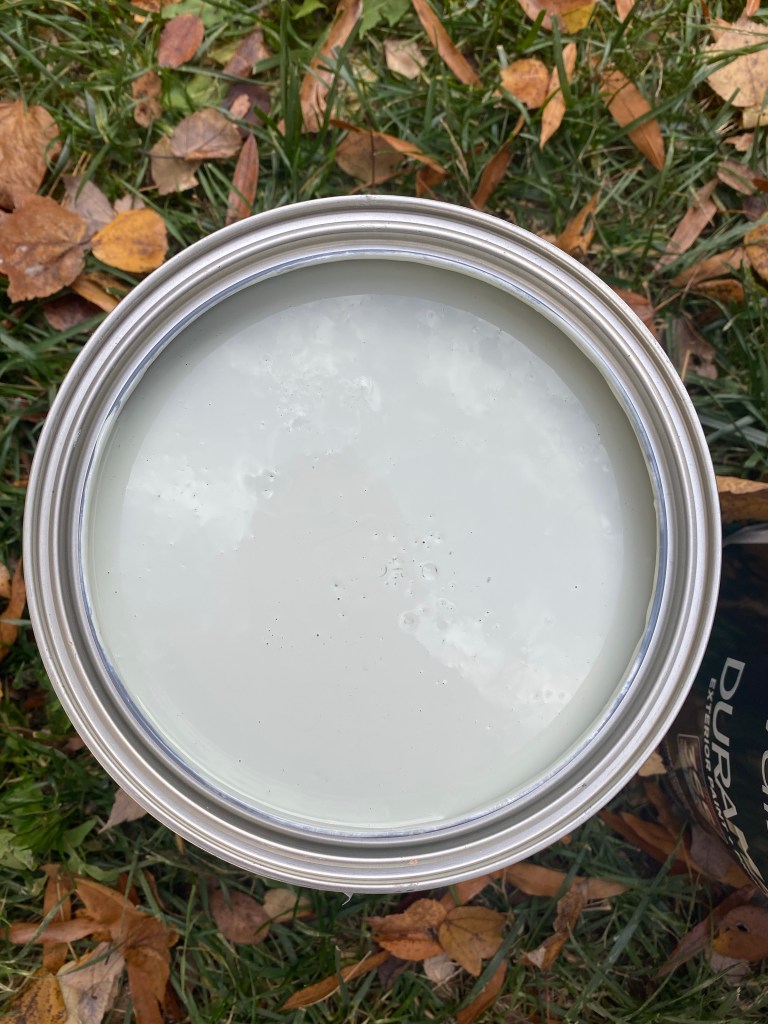
In the end I went with Nuance from Valspar.

My amazing mom helped me paint! In the end it took us 5 gallons of paint! I will still need one more to finish a couple of small spots of siding my husband has to add.

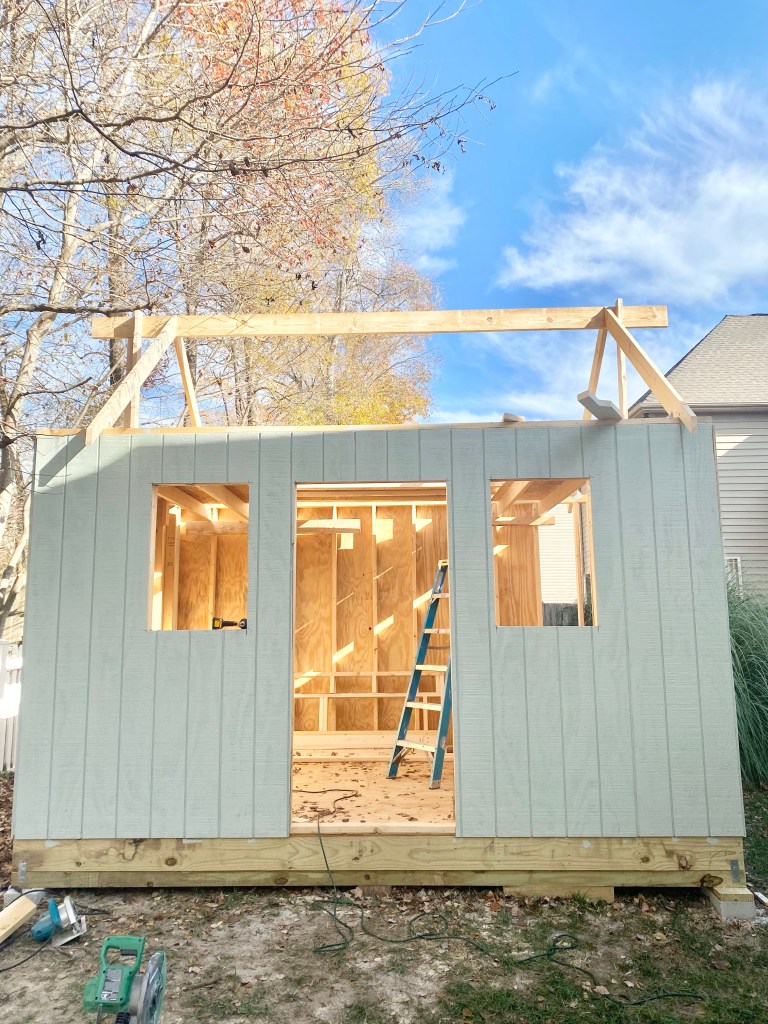
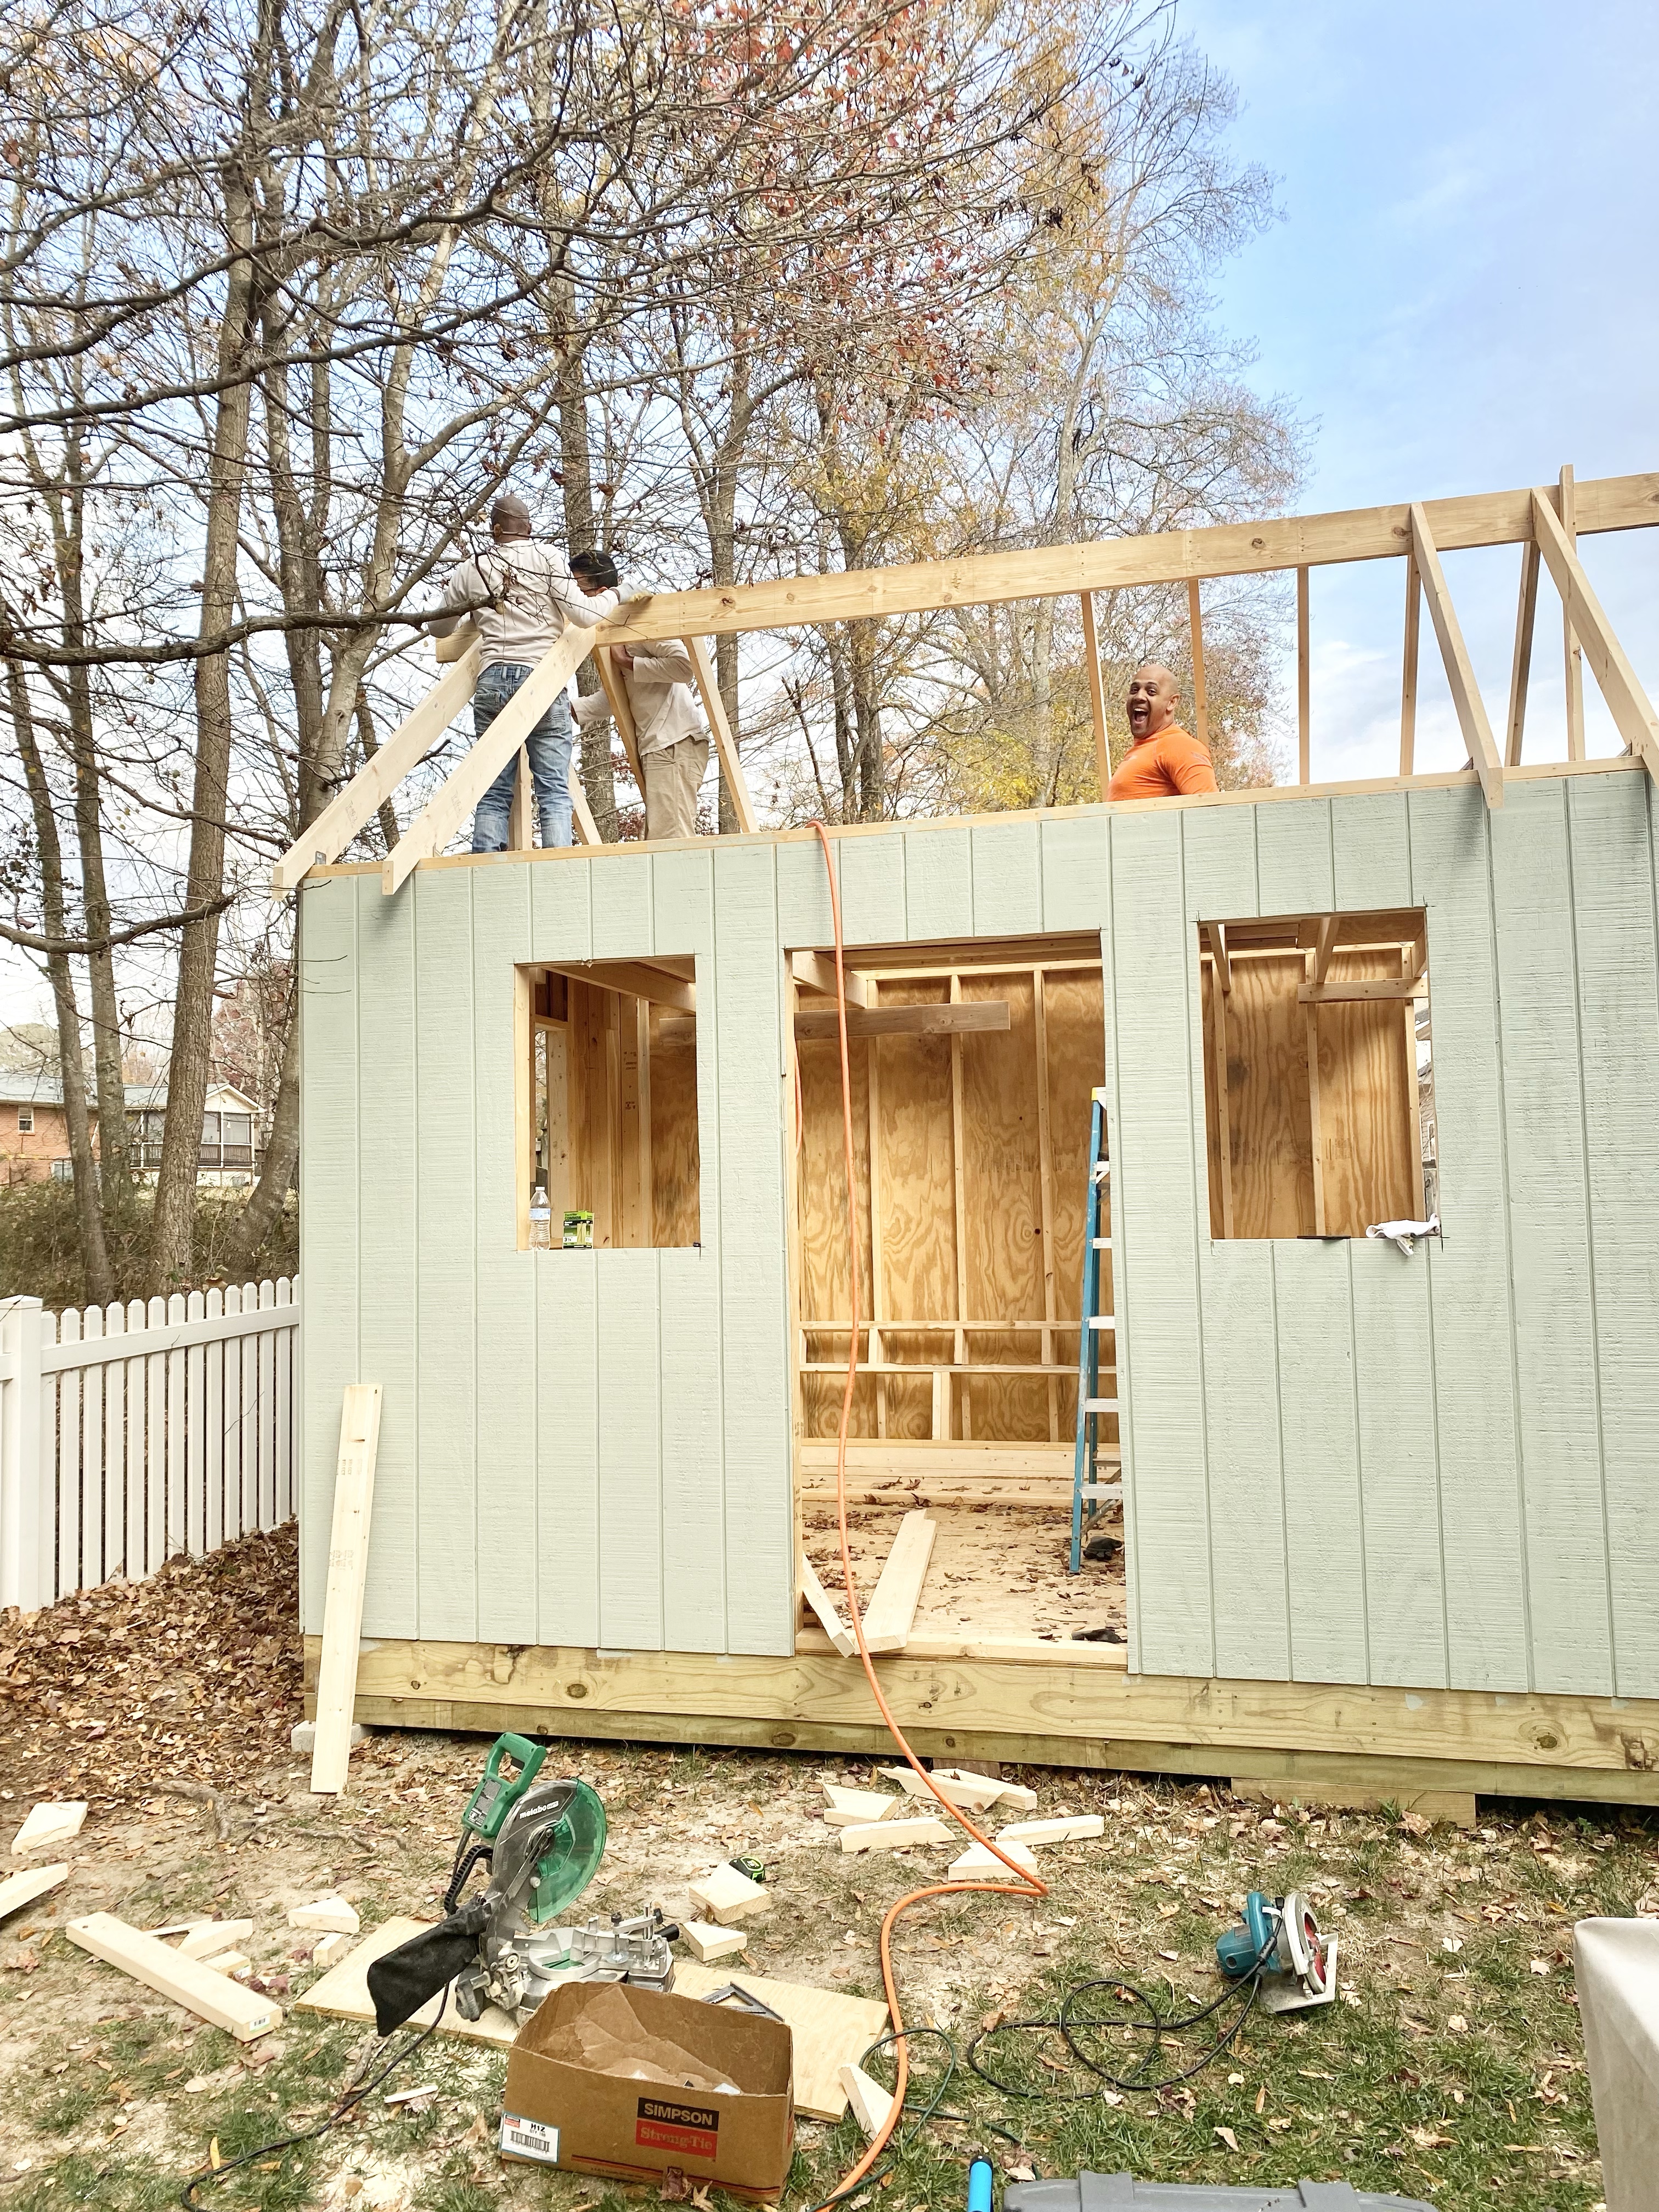
After the walls were all painted it was time for the roof. My husband warned me it would be a longer process and a bit more complicated than the walls were. So, to start the roof he has to put a tall beam across the top. Fortunately, a friend came in to help him!

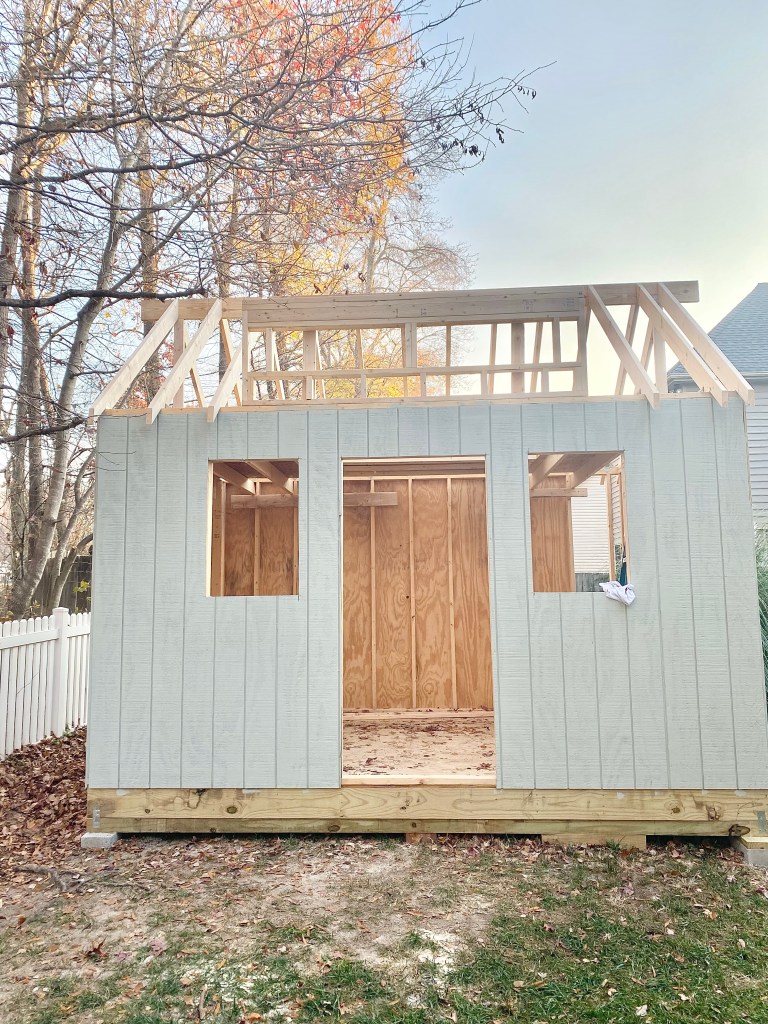
Then it was time to put in all the beams. Lots of measuring, cutting and bracing is involved. It was definitely time consuming! One afternoon he had the help of some friends which was nice!

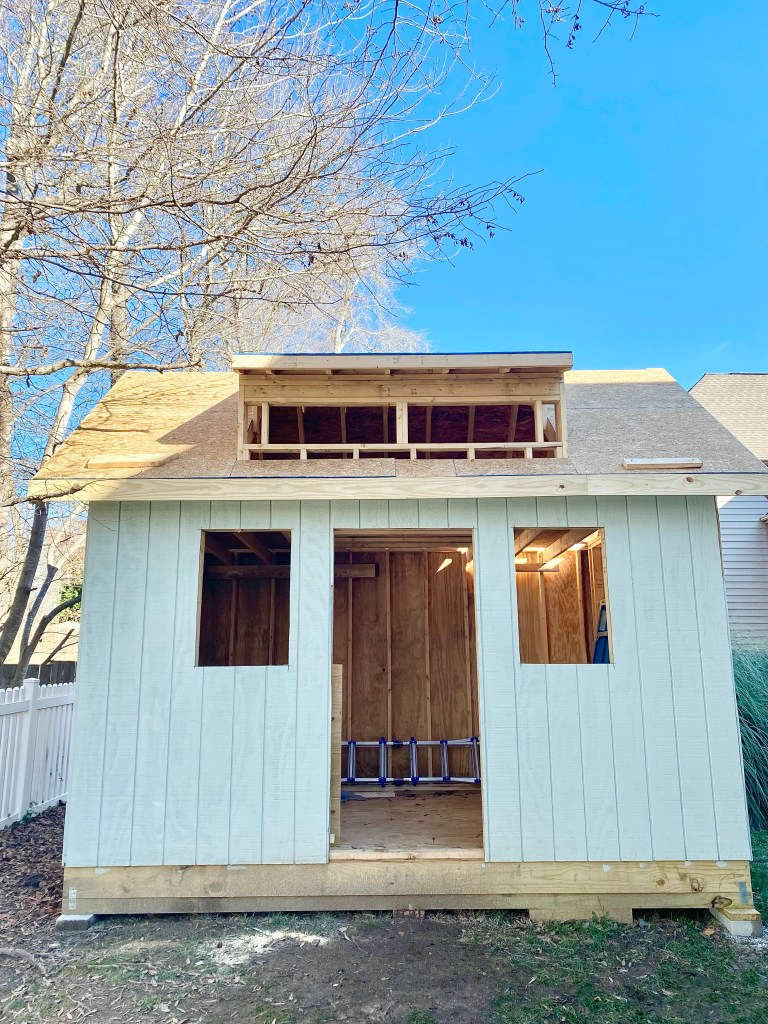
He did an amazing job! He also had to add the dormer for the transom window which was an extra step, but I think it will make it so charming!

Next up was laying the wood on the roof. Fortunately he had a friend from work help him with that part.

It is already looking better than I imagined!

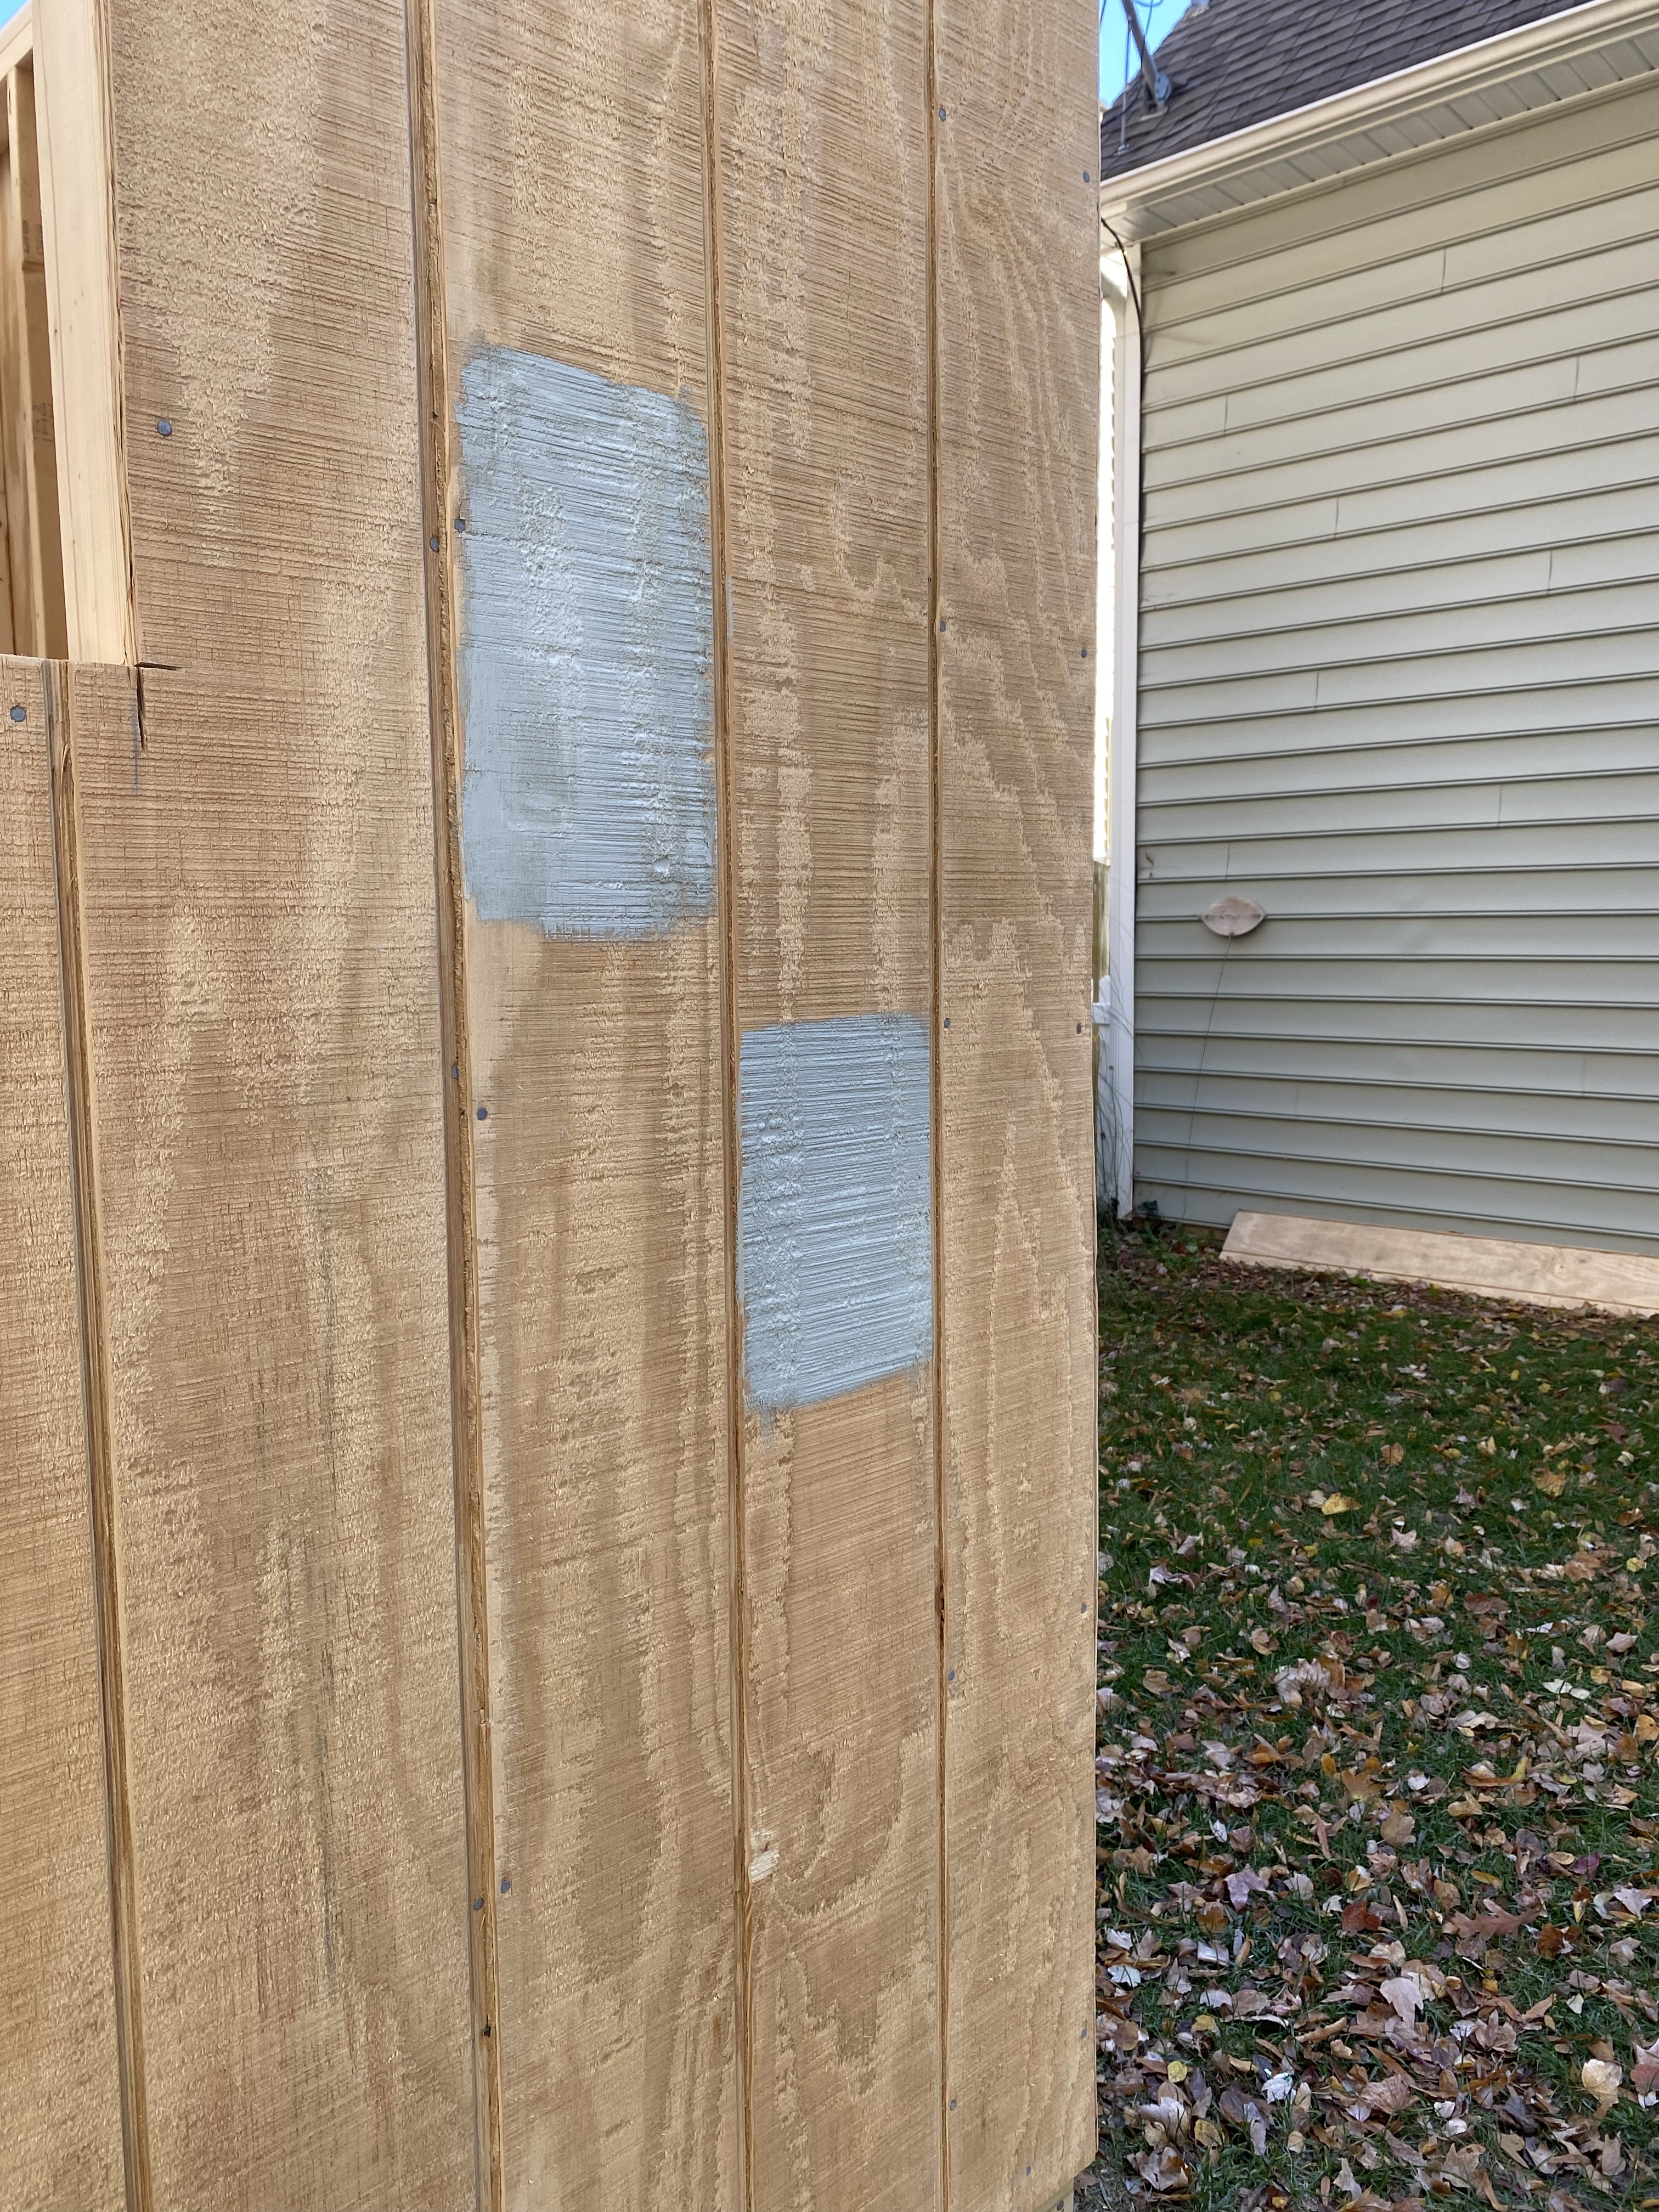
As the process moves along I have so many ideas swirling in my head. One is what color will I paint the door? So, I got creative one afternoon….

So, the She Shed is really coming together! I have some projects already planned for the inside! I bought a chandelier that I am excited about. I also bought an electric fireplace on Facebook Marketplace that I will paint and makeover. Then I found the cutest mirror at Goodwill for above the fireplace!

Thanks for following along! I love sharing this process!

San Francisco Vacation

We planned a family vacation to San Francisco the last week of December and really enjoyed our time visiting the city. I thought I would share some of the highlights and pretty things we saw.

I edited my photos adding hues of pink! I felt like the city had so much pastel architecture that the hints of pink are how I remember it. I used an app, Light Pink, to edit them.

The Painted Ladies

Our first stop was to see the iconic Painted Ladies. It was a cloudy day so we didn’t get the views of the city but the houses were still beautiful. If you watched Full House growing up you will remember these houses from the introduction of the show.

The Golden Gate Bridge is what most people think of when they think of San Francisco. It doesn’t disappoint. The color and the views are pretty amazing.

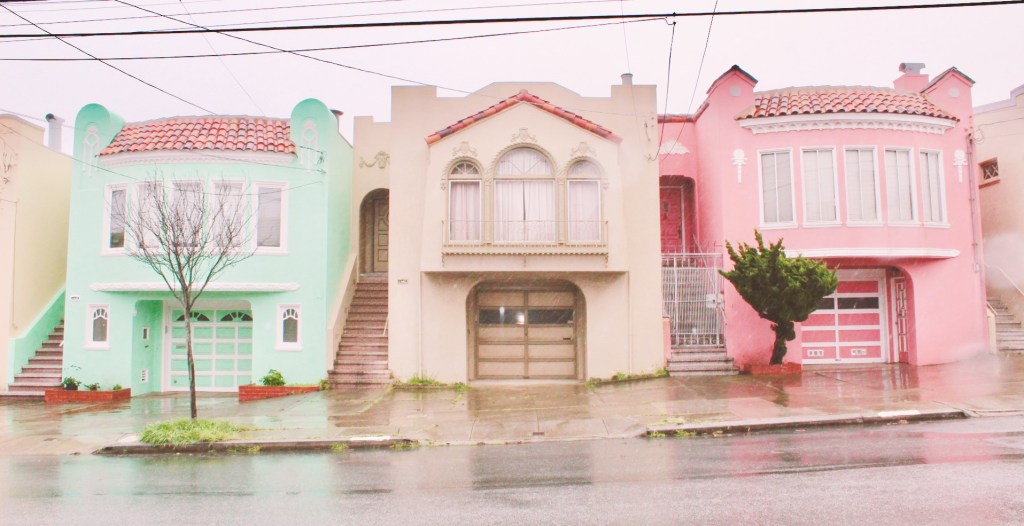
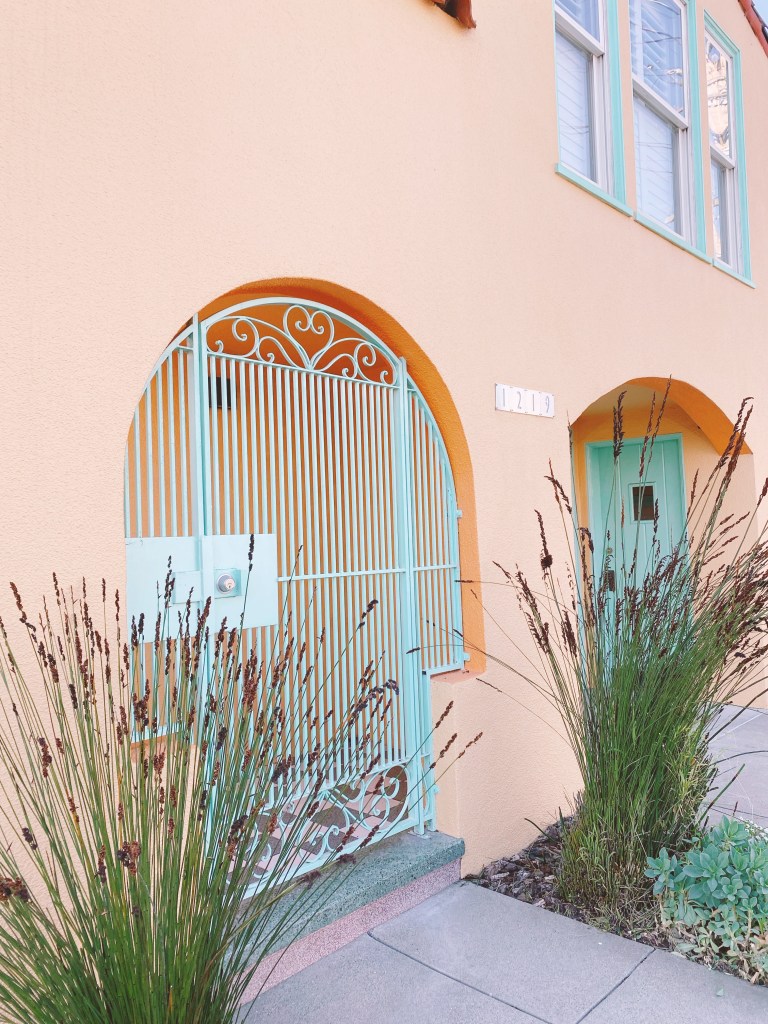
I also loved all the fun colored homes. Unfortunately the week we were there we had lots of rain. But I did hop out of the car a few times to grab some photos of some of the fun homes.

Such fun colors and architecture.
You can see the rain in this photo. Not only is the architecture well known but so is the weather!

We also took a day trip to the Muir Forest. It was a quick 40 minute ride from the city and amazing to see the large Redwoods! I highly recommend going here. It is breathtaking!

Right in the city is the Golden Gate Park. It has lots of things to see. Since we had a limited window without rain in sight we just went to the Japanese Tea Garden. It was fun to see and you can stop in the tea house for some tea, too.

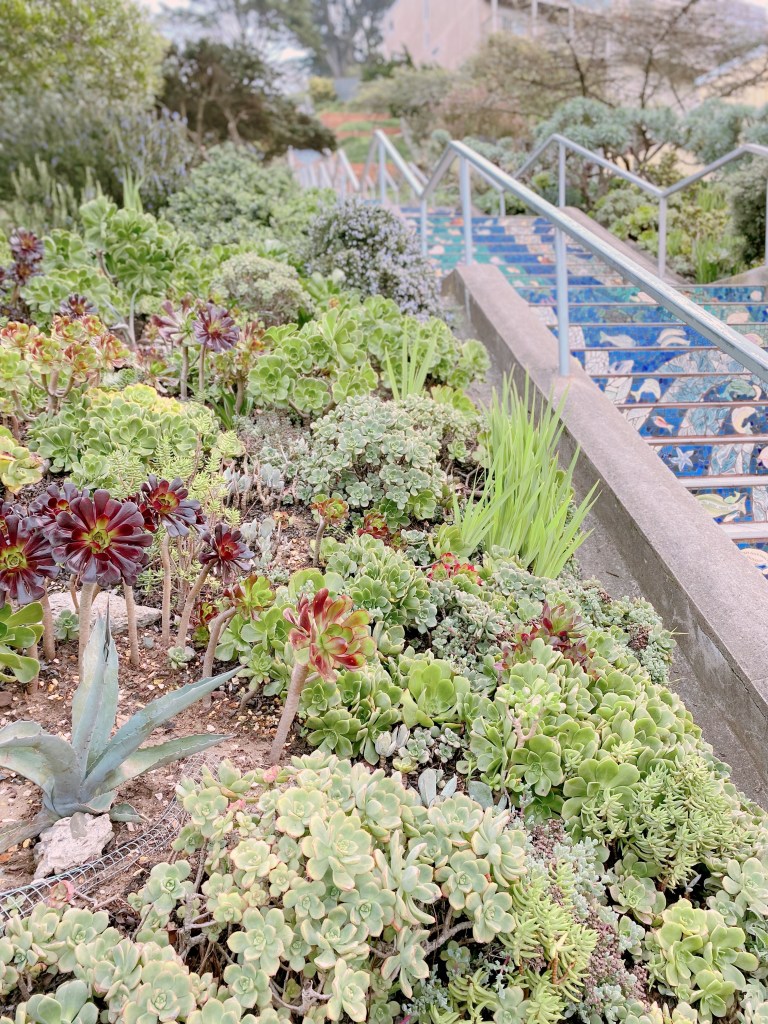
Our next fun spot was The 16th Avenue Tiled steps. You can climb these stairs to the top for an awesome view of the city. Plus the stairs are lined with amazing plants and succulents!
16th Ave Tiled Steps
What a view!
I couldn’t get over how huge the succulents were!

Of course we had to go to Alcatraz! The kids loved it and so did we. You take the ferry to the island and can go on a self guided tour. It was so interesting and also had some beautiful views!

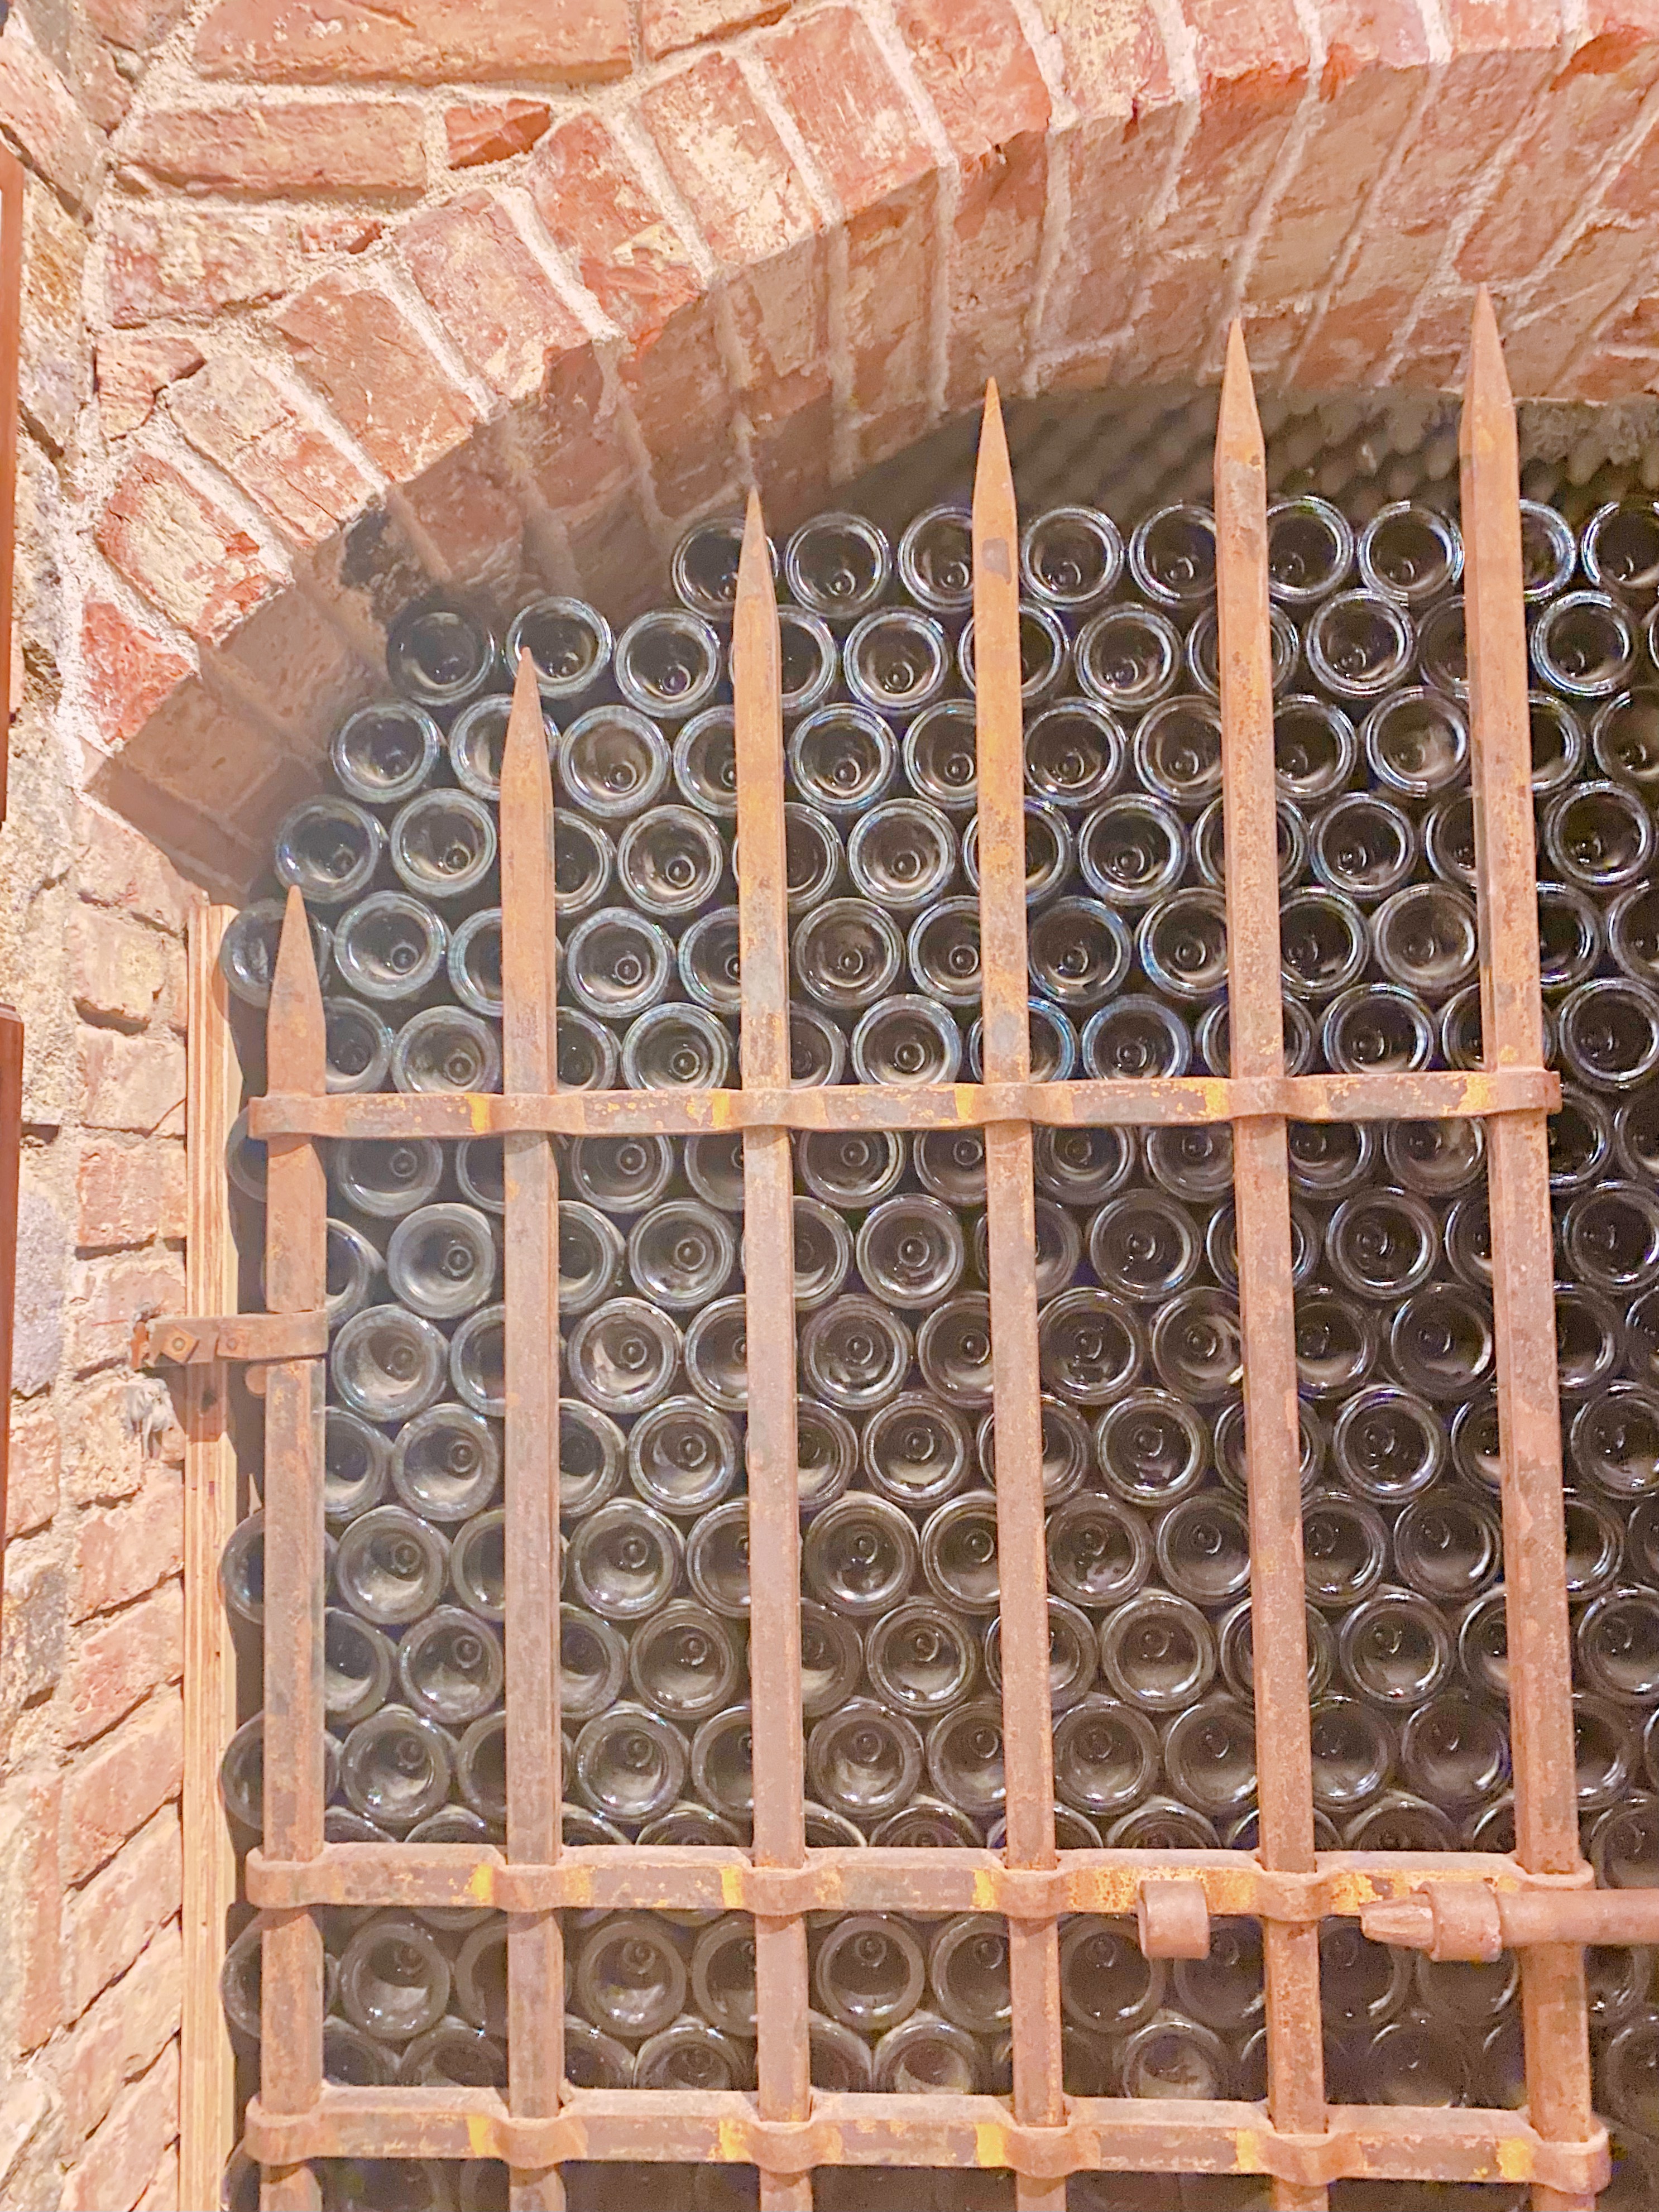
On my list was to take a trip to Napa Valley. We drove about one hour and twenty minutes to Castello Di Amorosa. It is a beautiful castle. We had reservations due to Covid restrictions. The wine was delicious and the kids enjoyed some sparkling grape juice!

We also roamed the grounds at the Palace of Fine Arts. You almost feel like you’re in Europe!

Palace of Fine Arts

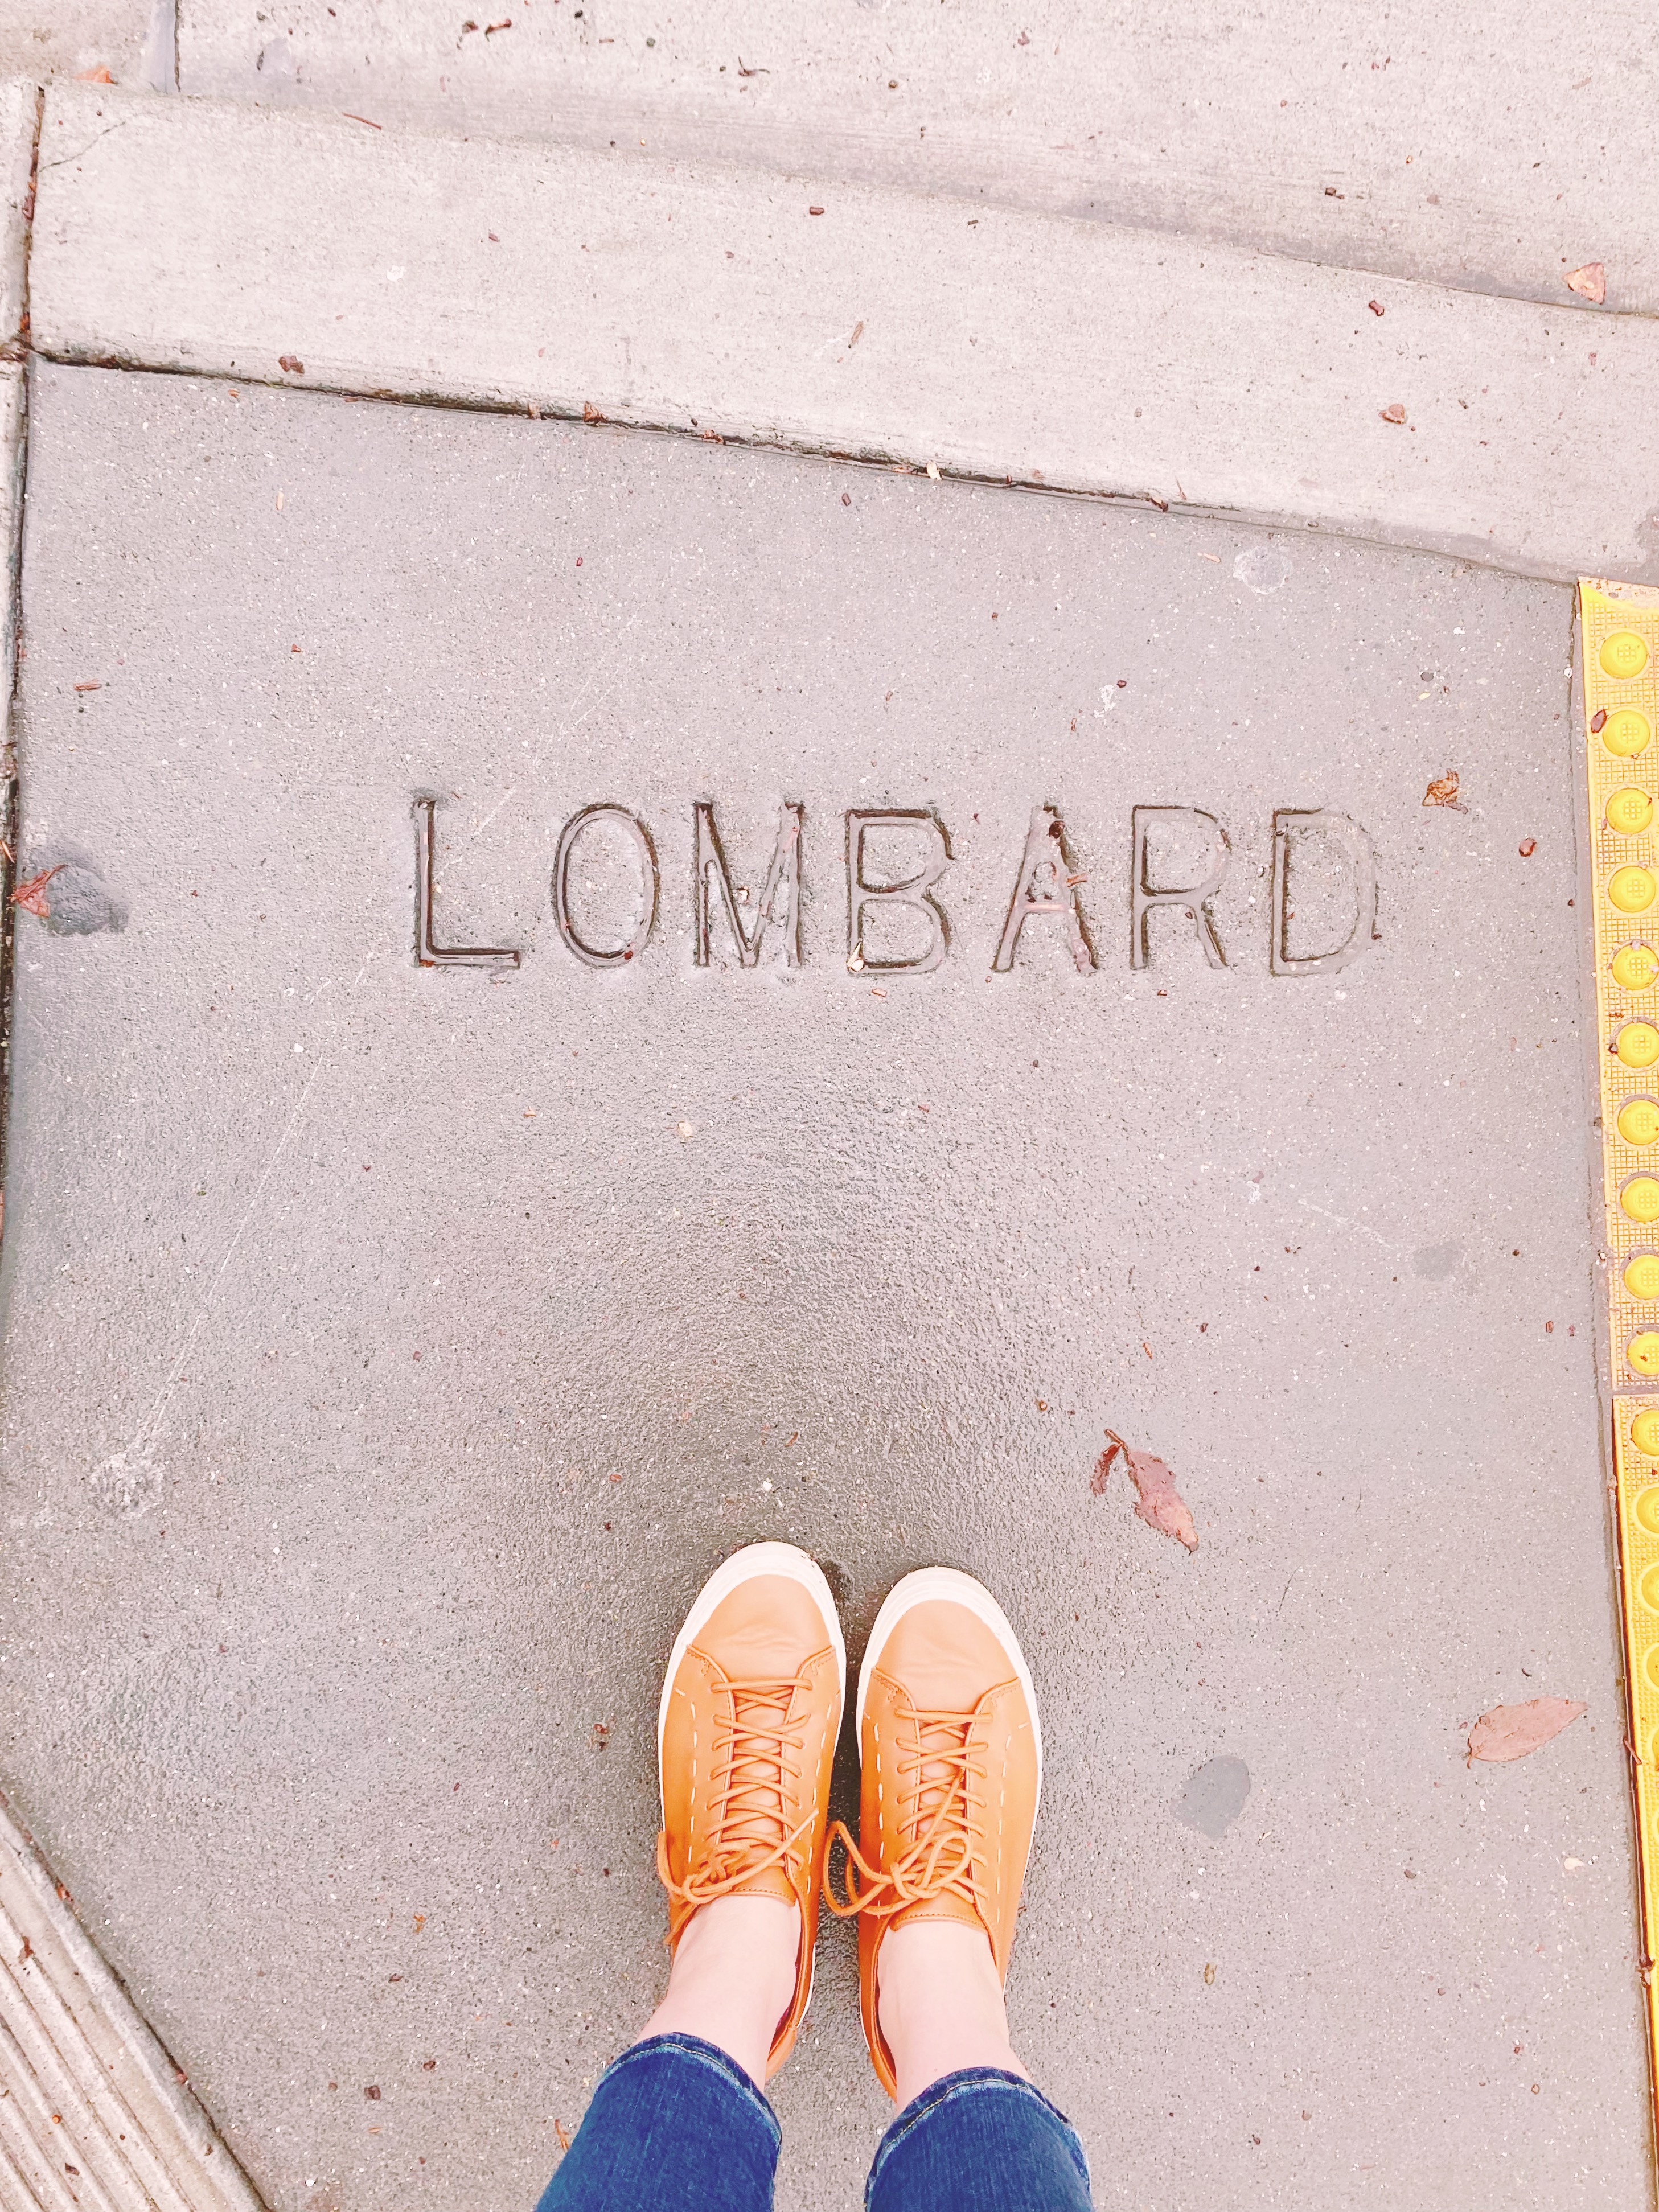
We made sure to also check out Lombard St., China Town, Umbrella Alley and Fisherman’s Wharf. We ate some great food and saw the Trolleys!

We had a wonderful trip and made some great memories!

Building My Dream She Shed

I have been dreaming of a She Shed for years! I have dropped hints to my family but never thought it would happen. Well, I guess dreams do come true! My husband is building me a She Shed! Let me tell you how this came about.

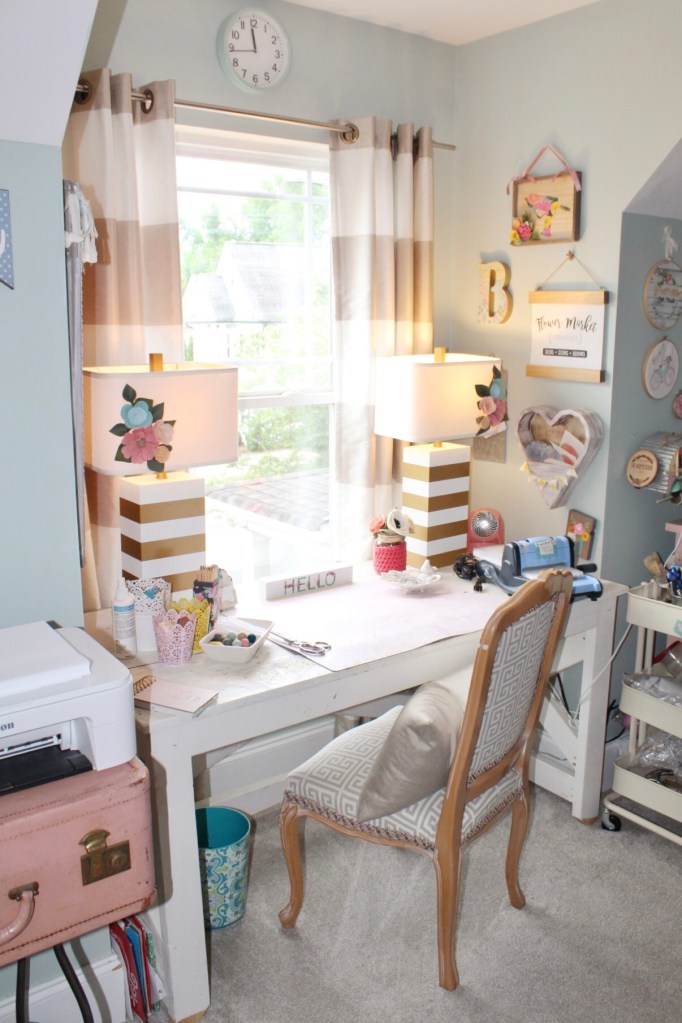
We have a bonus room in our house that is part my craft space and part hang out room for my two teenagers. Now they are wanting to take the space back for themselves. They want a hang out/man cave….and I get it. Who wants mom crafting felt flowers while you are watching football with your friends?

Here is a corner of our bonus room that I have claimed.

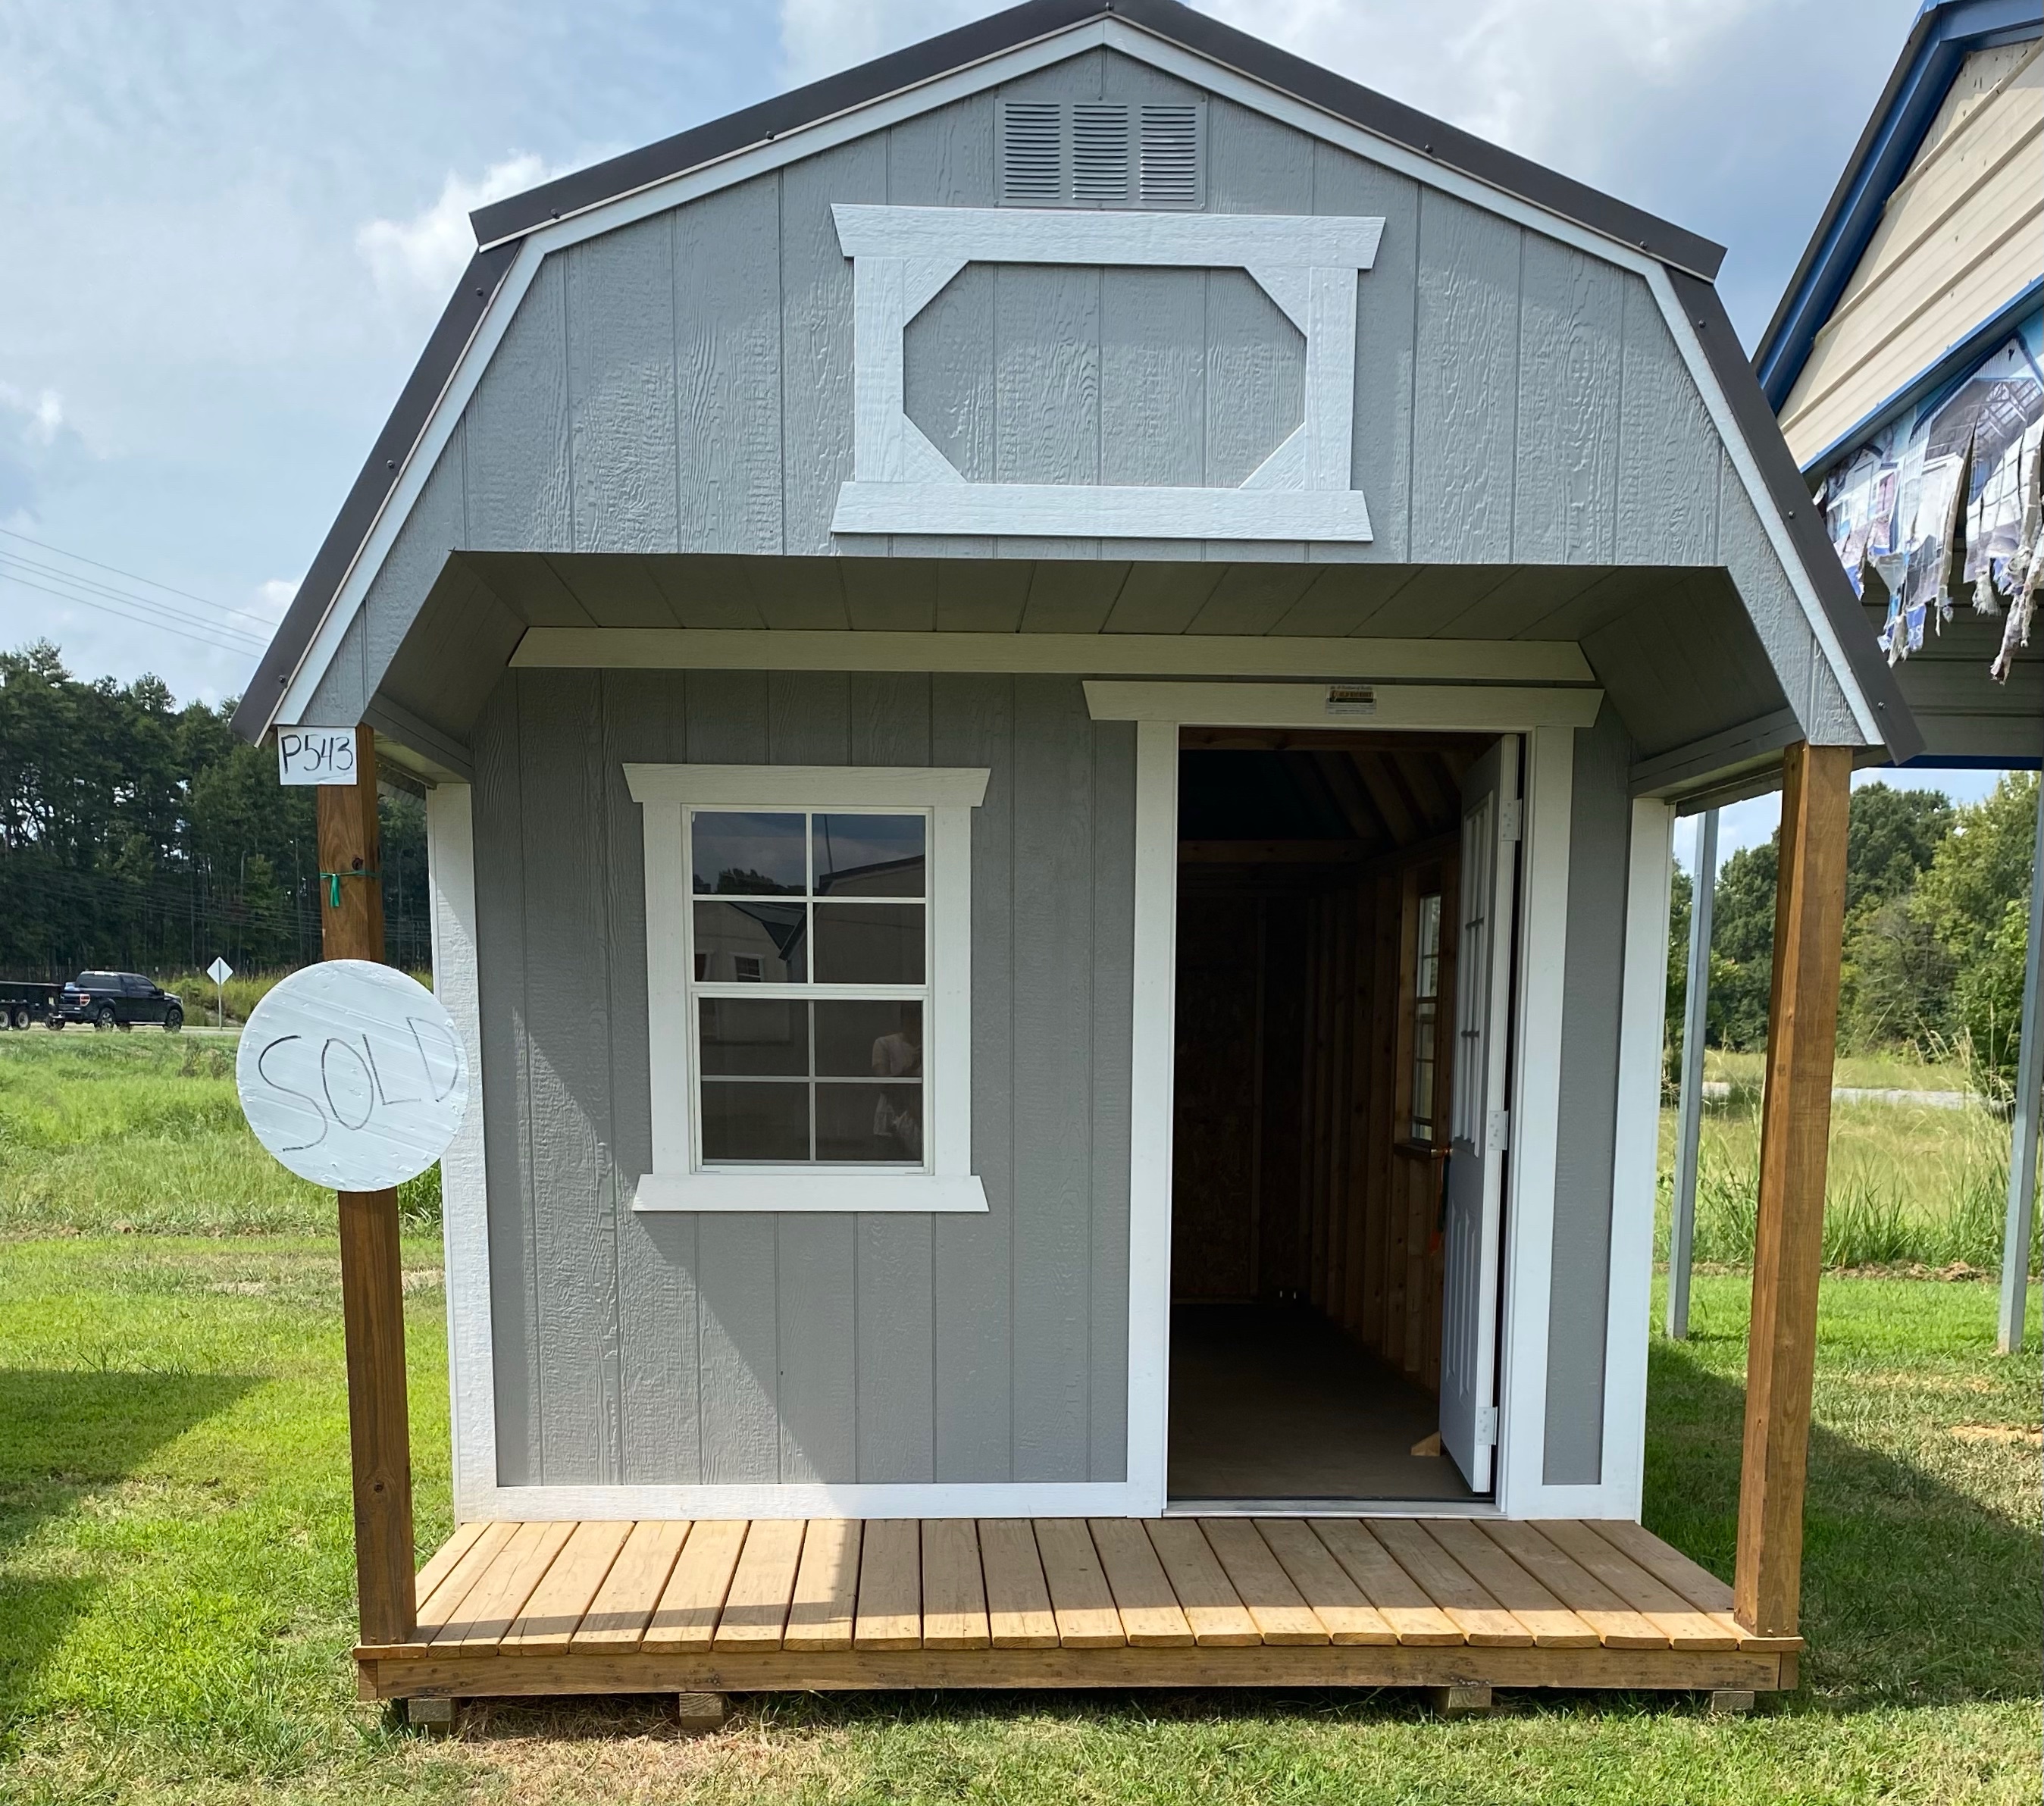
I got thinking that if the kids want the bonus room I could craft in a She Shed! So, my husband and I discussed it and he wasn’t completely opposed to the idea! I jumped on the opportunity and starting doing some research at some local shops for sheds.

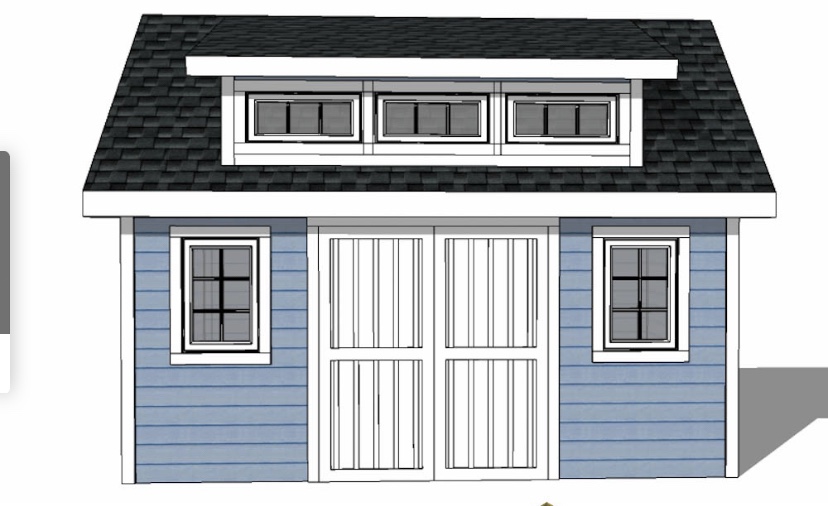
I loved the style above (in yellow) but wanted to make a few changes. I quickly realized how changes added up. Plus, most local companies build a shed and then bring it to your lot. Our lot was difficult because of the layout and our existing fence so that was an expensive option. We also had a hard time finding a company that would build on site. So, my husband offered to build one for me! He found a plan similar to the style I liked at http://icreatables.com. The plans were about $35.00.

This was the style we picked! I decided to change the door to a single door with half glass and make the windows larger.

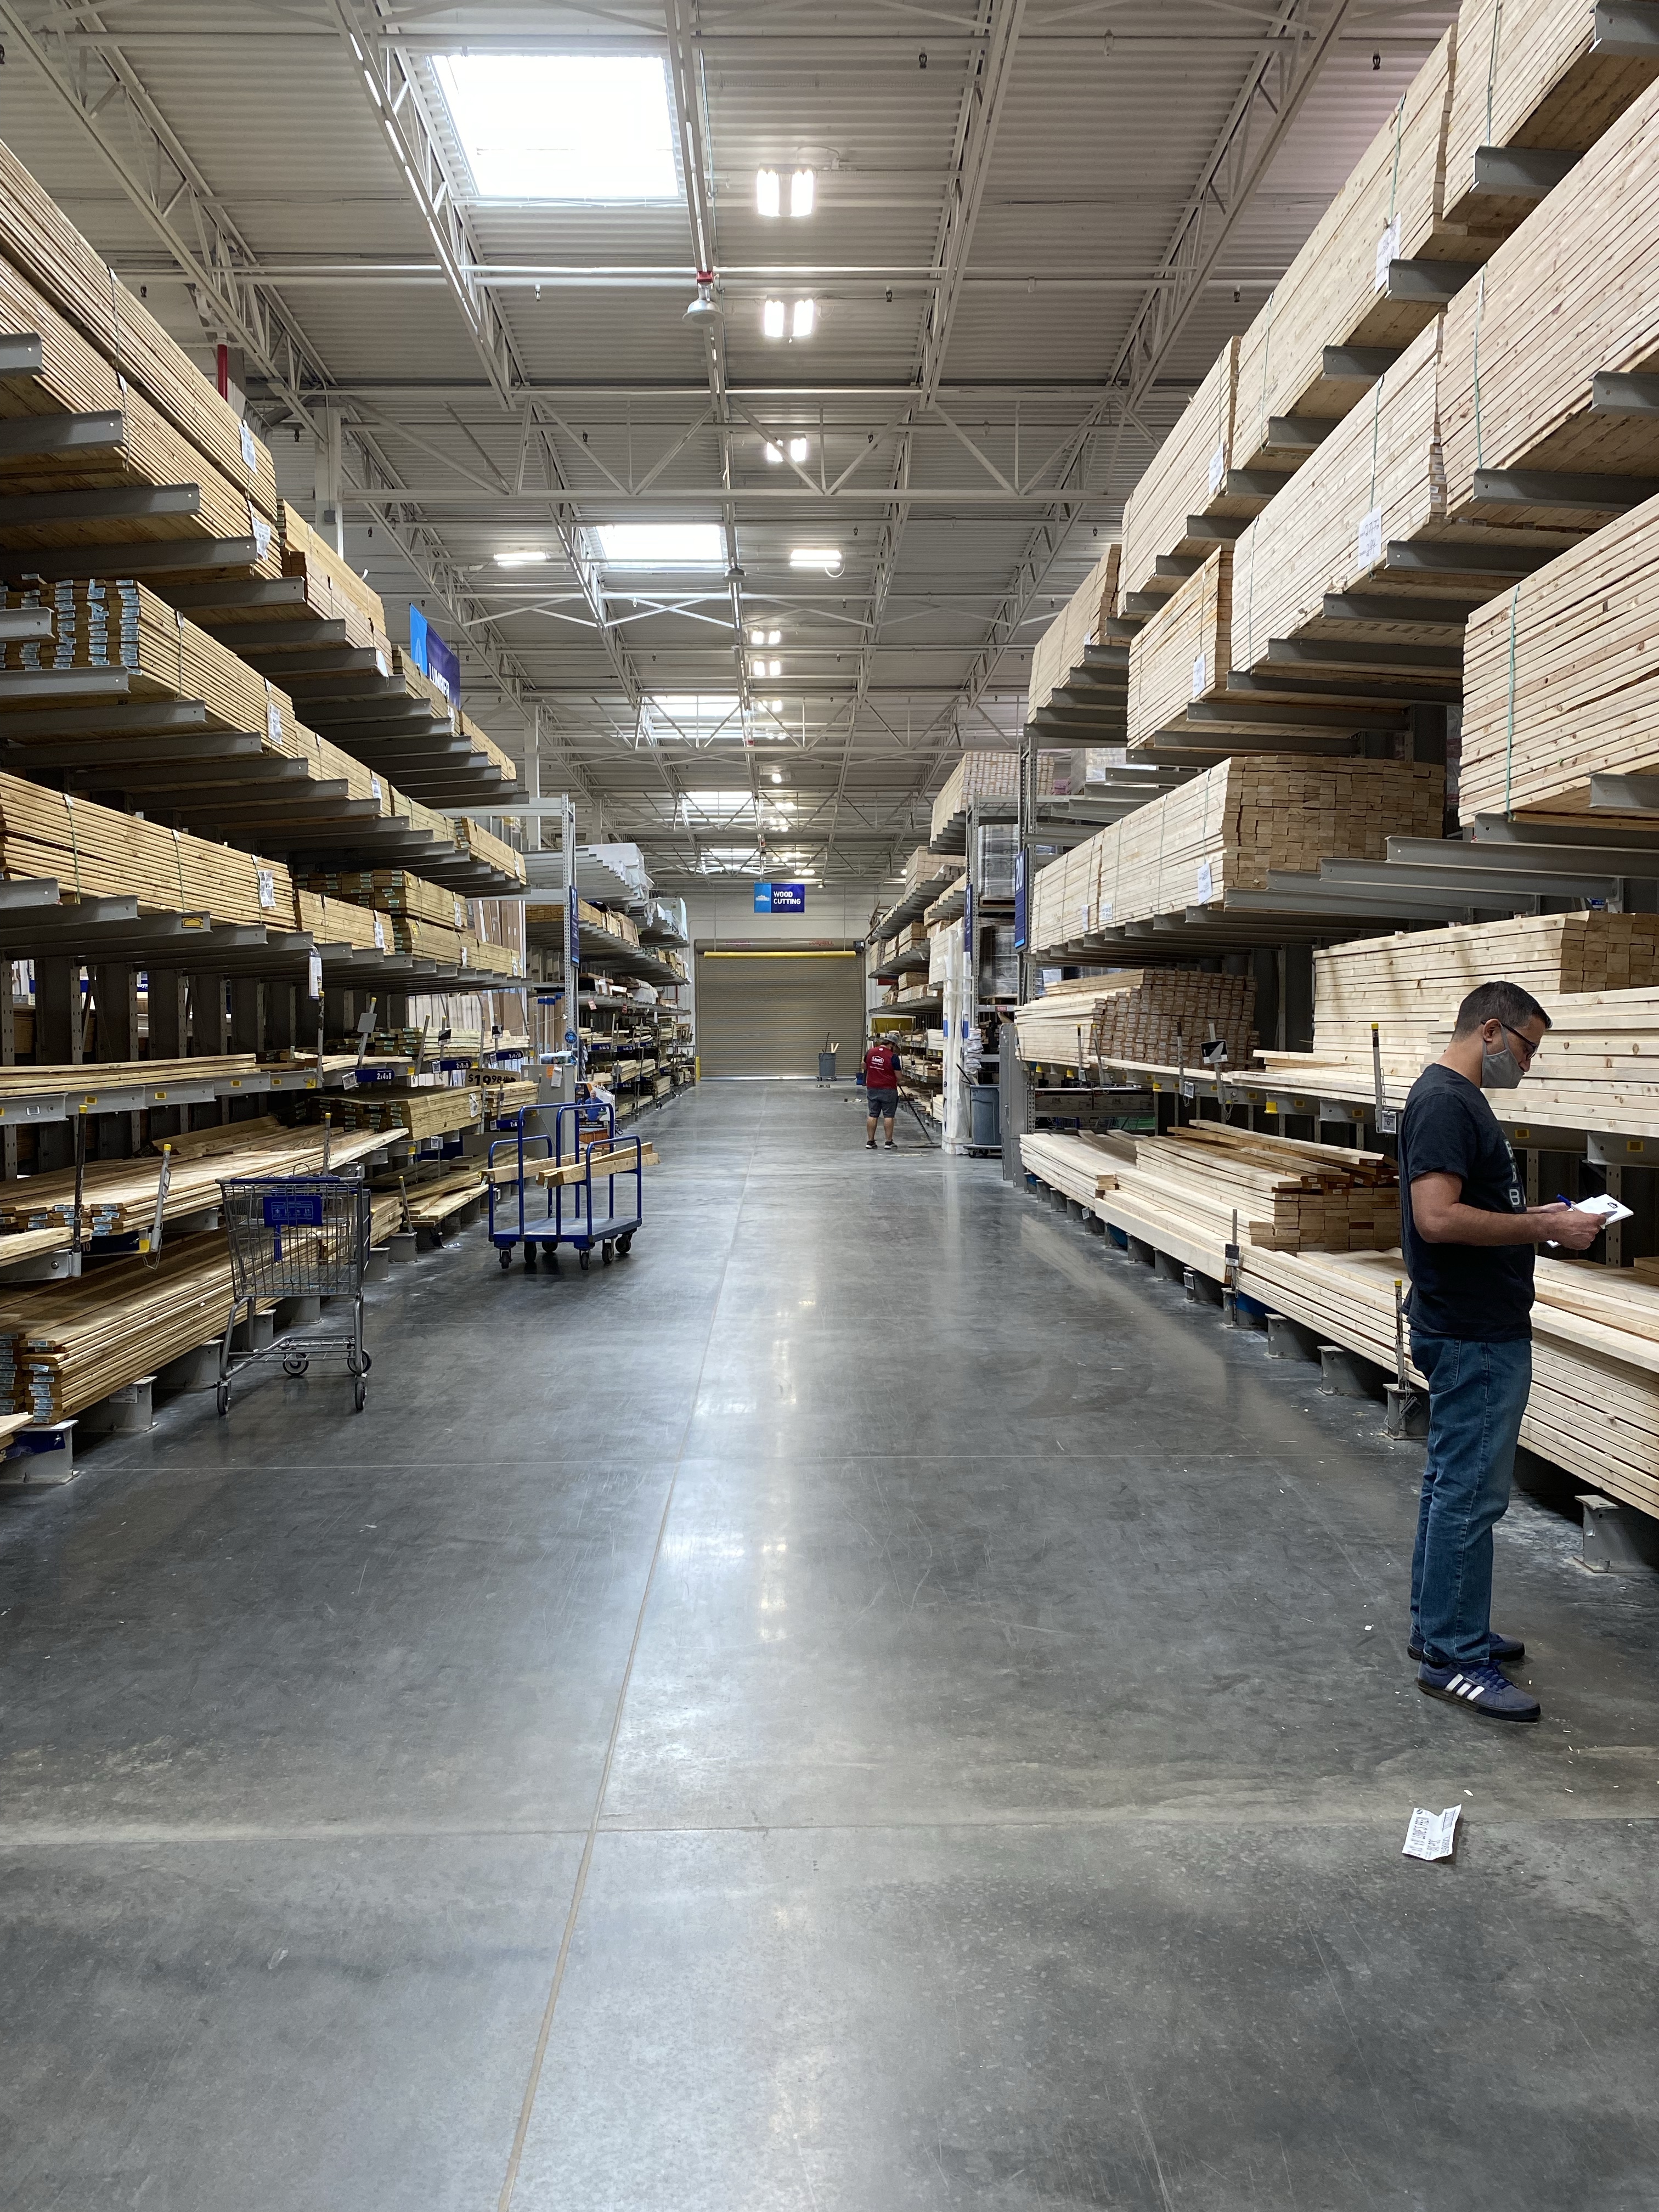
Once we had the plans my husband made a list and we ordered all the supplies at Lowe’s.

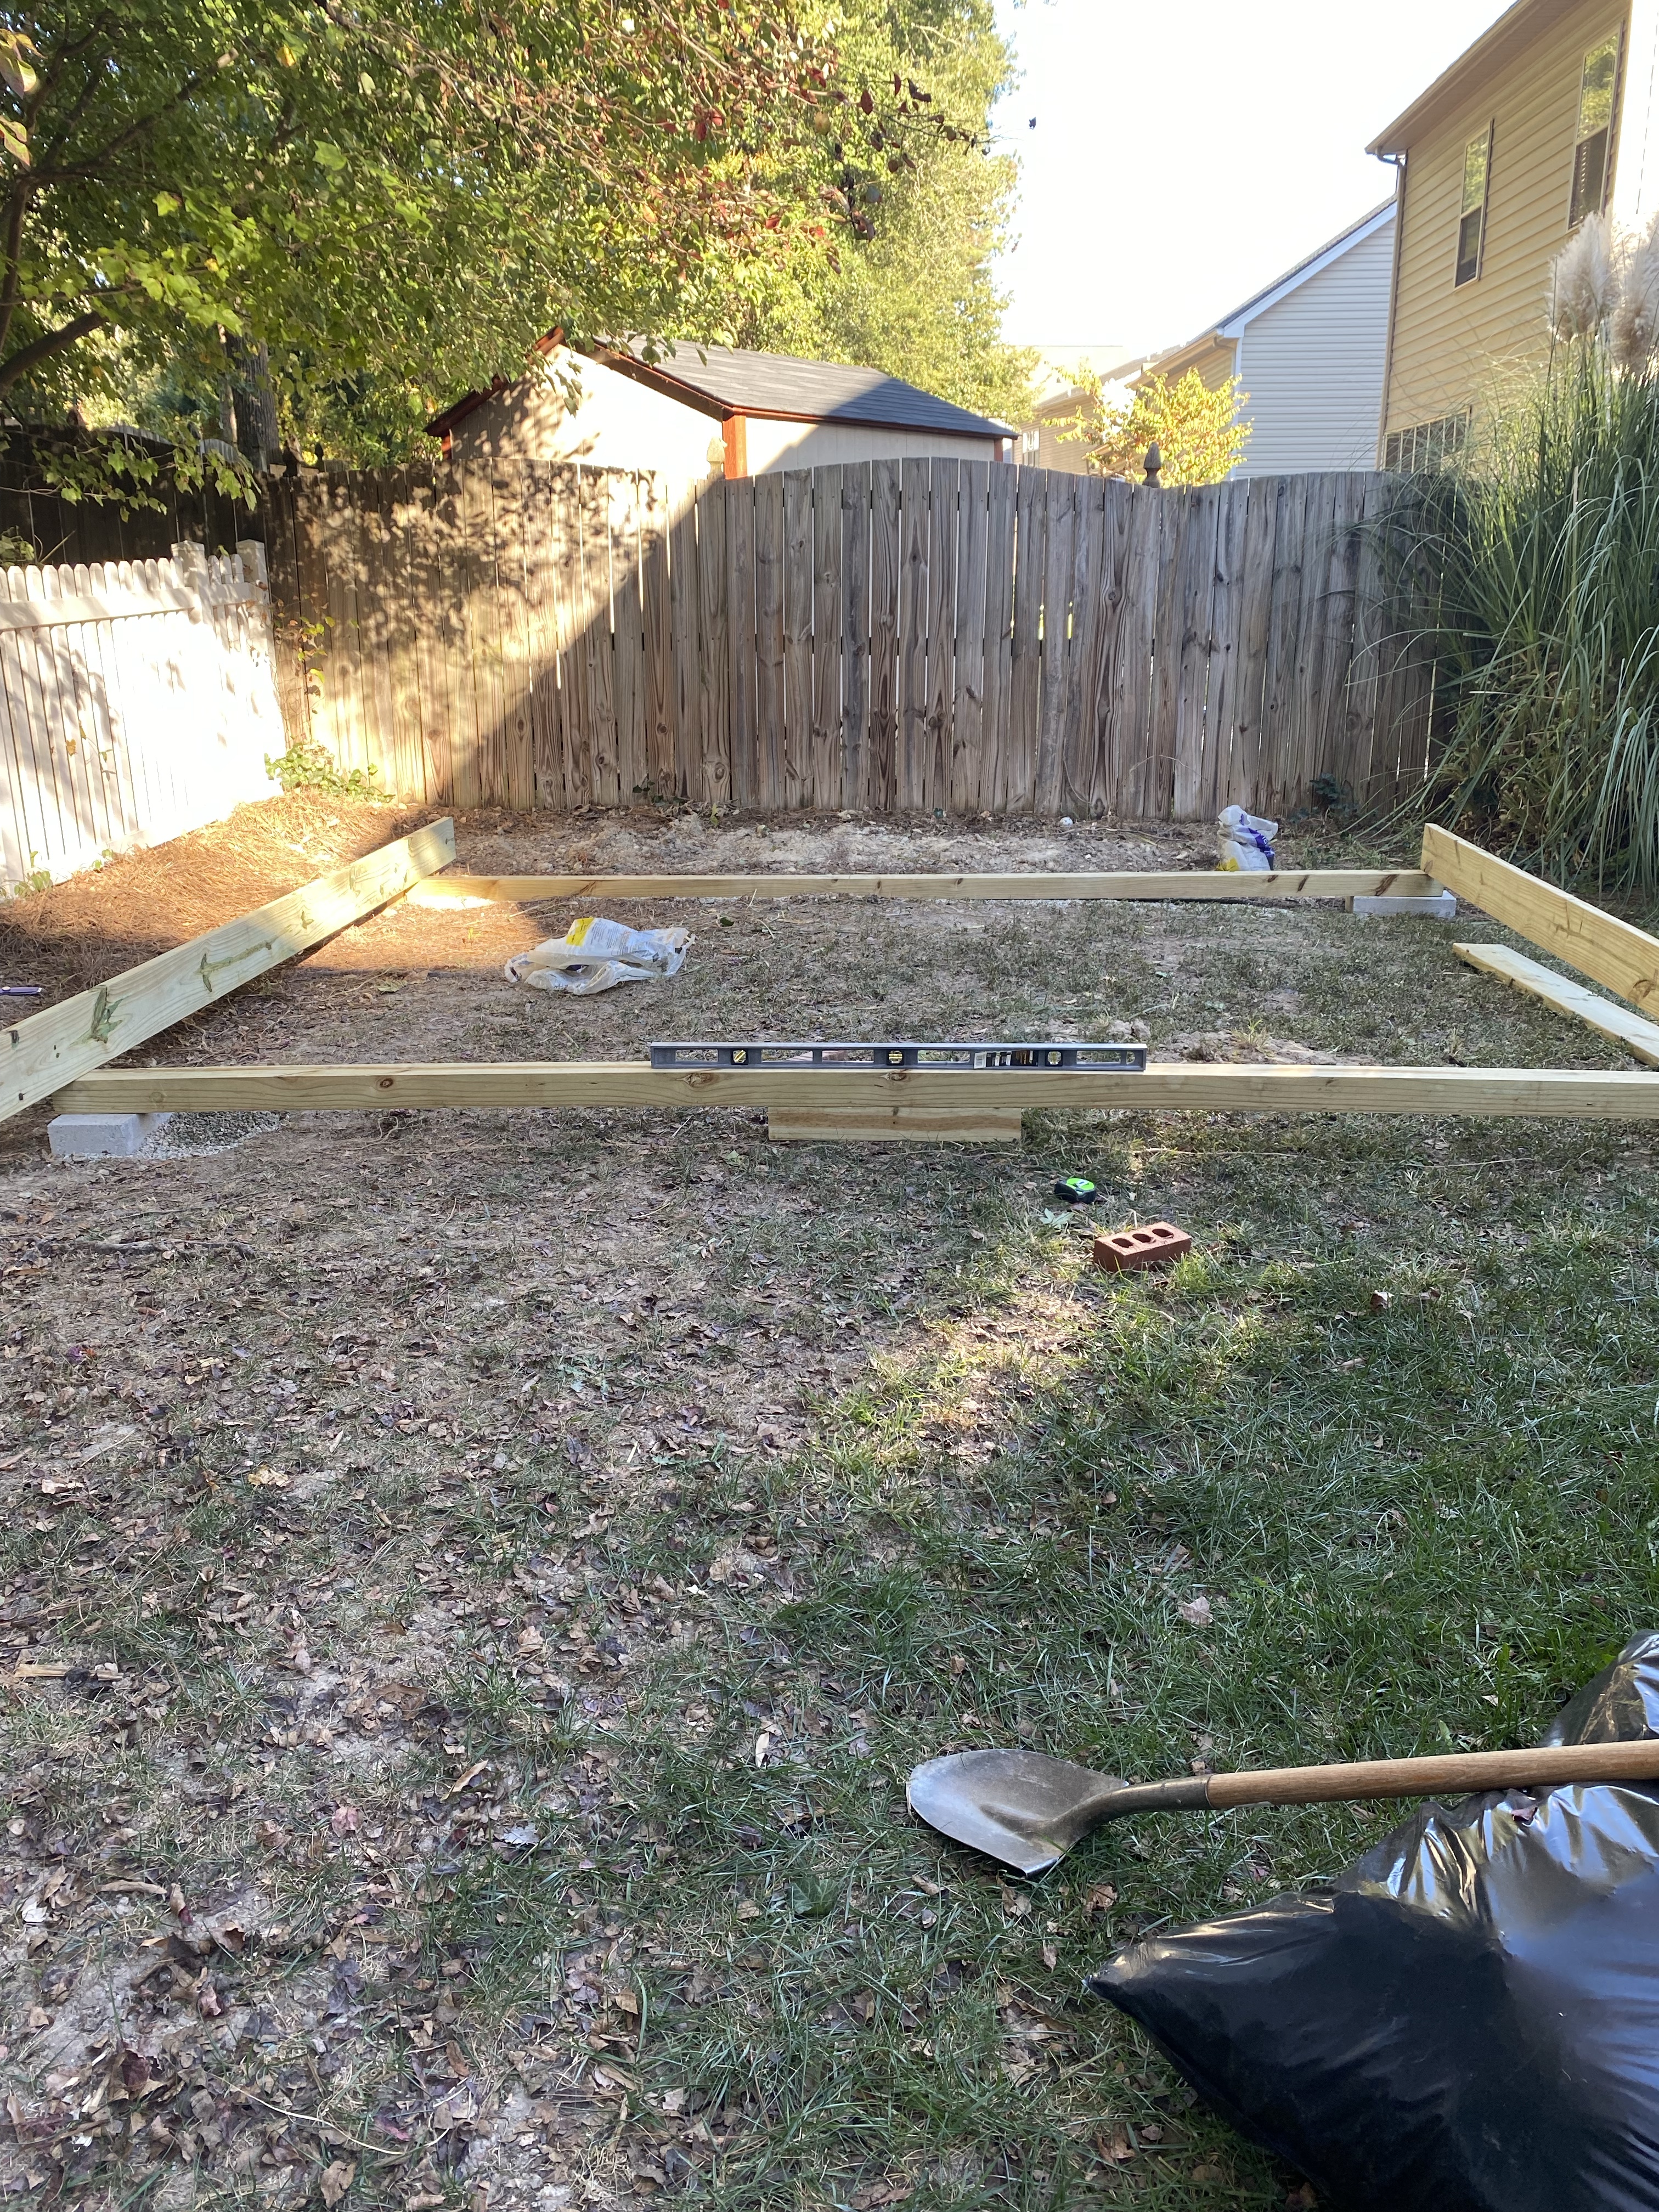
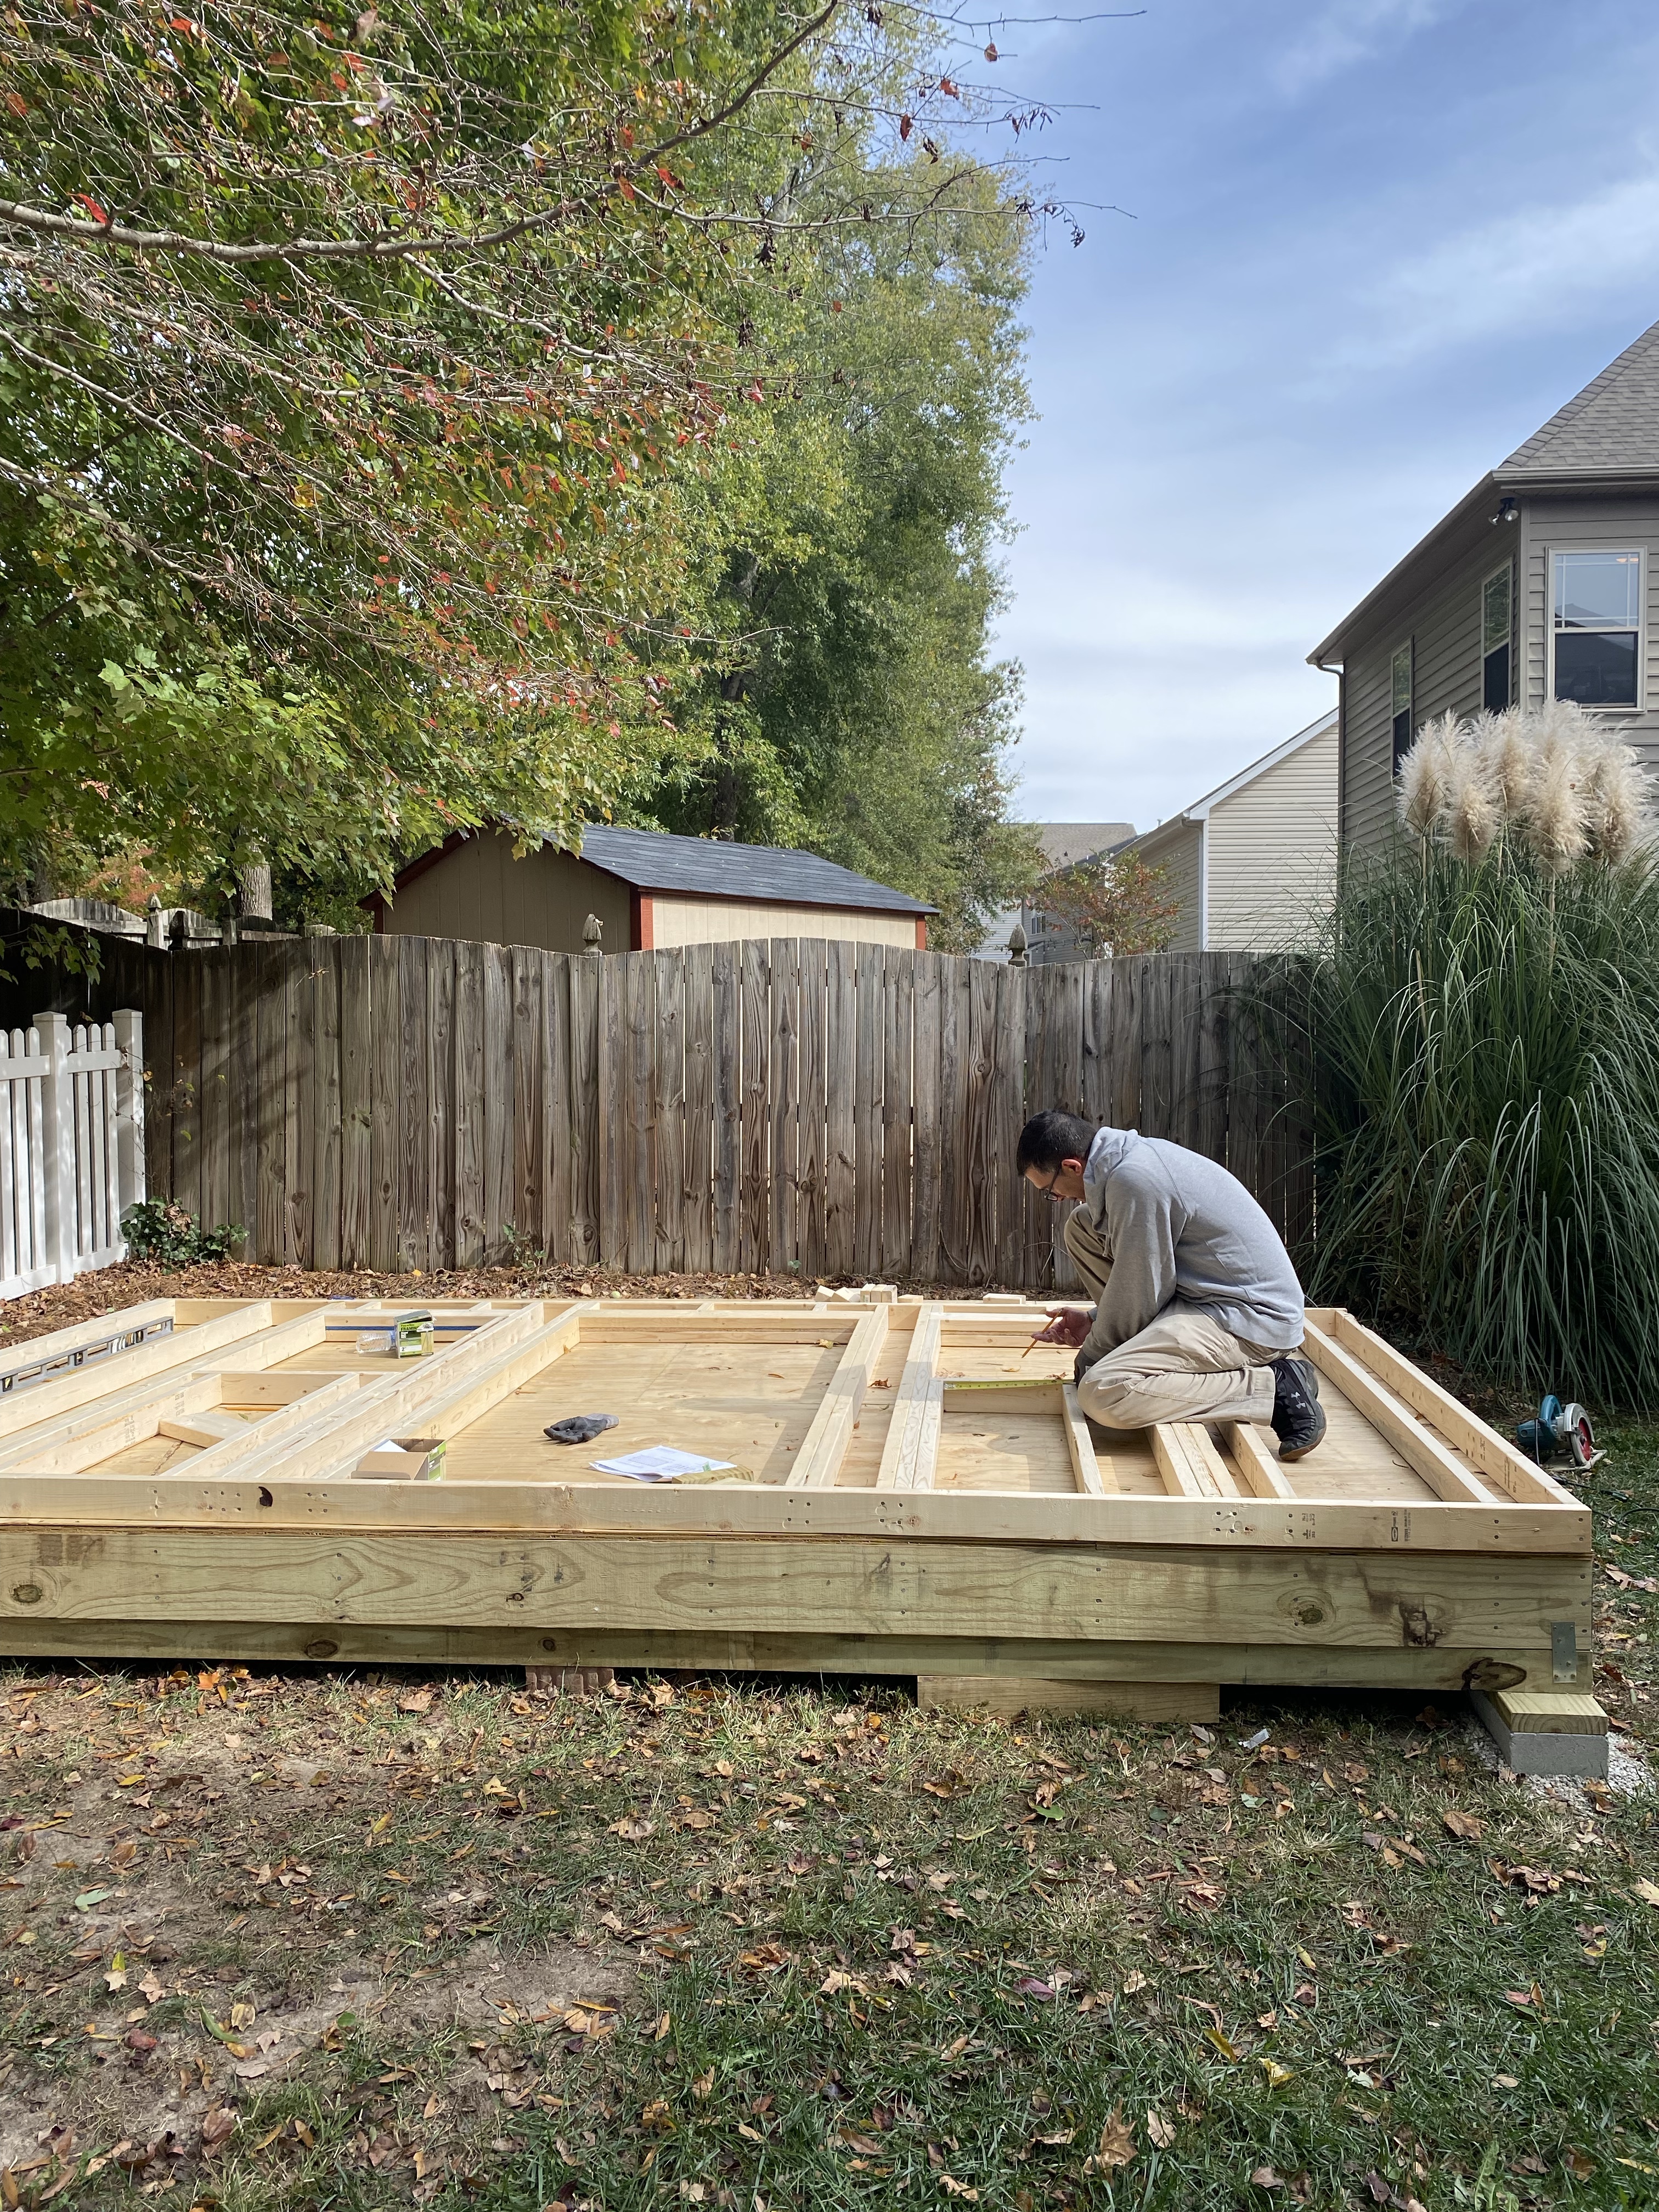
Once the order was delivered my husband got to work. He can only work on this project on the weekends, so I will be sharing more updates as he moves along.

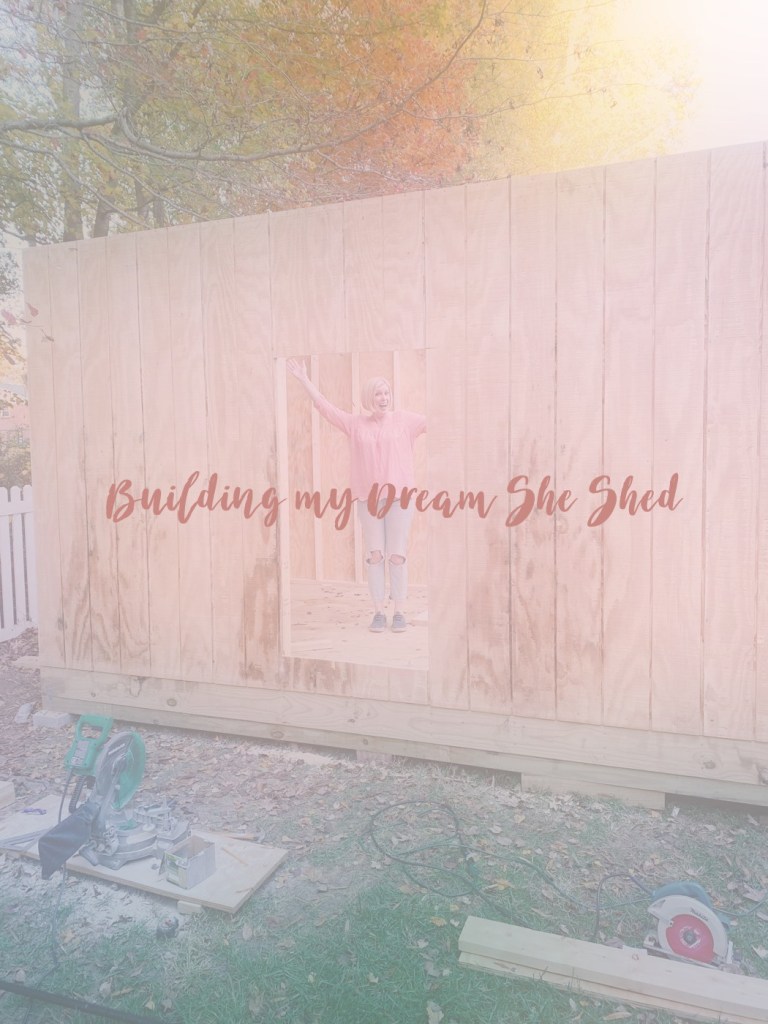
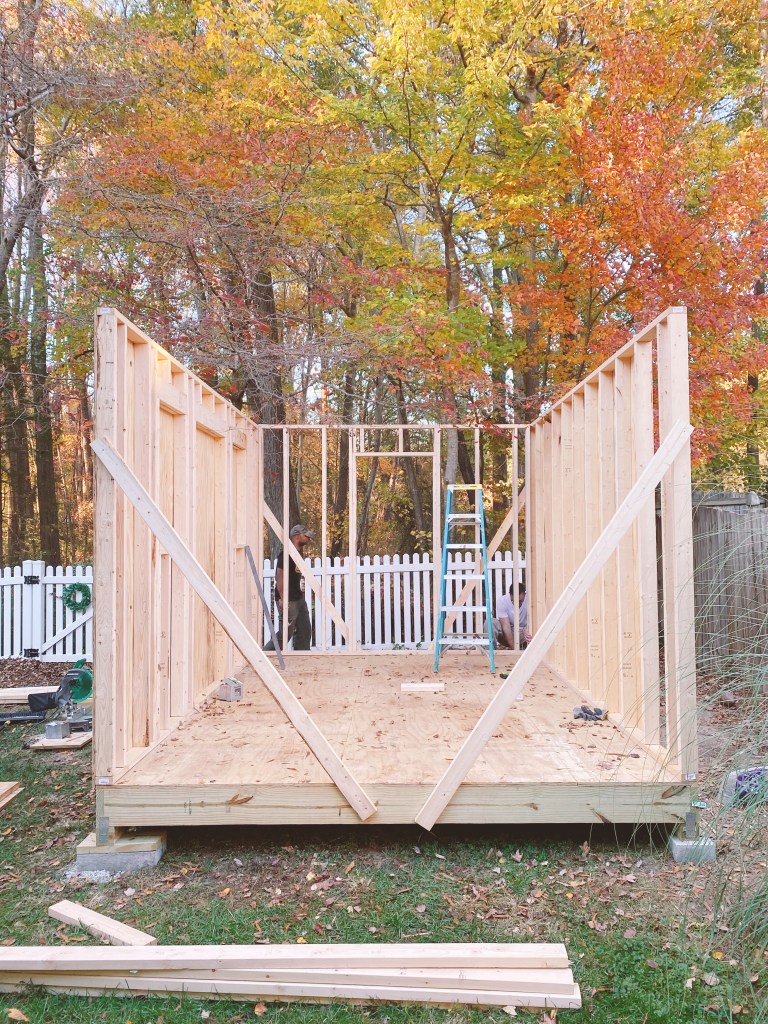
This was all exciting but when the walls went up is when things got really fun!

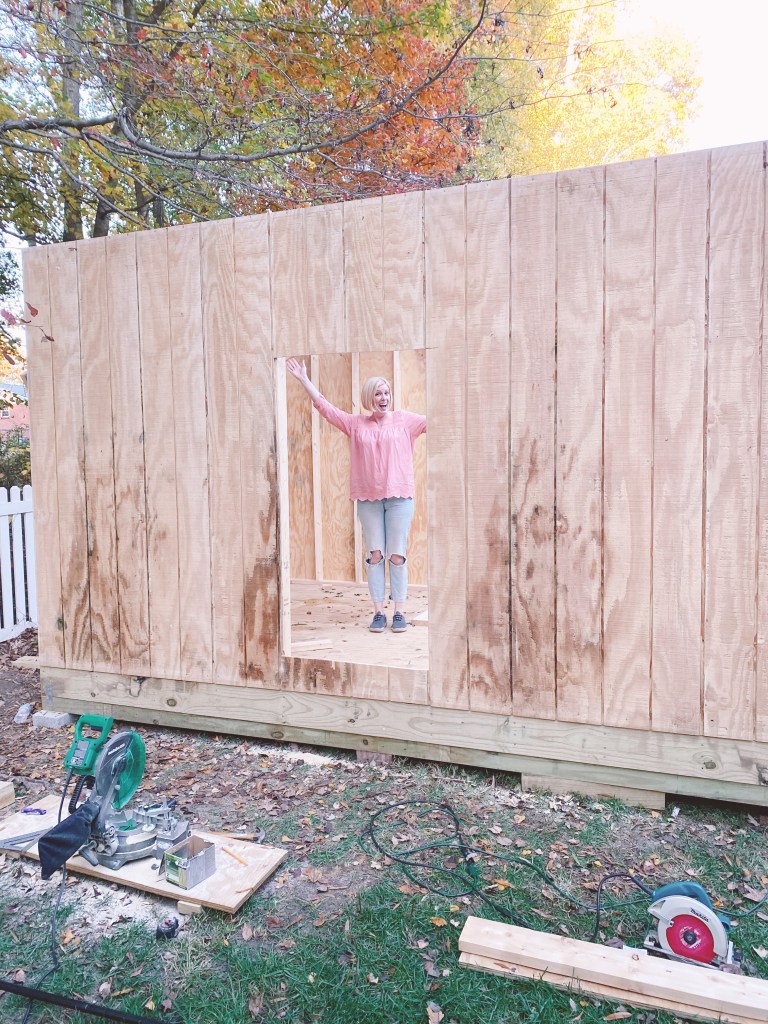
Do I look excited?!?!

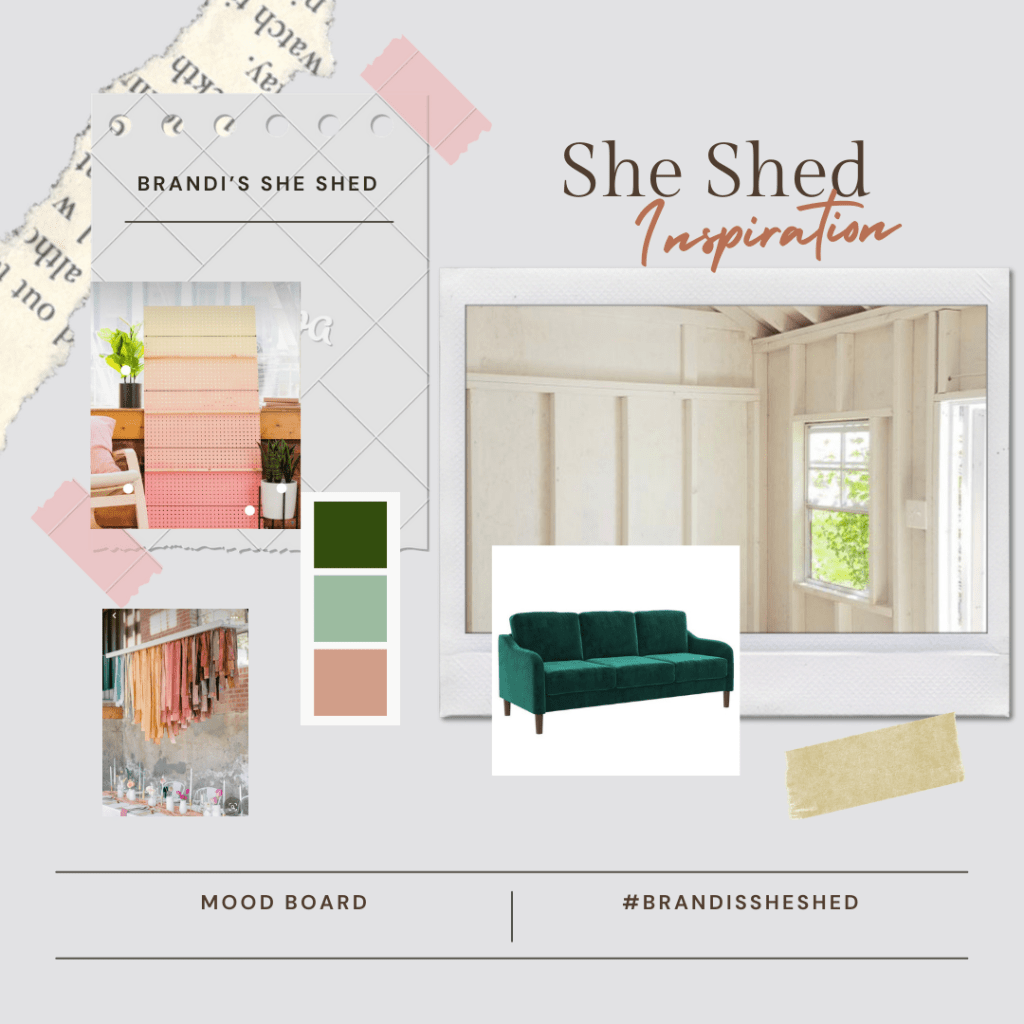
We went with a 10×14 size. I have to admit it seems so big now that the walls are up. And we still have the roof which will add four more feet. We may make some changes with the roof but we are going to think it over. In the meantime, I will be dreaming of decorating it! Let’s face it, that’s the best part! I created a mood board for a bit of inspiration.

These are a few images and colors that have inspired me. I’m itching for the build to be done so I can have some fun! I hope you follow along with me on our She Shed build!

Fall Home Tour

I am so happy it is Fall! It is my favorite season and I love decorating my home this time of year. The cozy additions make me want to stay home and bake pumpkin and apple treats. So, come along on a tour of our home!

Welcome! Come on in!

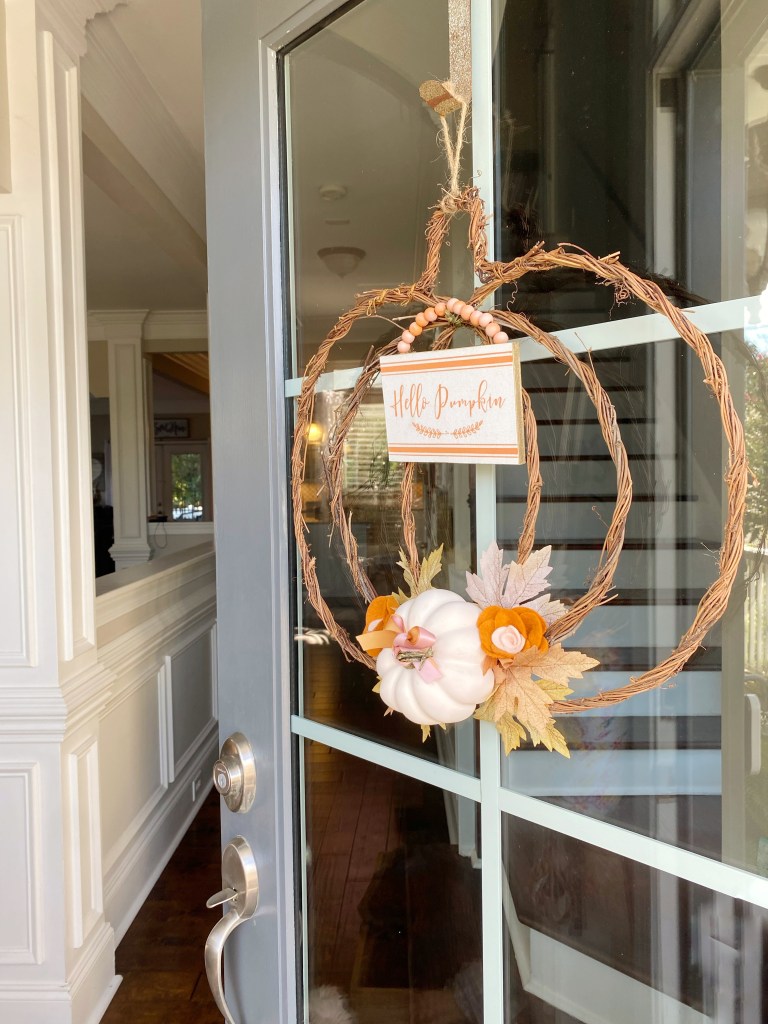
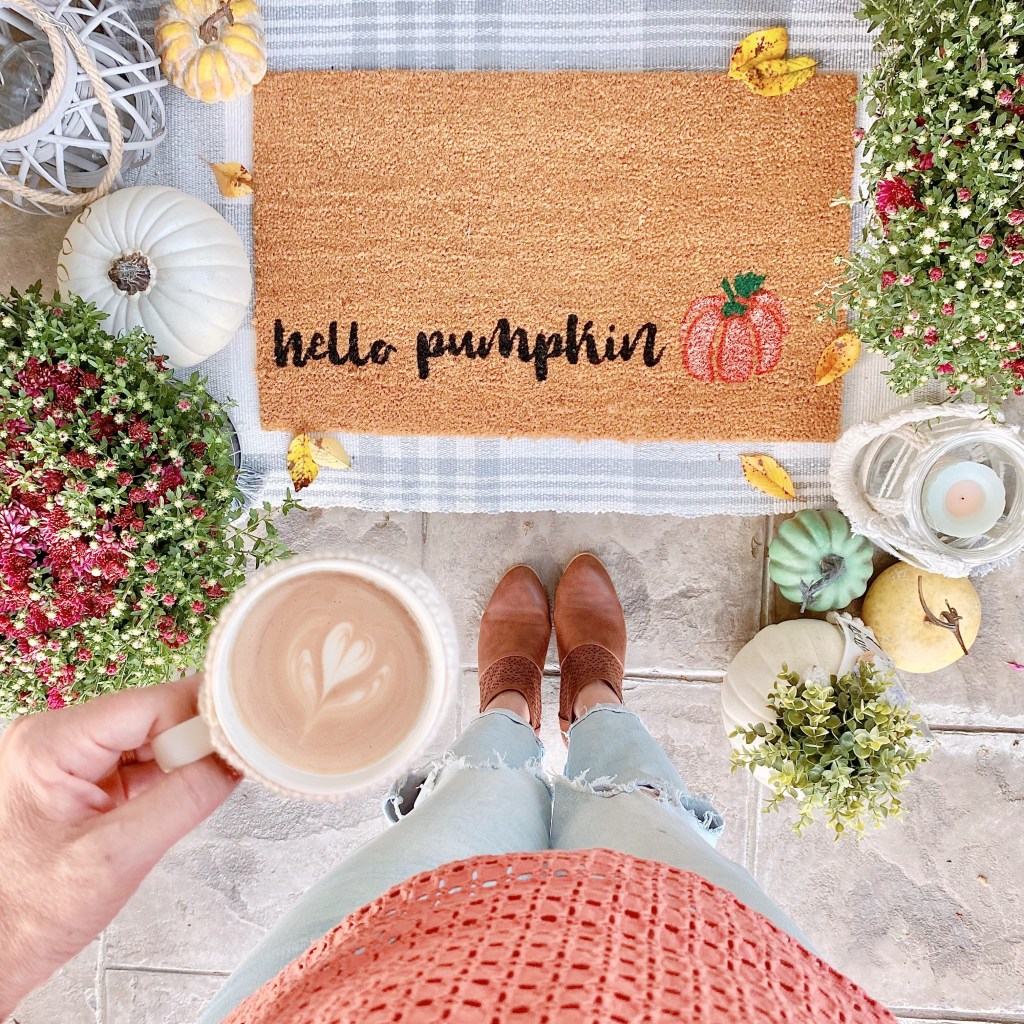
I love decorating my porch for Fall. Of course, a wreath is the perfect addition. When I saw this pumpkin grapevine base at Hobby Lobby I knew I had to add a few felt flowers and add it to my door. I also grabbed a new doormat and put out some pumpkins and mums!

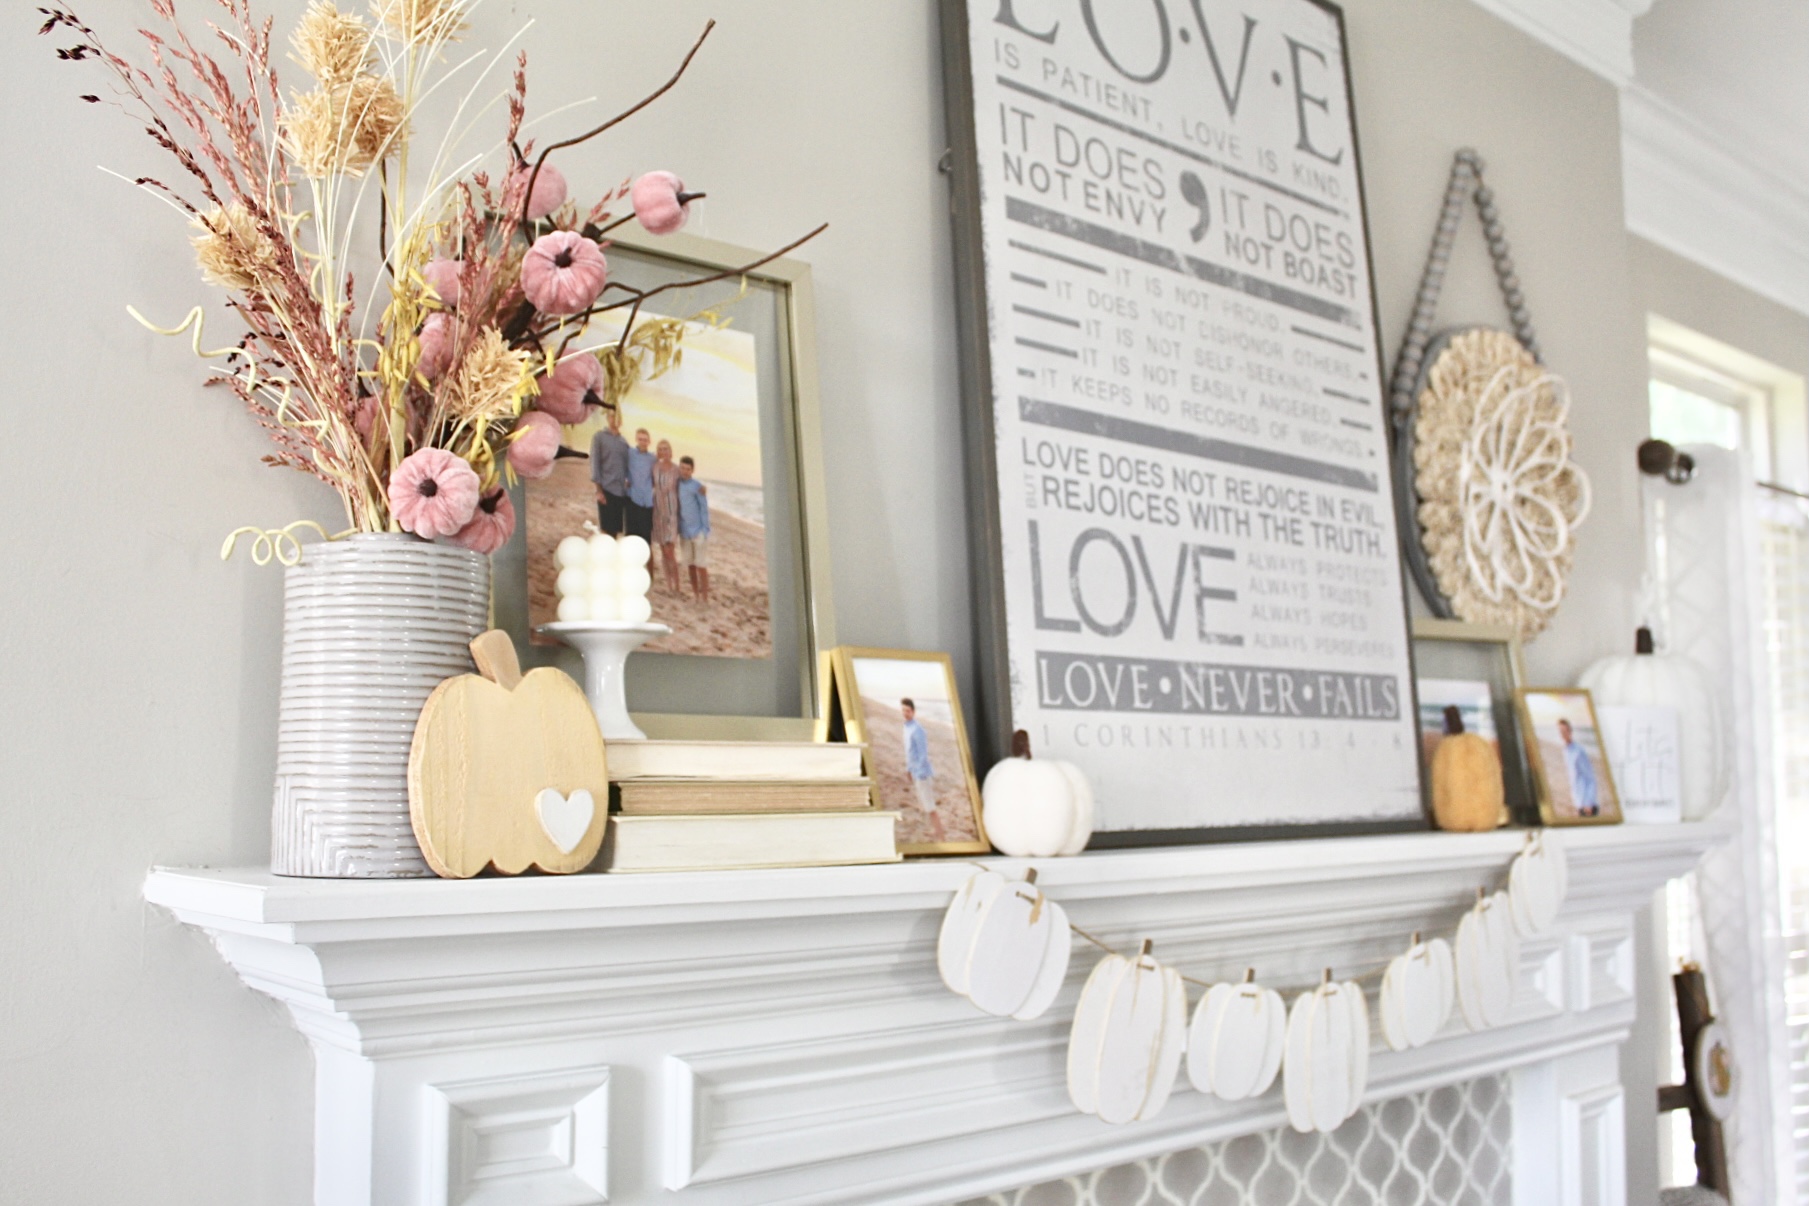
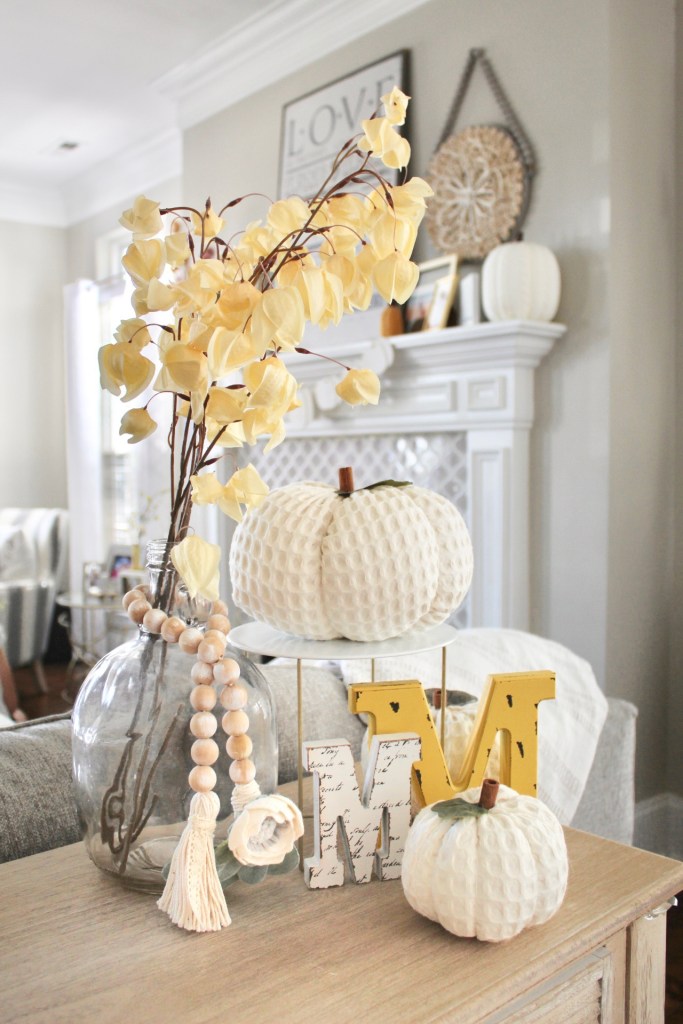
Next, in my living room and reused most of what I had from the past few years. I did find some pink velvet pumpkins on a stem and added a few pops of pink this year!

These pink pumpkin stems were a fun addition to my mantle. This sweet wooden pumpkin from Oak and Co. matches perfectly!
This little corner is adorned in fabric pumpkins from Buntings N More and a beautiful beaded garland by May Darlings.
I love cozy textures! This cute embroidery weaving from A Little Birdie Gifts is the perfect addition to my decor! I also love my “I love you” weaving from Yukiko Fiber Creations.

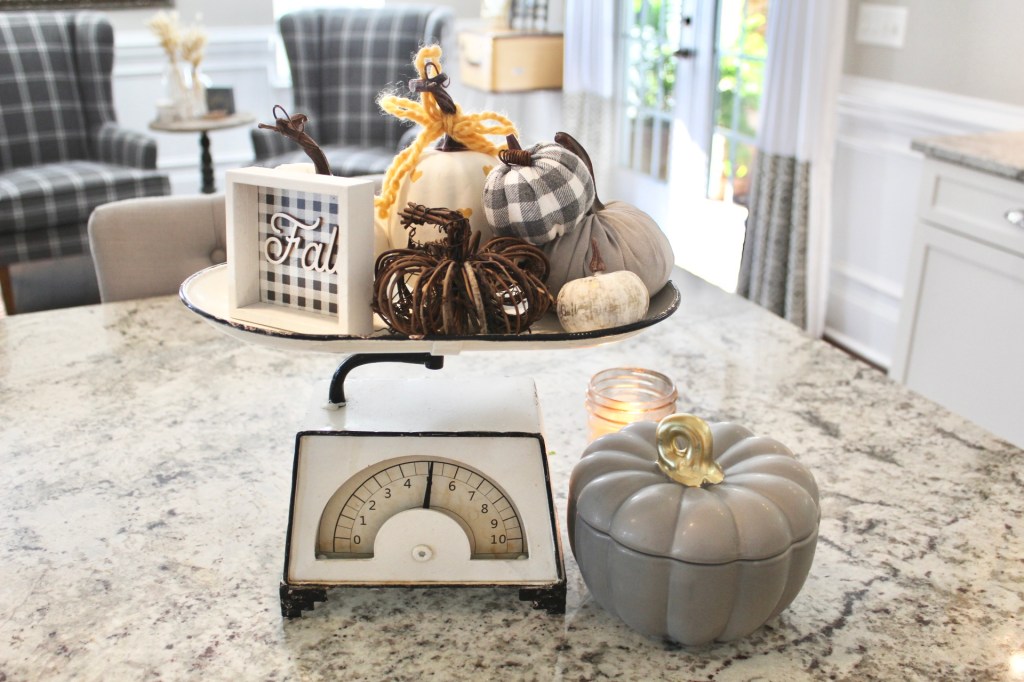
In my kitchen I added a few pumpkins on a scale and keep my candy corn in my gray pumpkin that I found a couple of years ago at Target.

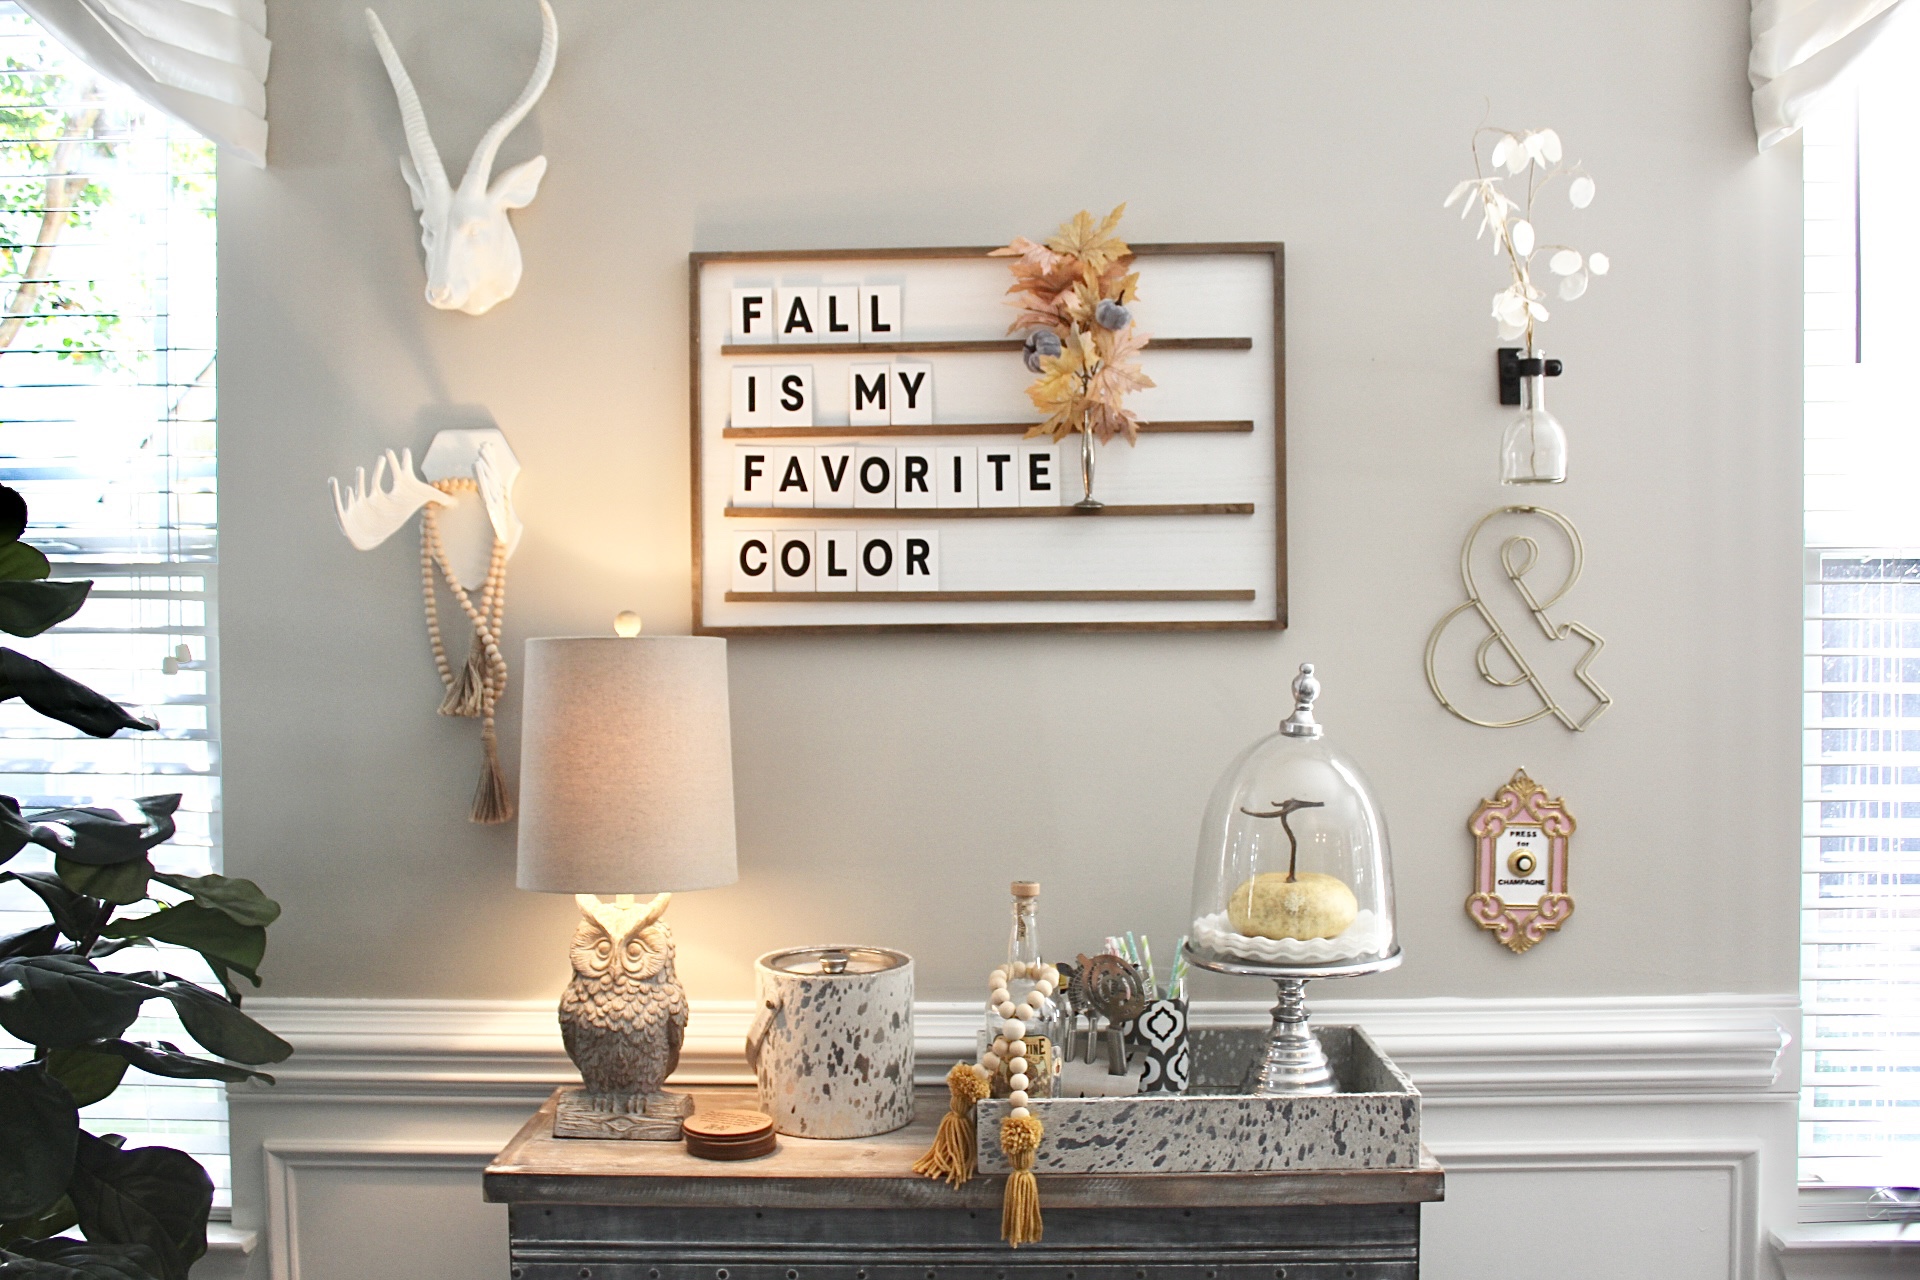
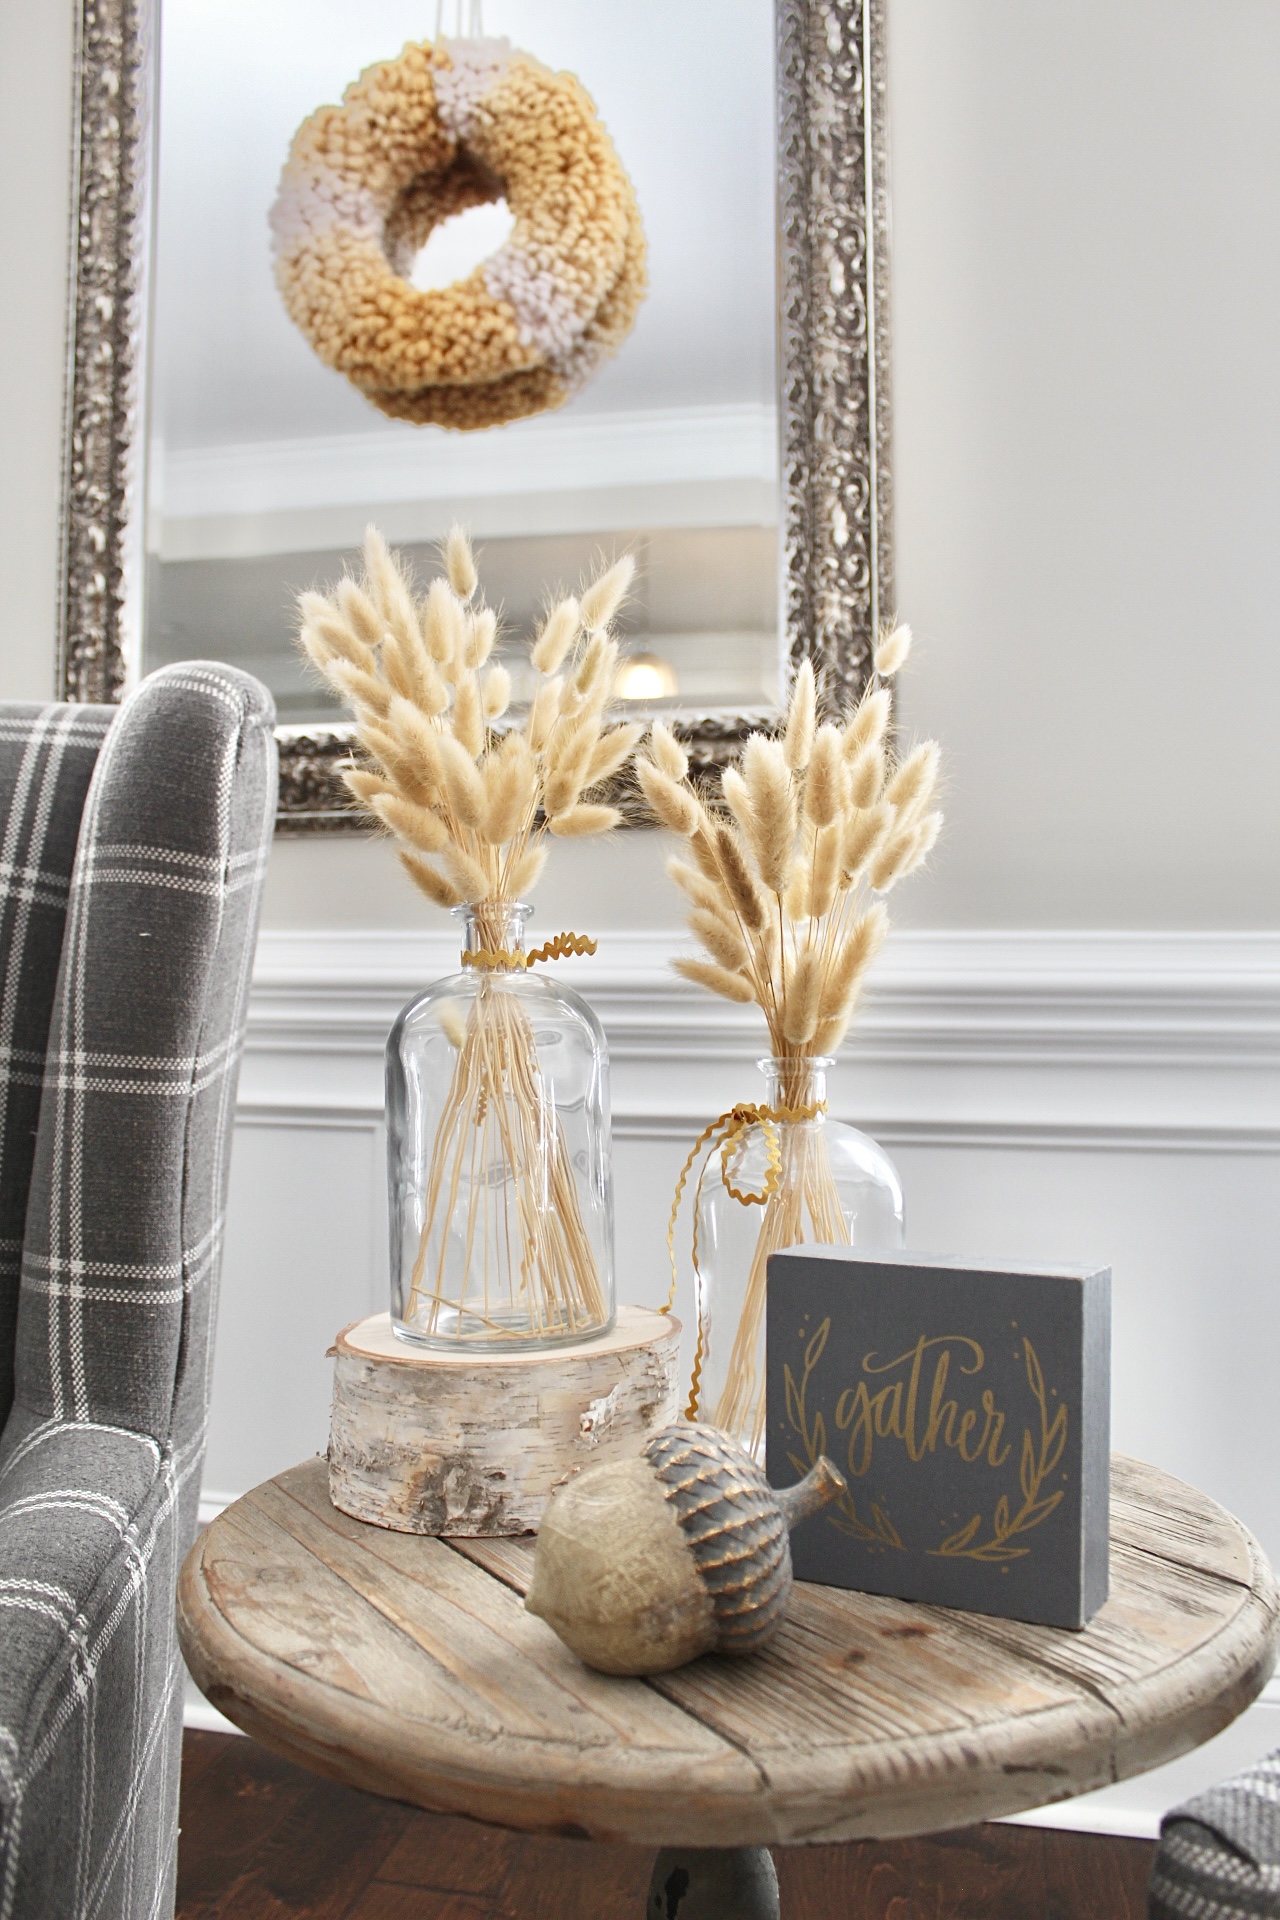
In my dining room I updated my letter board with a Fall quote. I also cut some pampas grass from my backyard and added them to a vase.

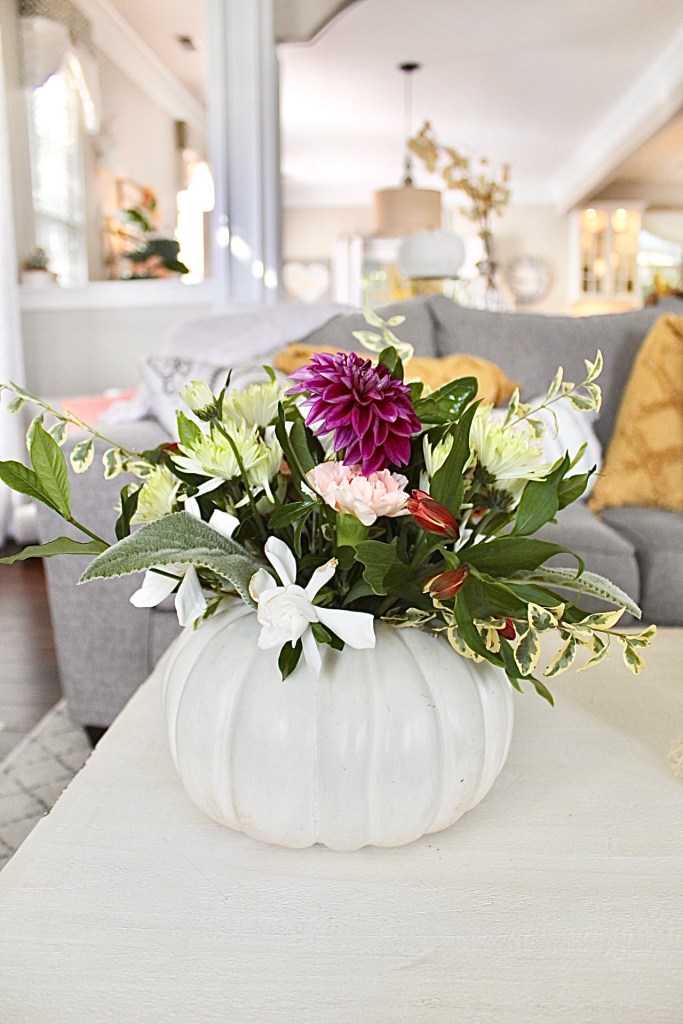
Lastly, I shared in the past a way to create a fun flower arrangement in a faux pumpkin. It’s a great project because you can re-use the pumpkin year after year! I just grabbed a $10.00 bouquet from the grocery store and then grabbed a few extra clippings from my yard to create this beautiful arrangement.

Check out my previous blog post for this easy DIY!

I hope you enjoyed my home tour and maybe found some inspiration! Happy Fall!

Inspired by Maine

I love traveling and one of my favorite destinations to visit is Maine. My parents have a home in Wells, Maine. It is on the southern coast of the state. It is tucked between Ogunquit and Kennebunkport and full of charm and great seafood!

There is so much inspiration so I thought I’d share a few things that I adore about it. I also worked on a fun craft while I was there that I’ll share!

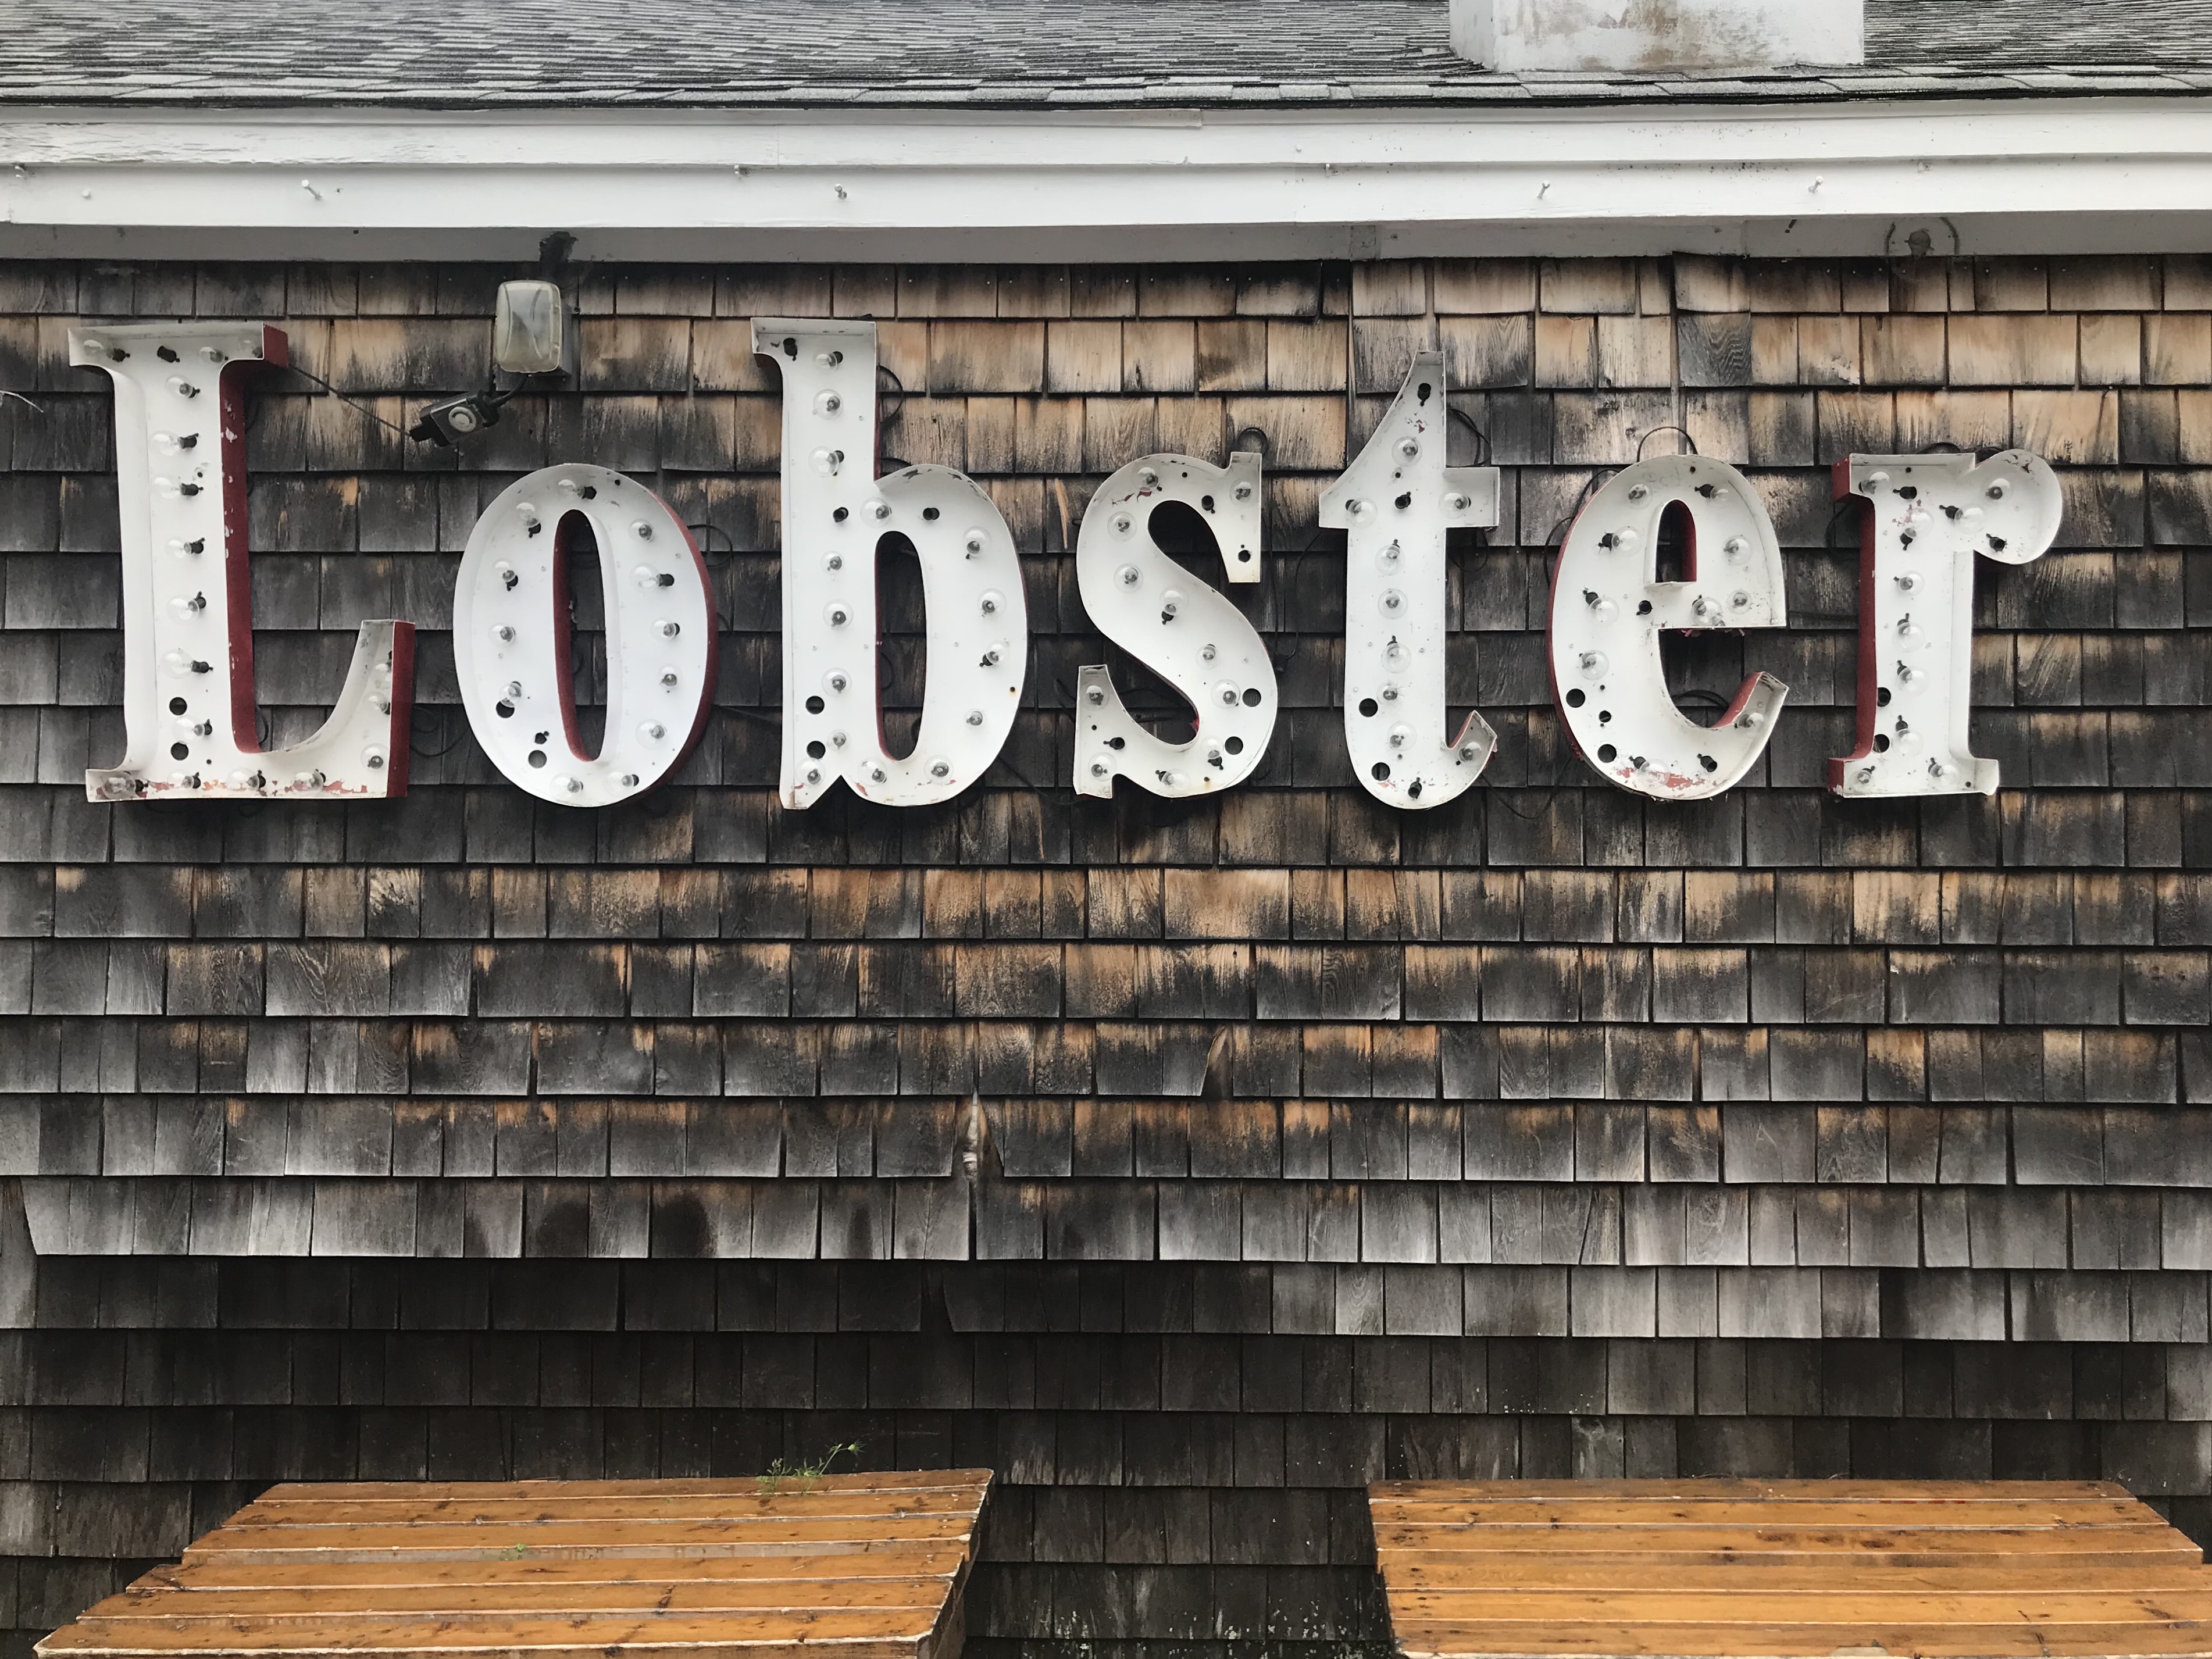
You can’t beat the seafood and lobster!
Downtown Kennebunkport is a must see!

While my mom and I went out browsing some antique shops we decided to find a small flower stand I read about, Spy Haven Farms . It was the cutest stand with beautiful flowers. It had an honor system, drop $15.00 in a box and grab a gorgeous bouquet.

Another must see spot is the Marginal Way in Ogunquit. I have walked in numerous times and it never disappoints! Take a look at the views!

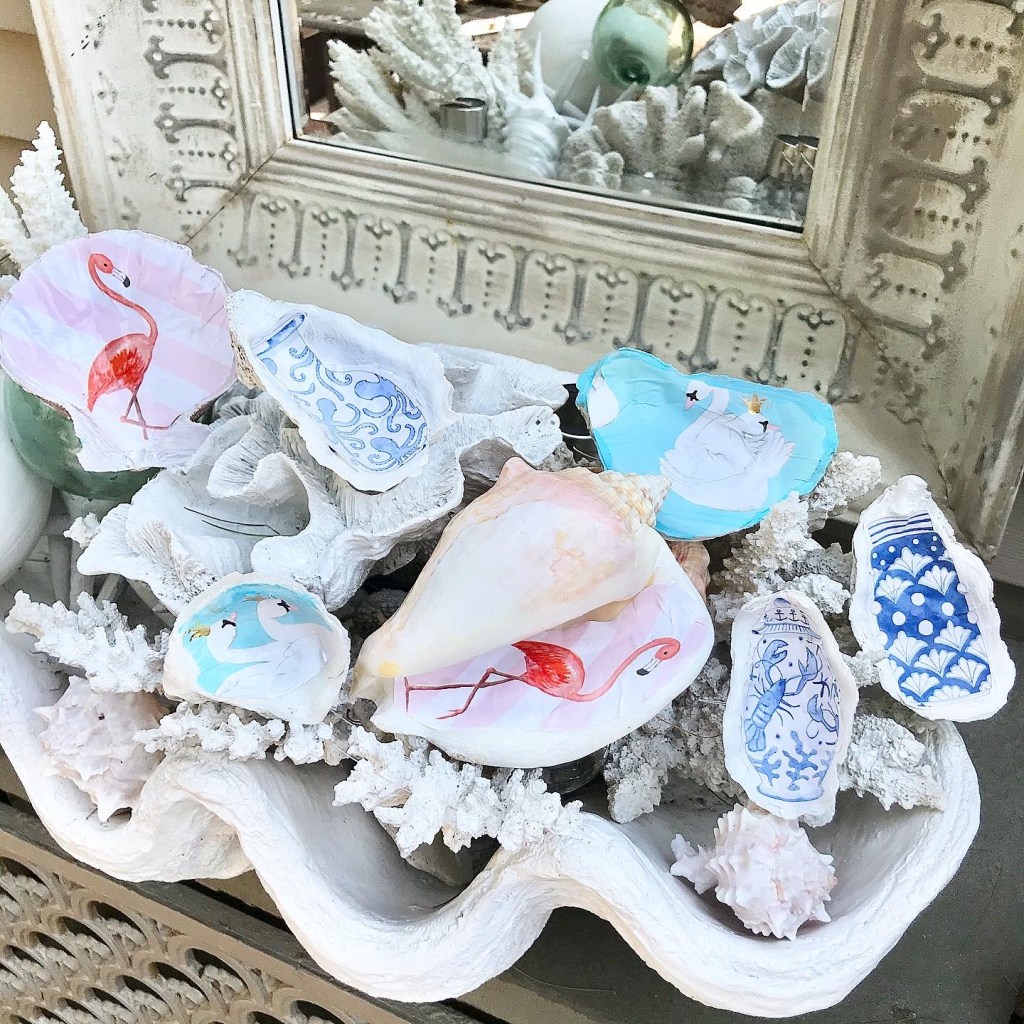
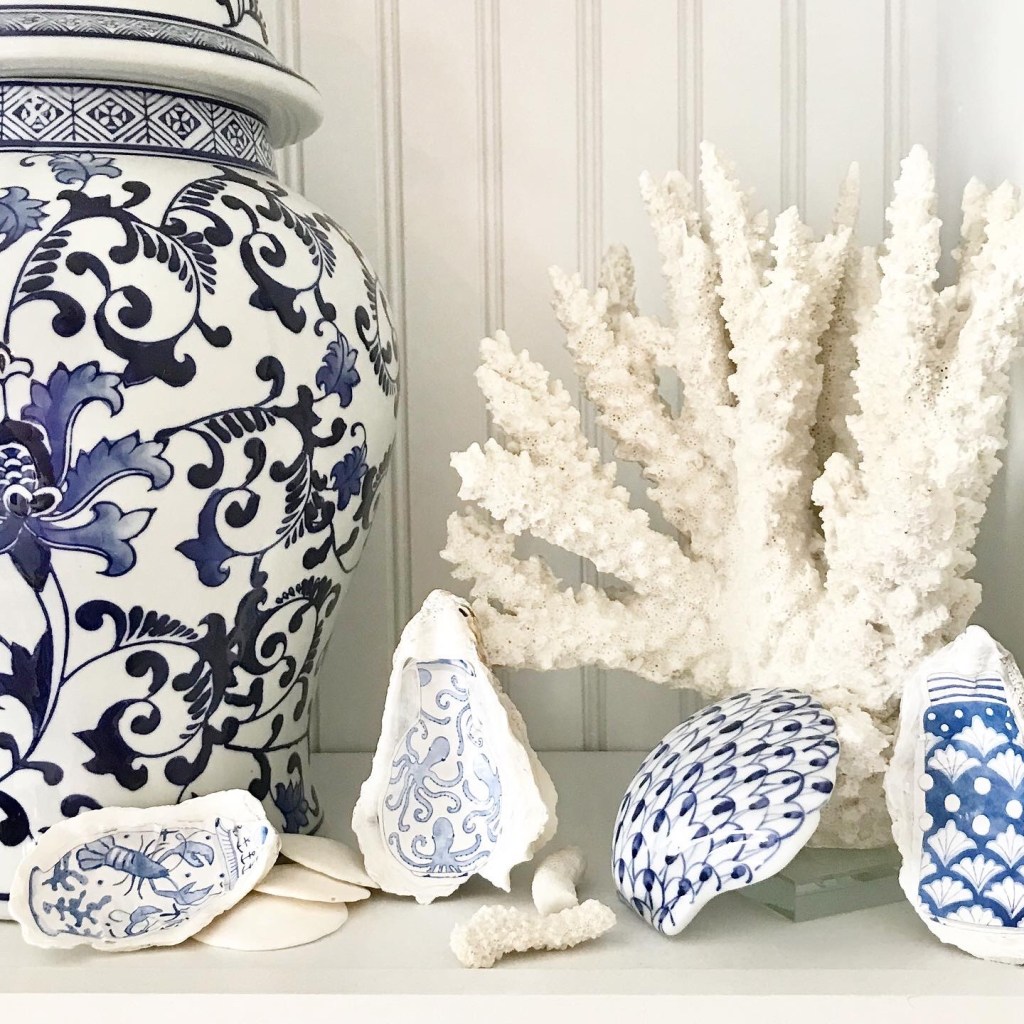
So with all the beauty in the area I thought I’d try a fun nautical inspired craft. My mom had some shells on hand, wrapping paper and Mod Podge and I decided to have some fun!

I cut pieces of wrapping paper to fit in the shells and brushed the Mod Podge on the bottom and top of the paper. The grooves made it a bit tricky but it still came out cute, I think.

Just a few supplies and an idea!

I had to leave a few shells behind since they blended so well in my parents home!

Have you ever been to Maine? If not add it to your bucket list! I know you’ll love it.

DIY Pom Pom Pillow

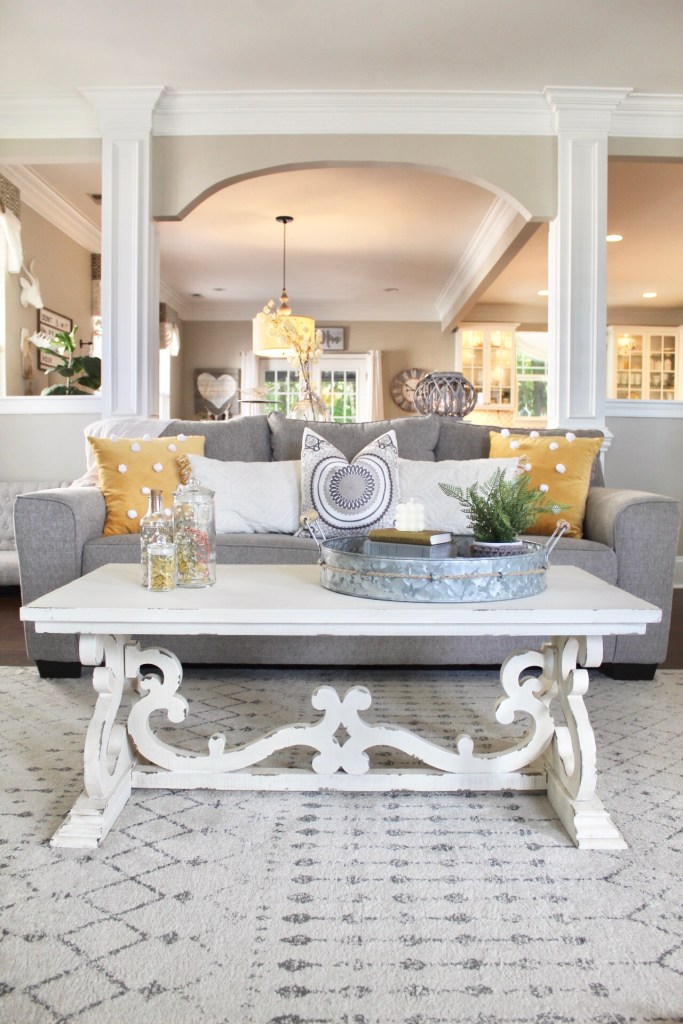
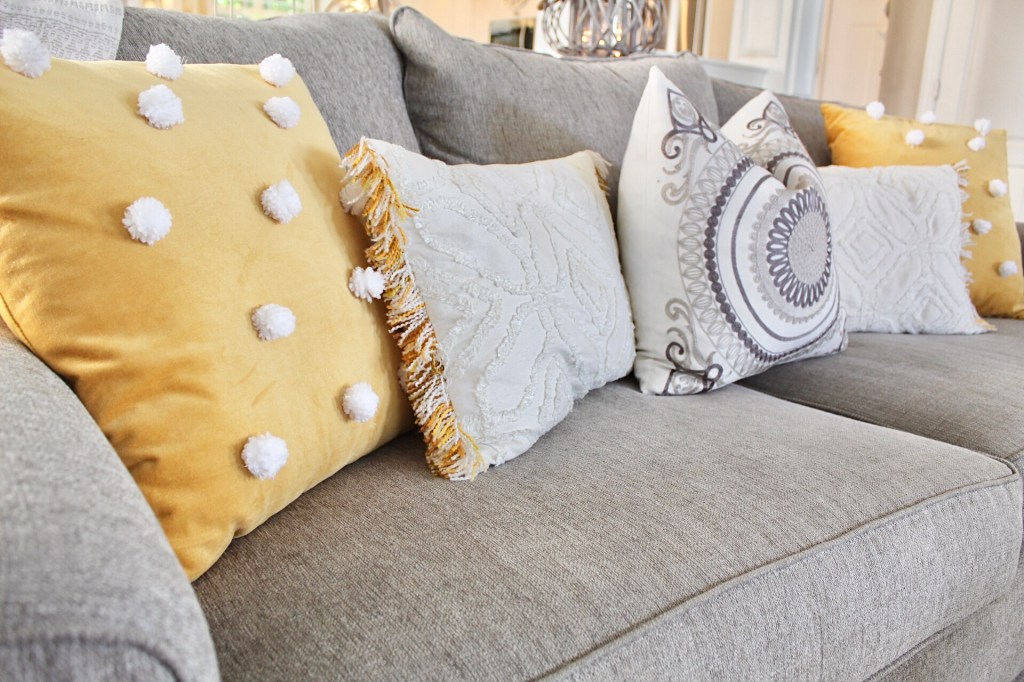
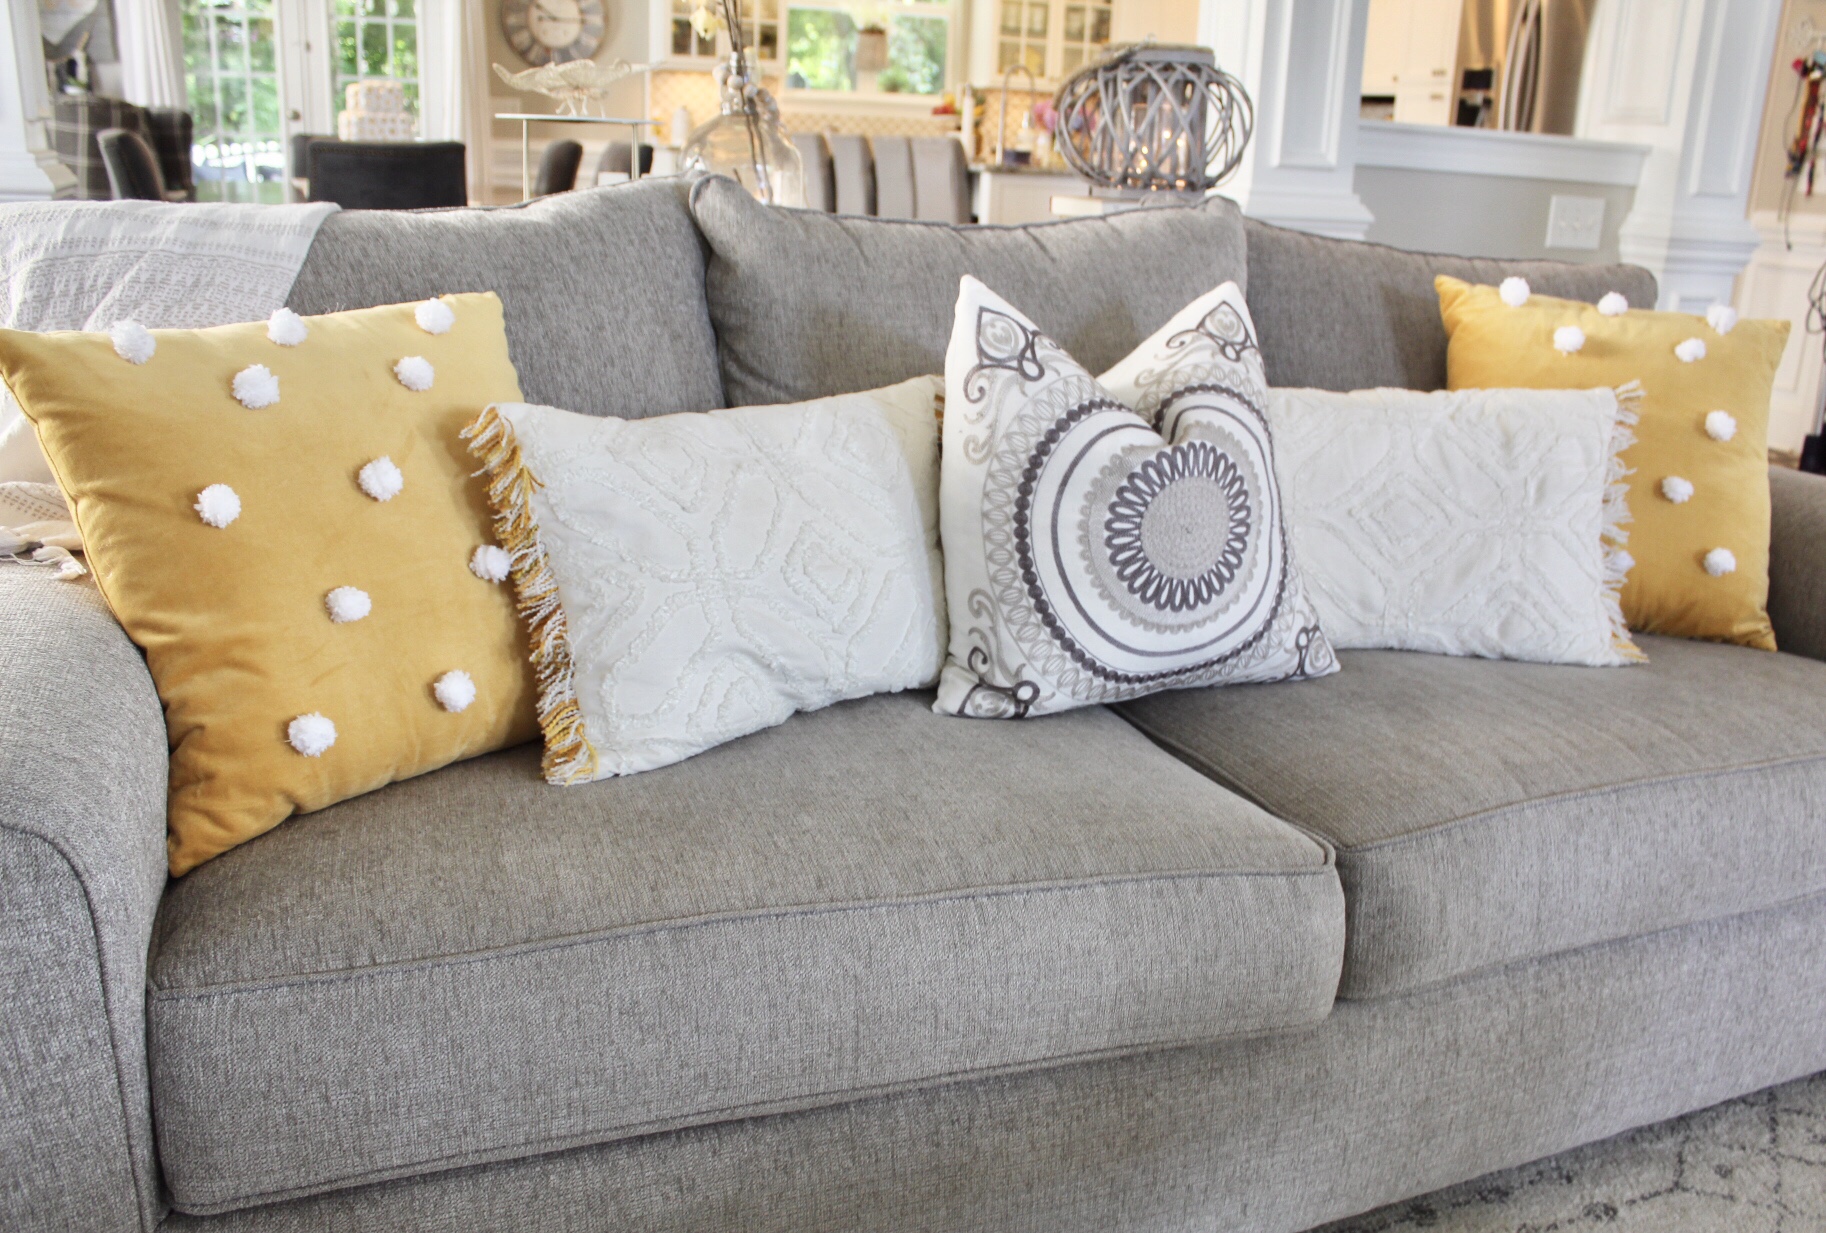
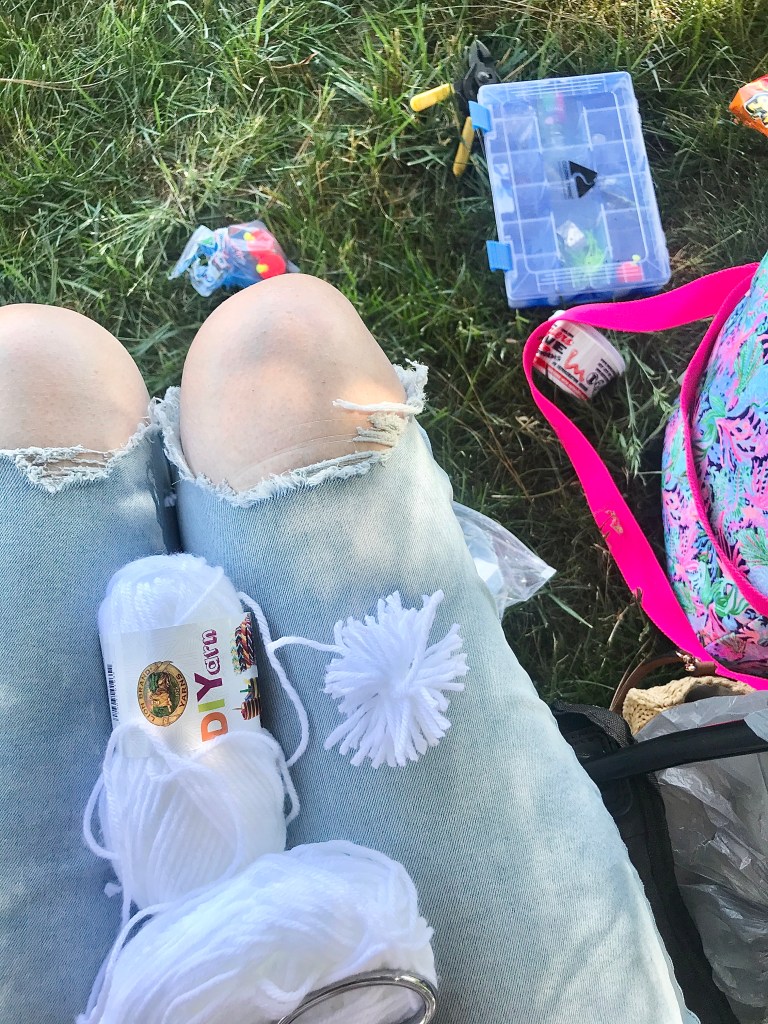
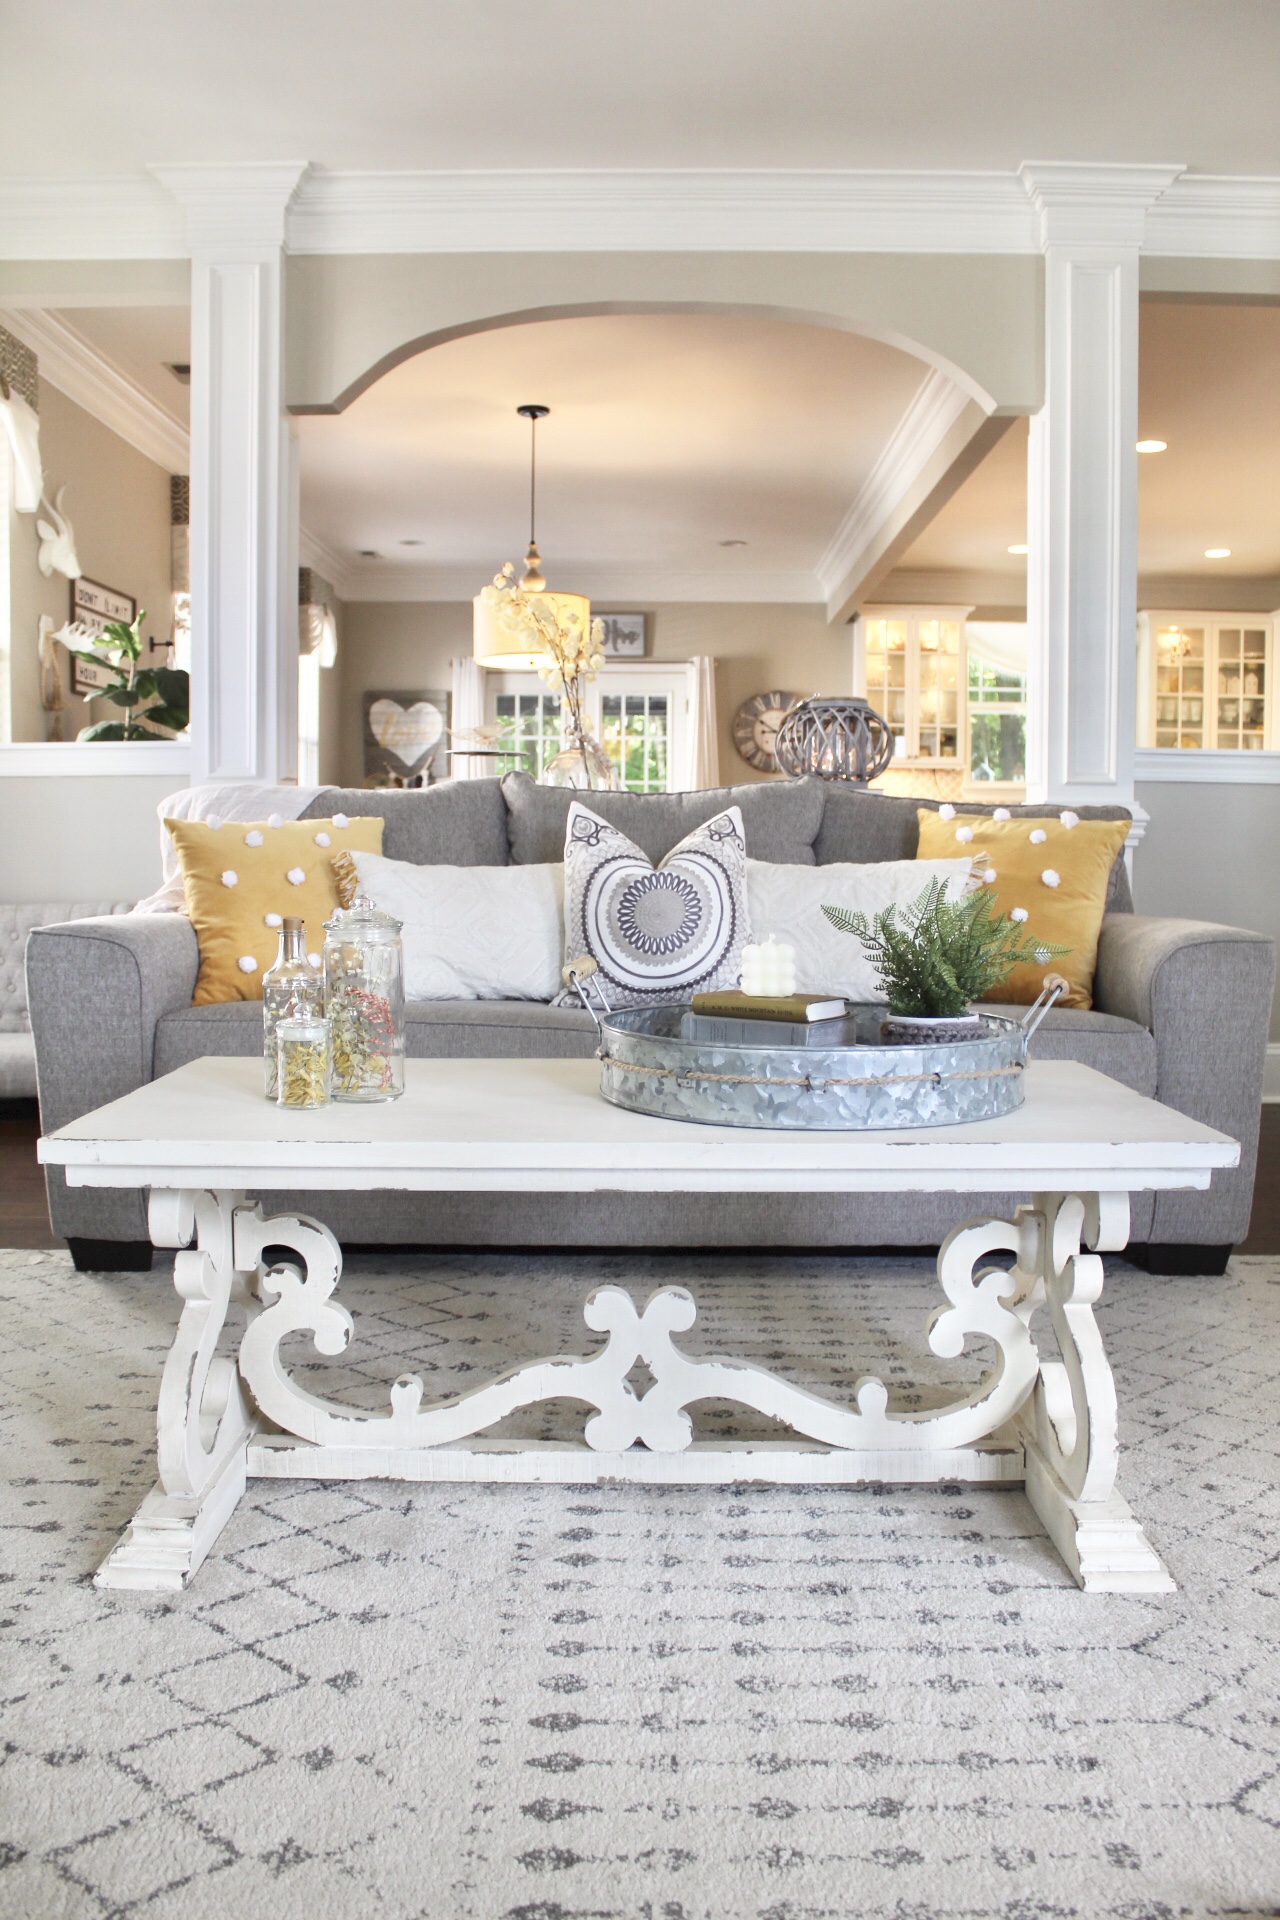
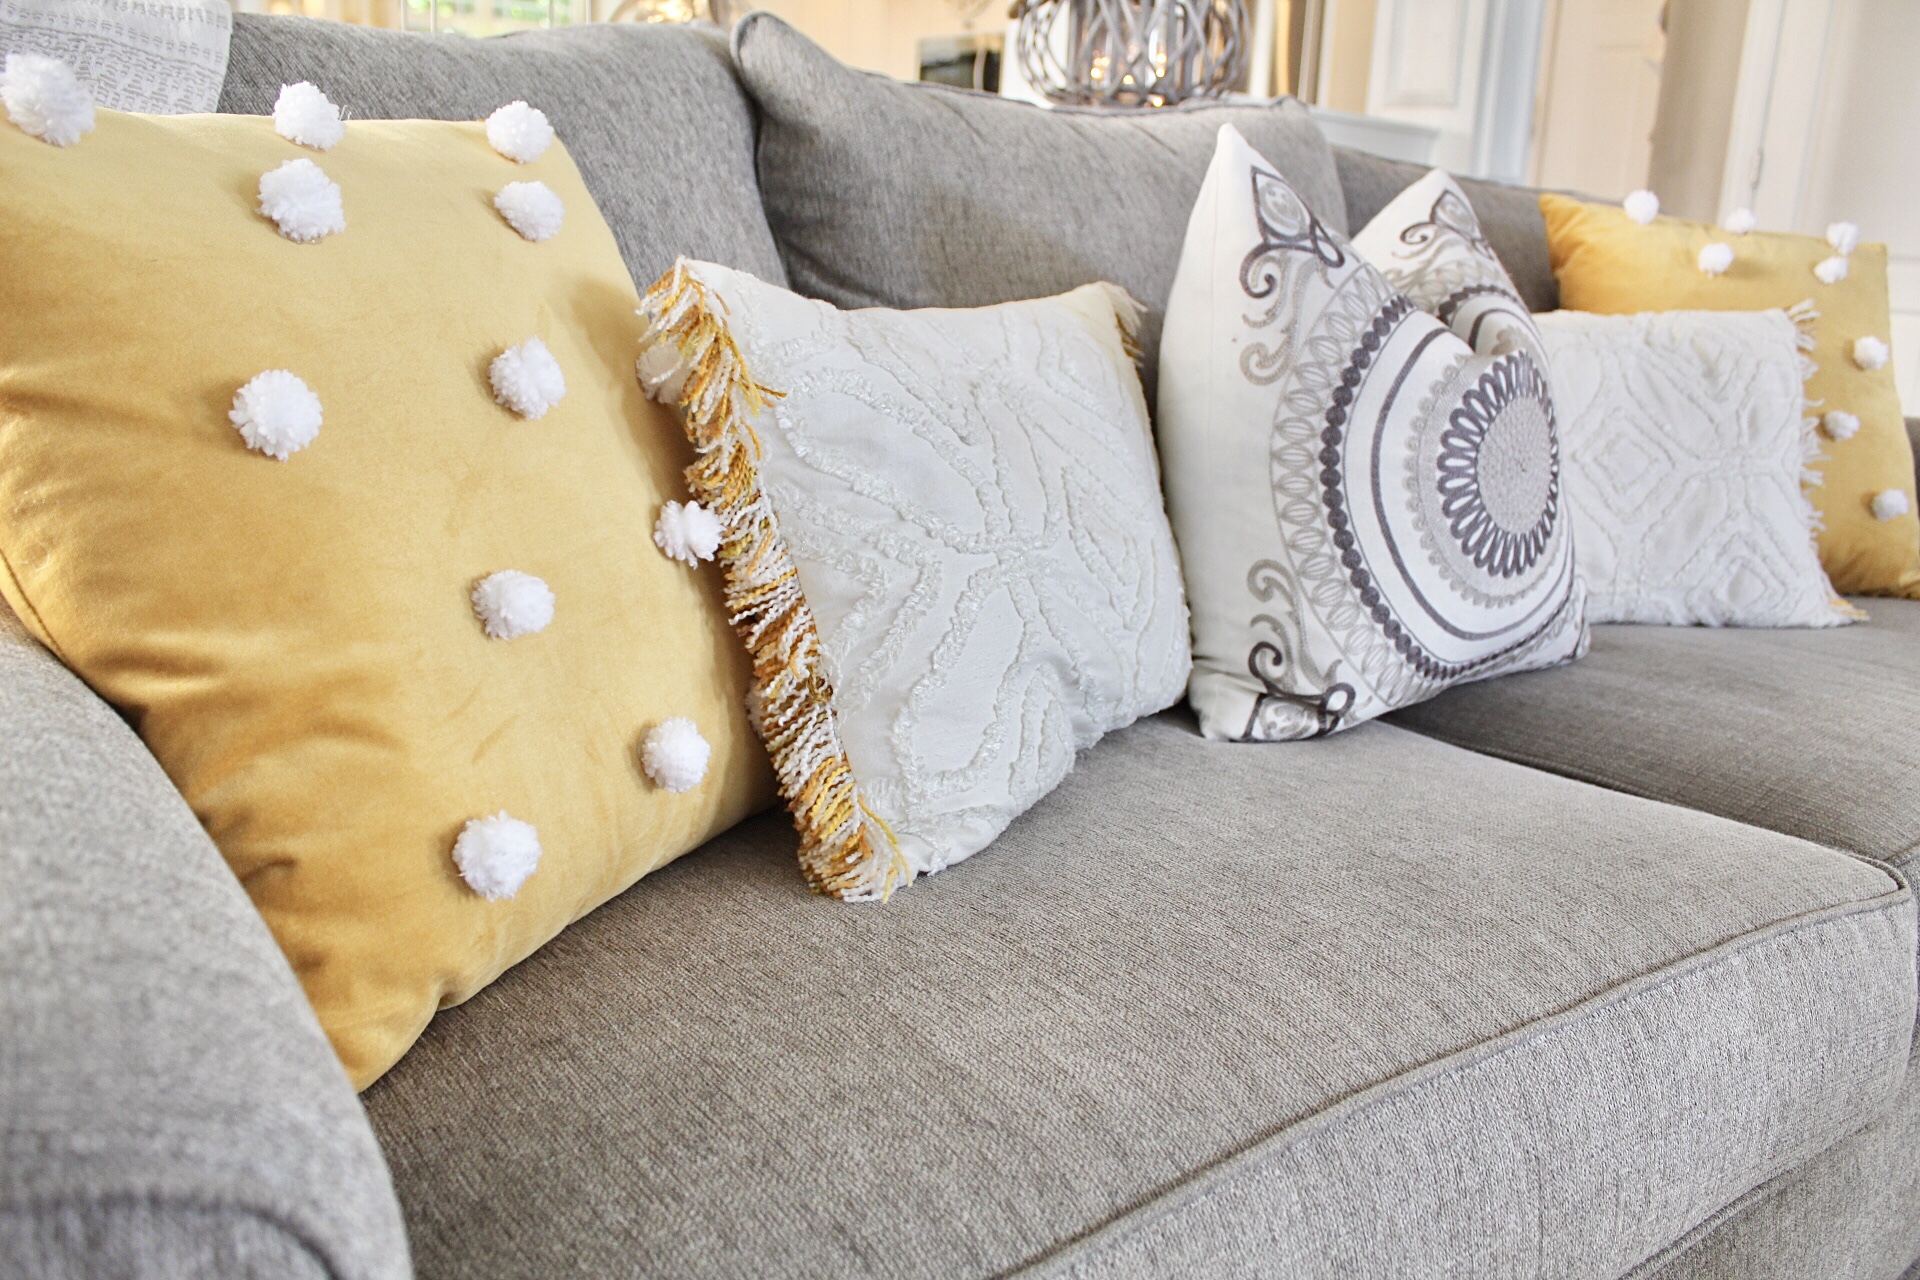
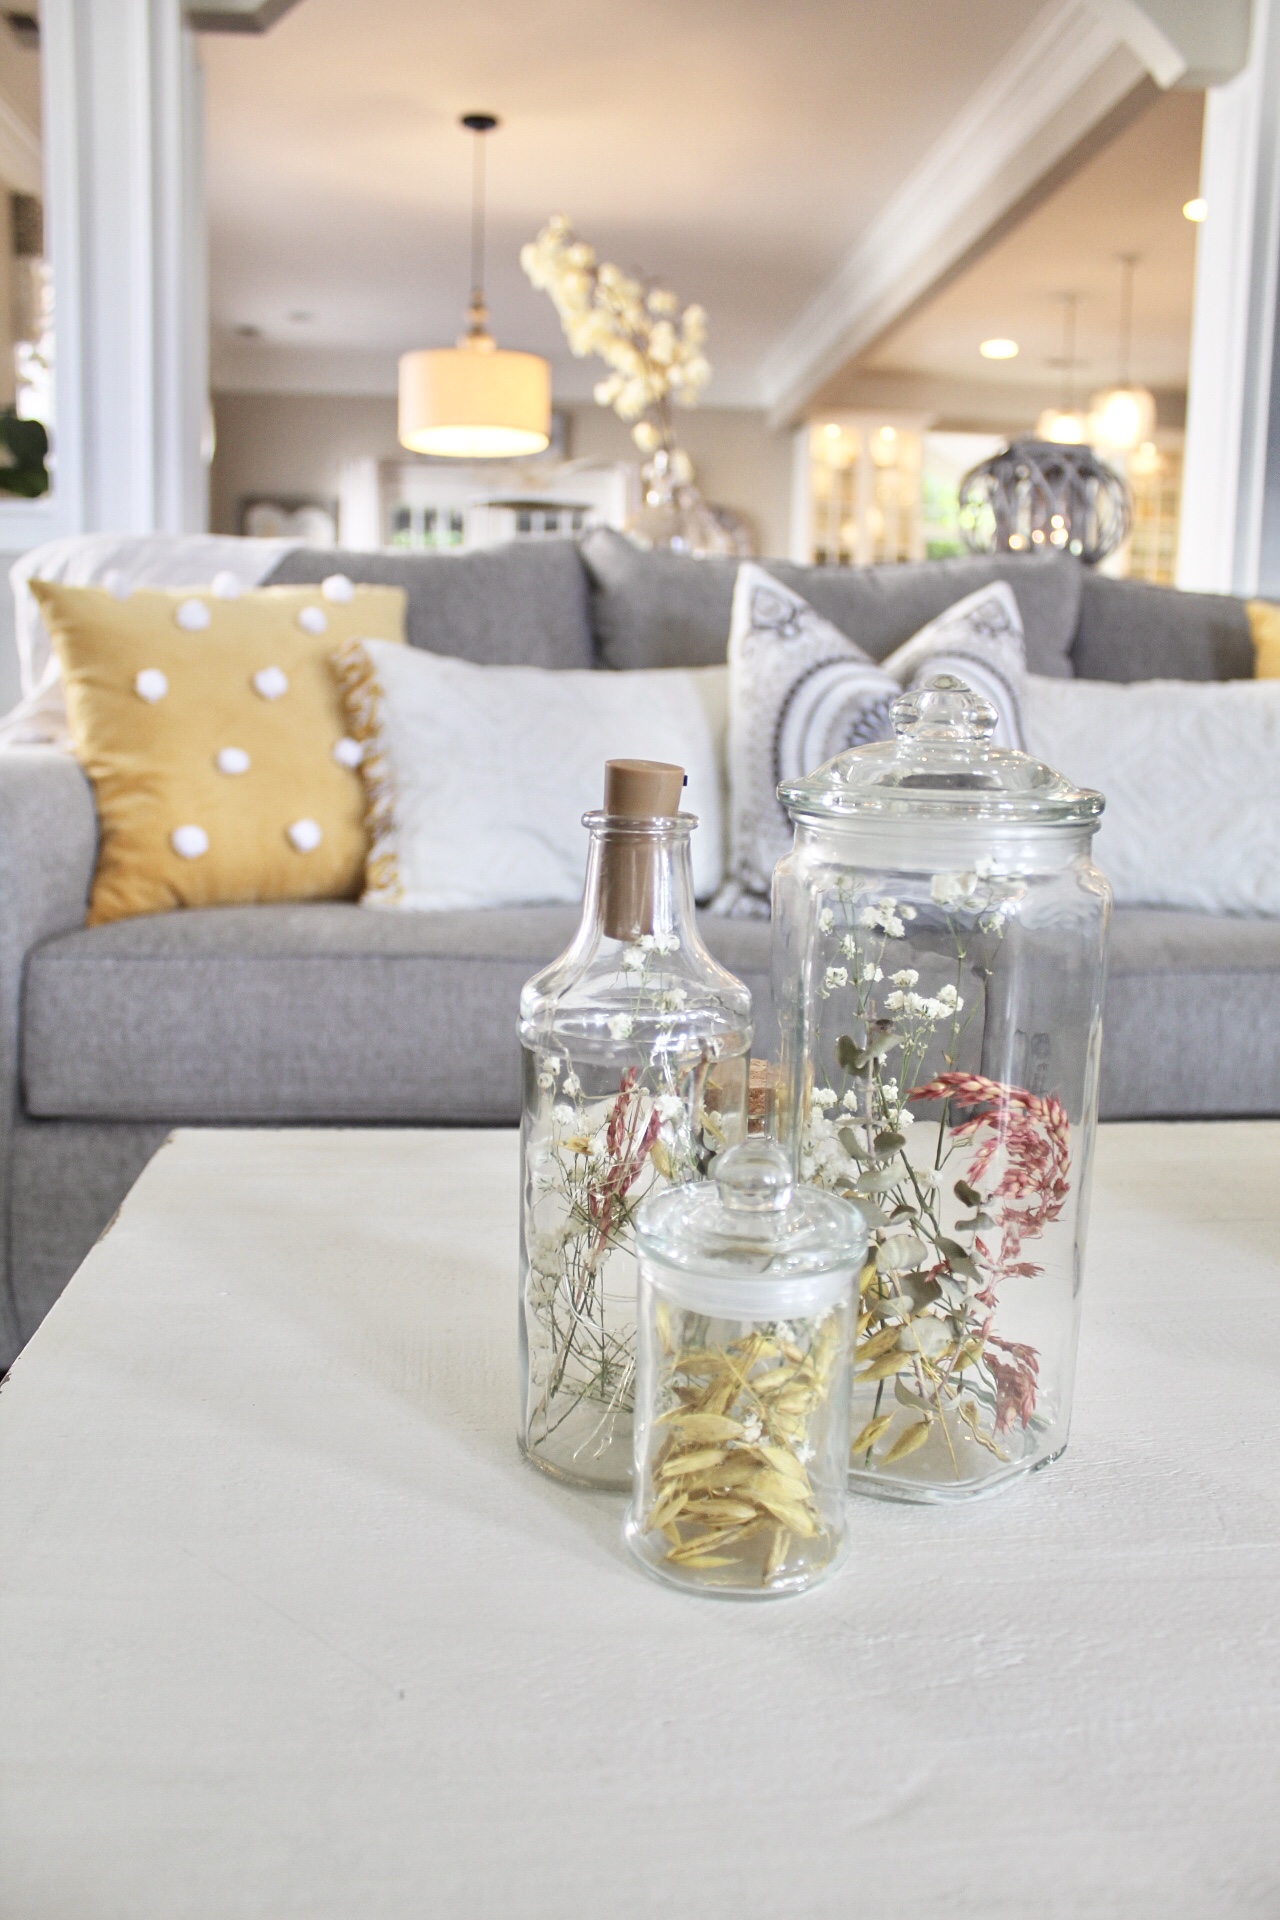
I love pillows. They are an easy way to switch up decor or freshen up a space. My couch needed a little pop of color so I ran out to grab a couple of new pillows. World Market has velvet pillows for $9.99 in lots of pretty shades. Since yellow is my accent color I grabbed two pillows and brought them home. They looked cute, but I thought adding a little more texture would be fun! So, I made some pom poms and decided to add them!

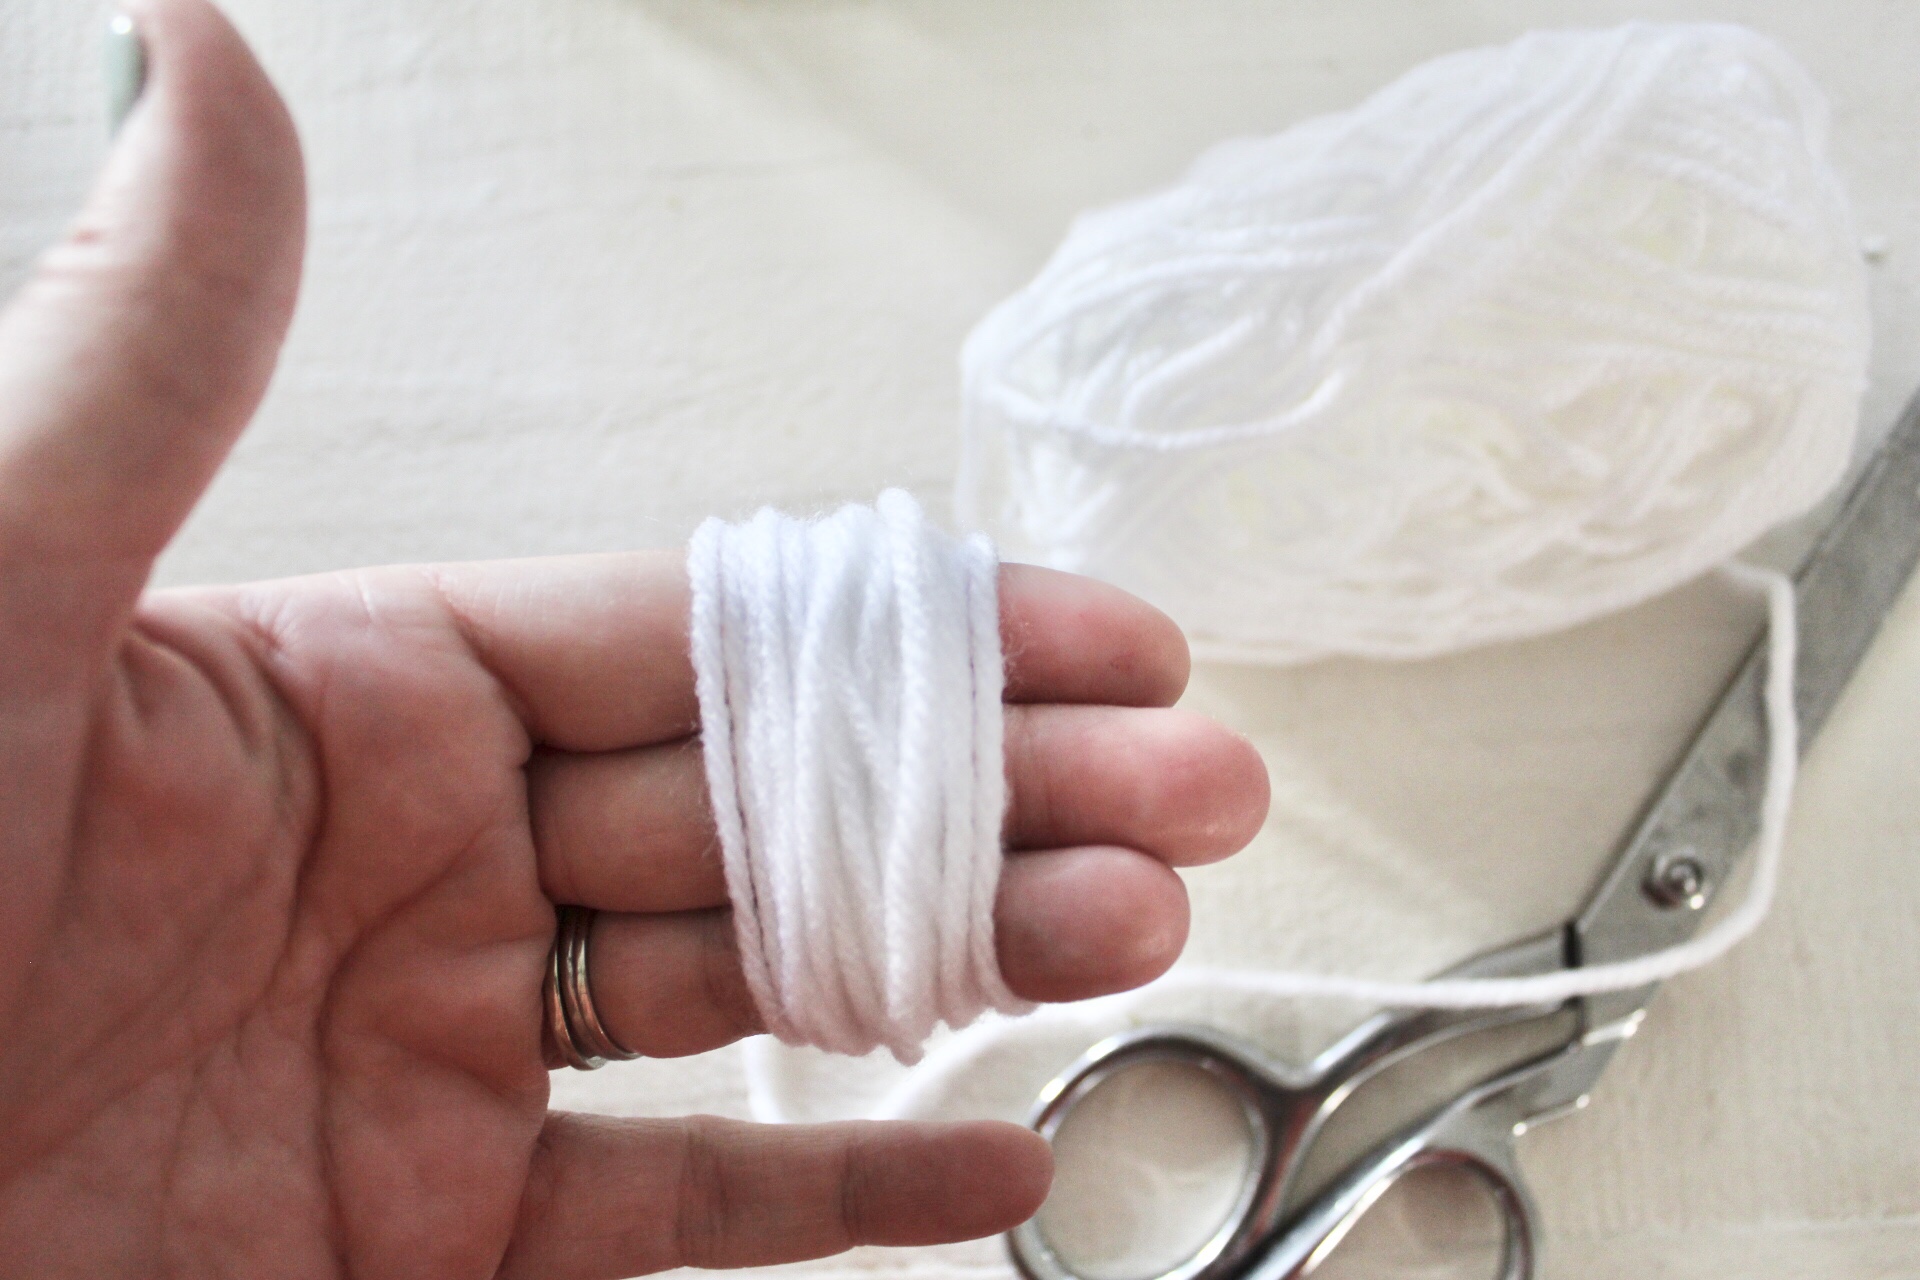
There are lots of ways to make pom poms. I have pom pom makers but just don’t like them. So, I wrap the yarn around my fingers to make them. Here is my method:

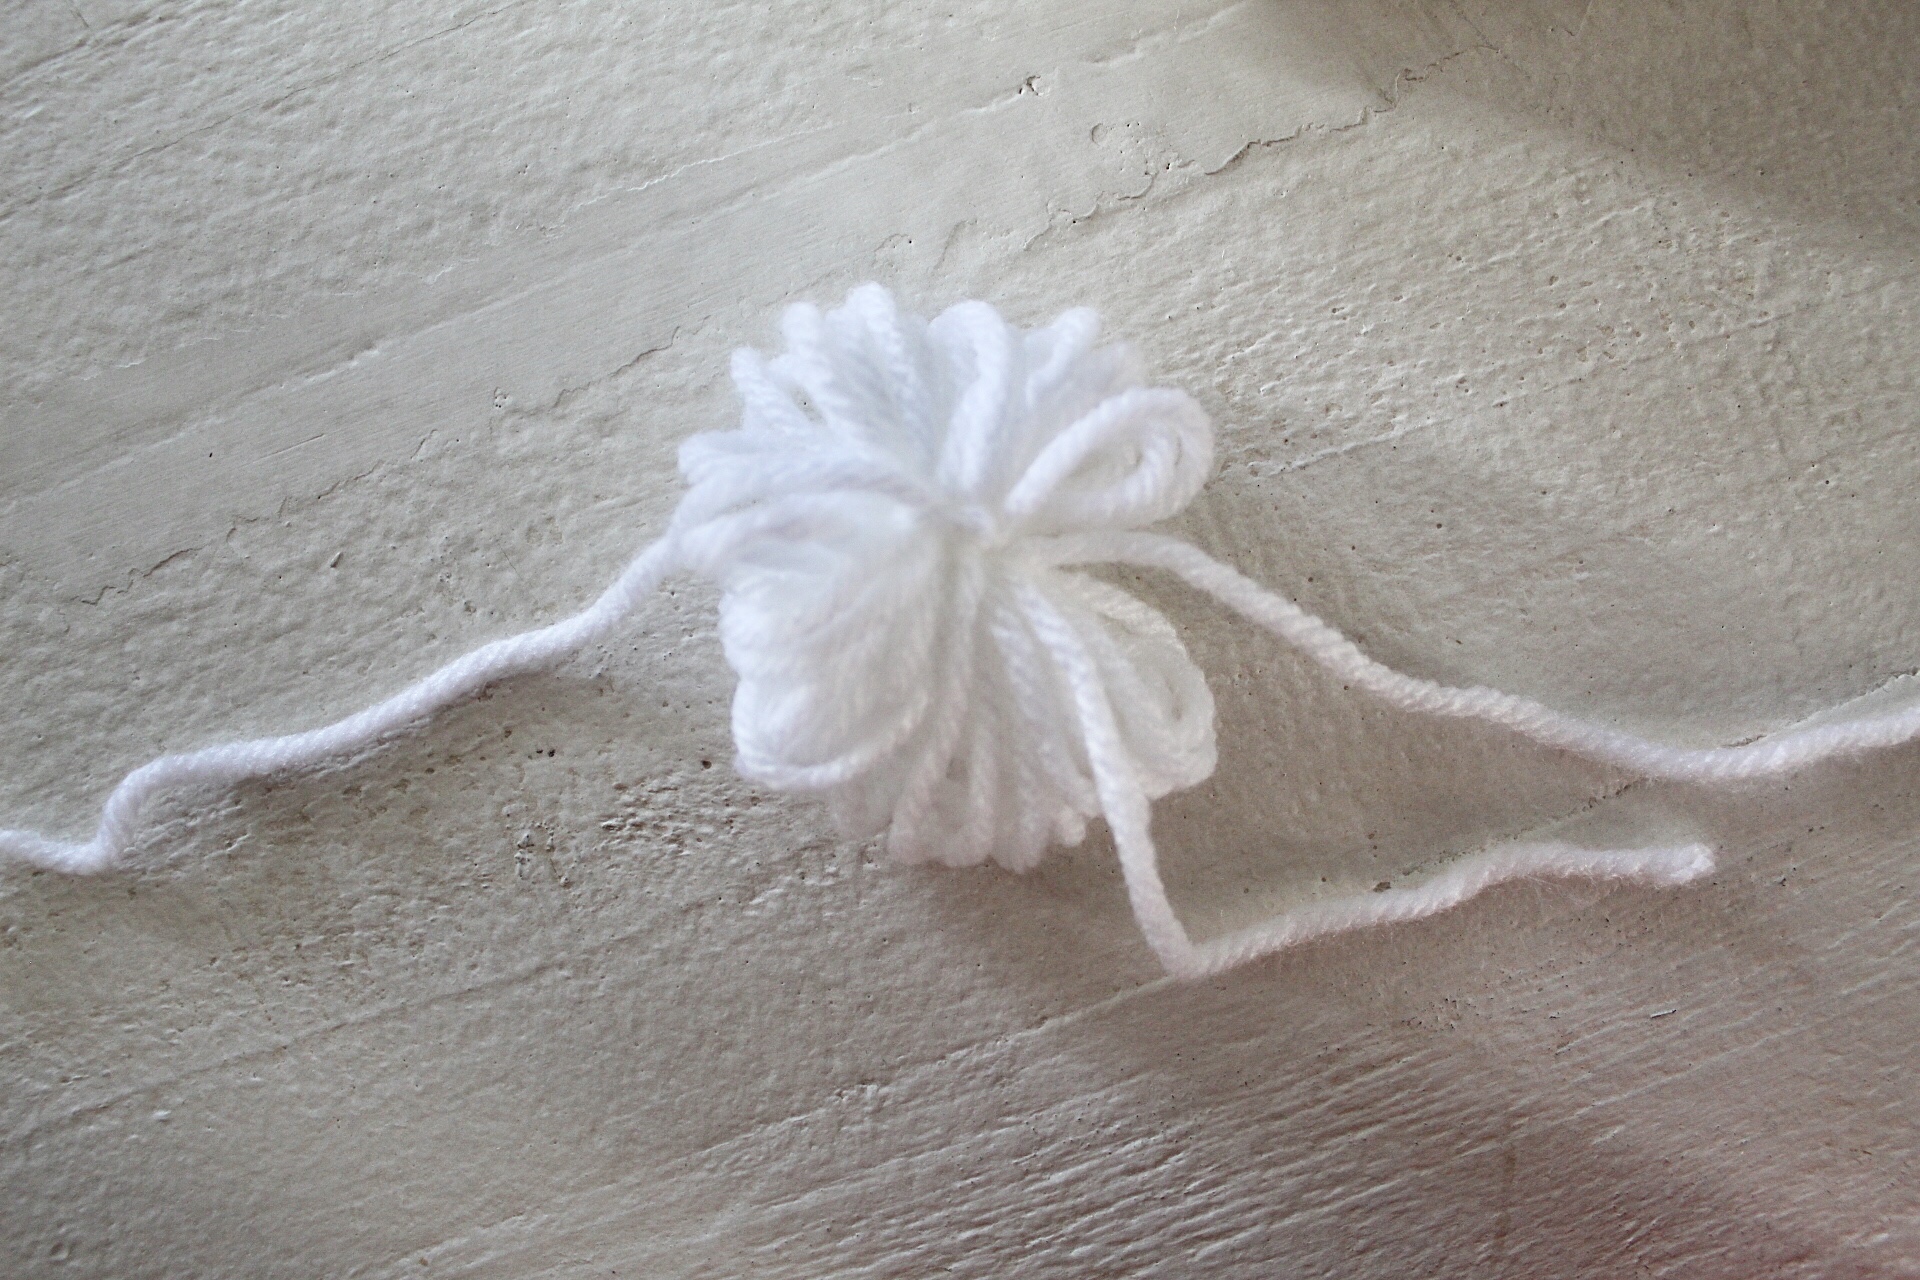
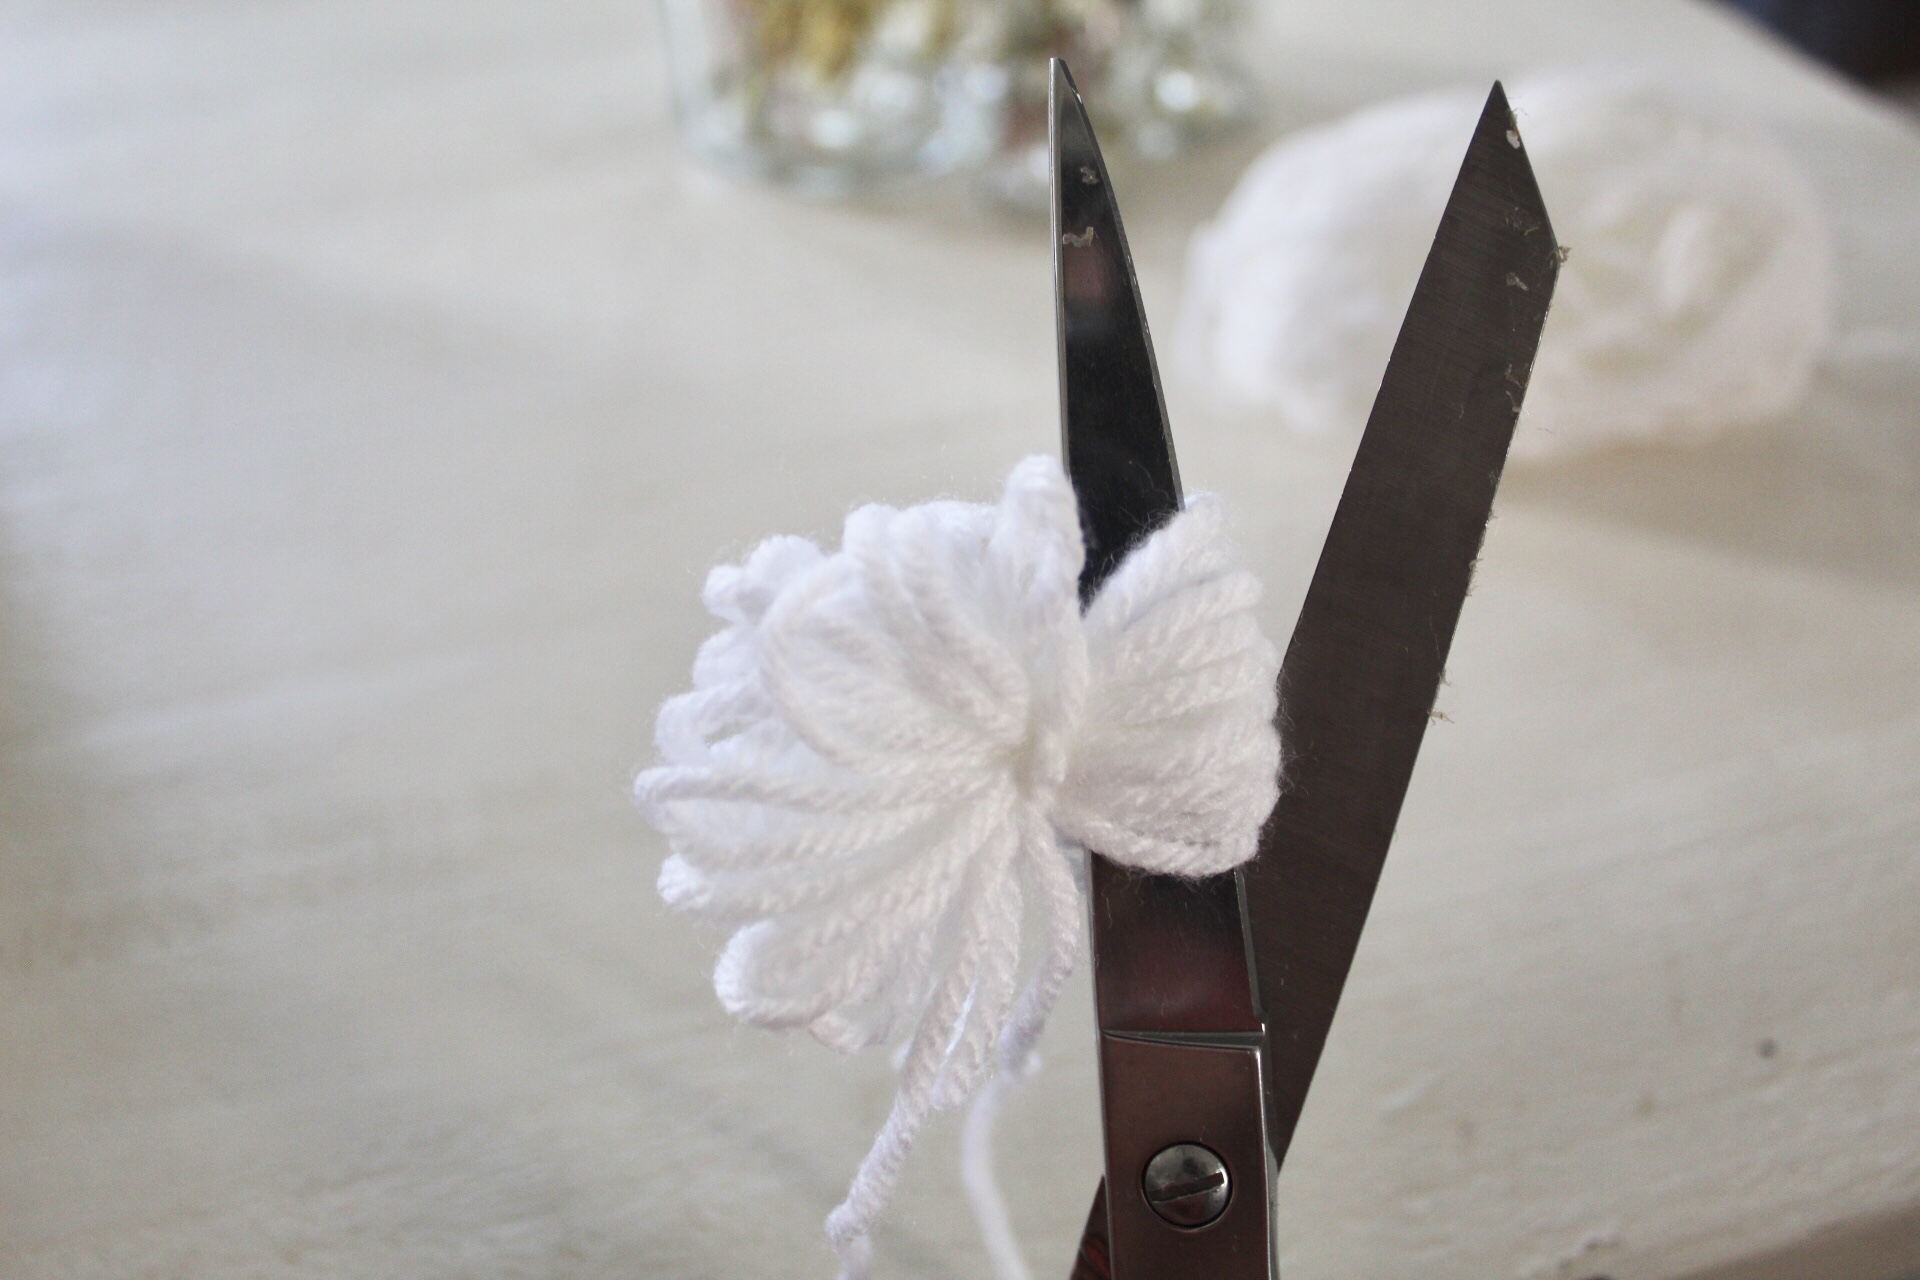
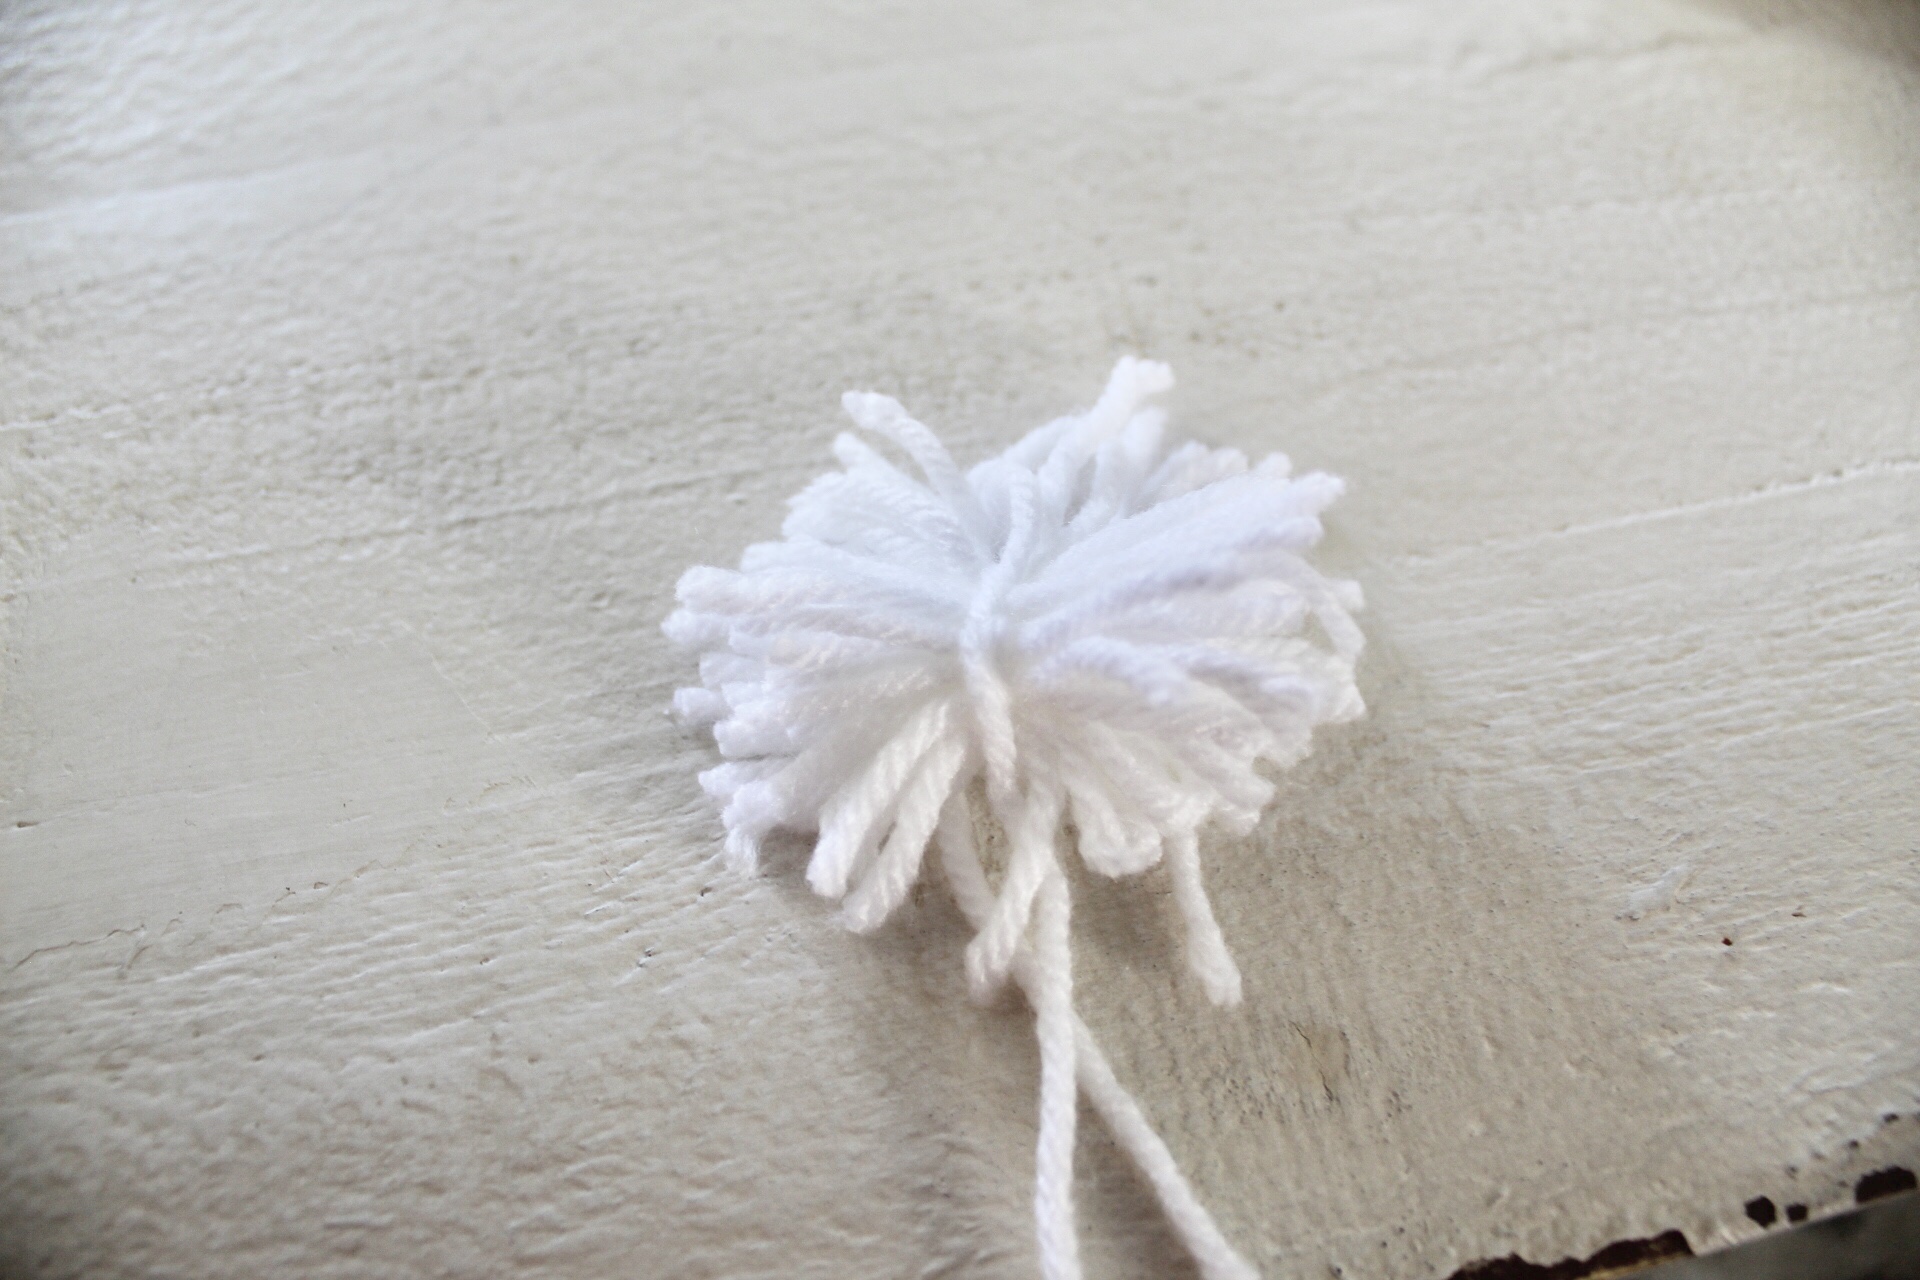
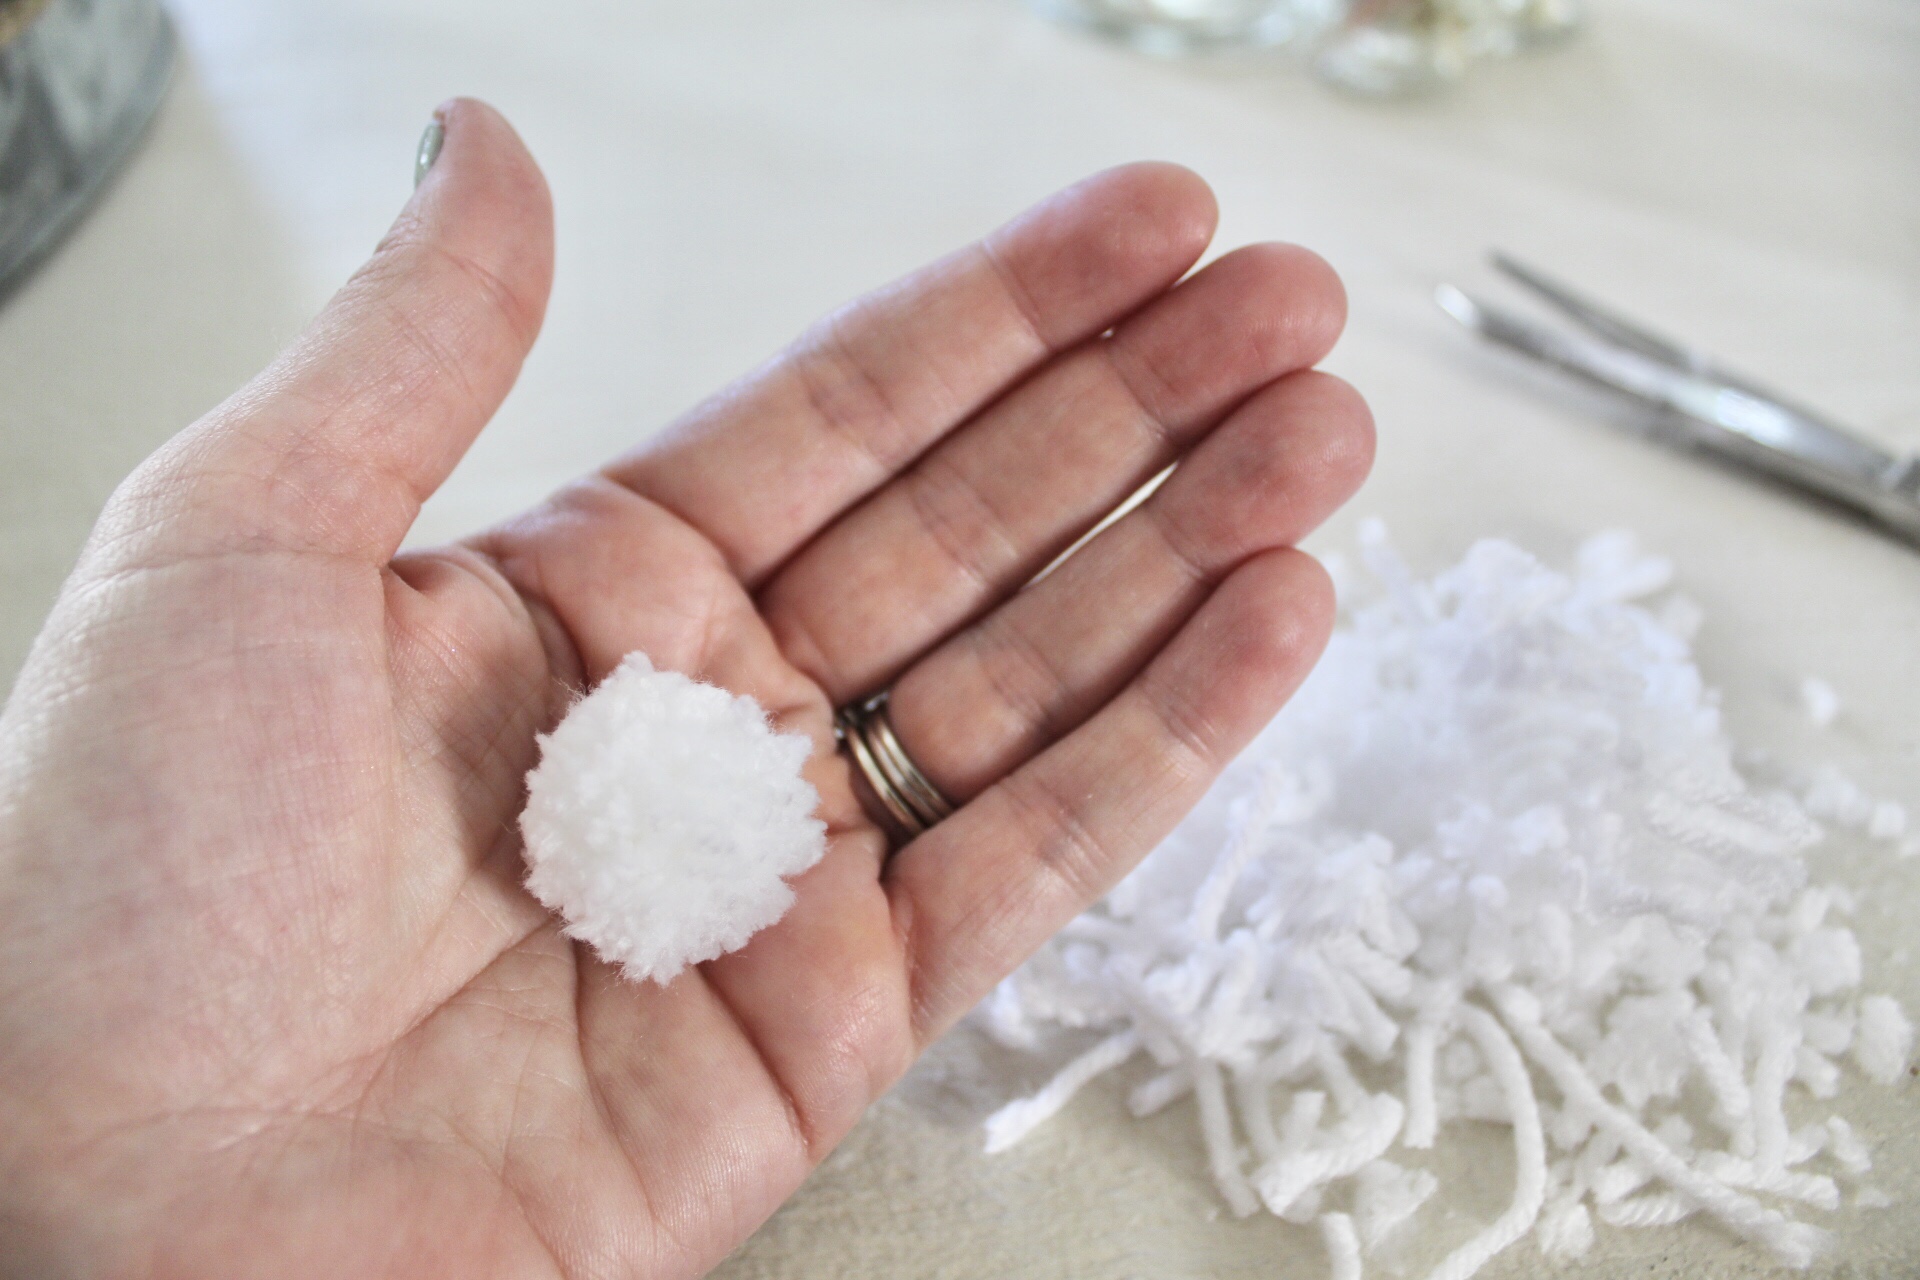
First off I wrap the yarn around my fingers. For smaller pom poms I wrapped around three fingers about 25 times. Pull the yarn off your hands and tie a piece of yarn around the center and knot it. You will then cut each half, making sure to not cut the string you just tied in the center. Then, start trimming! Trim around until you have a pom you like. I used 18 pom pom per pillow. I hot glued mine on to the pillows and love them even more!

They can be time consuming to make. I made mine while I took my boys fishing! It was a beautiful day, I sat in the shade and snipped away!

I think my new pillows are just what my space needed!

DIY Striped Candles

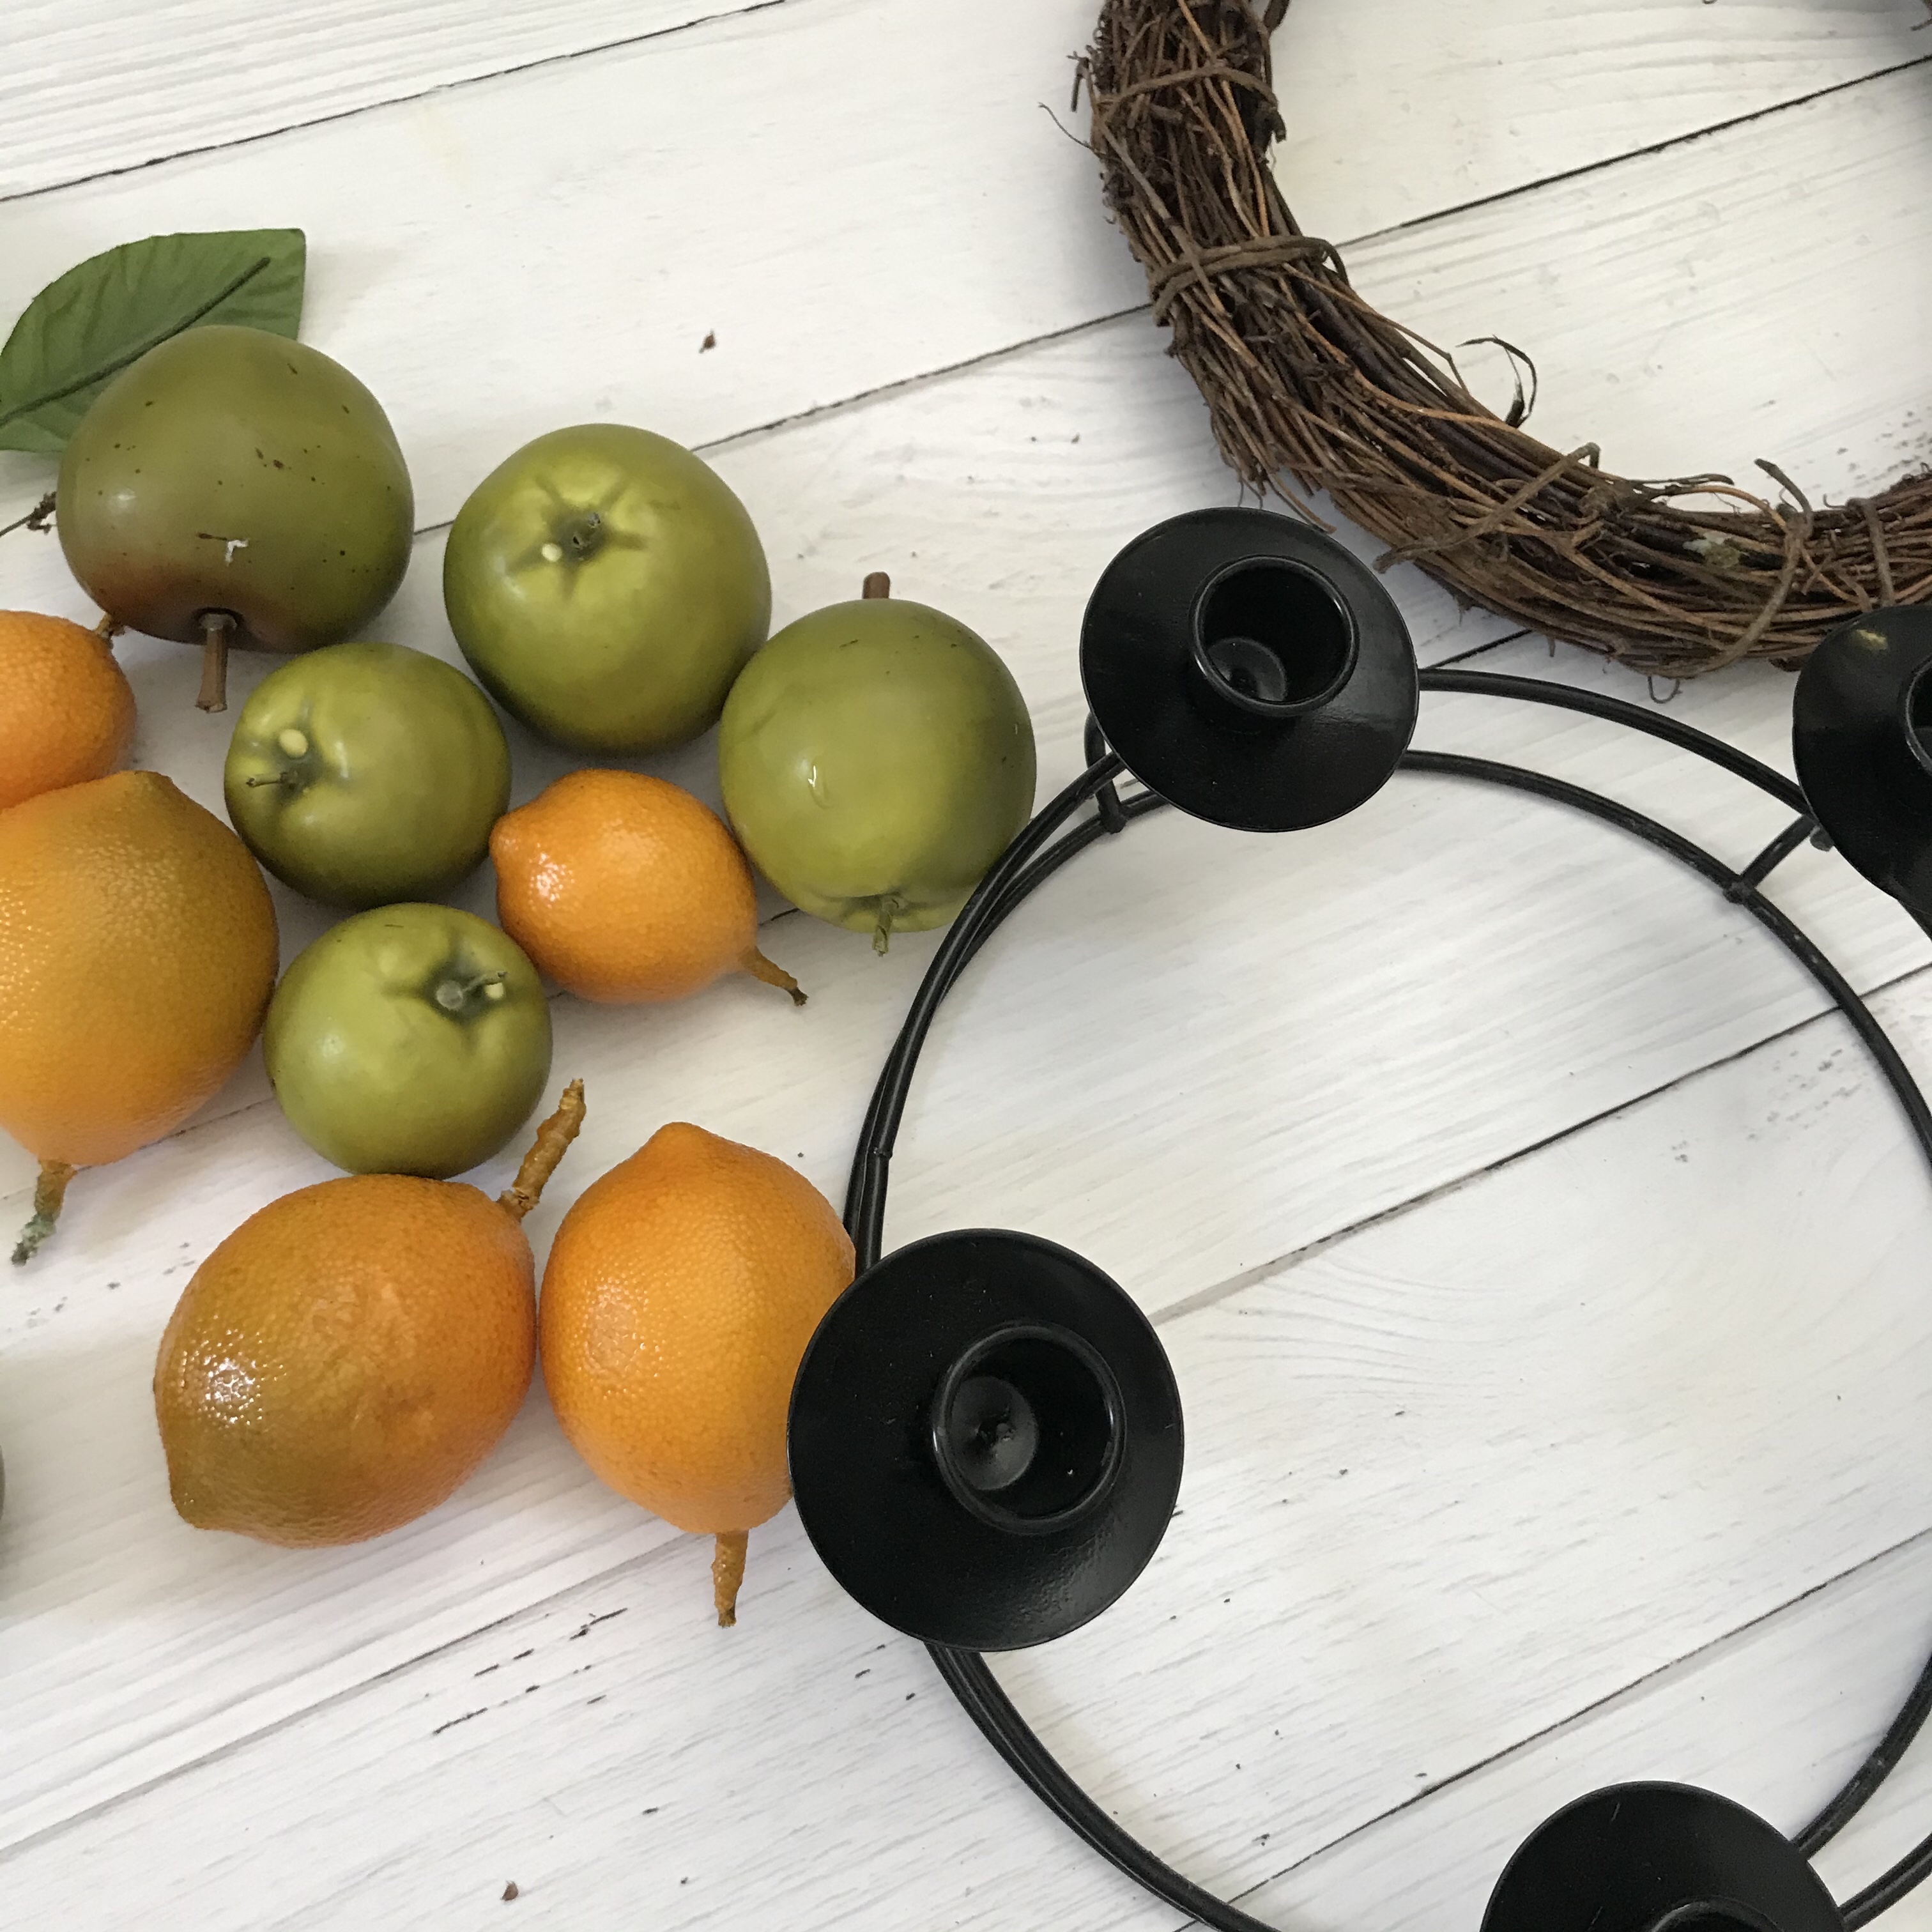
I have recently been on a thrifting kick. I love finding a good deal and what better way than to head to the local thrift store and see what you find? So, when I recently went I found a candelabra/wreath/fruit THING (I’m not sure how else to describe it!) I took it home and deconstructed it. I had a few ideas for some different projects. I took the candle holder and transformed it into something fun and pretty!

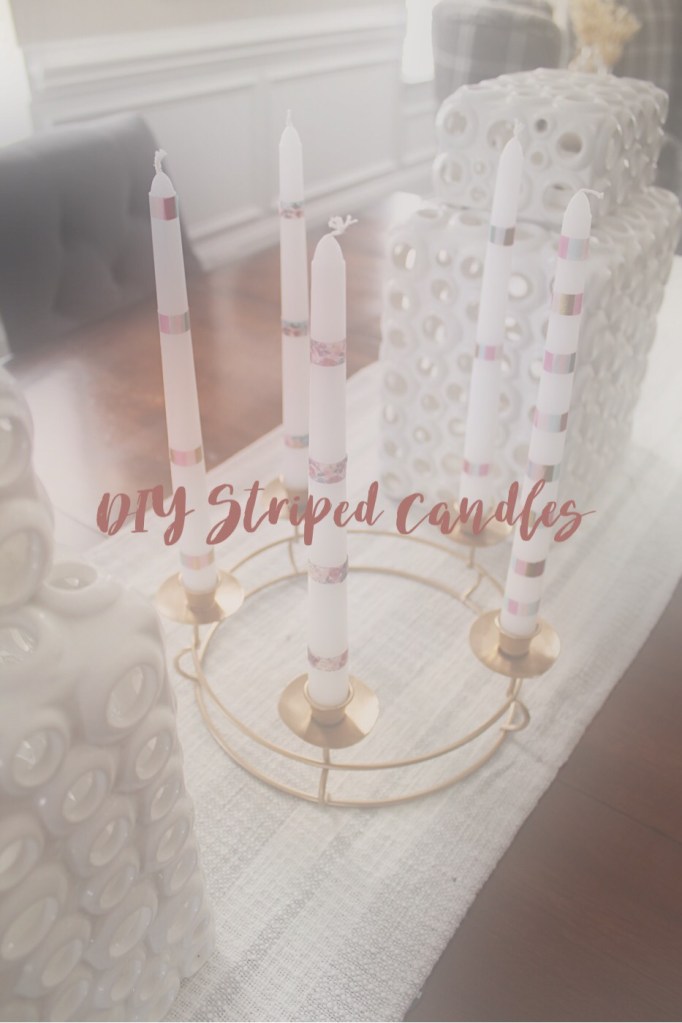
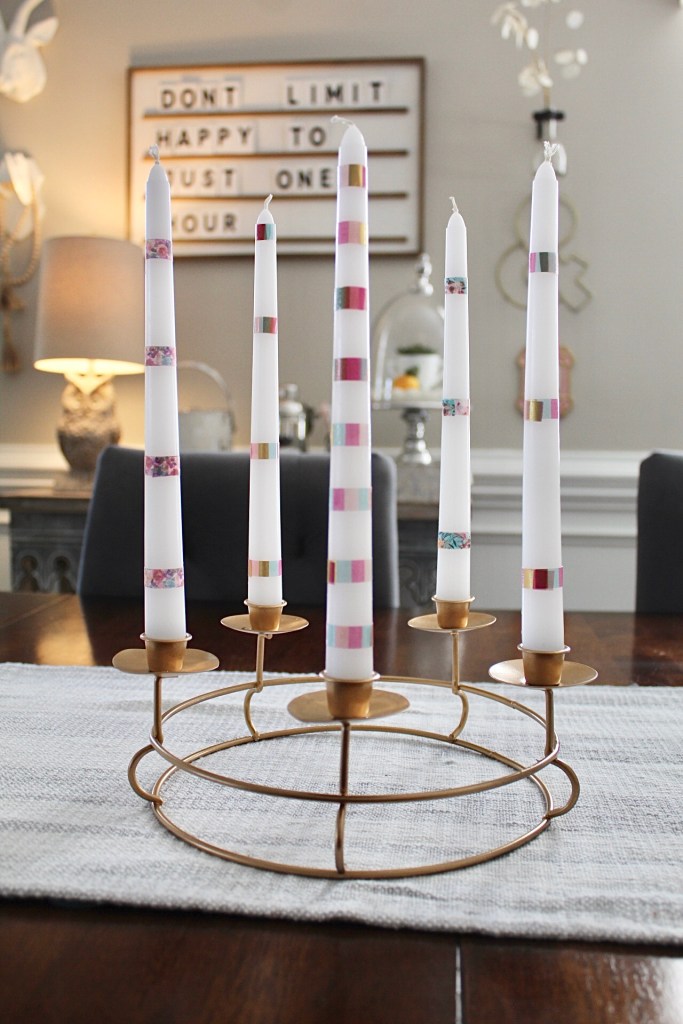
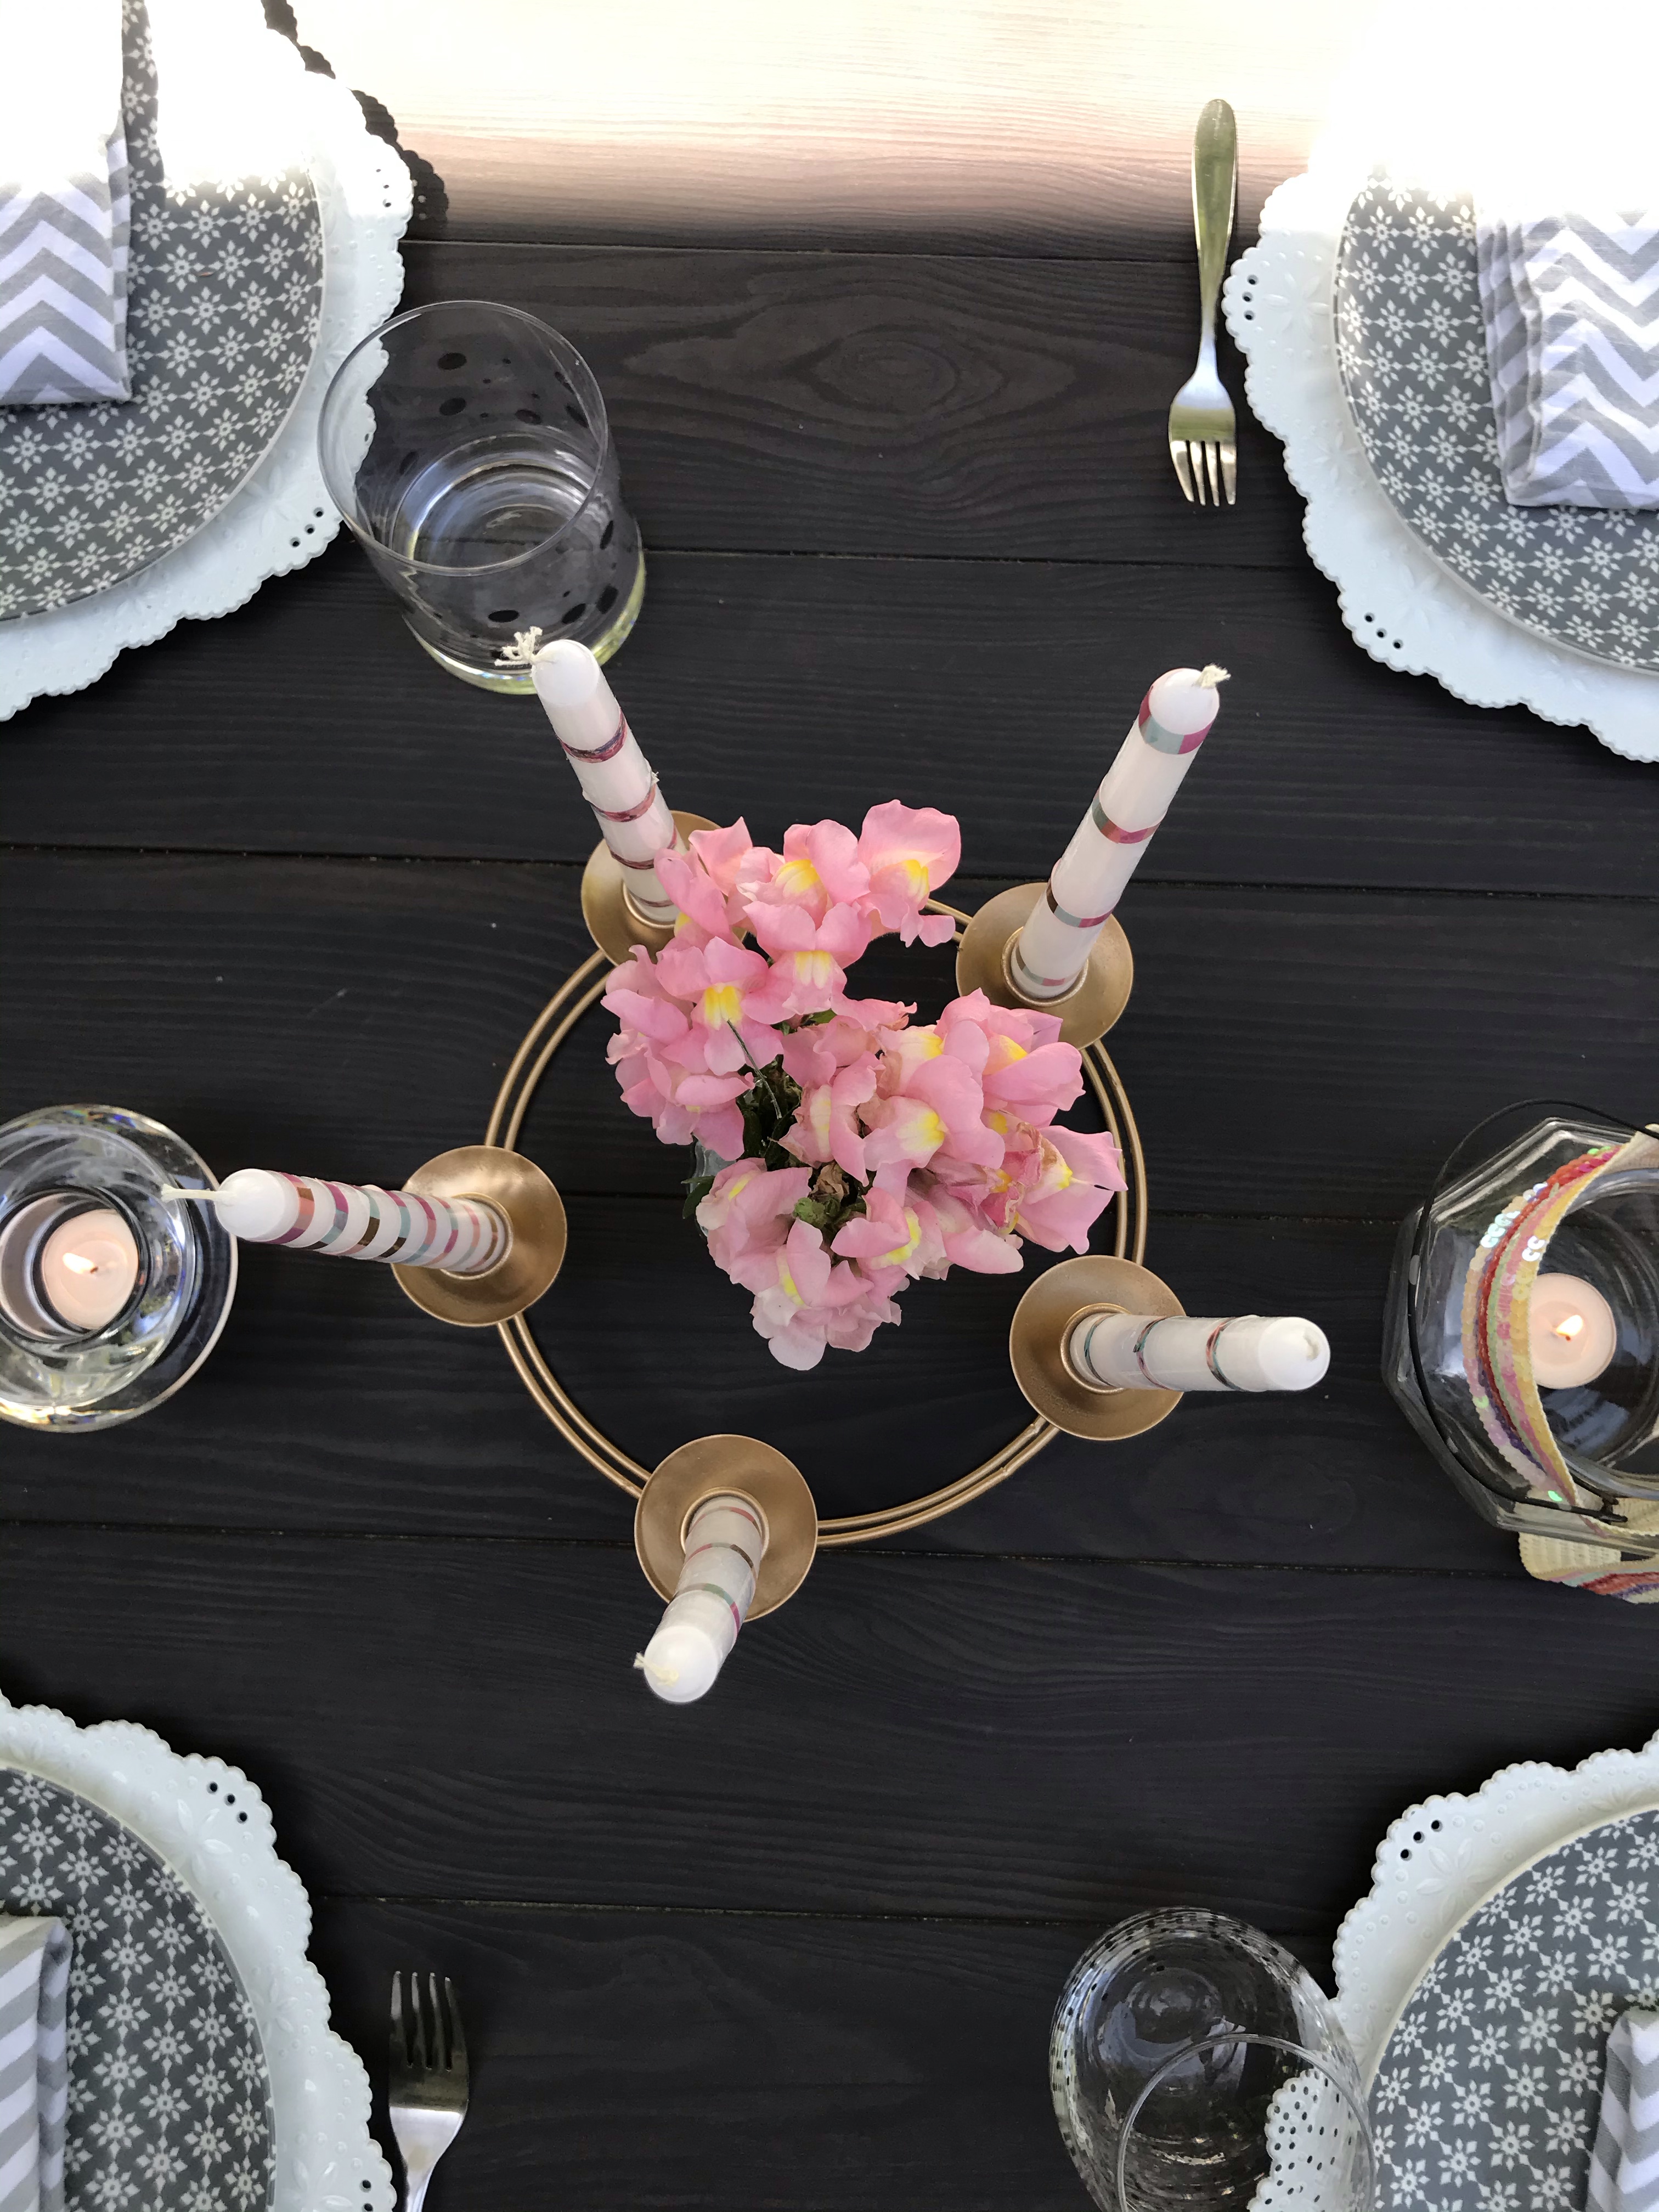
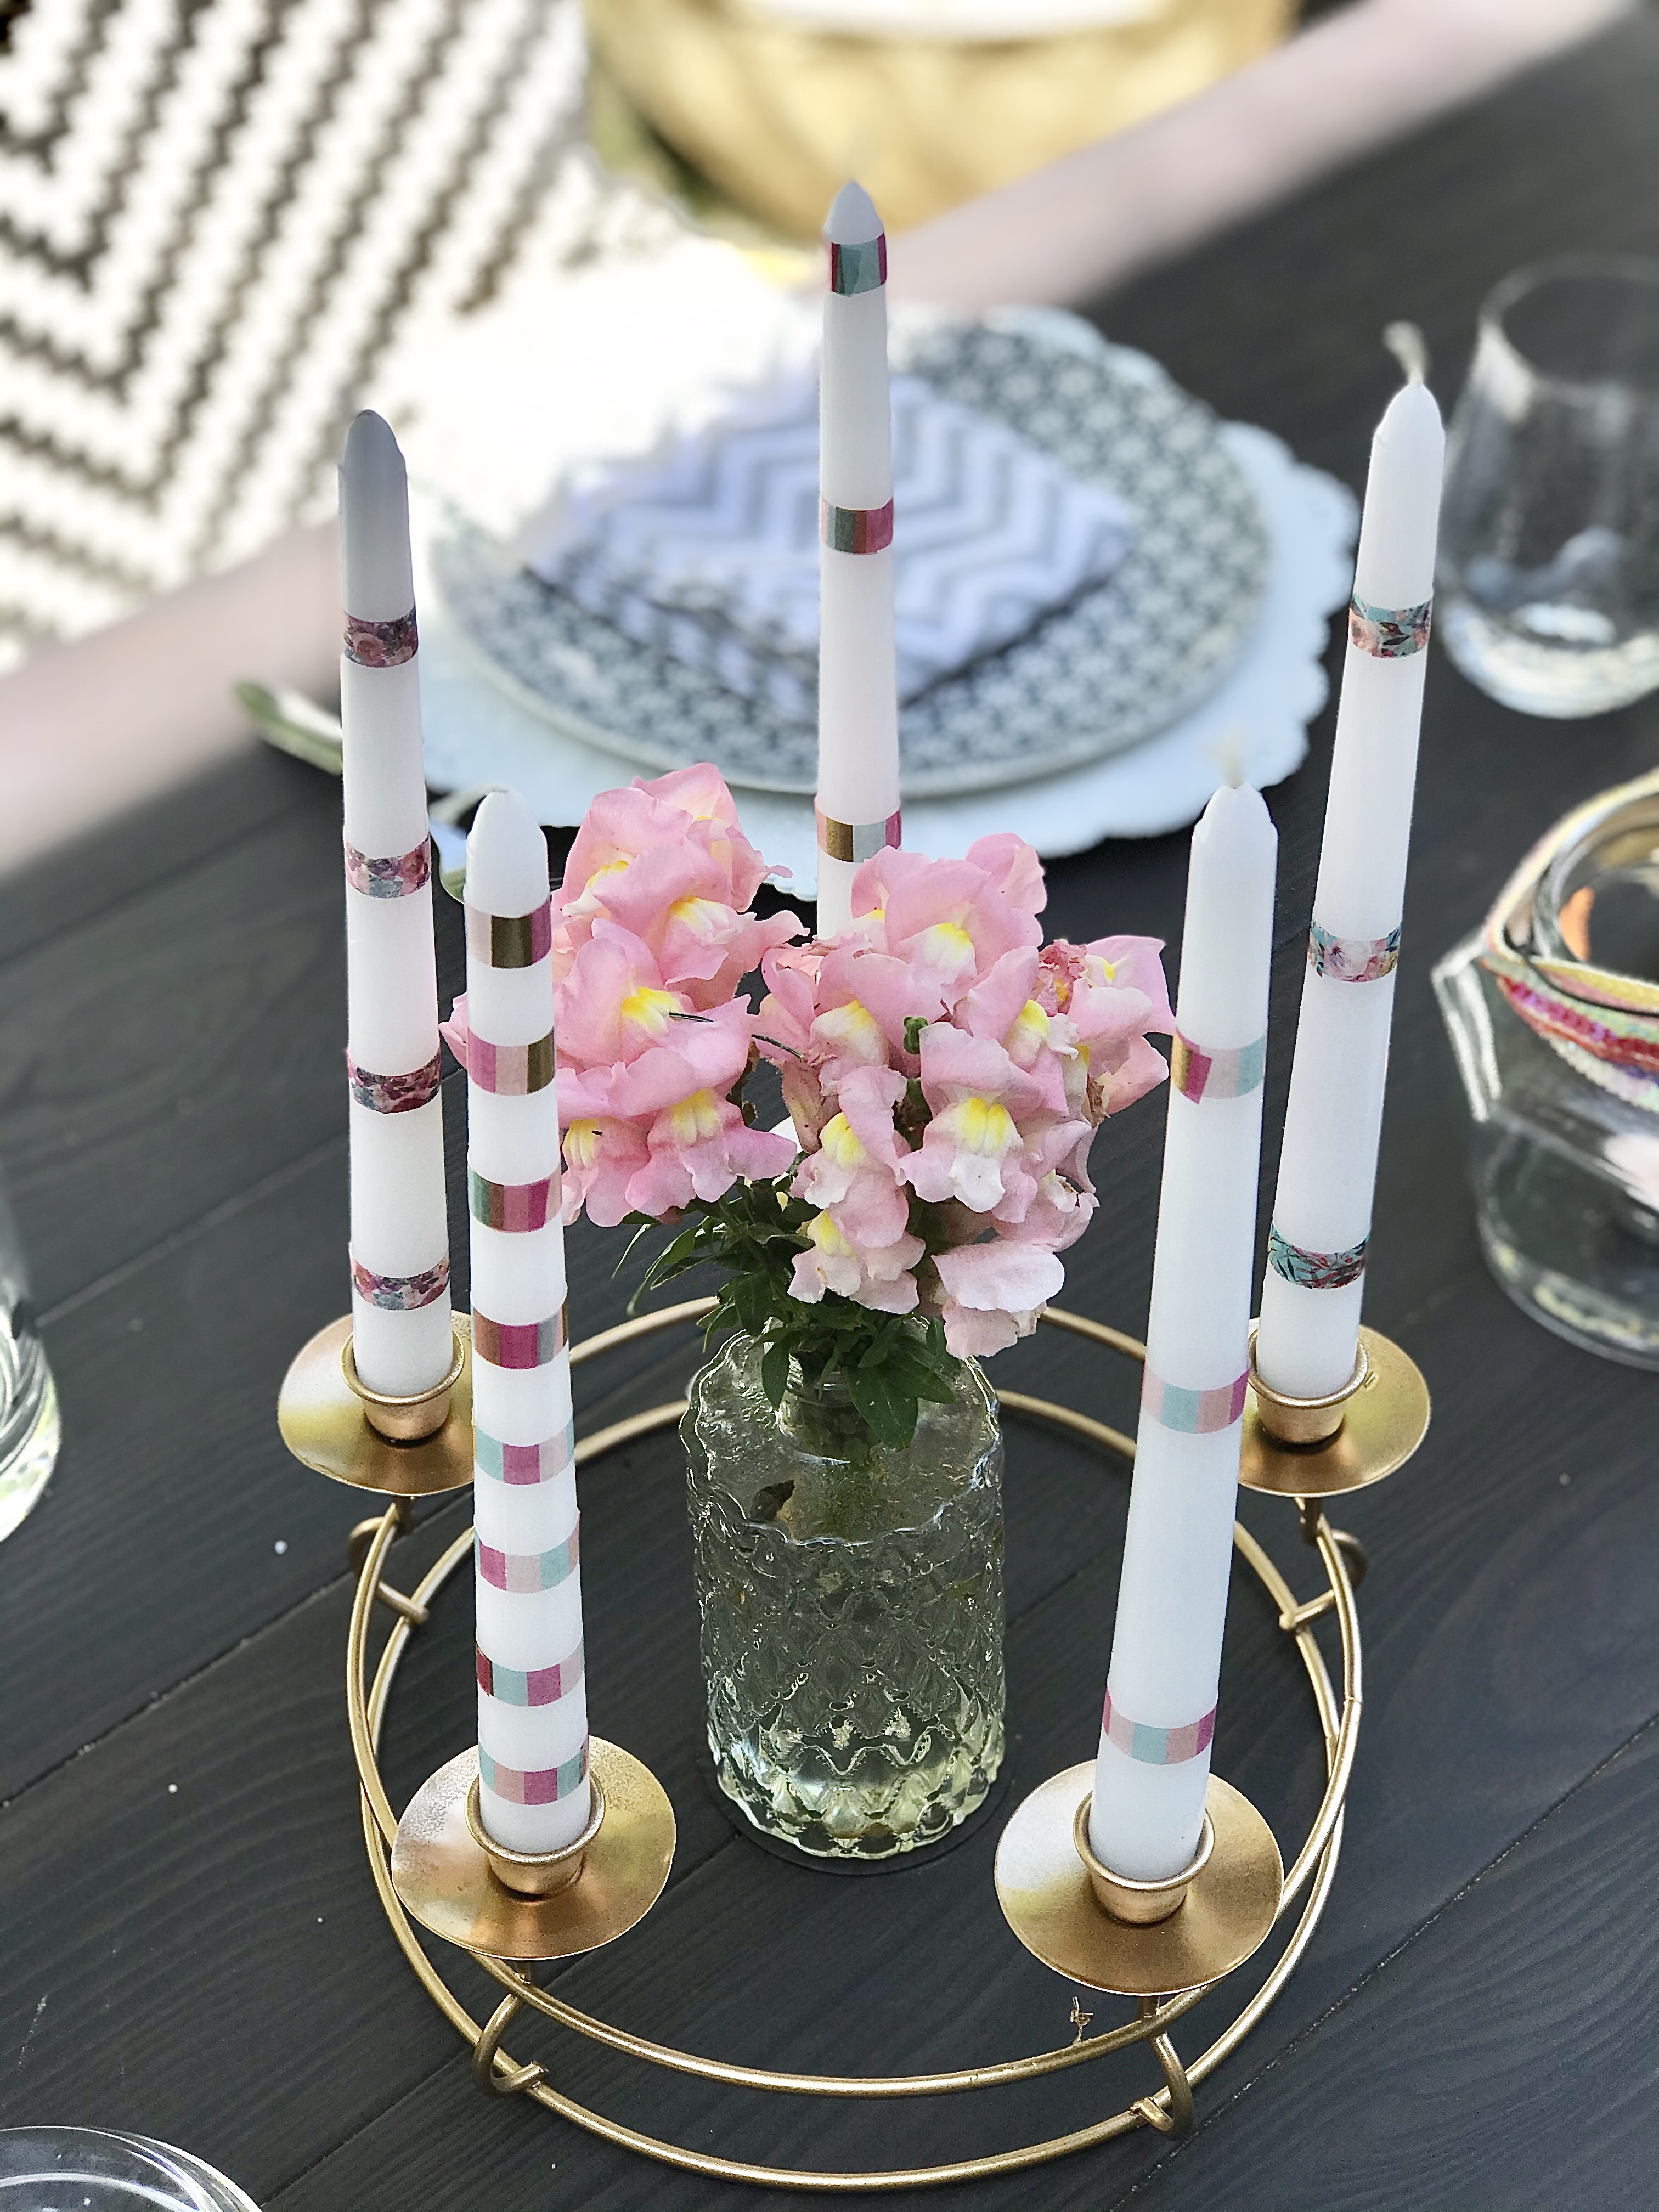
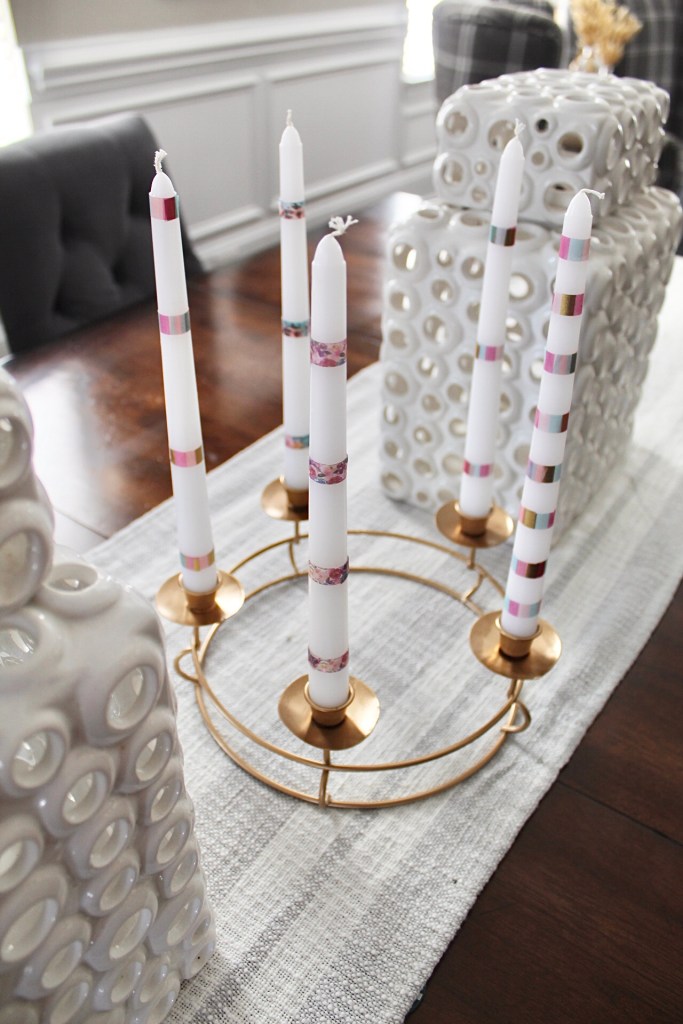
I spray painted the candle holder and added some fun candles!

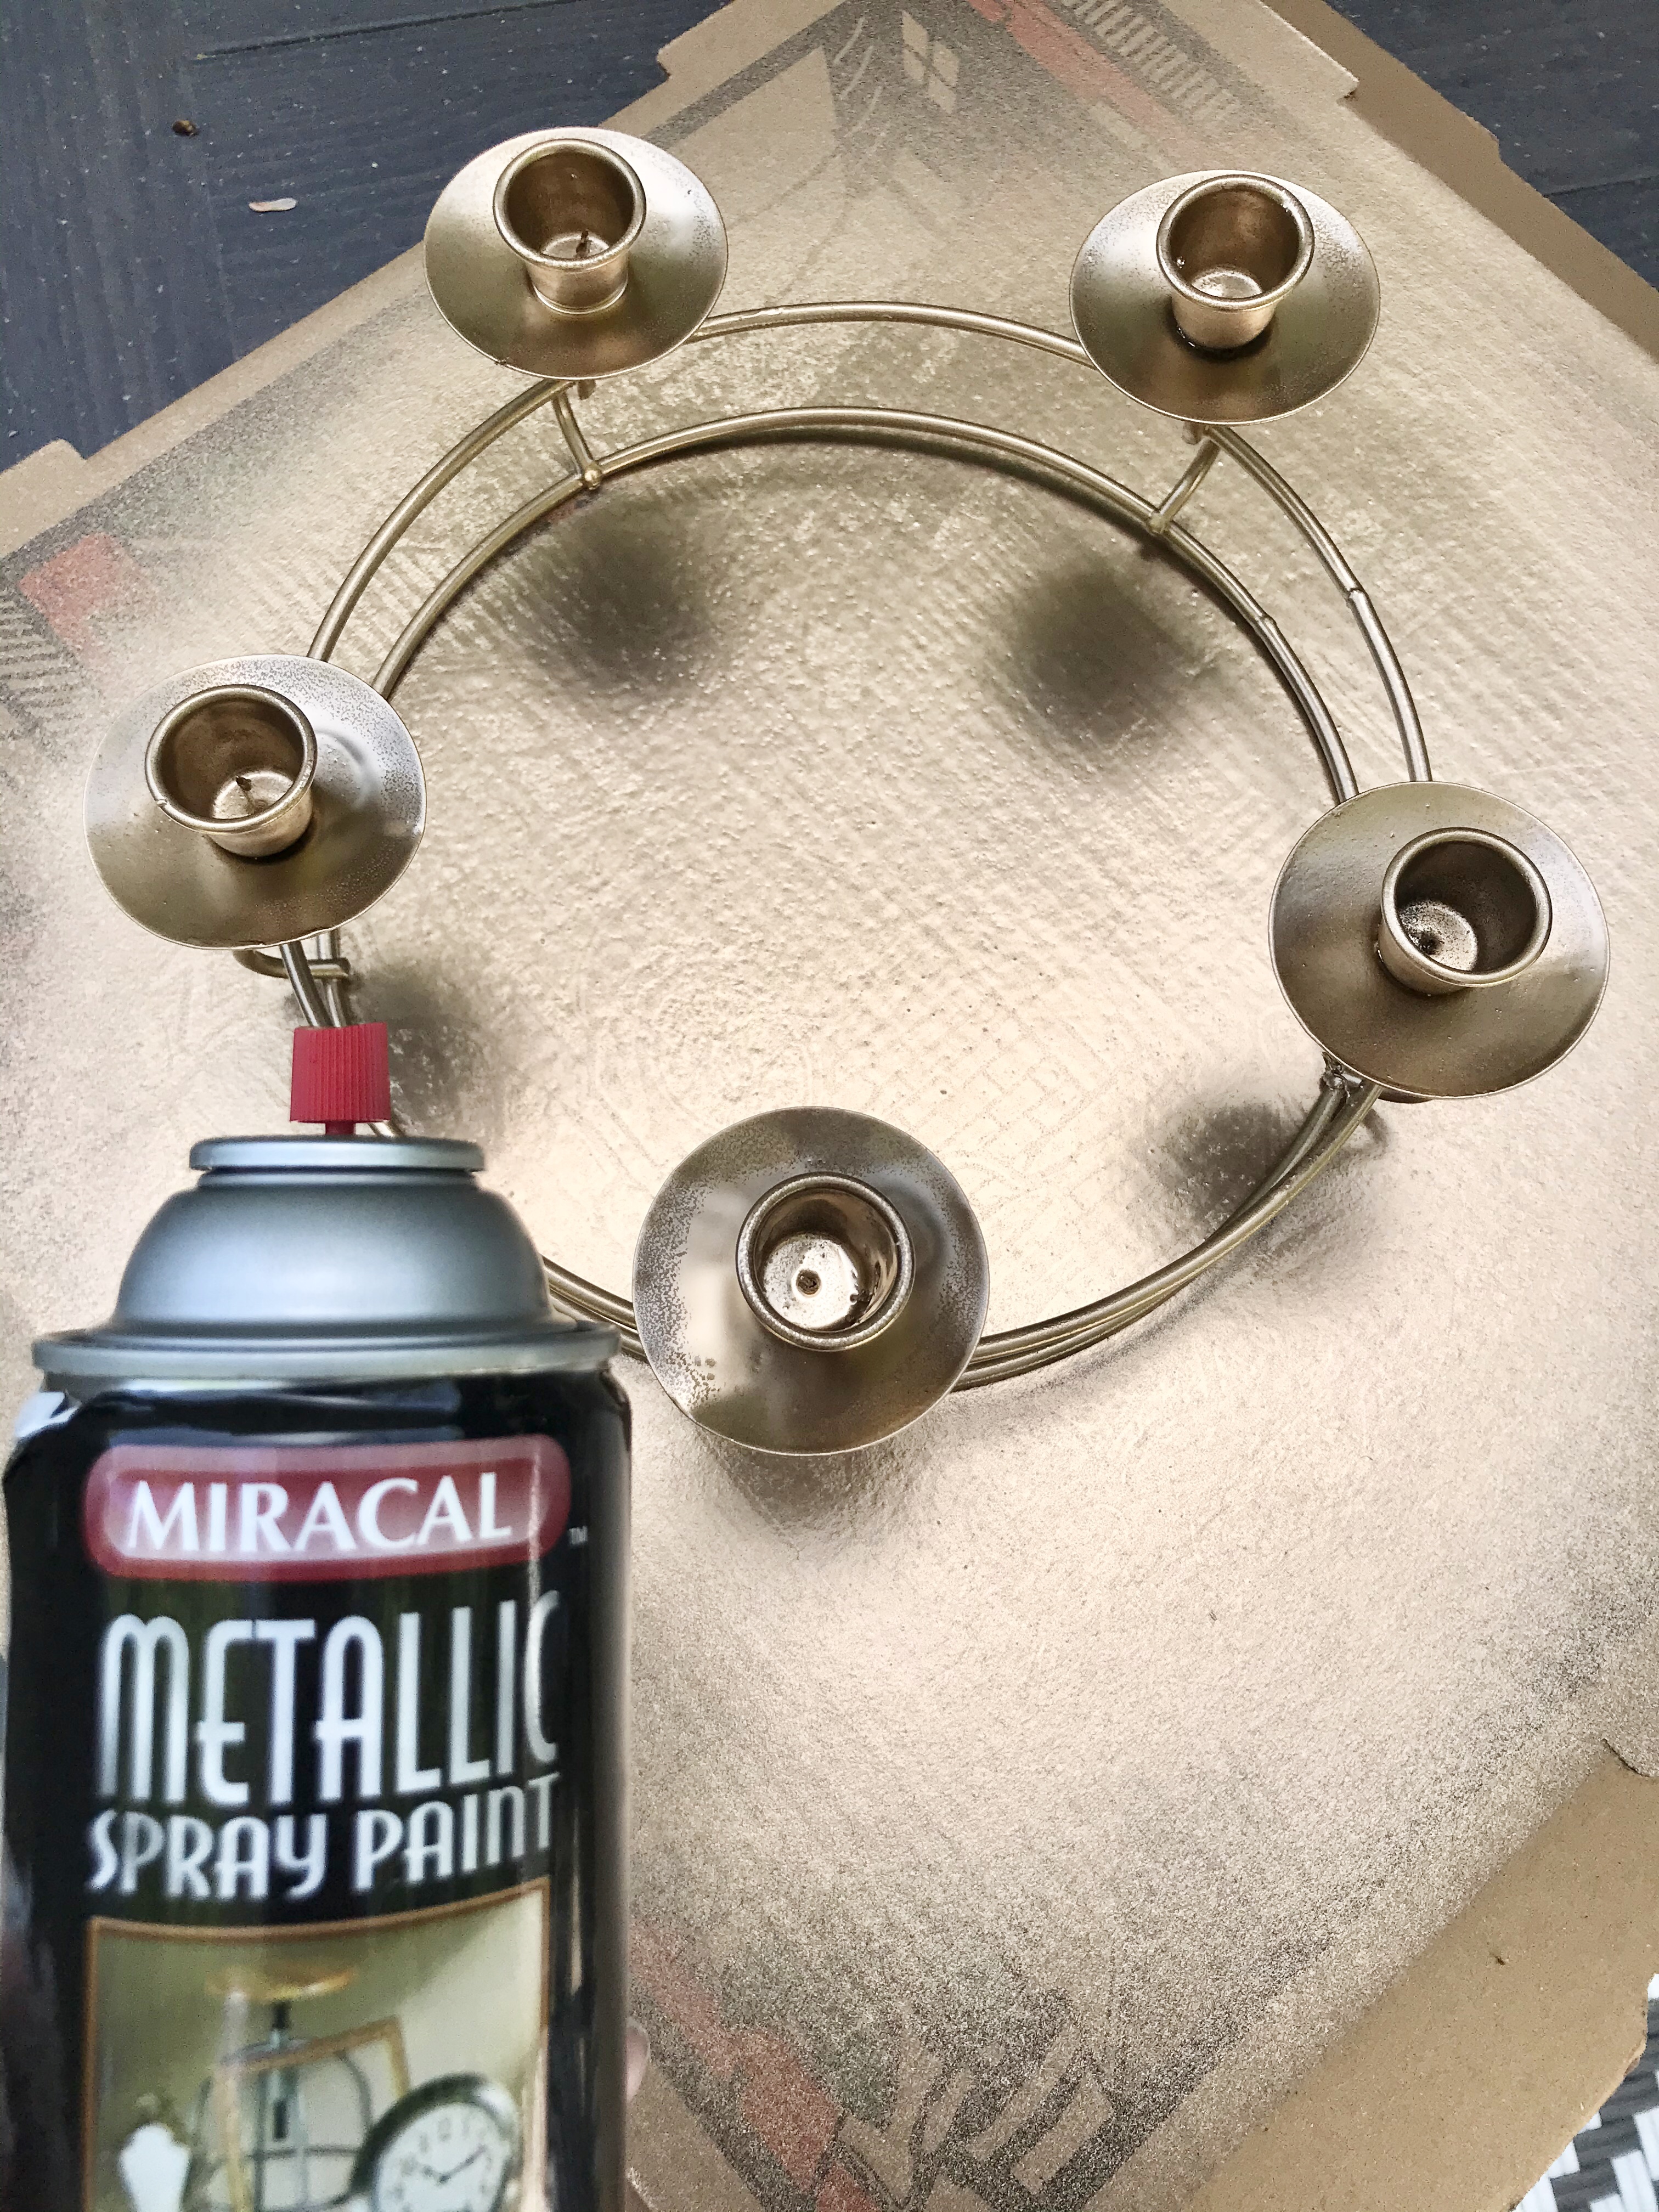
You may want to see first what it looked like before!

What a quick and easy transformation!

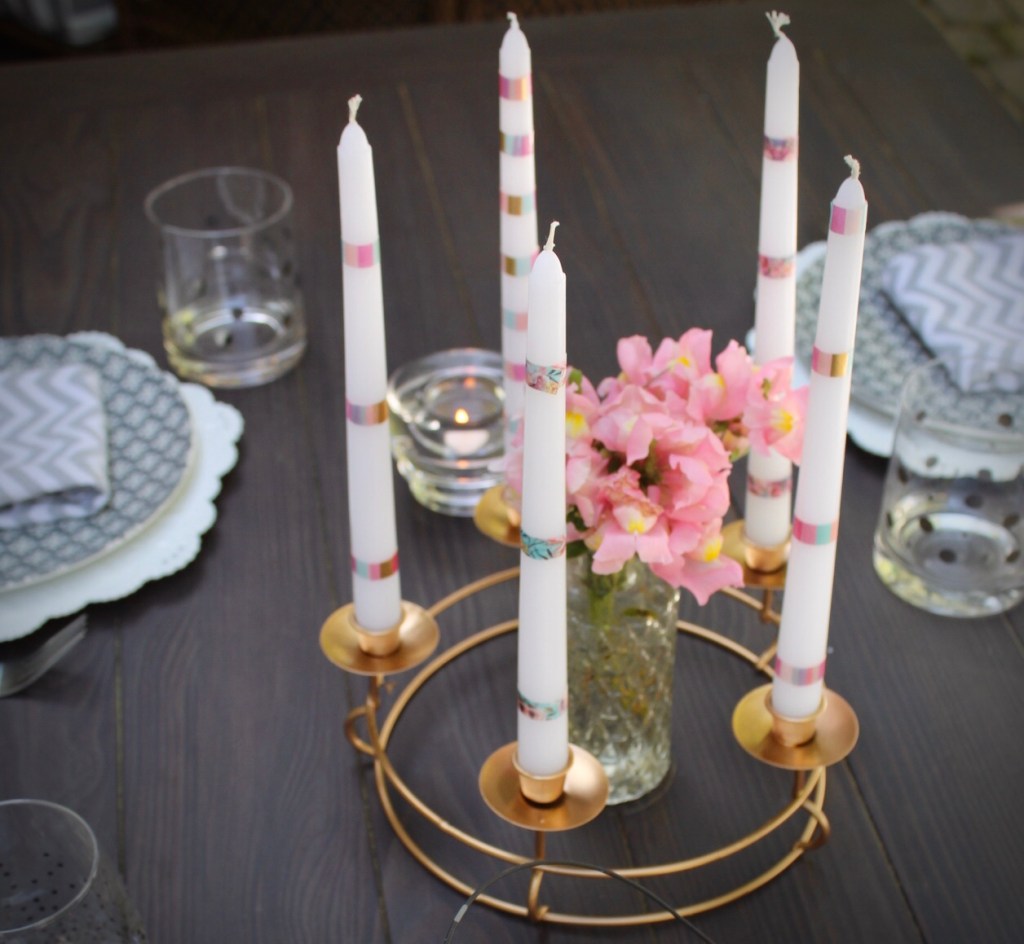
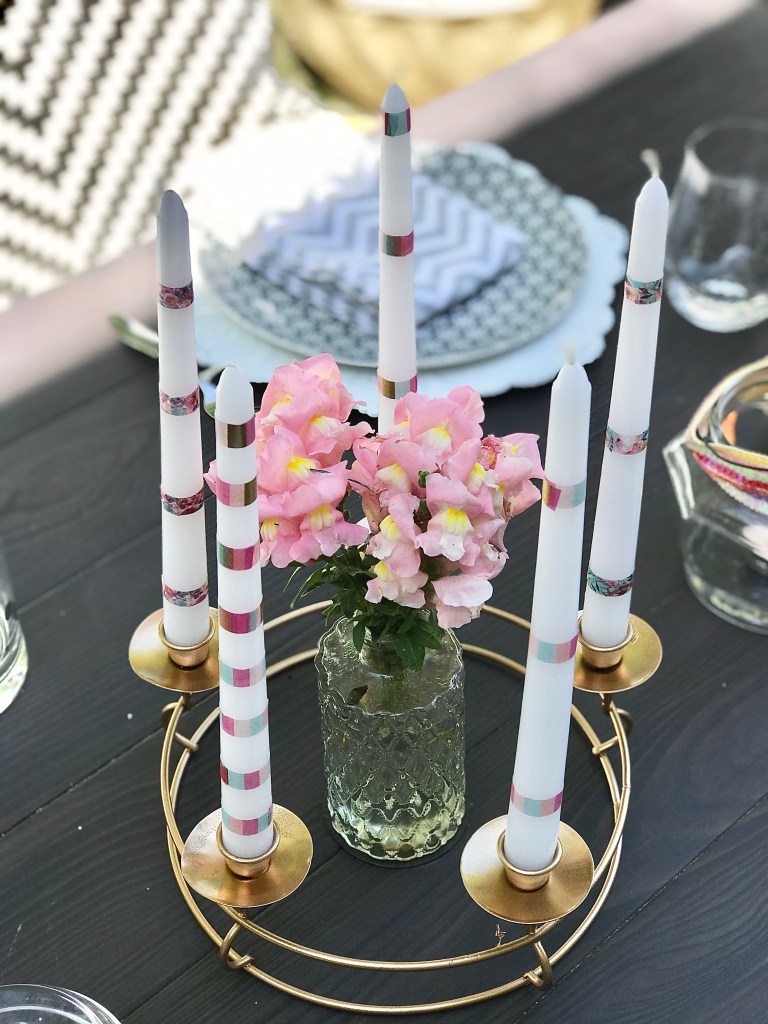
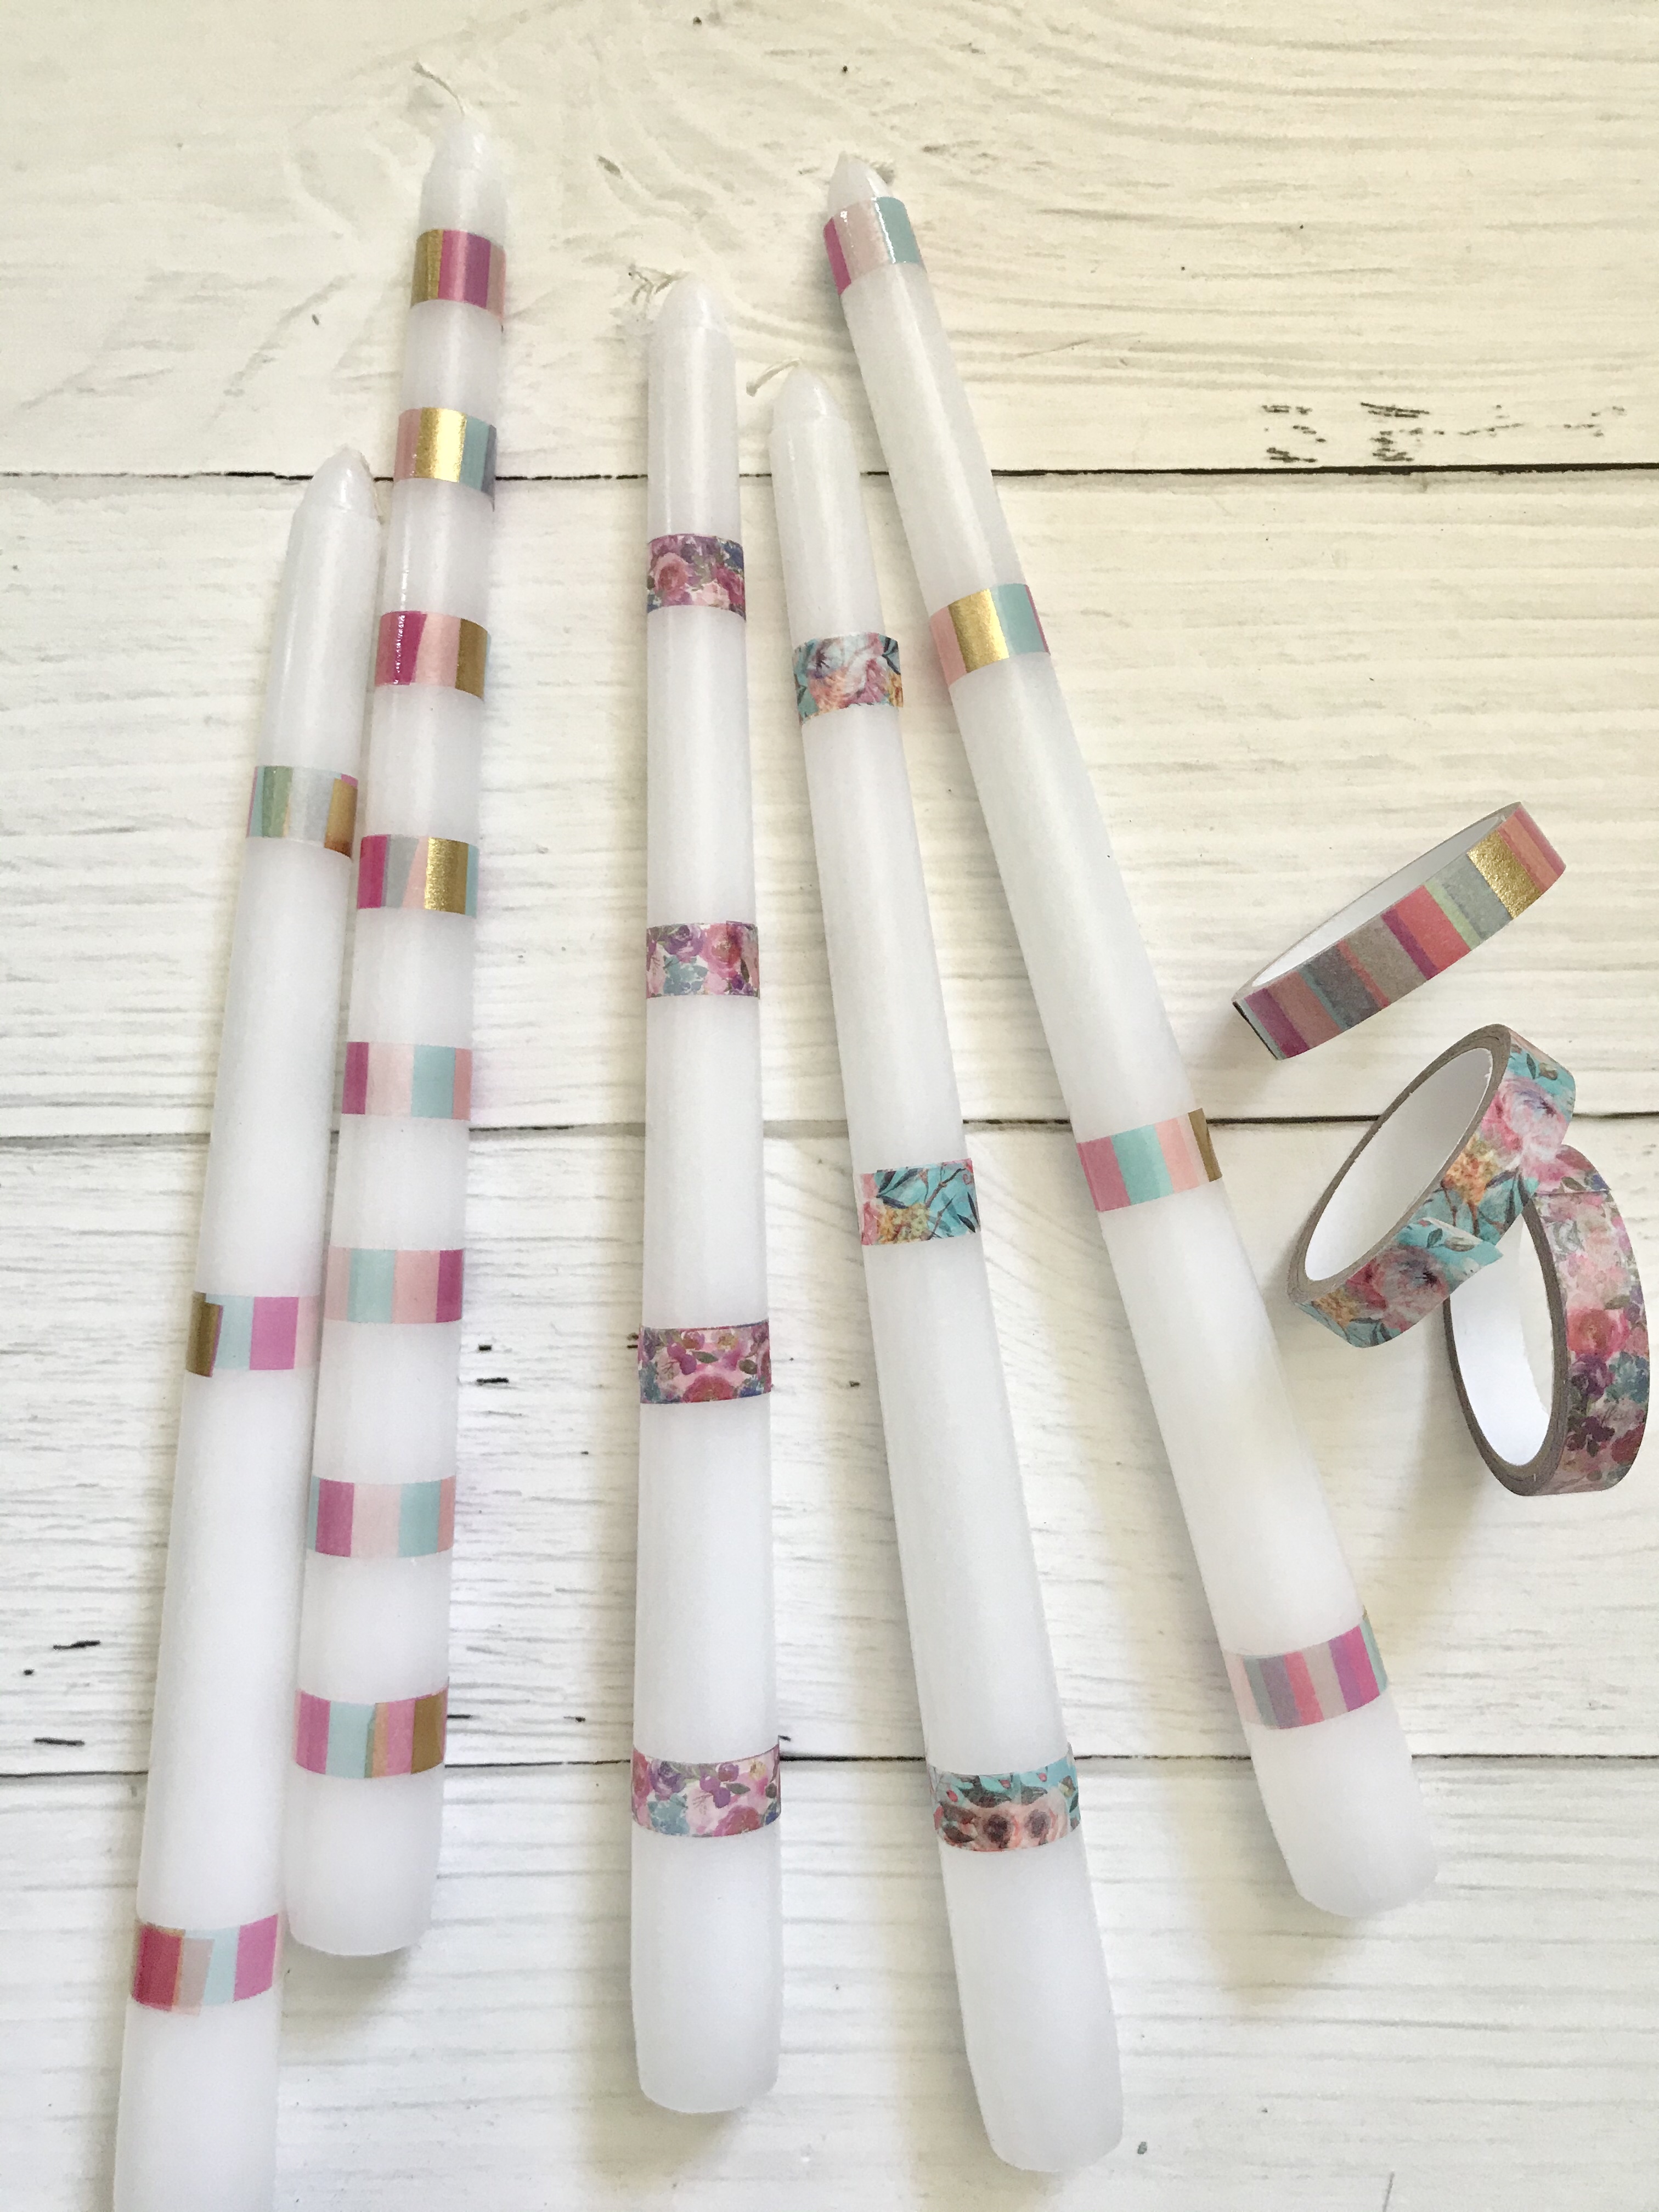
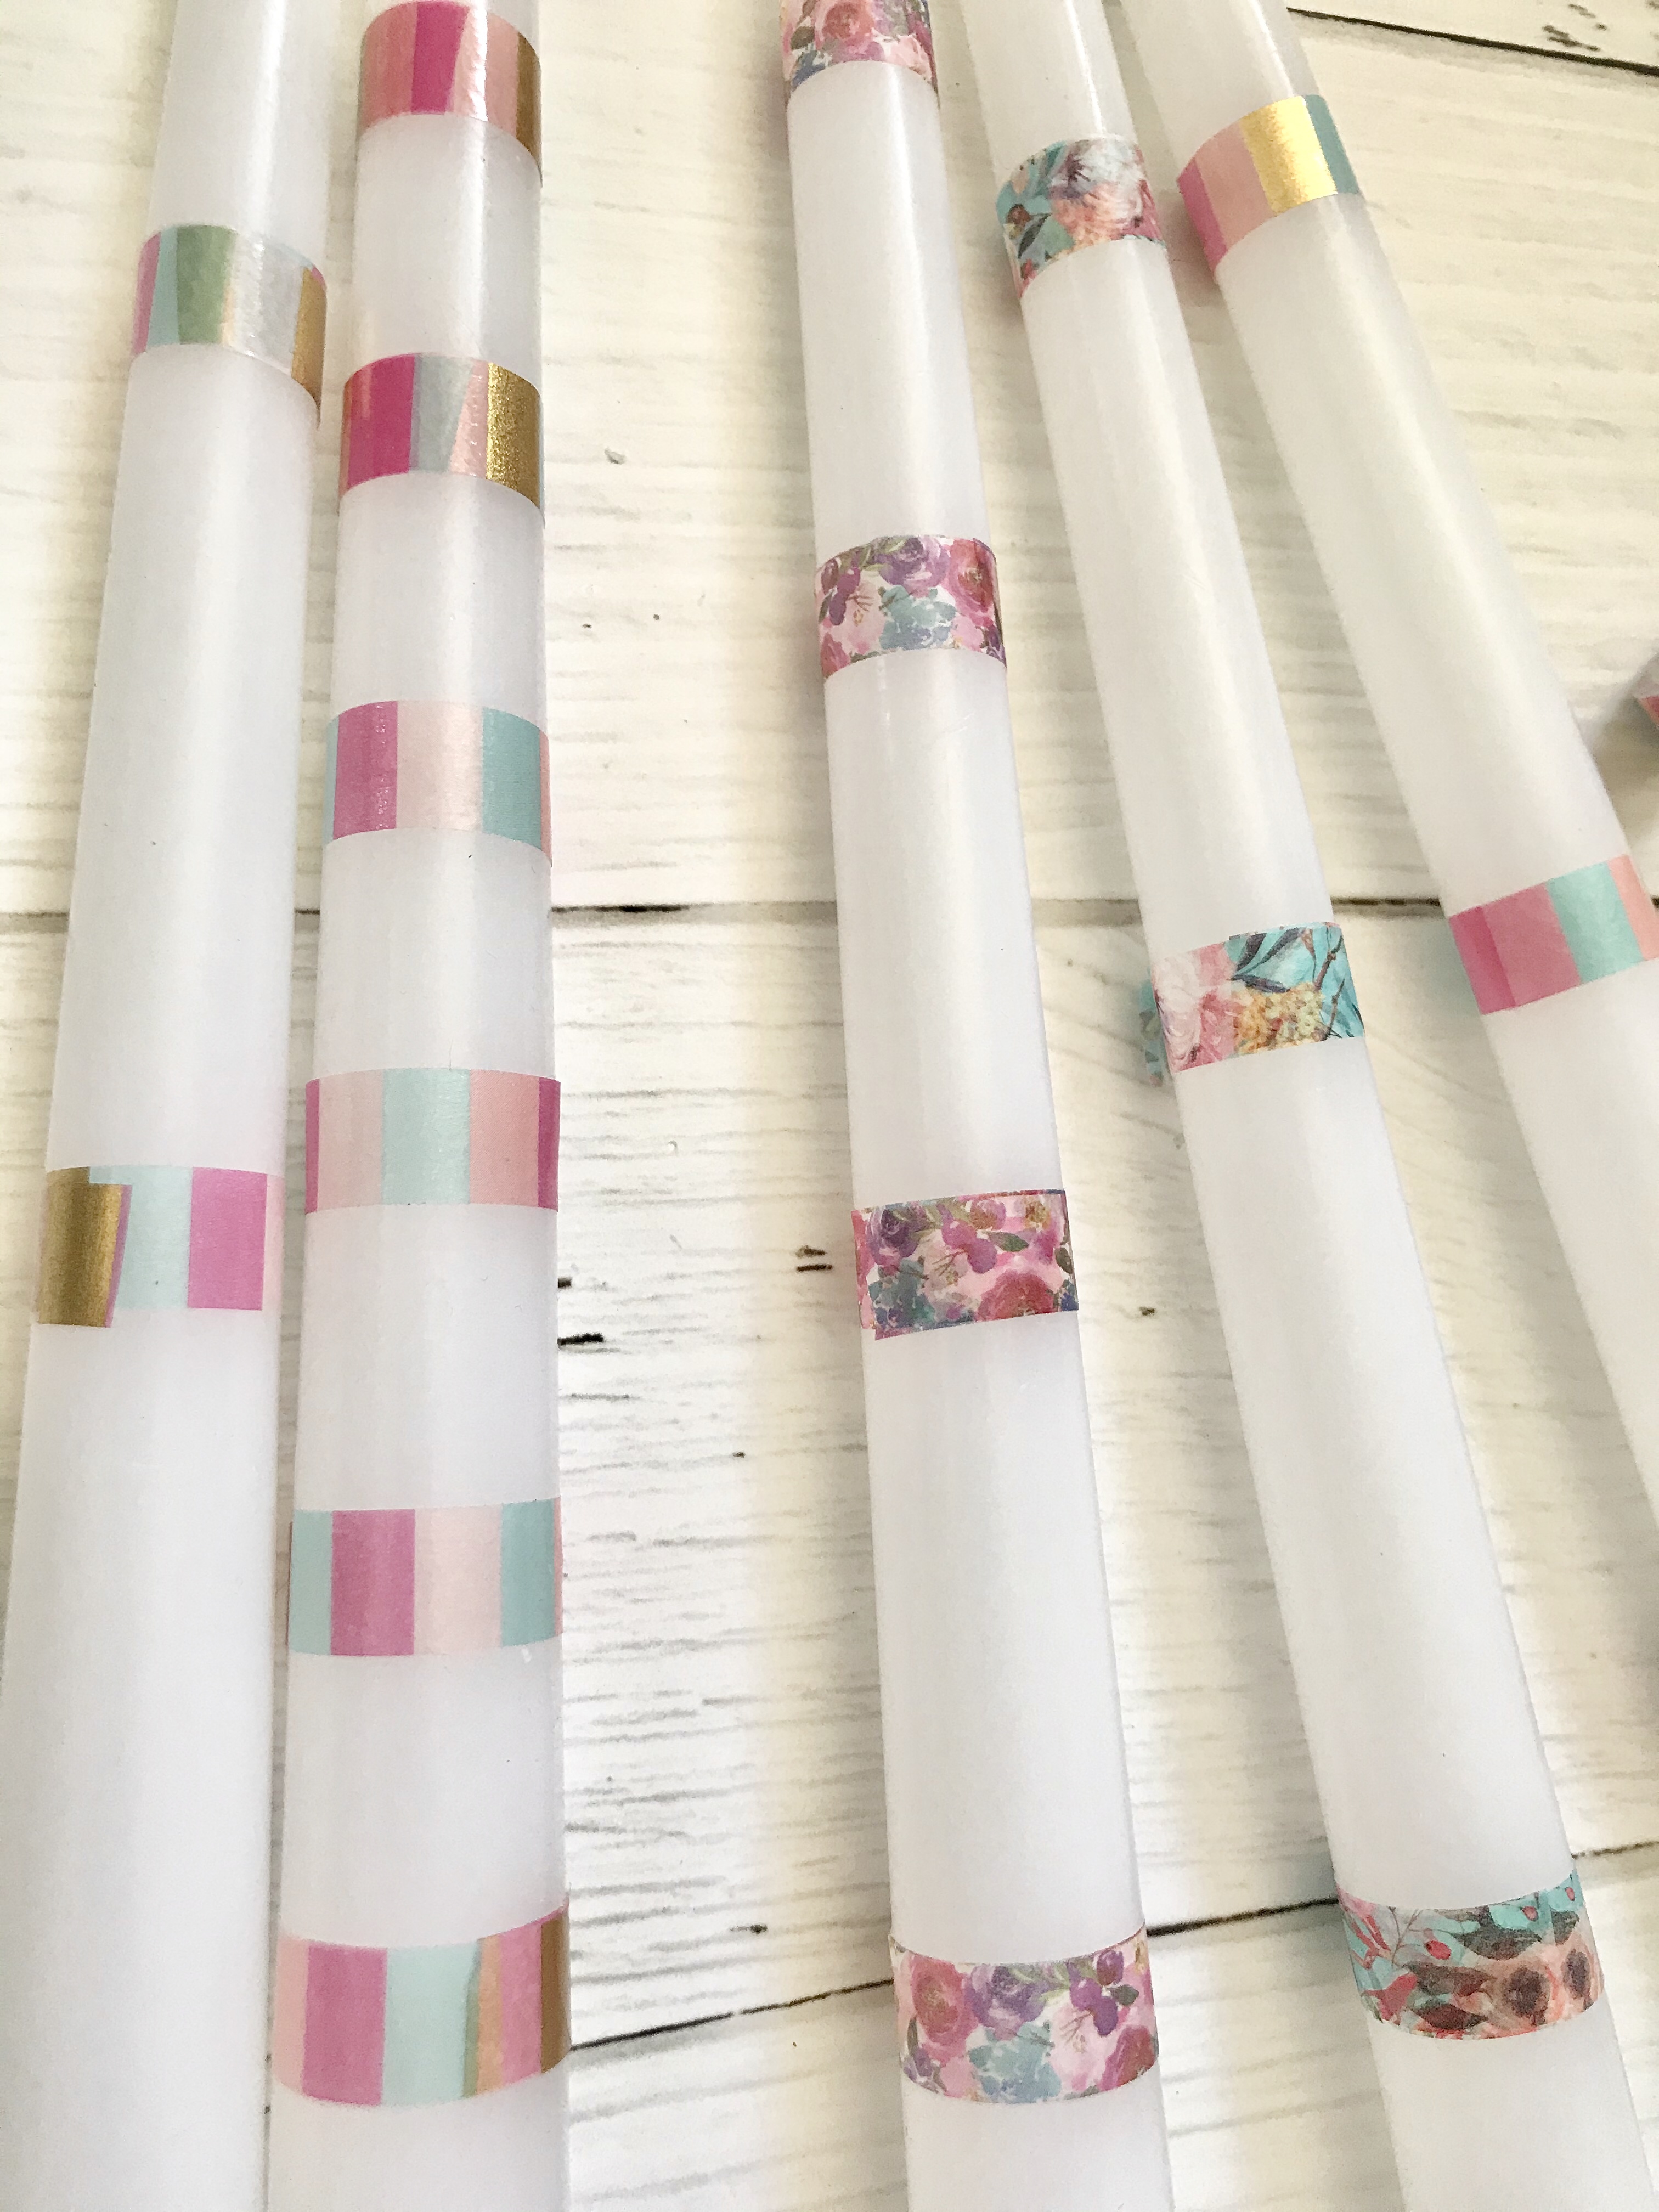
I decided to spray paint the base gold. When I went shopping for candles I wanted to buy a mix of pretty colors, but they were expensive! So, I bought a pack of white taper candles (12 were $5.99 plus I had a 50% off coupon!) I went home and used some washi tape and started wrapping each candle with a different spacing and patterns.

I actually think I like the striped candles more than if I had bought a mix of colored candles. I think this would be a cute project even with a single candle holder or two on a mantle or shelf.

I’m excited to use this piece for outdoor or indoor decor! It’s a fun and easy project. I think a set of pretty candles would also be a beautiful gift tied up with ribbon.

Thanks for reading! Leave a comment and let me know what you think!

DIY Painted Doormat

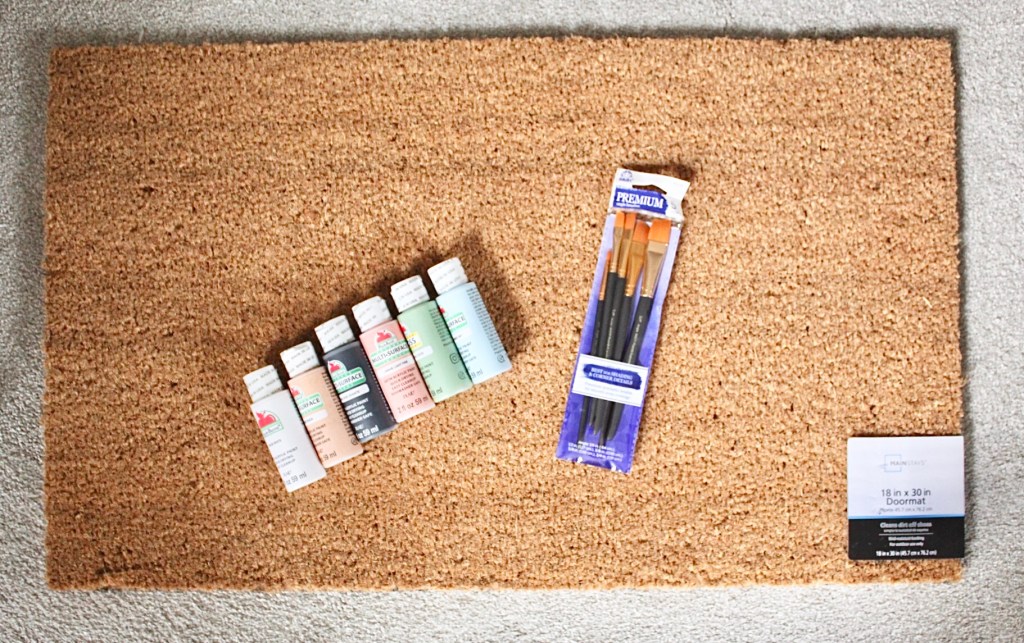
I love changing out my doormats for the seasons. So, when I saw a blank doormat at Walmart I thought it would be fun to try painting one myself!

I grabbed a few more containers of paint and some new brushes, too. I headed home with an idea. I’d paint one of my favorite places to visit, Rainbow Row in Charleston, SC!

Here is my mat all finished!
Here is my inspiration!
Total cost of my project was under $10.00! The mat is linked here (plain doormat).

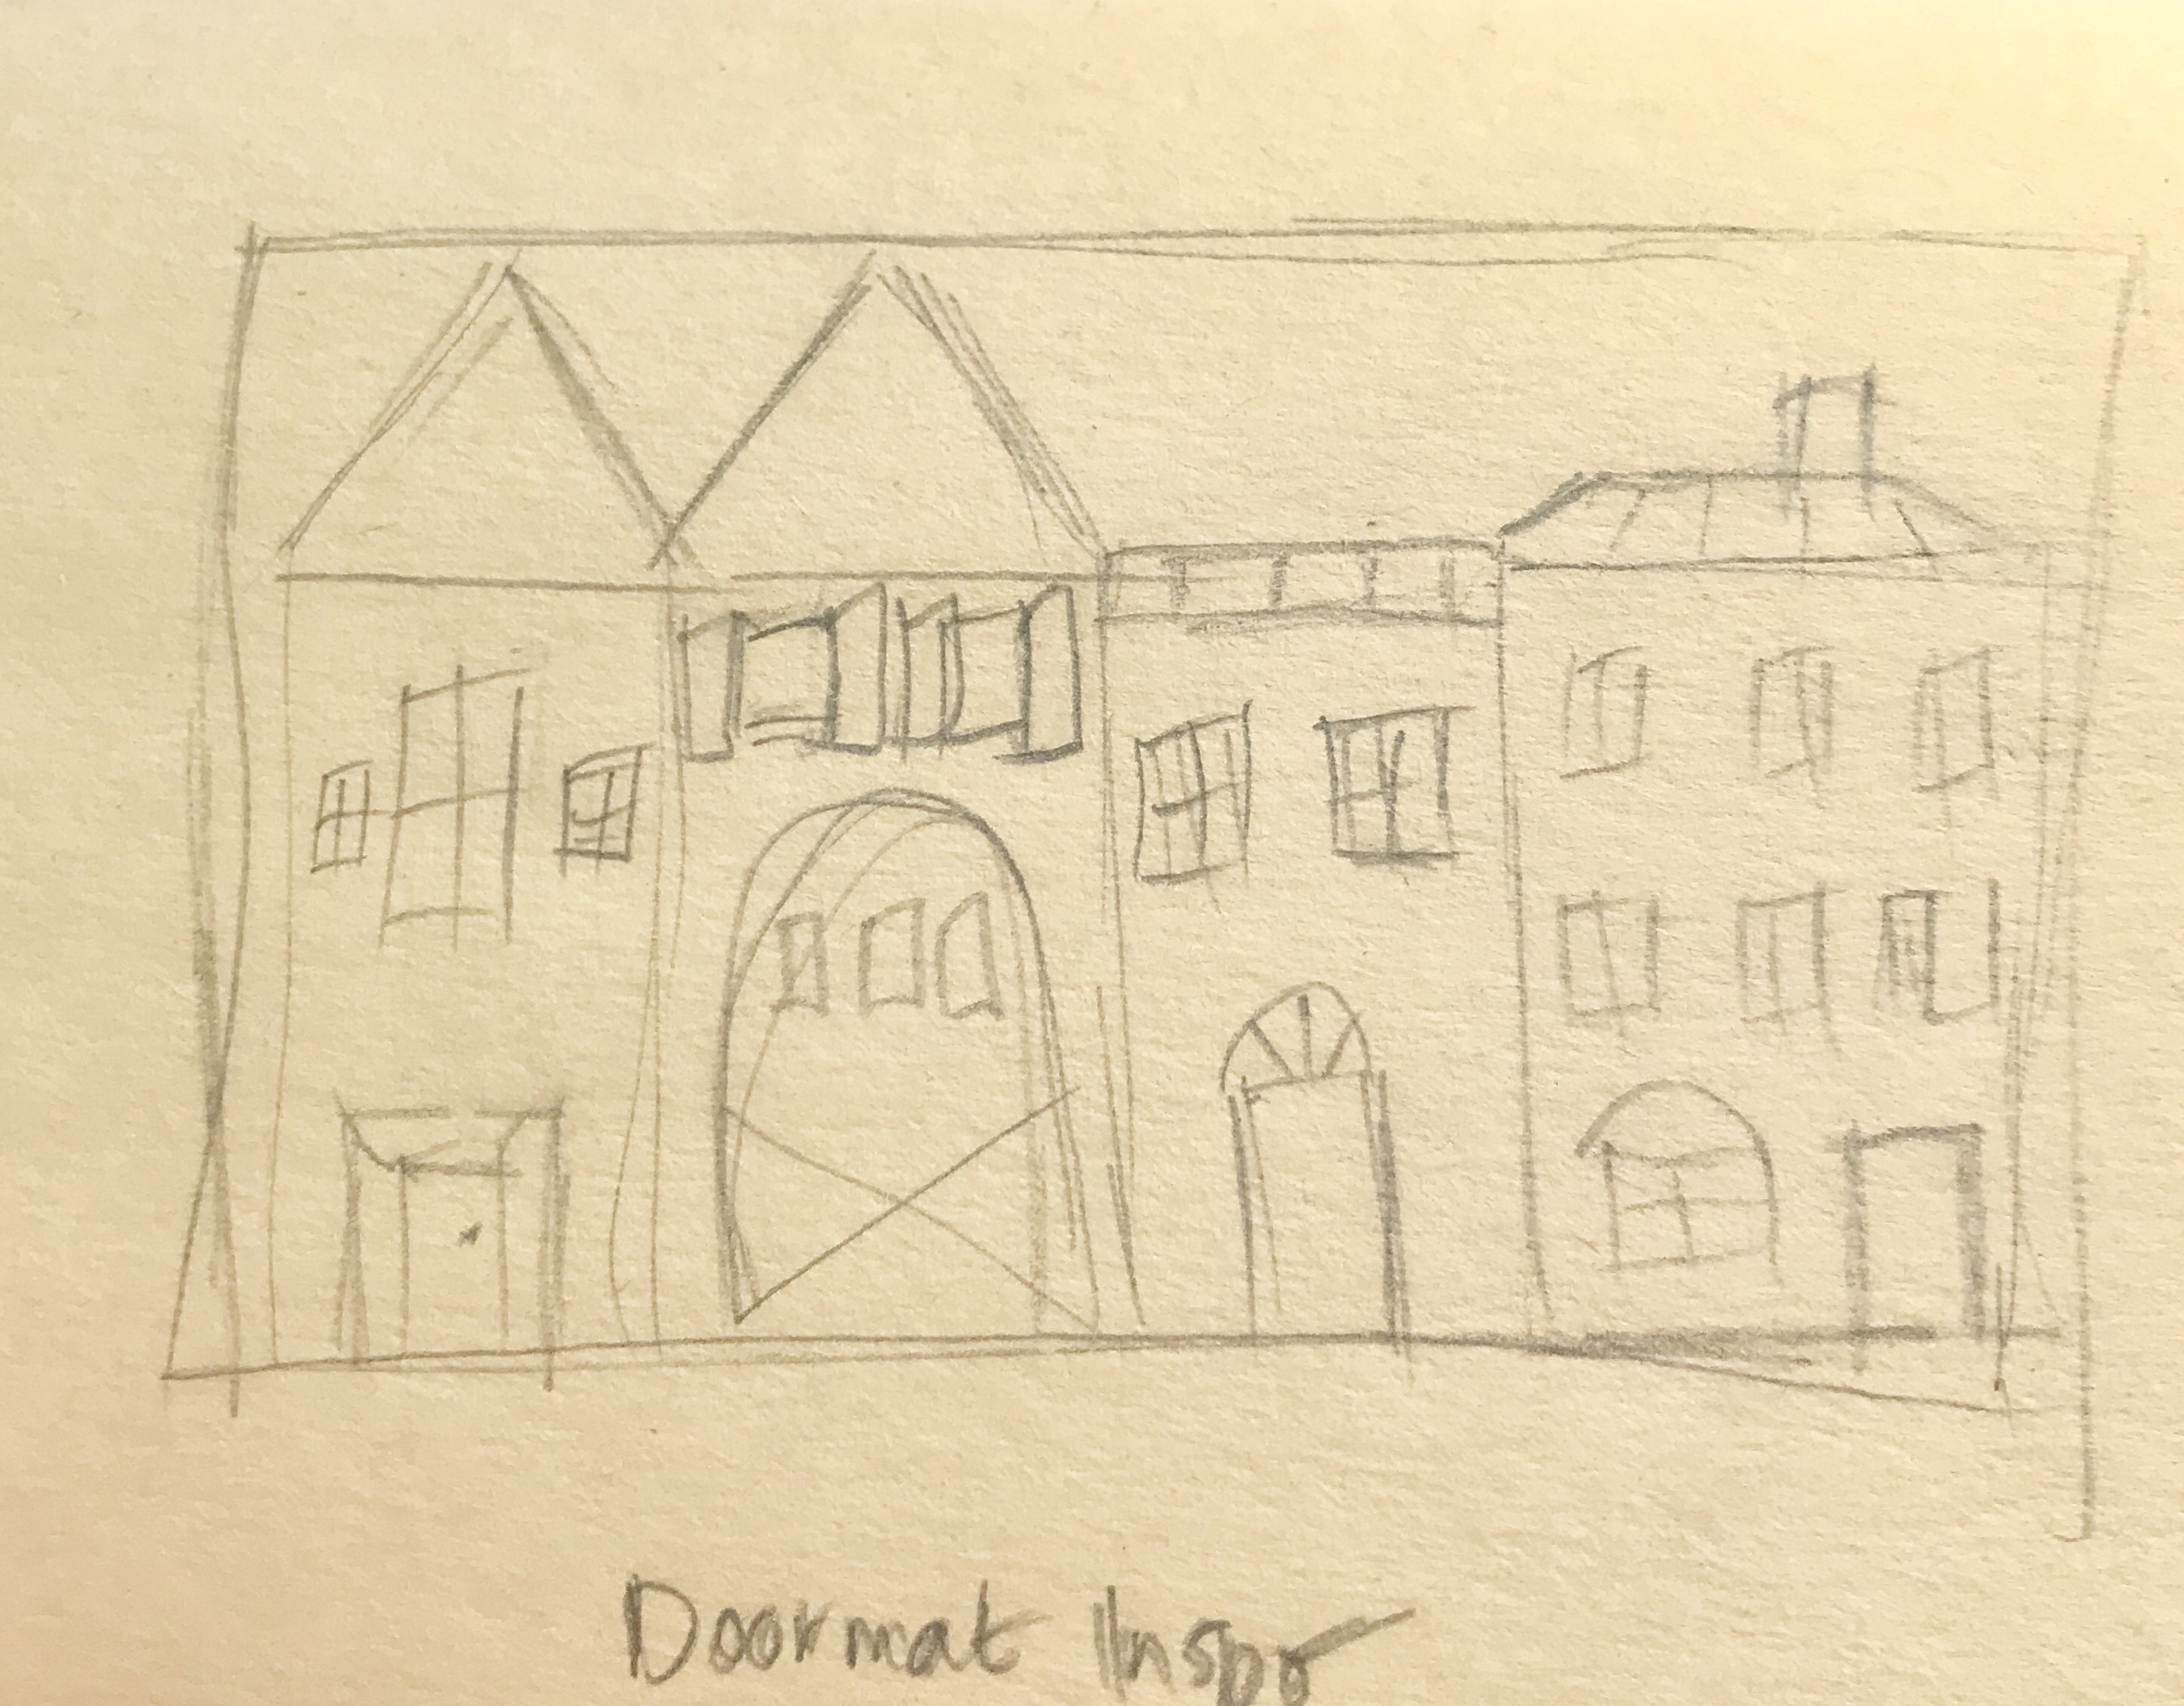
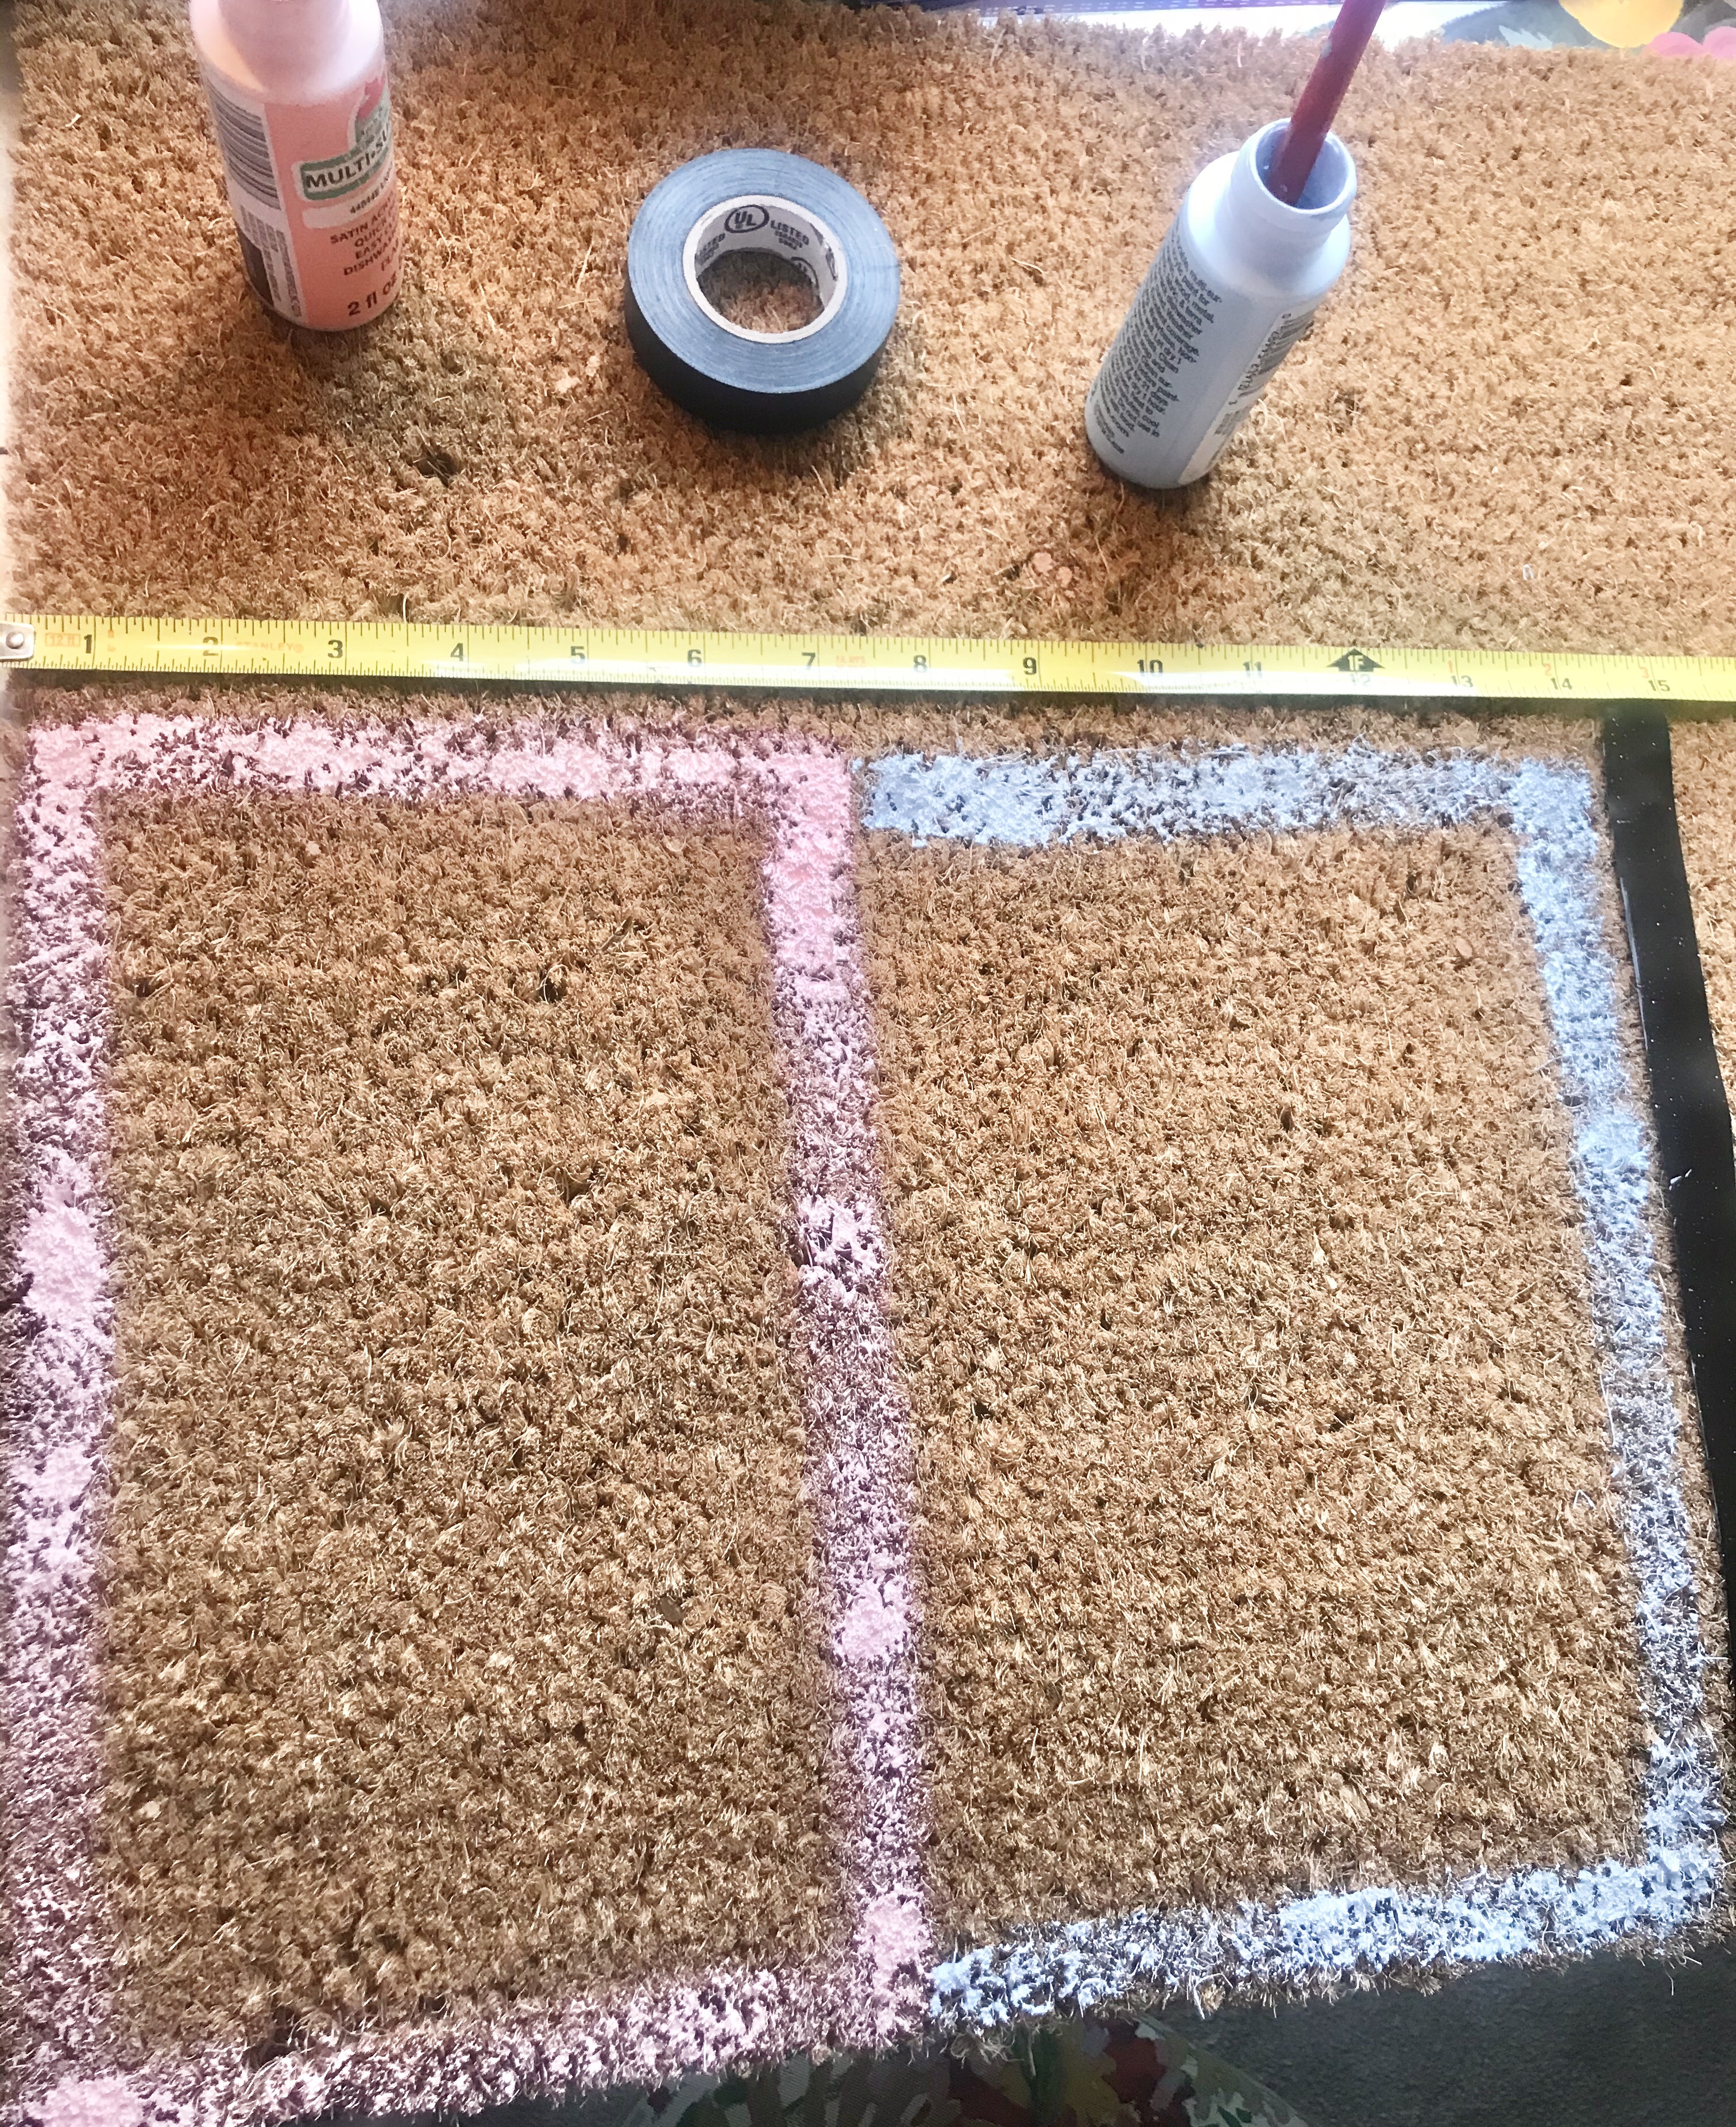
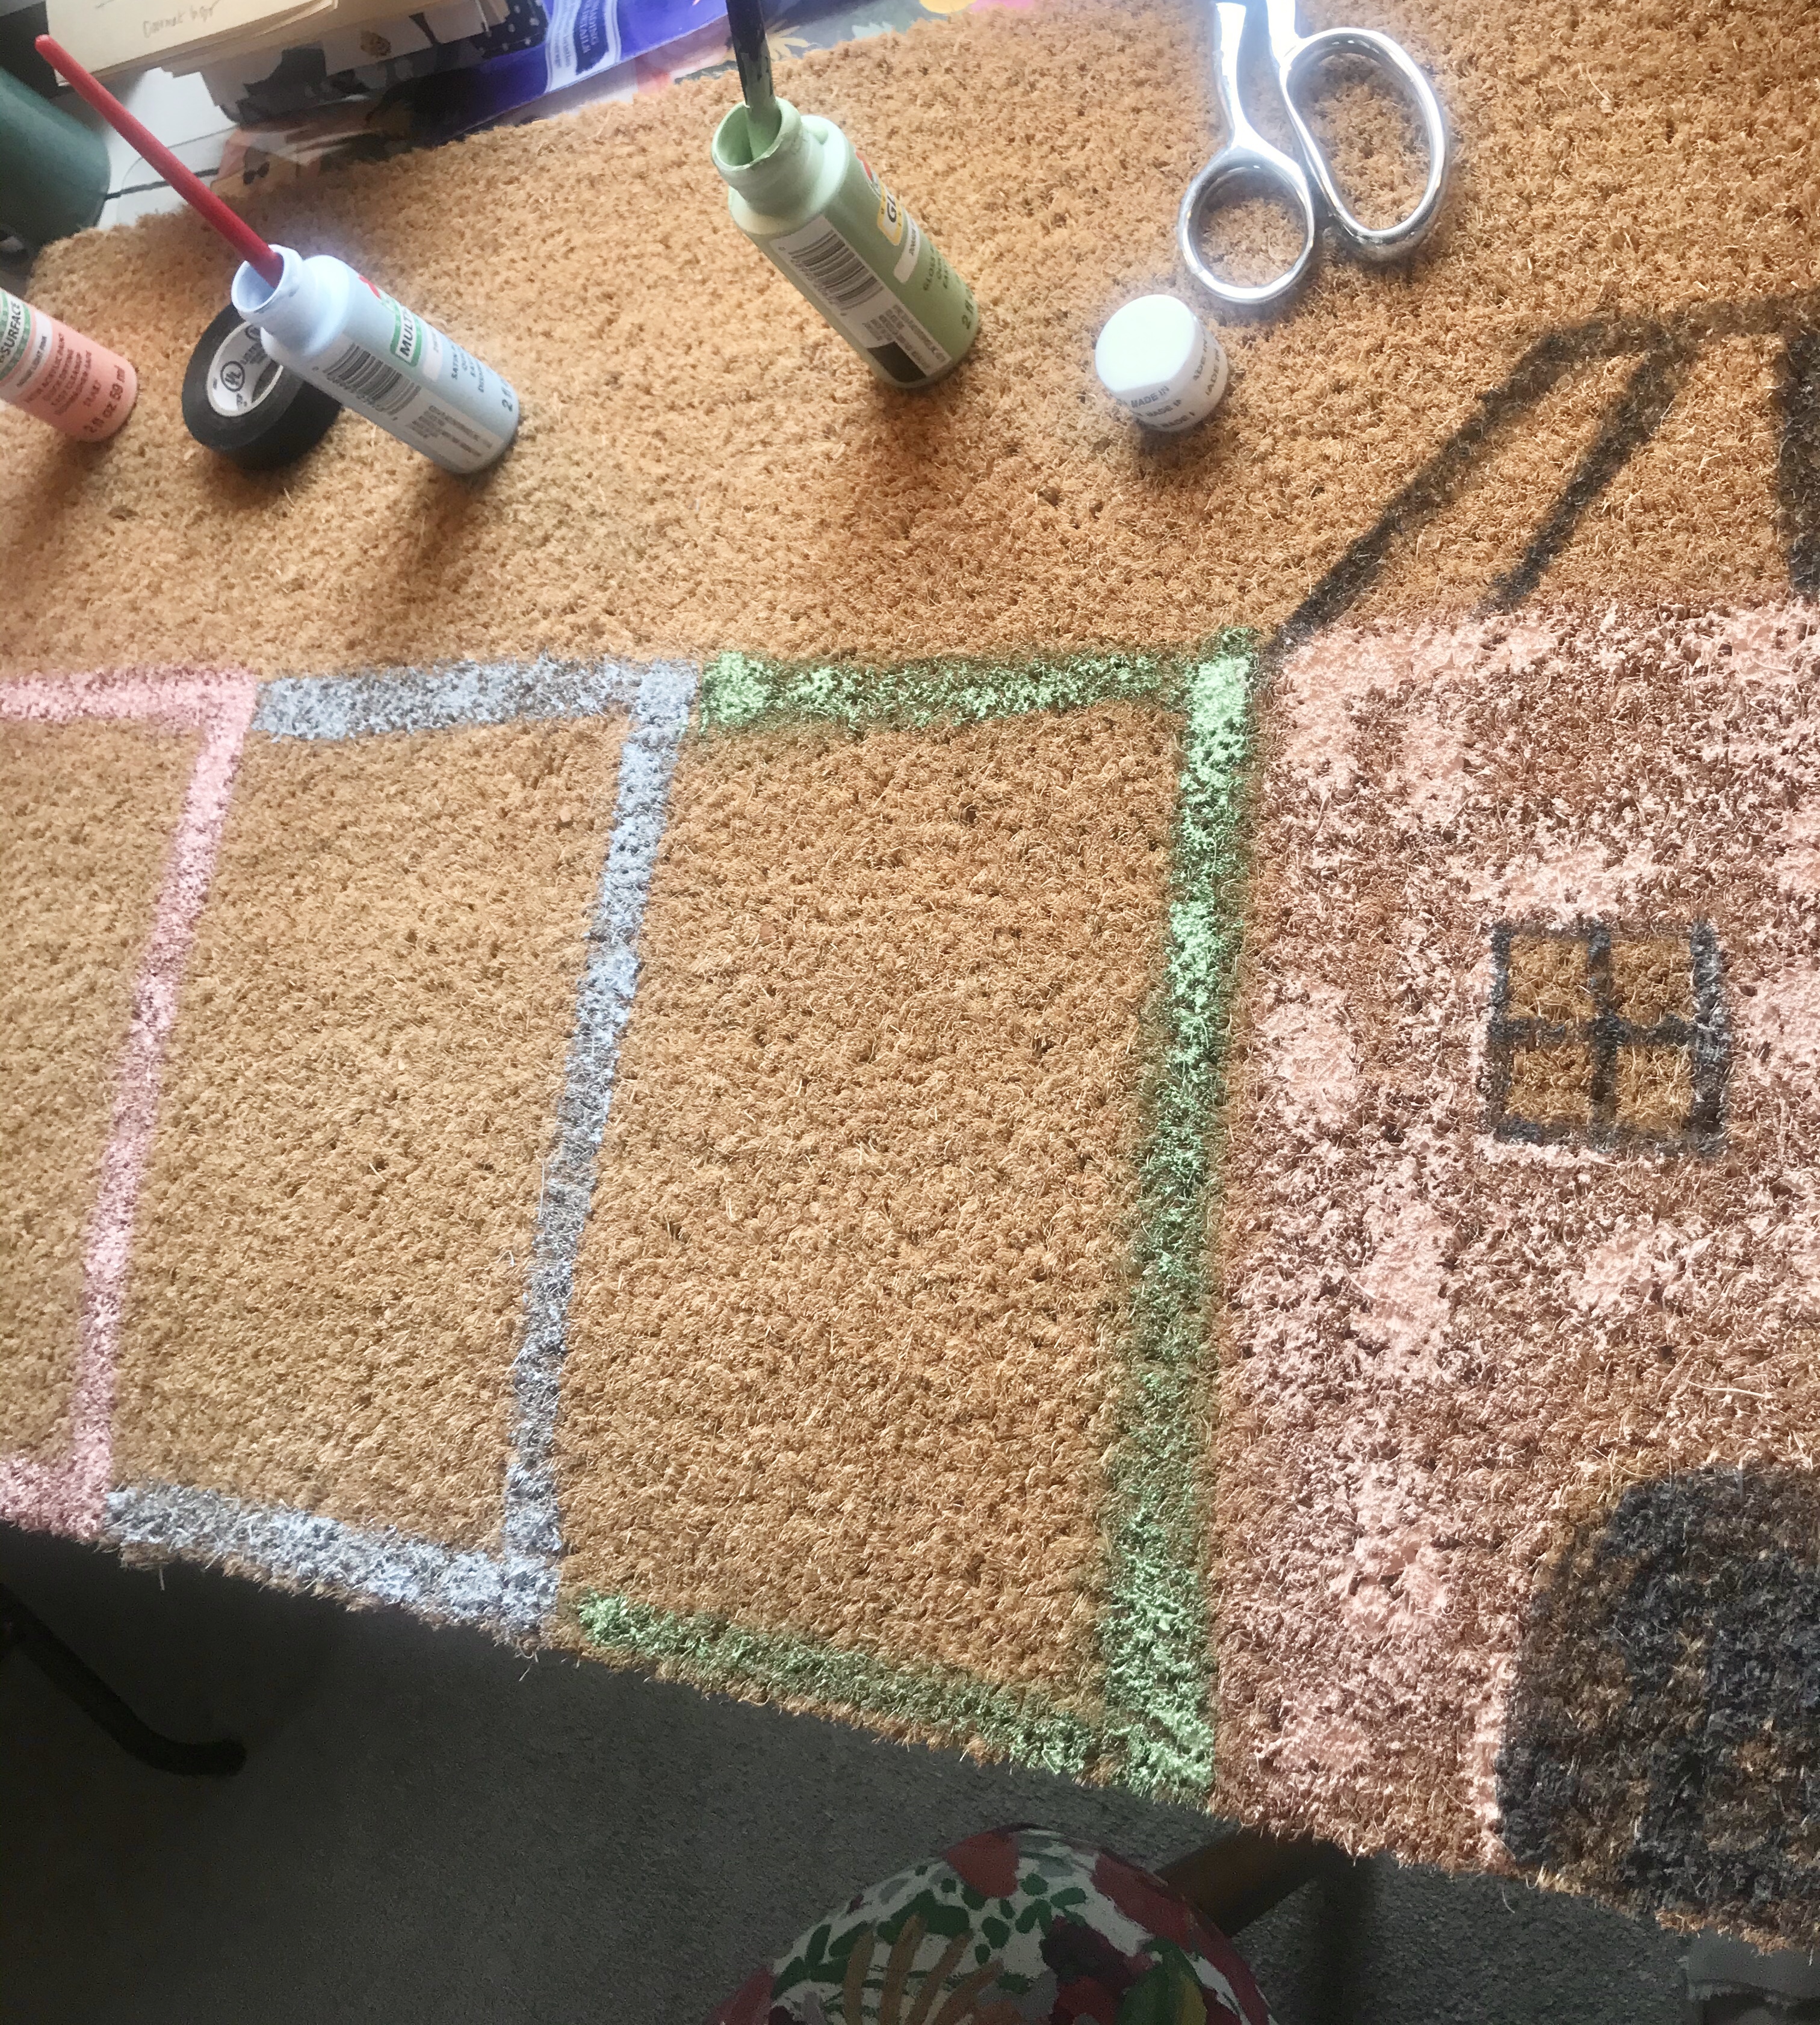
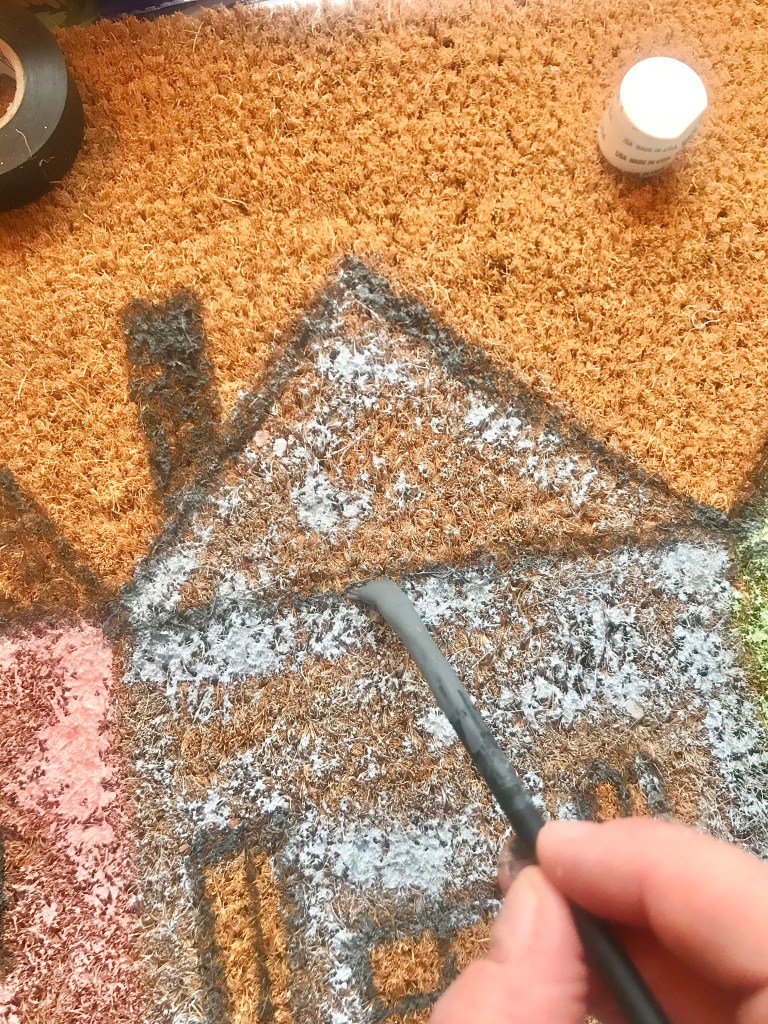
First, I sketched out an idea of what I wanted. I then measured the mat and divided it by four, since I wanted four houses. Next, I started painting the squares. I roughly painted windows so that the windows could still have the mat color poking through. Then I painted each house. I outlined the windows and doors in dark gray. I added chimneys and shutters, and even wreaths! Lastly, I decided to write “welcome” at the top to finish it off.

And that’s it! It took me about an hour and was so fun and relaxing! I’m brainstorming other ideas, too.

What would you paint or your mat? Let me know if you try it out!

Thanks for reading!

Neutral Winter Decorating

I like to add little updates to my house for the seasons. Winter is no exception! We don’t celebrate Christmas, but I add touches of winter inside and outside!

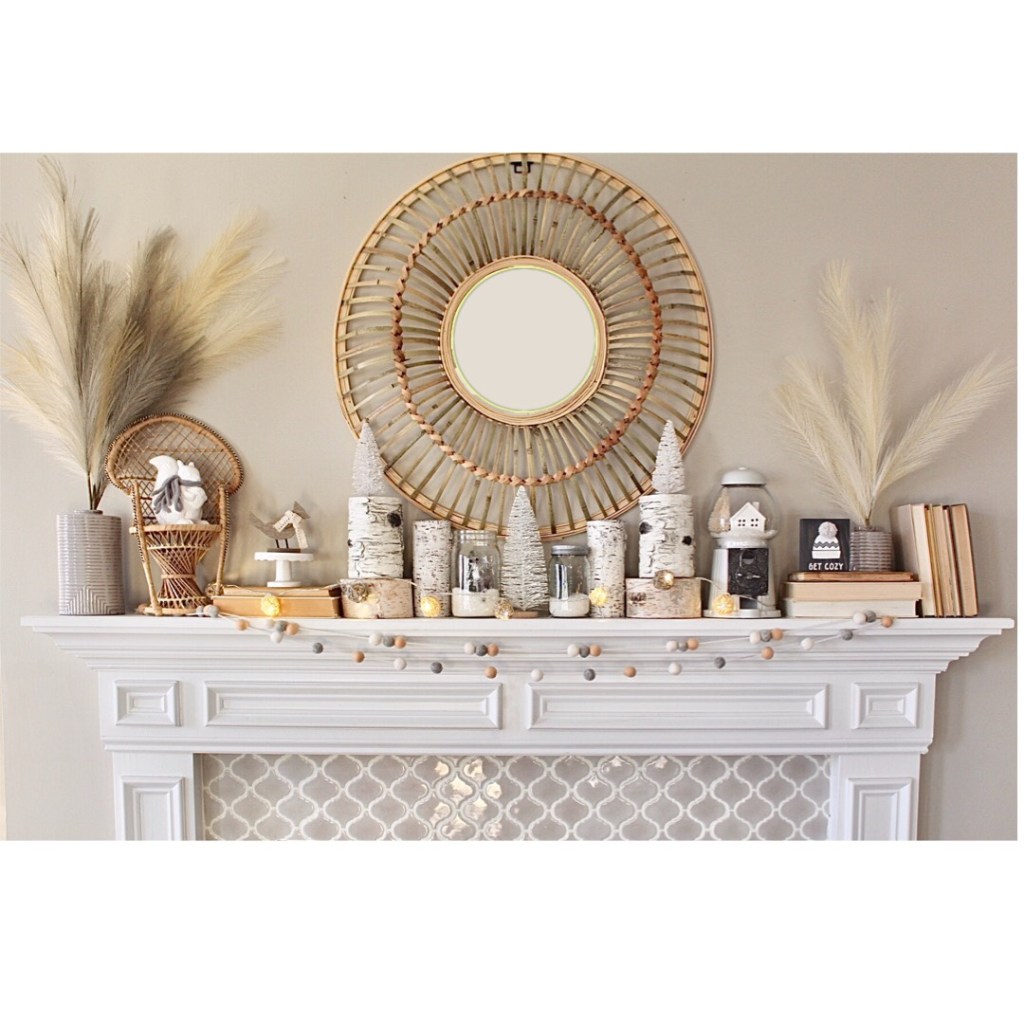
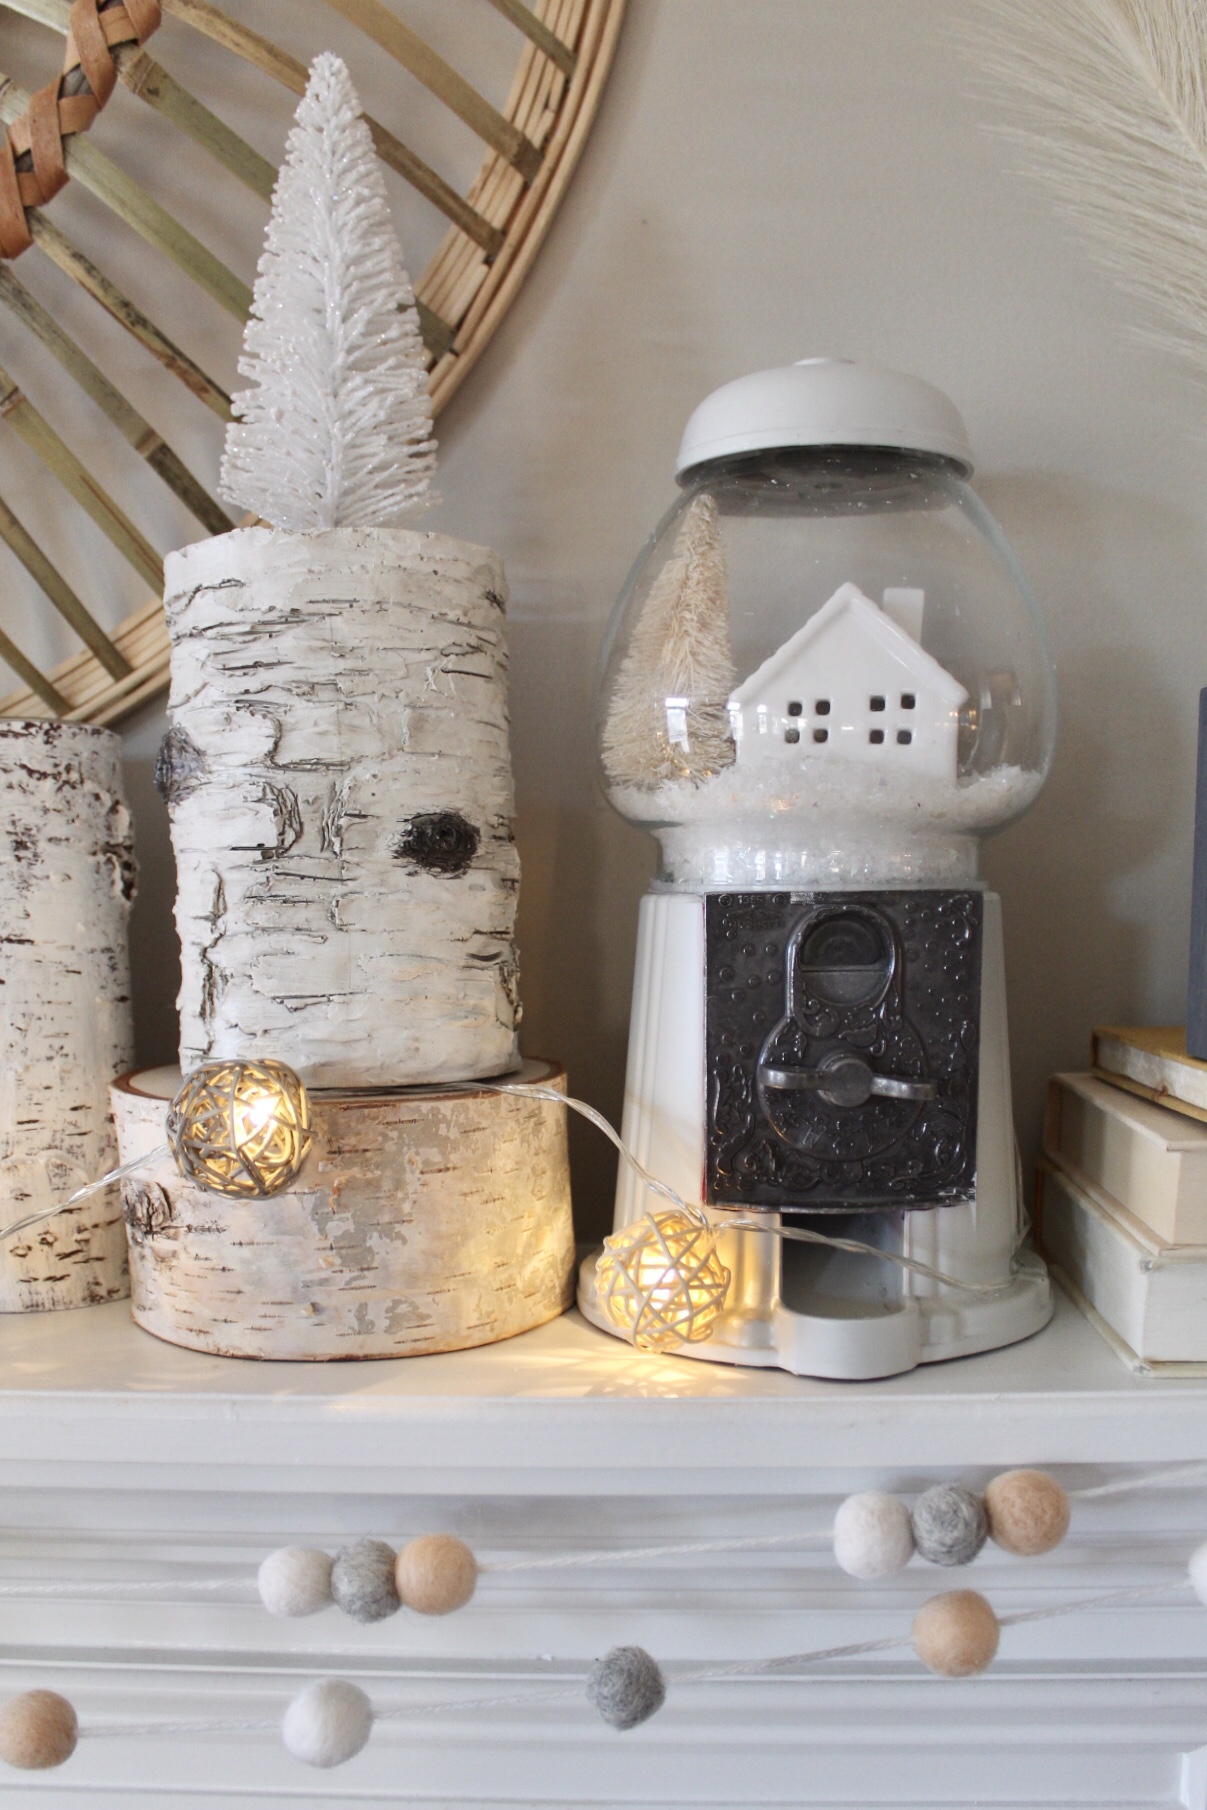
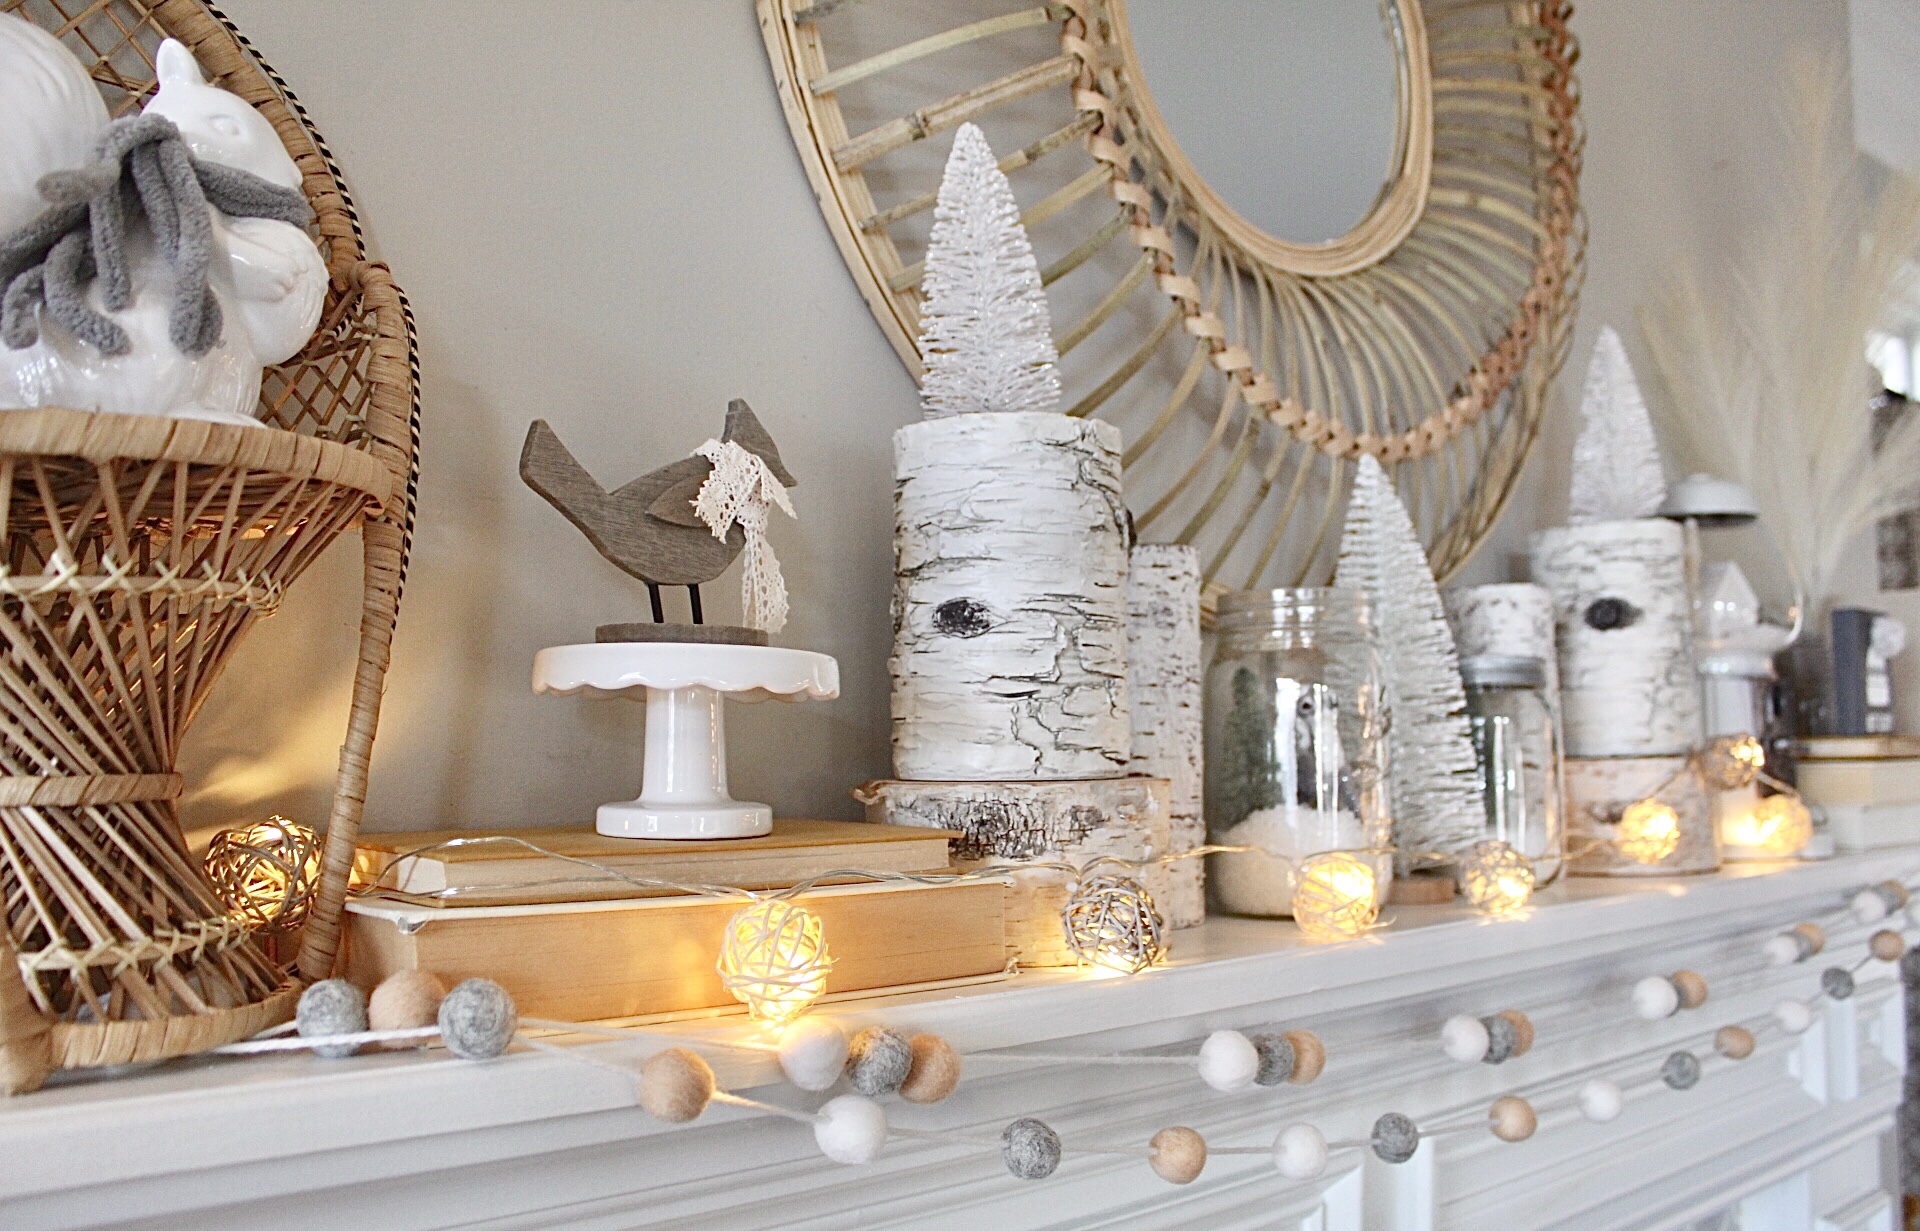
First up I start decorating my mantle! You’ll see I added my snow globes from one of my previous blog posts (DIY Snow Globes).

I start with my mantle by adding faux birch candle holders, white bottle brush trees, some of my DIY snow globes and a few other accessories!

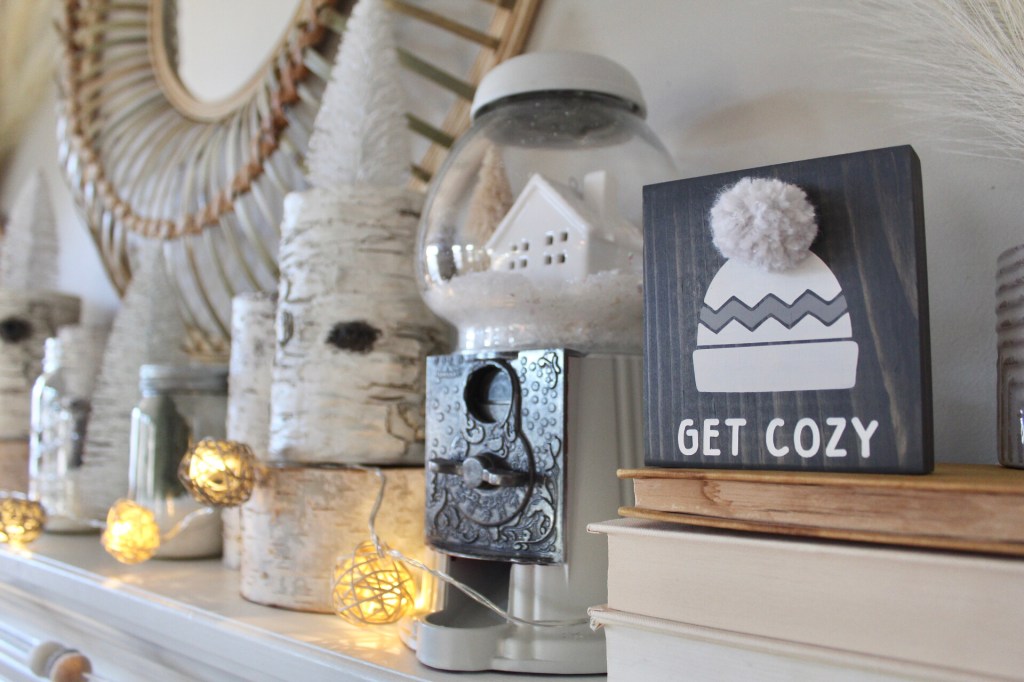
I love my Get Cozy sign from Birds Nest Boards
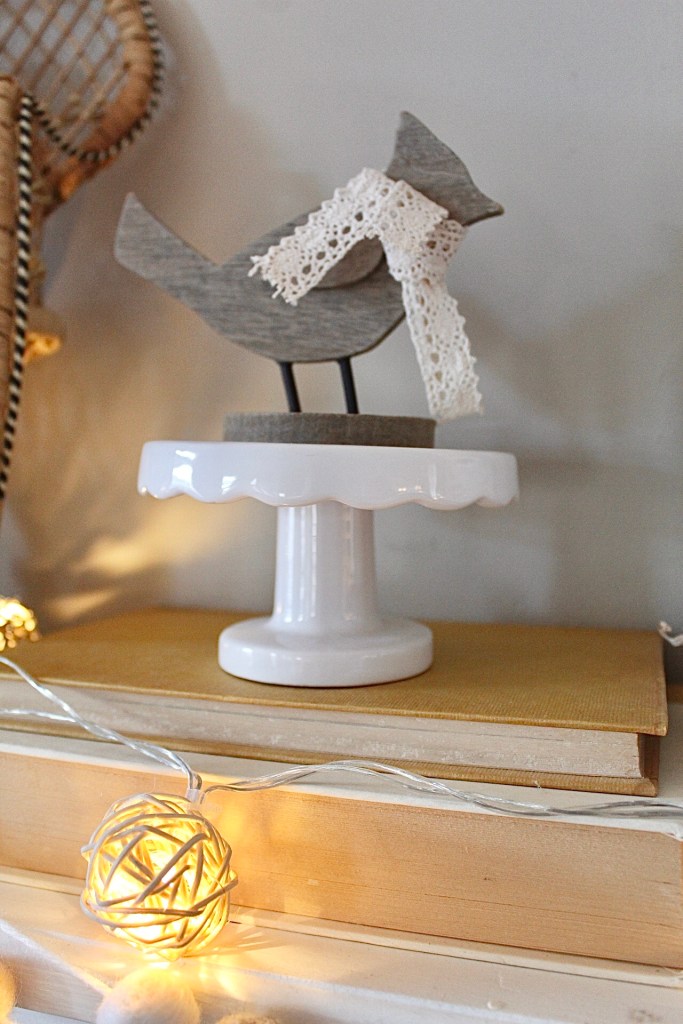
I also accessorize my animals with cozy scarves!

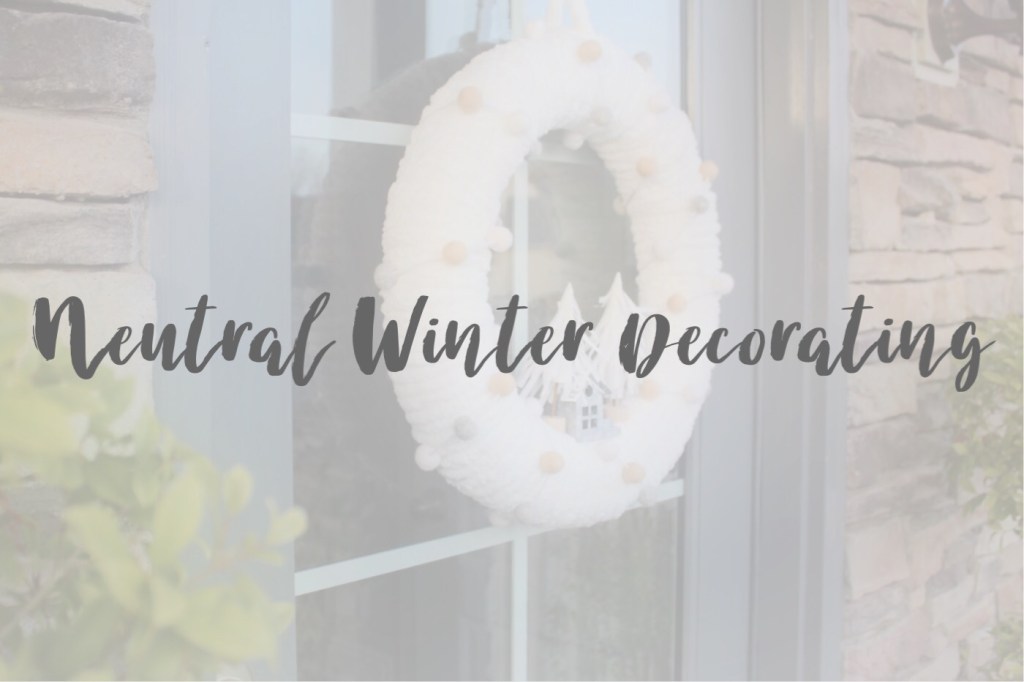
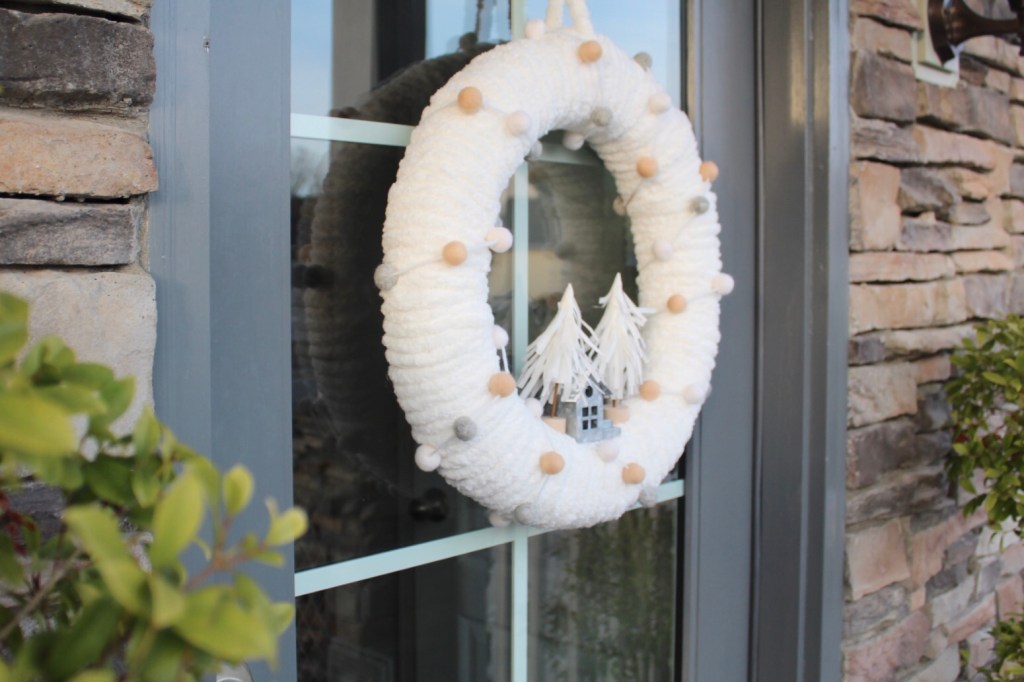
Lastly, I added a new wreath to my front door! I bought chunky yarn from Hobby Lobby and wrapped a straw wreath base. I then took a felt ball garland and wrapped that around the base. You could even use pom poms and glue them on.

Lastly, I grabbed two paper trees from the Target Dollar Spot and a mini house ornament and hot glued them to the base. It is a simple and easy winter wonderland wreath!

And I had to add a Let It Snow doormat!

I hope you enjoyed some of the neutral winter touches I added to our home!