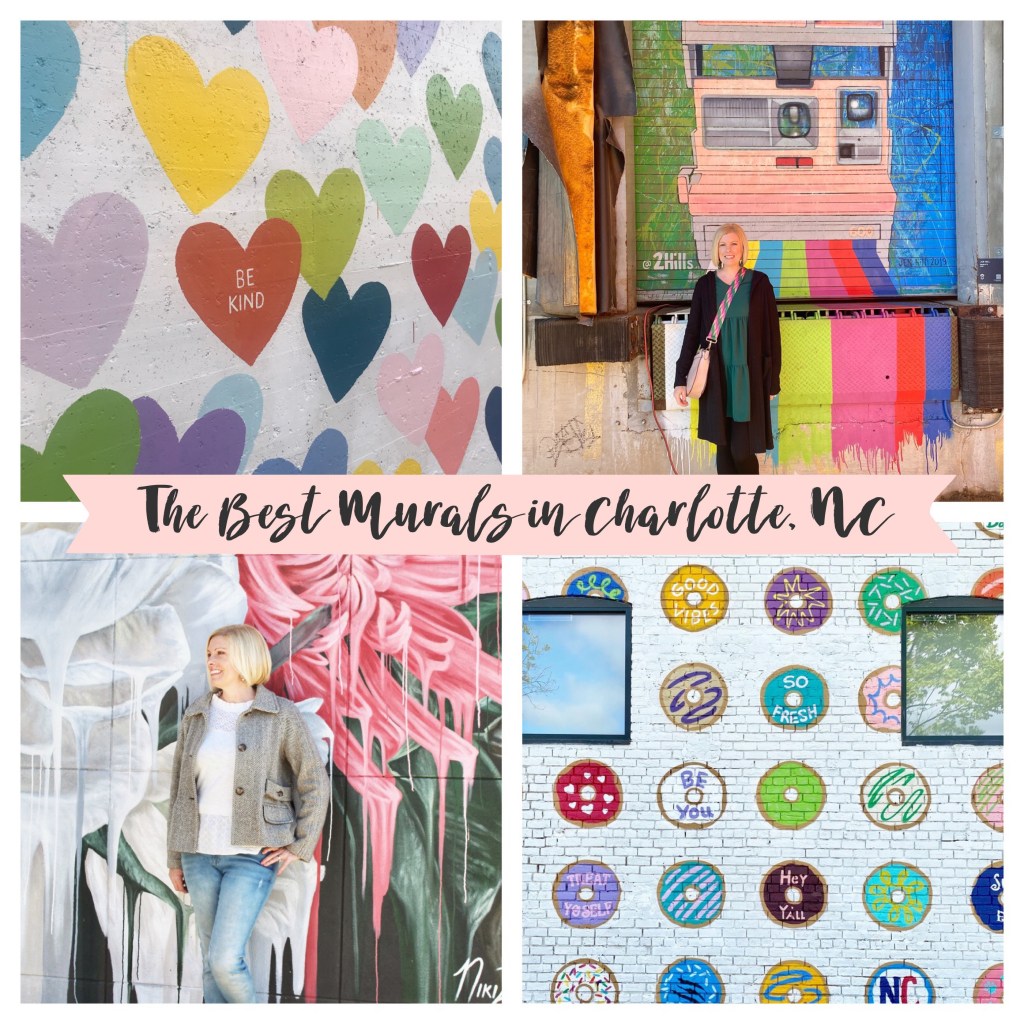
The Best Murals in Charlotte, North Carolina

I have always loved art. I especially love art outdoors in a garden, park or city. I’ve lived in Charlotte, NC for about seventeen years and I love finding new things to do and see. What I have learned is that treating my city like a tourist is a great way to explore your own town. So, I started reading blogs and following social media accounts to find new things to do. One thing in have loved doing is finding new murals. There are so many to see. I’m happy to share some I have seen and love.

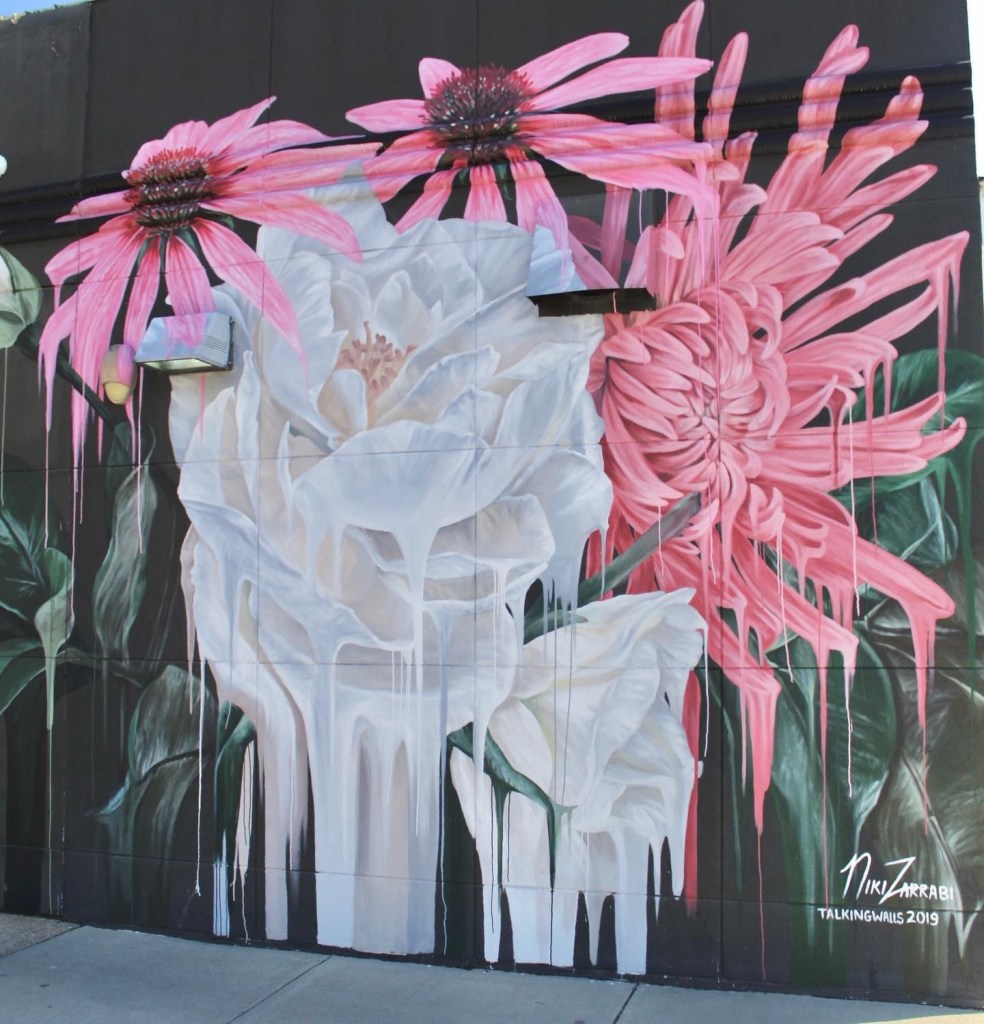
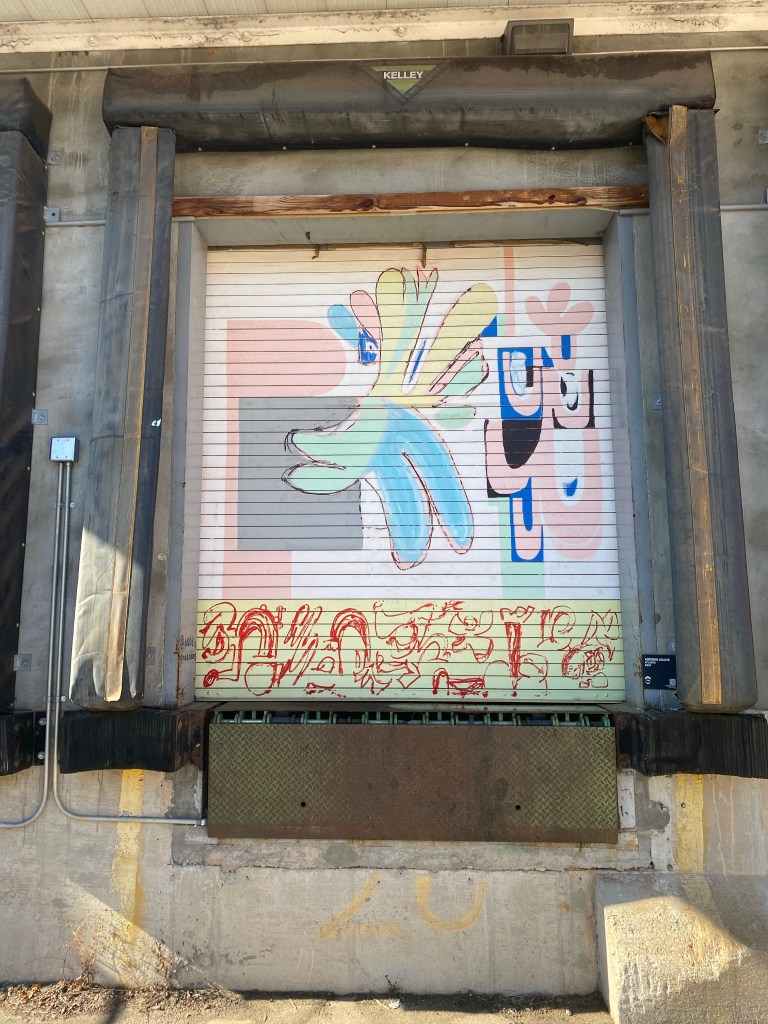
This is one of my favorite murals in Charlotte!
This mural is in Plaza Midwood 1600 Central Ave. Charlotte, NC

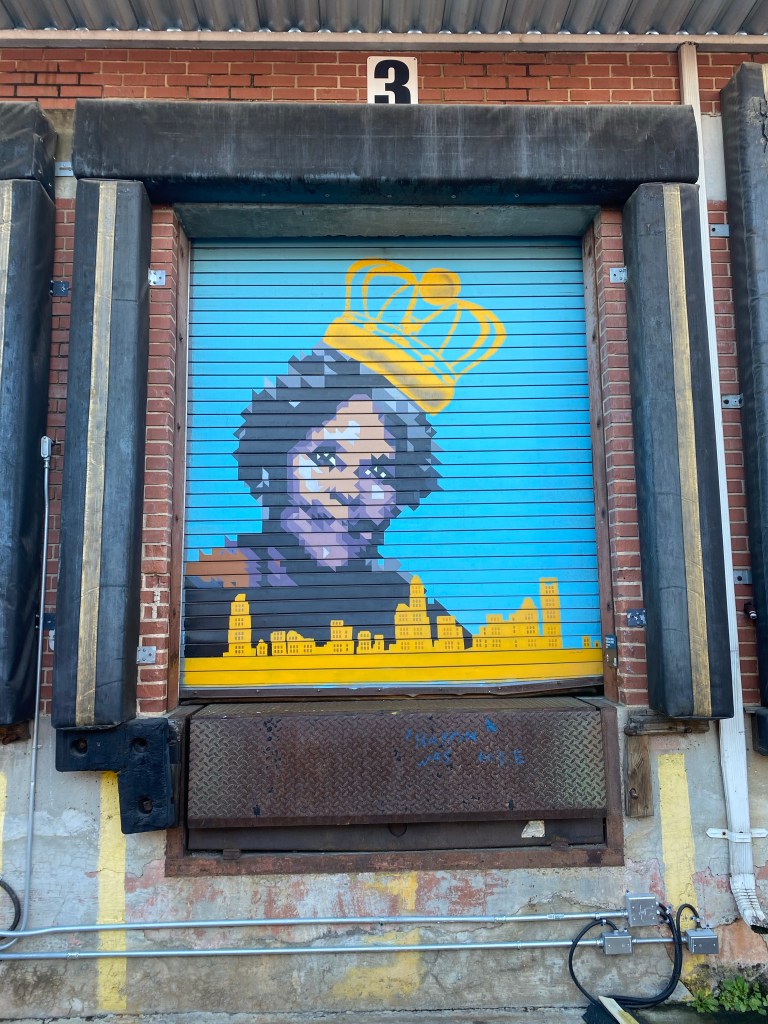
No Da is a great art district with so many murals to see.

This beautiful mural in Noda is located at 3120 N. Davidson St. Charlotte, NC
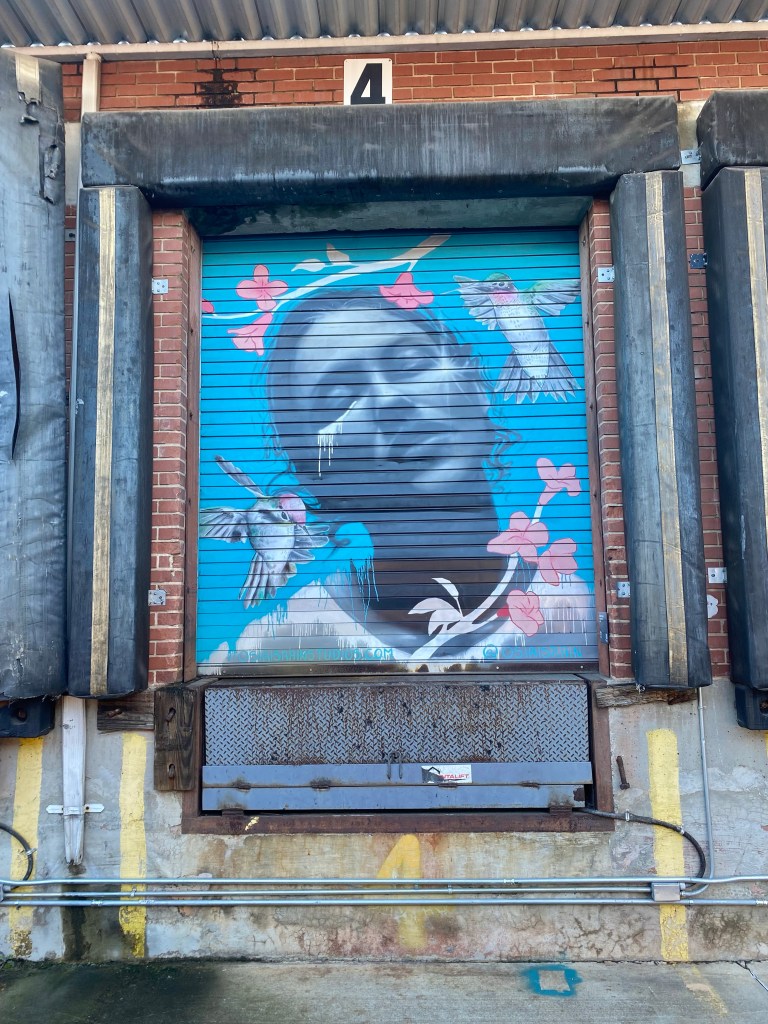
This vibrant mural is located at 3221 N. Davidson St. Charlotte, NC

If you want to grab a coffee or a glass of wine head to Rosie’s Wine Garden and make sure to check out the mural they have with a beautiful message!
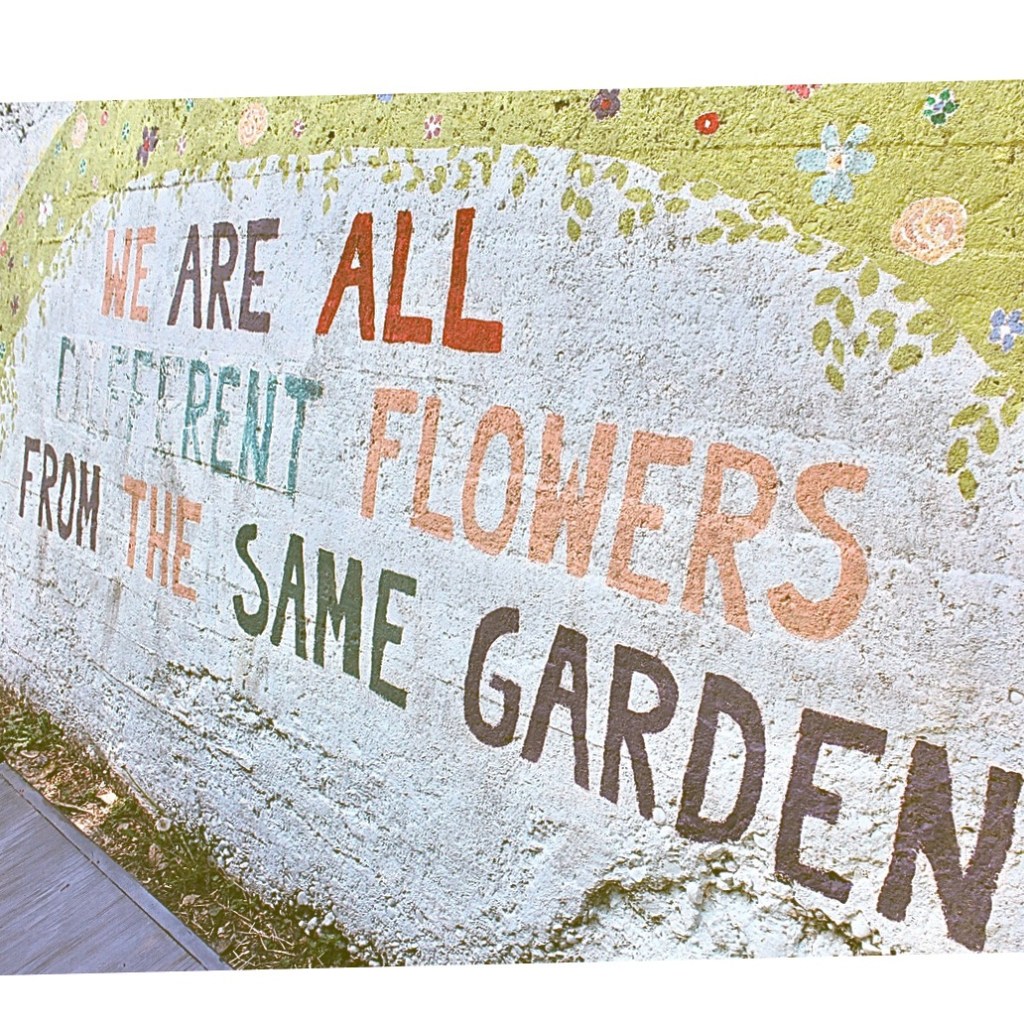
Rosie’s Wine Garden 940 N. Davidson St. Charlotte, NC

One of my favorite artists is Evelyn Henson. Make sure you check her murals out! The Confetti Stripes mural is located at Jeni’s Ice Cream, 424 E 36th St. Charlotte, NC.


The next area that has great murals is the South End. You’ll have to go to The Krispy Kreme headquarters at 2116 Hawkins St. Charlotte, NC!
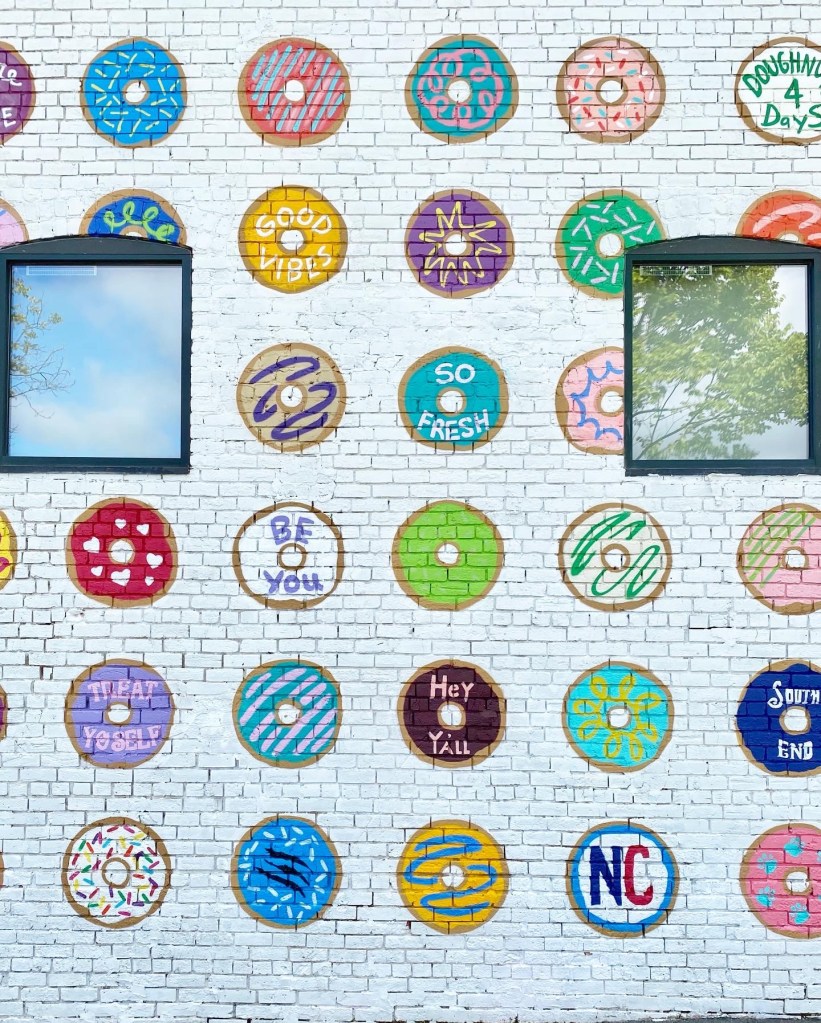
Such a cute and fun mural!

You can’t miss the Confetti Hearts Wall next. It’s right behind the Jeni’s Ice Cream.

My family had our photos done there one year! It’s the perfect backdrop.

Plaza Midwood has some awesome murals. Head to 913 Central Ave. Charlotte, NC. There are three murals right next to each other that are perfect for a photo op!


This is a quote to live by!
These beautiful hands, the ice cream and the cool lady with glasses are all in the same spot!

If you want to see a cute mural and grab a great lunch head to Bossy Beulah’s at 2200 Freedom Dr. Charlotte, NC.


The mural is beautiful! You must also try the sandwich!

Lastly, don’t miss roaming Camp North End! There are so many murals, shops and things to see.

Camp North End 300 Camp Rd. Charlotte, NC
The pink Polaroid was my favorite!

I hope you have found some new areas to visit in Charlotte. Enjoy the art and murals that this amazing city has to offer!

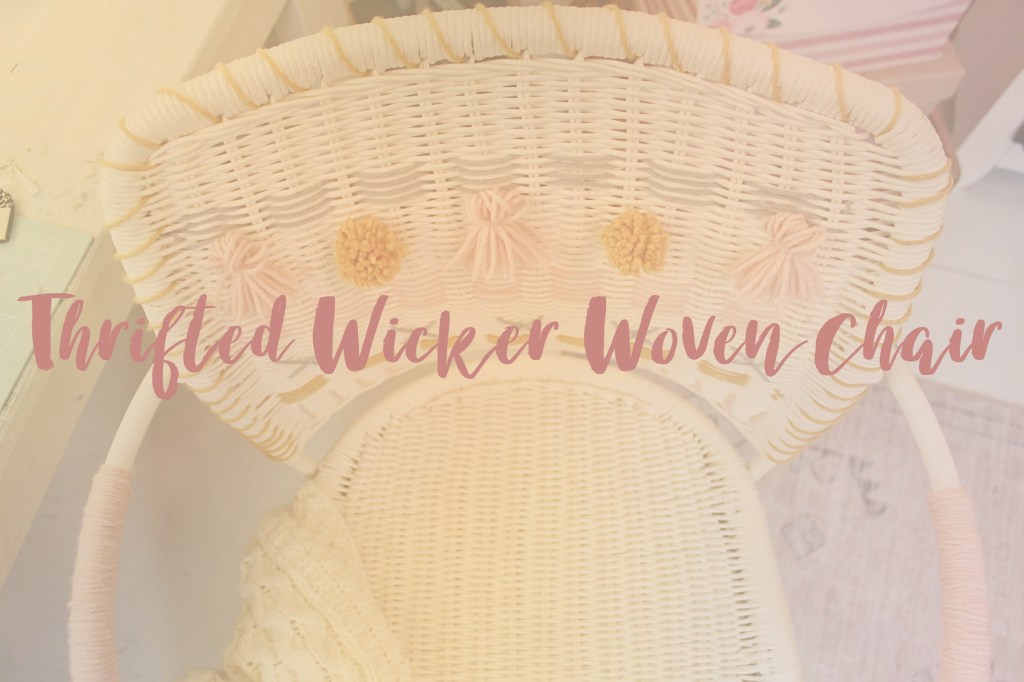
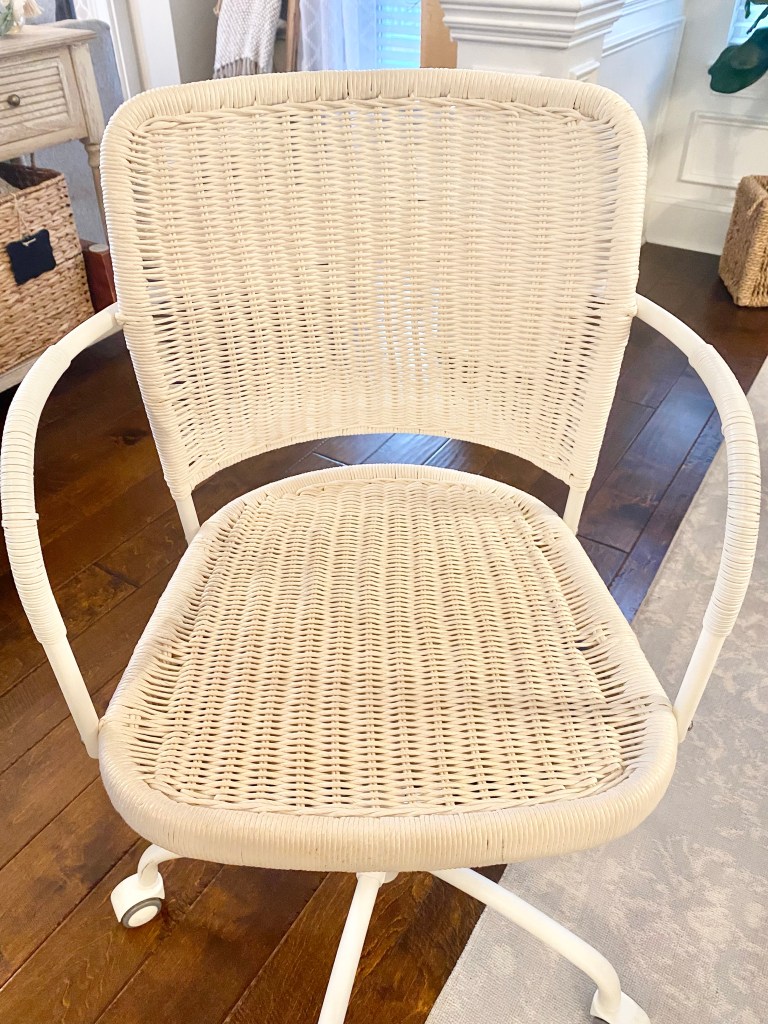
Thrifted Wicker Woven Chair

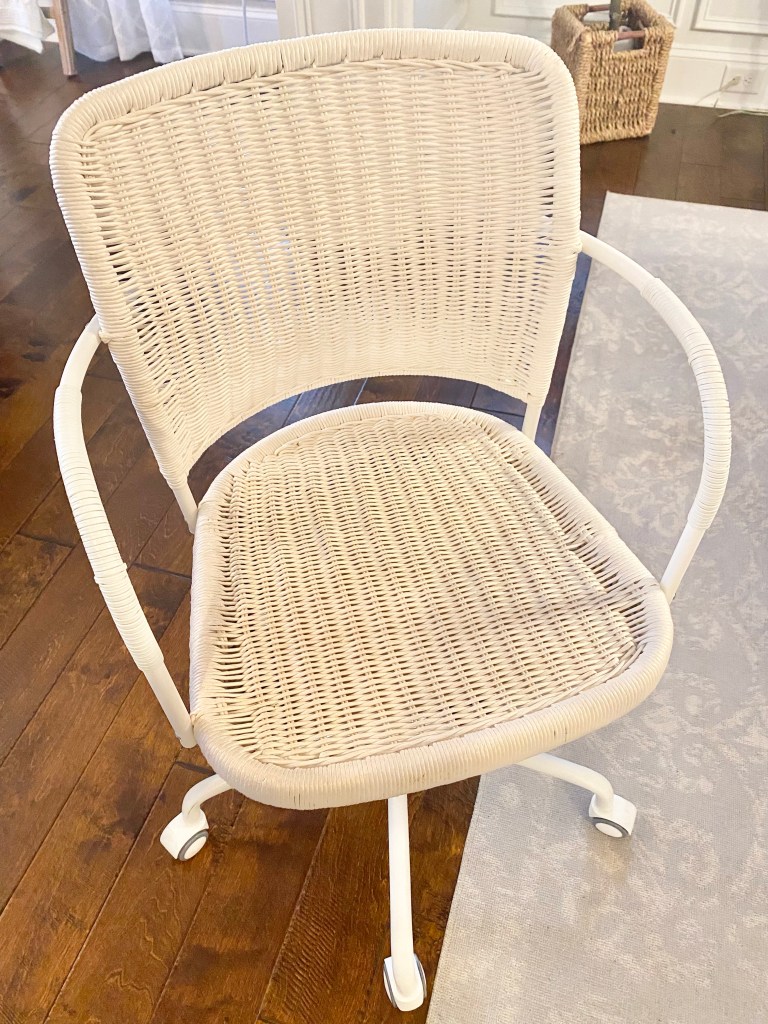
I was thrilled to find a wicker rolling chair at Goodwill on my last thrifting trip! I found this chair for $4.99! Talk about a deal.

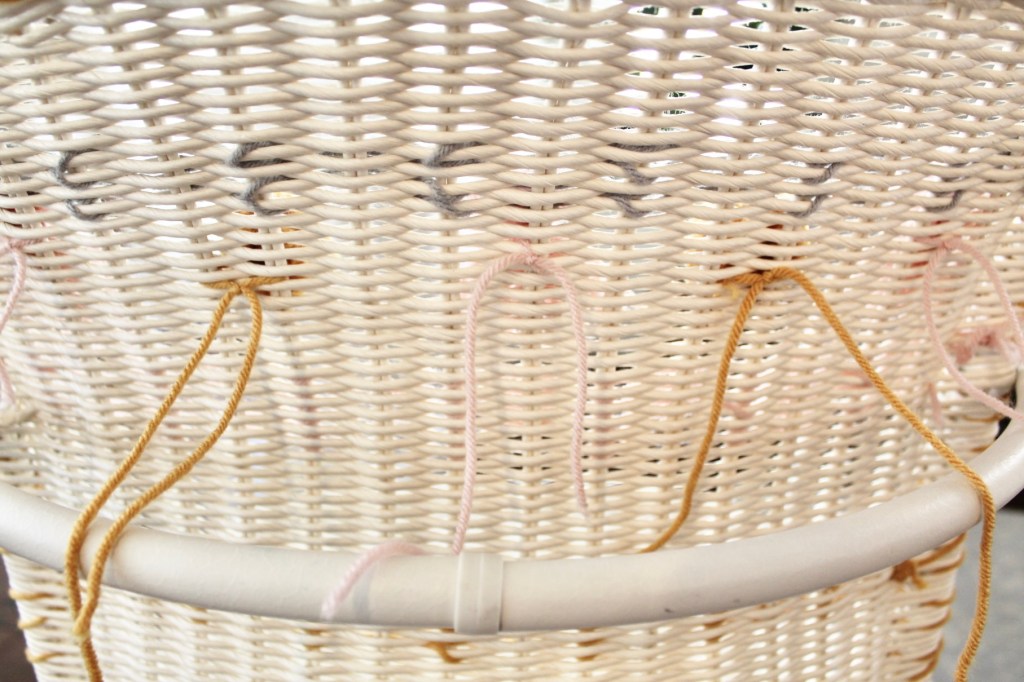
When I first brought it home I thought I might add a coat of pink spray paint and add it to my she shed. But, as I thought more about it I thought of a new idea. I had a vision of weaving some yarn through the wicker and wrapping other areas. Now, I have no embroidery skills but figured I would give it a try. I have to say, I am really happy with how it turned out! I think it’s fun and whimsical. It won’t be my everyday chair, it will be more for extra seating and decoration.

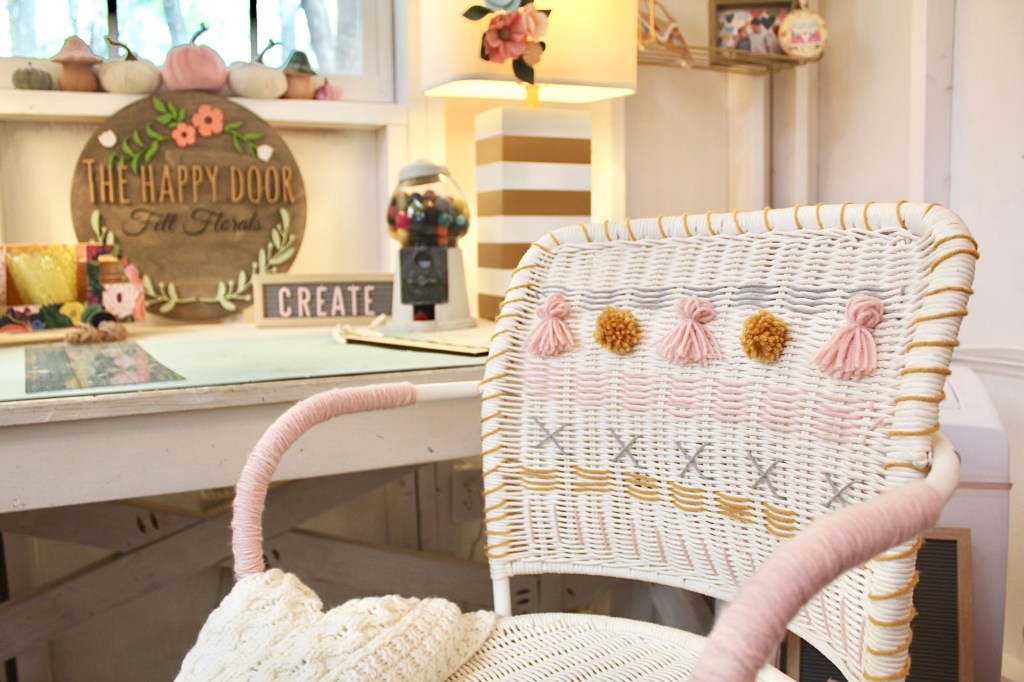
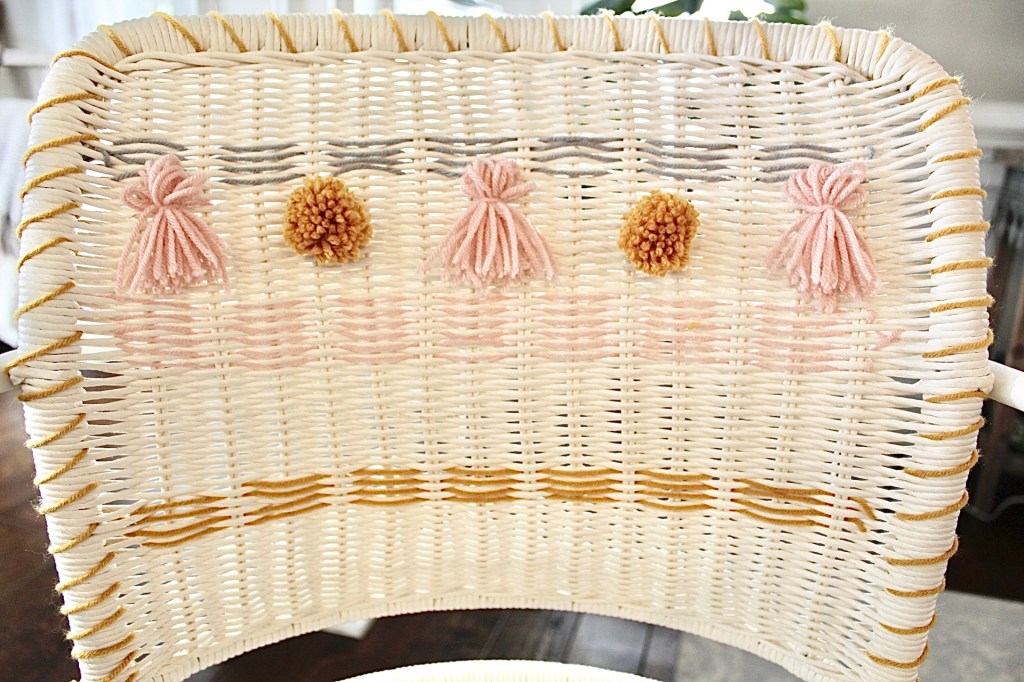
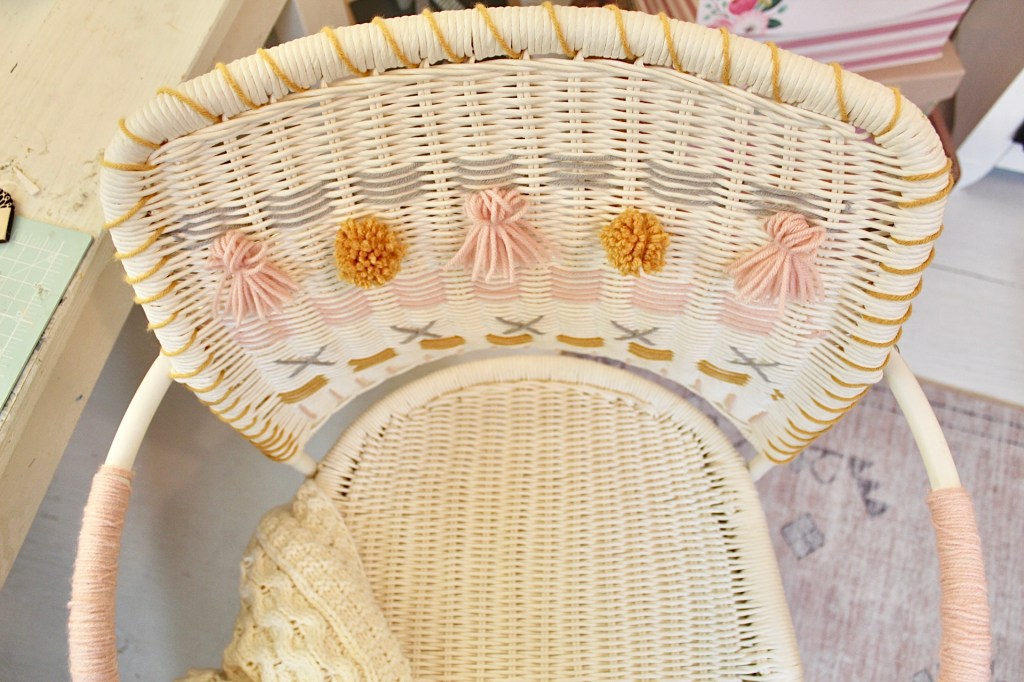
Here she is all finished up.

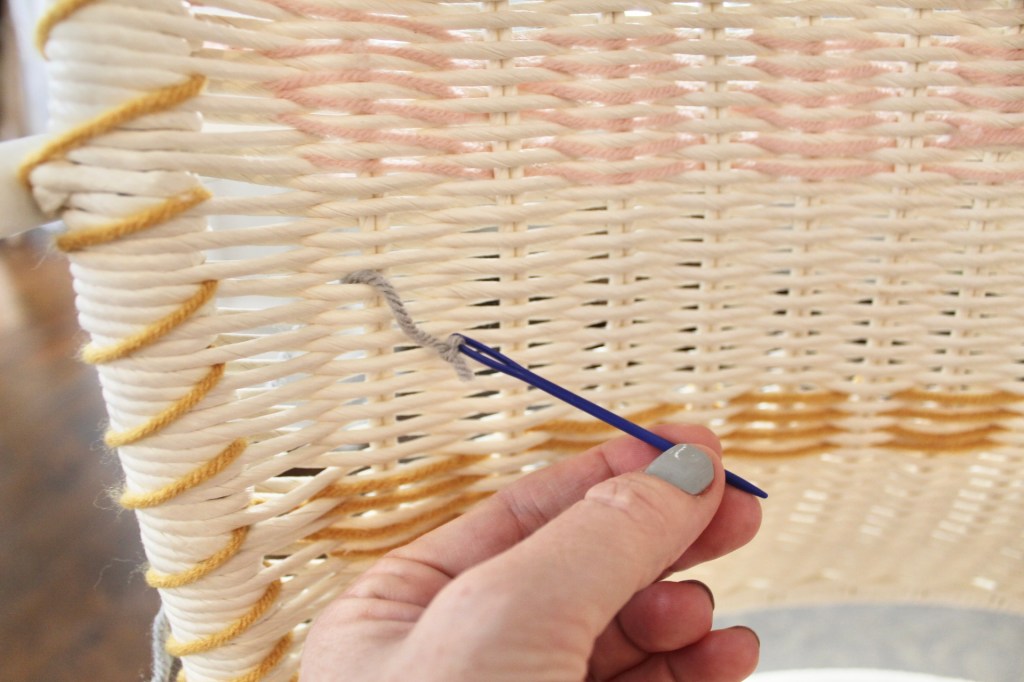
So, I first cleaned it up. I then grabbed yarn in pink, mustard and gray. I also bought a thick plastic embroidery needle.

All cleaned up and ready to go!

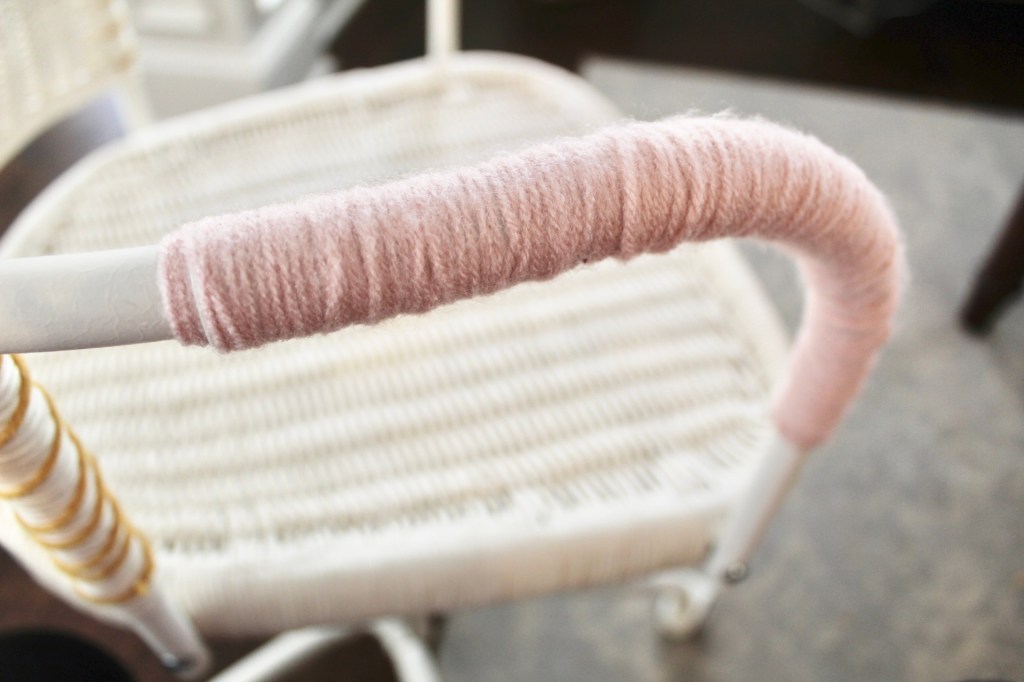
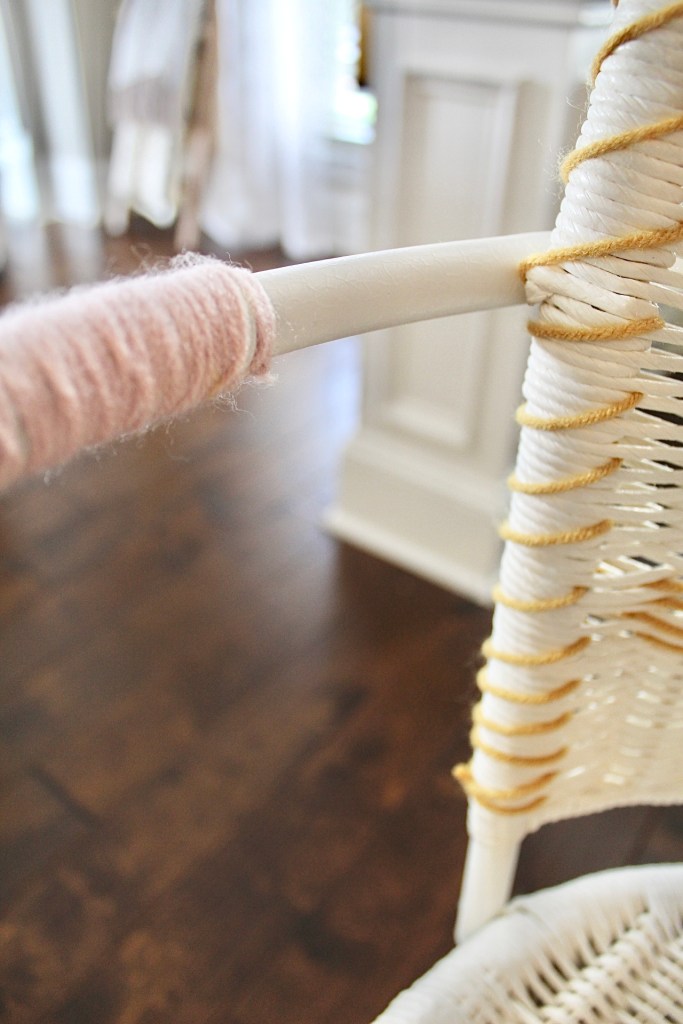
First I decided to wrap the arm rests. That part was pretty easy. Just keep wrapping! At the end I added a bit of hot glue to secure it in place.

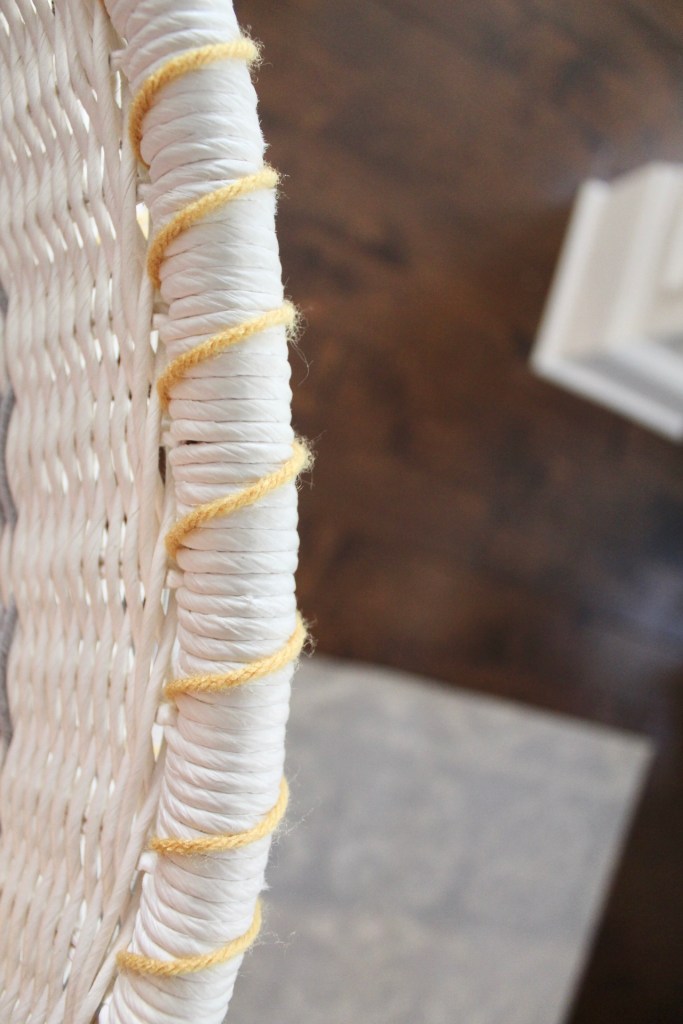
Next. I wrapped the back in the mustard yarn. I just used the embroidery needle and went around the back of the chair.

It was starting to come together!

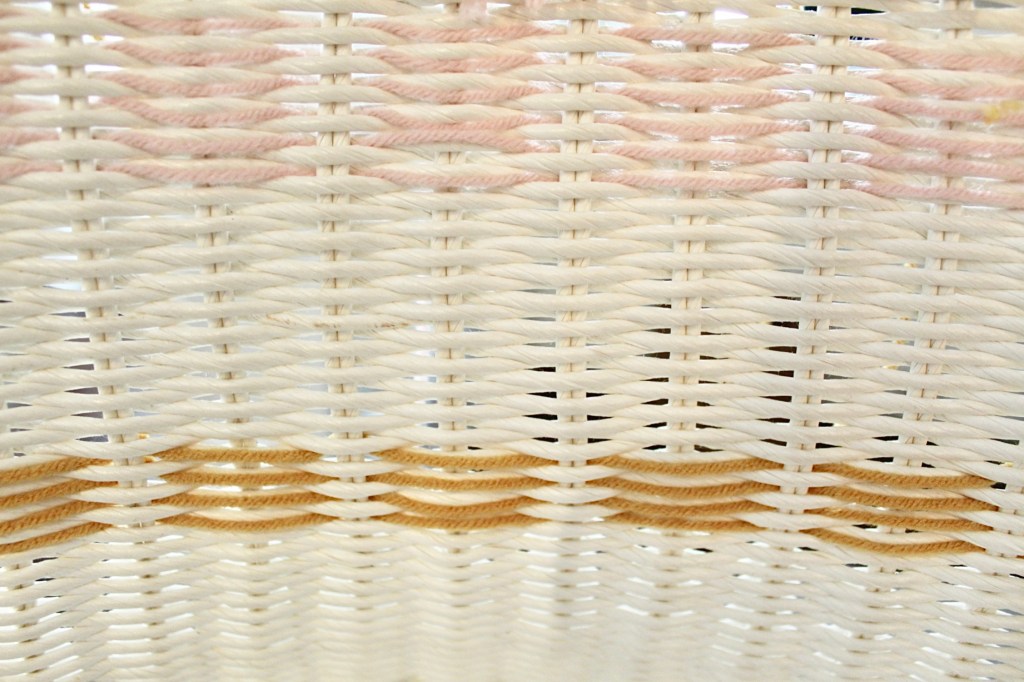
Once I started weaving the back of the chair there was definitely some trial and error. I quickly learned following a pattern keeps a consistent look. So, I would go over and under and count the spacing as I went.

After I had three rows of stripes ( one in each color) I thought some tassels and pom poms would be a cute touch! If you want to see a pom pom tuturial I have a blog post on how to make them without a pom pom maker. I kept string on each pom pom and tassel so I could string it to the back of the chair and tie them in place. The back of the chair isn’t as pretty as the front, but it doesn’t bother me. I did trim all the loose strings.

These were the pom poms and tassels before I snipped the loose strings.

Lastly, I added some X’s and vertical stripes to finish it off!

And now my one of a kind chair is in my She Shed! I was so happy to have a new and different project to work on and love the results!

What do you think? Would you try a project like this? Let me know.

Pumpkin Painting Craft Party

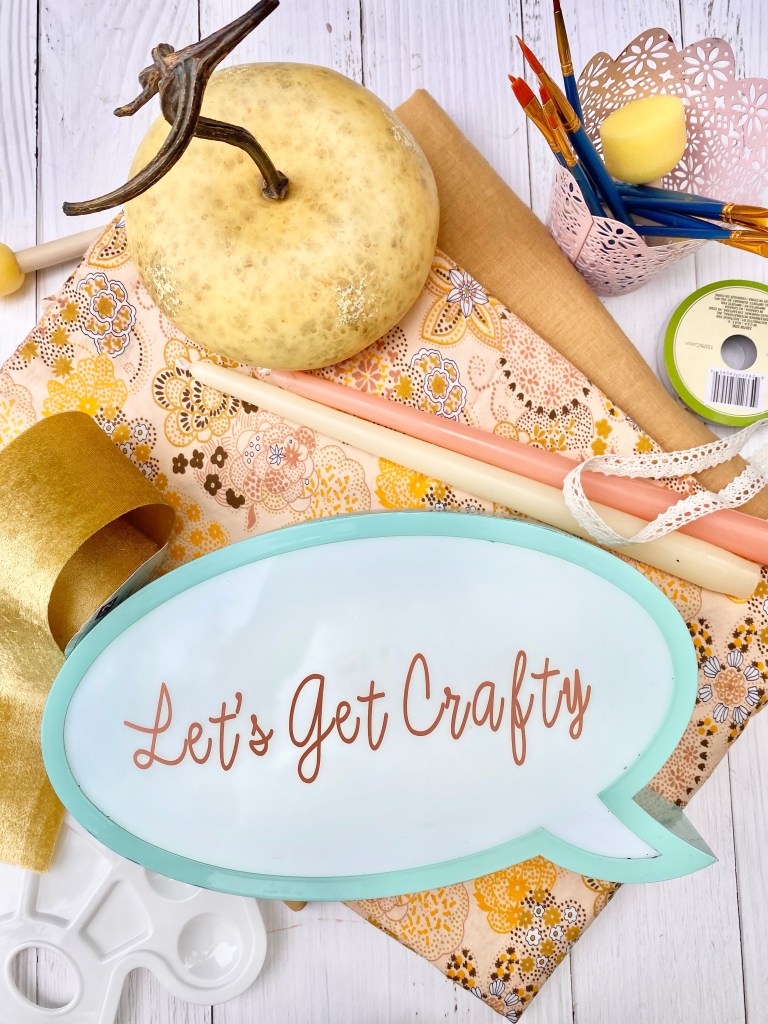
Fall is my favorite season and I wanted to host a party for a few friends. October is such a beautiful month in North Carolina, so I picked a date and started planning. Since I love crafting I thought pumpkin painting and decorating would be fun. I made an invitation on Canva and texted it to some friends and started planning! For me, planning and setting up the party is just as fun as the event itself!

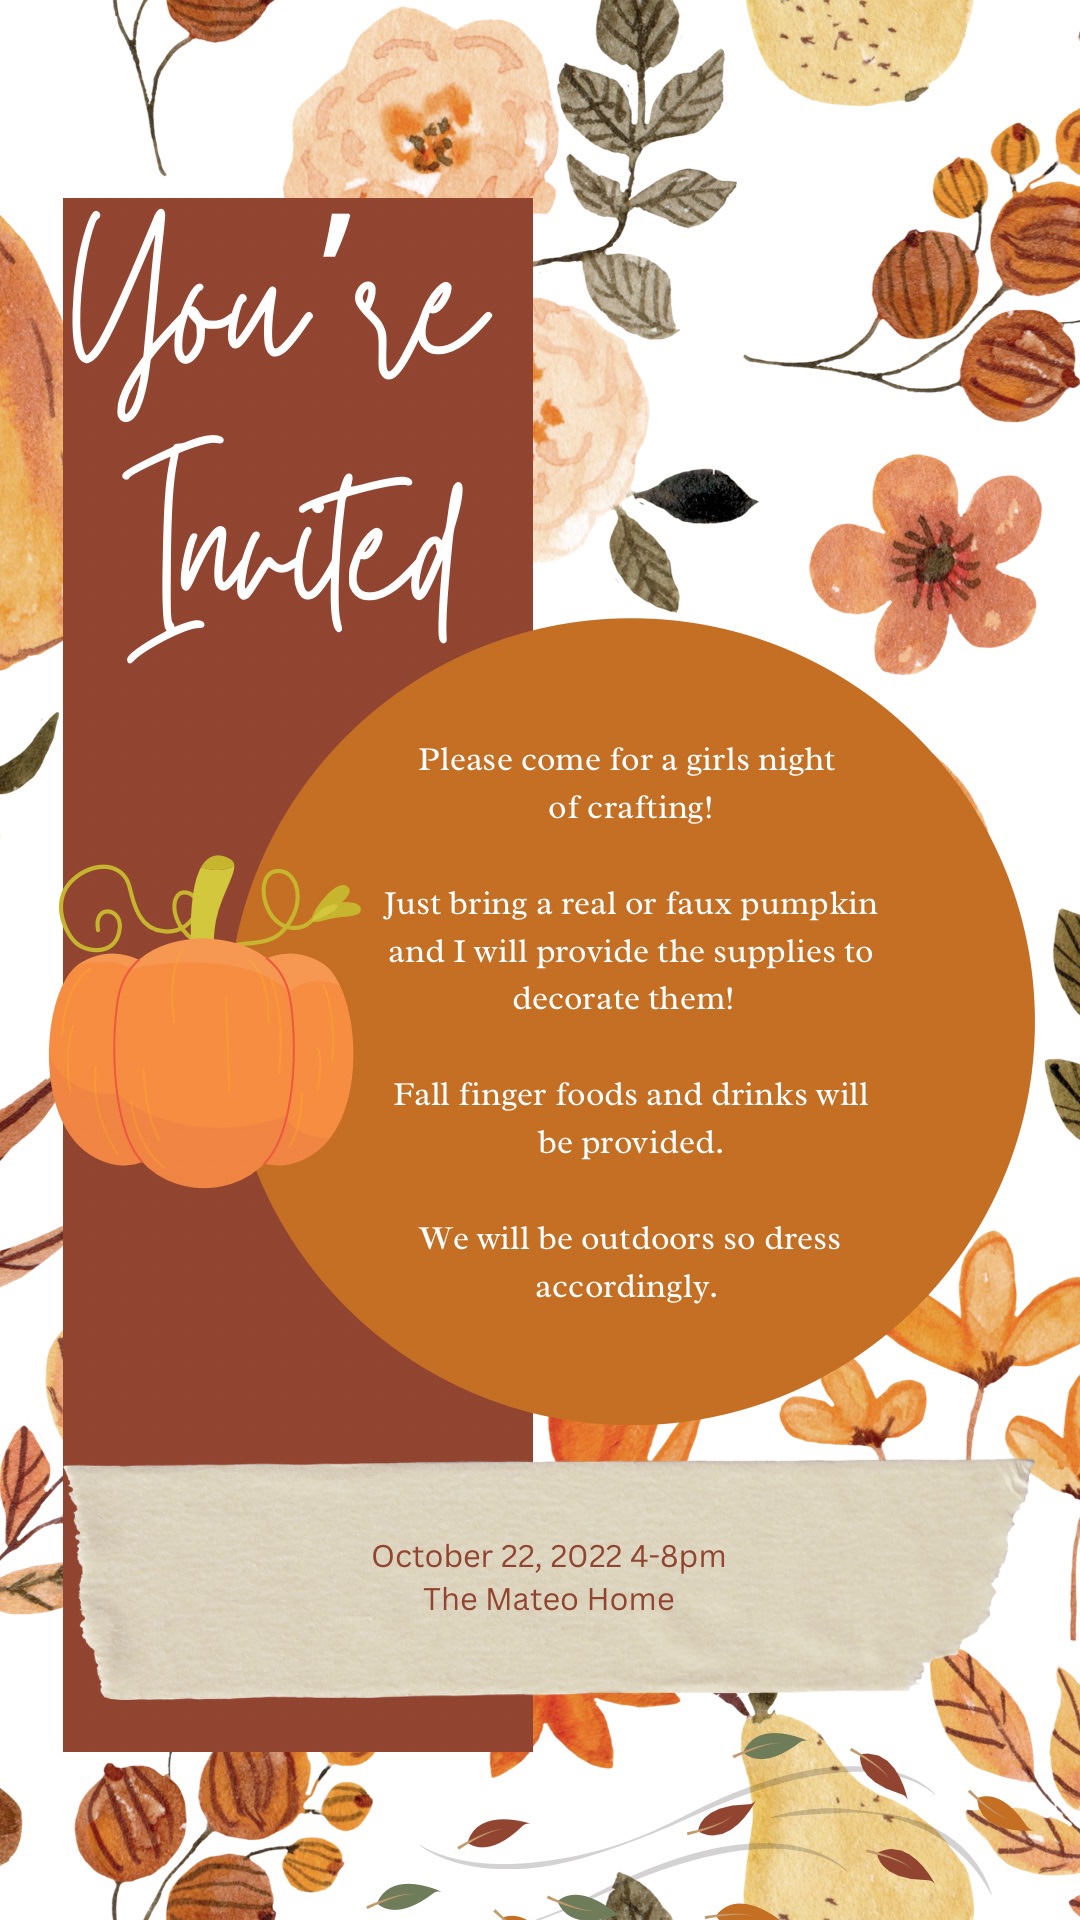
I quickly made an invitation to text to friends. Canva is so easy to use. I asked everyone to bring a pumpkin and I’d handle the rest!

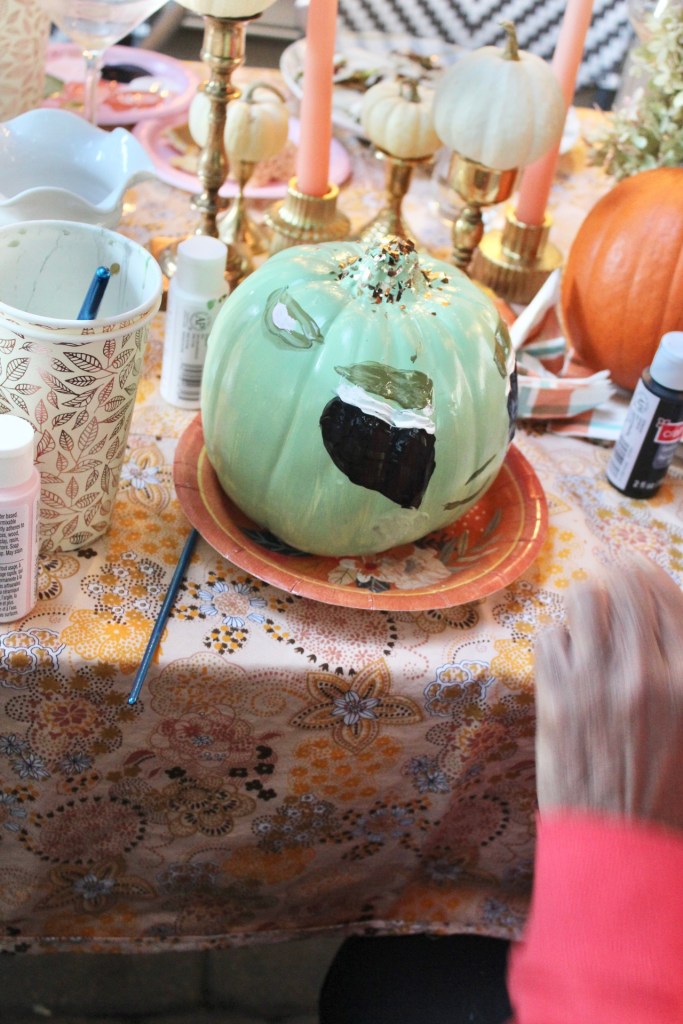
I decided I wanted to set up two tables since I was having about 10-12 people. I went to Goodwill to see if I could find some fabric or sheets to use as tablecloths. I did! And for $2.99 each I didn’t mind if they got paint on them. I also decided I would just “shop my house” and decorate with what I had. Since I love Fall so much I had plenty of pumpkins! I also grabbed some candles and candlestick holders and and used them to decorate.

When I found these sheets Goodwill I knew they’d be great tablecloths!

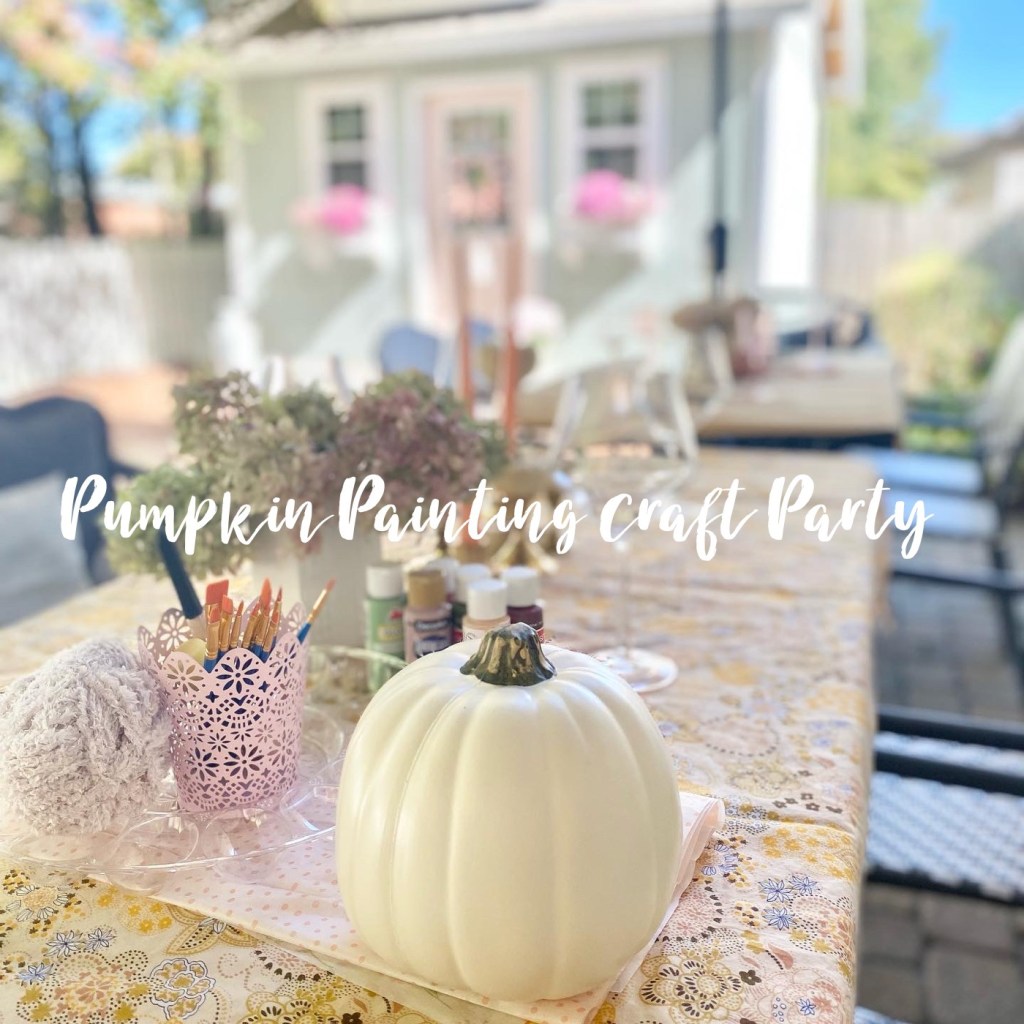
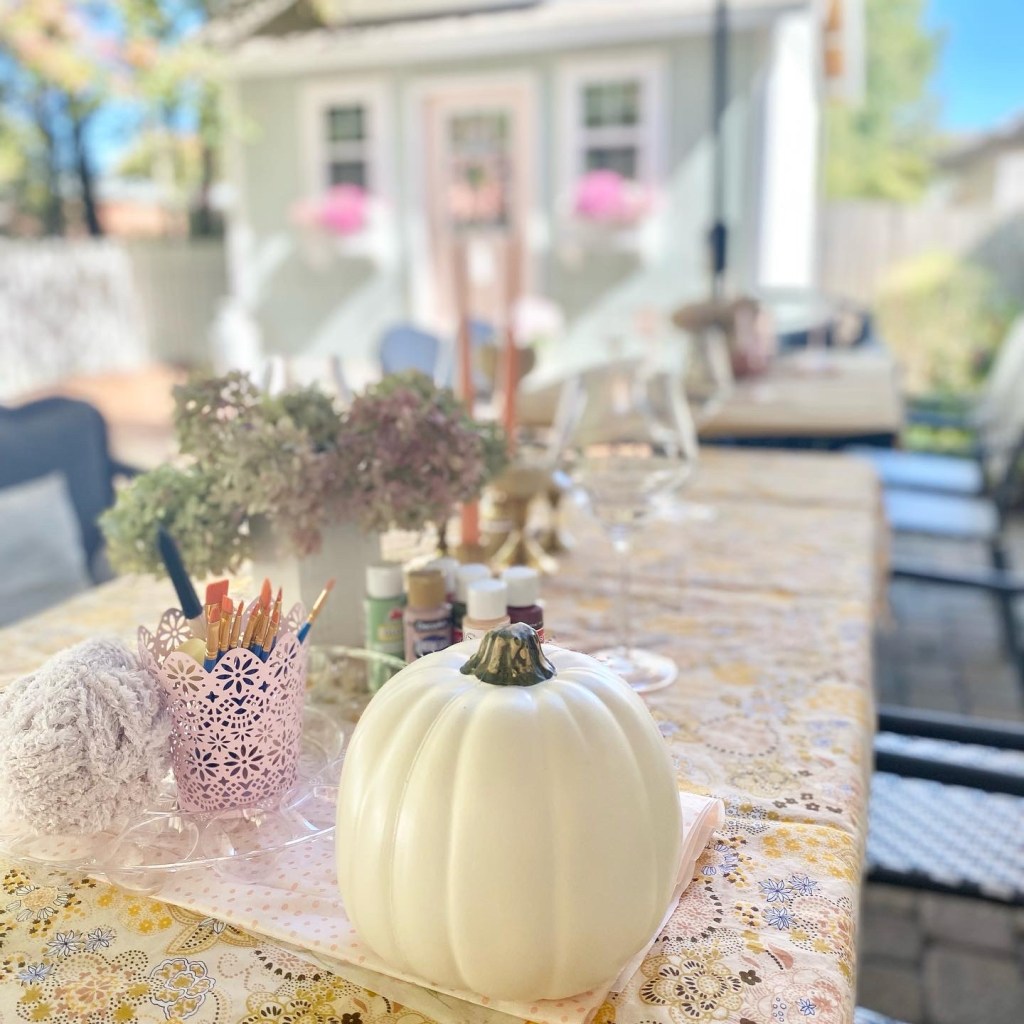
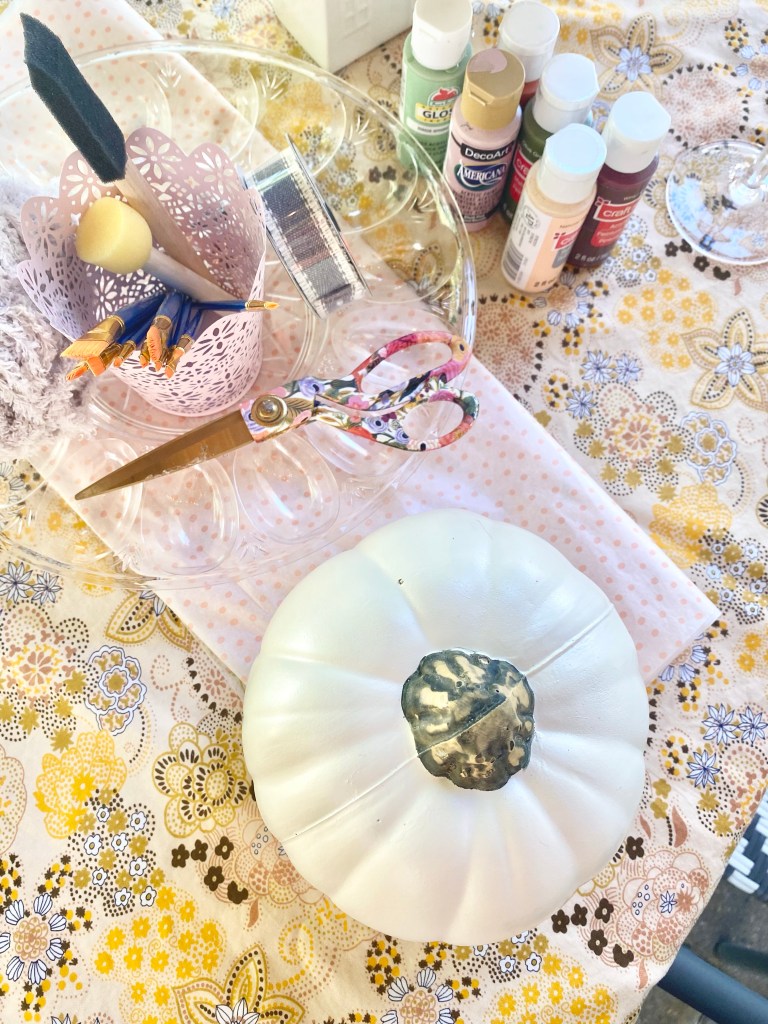
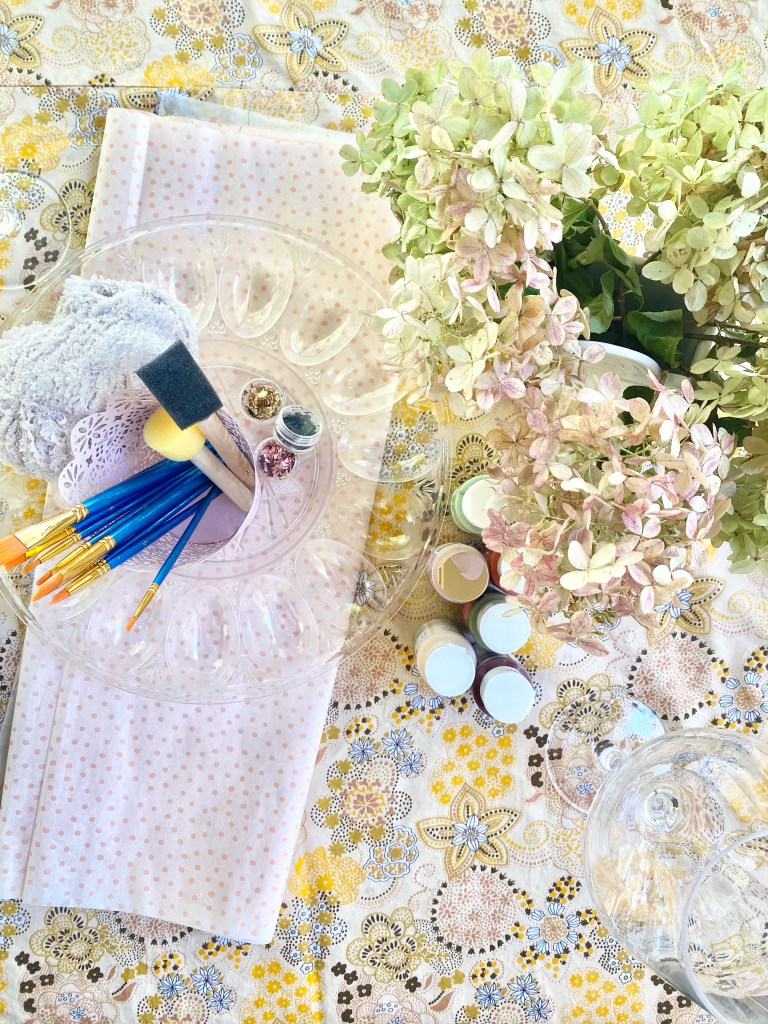
I layered out the tablecloths, craft supplies, wine glasses and some dried hydrangeas. I then used some candlesticks and put mini white pumpkins on them.

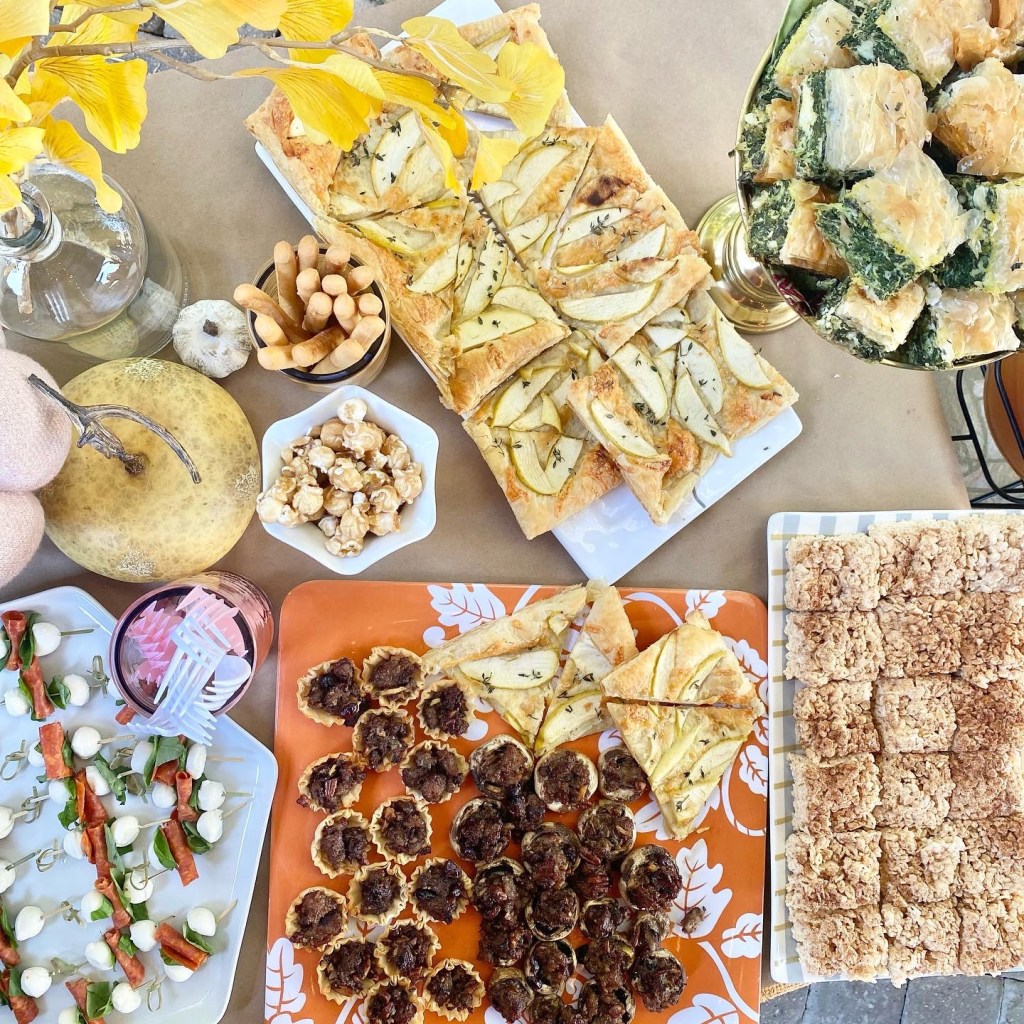
No party is complete with out yummy food and drinks. I made mozzarella, basil and pepperoni skewers, an Apple and White Cheddar Tart, Apple Cider Donut Rice Krispie Treats and Cranberry and Sausage Stuffed Mushrooms . Some friends brought pumpkin pie, a Manhattan cake and spinach pie. I also made an apple cider cocktail and had wine. After we filled up on food it was time to craft.

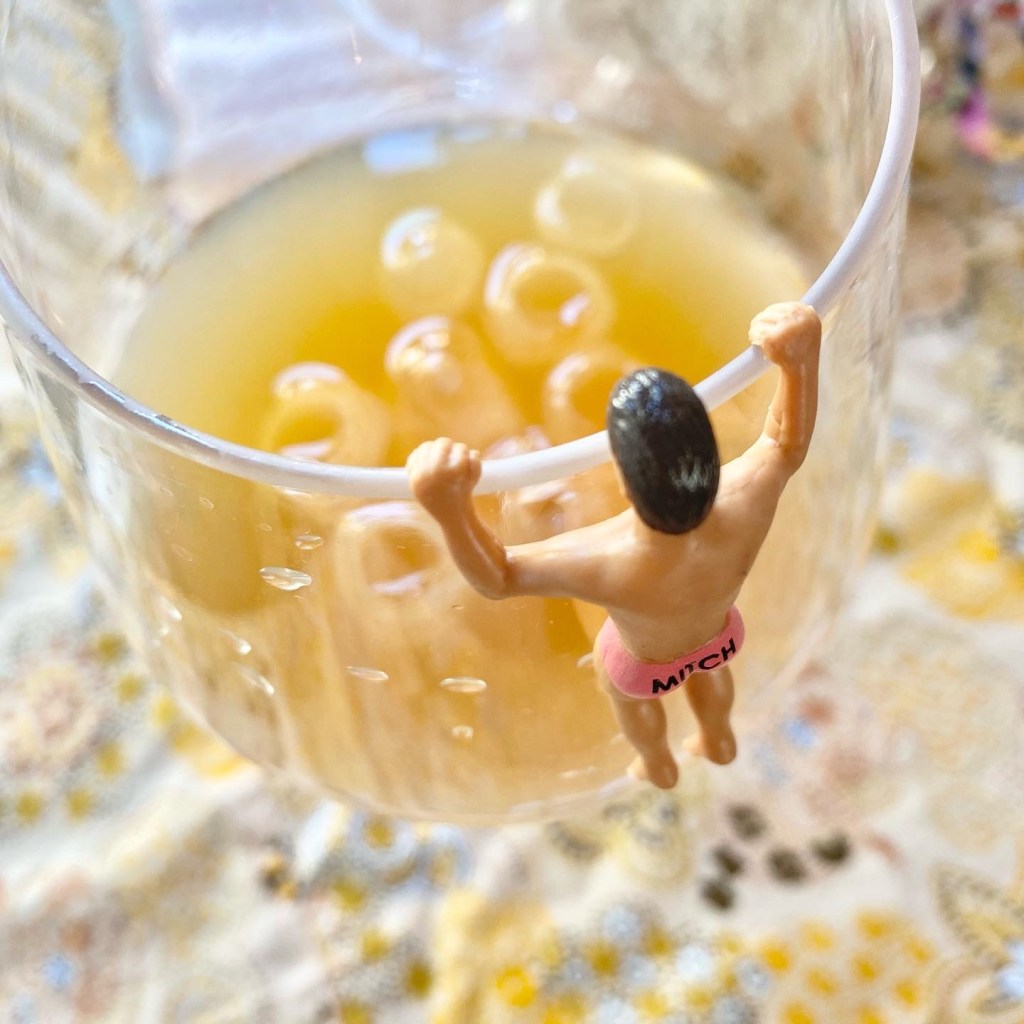
No girls night is complete without a “drinking buddy”.

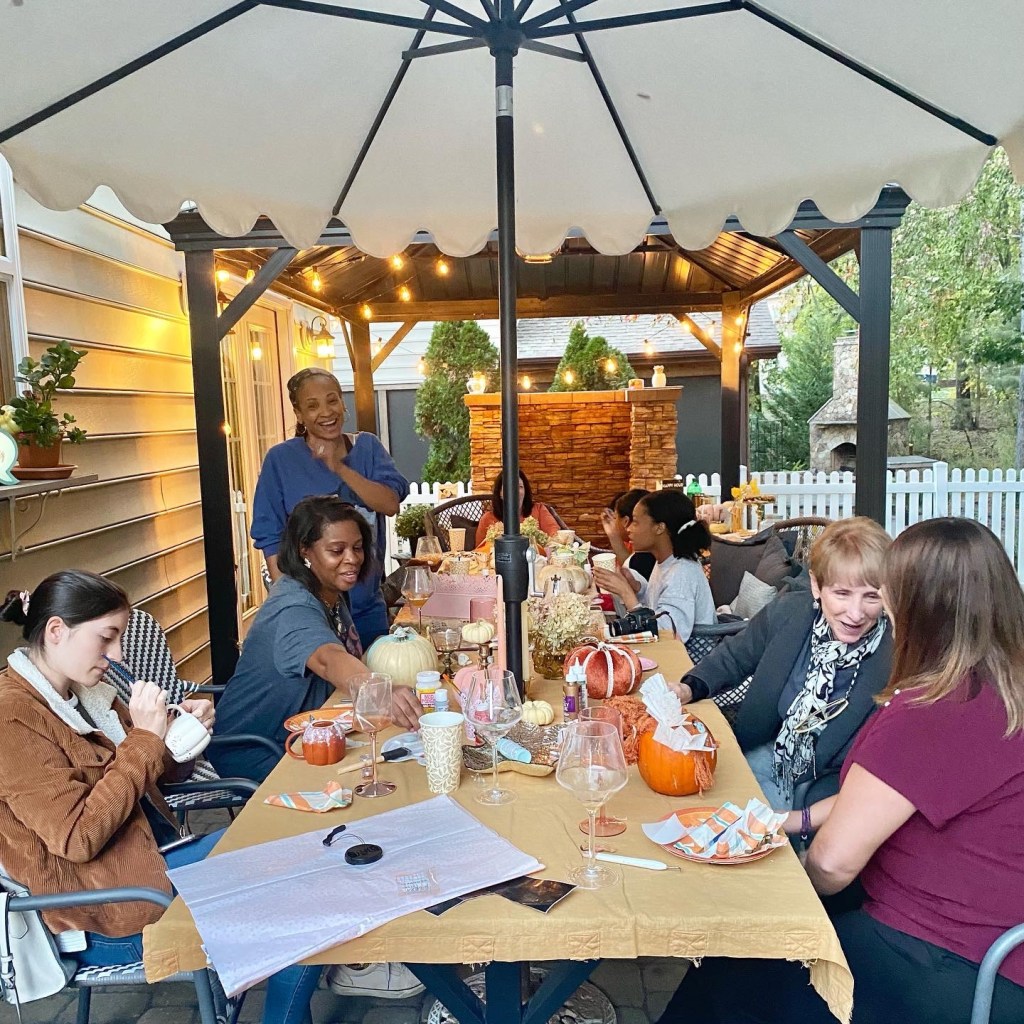
We had a mix of ages, which was great. A few of the teenage girls brought some fun and creativity to the party. It made my heart happy hearing all the laughter from everyone.

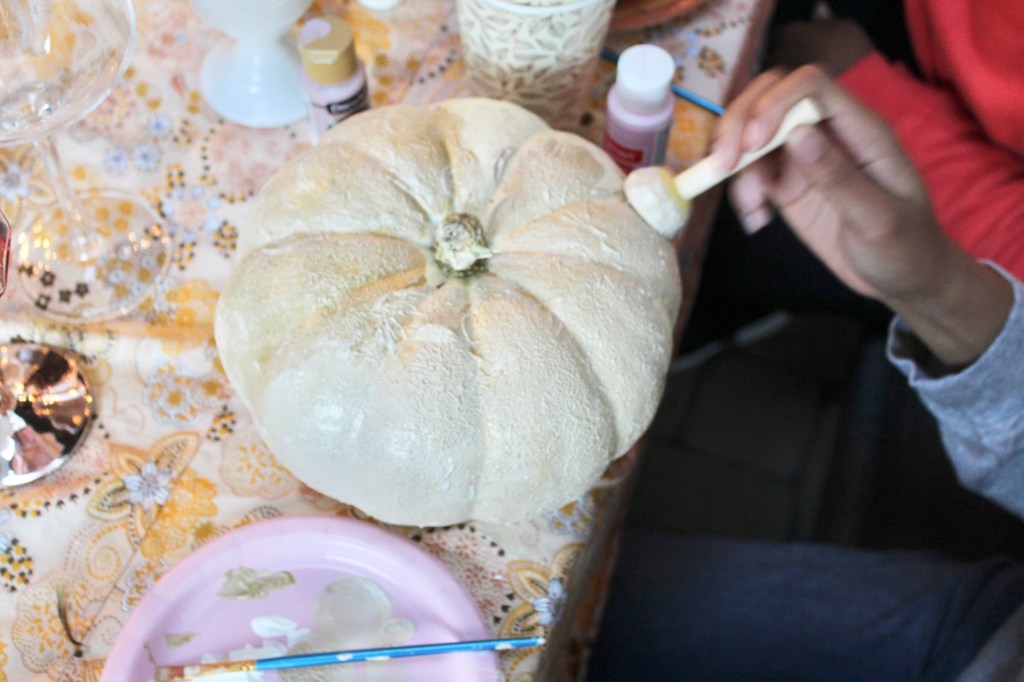
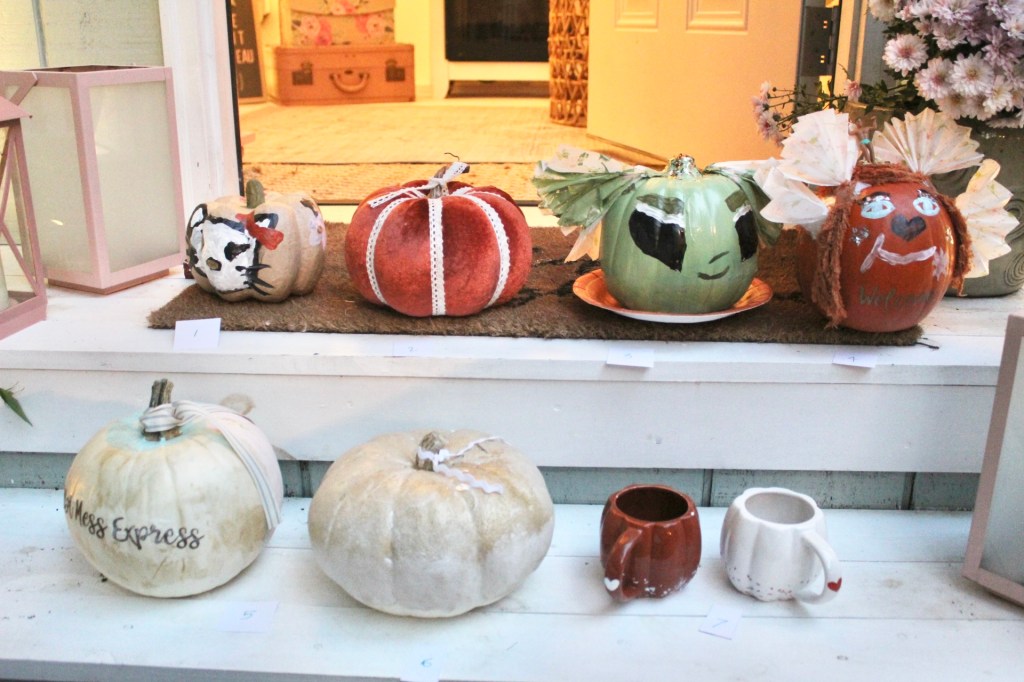
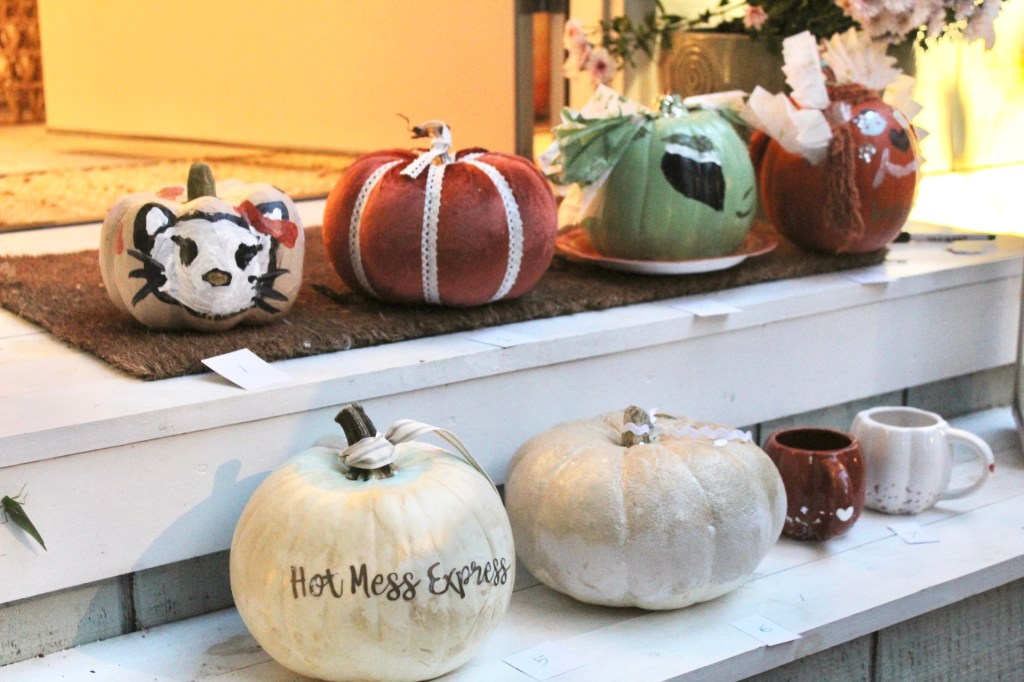
I decided that I would create a challenge! So, I said when all the pumpkins were done we would line them up and everyone could vote for their favorite. Then, I would give the winner a Fall sign I had made as a prize.

Somehow I didn’t get a group picture of everyone with their pumpkins! I guess we were distracted by a surprise visitor. While we were sitting we couldn’t believe who dropped by!

We couldn’t believe that this owl showed up to party!

We had a great night. Girls nights are always fun and a great way to connect with friends! I can’t wait to plan another one.

Fall in The Petit Chateau

I am having so much fun in my she shed!

I have to admit that I think it may need to be insulated because I was getting pretty hot in there this summer. I would crank my AC, but on hot days it had a hard time keeping the space cool. So, I am definitely looking forward to Fall and cooler temps so I can work in there for longer stretches of time. And we have some ideas for insulating it, but just need my husband to carve out the time. I am still enjoying it and love the chance to create inside and to add special touches and decorate!

Since Fall is my favorite I was excited to add some autumn touches in here! I know it’s August, but I couldn’t wait. I still have lots of ideas for the outside, and a few more for inside, too! I thought I’d share a few things I recently added. I hope you enjoy this Fall tour!
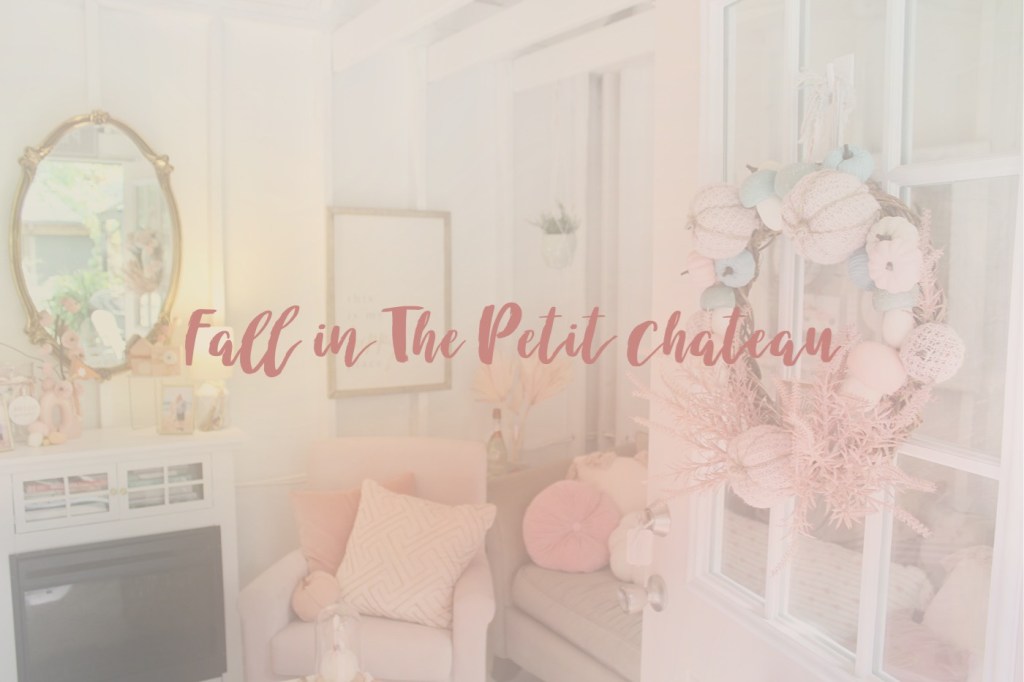
I had to make the door happy, of course!

What got me started decorating was creating this wreath. Since I start creating for my Etsy shop in August for Fall it gets me excited for the season even sooner. I wrapped some pumpkins in a thrifted sweater and added some cute mushrooms for a cozy feel.

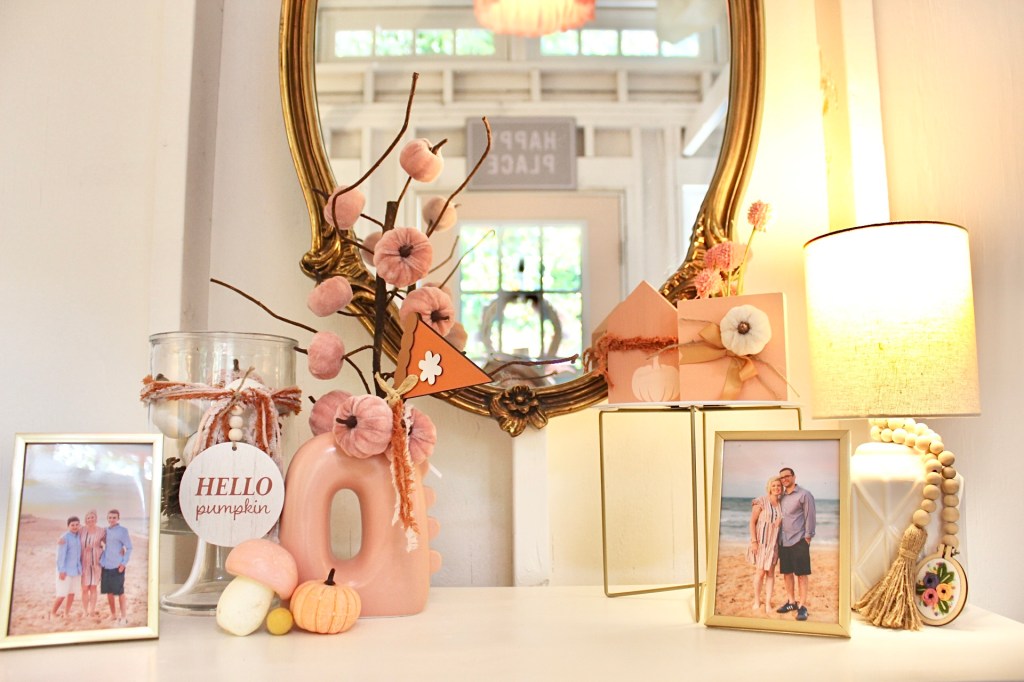
Once inside I added things I had. As you can see I have a pumpkin addiction! I added them in white, pinks and coral. The pink velvet pumpkins were from Hobby Lobby last year. The pumpkin pie pennant is from Michael’s.

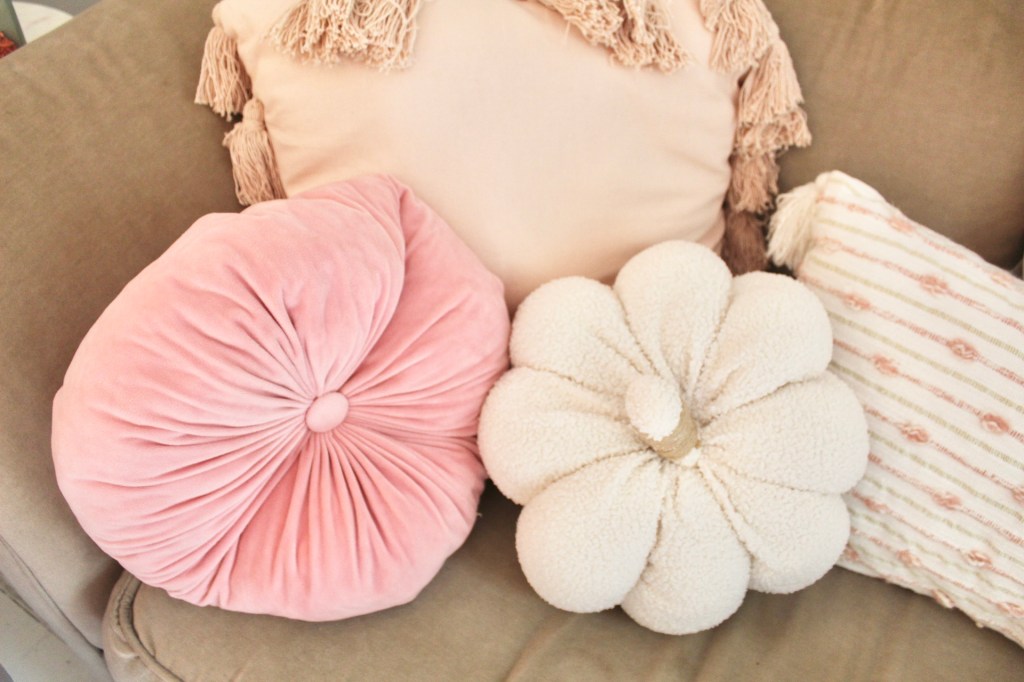
I had a cloche from Target and added a pumpkin inside. I found a cute white pumpkin pillow at Popshelf and added it on my sofa. It feels so cozy!

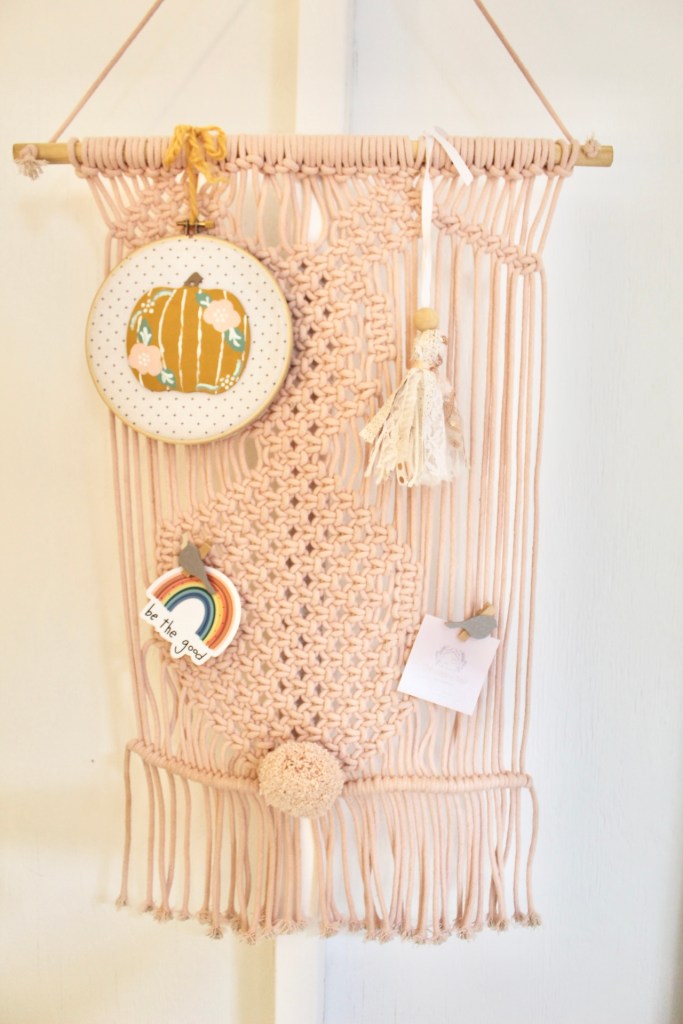
I added a pumpkin hoop from my friend A Little Birdie Gifts to my wall hanging.

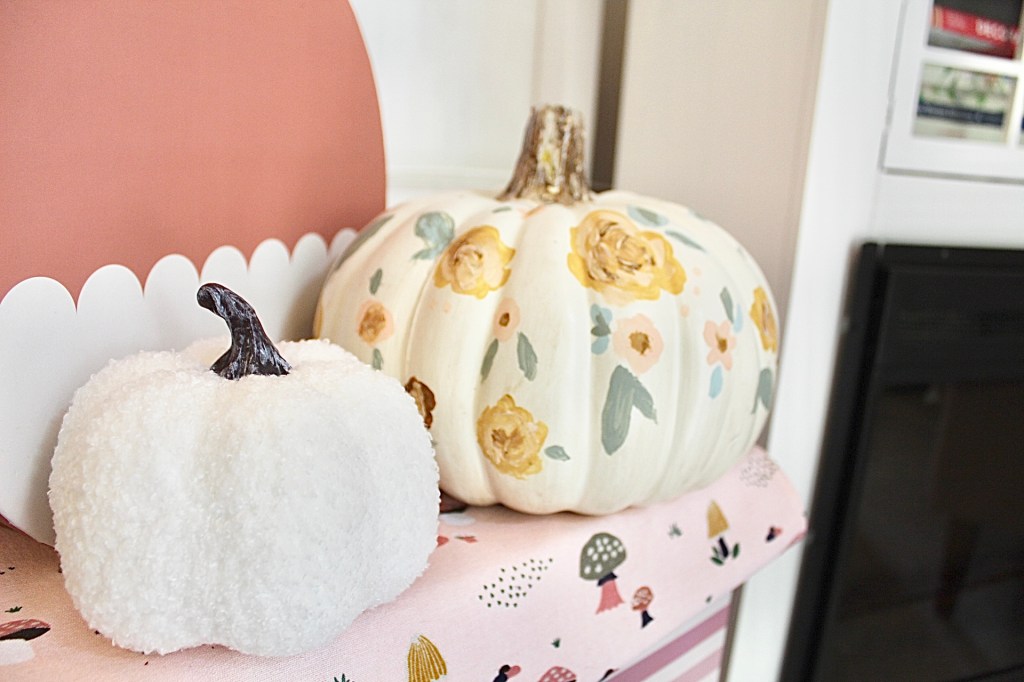
Lastly, I took out my painted pumpkin from a few years ago and added it on top of a mushroom towel from Target.

I love the soft colors for Fall and am so excited to warm up some apple cider and turn on my fireplace in here once the temps cool down! Stay tuned as I add more and decorate the outside, too!

Thanks for coming on this Fall tour!
Decorating around our Piano

My husband started taking piano lessons about two years ago when COVID hit. He took lessons on Zoom and bought himself an electric piano. It was a good quality one and he enjoyed the lessons! He truly is a natural and loves playing. He decided he wanted to buy a real piano and I was so excited! He never treats himself!
He started looking at used pianos and a lot of them had wood colors that seemed 80’s to me. I mentioned I would be willing to paint one but he wasn’t too excited about that idea. In the end, we went to the piano shop and he picked a nice one that I liked, too! But, it is not one you can paint. Plus, the company offers a trade in program. So, if you decide to upgrade they give you what you paid for the piano towards a new one. Painting it would nullify the deal. So, even though I couldn’t have the painted light gray piano I was dreaming of, I was still happy.

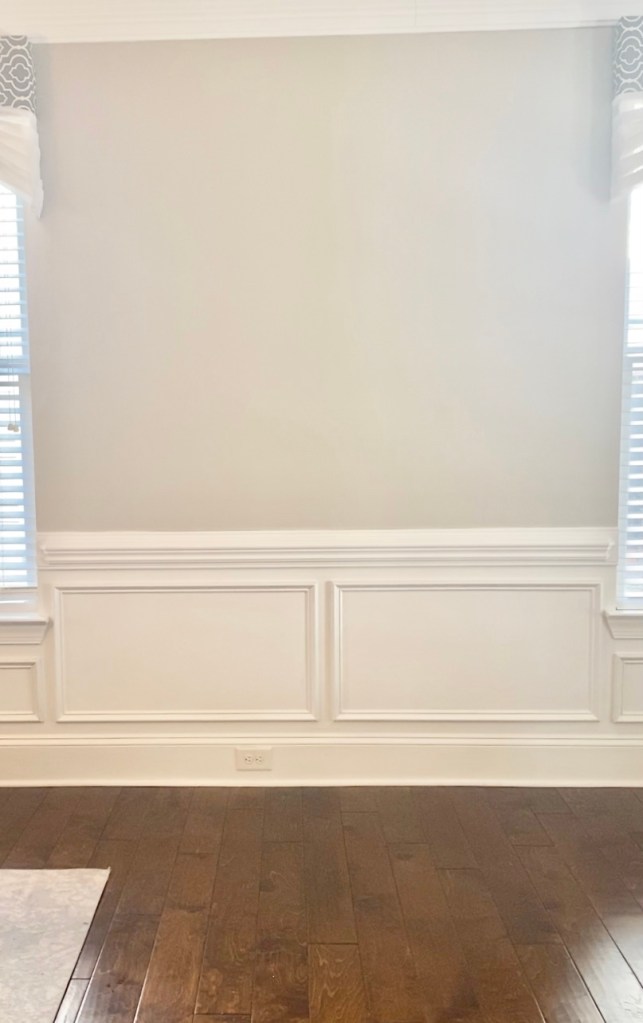
The area off our dining area was just a sitting area so I just moved a few things and cleared the area!

Al cleared and ready!

Once it was delivered I started decorating, of course!

I had a few ideas in my head but decided to switch things up and move things around from other areas of my house. I call it “shopping my house”! Sometimes moving things around makes them feel new.

We have an open kitchen and dining area. So, I love that the piano will be right where we all are!

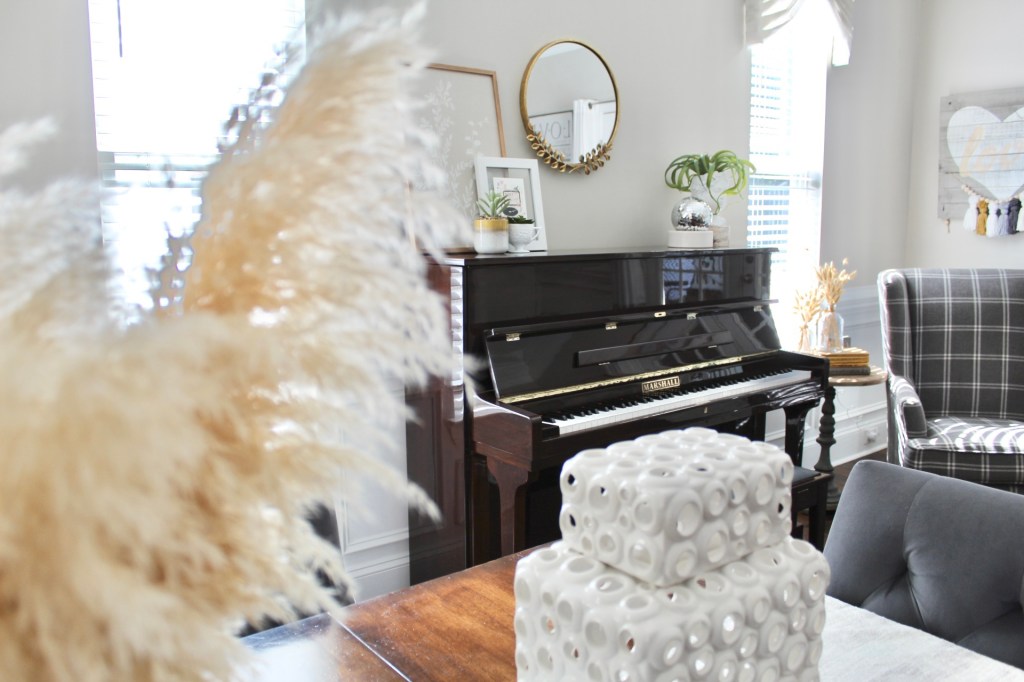
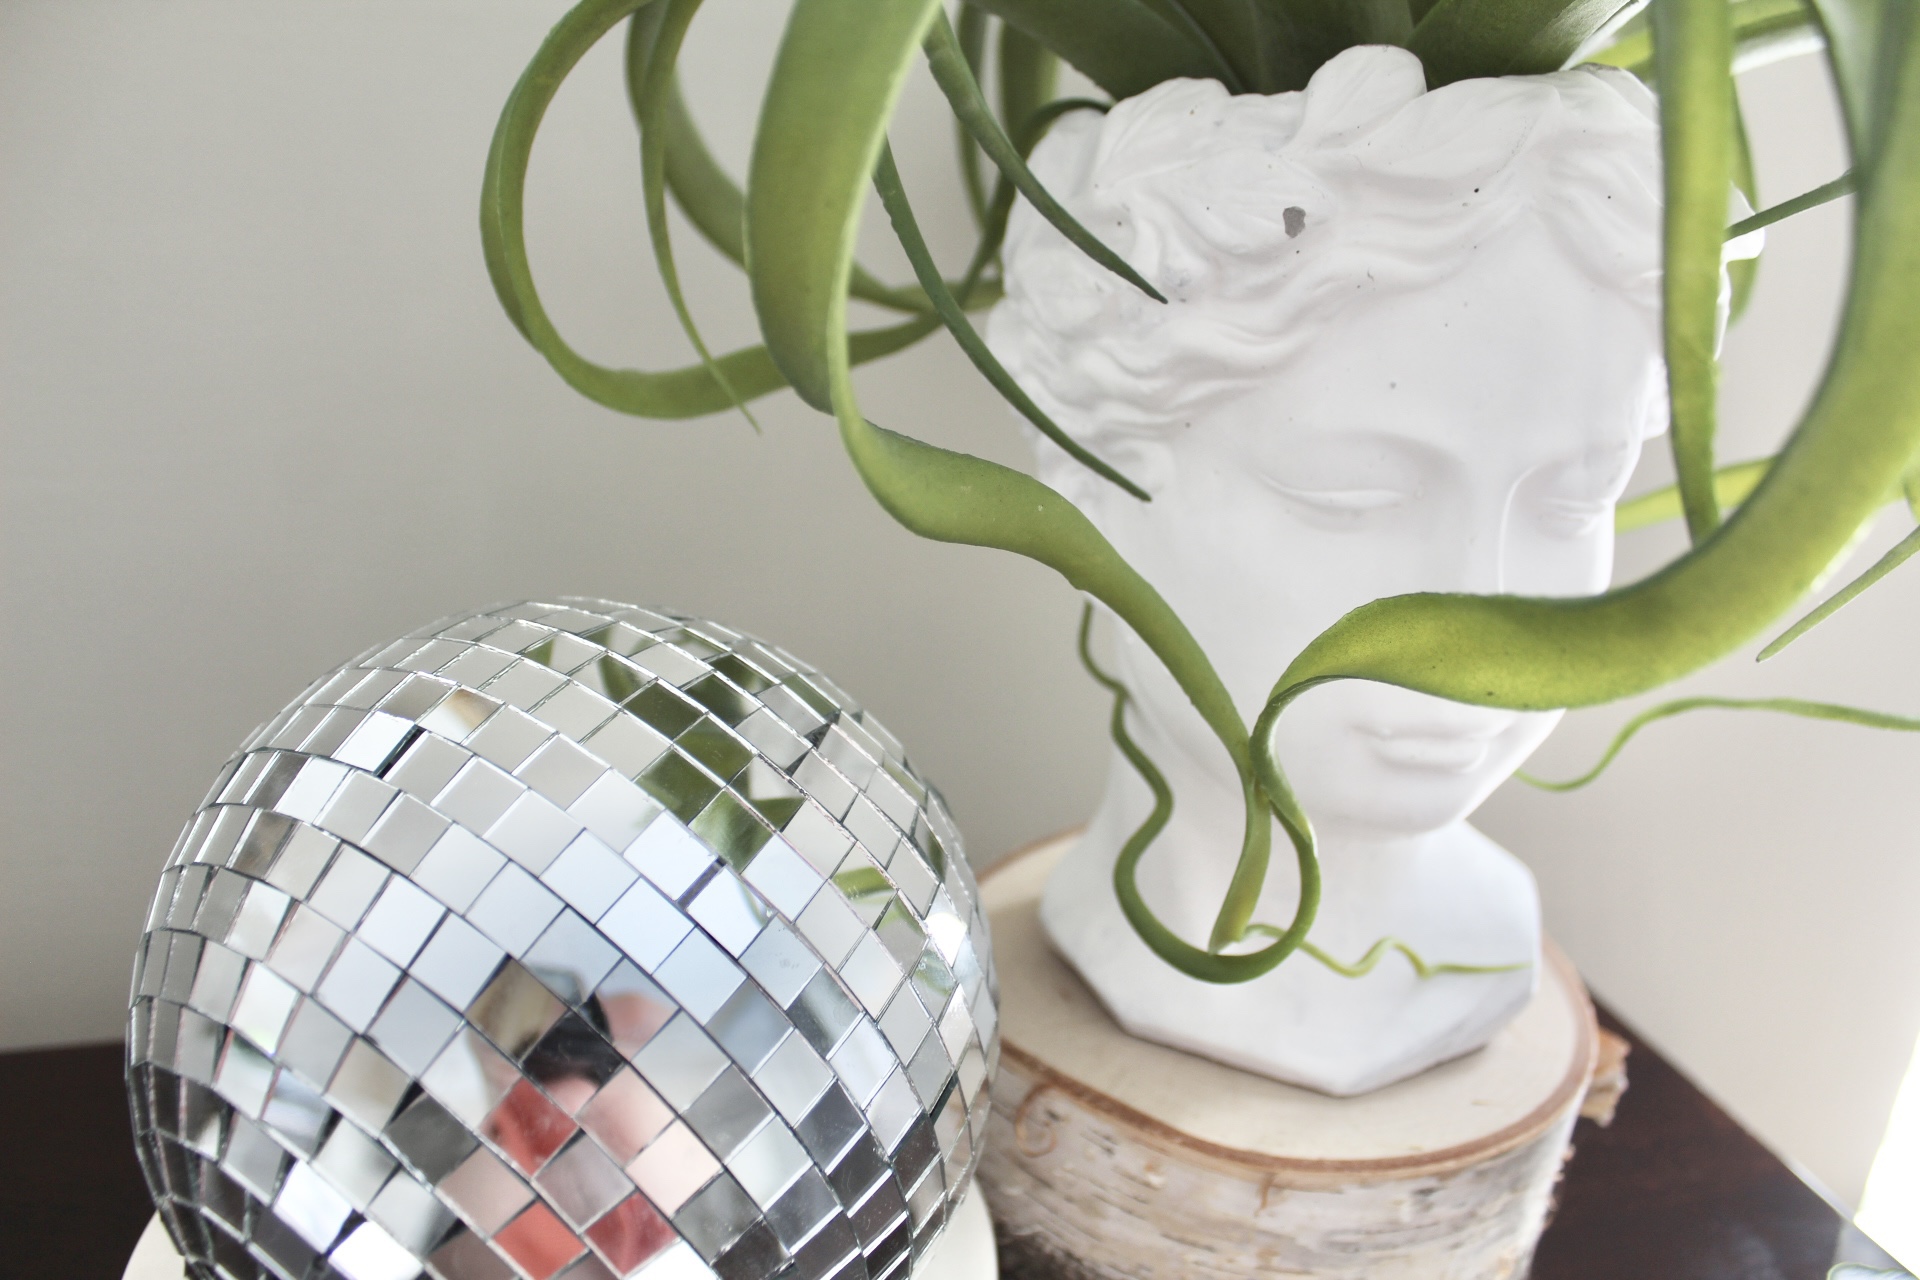
I moved a framed piece of art I had from another room and rested it on the piano. I also had this framed Trader Joe’s card upstairs that I loved. I brought that down with a few fake plants and finished off the other corner. I found this mirror at Tuesday Morning and hung that, too.

Look at that beauty!

I originally had two chairs in this area. I moved one upstairs and then kept the other one in a corner. Someone (me!) can sit with a glass of wine and listen to him play!

I am really looking forward to this new spot in our home. And I’m so happy my husband has a hobby he loves after a long day at work. Let me know what you think of our new space!

Painted Suitcase

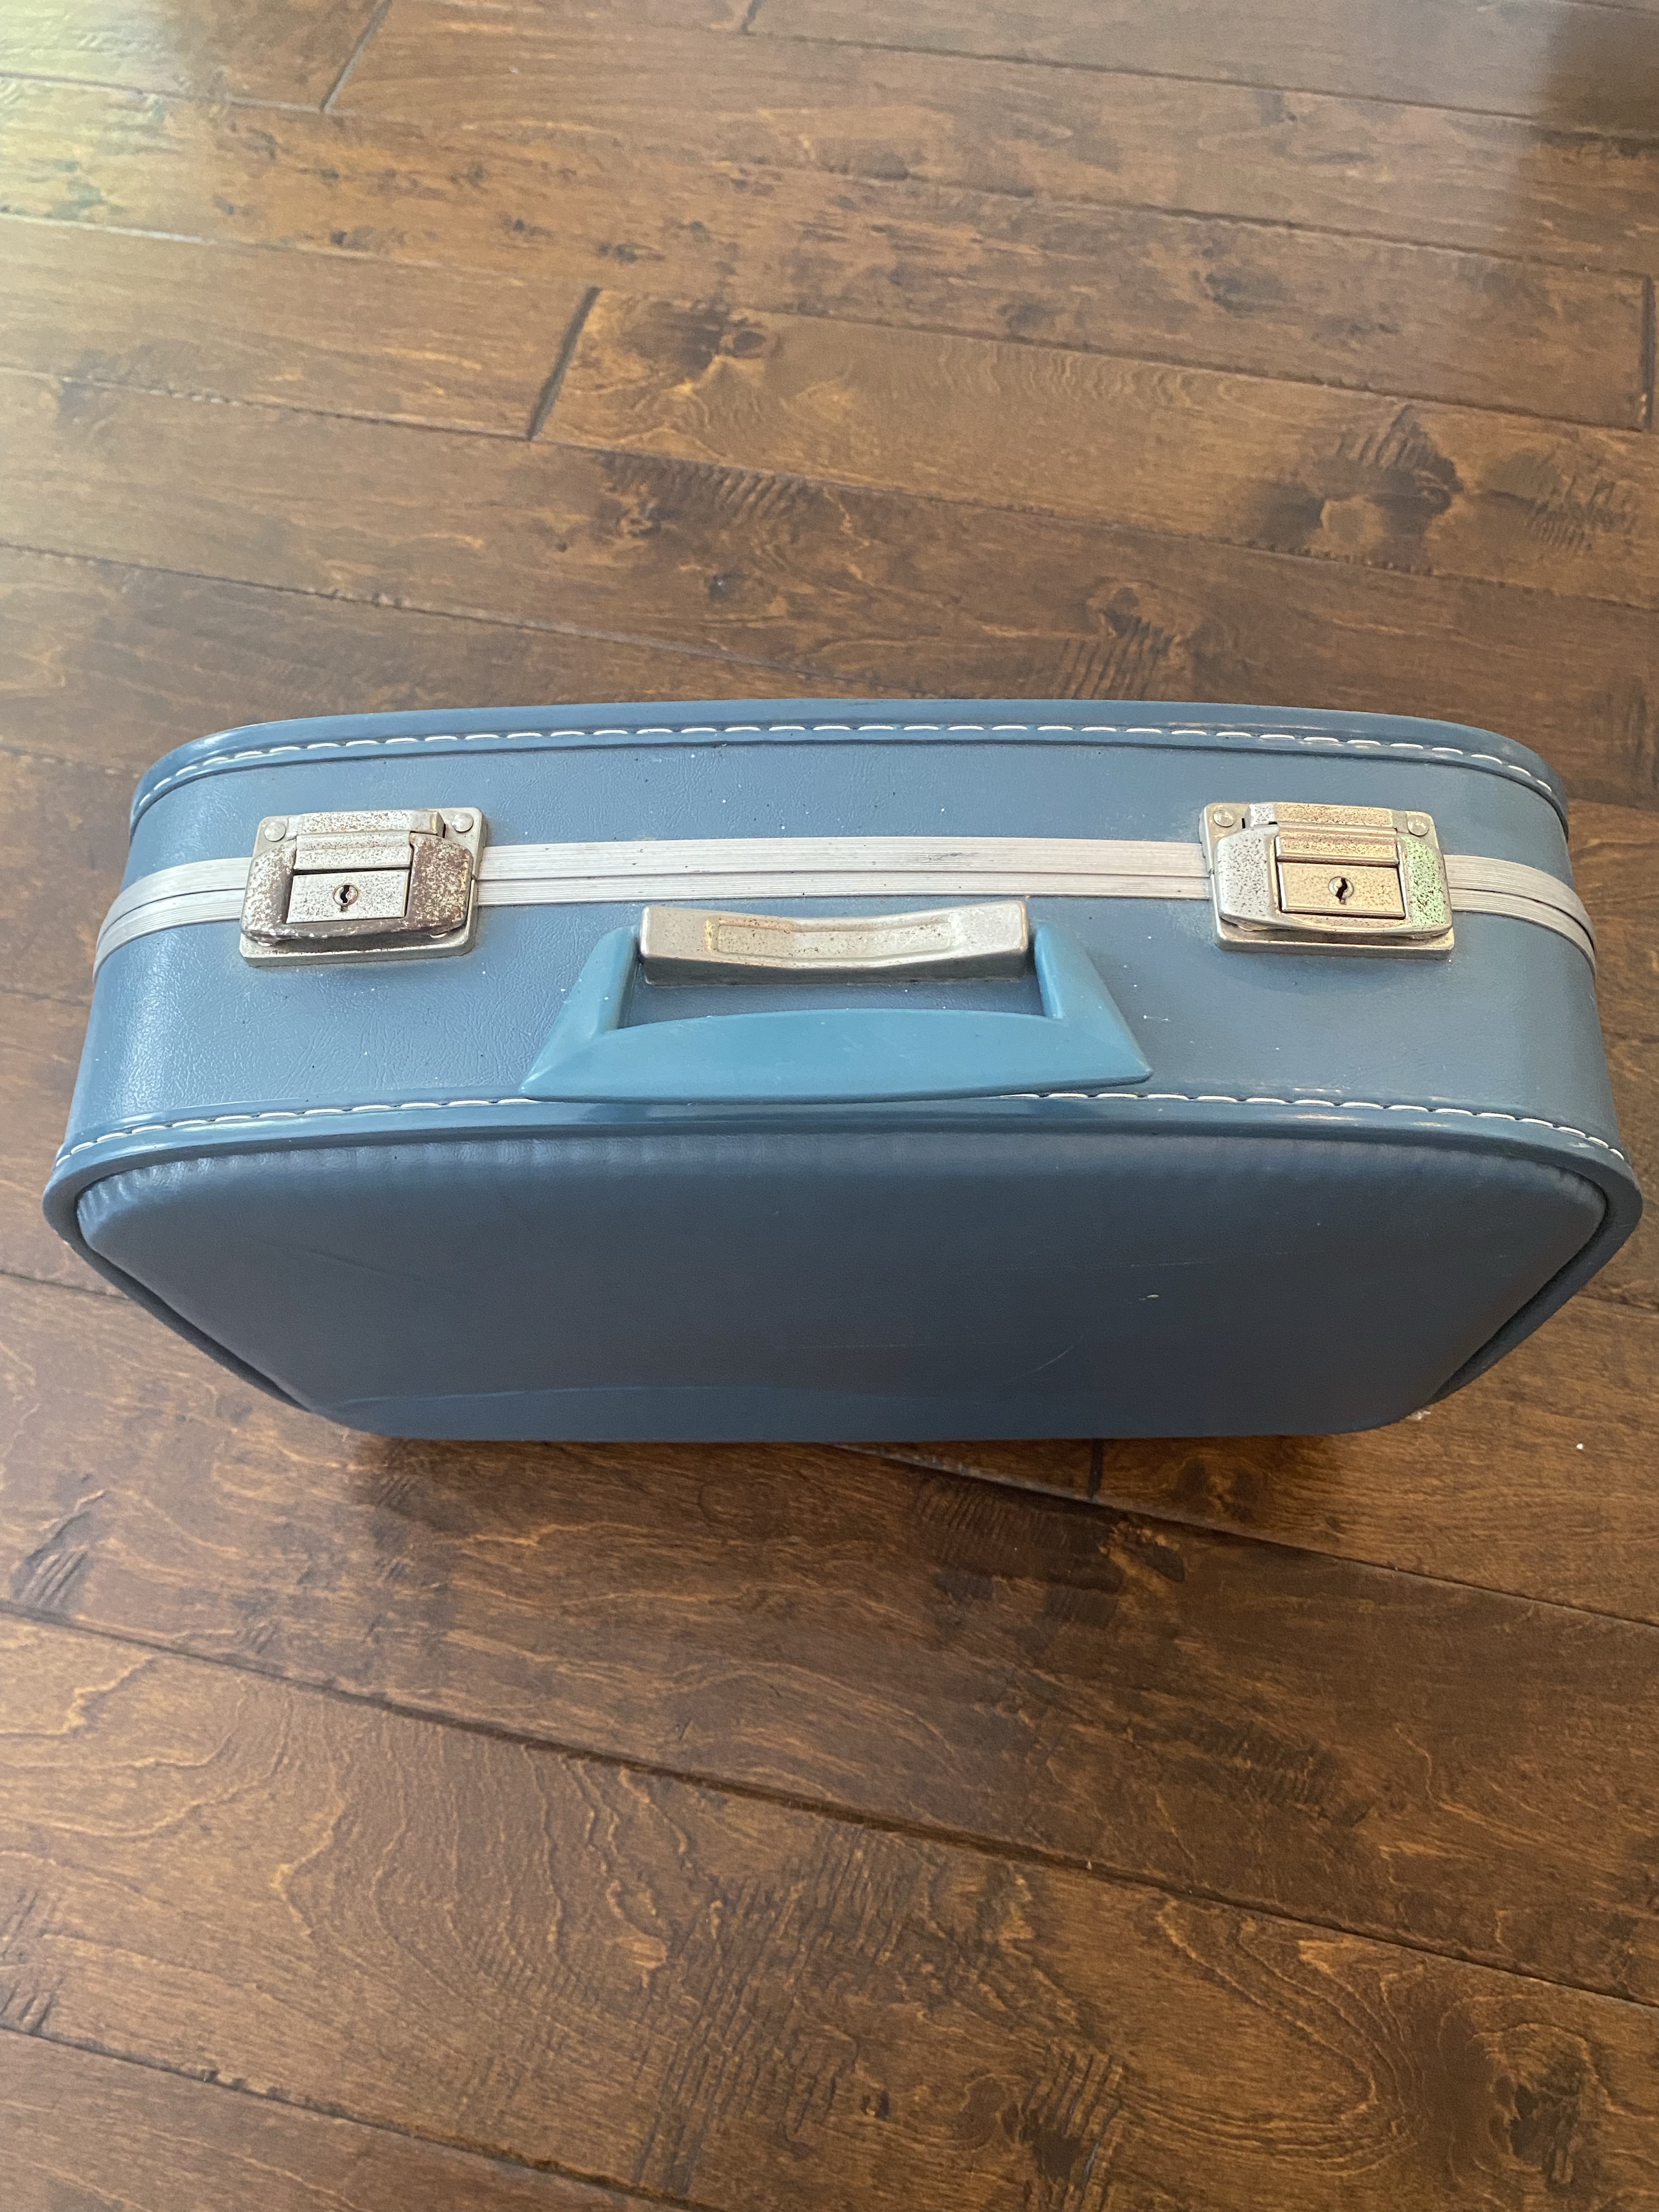
I have a collection of vintage suitcases. I have a few of them in my she shed, The Petit Chateau. My mom gave me one of her suitcases that she used on her honeymoon! Her and my dad just had their 51st wedding anniversary, so I was so happy she still had it. I remember it well, when I was little I kept my Barbie dolls in it. When I opened it up it was cute to see my name written inside.

I knew I wouldn’t use it much and didn’t want it to just collect dust. So, I decided I would paint it and put it in The Petit Chateau! I opted to use the paint I used on my front door, Romance by HGTV Sherwin Williams.

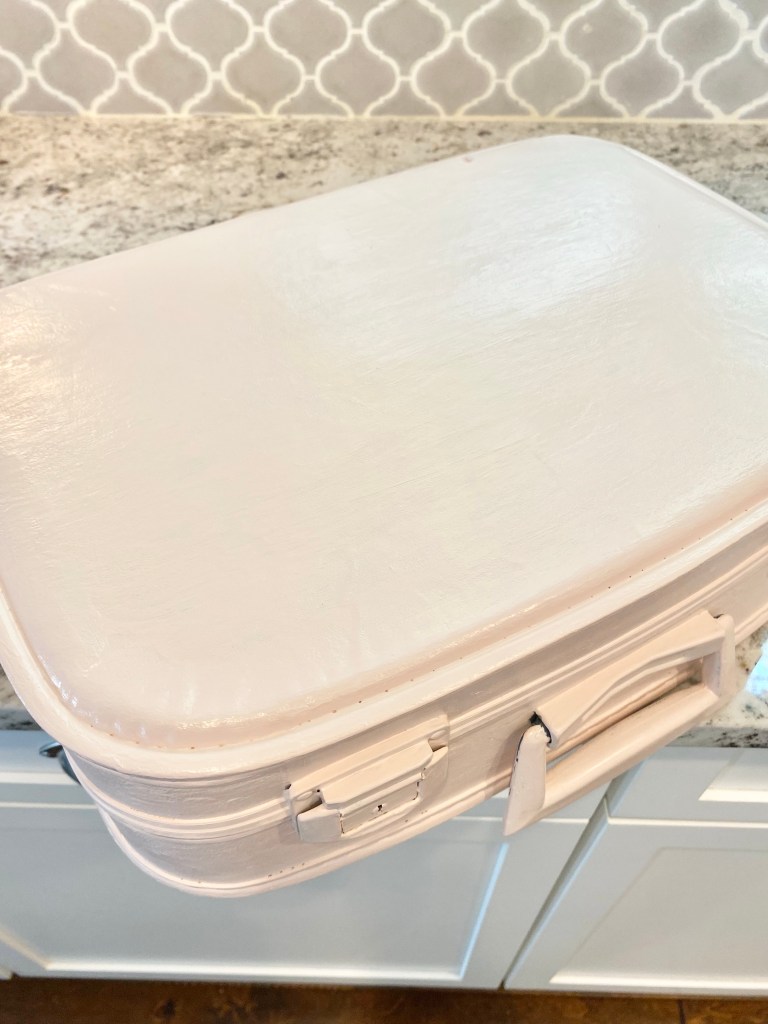
I cleaned up the suitcase and started painting. It took about three coats.

I was planning on painting the silver borders gold, but just didn’t like the look. So, in the end I just painted everything pink! Even the handle!

I painted every area of the suitcase pink!

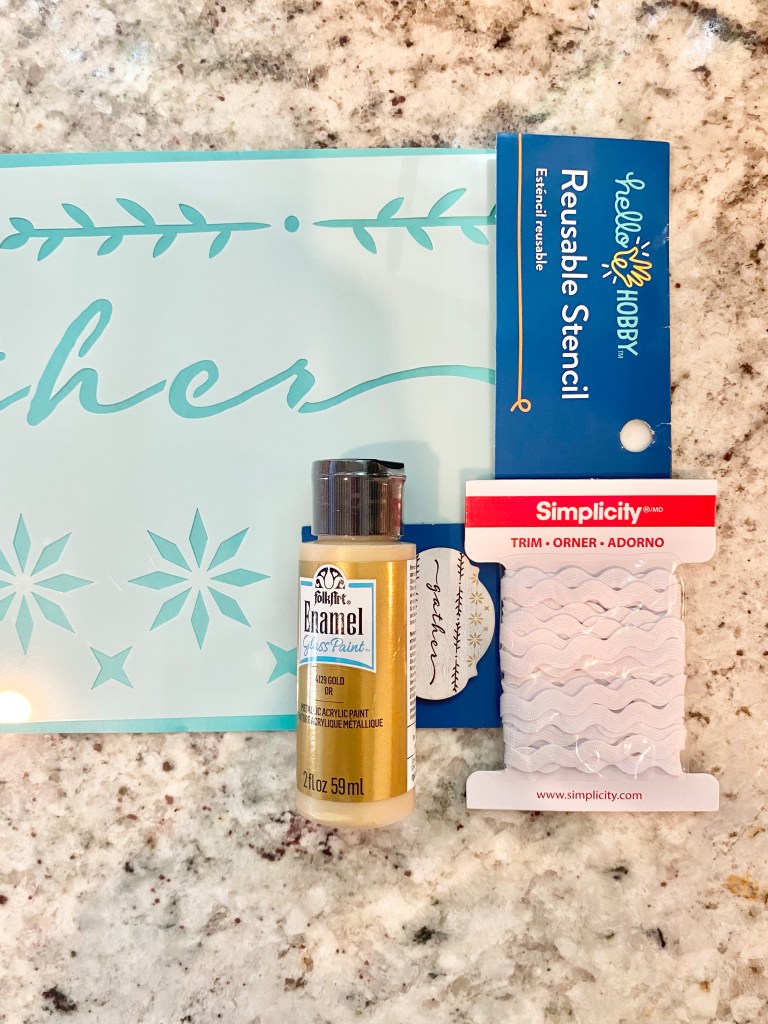
I had bought a stencil at Walmart and some ric rack trim. Honestly, the stencil was a bit messy and I was a bit disappointed with the lines, but didn’t feel like painting over it!

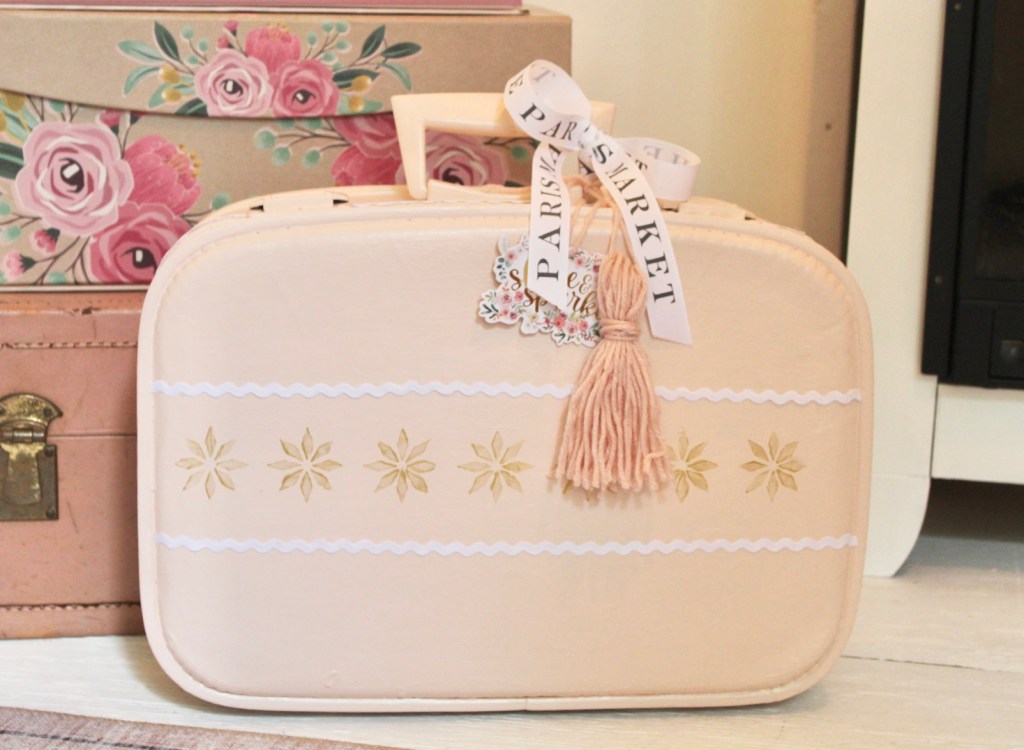
I took the trim and hot glued it around the edges. I then put a border on either side of the stencil, too.

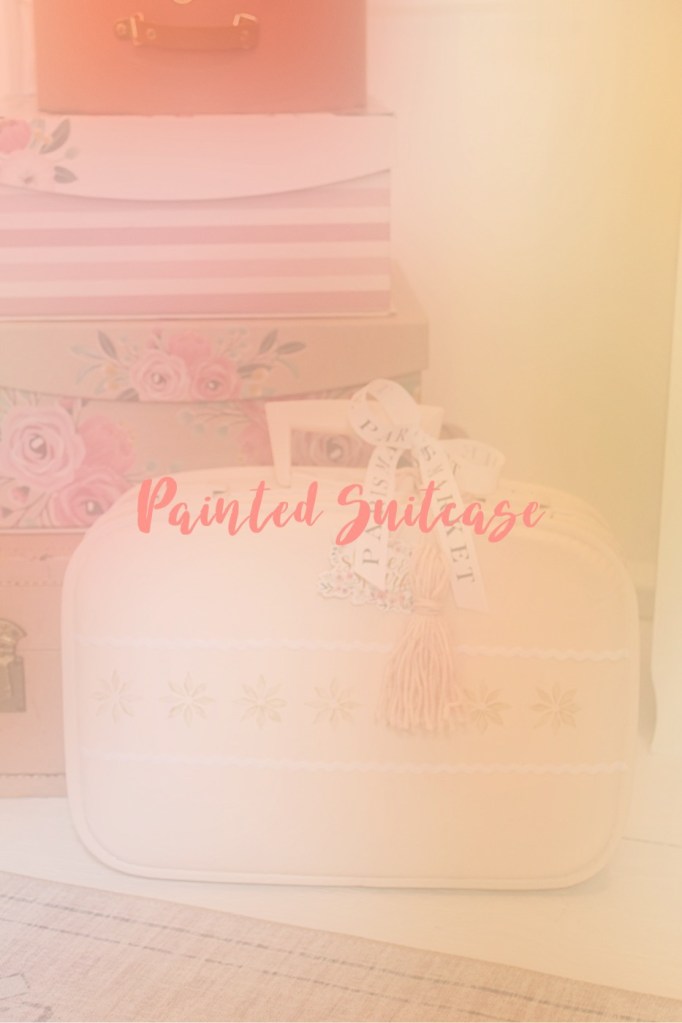
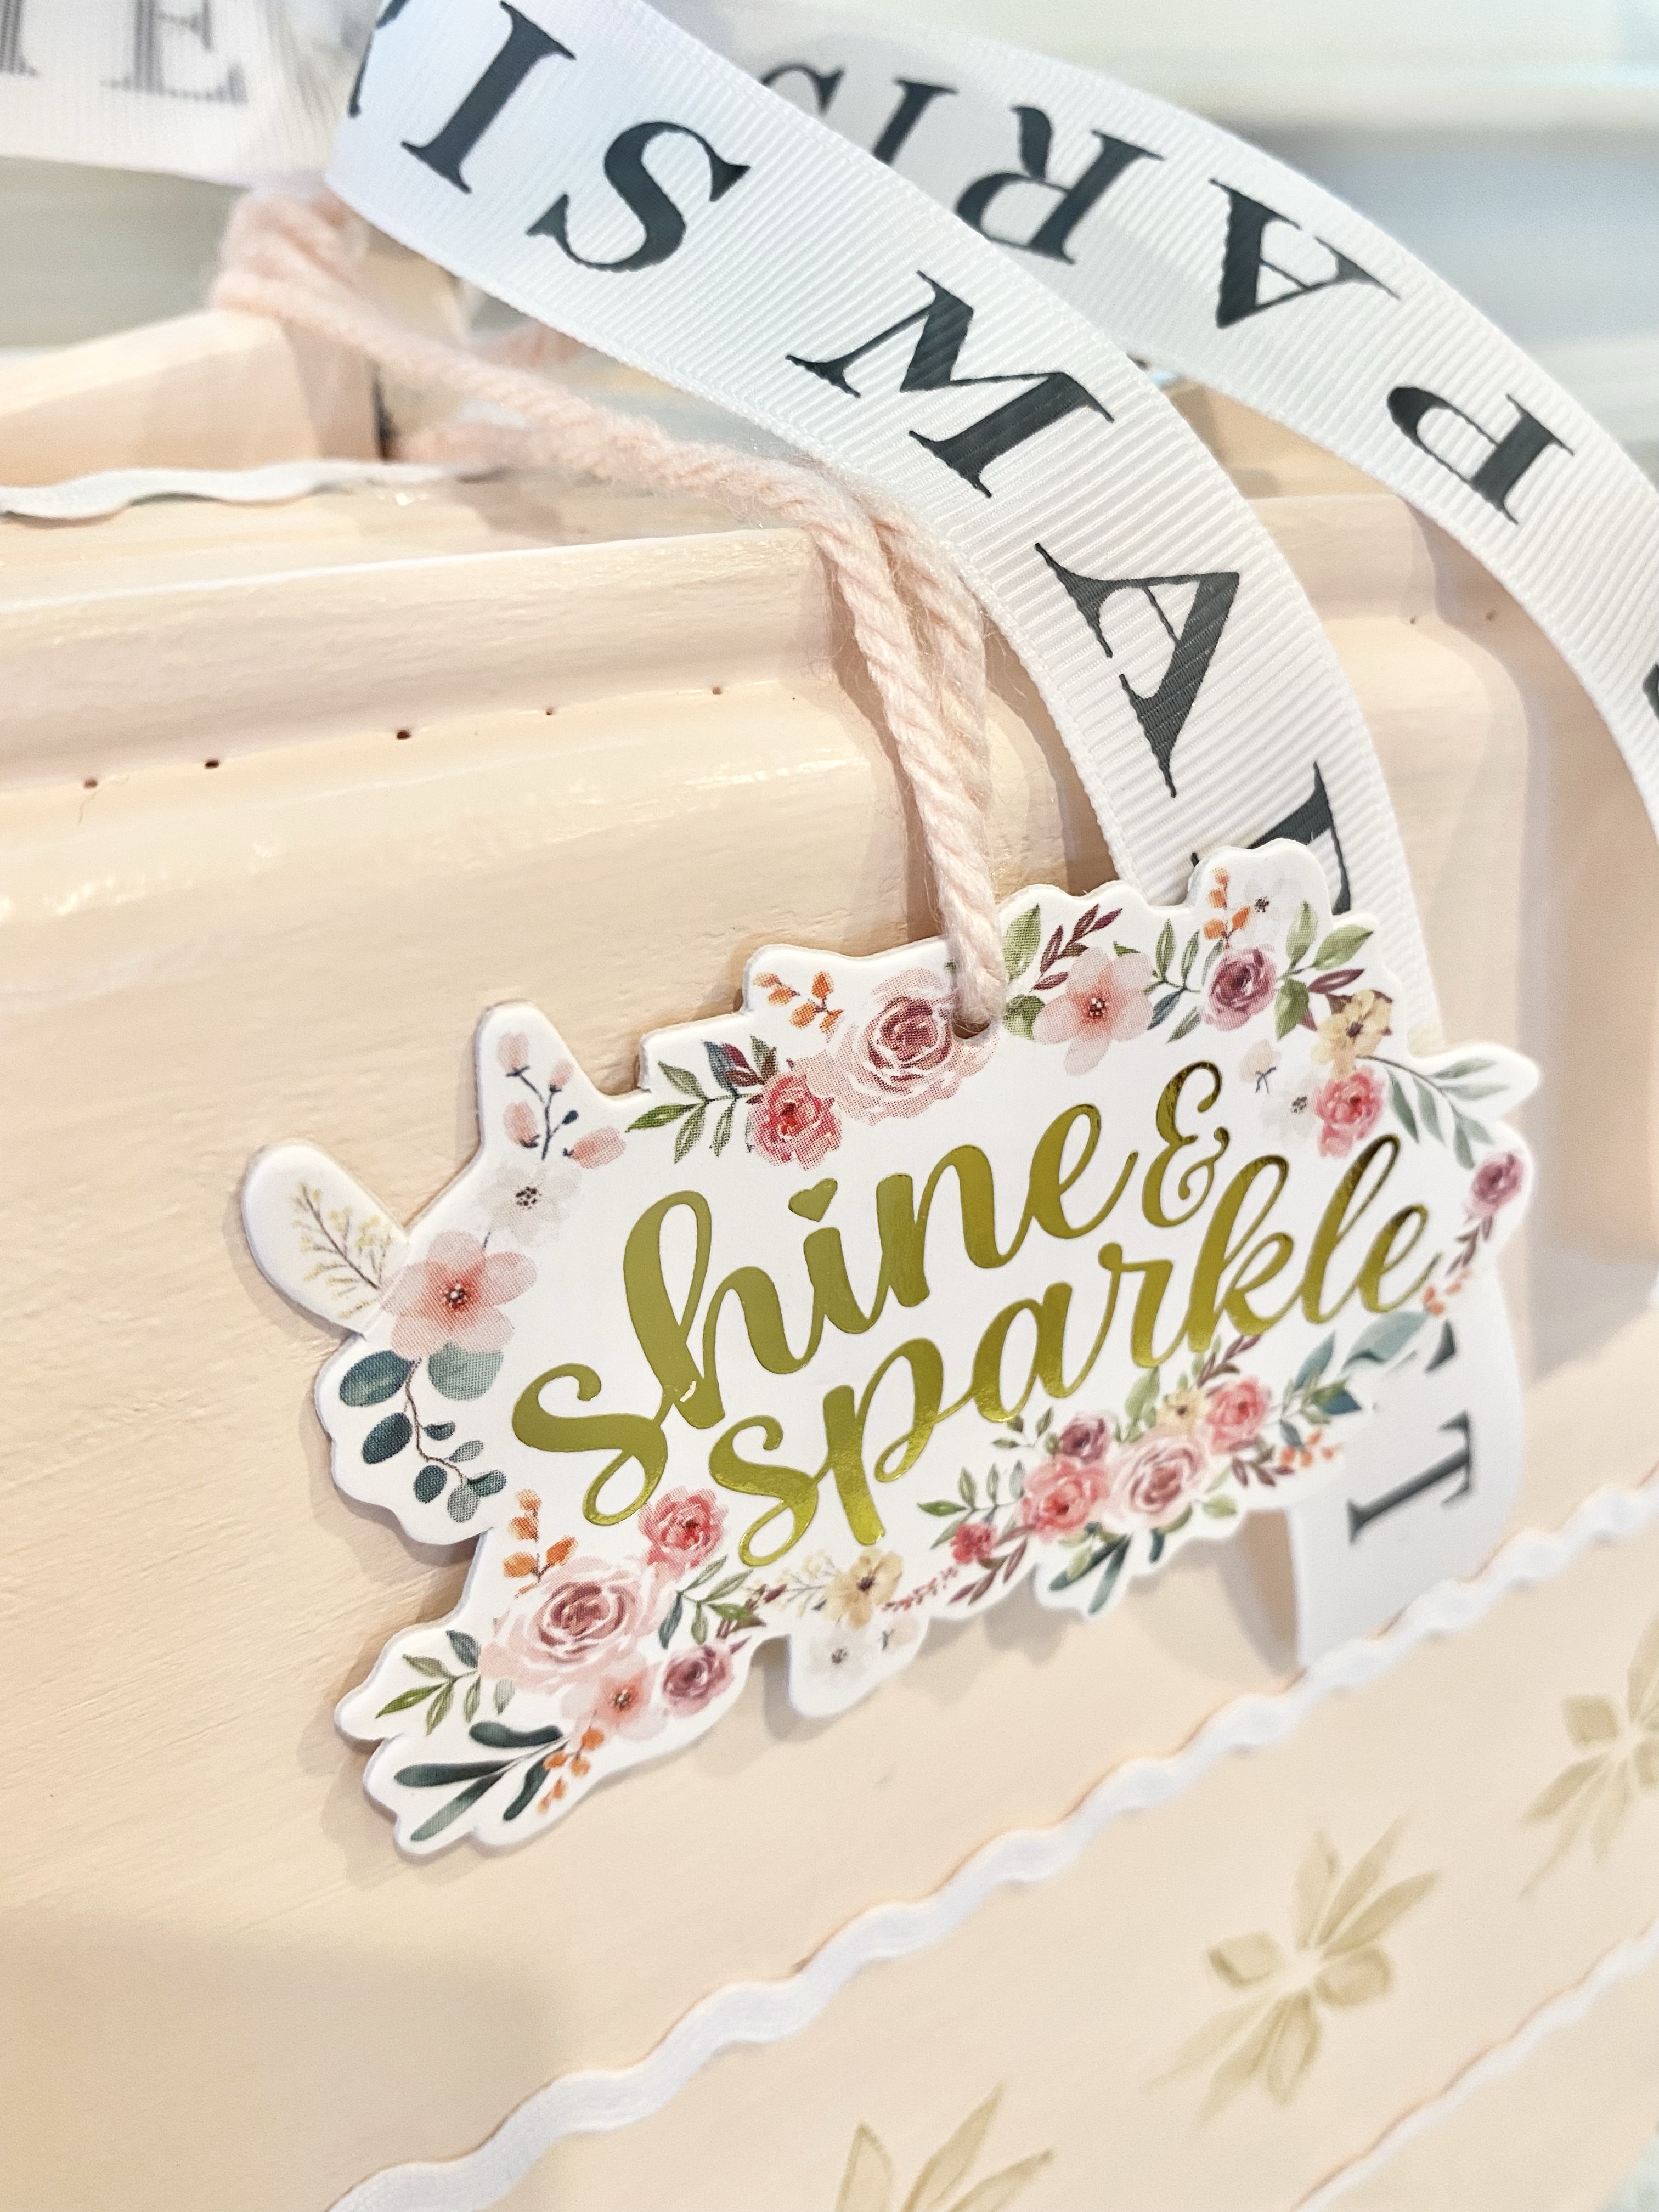
Lastly, I added some ribbon, a pink yarn tassel and a little tag I had lying around. I think it came out so cute! It fits in perfectly! I can store some craft supplies in it, too!

Pretty cute for 51 years old! What do you think? Would you try updating an old suitcase?

Coffee Table Books

I have a love affair with pretty books. I love adding them in my home and in The Petit Chateau (my she shed). When you add a few to your coffee table you add something interesting to look at or to browse and be inspired.

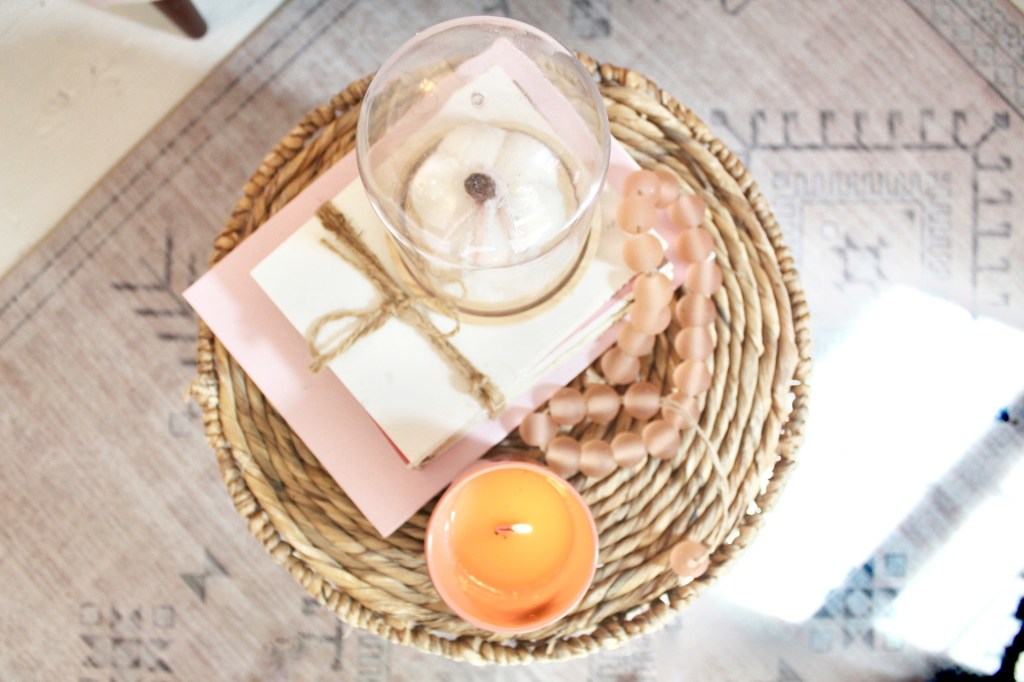
I have a few books in a tray with a plant and candle.

One thing I have learned with books is that you can find great ones at your local thrift store for .99-$3.00! I also love shopping on EBay and Thrift Books. I love Thrift Books because you can search genres and then save some books to your Favorites. I thought I’d share a few coffee table books that I have and love!

I’ll share a bit about some of my favorites!
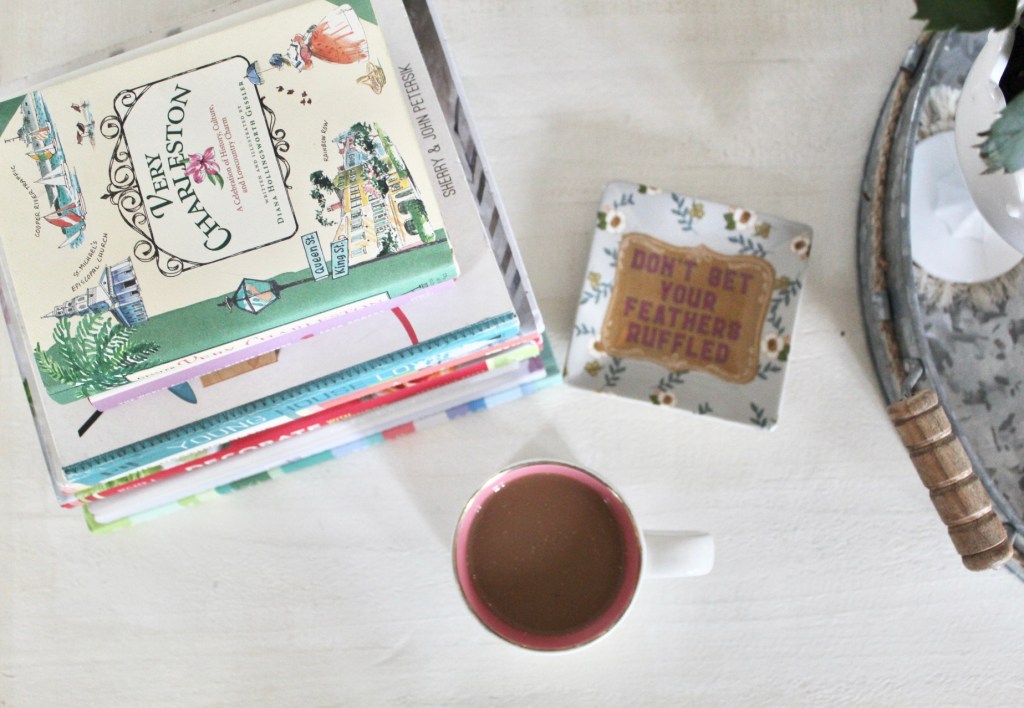
I love to grab a cup of coffee and browse a beautiful book!

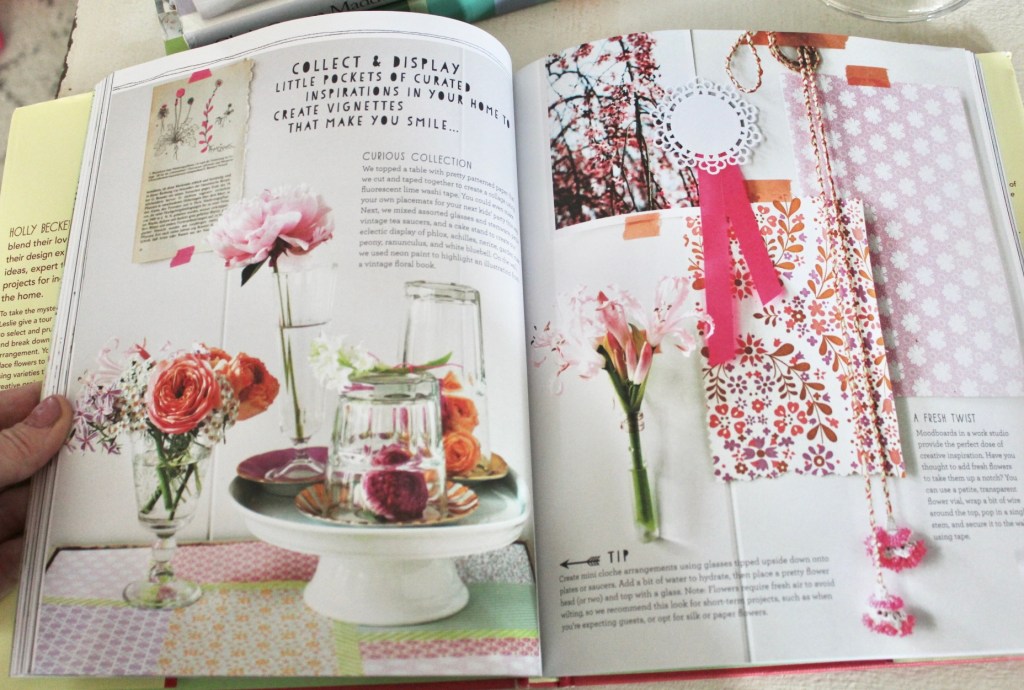
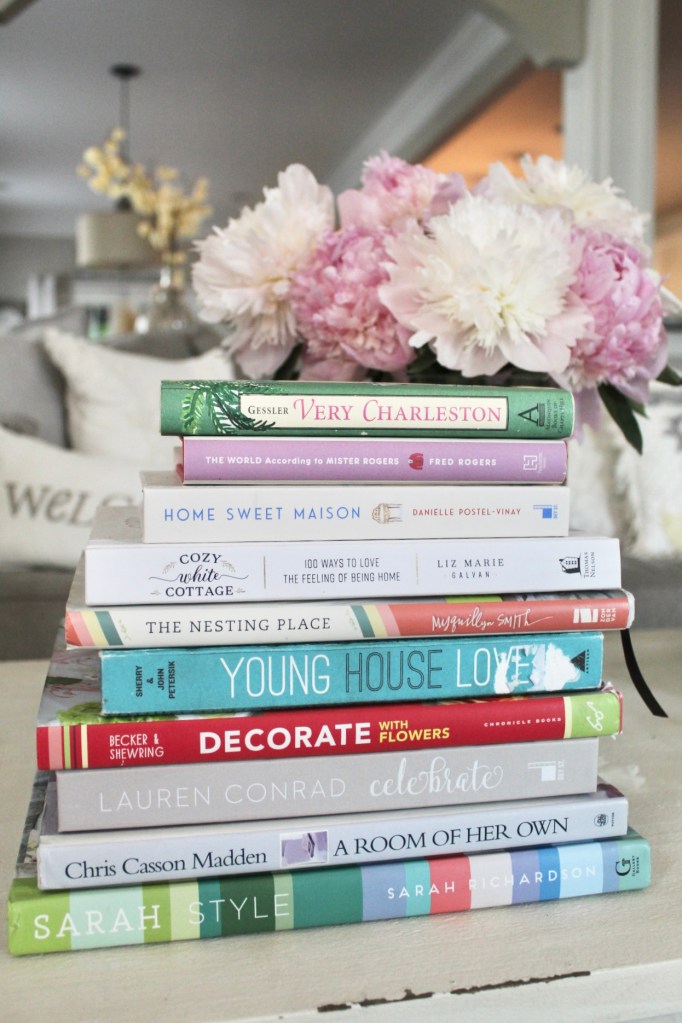
One of my favorite books is Decorate With Flowers by Holly Becker and Leslie Shewring. Flowers make me happy and this book is full of inspiration! They add mood boards and have brilliant and easy ideas to add special touches to your home.

Quite possibly my favorite book! So full of beautiful images.
I love everything about this book.

One of the sweetest books I have is The World According to Mister Rogers. I keep going back to read it. It shares quotes from him and short stories that are heart warming. It is the ultimate “feel good” book.

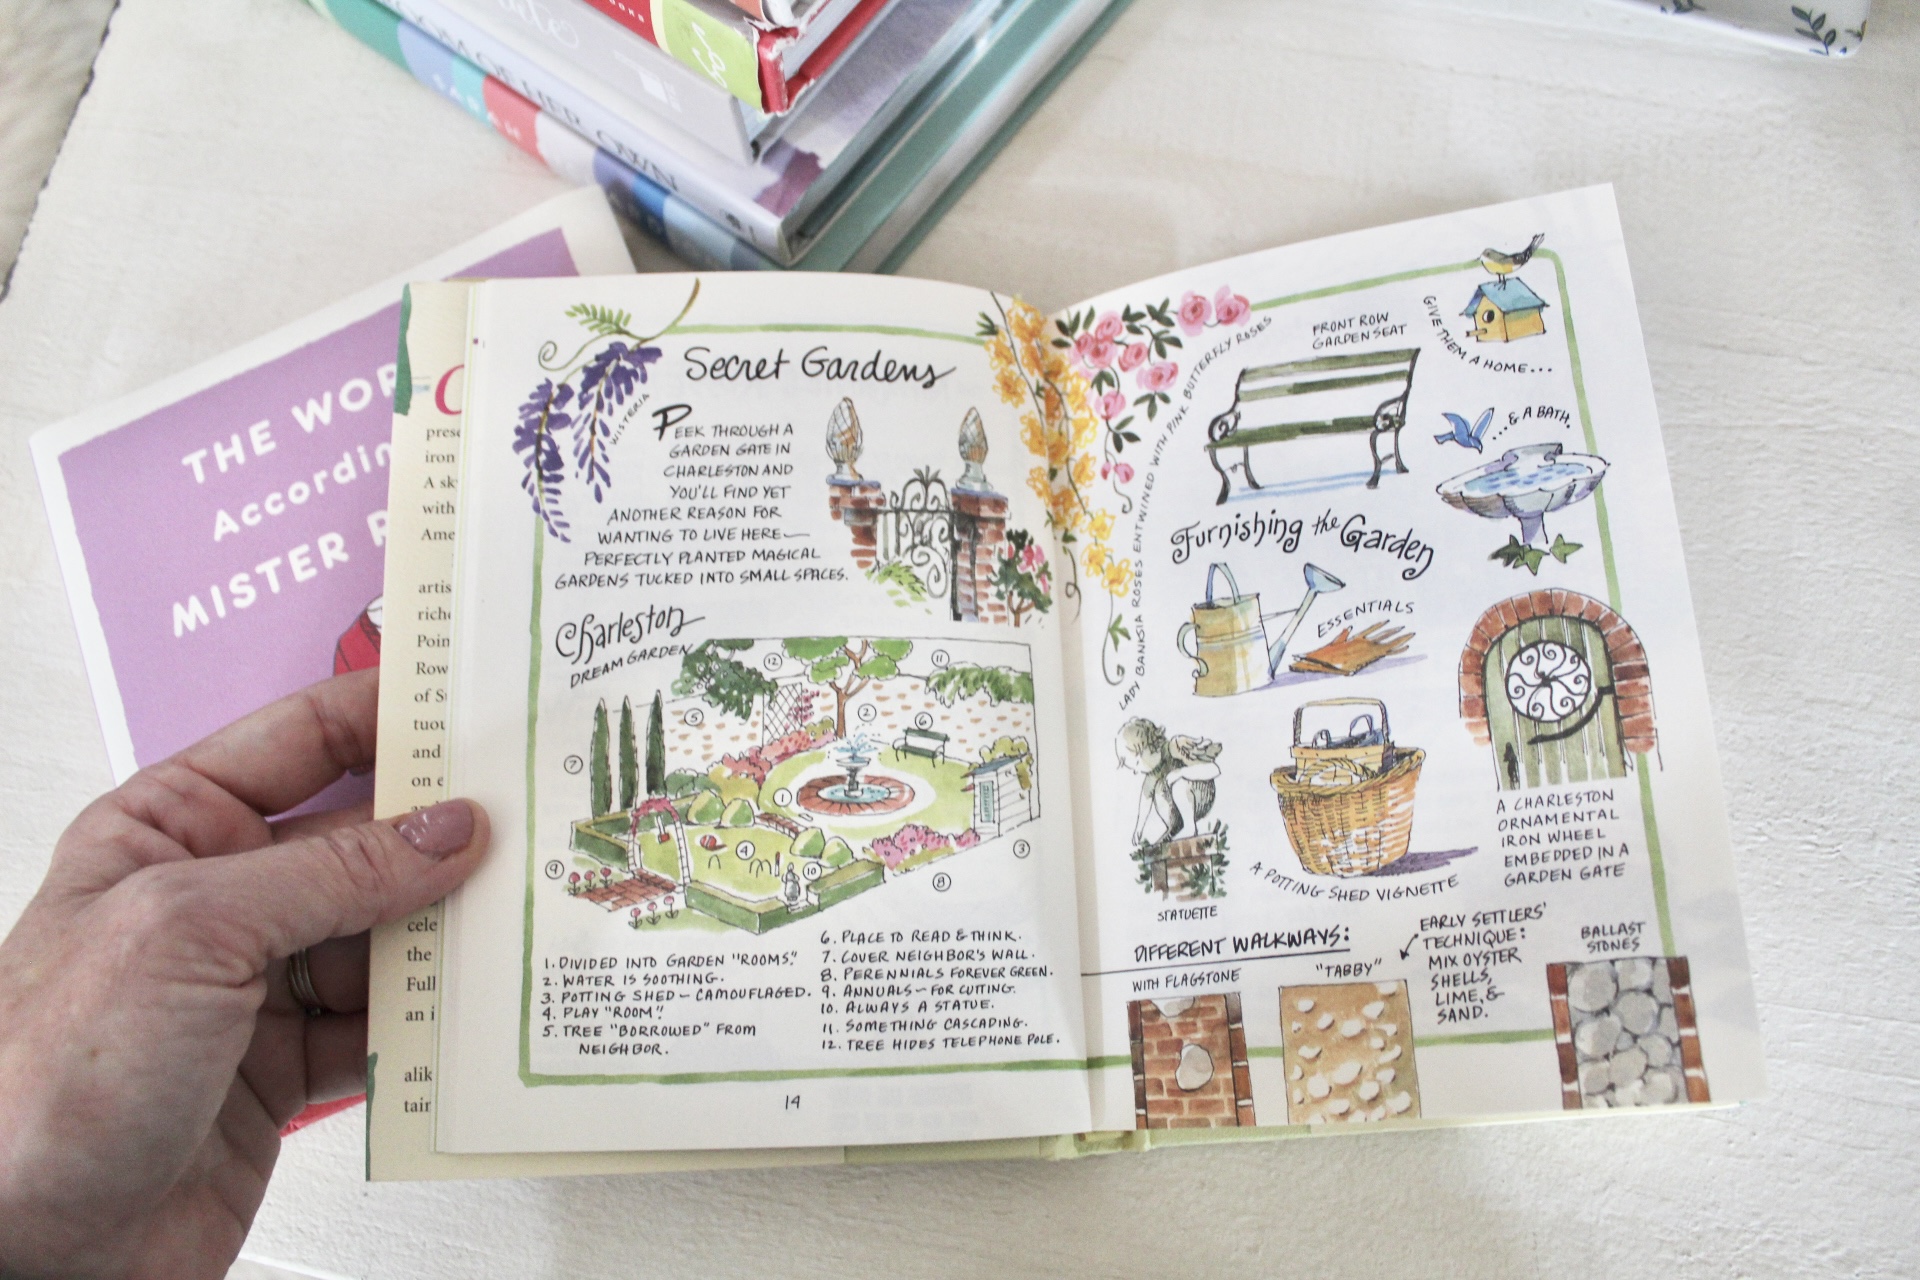
The next book, Very Charleston by Diane Hollingsworth Gessler, was a gift from my mom. I love visiting Charleston and this book is as charming as the city! It is full of things to do and see in illustrations.

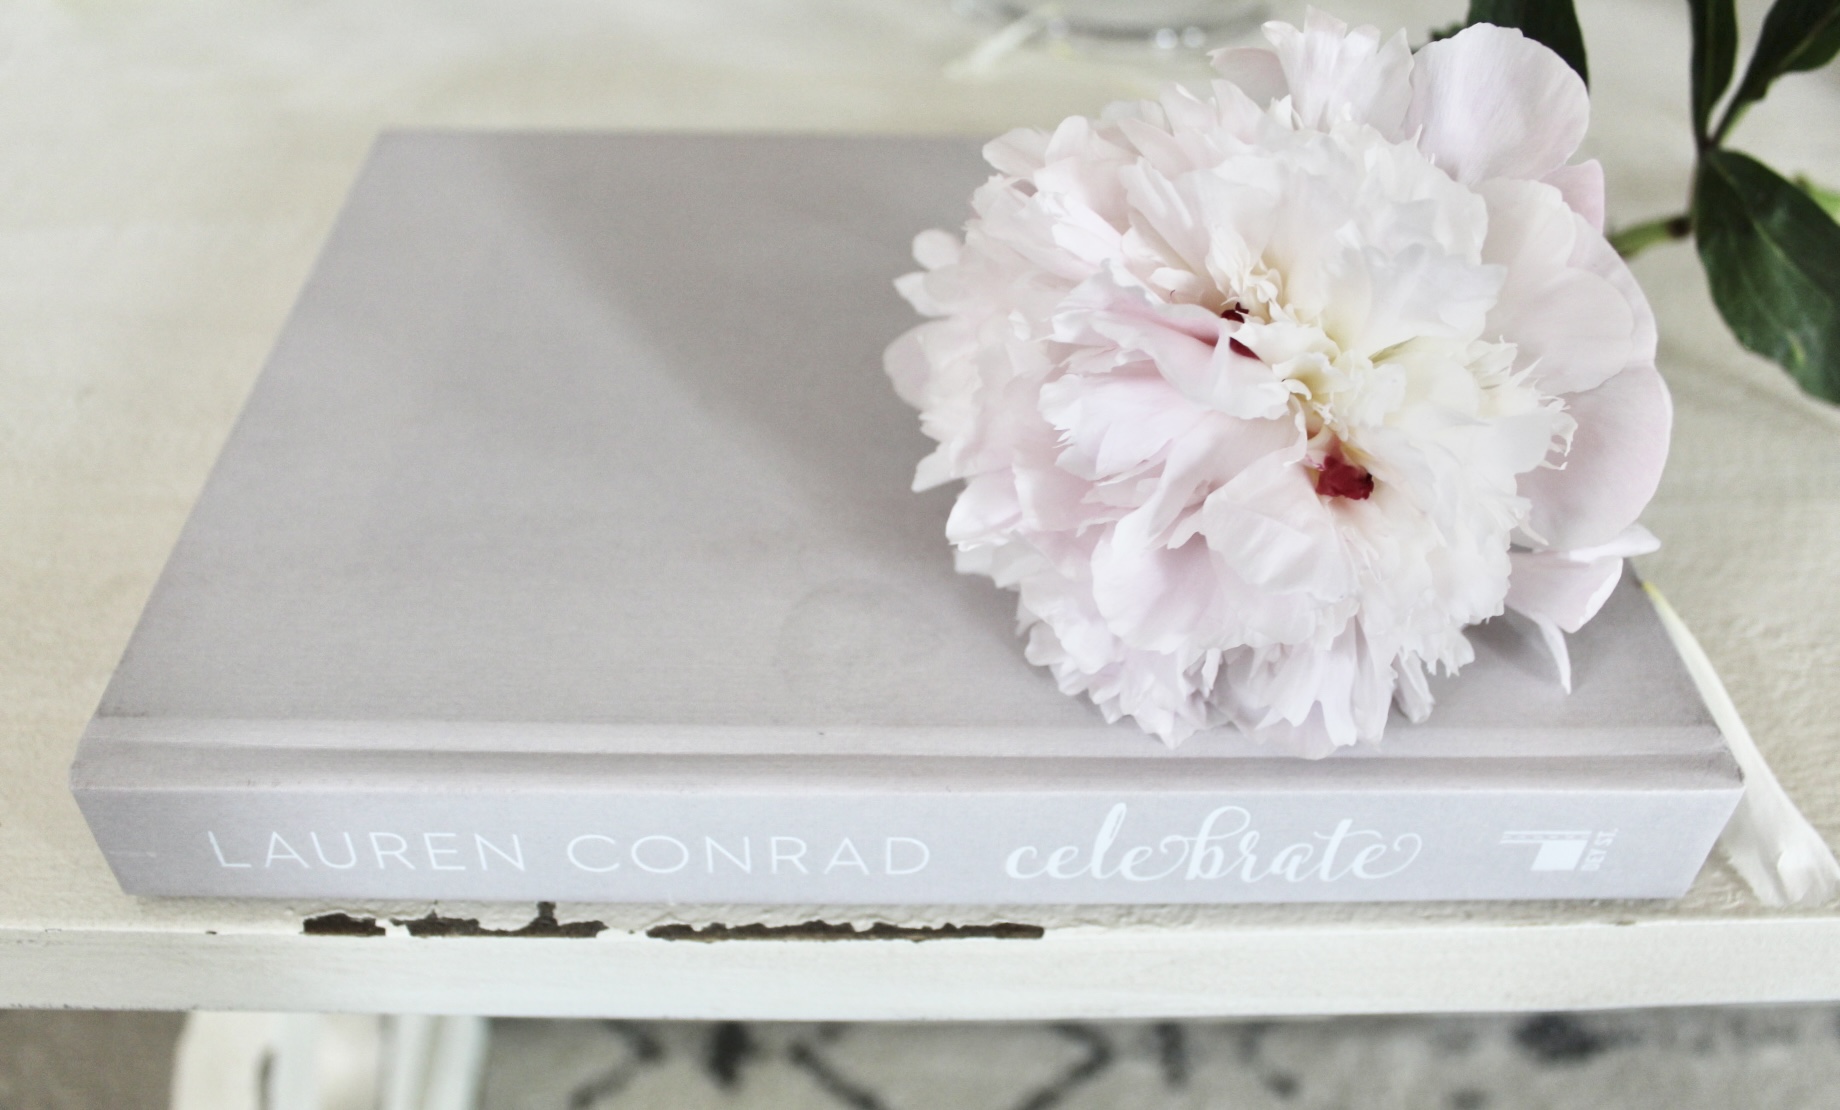
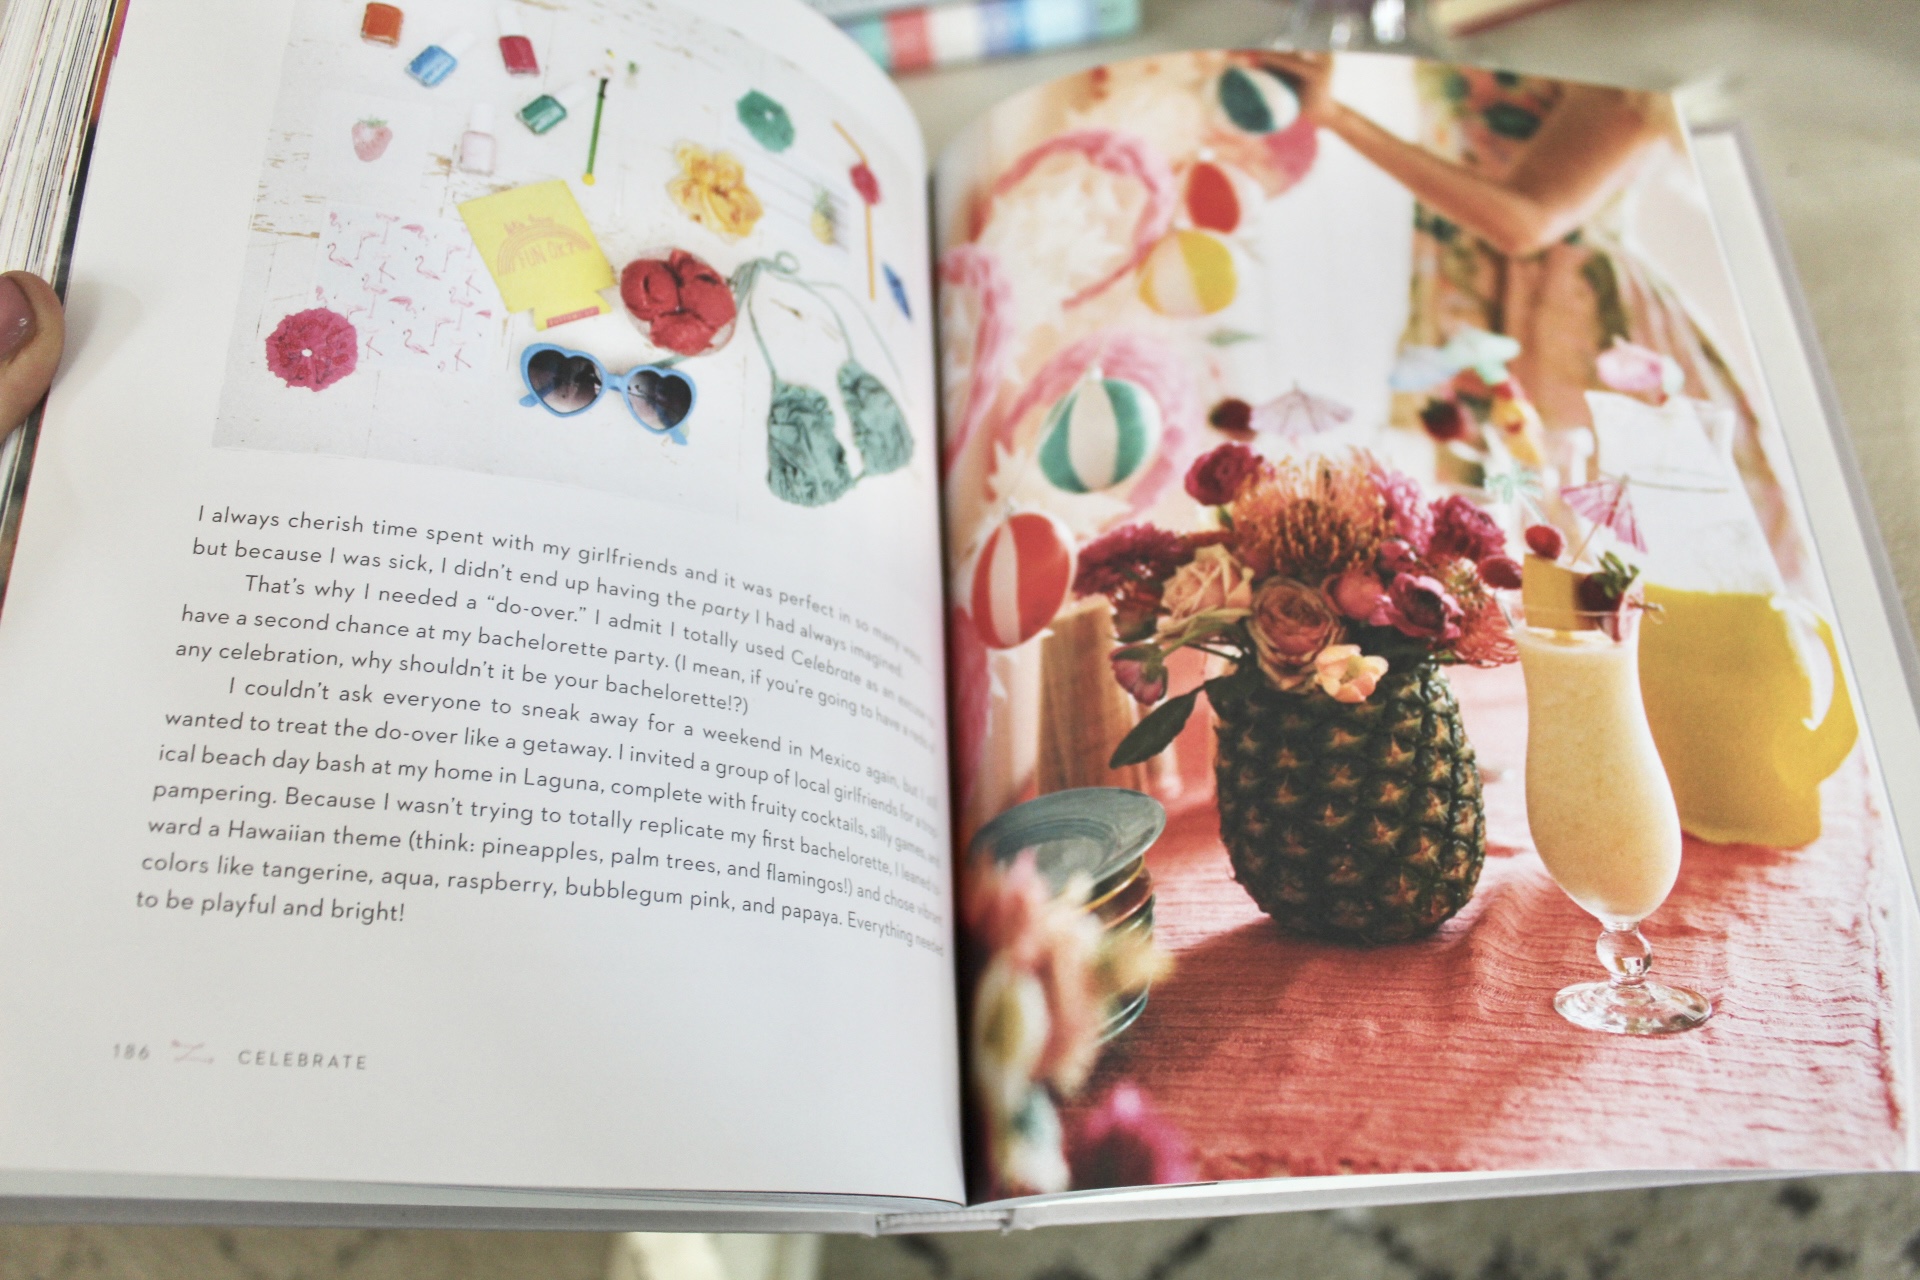
Another book I own (which was also a gift from my mom!) is Celebrate by Lauren Conrad. It is full of party ideas, recipes and inspiration!

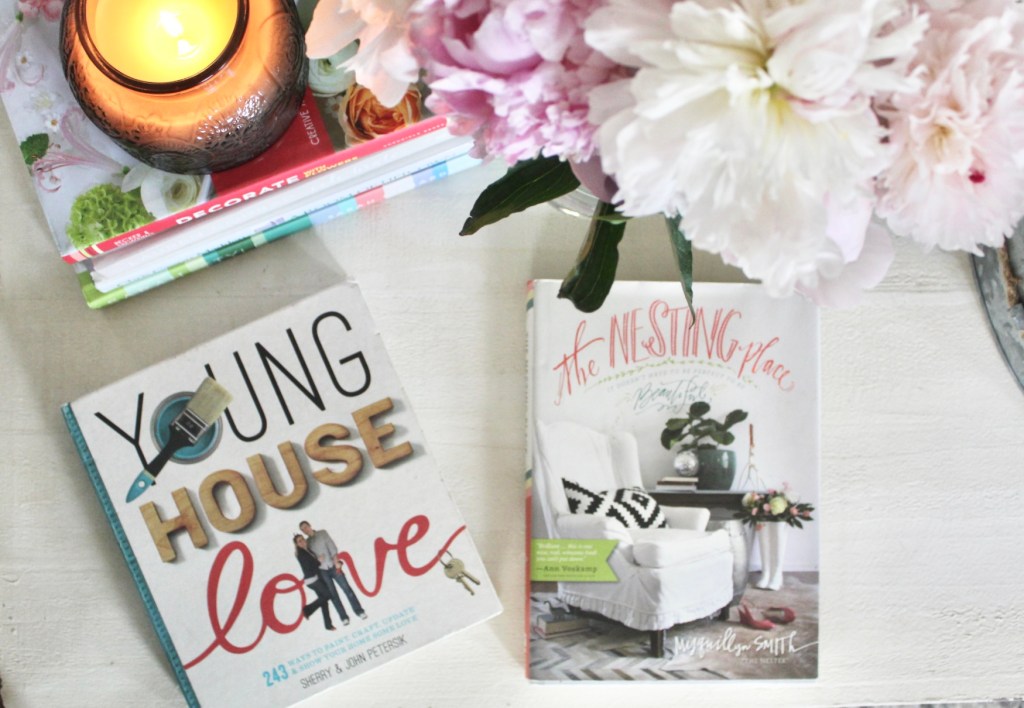
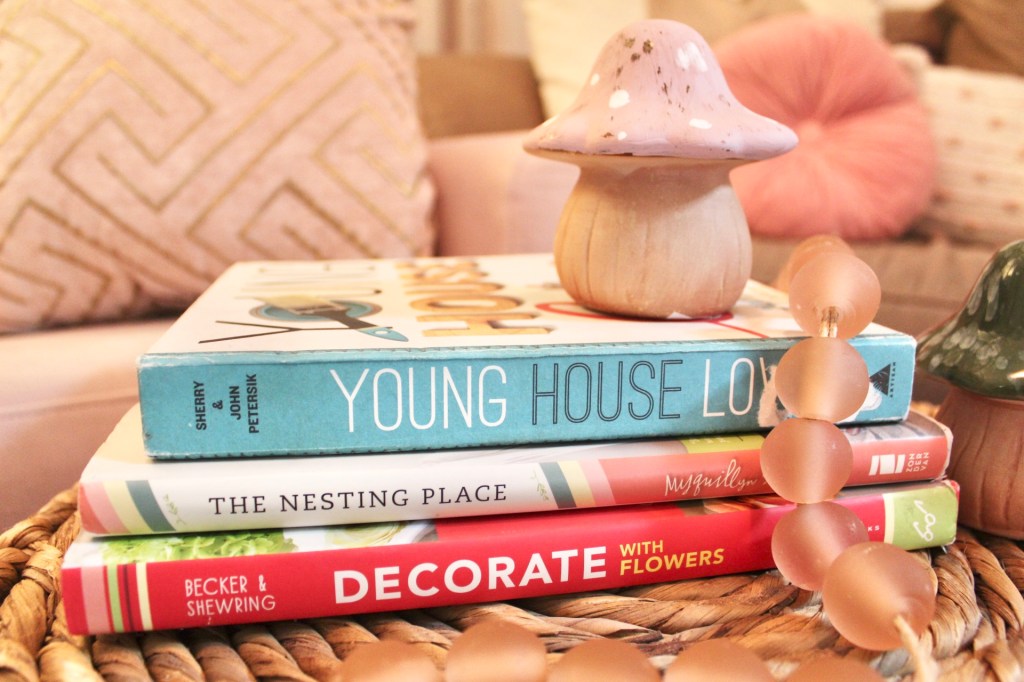
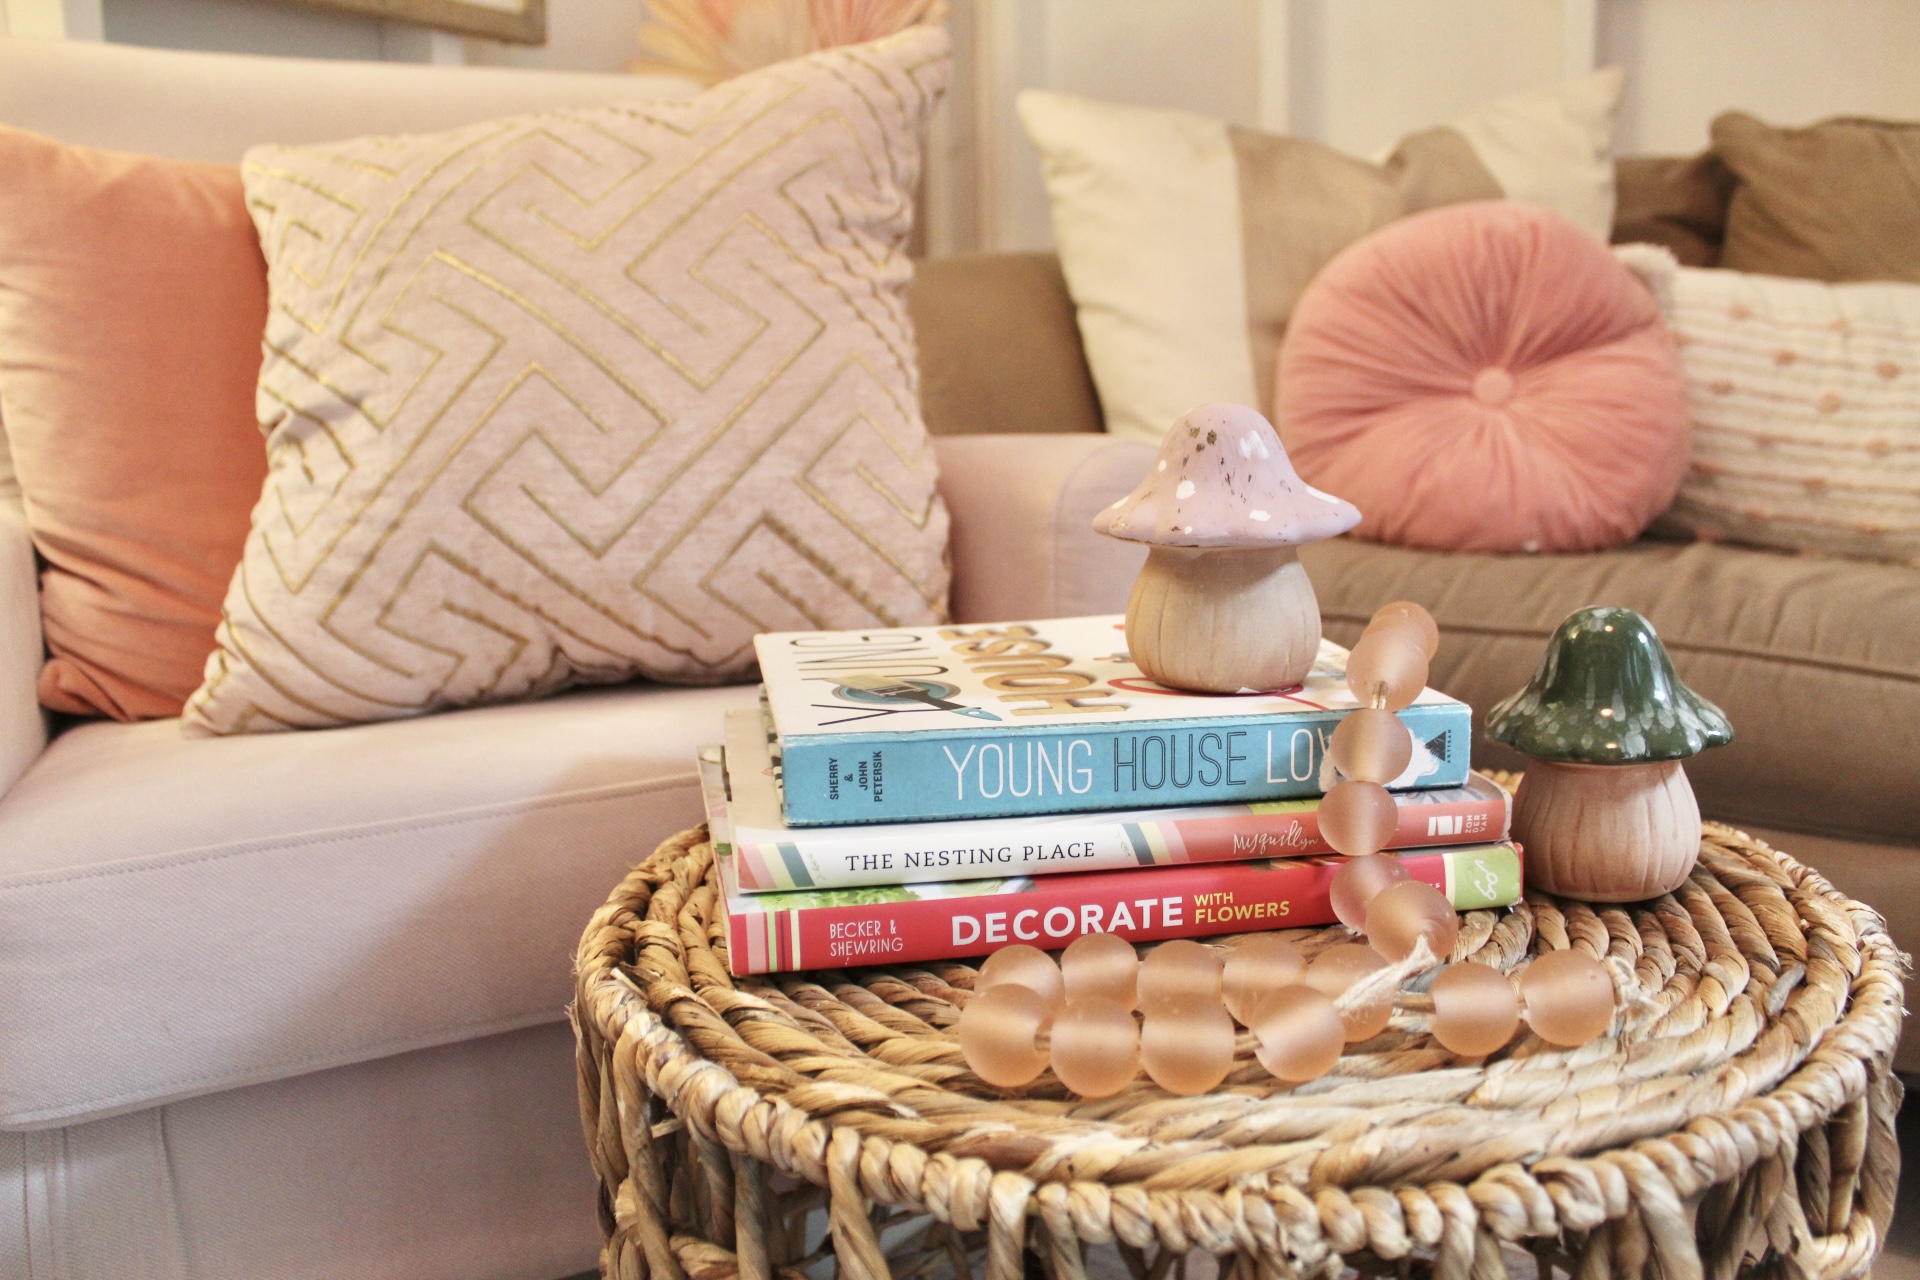
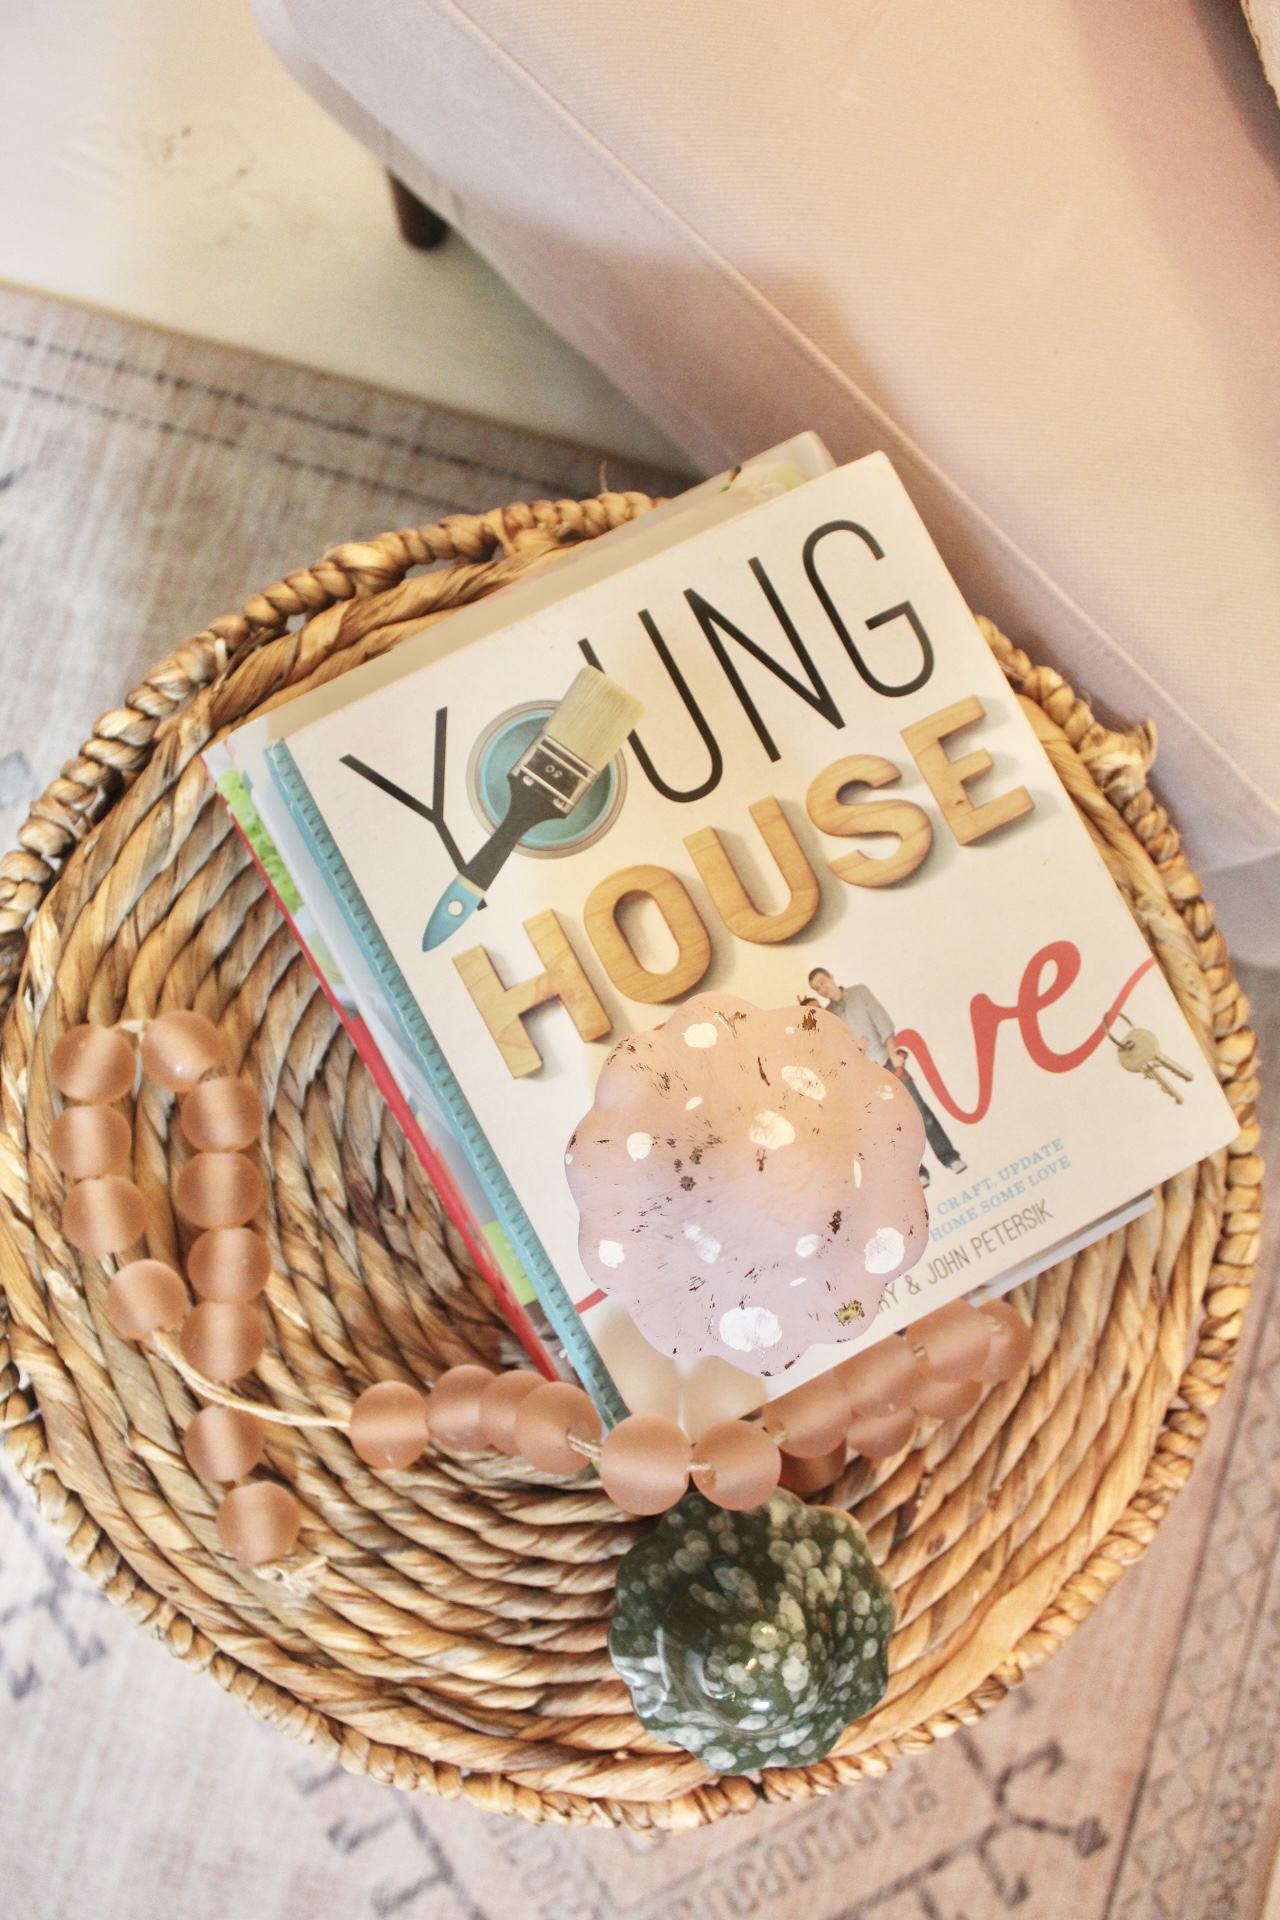
I love both of the books below. Young House Love by Sherry and Jon Petersik has lots of fun DIY’s. I’ve followed their blog for years and love their book. The Nesting Place by Myquillyn Smith is also full of great ideas to make your home your own. She also has a great way of writing and sharing her story.

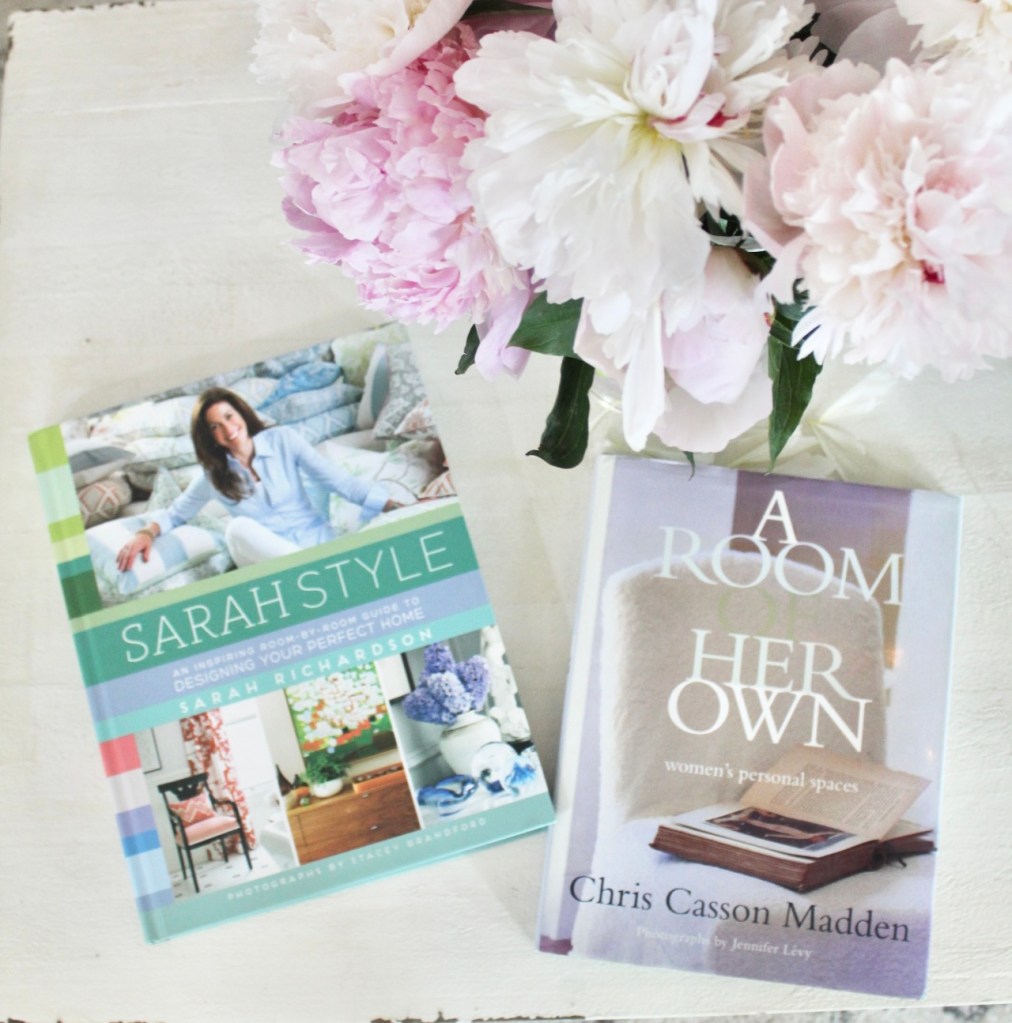
These last two books aren’t necessarily my favorite but they have things about them that make them fun. I used to love Sarah Richardson’s show on HVTV years ago and her book has some fun home decor ideas. Plus the spine is bright and colorful so it’s fun to display! A Room of her Own by Chris Cason Madden is dedicated to spaces for women. I enjoyed her tours of different spaces and loved her perspective….that women can have a place to get away and come back to their busy lives refreshed!

Here are a few books on display in my she shed, The Petit Chateau. Sometimes I like to just sit and leaf through a book and relax!

I hope I’ve shared a few books that maybe you will like to read or own! Or, find a genre that inspires you and add a few to your coffee table!

Happy reading!

She Shed Ribbon Cutting

Well, once my she shed was complete I knew it was time to celebrate! I decided I would throw a little party to unveil our project to my friends and family. What better way to debut the shed than with a ribbon cutting party? I also decided to name the shed. My parents and I started brainstorming and we came up with the Petite Chateau! (After all it is my little castle!)

It was time to name the shed and celebrate!

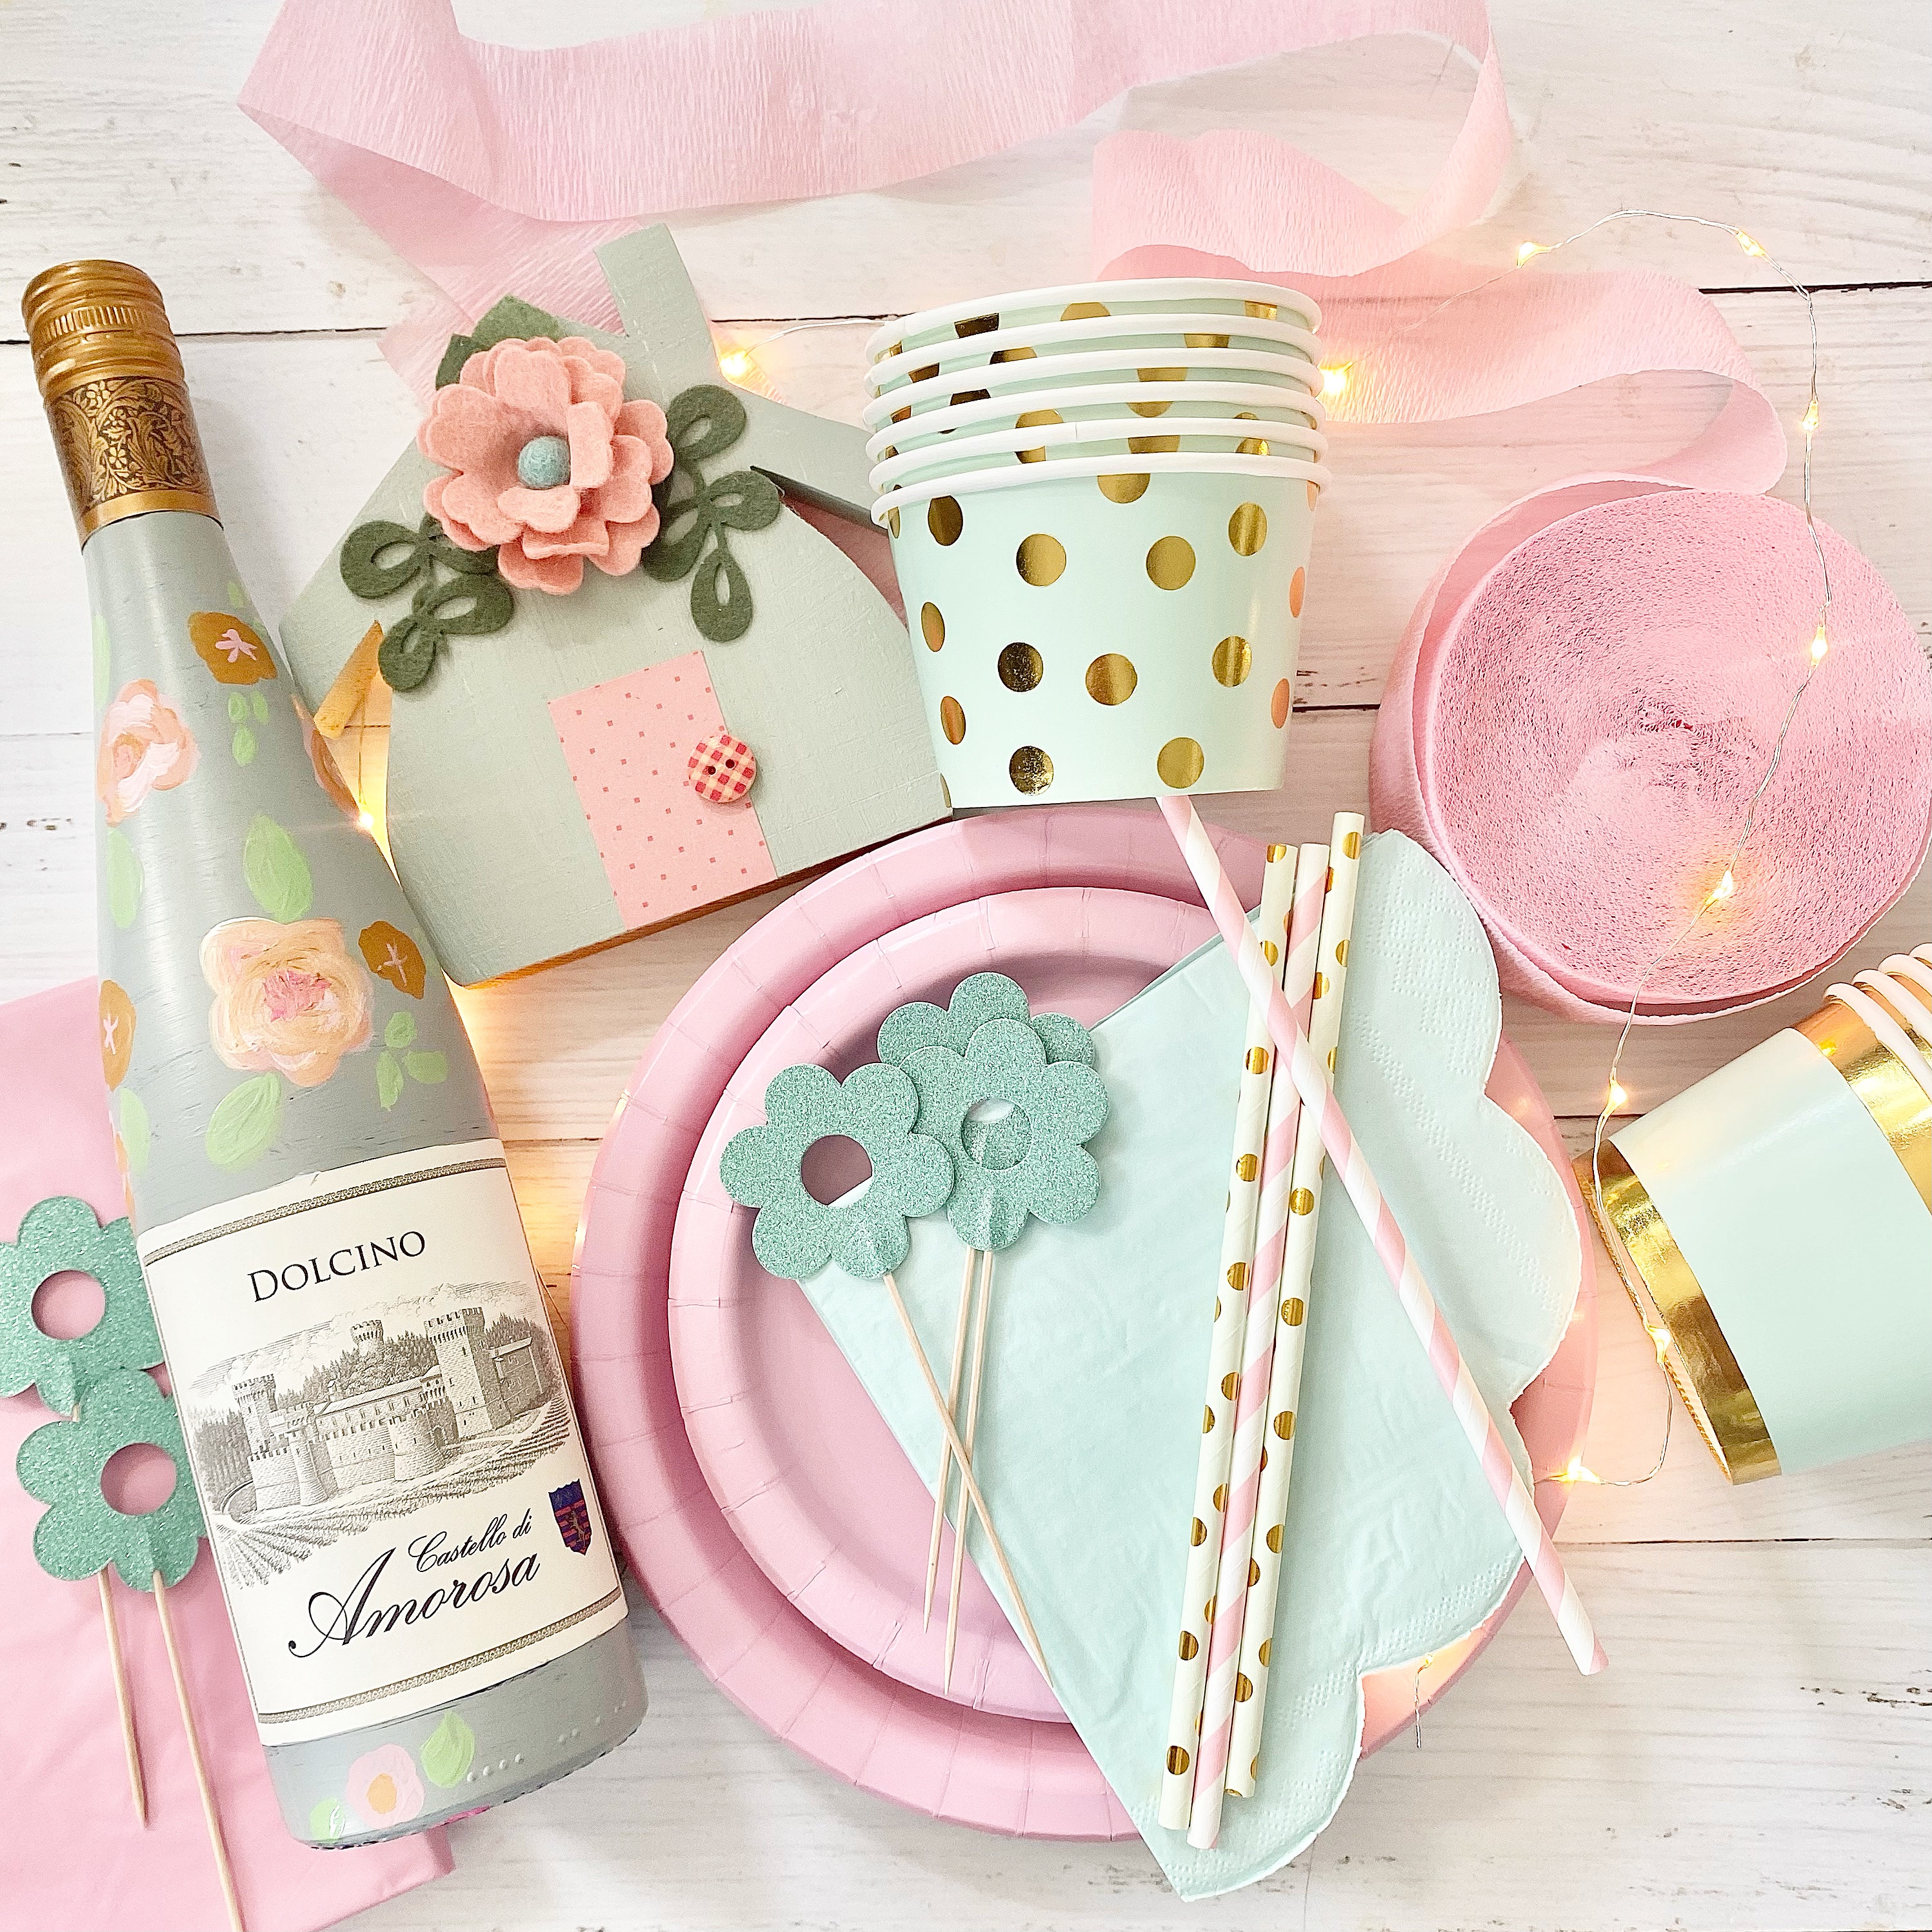
I love party planning so I started a Pinterest board of ideas. I wanted my theme to match the colors of my shed so I began collecting some supplies.

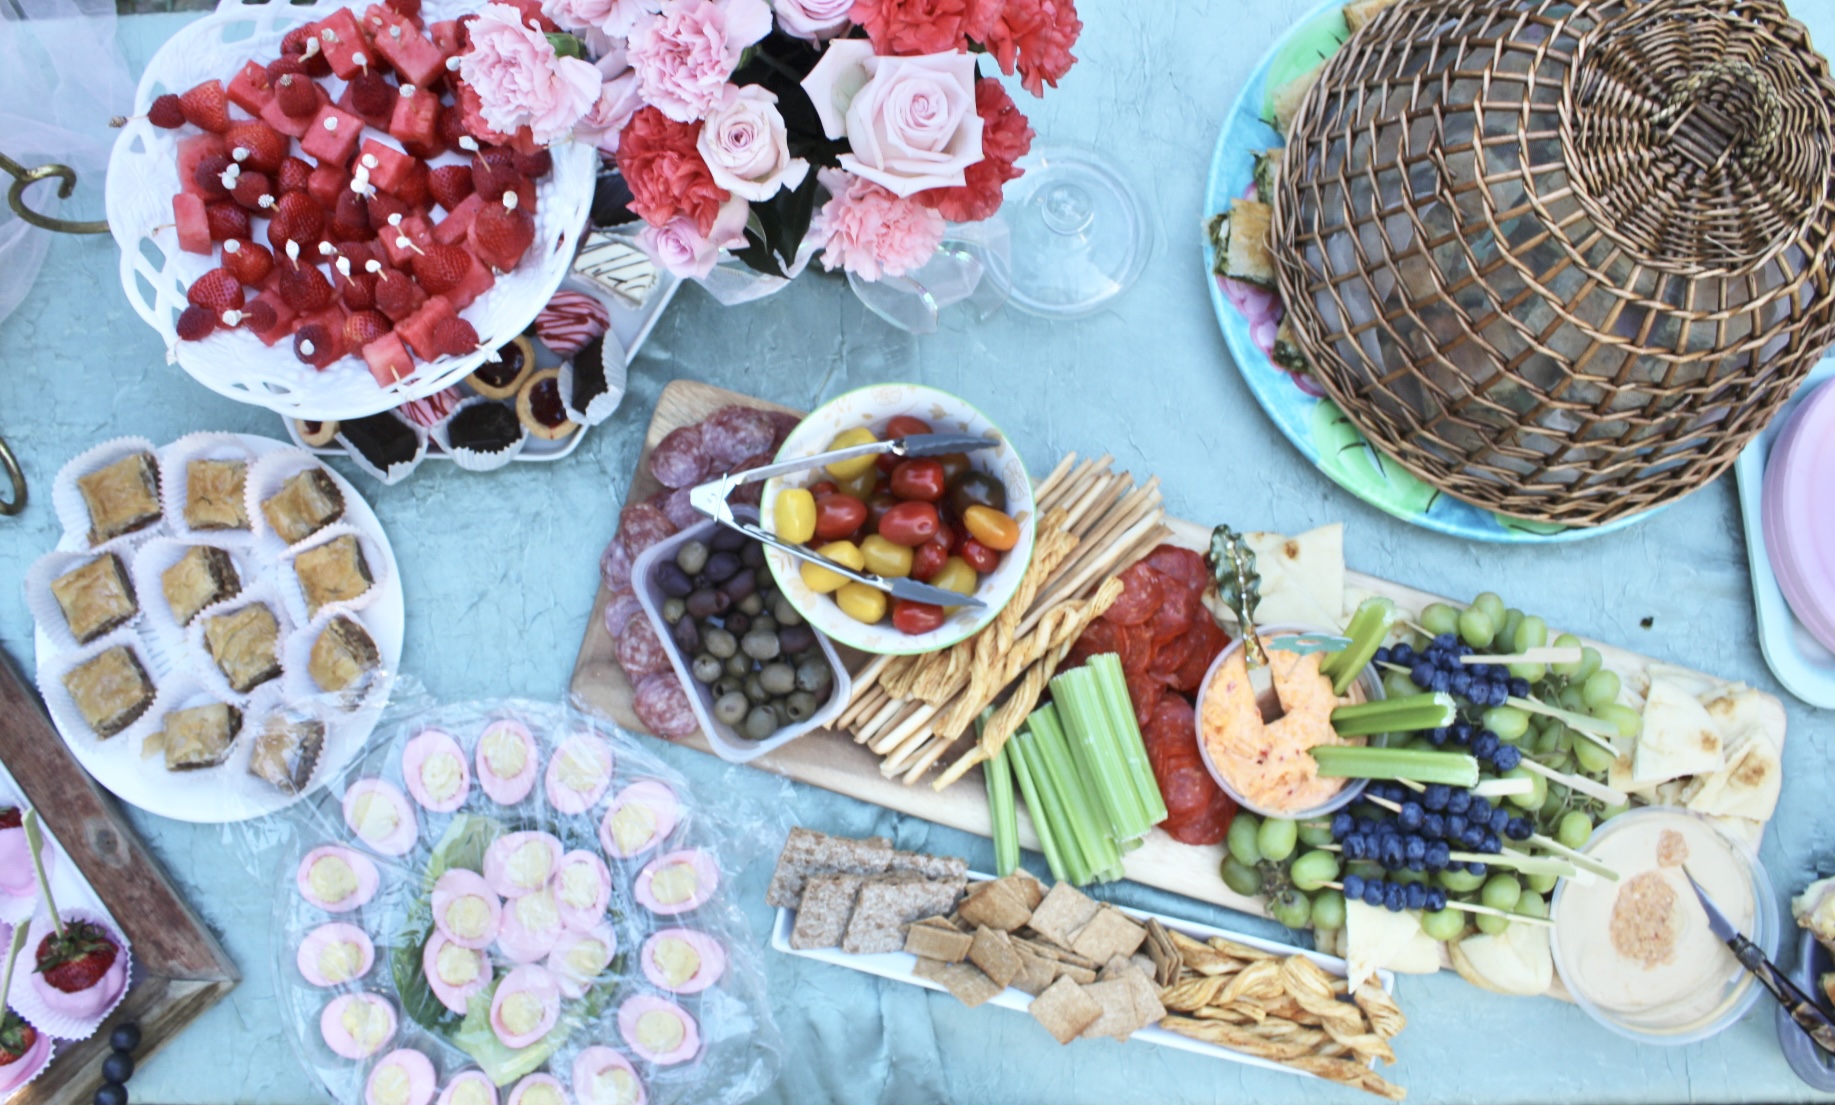
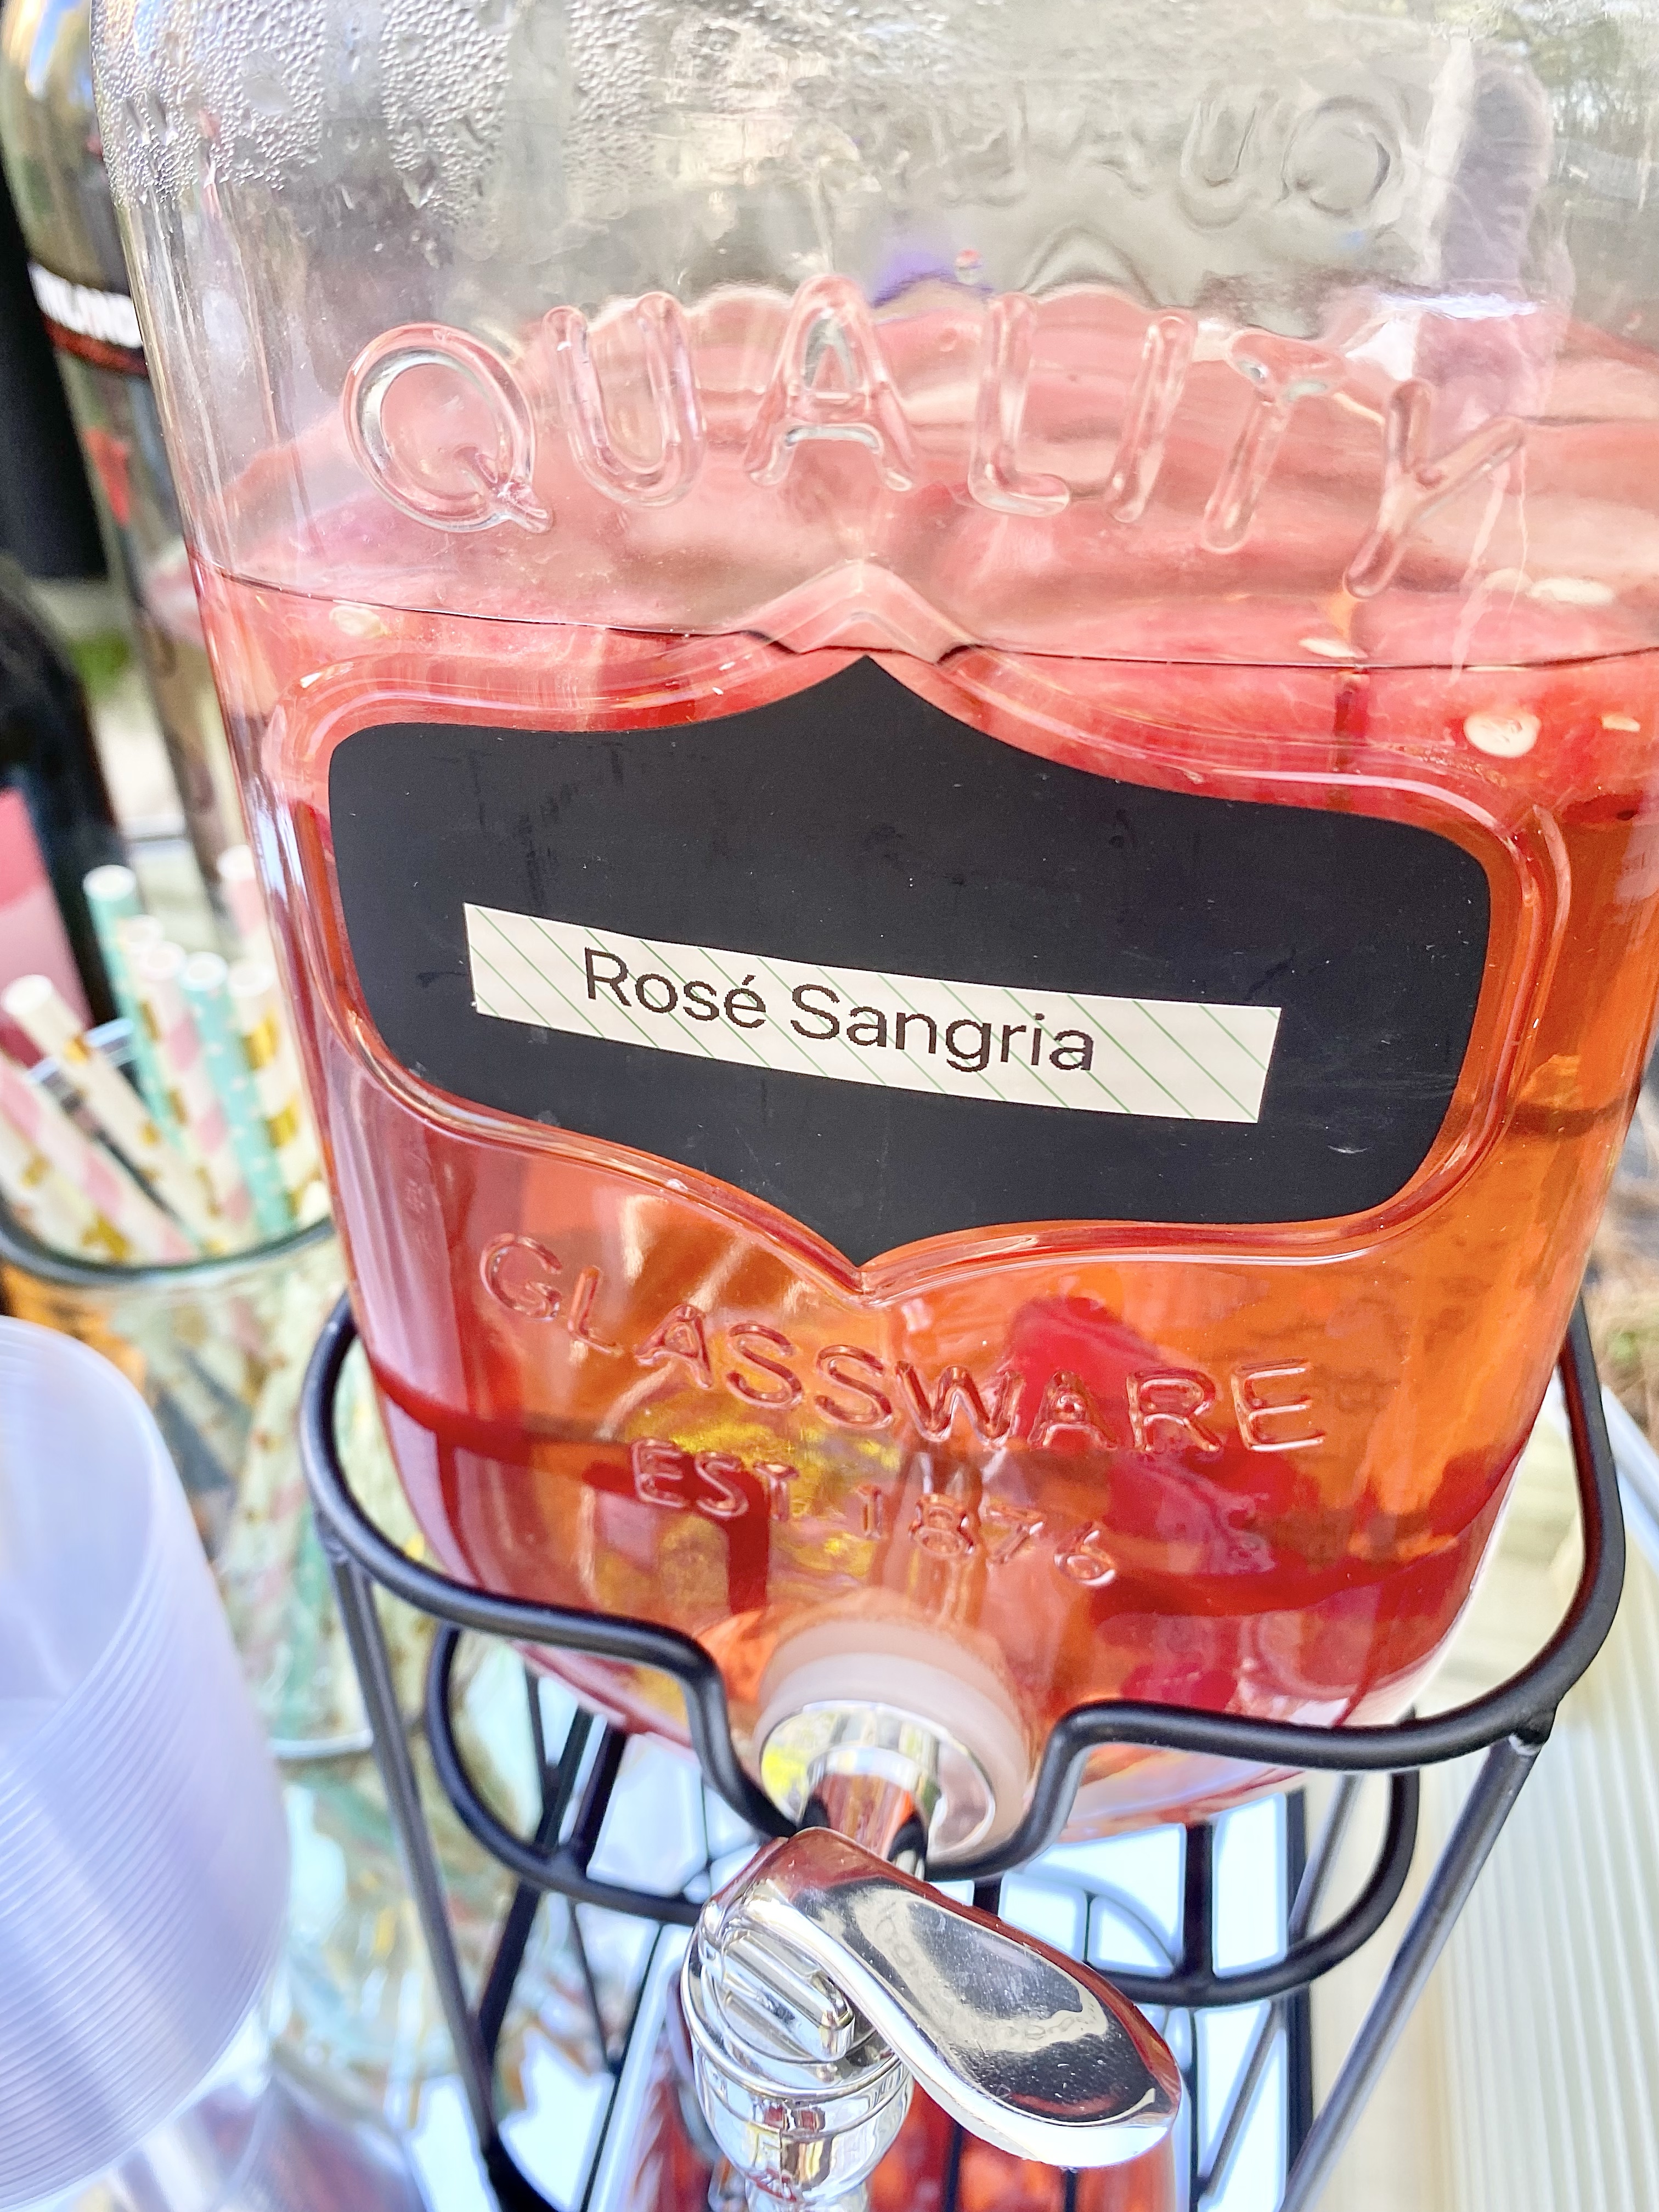
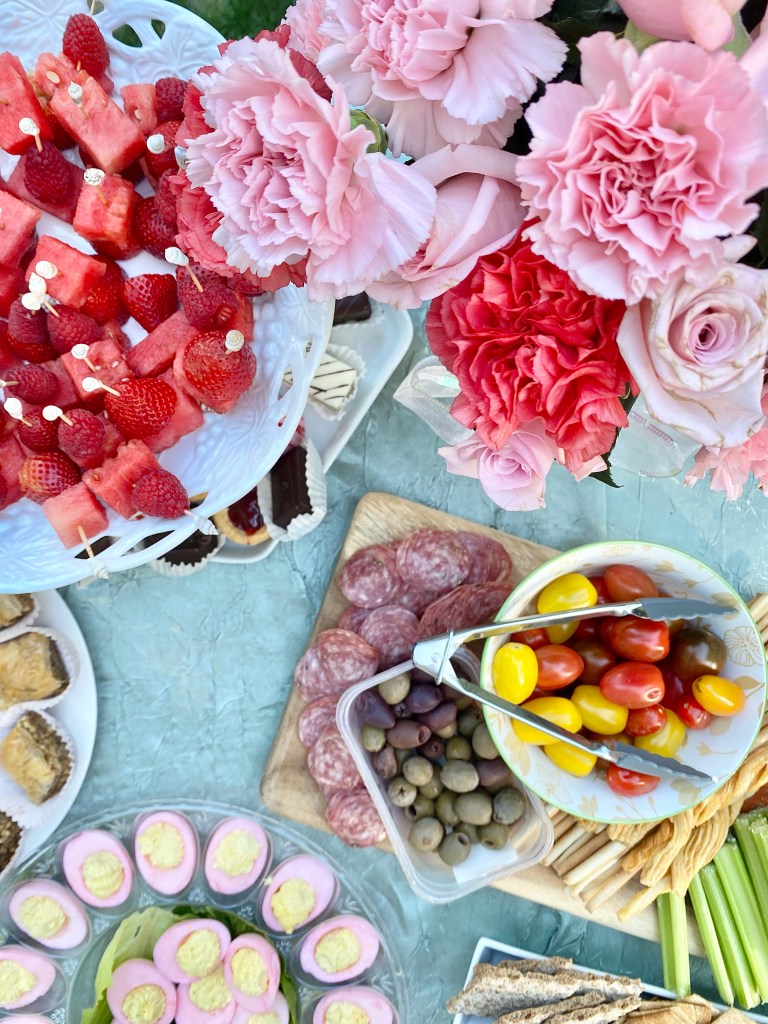
Since it was serving finger food and drinks I decided to make a Rosé sangria, pink deviled eggs, Hawaiian ham and cheese sliders, fruit skewers and desserts that were pre made from the grocery store. My mom helped and made spinach pie, a charcuterie board, baklava and more desserts.

Some of the treats for the party! The pink deviled eggs were so fun.
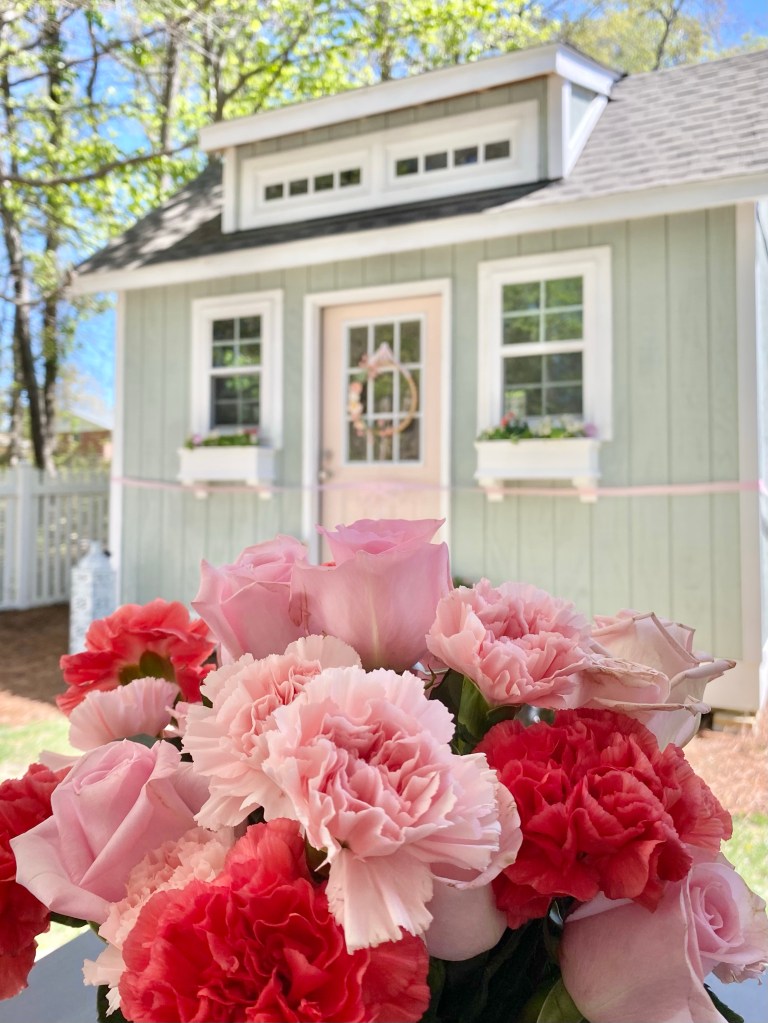
Grocery store flowers are a great way to add some color. Once we were all set up we were ready to party!

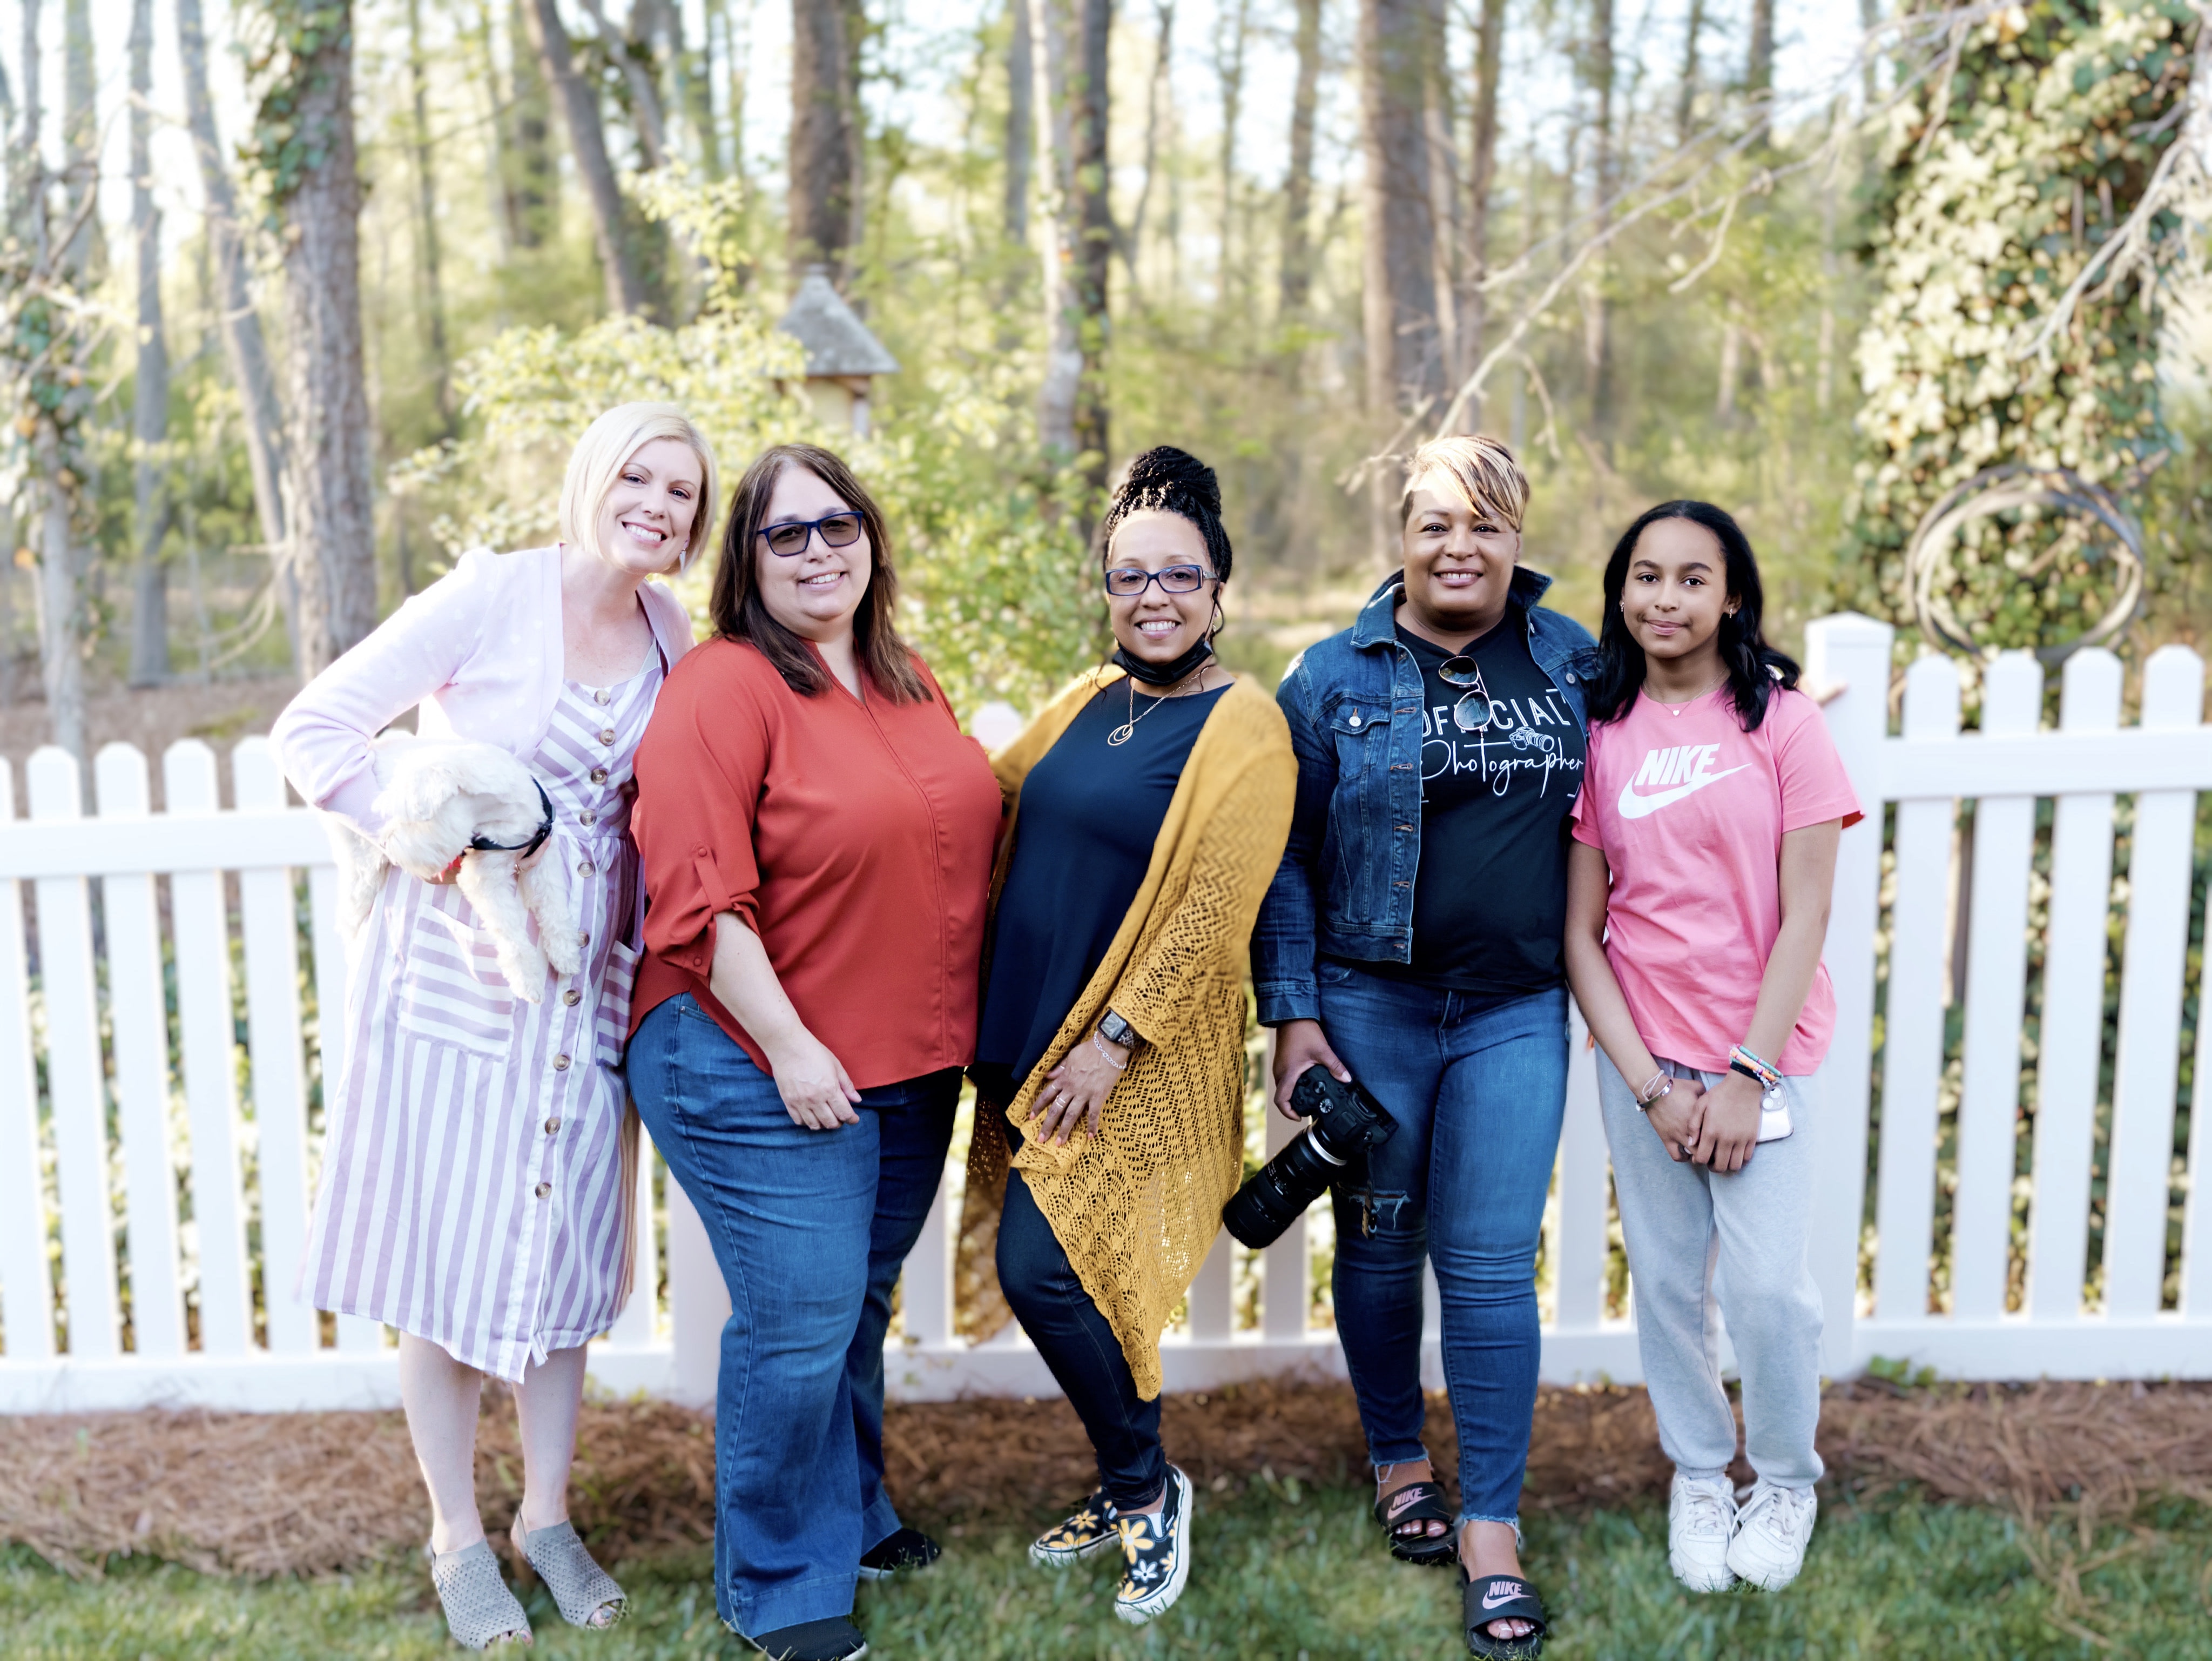
I love taking photos but my good friend Angela Lampkin Photography offered her photography services. I am so thrilled with the photos. All pictures below are from her and her son/assistant Gavin.

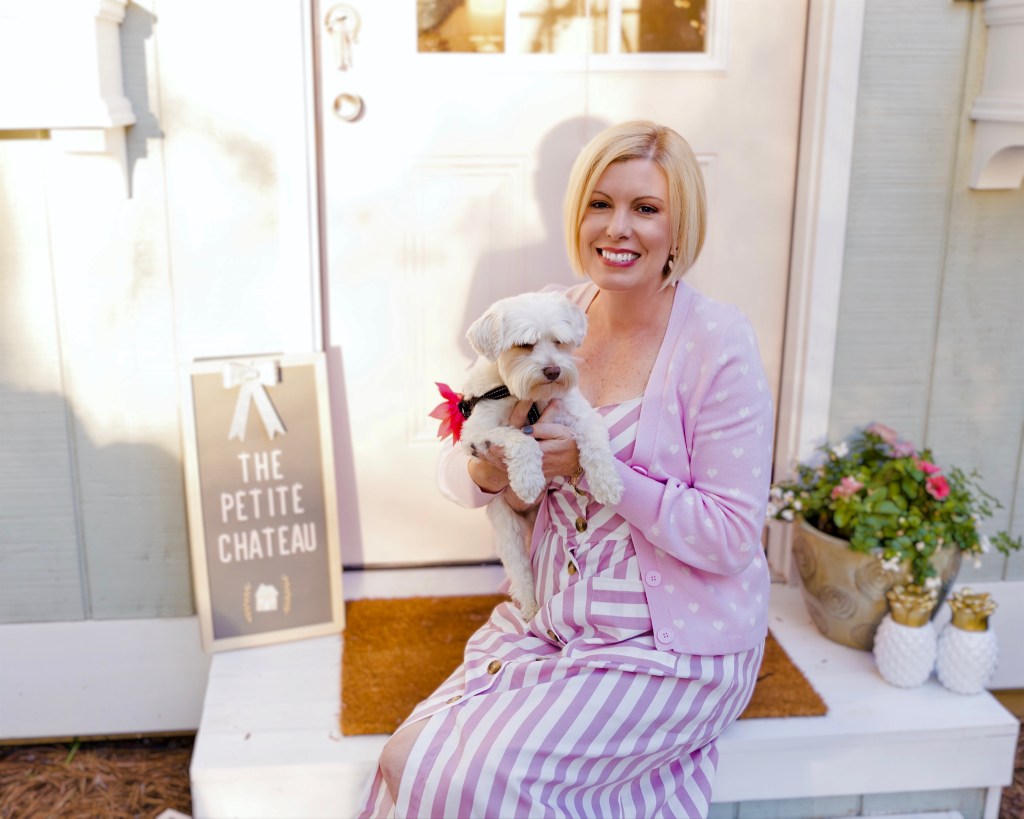
Here I am with my sidekick, Sophie.

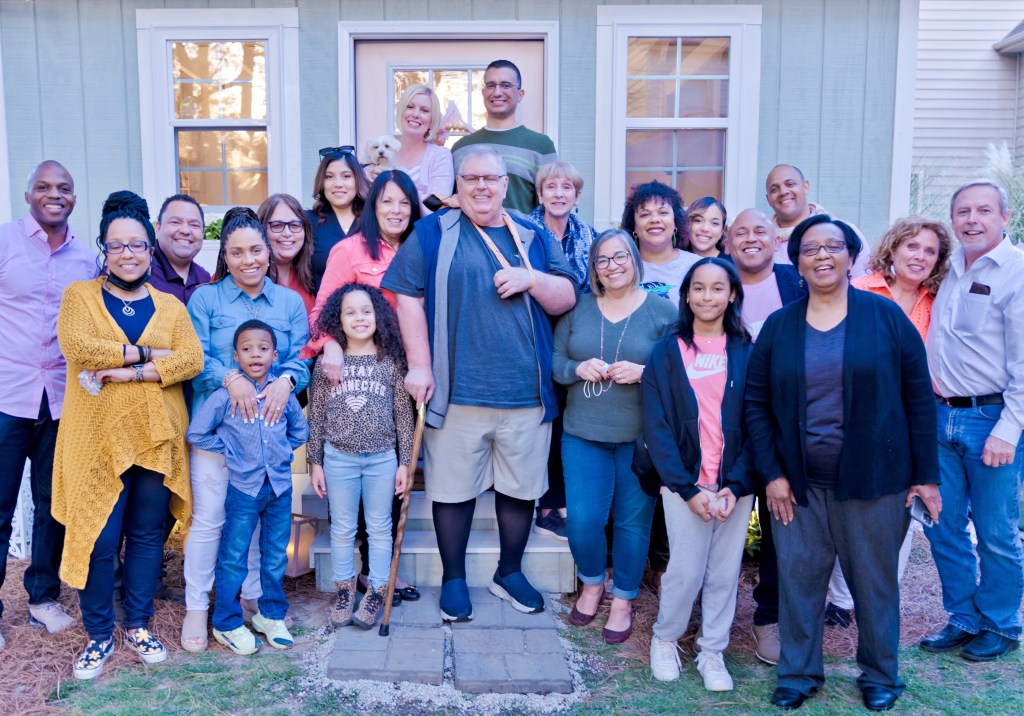
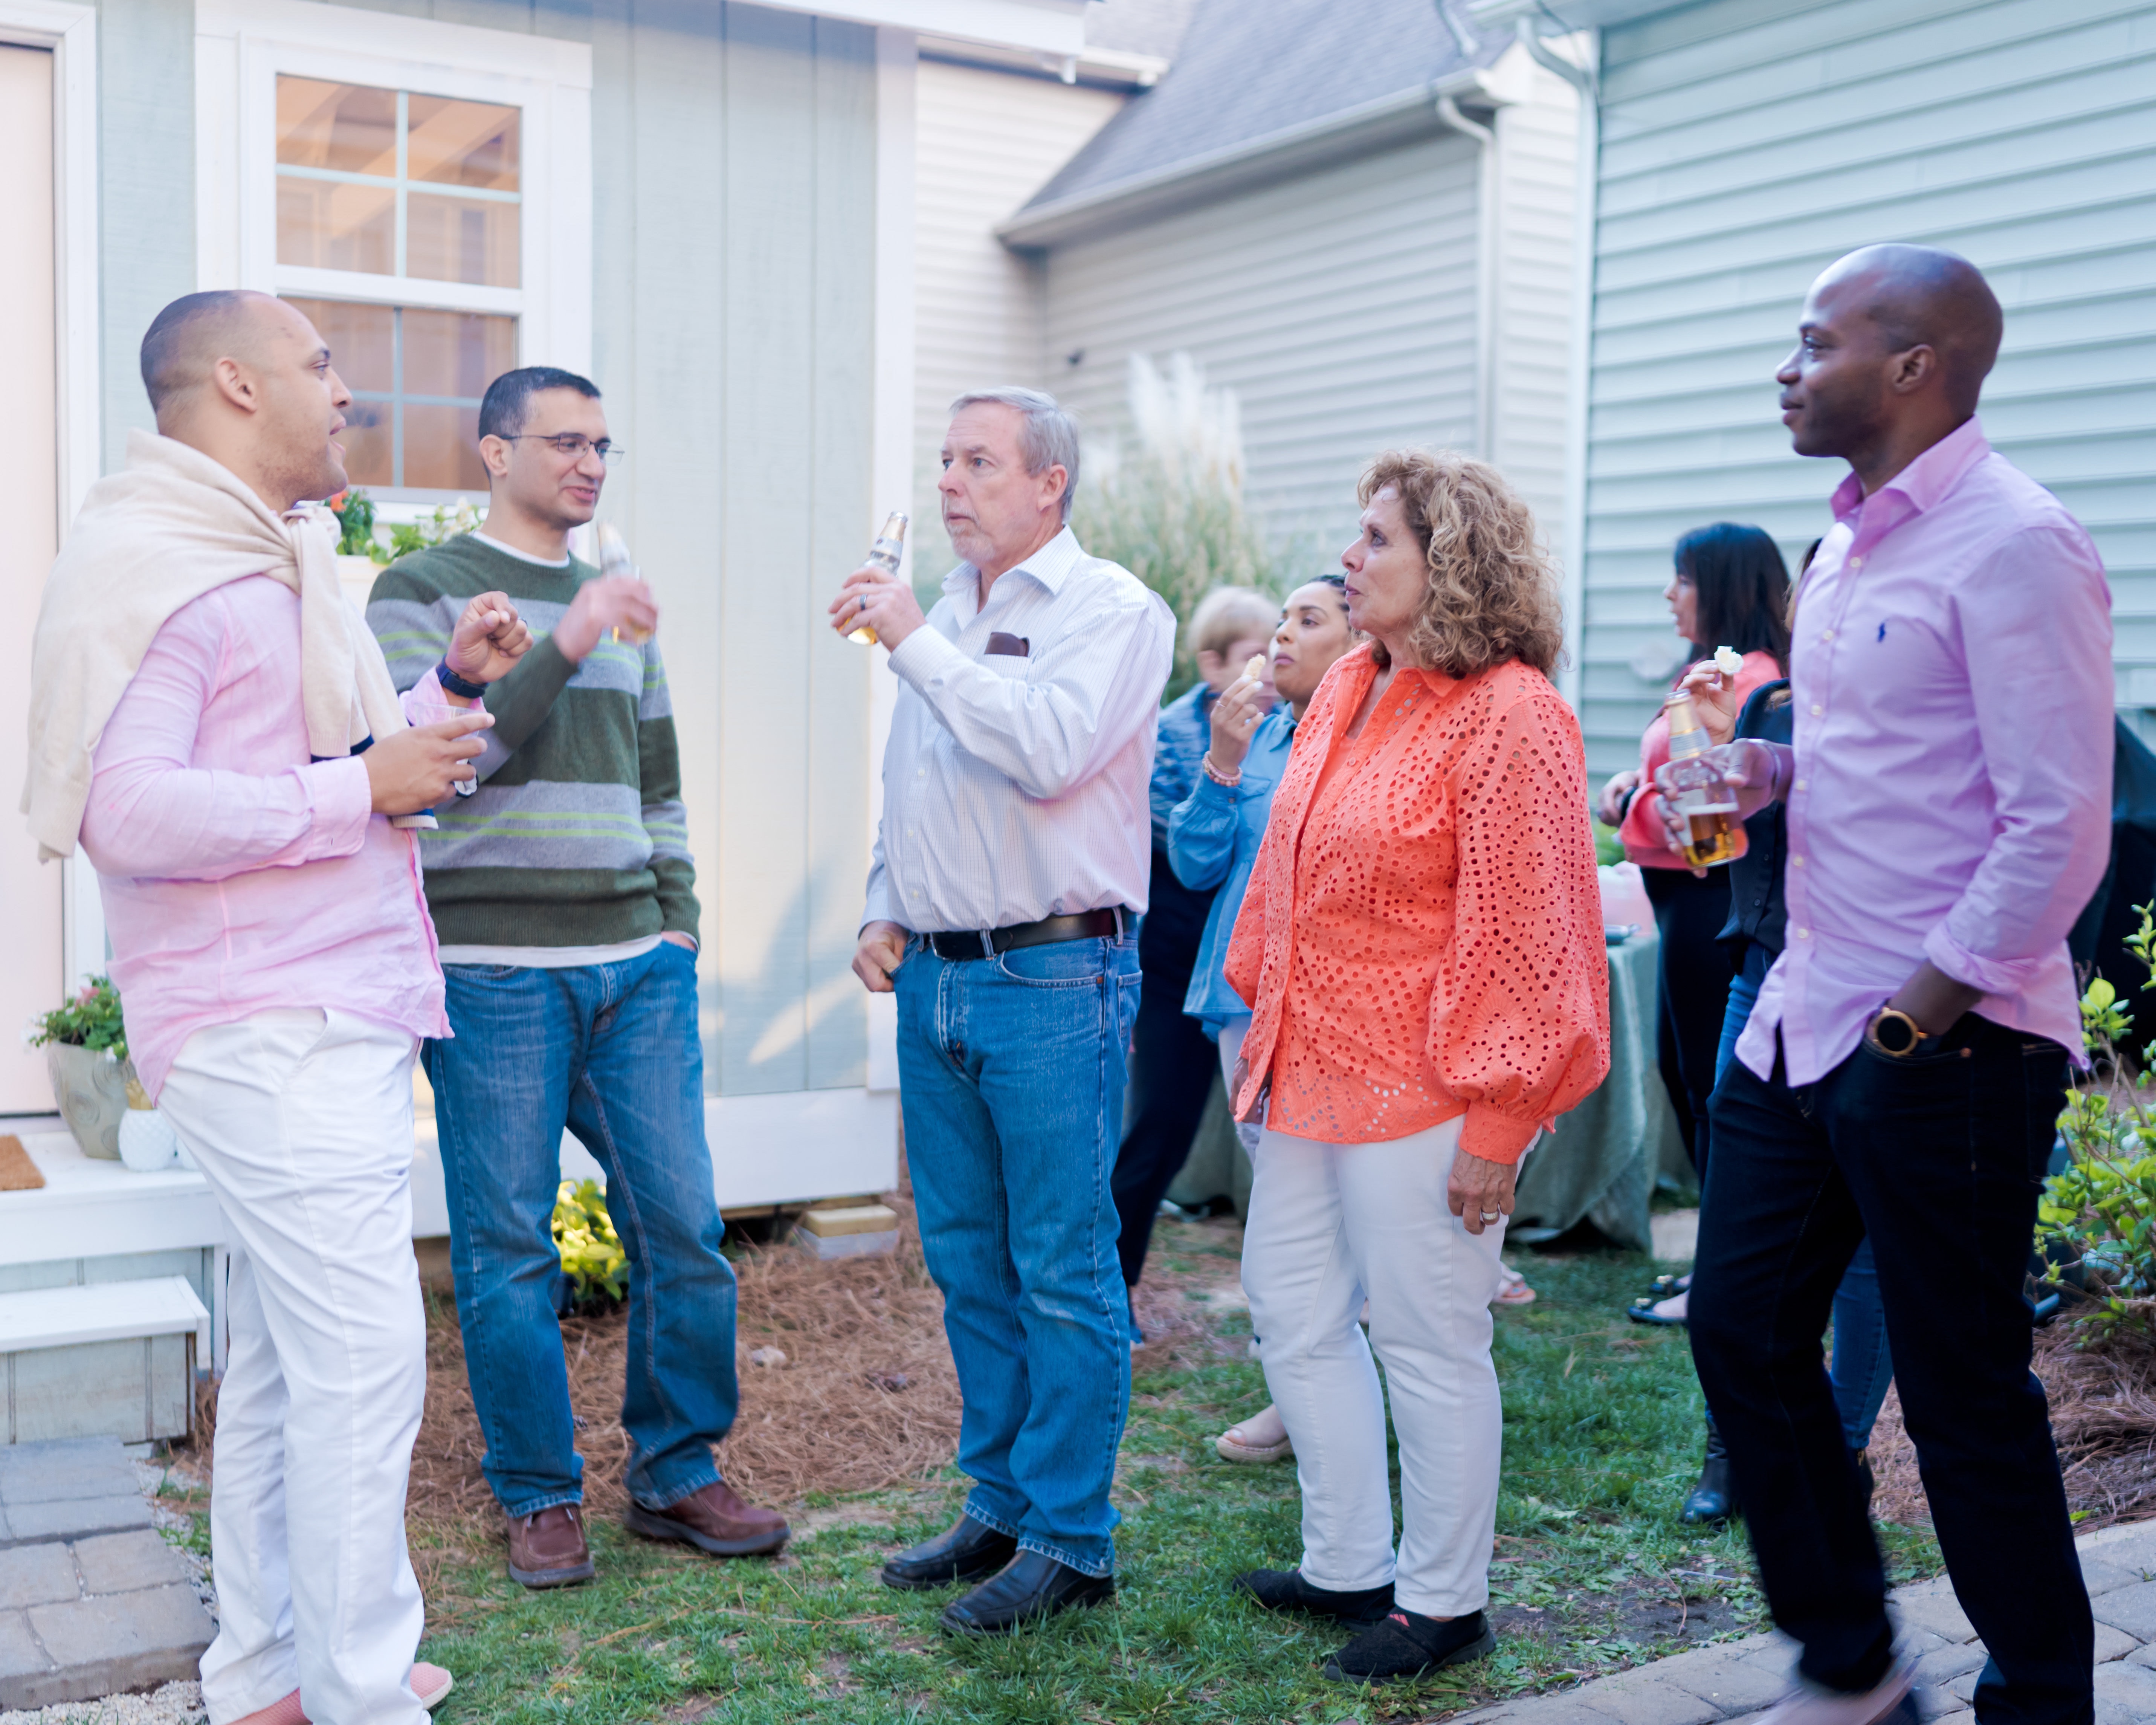
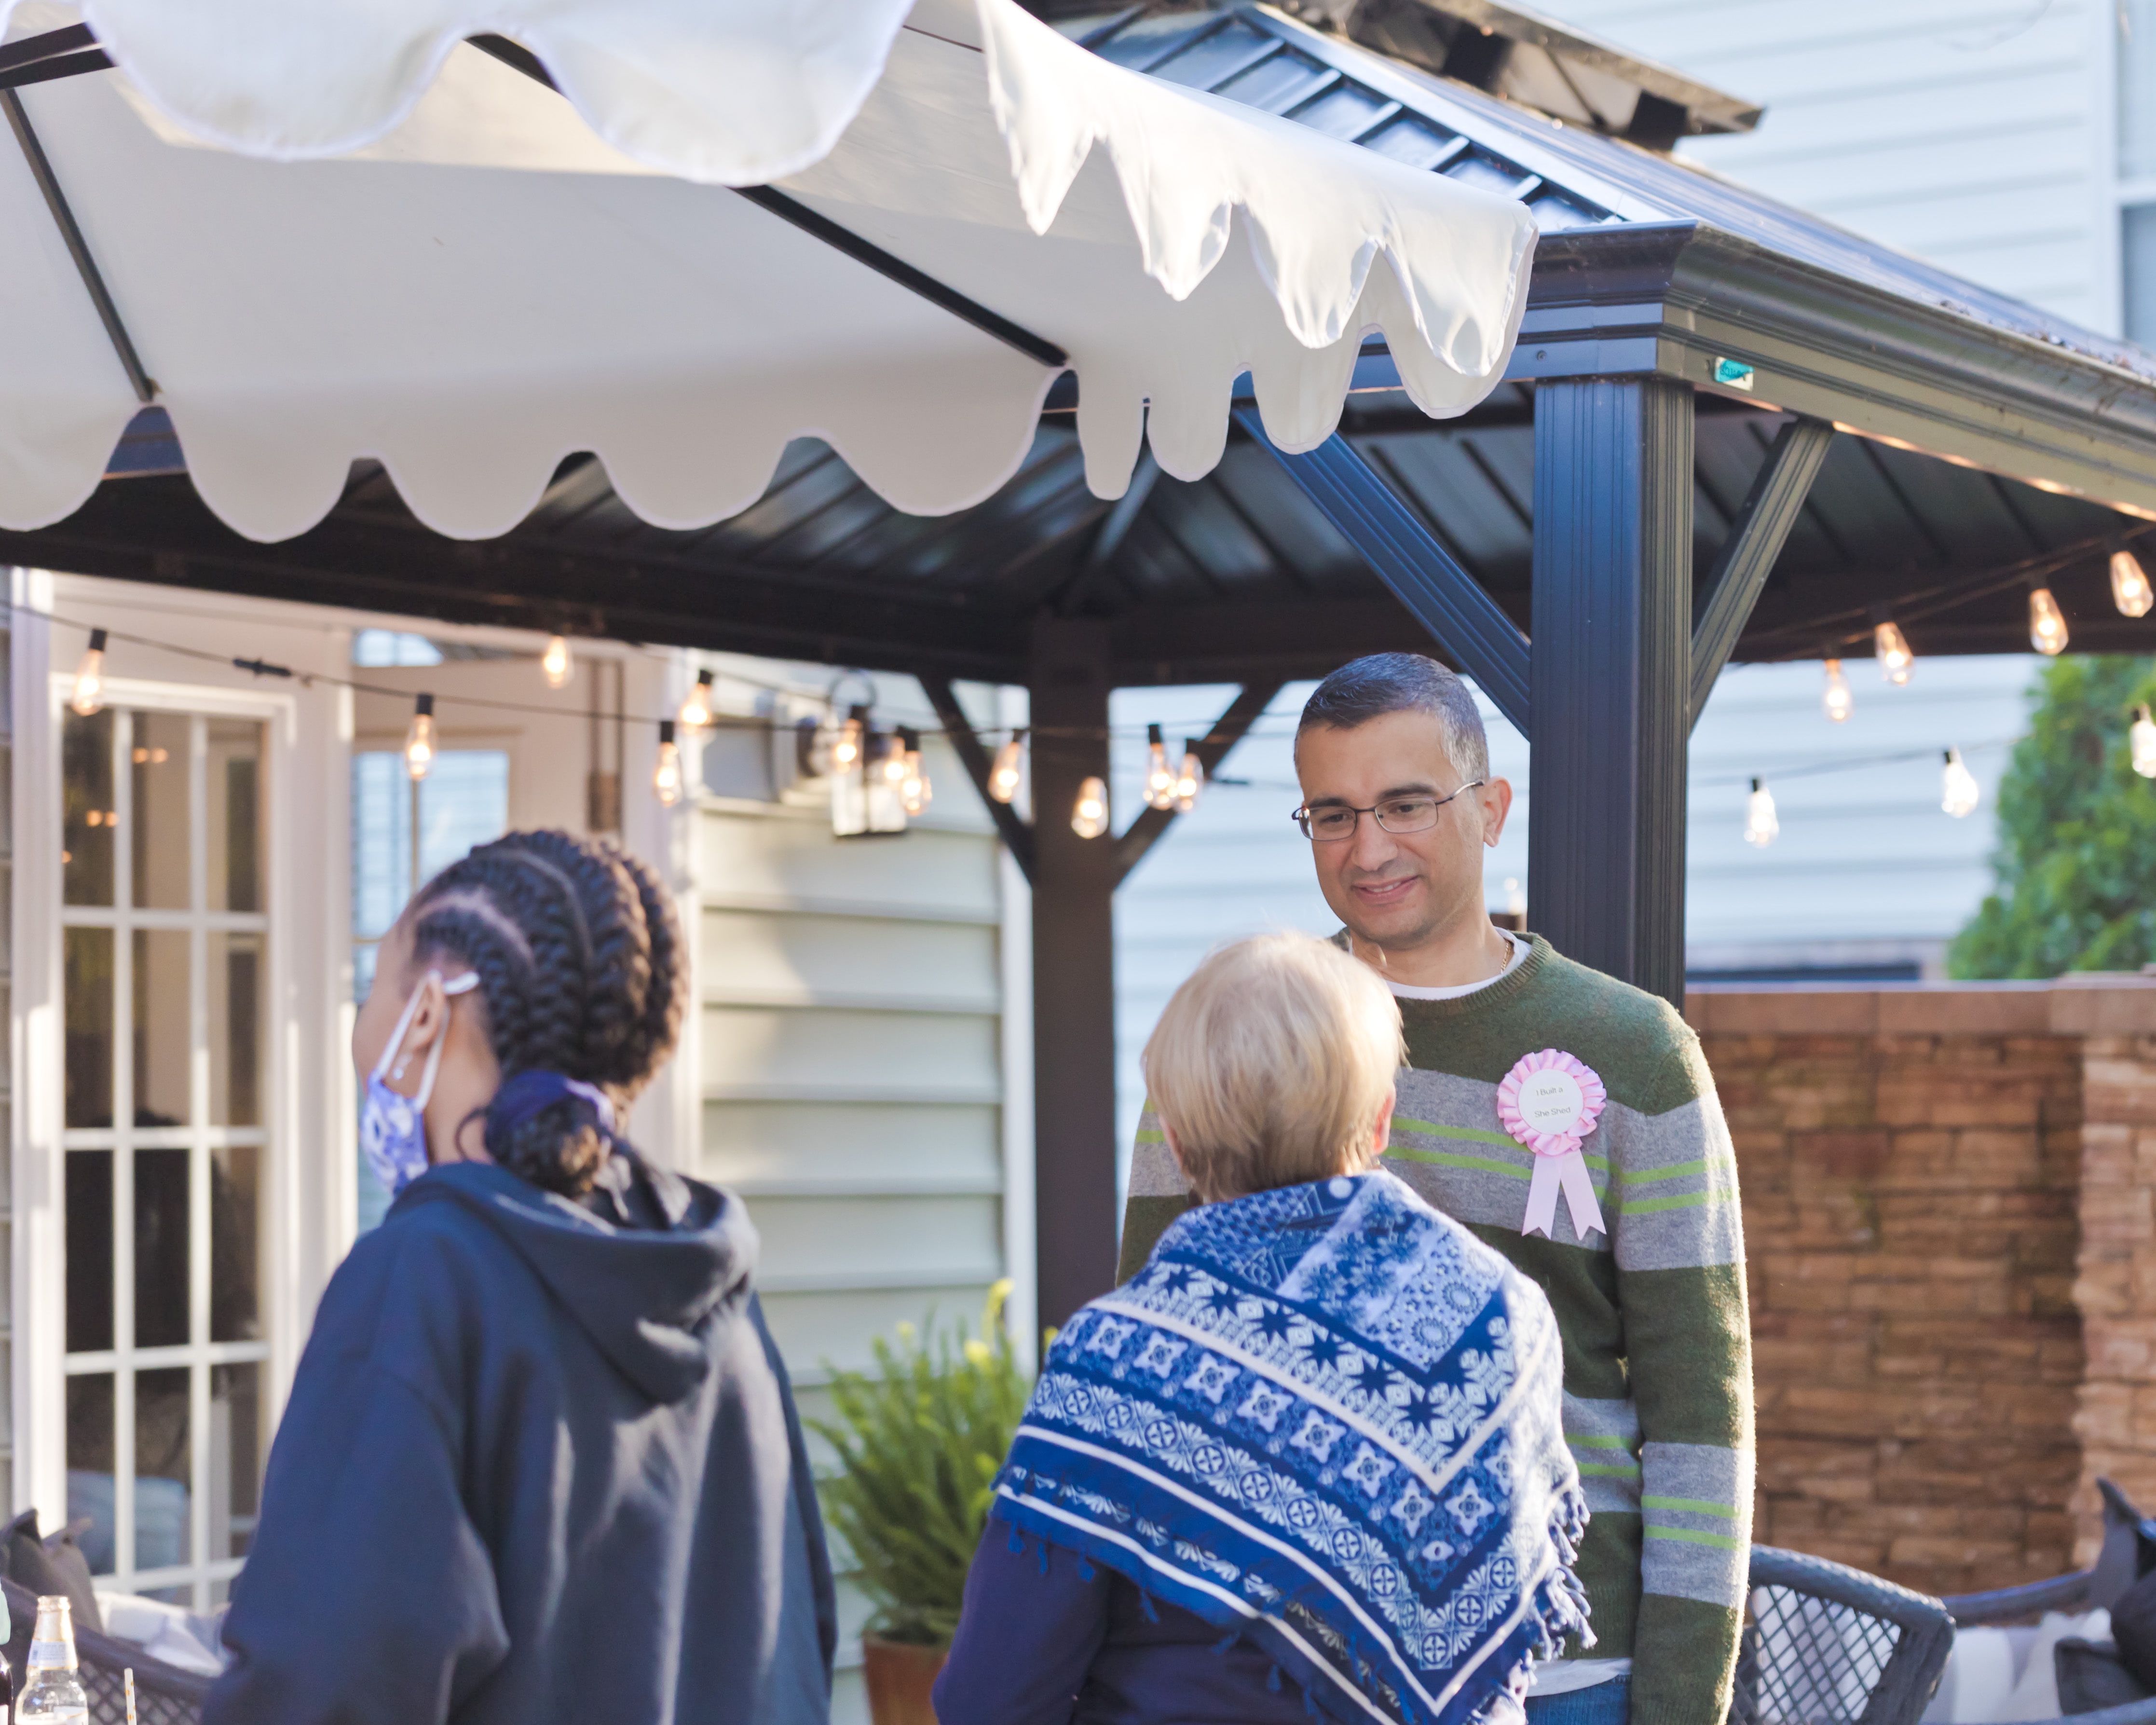
After over two years of dealing with a worldwide pandemic it was so nice to be able to celebrate something fun! We laughed, we talked and we even cheered on my husband, Jerry, for an amazing job building the shed!

Thanks for following along on this fun she shed project and our ribbon cutting! Don’t forget to check in on my Instagram page The Happy Door for my peeks into The Petit Chateau!

She Shed Exterior

What an exciting project this has been. When I told my husband I wanted a she shed and he said he was willing to build it I couldn’t believe it! I had seen some I liked but I have to say he far exceeded any plan I had!

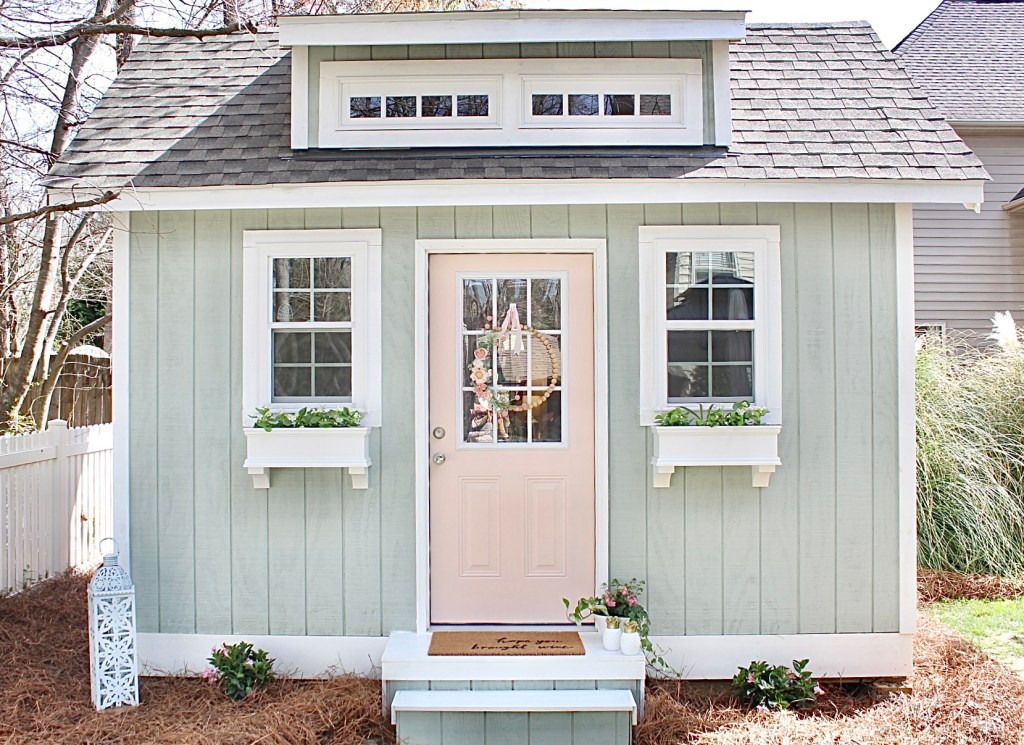
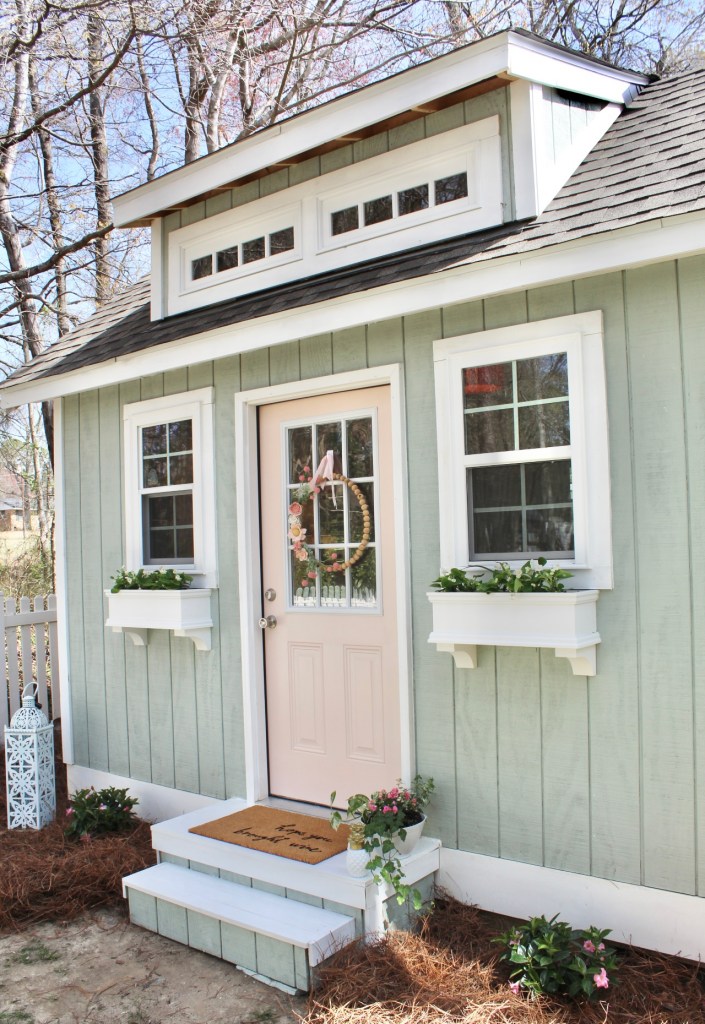
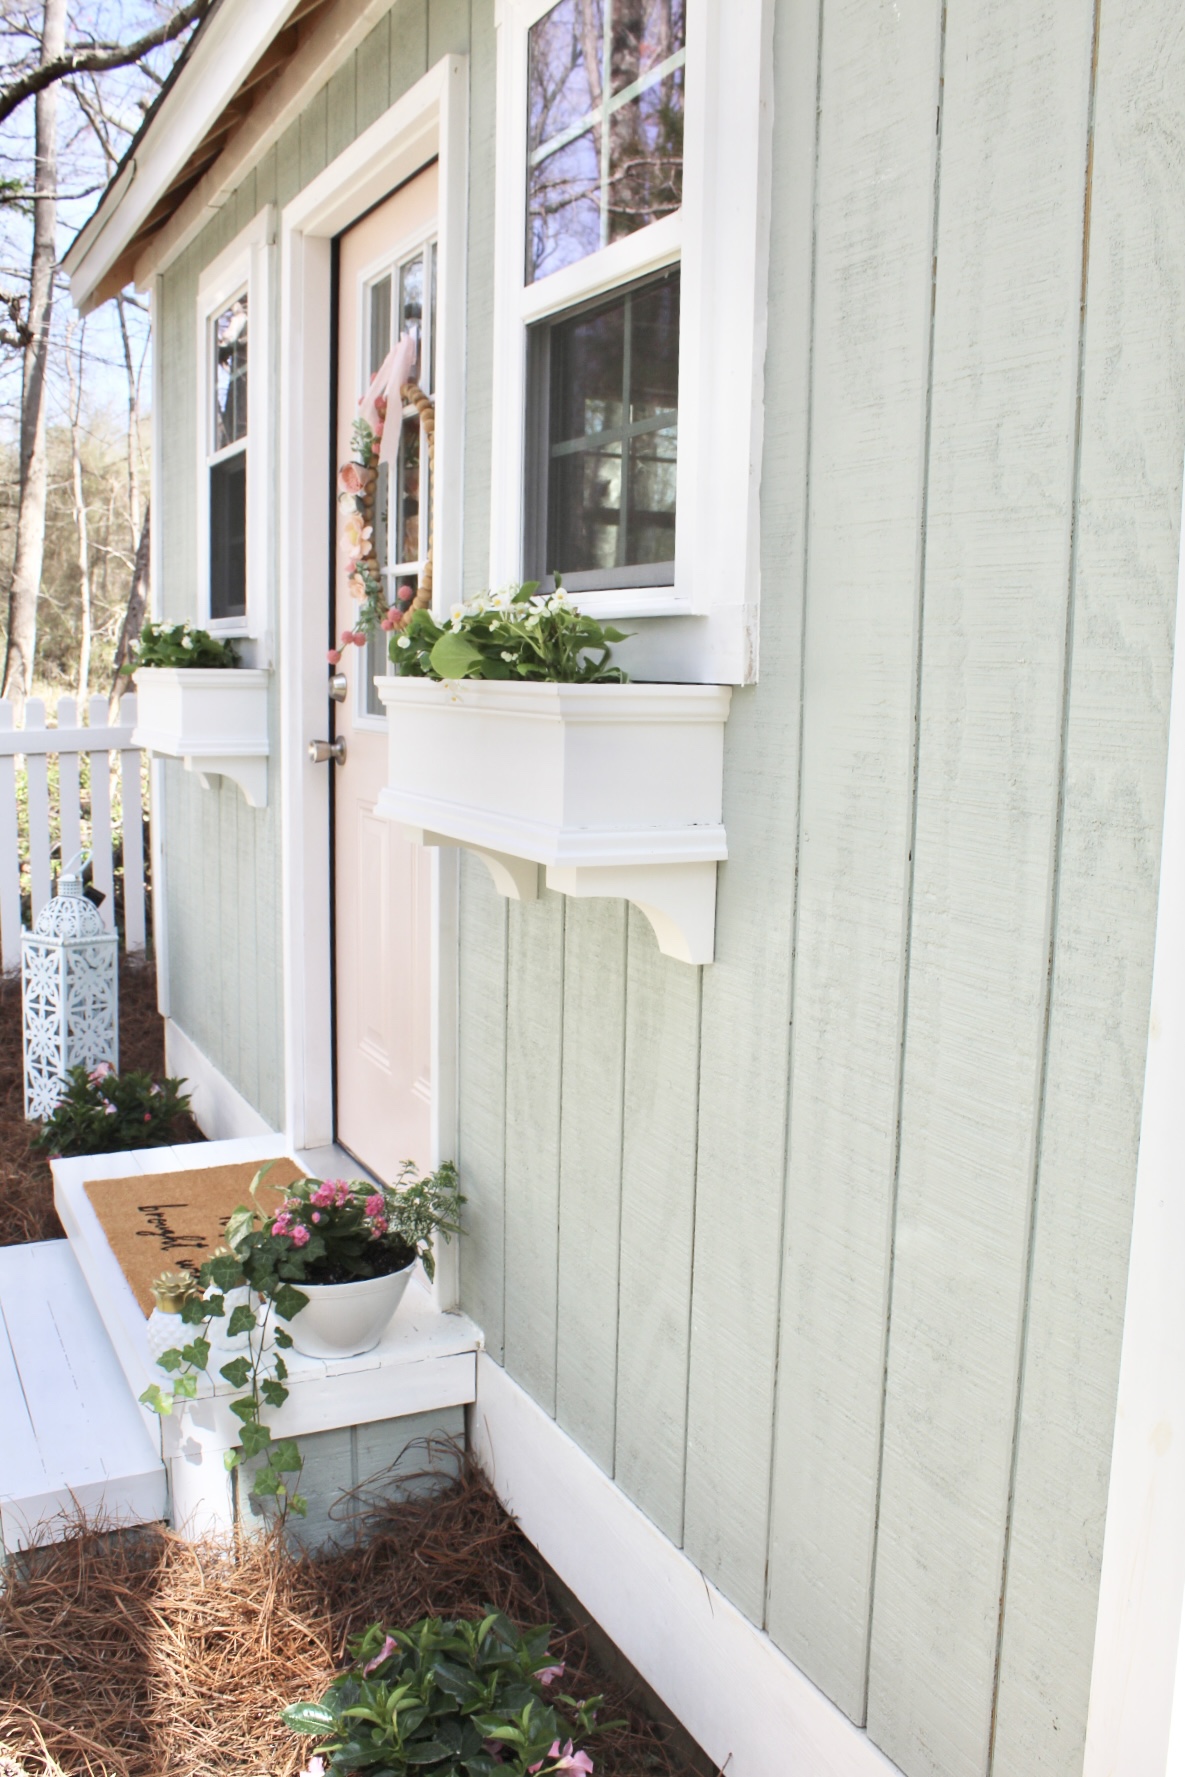
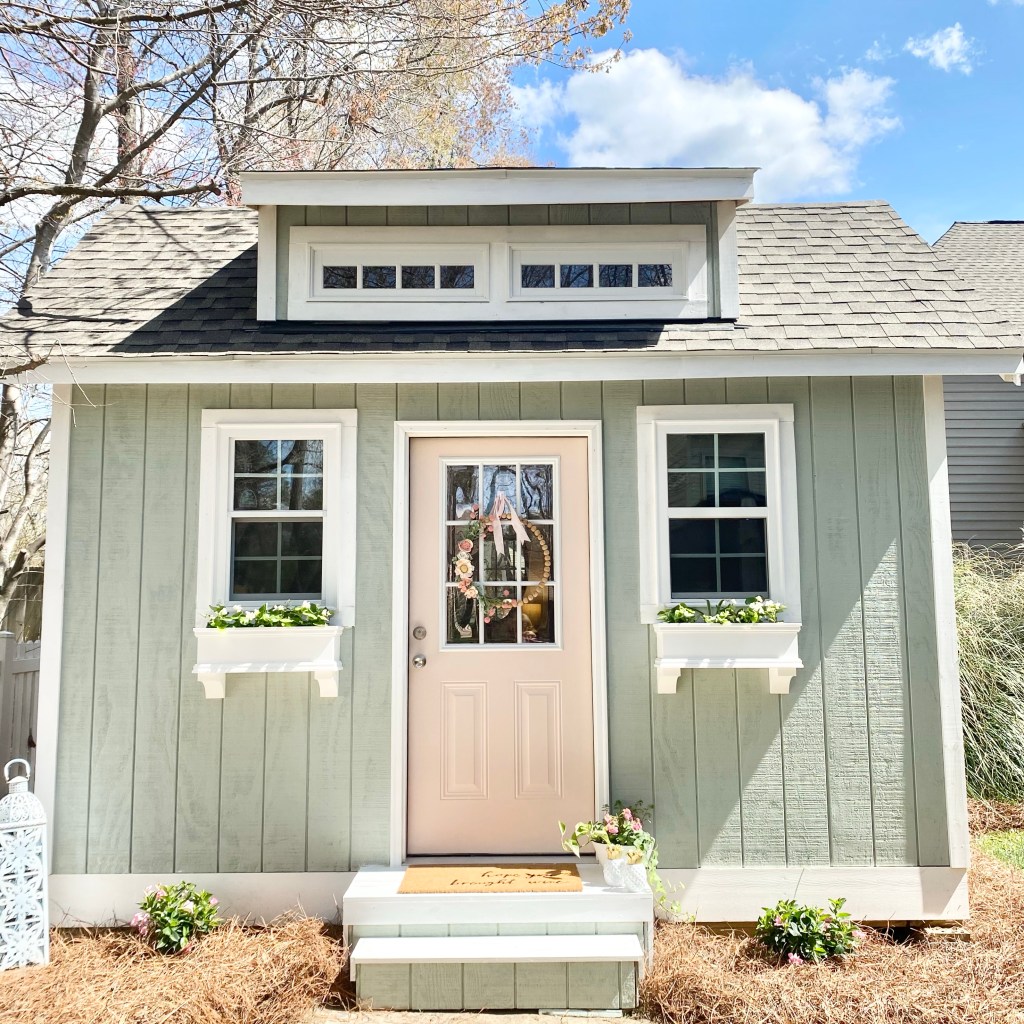
Here is my She Shed!

If you have followed my blog you will know a bit about the process. I have my first post about the start of the project here. The second part of the build is here . Lastly, the She Shed Tour of the interior is on this linked post. So, now that we have finished up the steps, trim and did some landscaping I can show to completed exterior!

I shared paint colors in previous posts but will list them here, too. The siding color is Nuance by Valspar and the door color is Romance by HGTV Sherwin Williams.

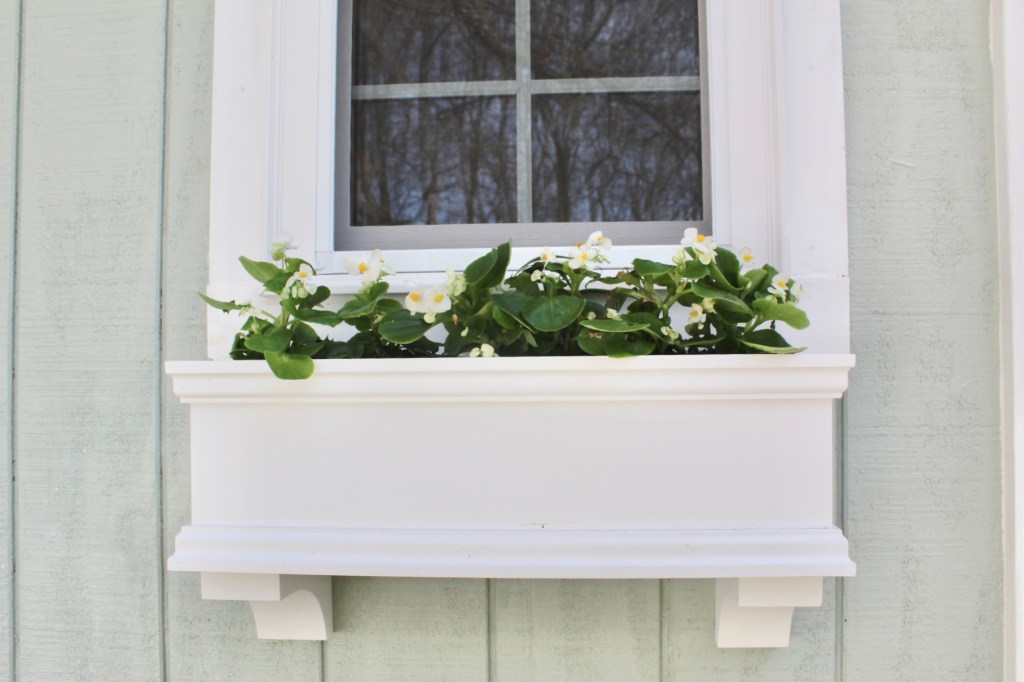
I did some landscaping. Since it is March not too many plants are available right now. So, I worked with what I could find. I put some begonia’s in my flower boxes but will add some pink flowers soon. I planted some vining mandevilla in the ground and also some peony bulbs.

I found a cute mat at Target and knew I needed to add to it my she shed!

Later on I will probably plant some hydrangeas and maybe some other bulbs to plant in the ground. That is the fun part…I can add things over the years to make it more beautiful!

I can’t believe the project is complete! So, I guess dreams do really come true! Thanks for following along with us. Do you have any questions? Feel free to ask below or leave a comment.

DIY Door Art

I have been having a blast decorating my She Shed. If you want to see where I left off check out my last post here! I had a spot where I wanted to add some sort of door decor, especially since my Etsy shop name is The Happy Door . Plus, I am always inspired by beautiful doors and entryways.

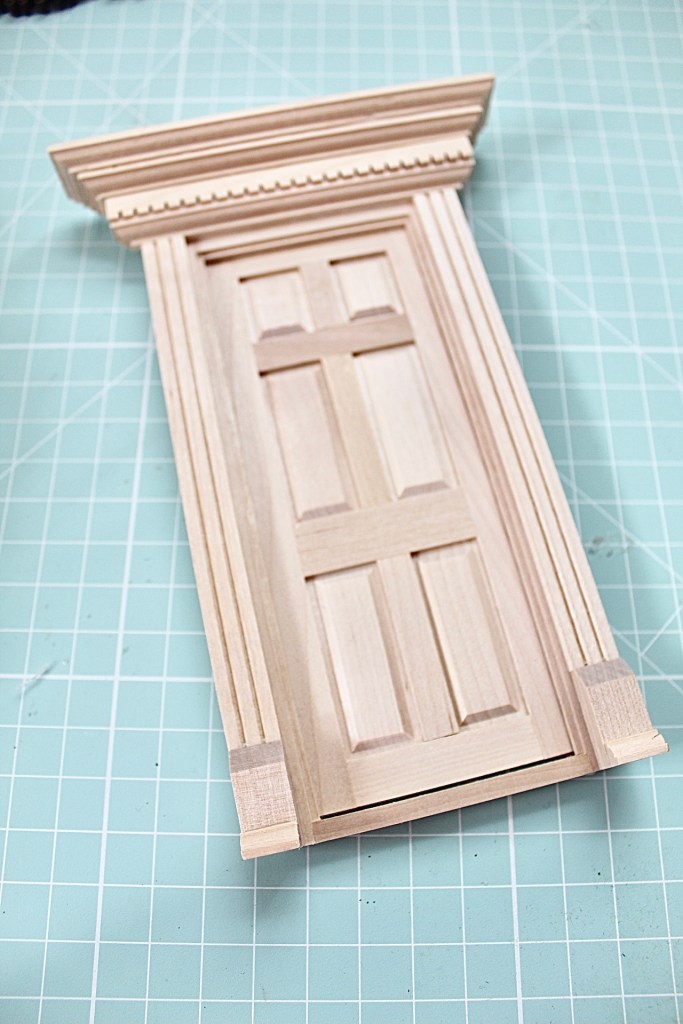
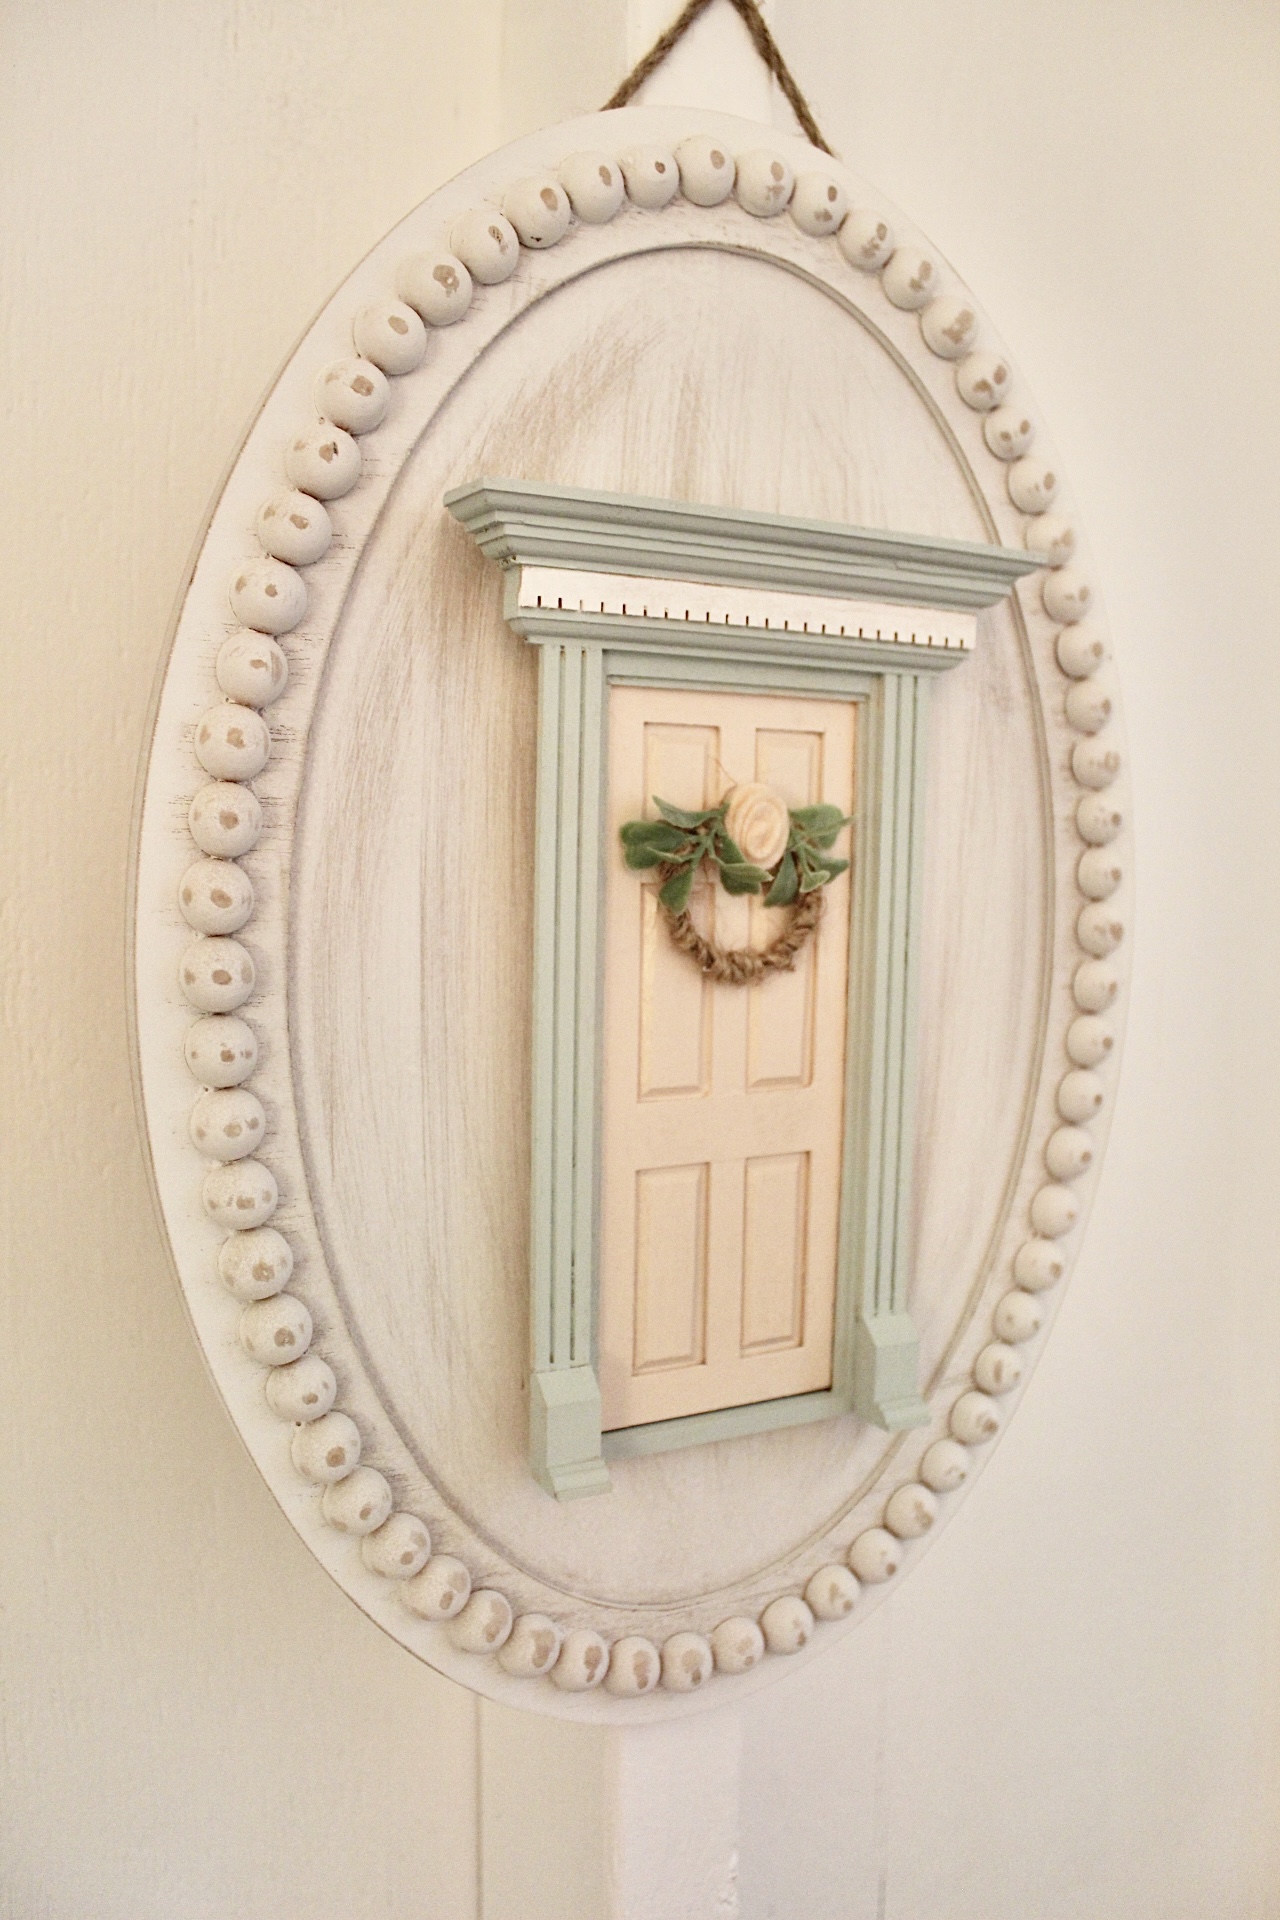
So, I browsed for art and found a couple of things I liked, but nothing I loved. I thought I’d try to paint a watercolor of a pink door on canvas, so I headed to Hobby Lobby to grab some supplies. As I was browsing I spotted a dollhouse door and had a new idea!

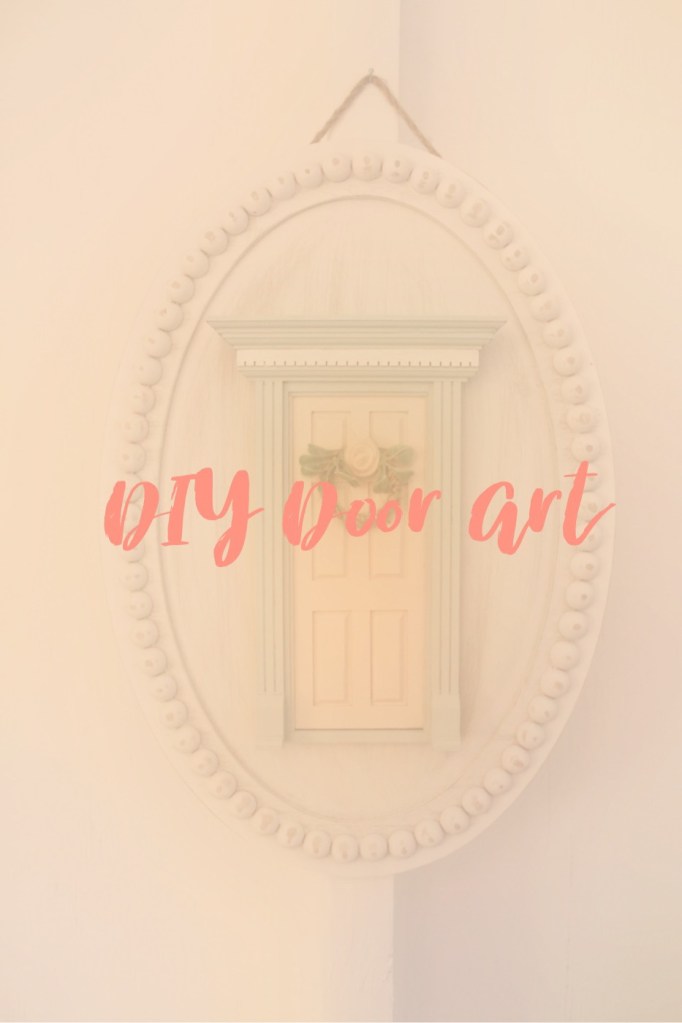
Look how cute this little door is!

So, once I found the door I thought I needed a base to attach it to!

Voila! I found this beaded sign at Hobby Lobby and figured I’d switch the way it was hung and it would work perfectly!

I wanted to add a mini wreath to the door but the sizes at the store were still too large. I’ll show you how I made my own with supplies I had.

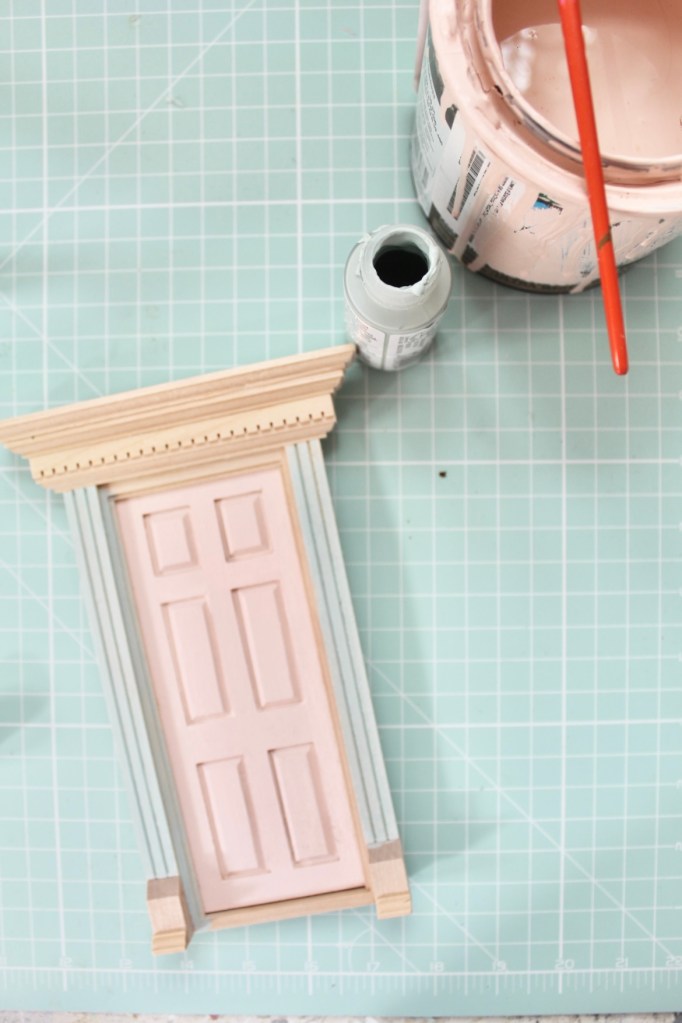
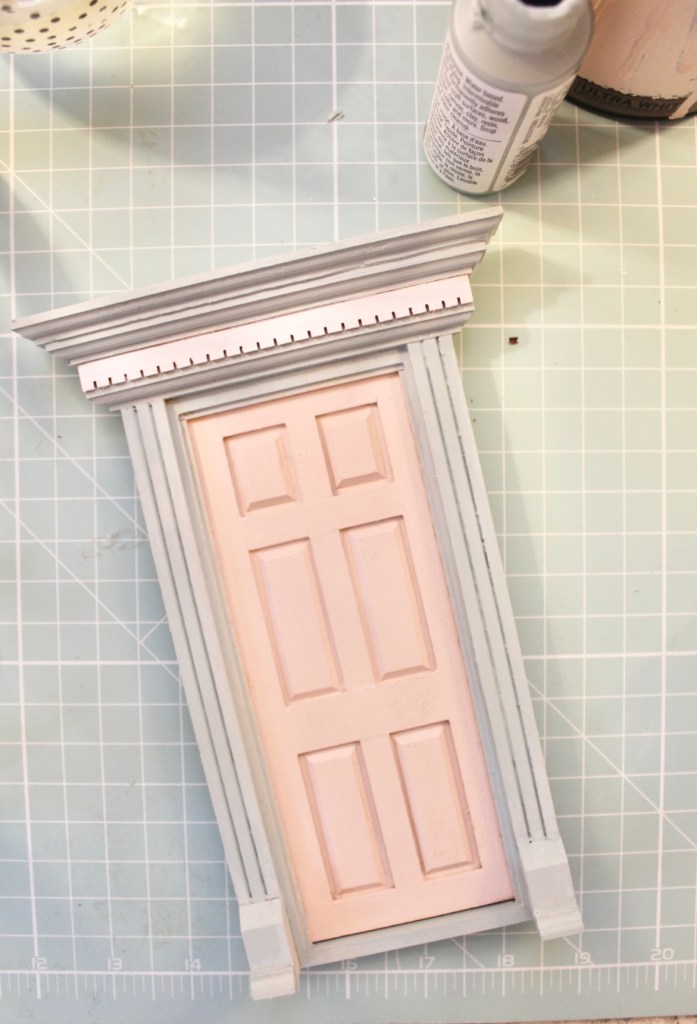
First up was painting. I painted the door and trim to match my She Shed. The pink is Romance by HGTV Sherwin Williams. It’s such a pretty soft pink.

The pink is the same color as my She Shed door!
I painted the trim to match my shed in a pale green and the top white to make it pop.

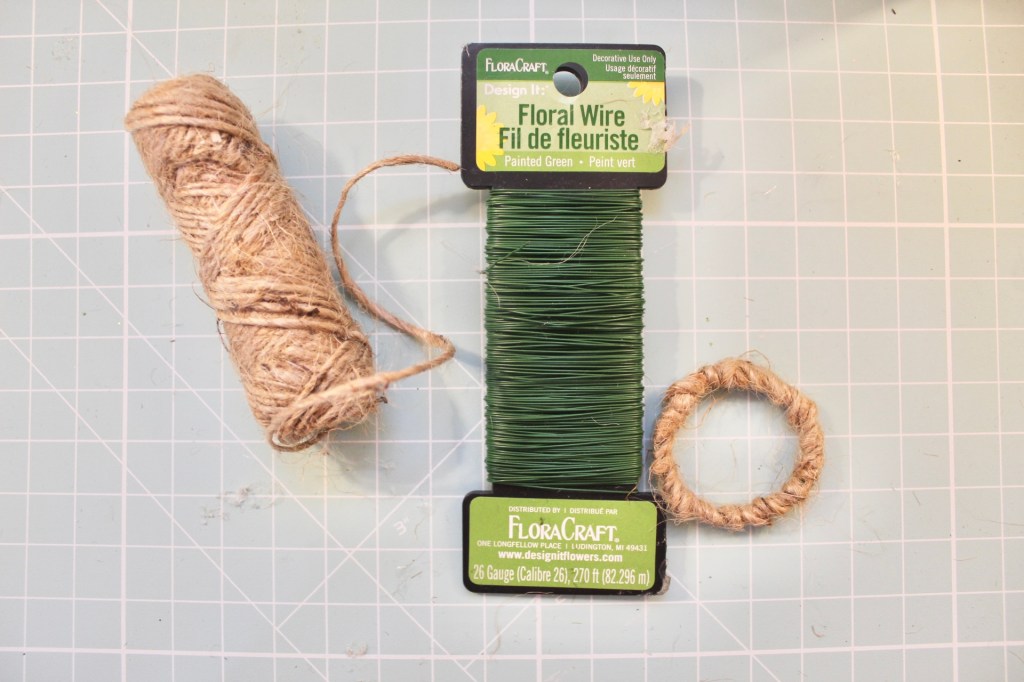
Next up I had to make a wreath. I grabbed some floral wire and twine. First I wrapped the floral wire in a circle shape and then wrapped some twine around the wire.

Such an easy way to make a mini wreath!

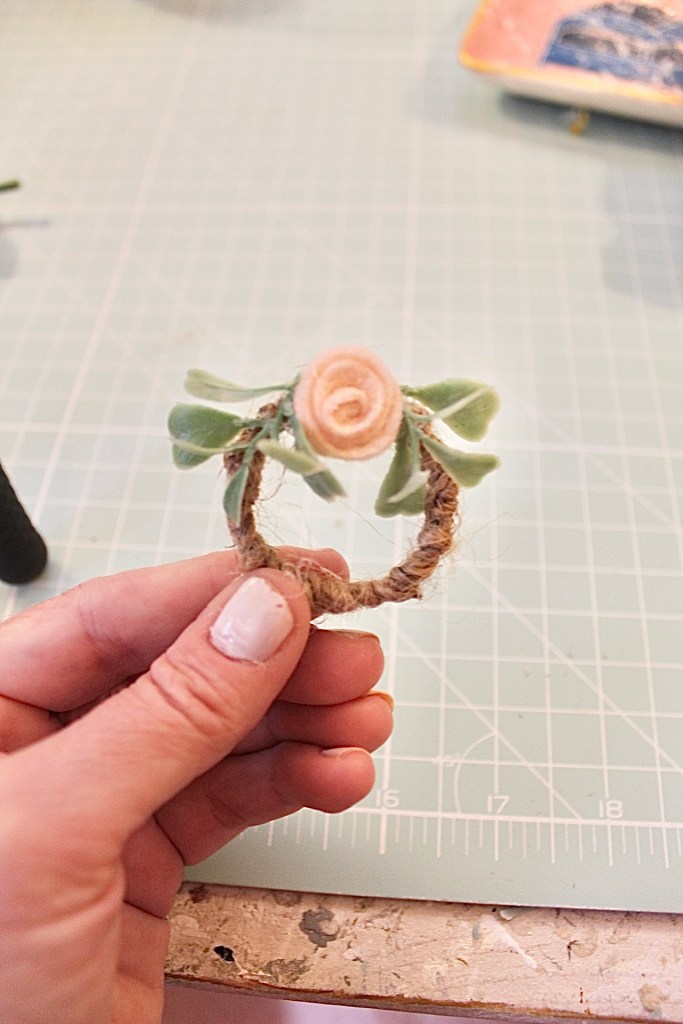
I couldn’t just leave it plain. I added a mini felt flower and some greenery and attached it with my glue gun.

A little bitty wreath for a little bitty door.

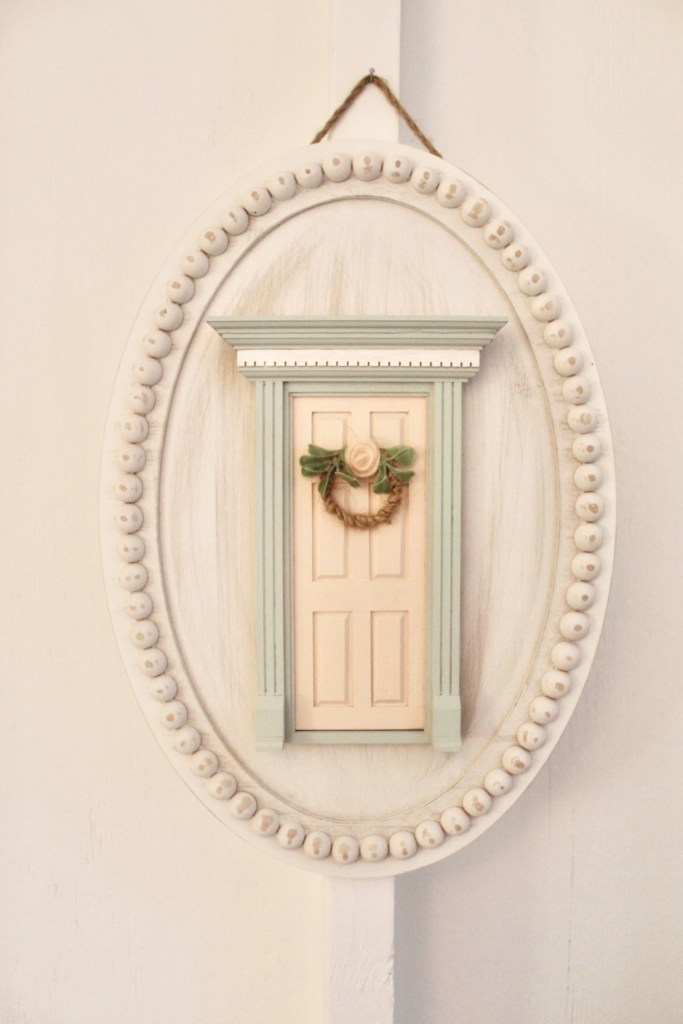
Lastly I glued the wreath on the door and then glued the door to the base with hot glue. I’d love to find a cute door knob so I will look for that.

They had other styles of dollhouse doors, too. I’m thinking a little collection of different colors on different bases would be fun. Stay tuned and see if I add more.

So for $22.00 I made something customized for me and had fun while doing it. I think this would also be a cute housewarming gift for a new home owner. What do you think? Comment and let me know!