Host a Book Swap!

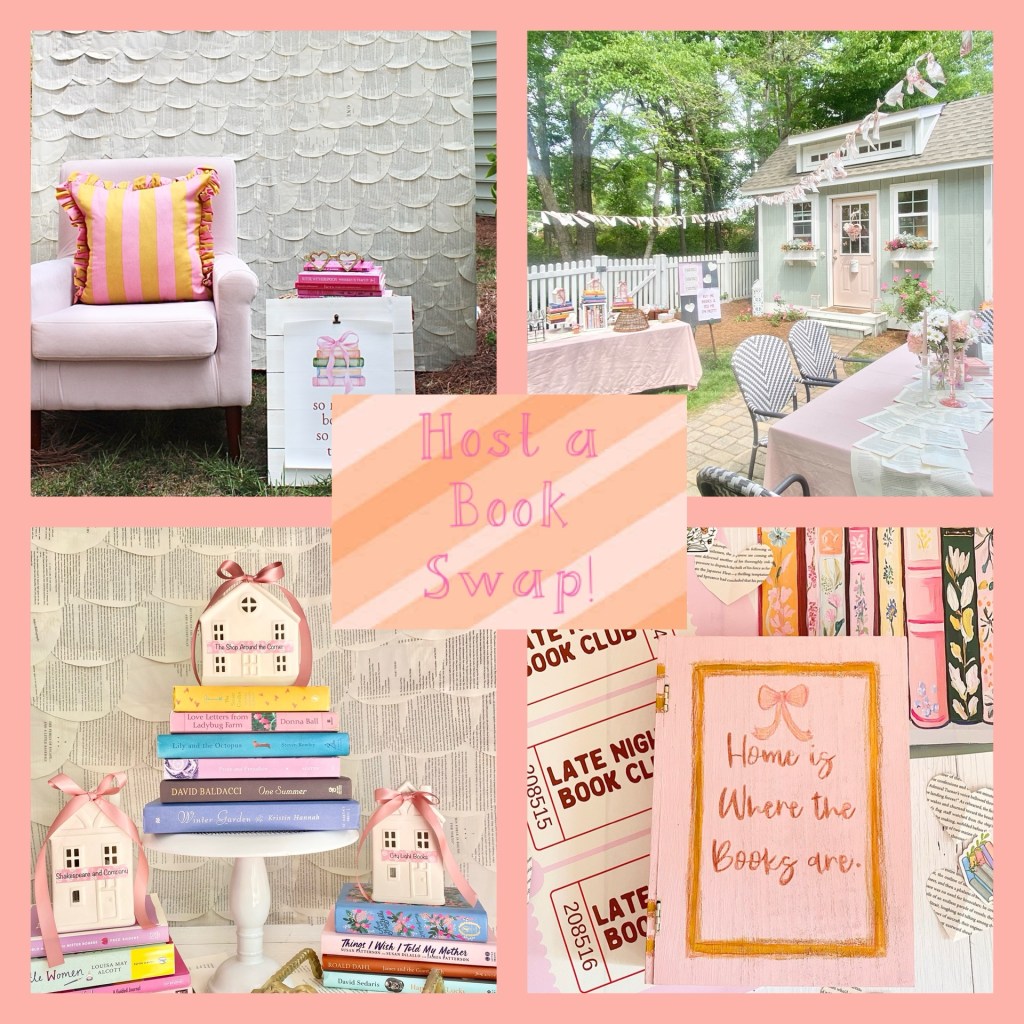
I am a book lover and had an idea to host a book swap for some girlfriends. I got brainstorming and have some cute ideas to share if you decide to host one, too.

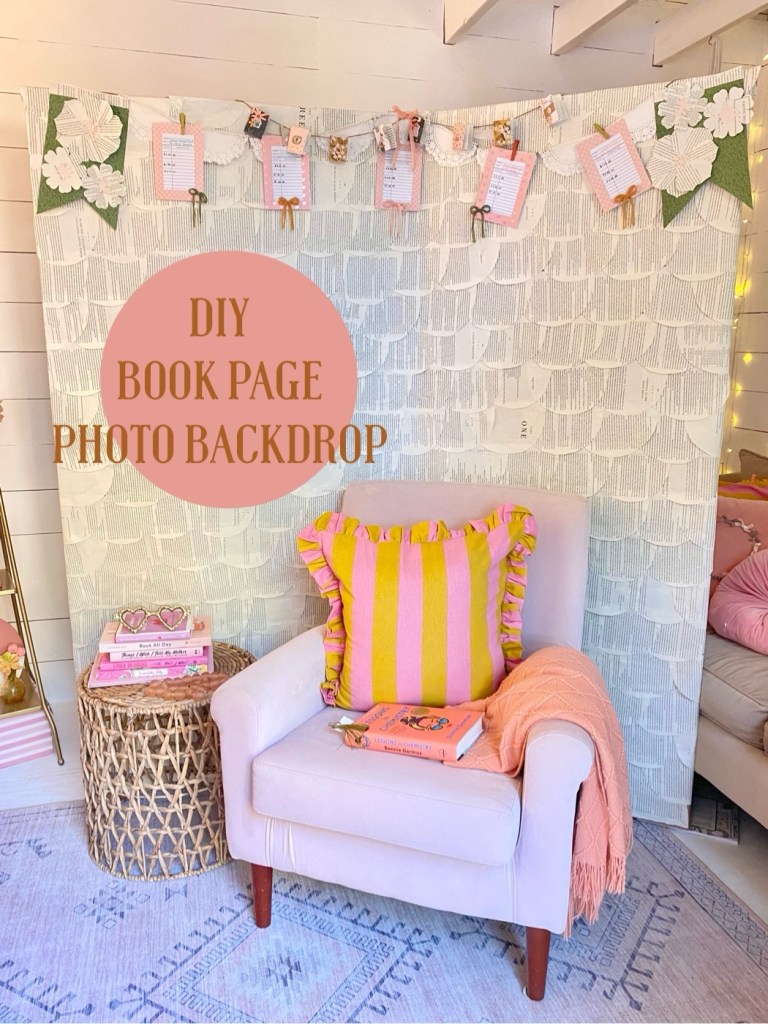
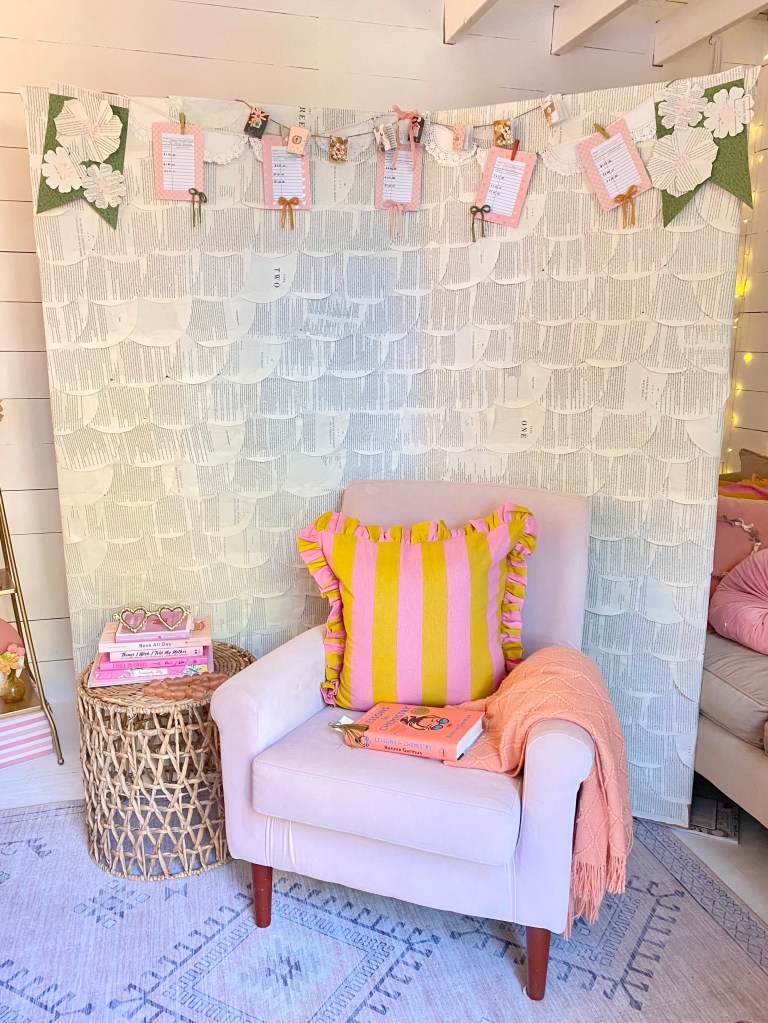
First I created a cute photo backdrop. I shared all the details in how I made it in my previous post here.

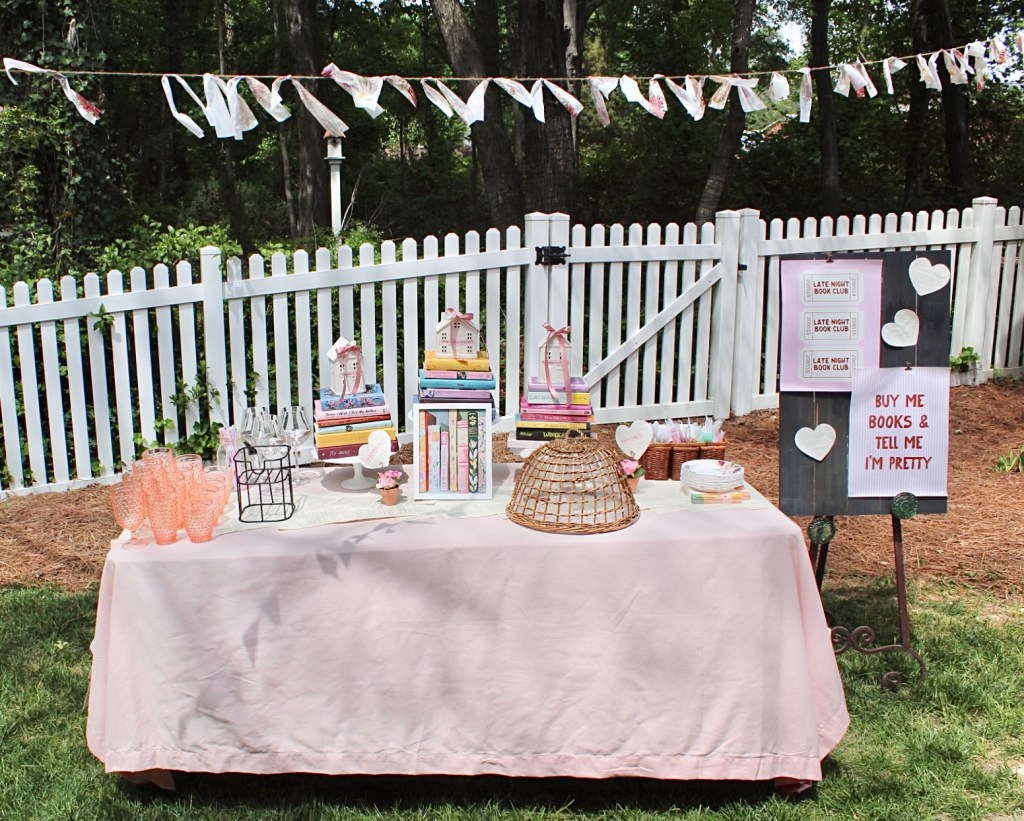
I brought it into my backyard and put a chair and a small table there with a stack of books. I found some cute art on SHEIN and added them to pallets to add some decor.

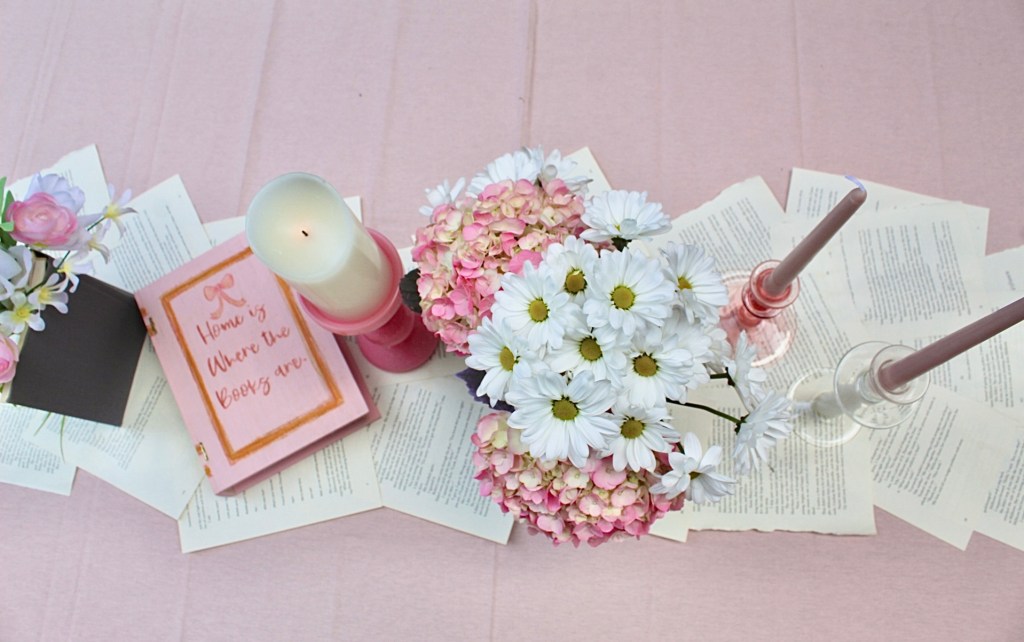
Next I made book page table runners. This was an easy project! I simply took a thrifted book, tore out pages , and used Elmer’s glue to glue them together. I made two of them and think it added a cute touch!

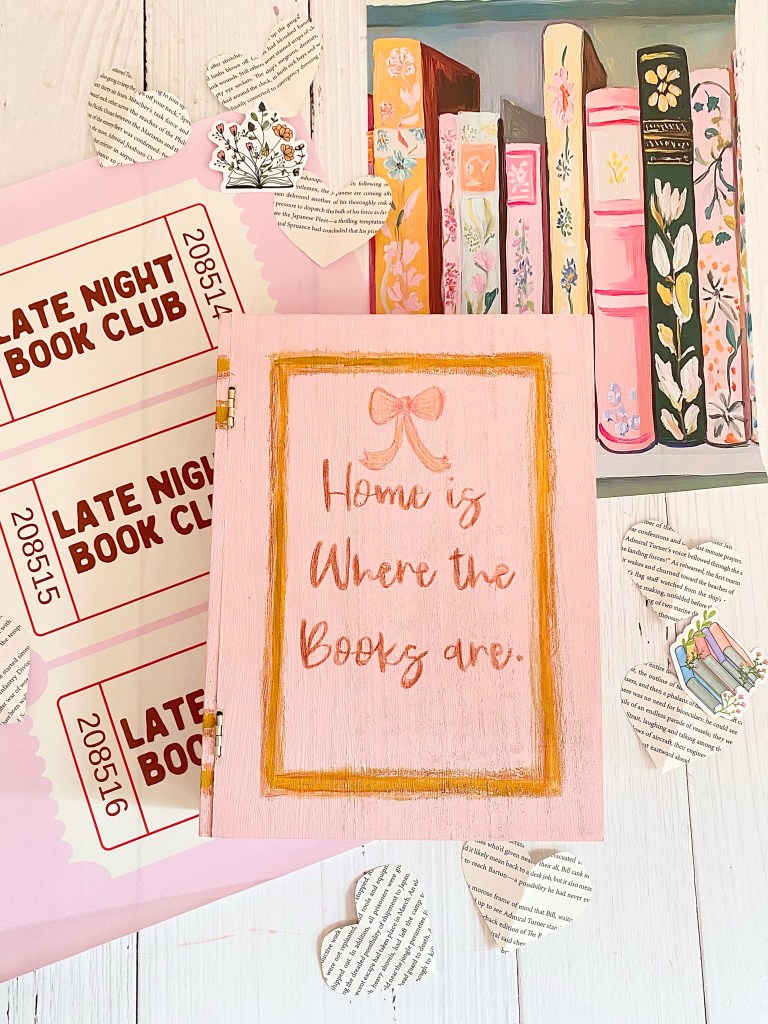
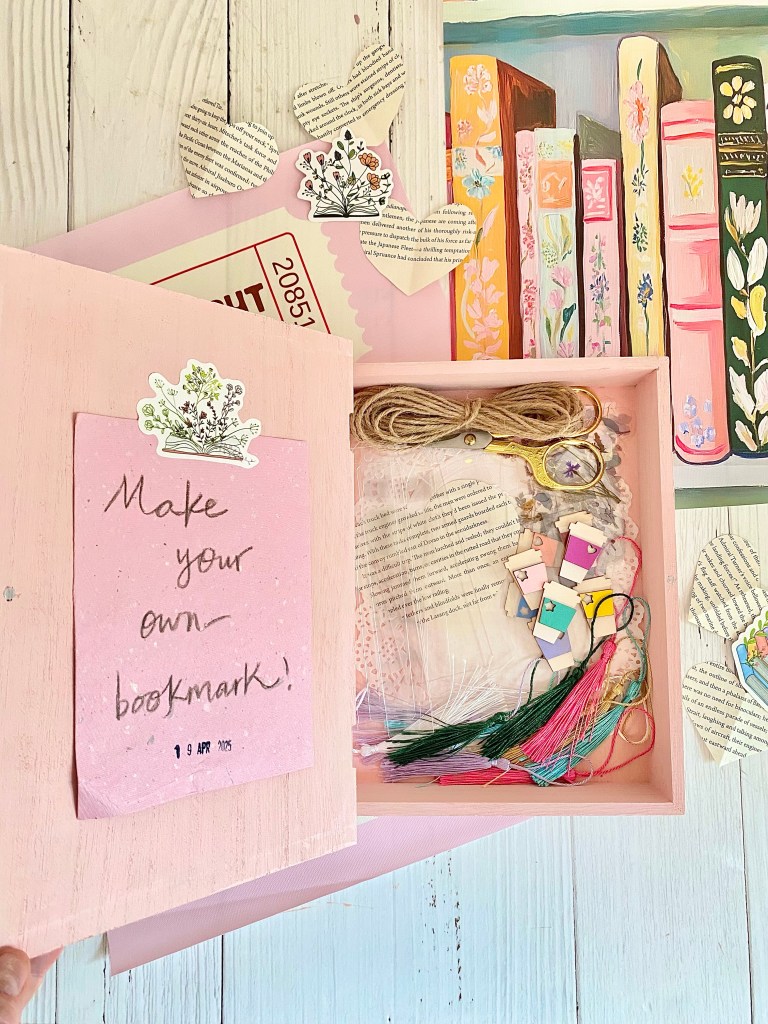
I also created a bookmark station. I had bought a wooden book from Michael’s and painted it to match my theme. Inside I added acrylic bookmarks and some stickers so my guests could customize one and take one home.
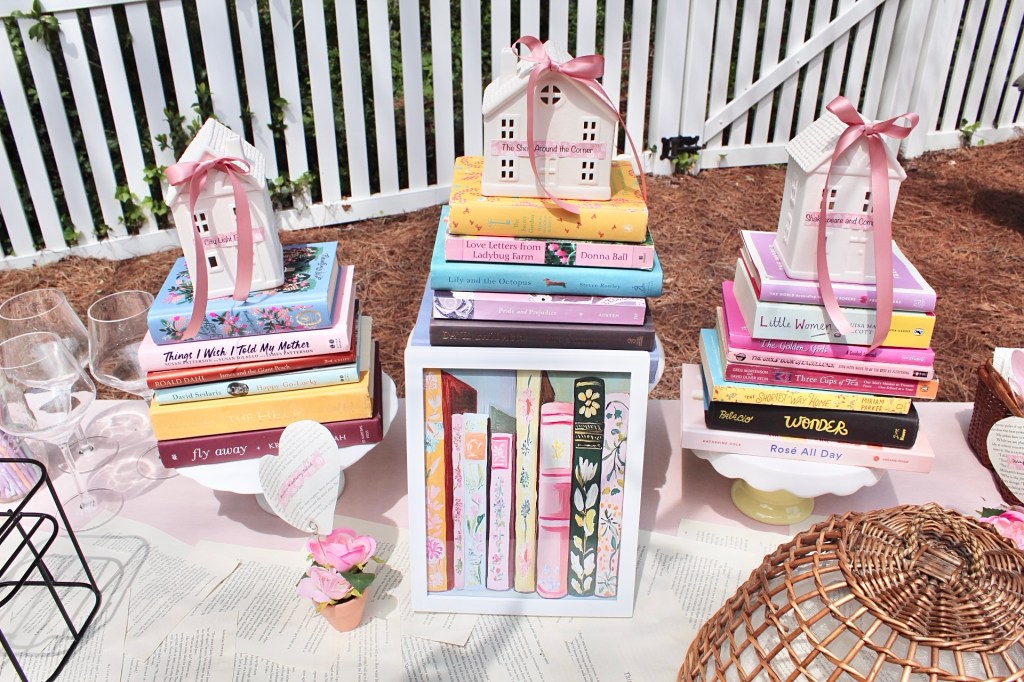
Next I collected books from my collection and put them on cake stands to add to the food table. I had little houses I bought at Target years ago and decided to make labels with book shop names, too!

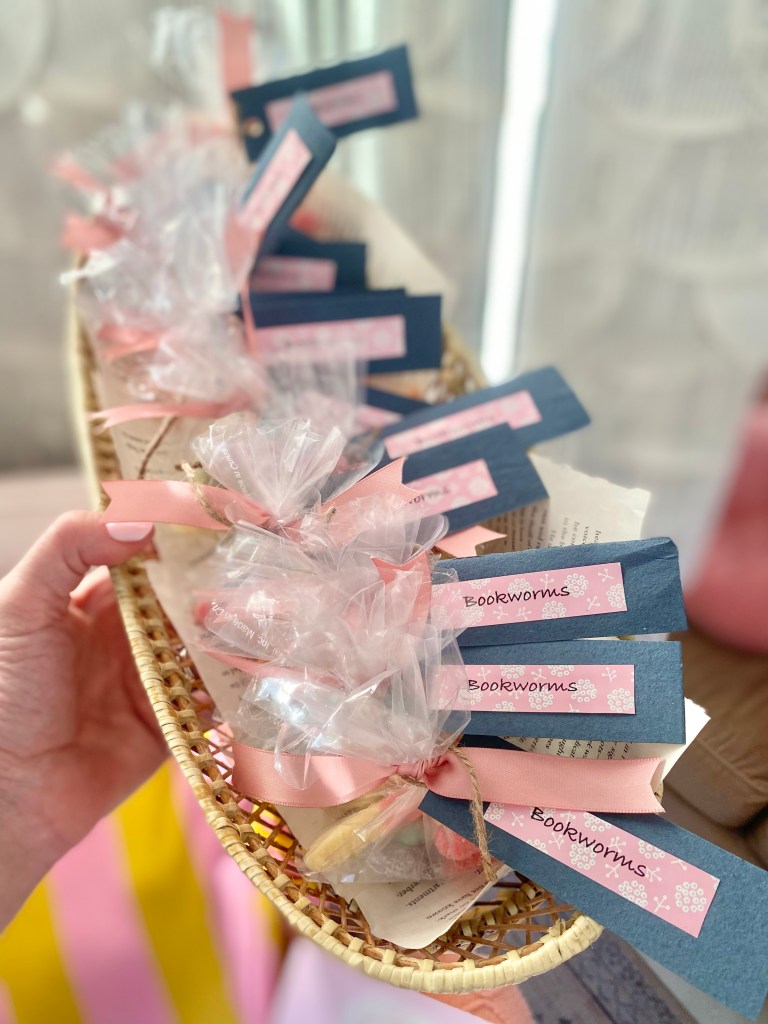
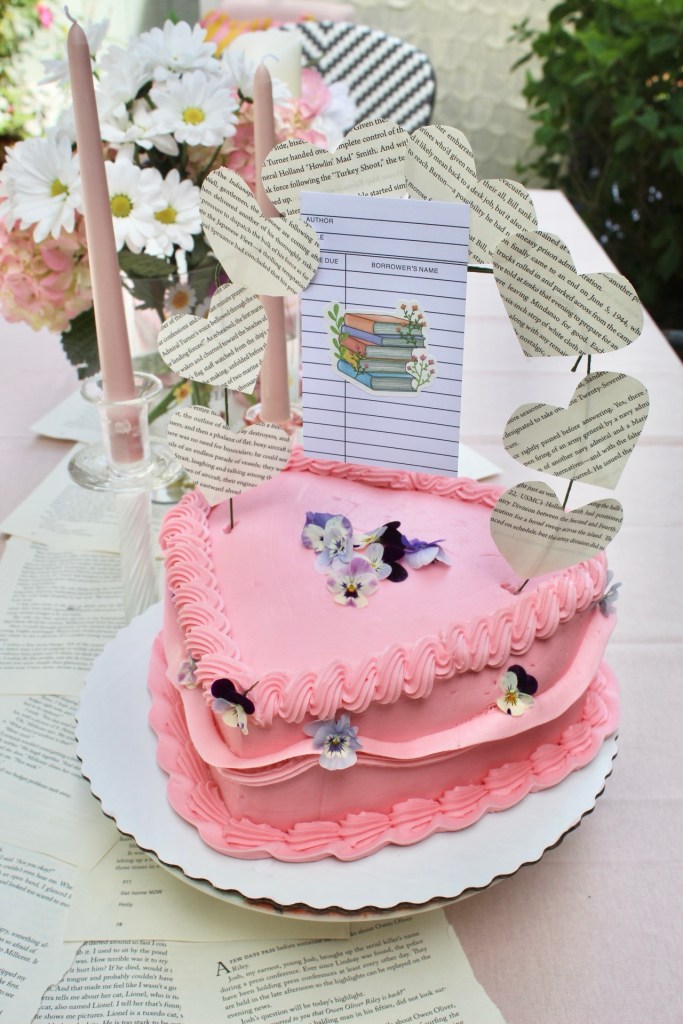
I made some snacks, iced coffee and sangria. I had also made “book worms”! I put gummy worms in a bag and added a label. I ordered a pink cake from Walmart and added some paper hearts to it.
Once everyone arrived we put our books in a basket and everyone browsed and went home with a new book! We were able to chat, talk about our favorite books and have a lovely afternoon! I highly recommend getting some friends together for a book swap and making some sweet memories!
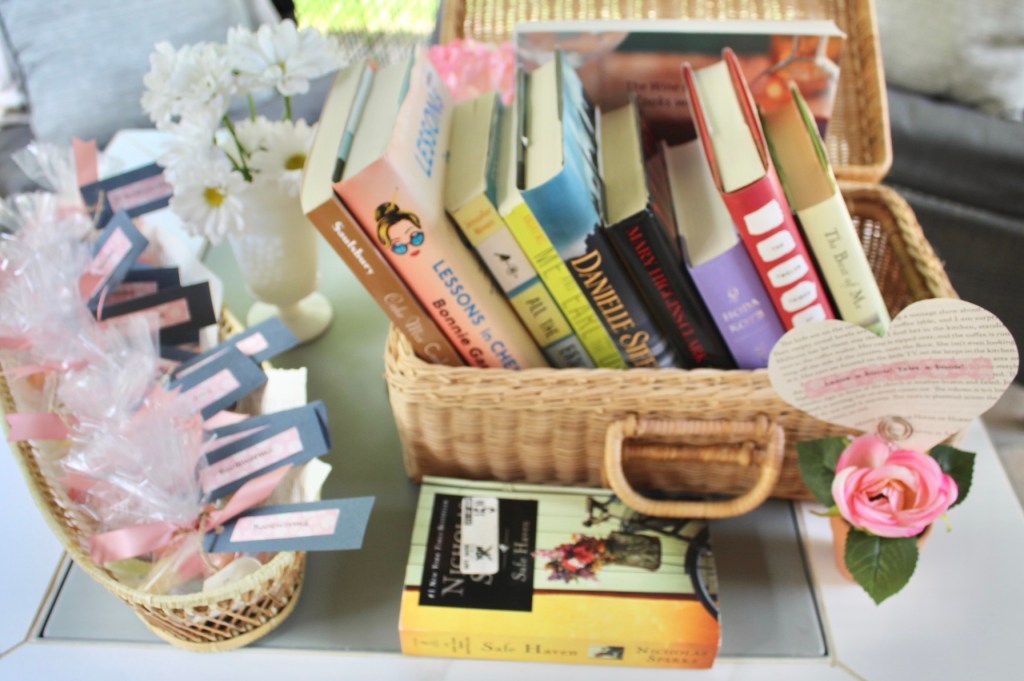
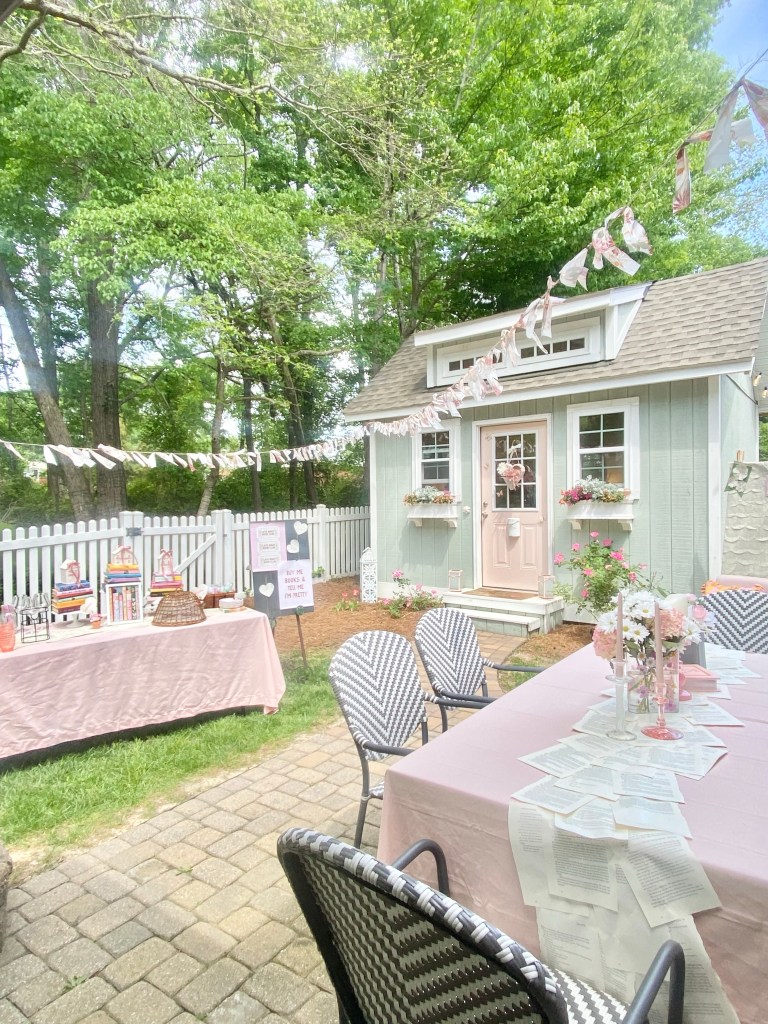
Let me know what you think of this idea!
DIY Book Page Photo Backdrop

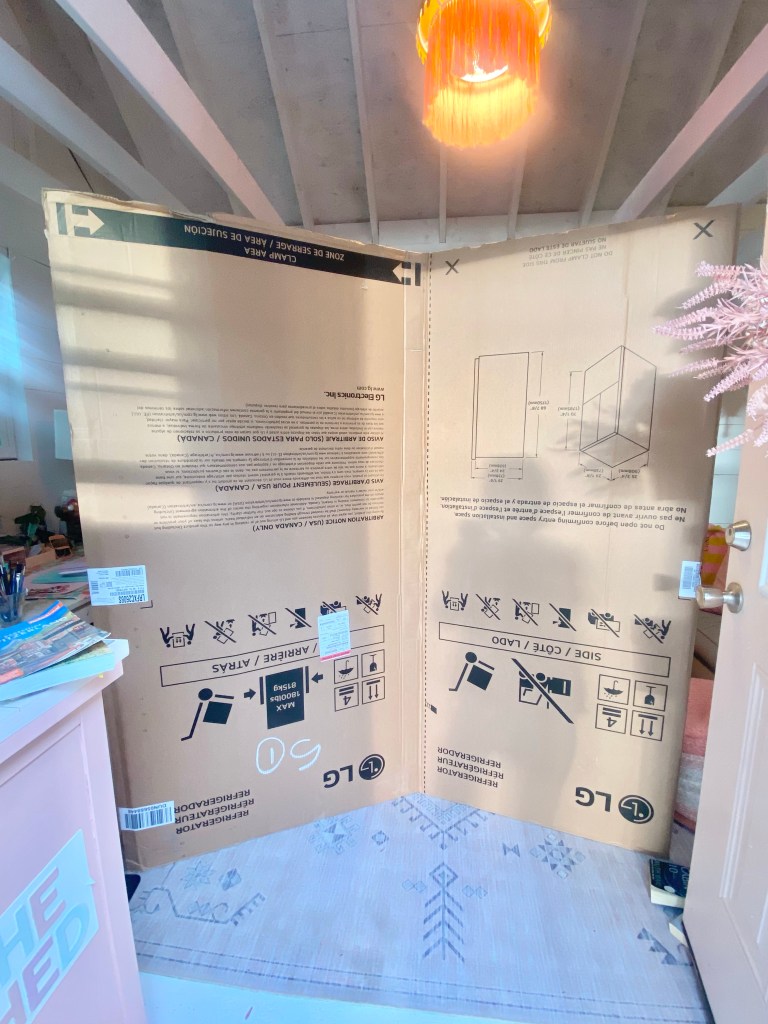
I am planning to host a book swap for some friends this month. I have so many cute ideas for decorations and knew I wanted to have a photo backdrop for cute pictures of my guests. I brainstormed a few ideas and decided to use book pages along with some different garlands. I’m going to share how I made this cute back drop with craft supplies I already had and a special secret ingredient……a refrigerator box!

Can you believe it? I was going to buy a sheet of plywood, and as I was driving to the store there was a family moving into their new home. There was a huge refrigerator box on the grass, so I immediately pulled over and asked them if I could take the box. They said sure, so I loaded it into my truck and then brought it into my she shed. I flipped the bottom panels in the back to make it “stand” up and it worked!

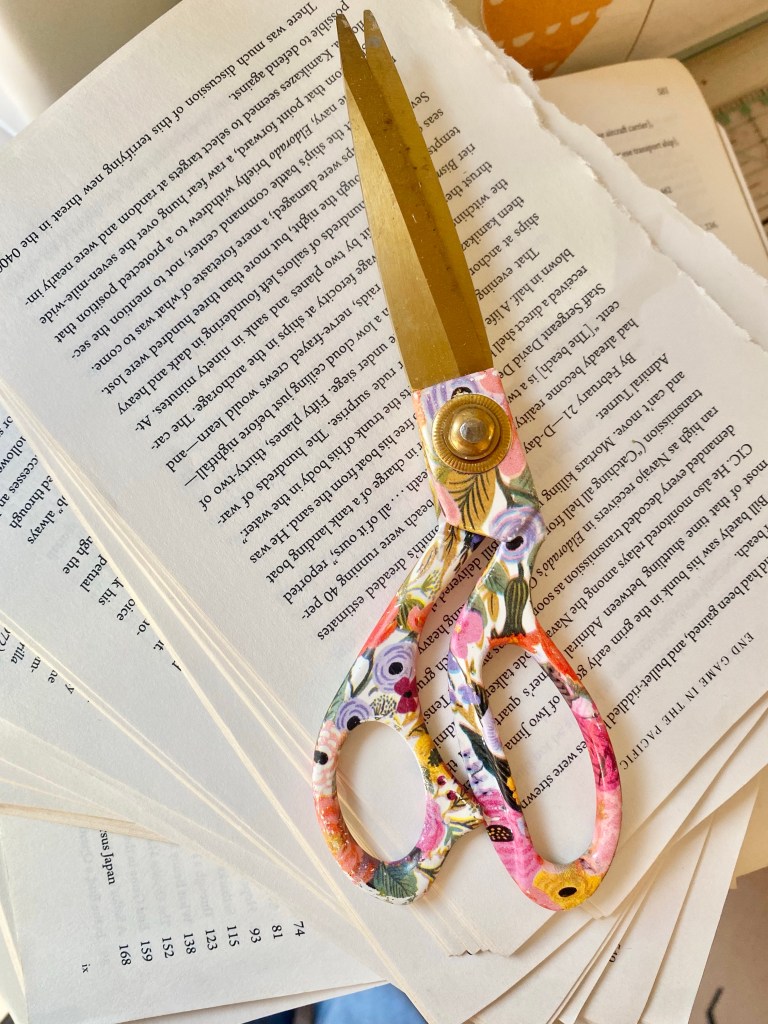
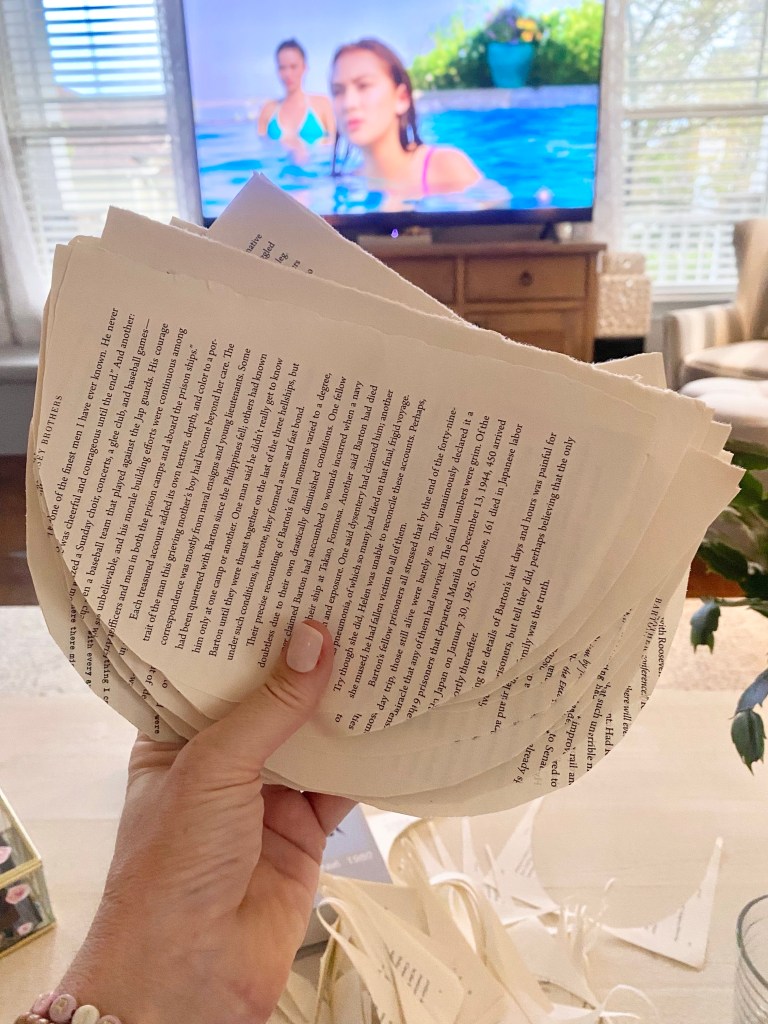
Next I grabbed a book that I didn’t care about and ripped out all the pages. I wanted a scallop pattern so I put on a show and started cutting!

Next I started glueing! This seems like it would take forever but only took me about an hour. I just used Elmers glue and started at the bottom and worked my way up. Once I got to the top I wrapped some pieces of paper around the edge and glued them to the back.

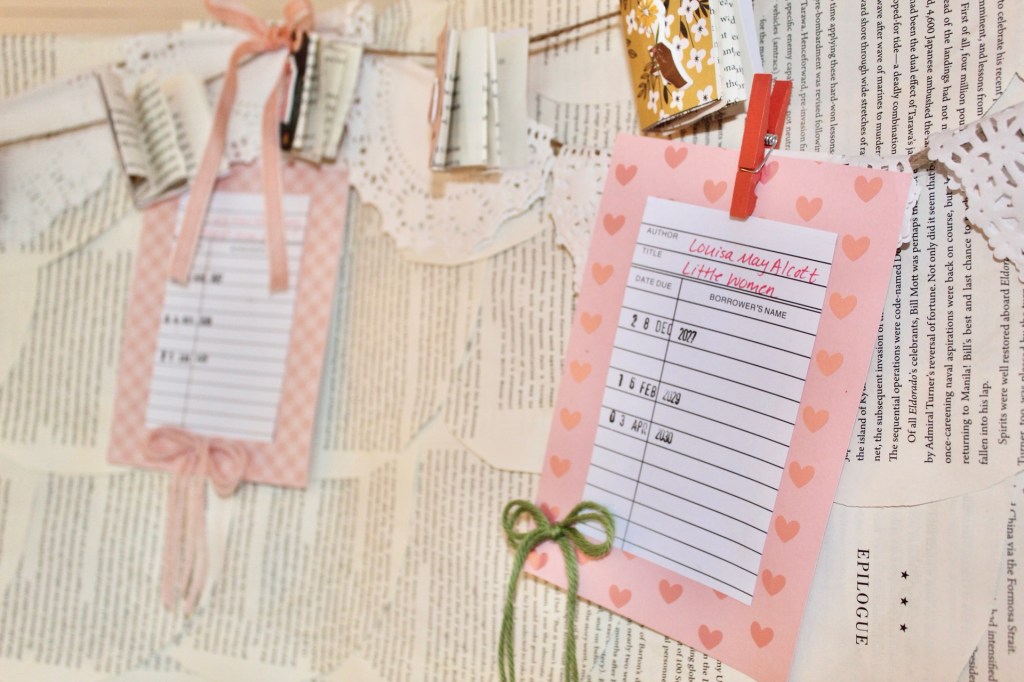
I knew I wanted to add garlands, too. I made an easy one by folding paper doilies in half and glueing them around twine. I also wanted to make a mini book garland and a library card version. I’ll show them below and how I made them!

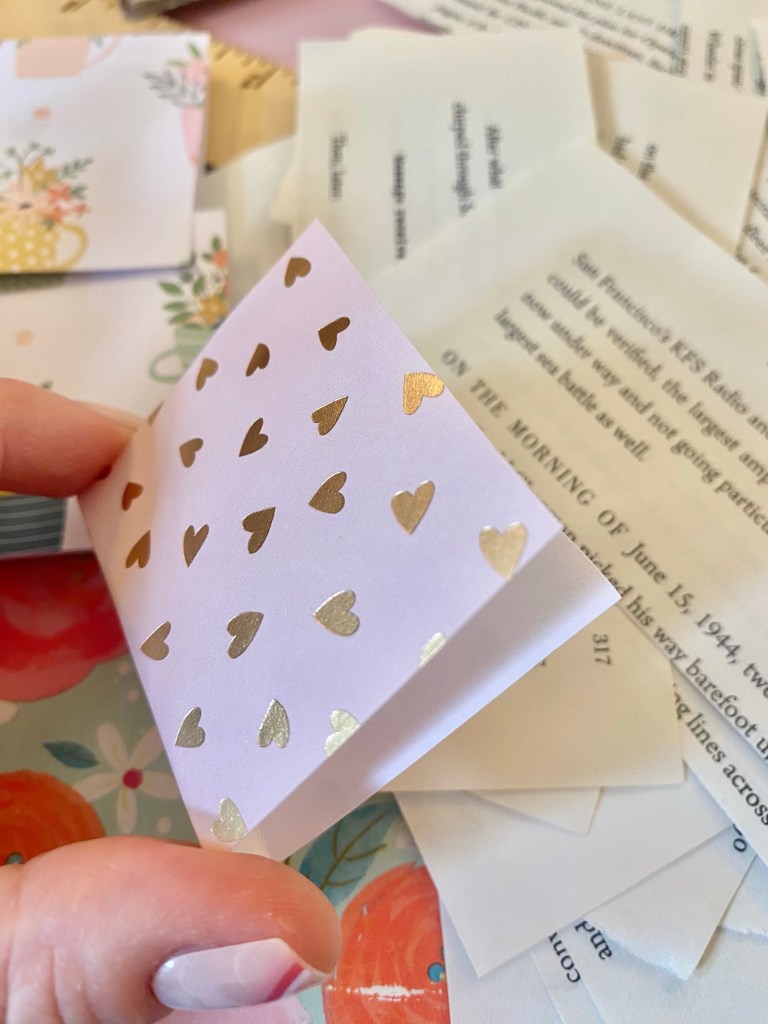
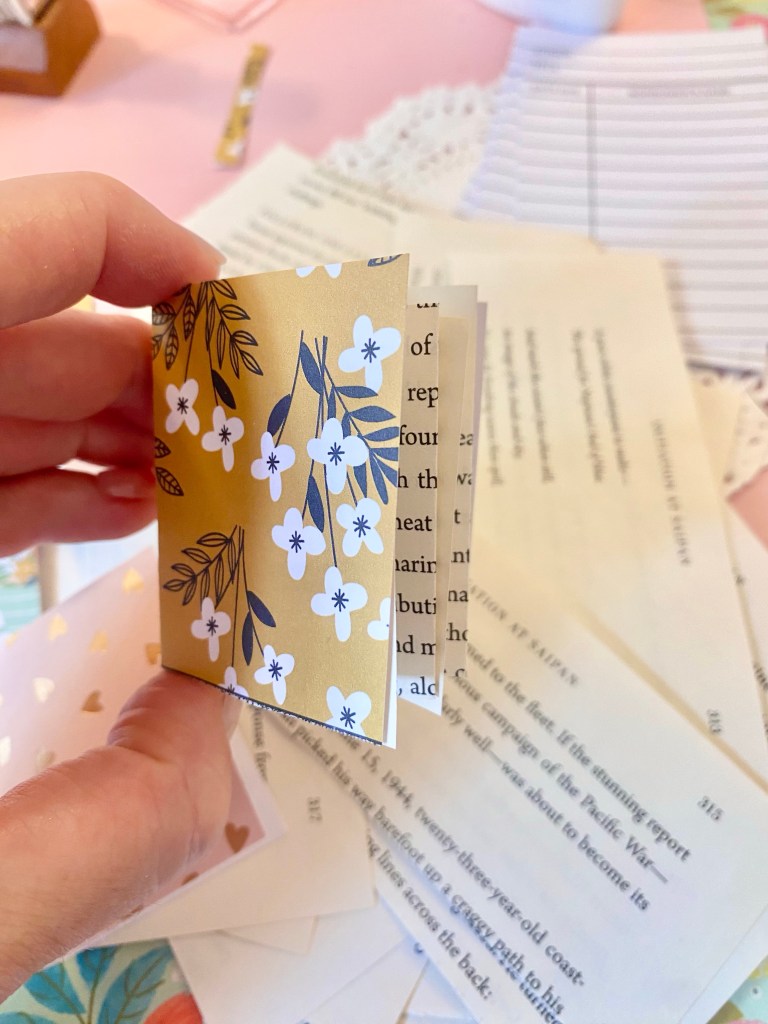
So, for the mini book garland I used scrapbook paper to make the outside of the book. I folded it with a small “book binding” so that I could add the pages inside. I just took book pages and folded them according style and glued them inside the book. I then added stickers to the outside. I then glued the books to twine.

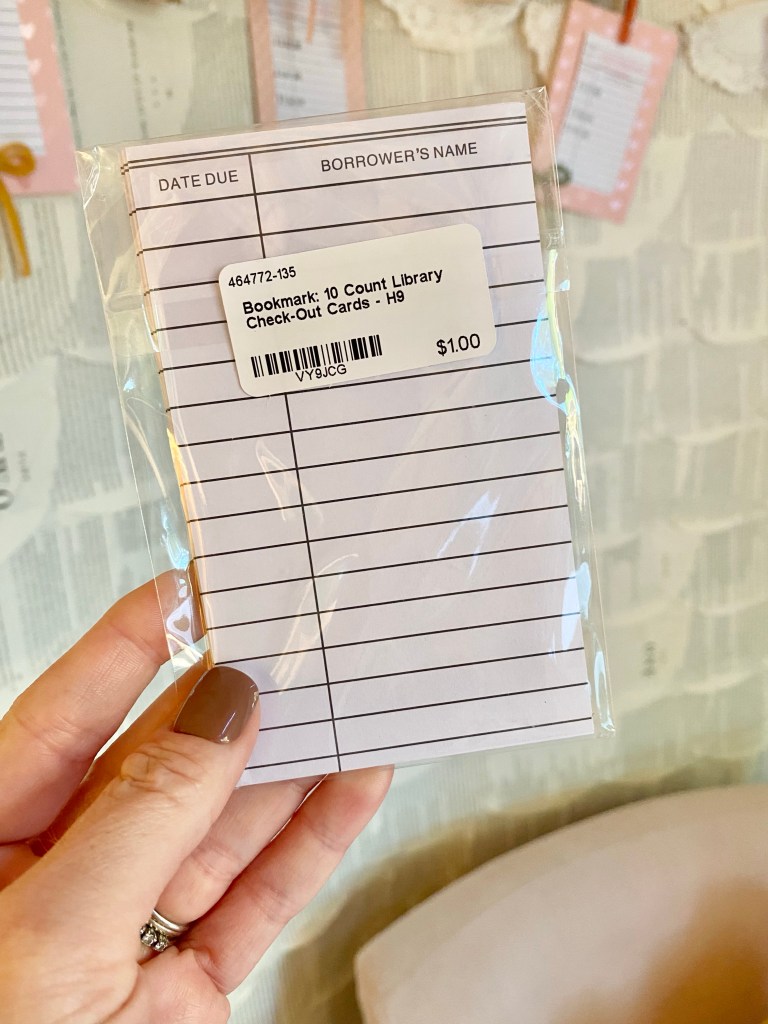
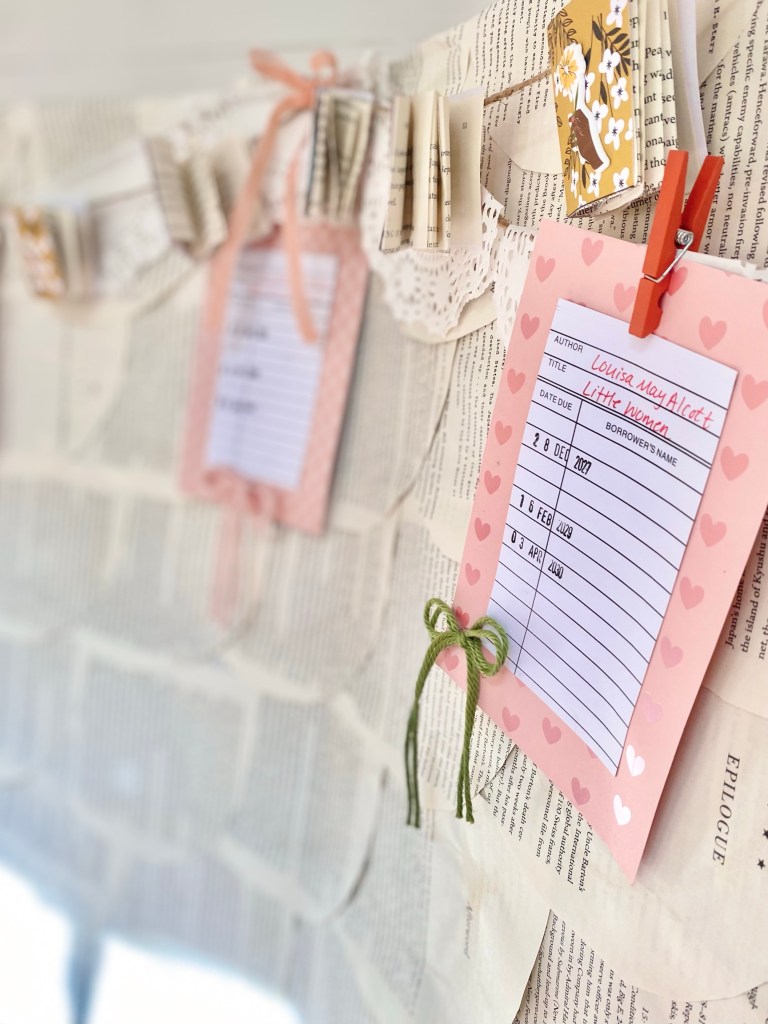
Next up was the library card garland. I had found these cute cards in a local shop. Amazon or Etsy sell them too. I had a date stamp from SHEIN that I used to stamp due dates on the cards. I then added a classic book title and glued the library card on scrapbook paper with a yarn bow and used a clothespin to hang them on twine.

I also decided the end of the backdrop needed something. So, I cut some green scrapbook paper and the used my die cut matchine to cut floral shapes. I made some book pages and folded flowers and added them to the green paper. I think it adds a perfect pop of color.

I think all the little touches are so cute and I’m thrilled that I was able to create this with what I had and an old box! I can’t wait to host this party and I will make sure to share all the other details.

“Painted” Hand Pies

I had seen an idea from Shop Art and Flora on Instagram that I loved. She made heart shaped Pop Tarts and used gel food coloring to decorate them. I thought I would give it a try and I think they’re so cute. I need a bit more practice “painting” and will share a few things I would do differently.

First off, here’s what you will need:

  • Pre made pie crust (or make your own if you prefer!)
  • Gel food coloring (I grabbed the pastel version but it was still bright!)
  • Filling ( I used strawberry jam and blueberry pie filling)
  • Paintbrushes
  • One egg for egg wash and egg brush
  • Wax paper
  • Cookie cutter in your shape of choice

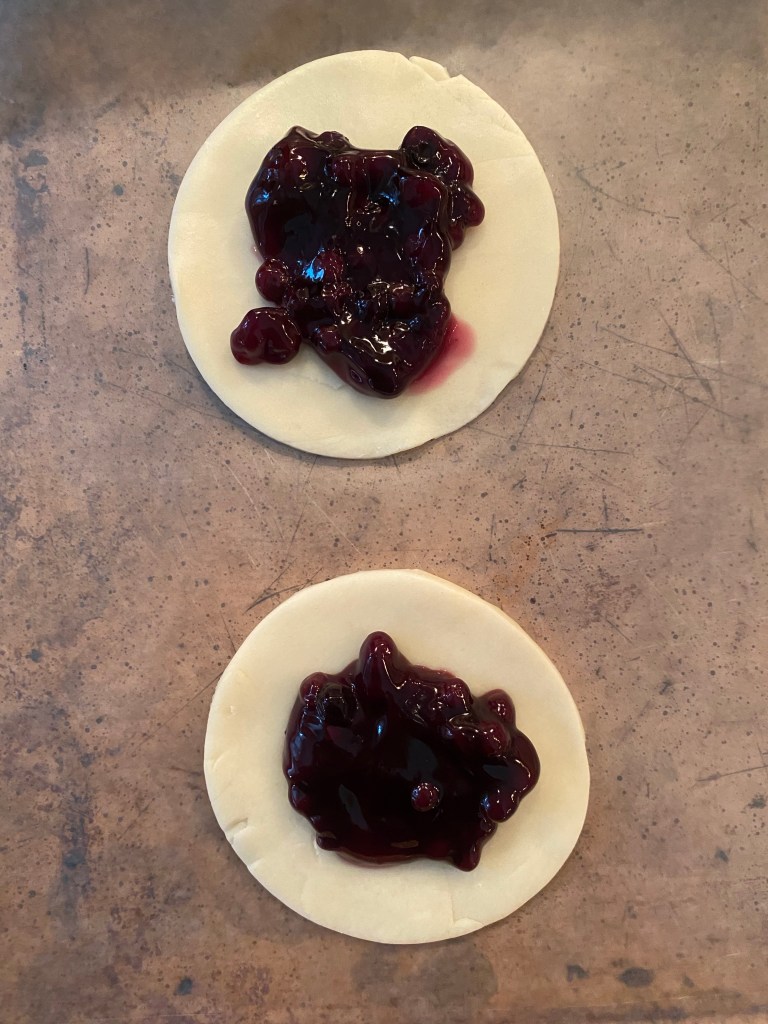
First off you will roll out your dough and cut the shapes. You will need a bottom and top piece. I took excess dough and rolled it out to create more pieces. With one box of dough I made seven hand pies.

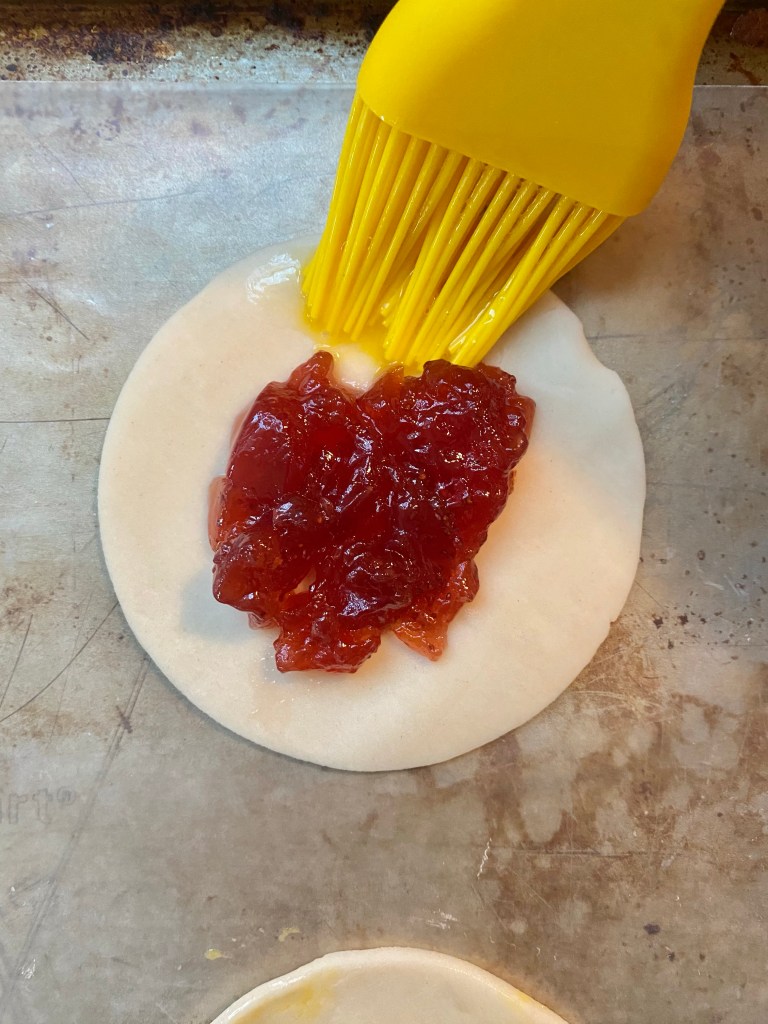
Next up place your pieces on the wax paper on a cookie sheet. Place a tablespoon or so of filling and brush the edge with egg wash.

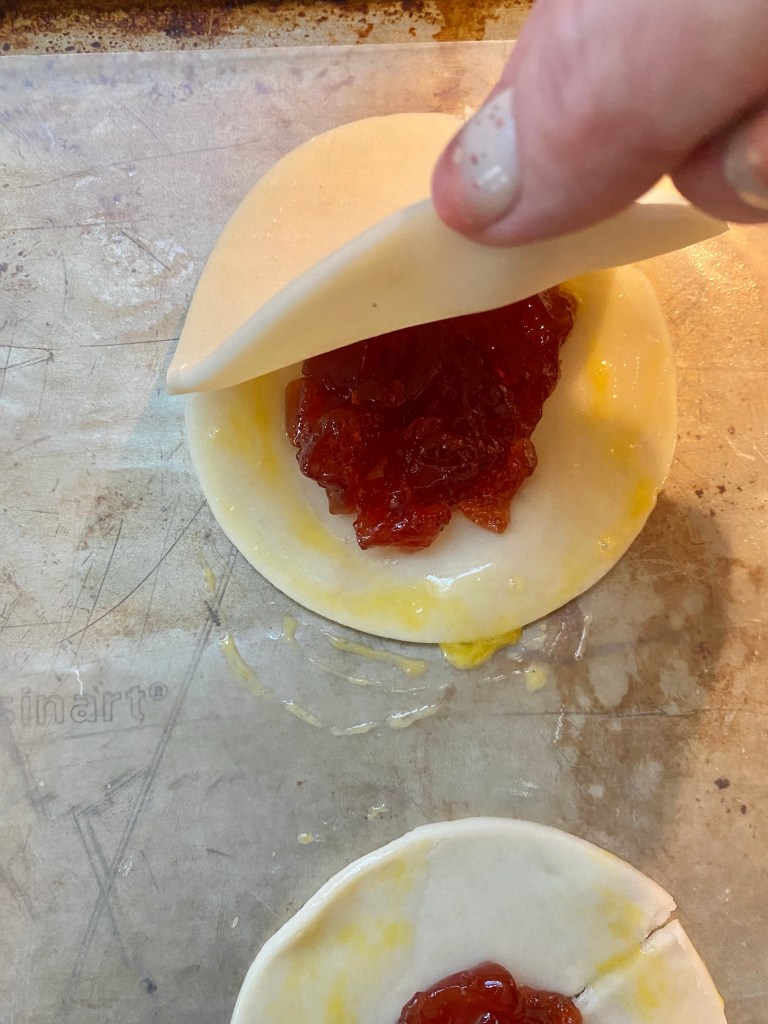
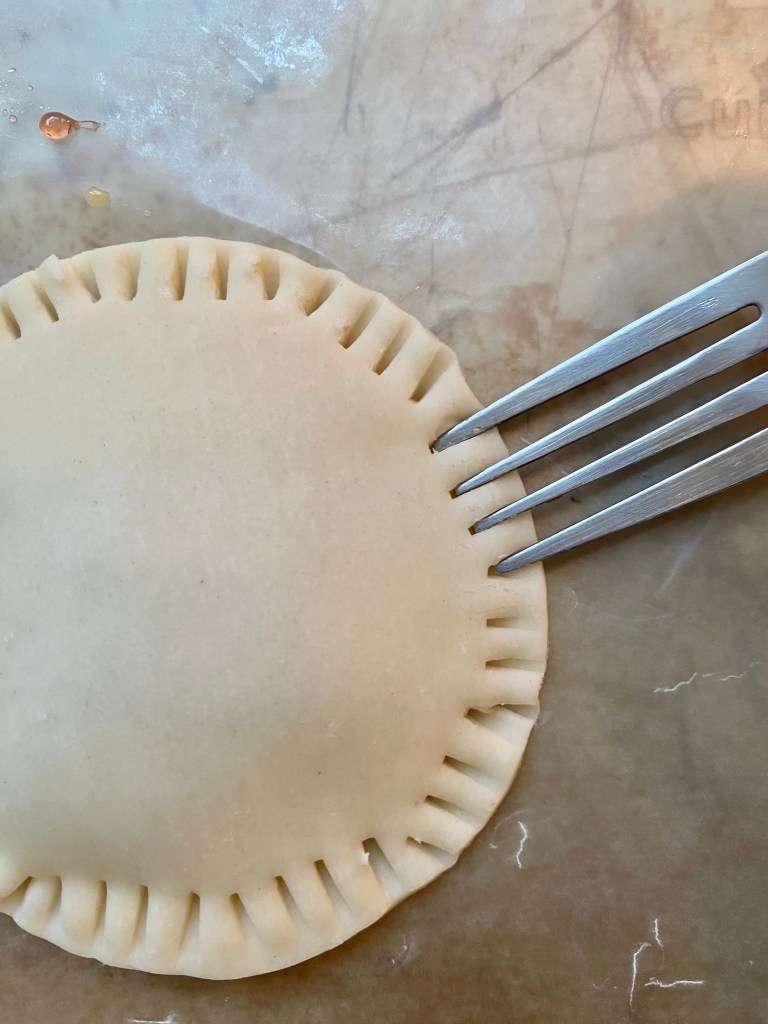
Next place the top on and seal it by crimping the edge with a fork.

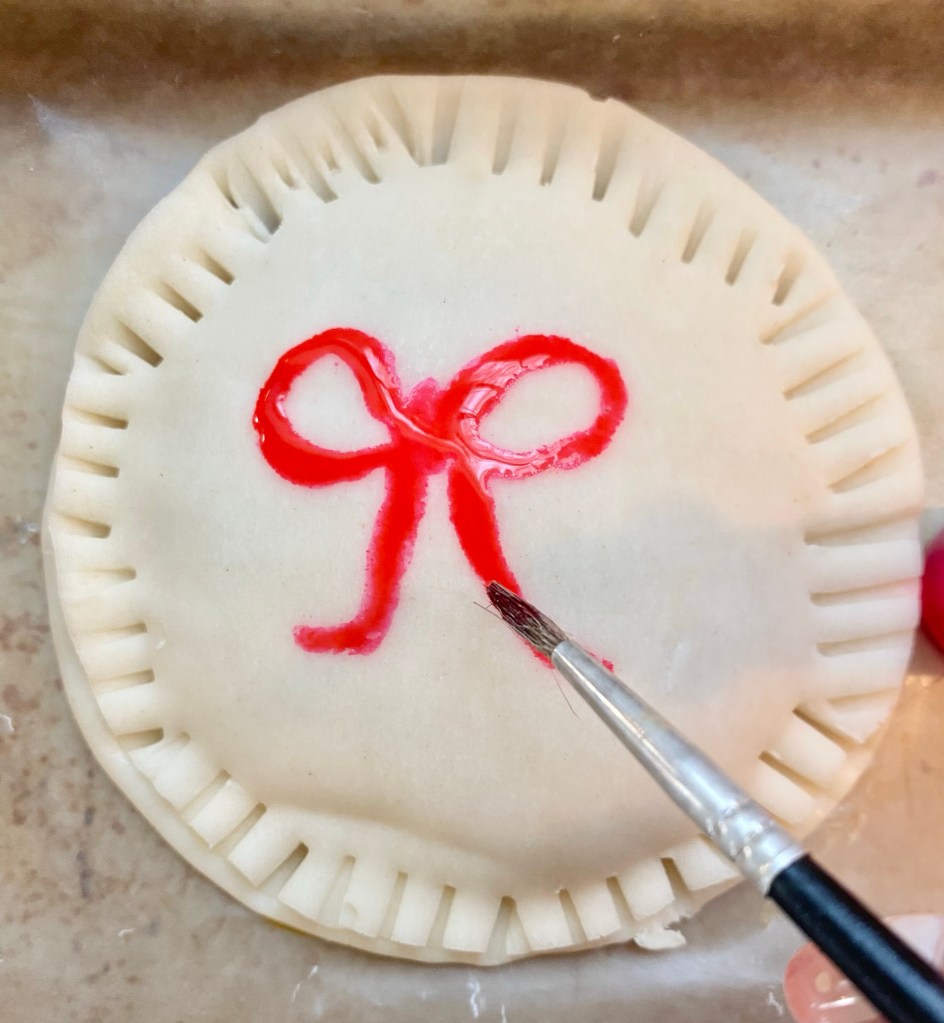
Next you want to egg wash the tops of the pies. I didn’t do this step on all of them and you can see the difference once baked. It will have a more golden look. Let the egg wash dry and start the fun part…painting!

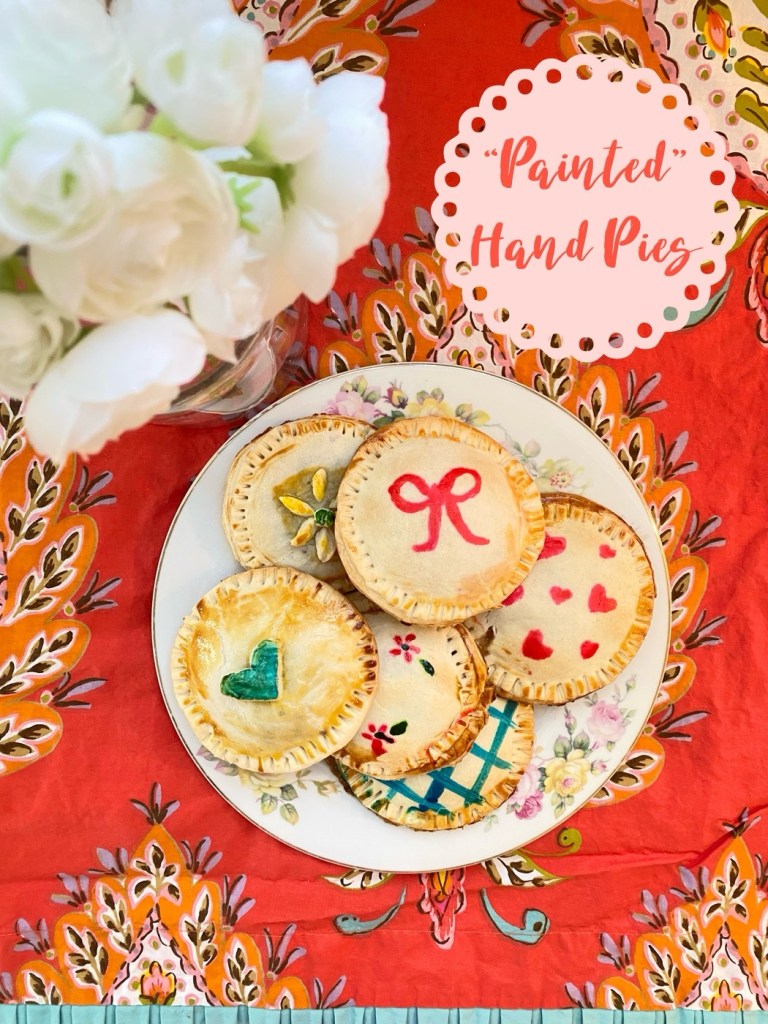
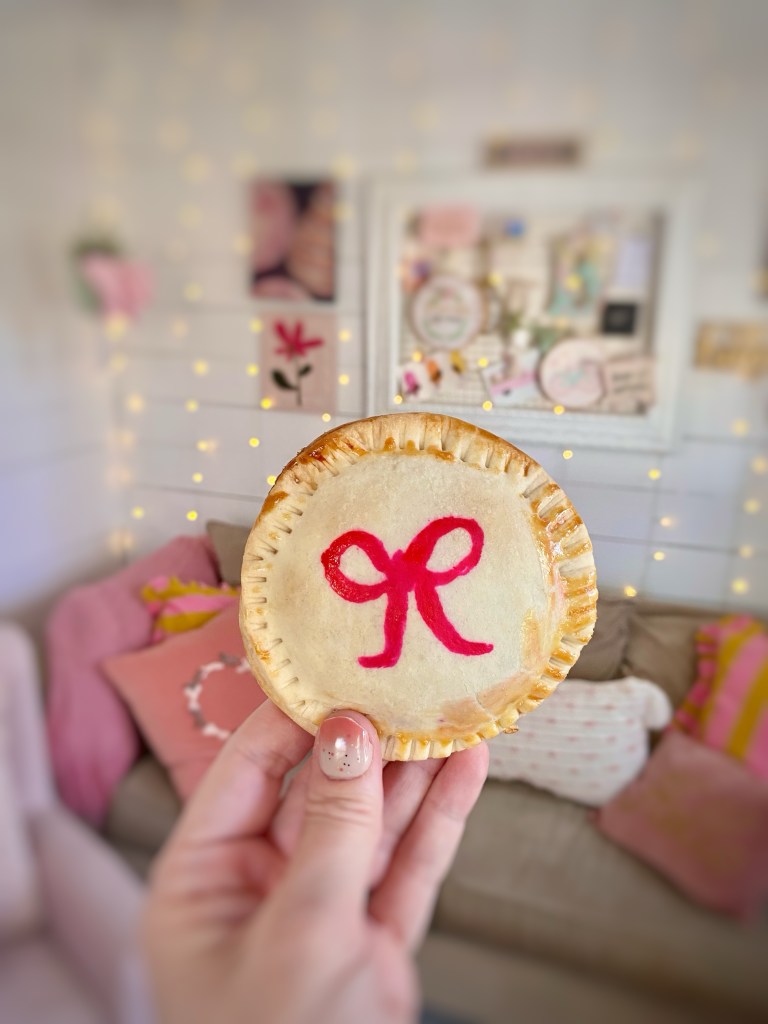
I painted a bow on this one!
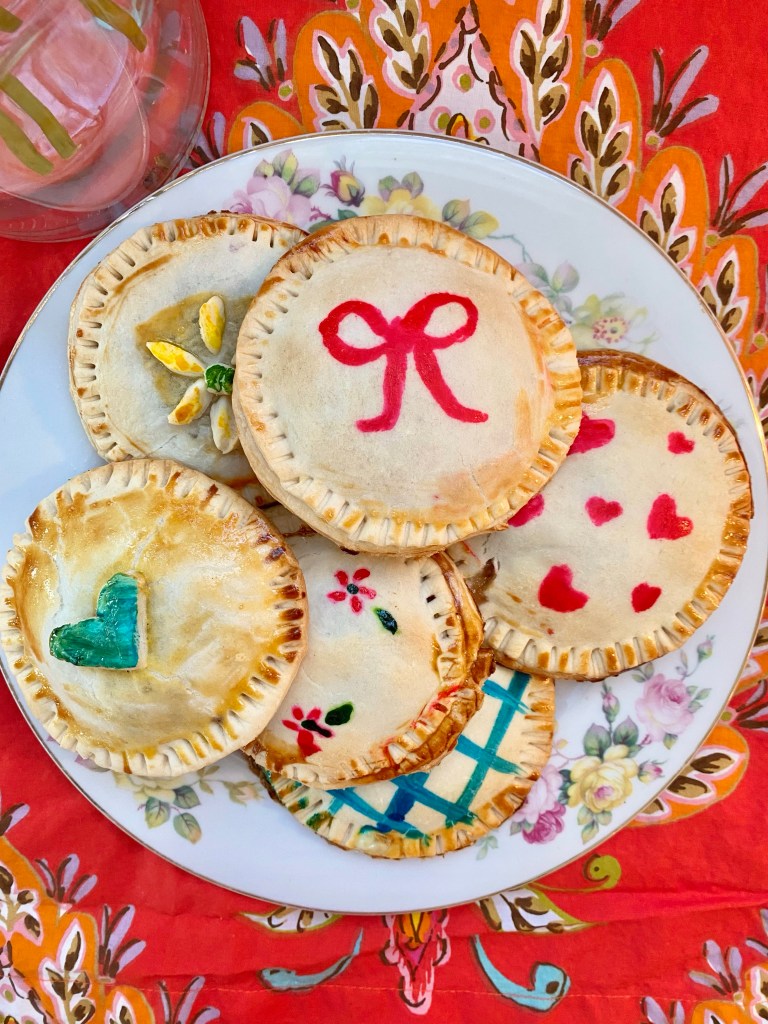
I cut out a heart from dough and placed it on the pie and then added the gel color!

You can also cut out pieces of dough and make hearts, flowers or any design you like. Once done bake in the oven at 400 for 10-12 minutes. Then enjoy!

I think these would be cute for a baby shower or bridal shower with the brides initials! The ideas are endless. Let me know if you’d try to make these!

DIY Yarn Hats

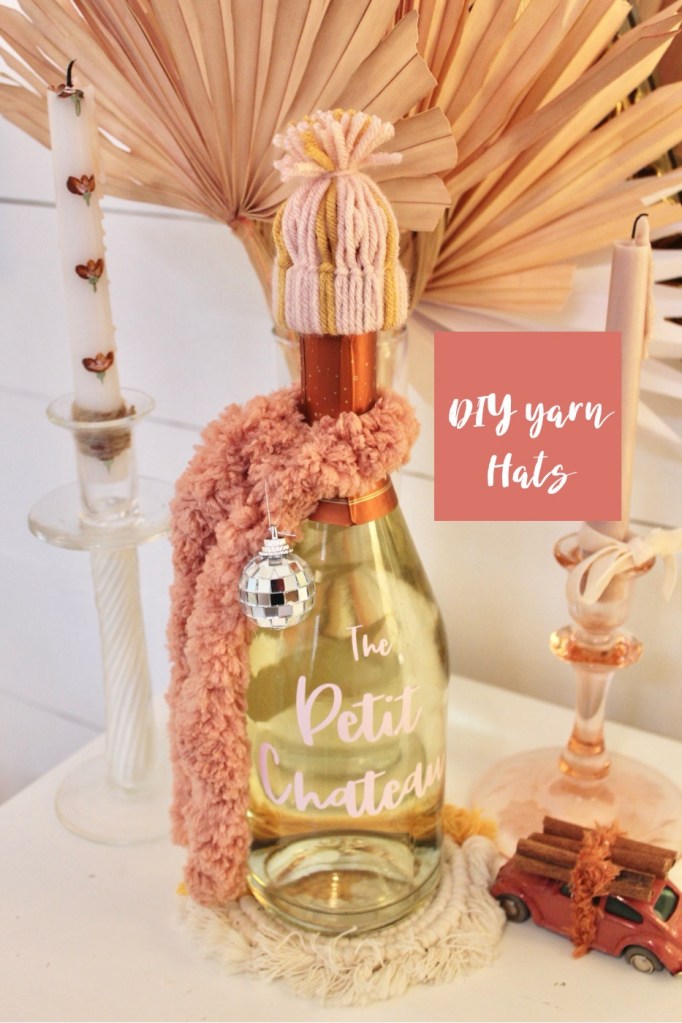
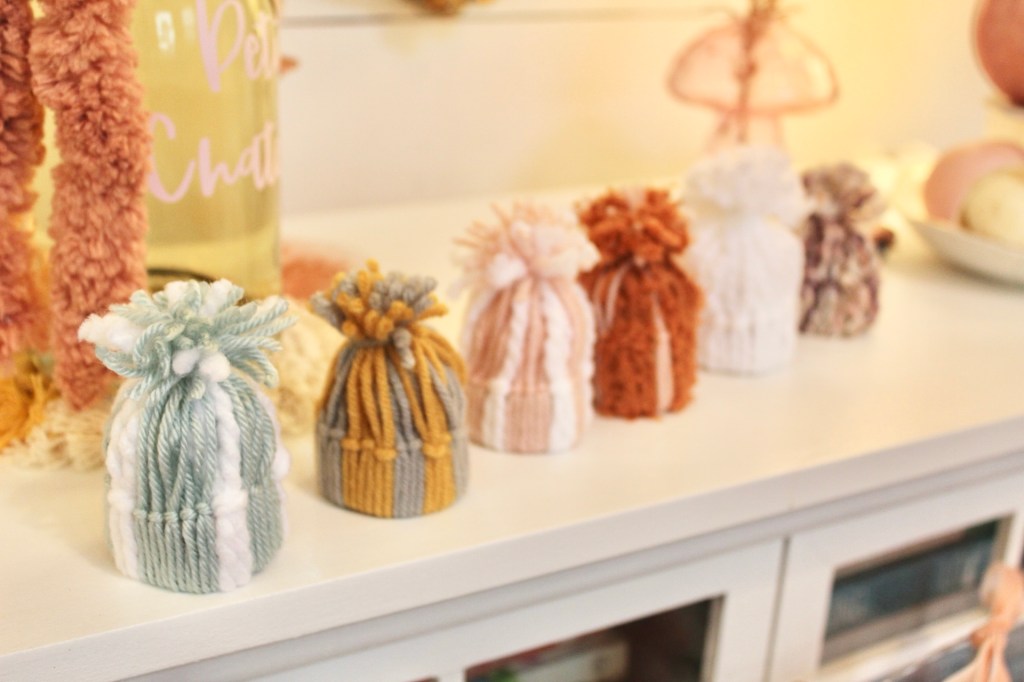
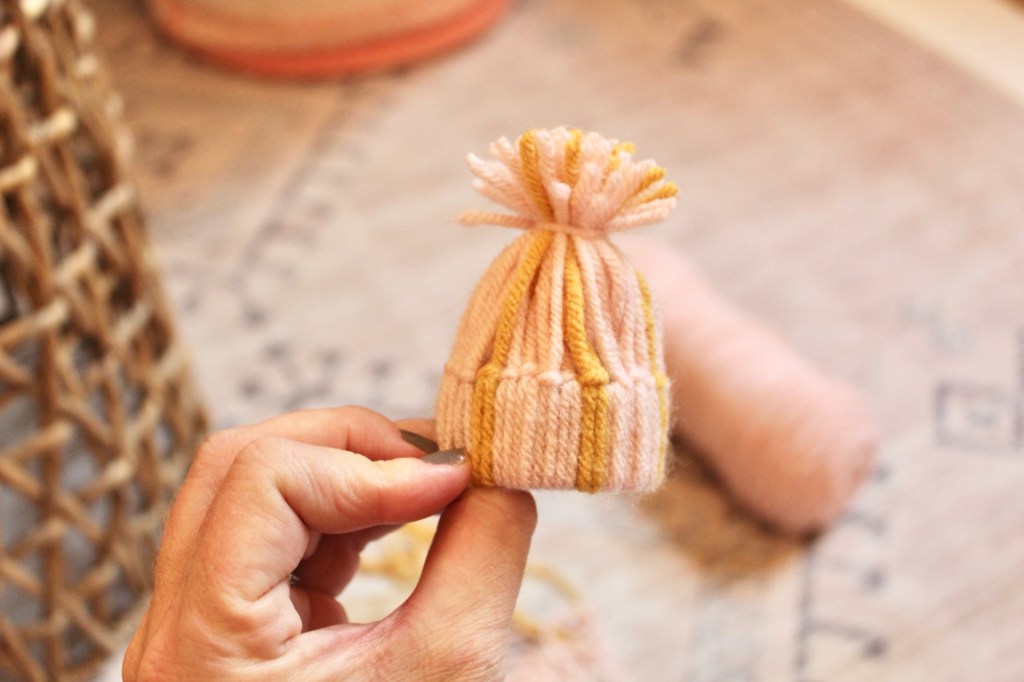
With it getting cooler out I started thinking of some fun winter crafts. I don’t celebrate Christmas but I do love decorating for the different seasons. I saw an idea for yarn hats on Pinterest and thought I’d try out a few versions. This is the easier version so I will show you how I made them.

The supplies you need are: yarn, a toilet paper roll and scissors! That’s it! First you will need about 20 12” pieces of yarn. I wrapped my yarn around a ruler and cut it to make it easier but you can snip each piece if you want. Feel free to mix colors, too. I find that thinner yarn works better than thicker.

Next you need a paper towel or toilet paper roll. Measure about 3/4” and cut.

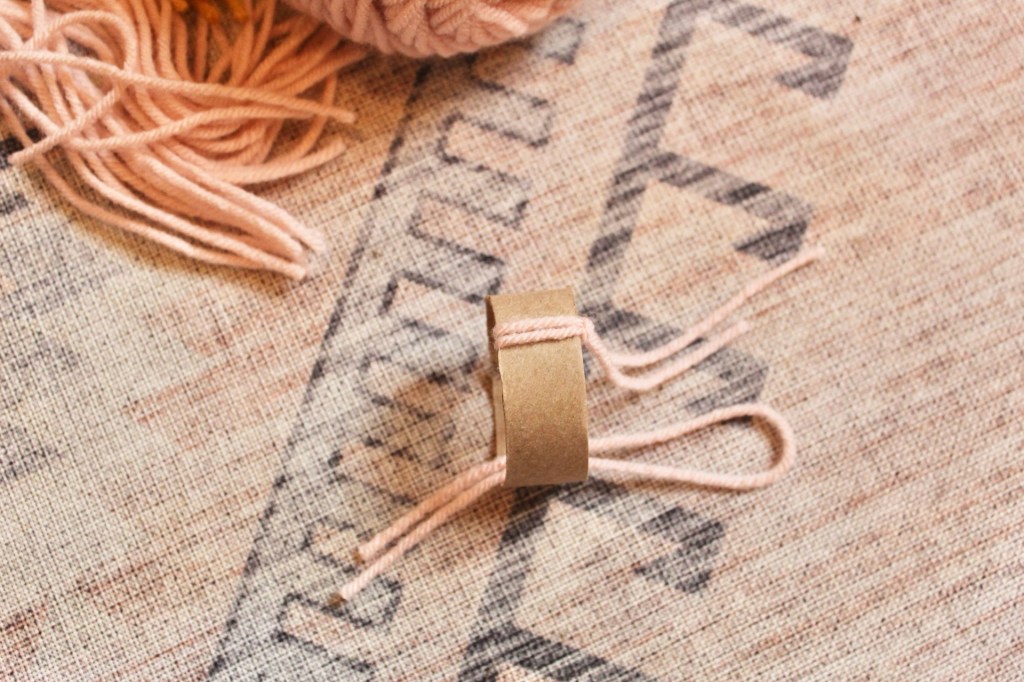
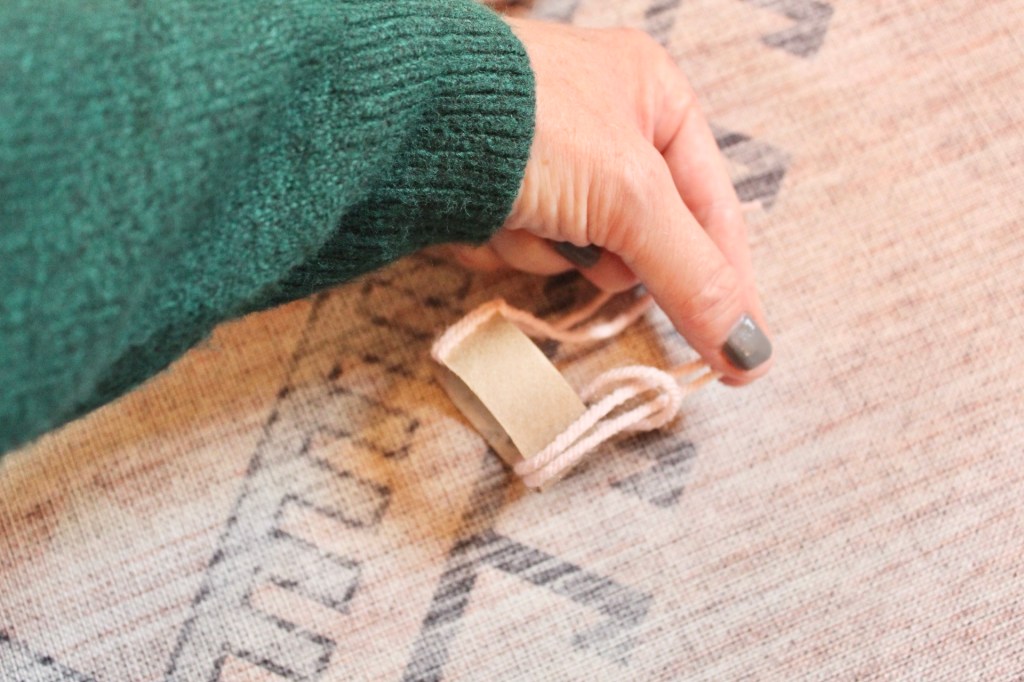
You then want to take a piece of yarn and make a loop. Pull the loop under the roll and take the two loose ends and tuck them under the loop. Tighten the yarn and the top.

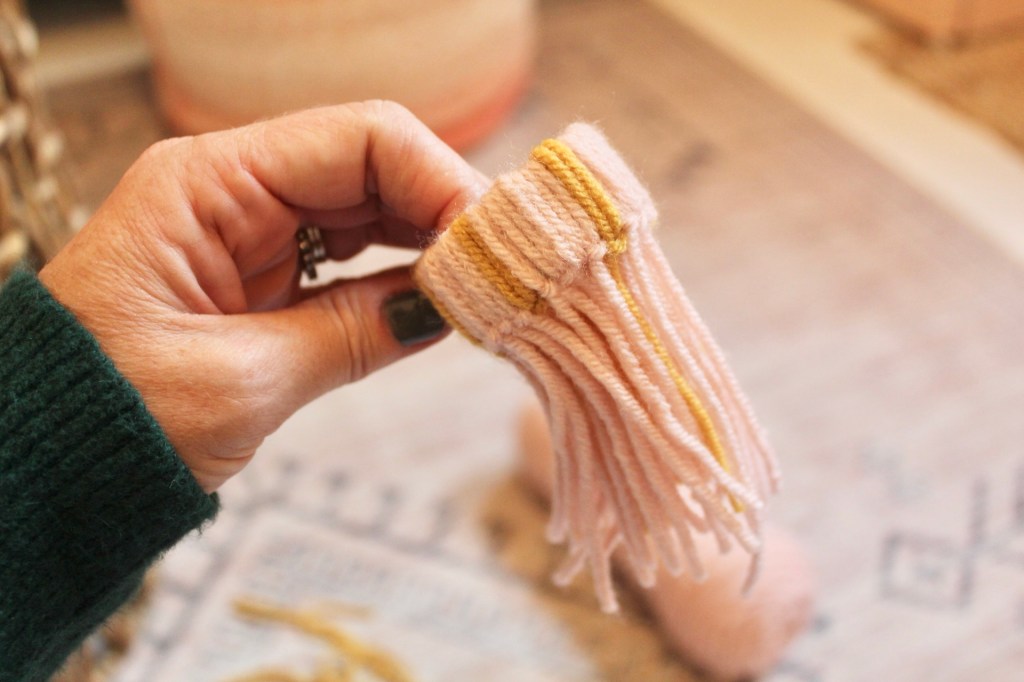
Keep going until you make it all the way around the roll.

Next you will take a piece of yarn and wrap it about an inch above the cardboard. Tie a knot and then trim the excess to make a little pom!

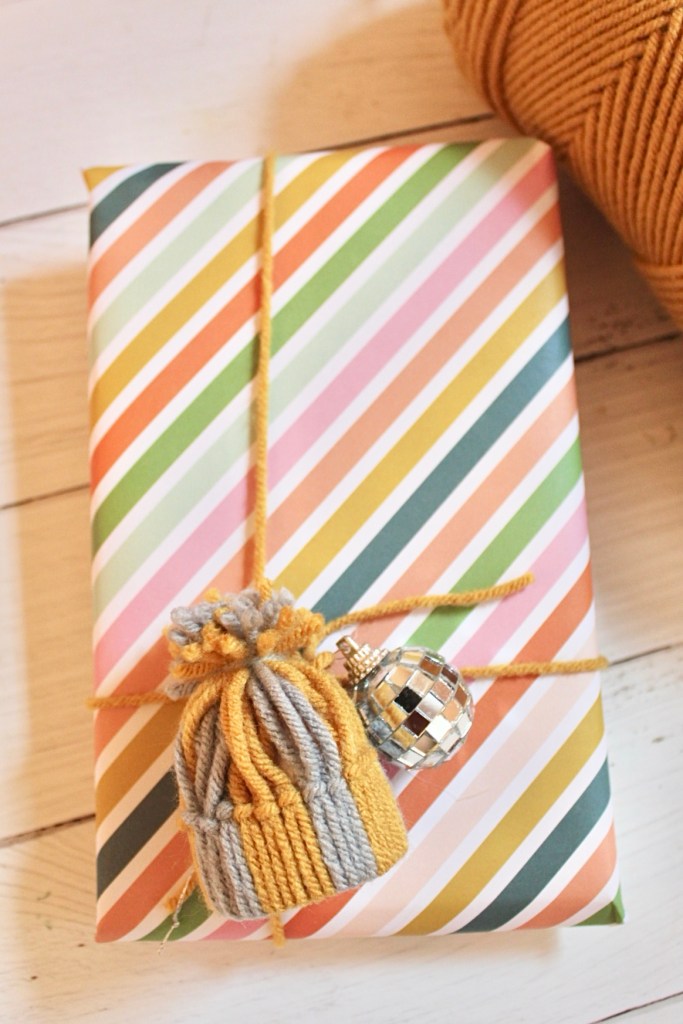
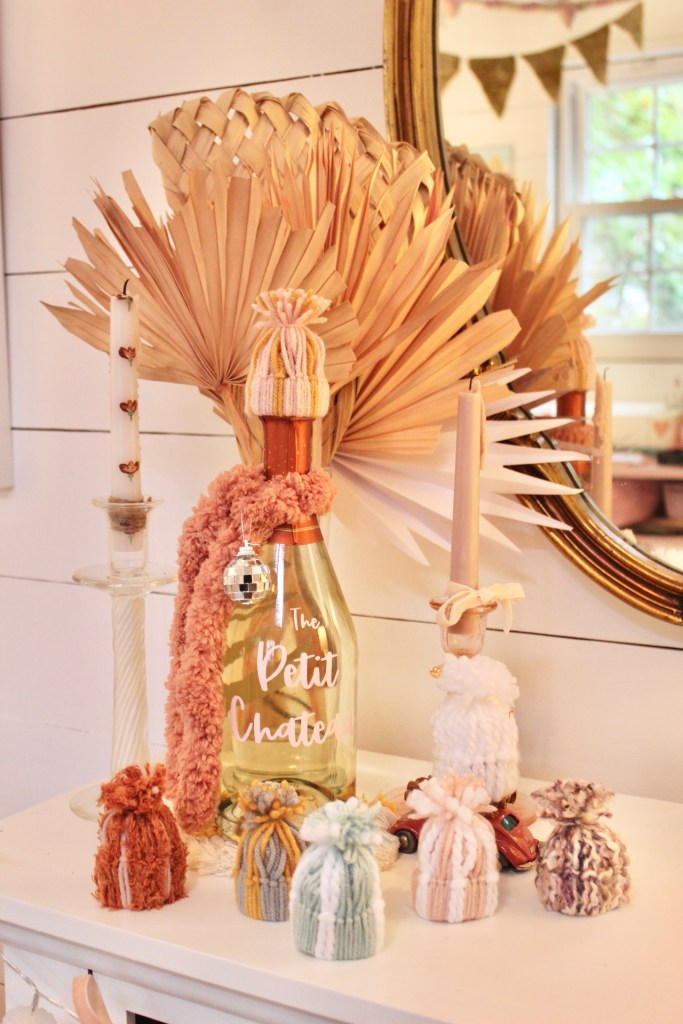
Depending on how you plan on using the hat you may want to add a ball of tissue paper to the inside to fluff the hat up. I would recommend that if you are using it as a garland or gift topper. But, on a wine bottle it won’t be needed. Here are a few ways to use the hats!

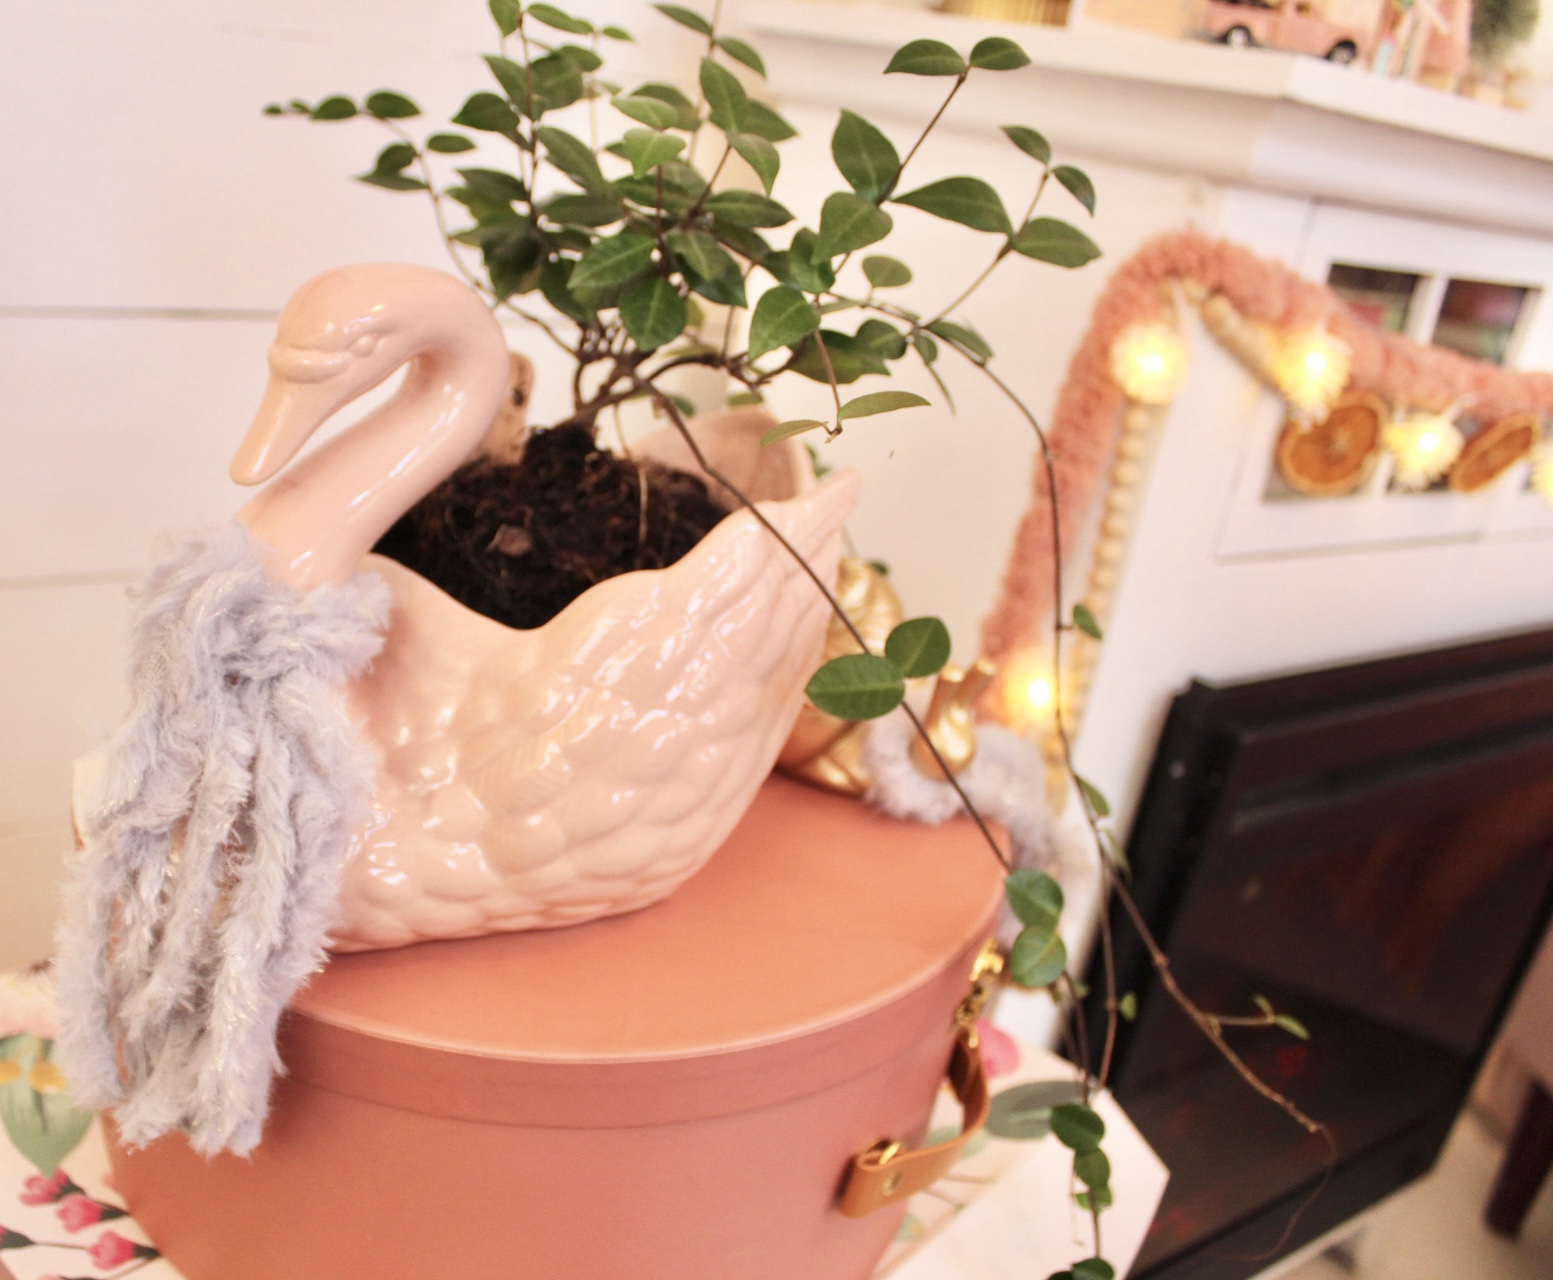
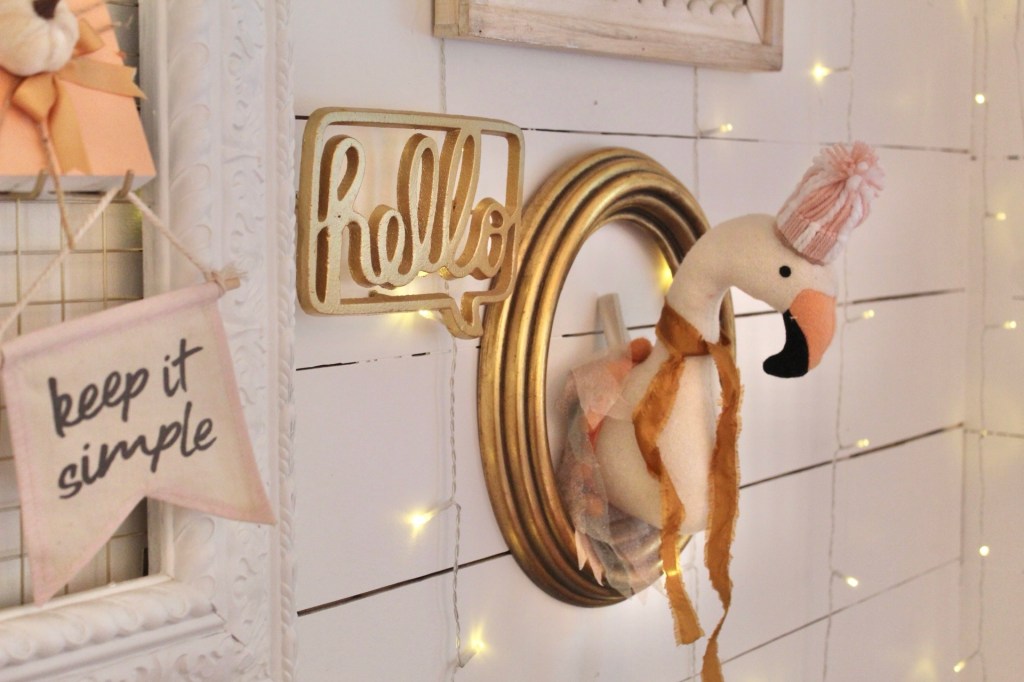
I added one to a swan in my she shed!
Use as a gift topper!

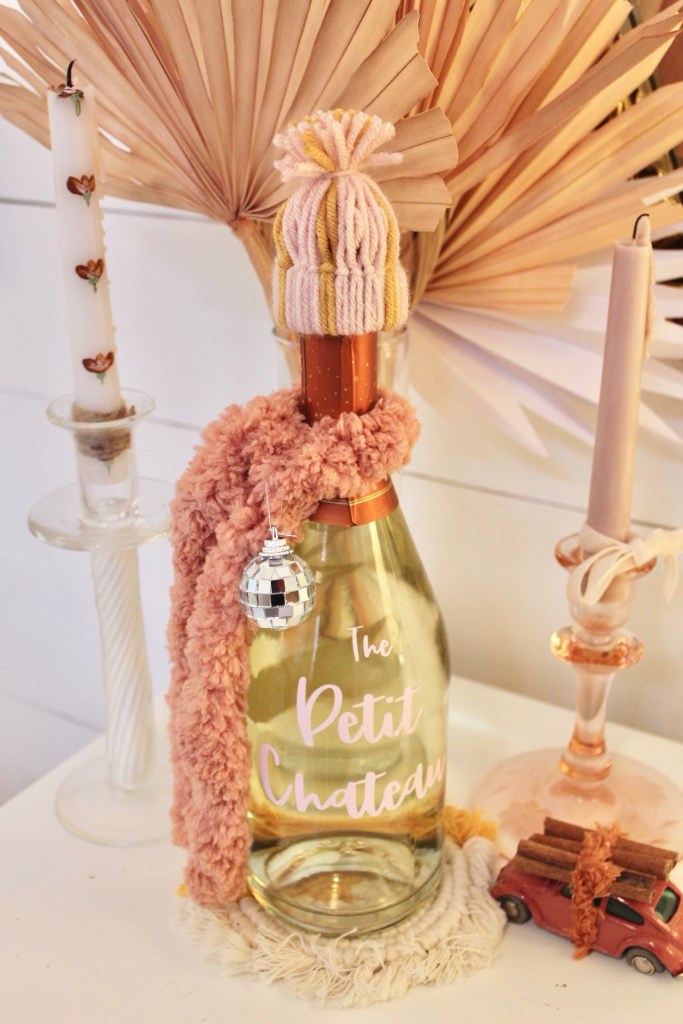
My favorite option is to use one on a bottle of wine! I added it to the top and took some chunky yarn to create a scarf. What a cute hostess gift!! You can also customize the wine bottle if you want. Just soak the bottle in warm water to peel the label off and then add a sticker or a Cricut decal.

These were so fun to make and I’d love to know what you think!

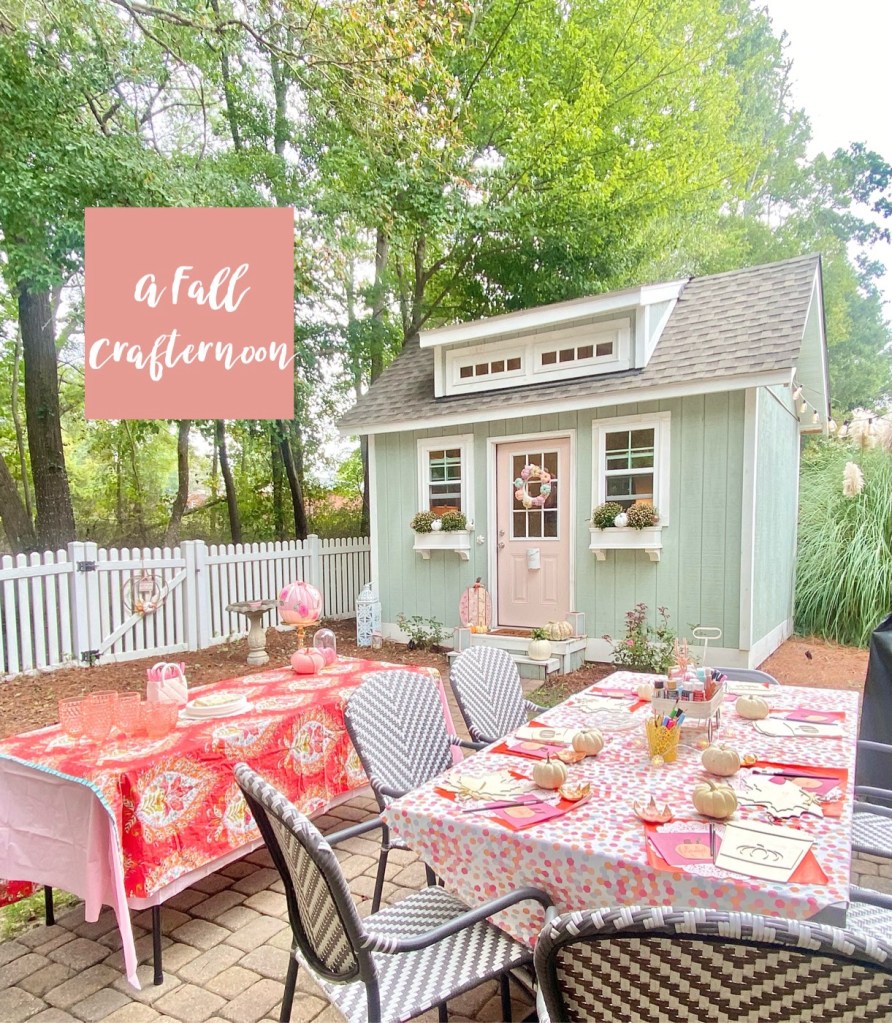
A Fall Crafternoon

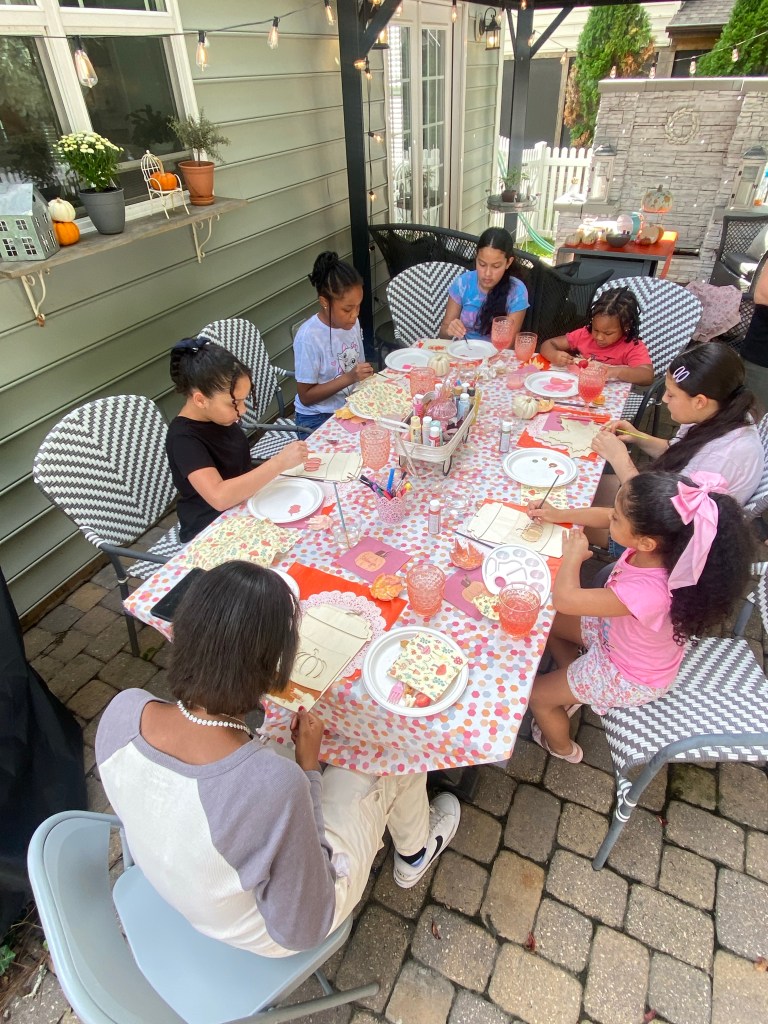
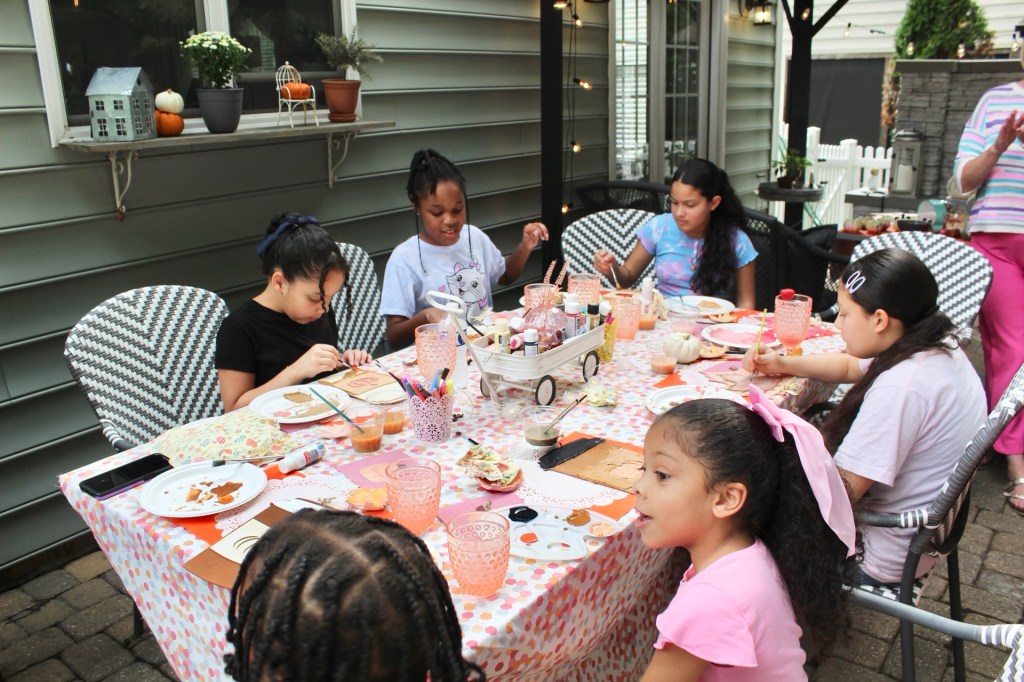
When you love Fall and you love crafting you find a reason to host a Crafternoon! This year I decided to host some cute kiddos. My friend decided to host with me and we had seven girls come over for some food and crafting.

My she shed is always the perfect backdrop and my inspiration for backyard parties. I had thrifted a few tablecloths before and worked with what I had.

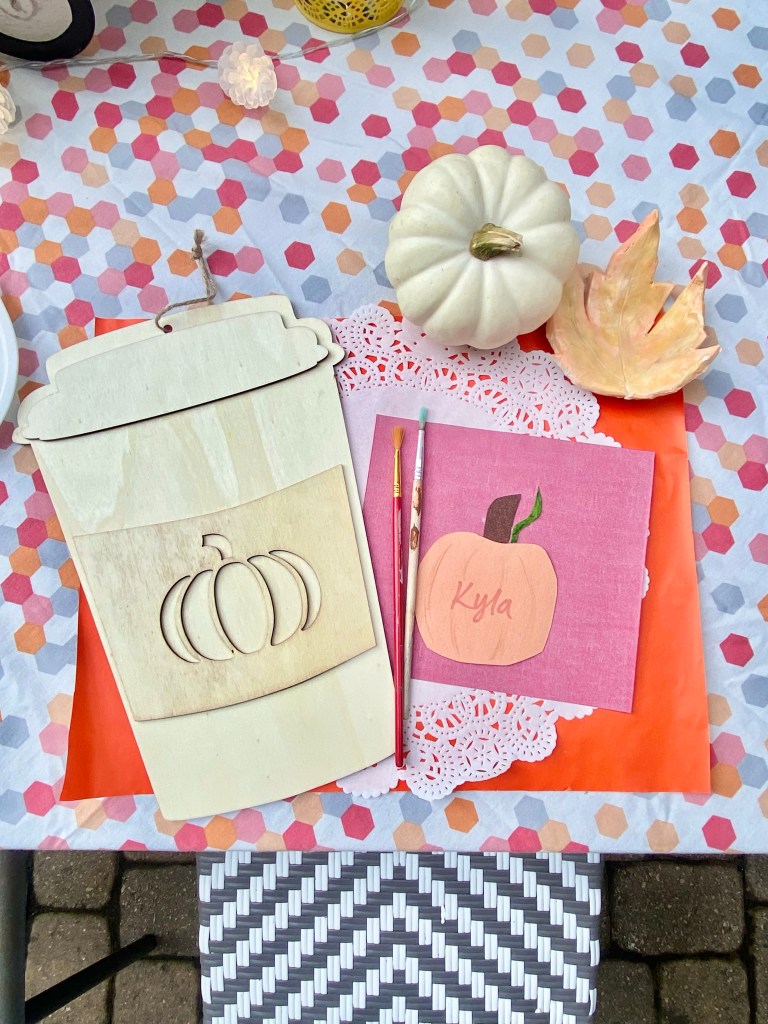
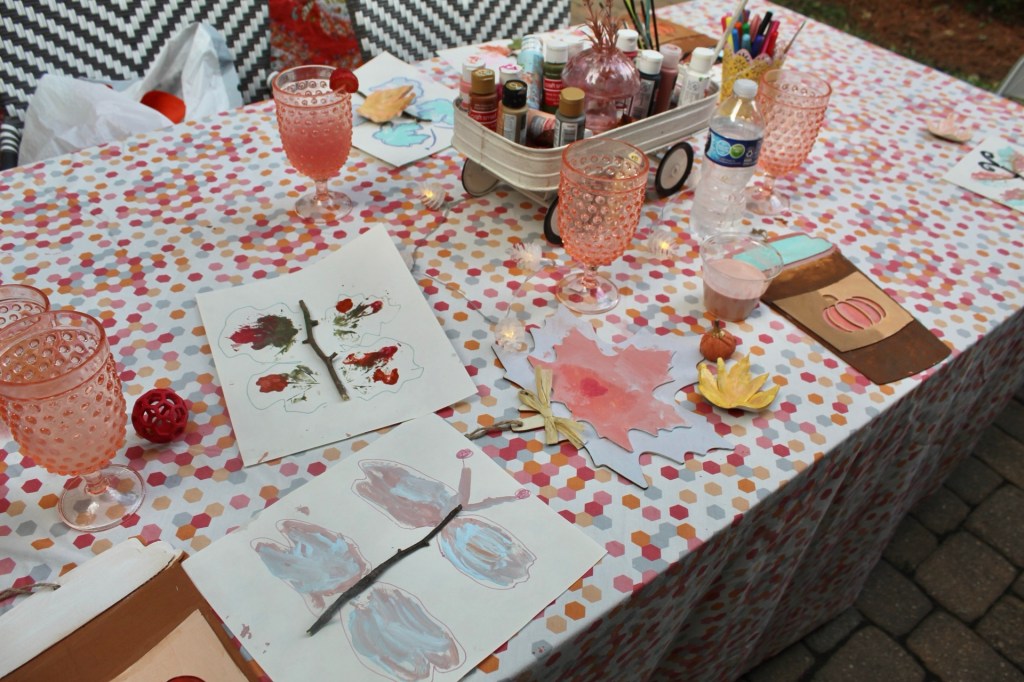
Once I layered the tablecloths I grabbed some things from the Dollar Tree. These cute latte and leaf cutouts were the perfect addition. I also cut out a placemat from wrapping paper, added a doily, some paint brushes, a pumpkin, a name tag and a leaf clay dish I had made.

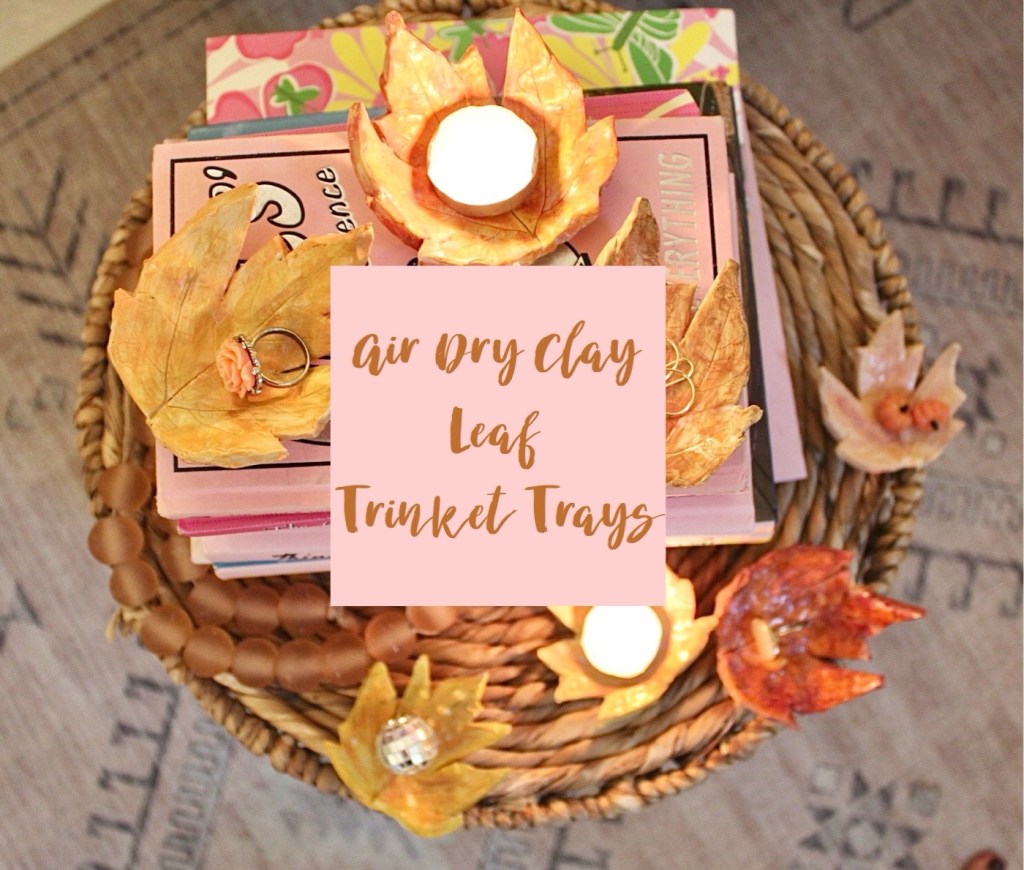
I gave each guest a clay leaf trinket dish. My previous post has the tuturial for these!

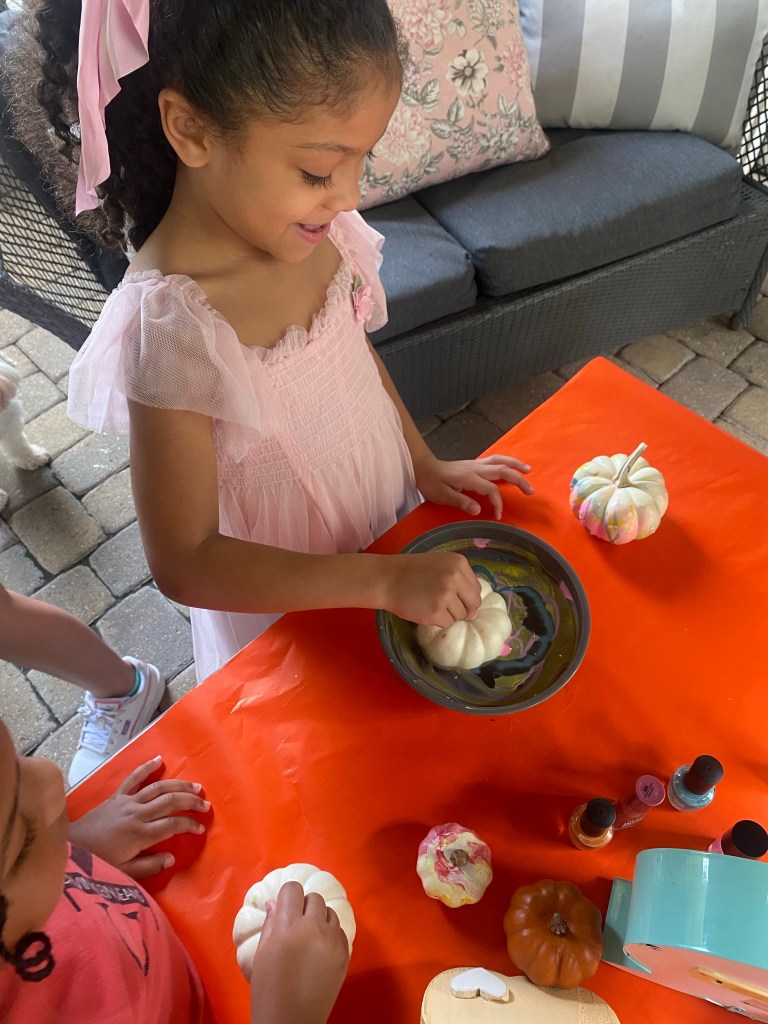
My idea was to have the kids paint the wooden cut out, marbleize a pumpkin and create a butterfly with a leaf as a stamp. The party was about three hours for eating, crafting and relaxing and that would be perfect. We had pizza, cupcakes, mermaid popcorn and ice cream.

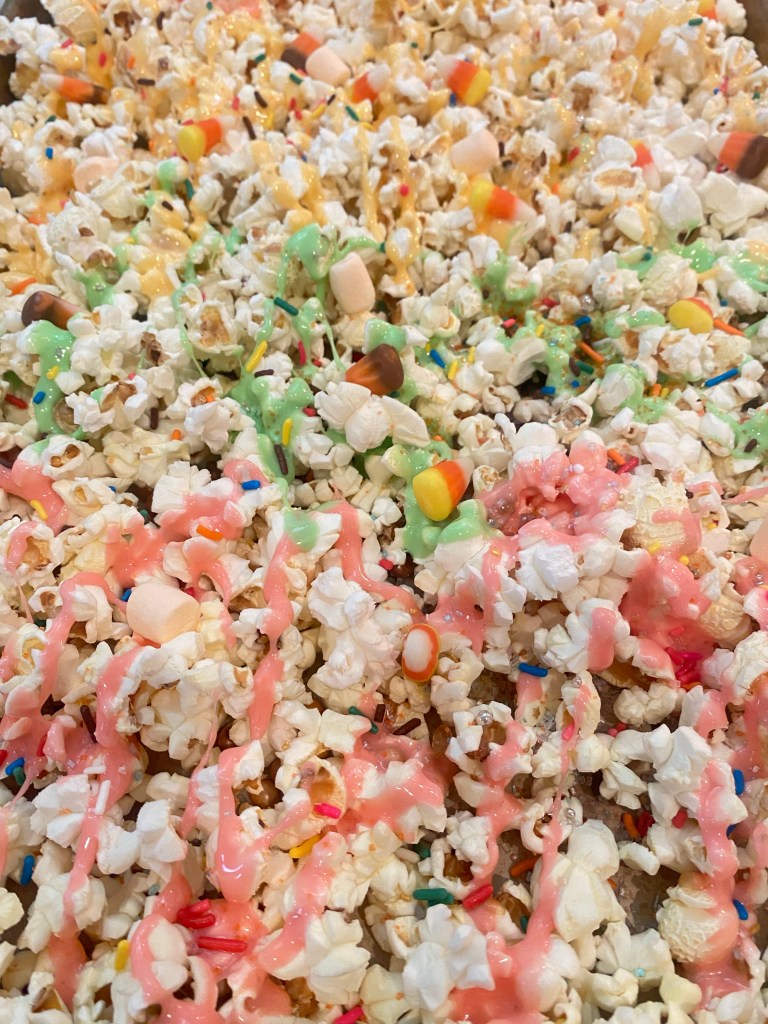
Mermaid popcorn
I made this Mermaid popcorn with the addition of candy corn for Fall!

I also made a virgin strawberry daiquiri and the girls loved it!

I can’t help but add a bit of pink to everything, so Fall always gets a pink twist.

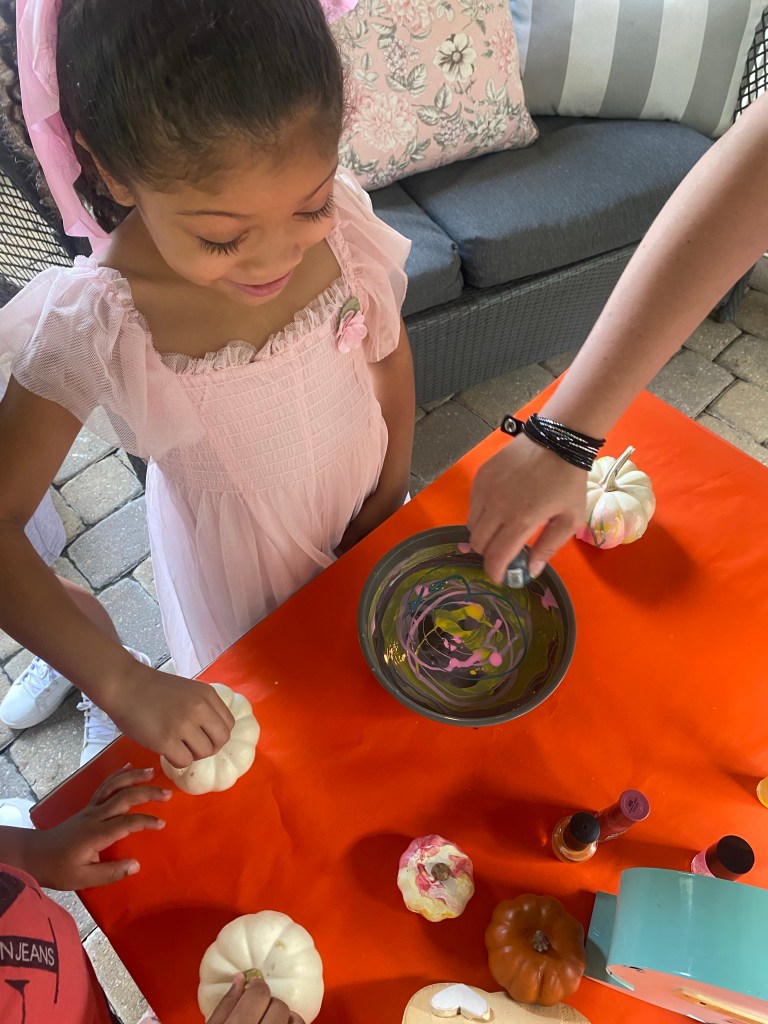
Our first craft was to marbleize a pumpkin. You fill a bowl with lukewarm water and add nail polish in colors you like. Dip the pumpkin, swirl and let it dry.

Next the kids painted the wooden cut out. It was cute, there was more talking than painting. I was loving the conversations.

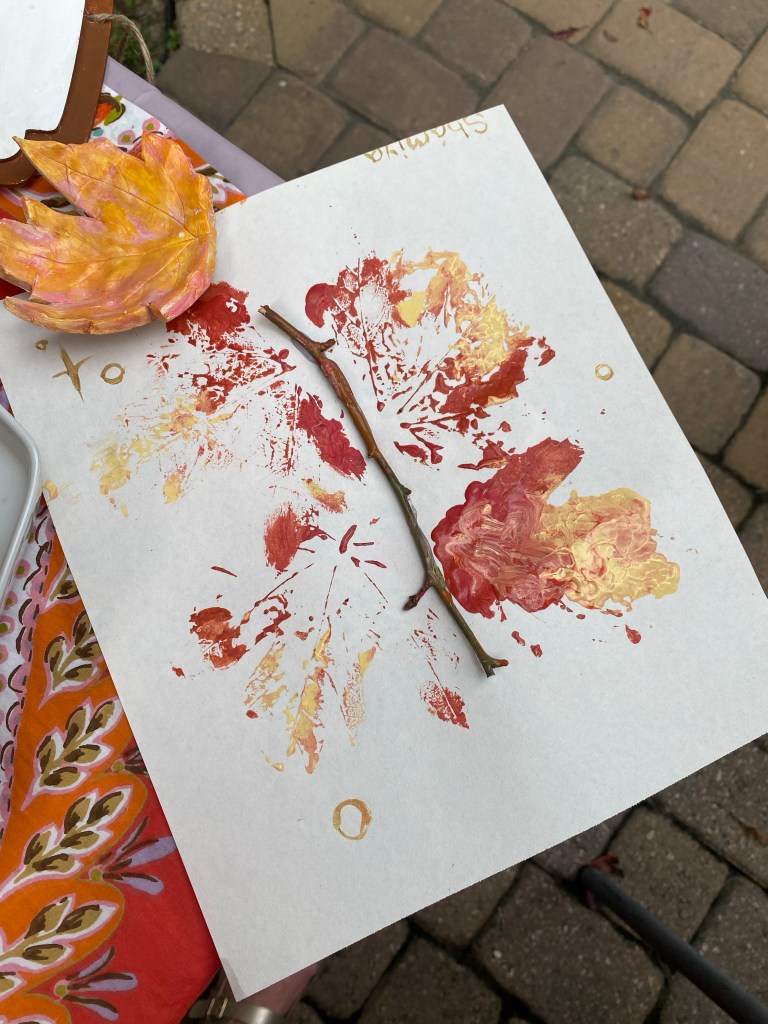
Lastly we did a butterfly project. They painted a leaf and used it as a stamp to create a butterfly. I had prepared a paper with a stick glued on it so they could just paint and decorate.

The party was so sweet. I hope the girls have some sweet memories, I know I do!

Air Dry Clay Leaf Trinket Trays

I love a good Fall craft! I have a Fall Crafternoon planned for a few little girls coming up this weekend and I thought it would be fun to make little trinket trays for them to take home. So, I figured I would use some air dry clay and get a little creative and make a leaf version.

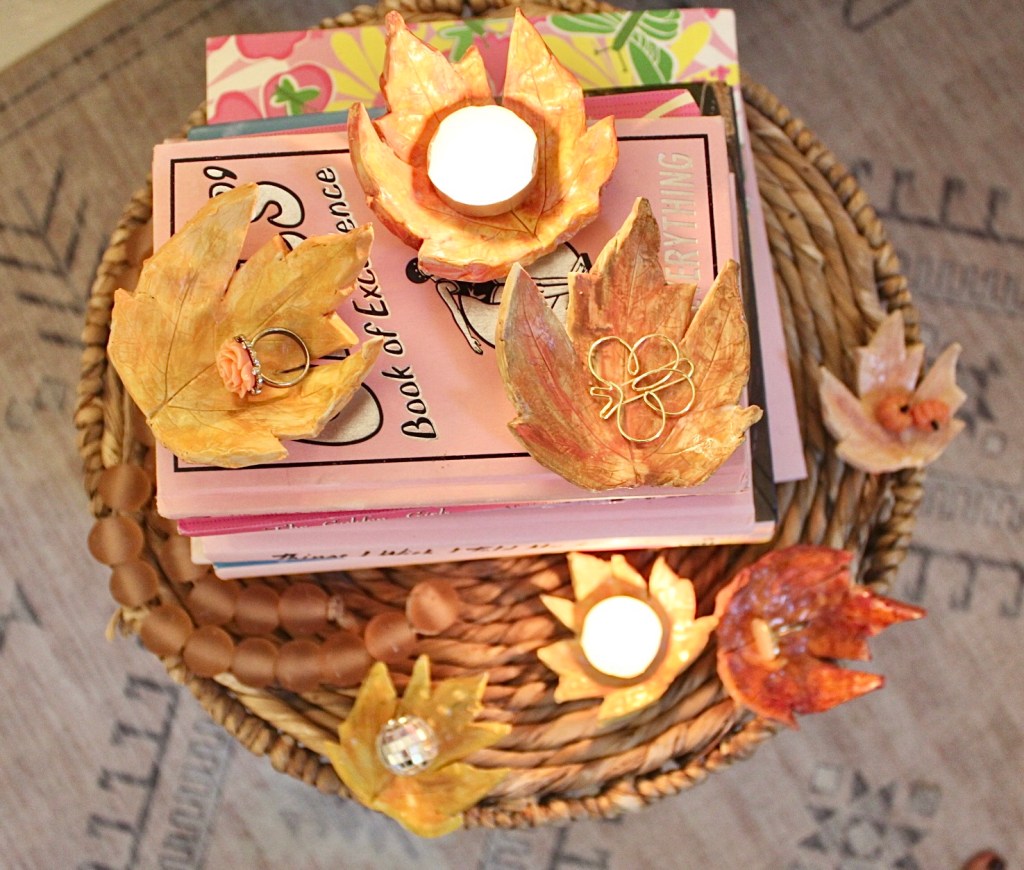
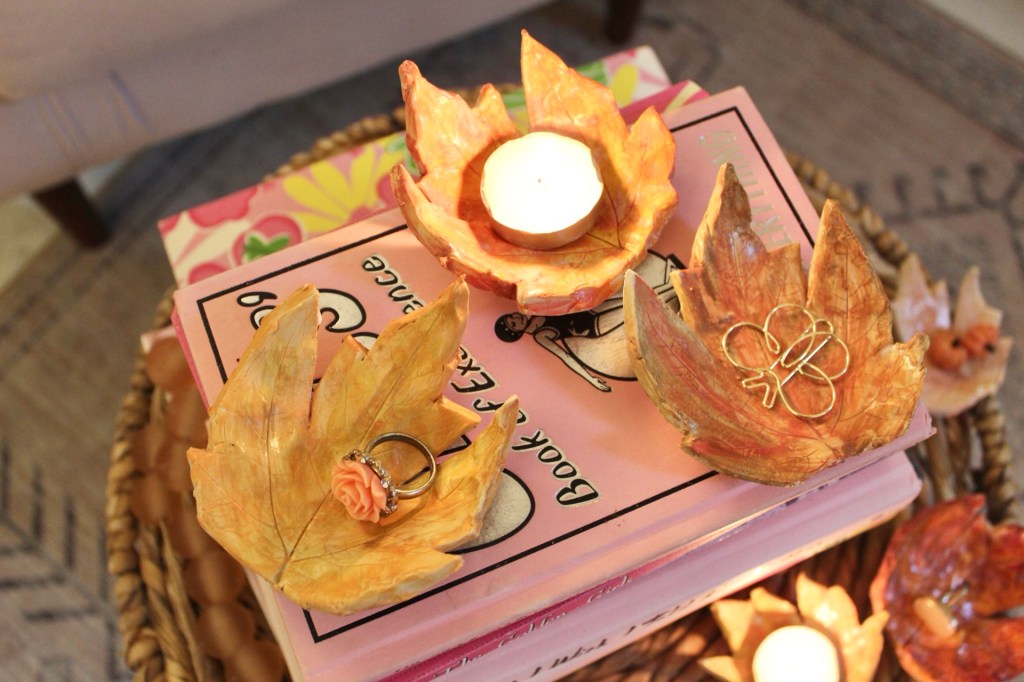
Aren’t these so pretty?

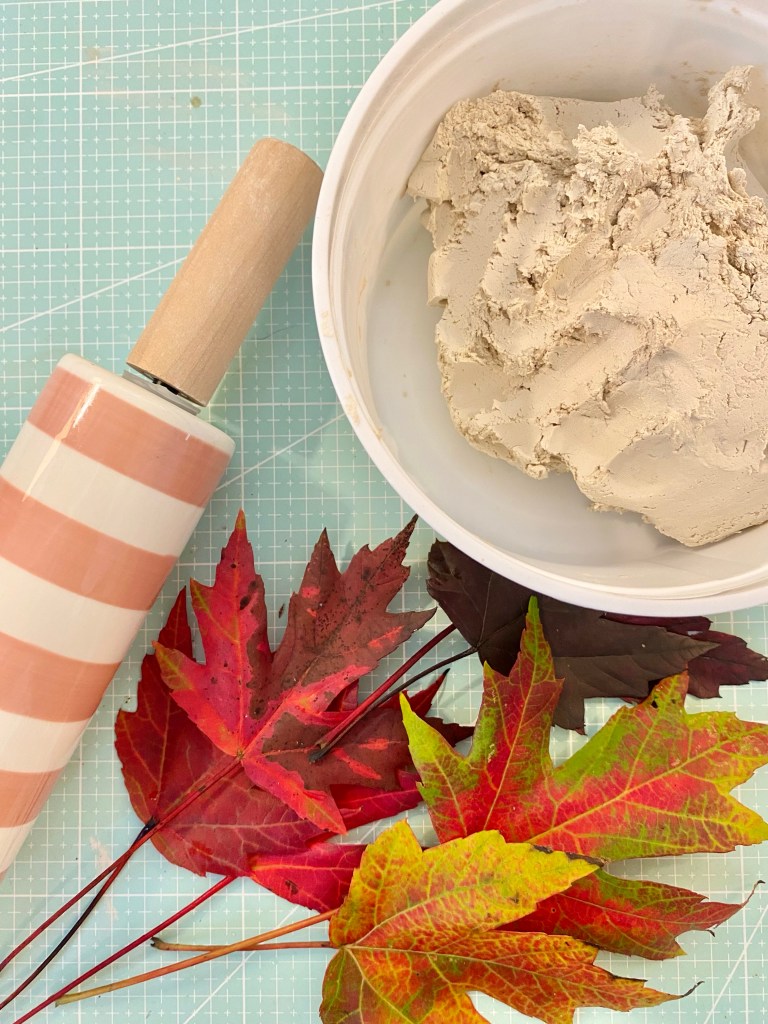
This is a very easy project. I grabbed some air dry clay awhile ago at the craft store. Then I grabbed a few leaves while I walked my dog. I did all maple leaves, but it would also be pretty with different types of leaves. Then I grabbed my rolling pin.

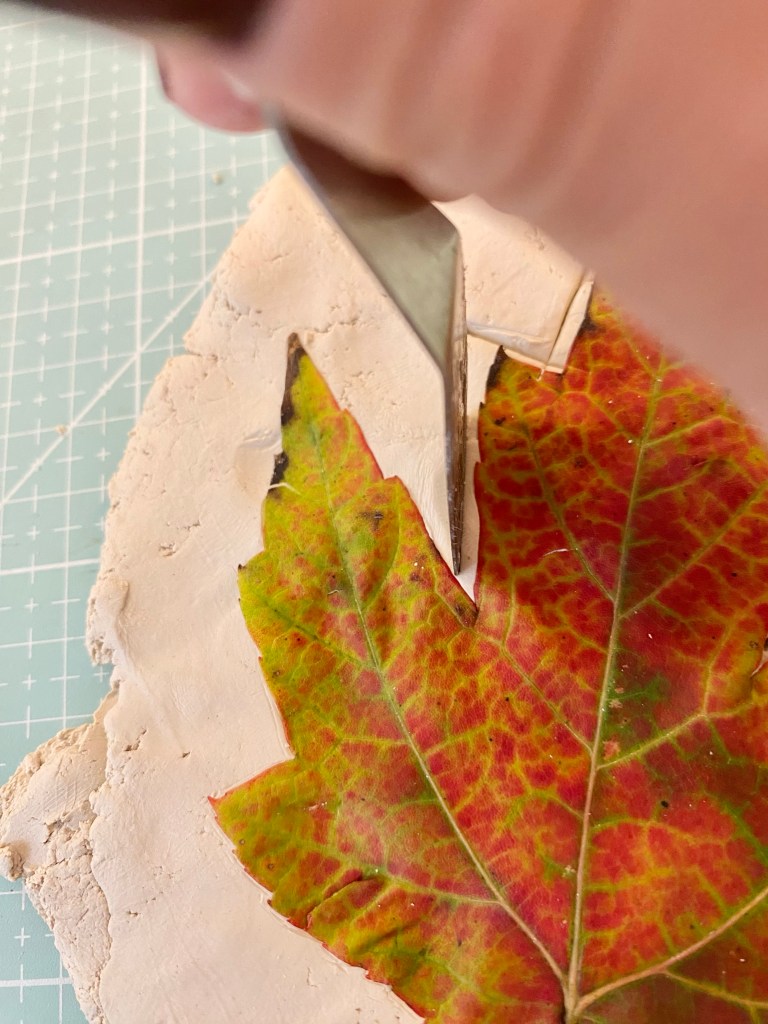
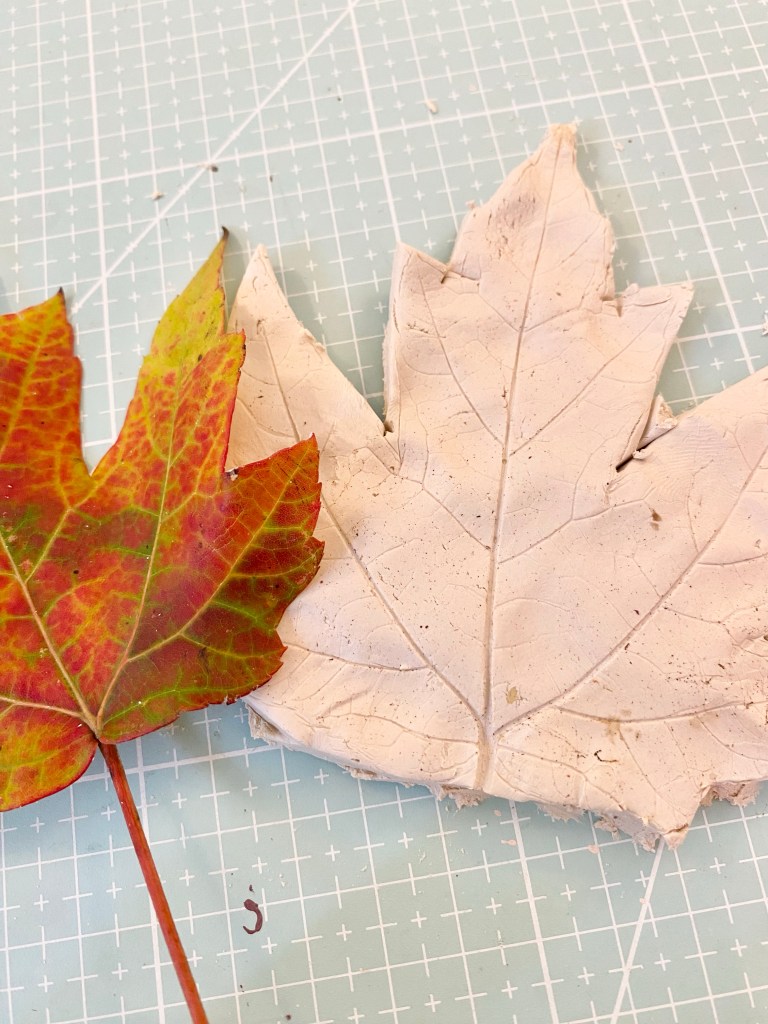
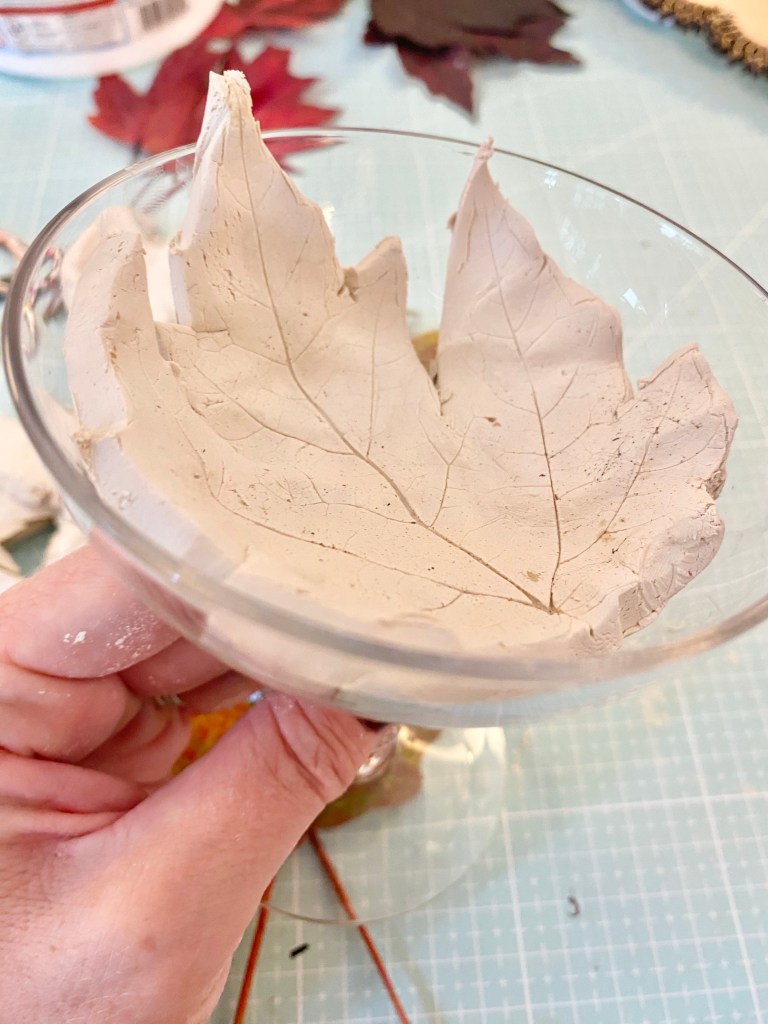
First off you want to take some clay and roll it out. You can even stretch it and flatten it without a rolling pin. Next, place a leaf on the clay and press it into it. You want to see the texture of the leaf in the clay. Then you peel off the leaf and take a knife or sharp edge and trace along the leaf. lastly, place your clay leaf in a bowl or glass so it will take on more of a bowl shape. Let them dry overnight to harden.

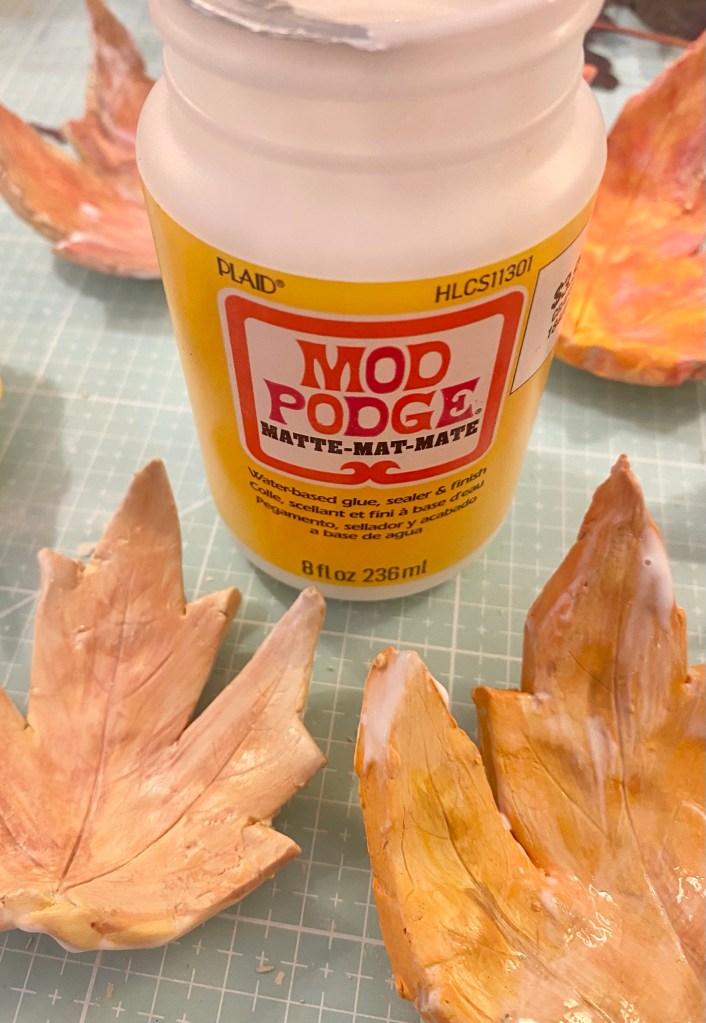
Once dried I decided to paint them with watercolors. I liked that because I could easily blend a few colors to give some dimension. Keep adding and blending! Once that was dried I added a coat of ModPodge to seal the paint in.

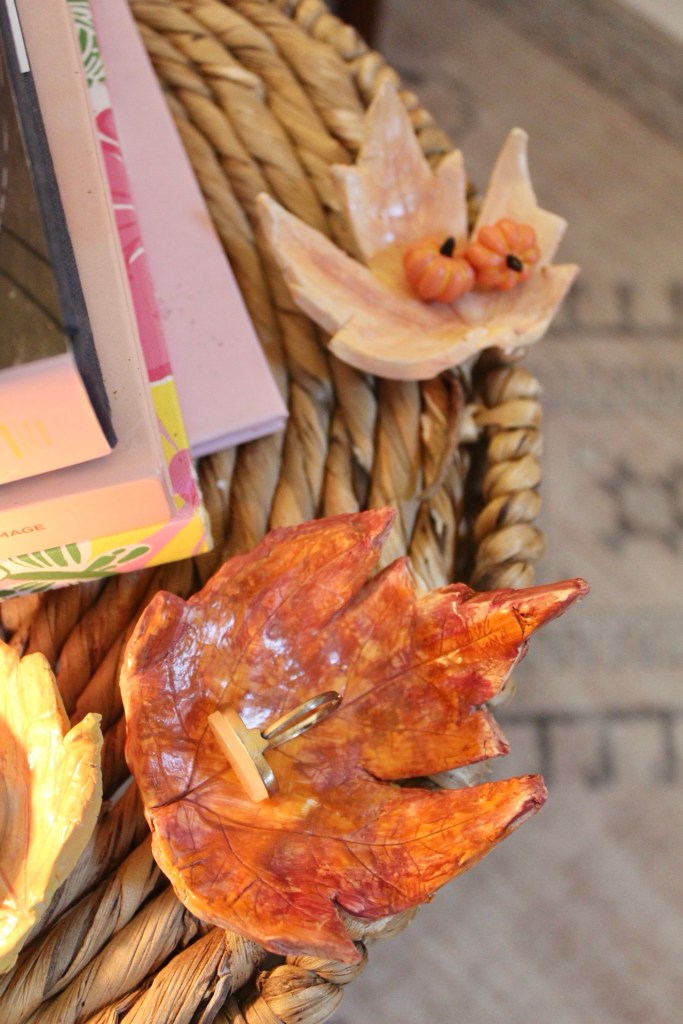
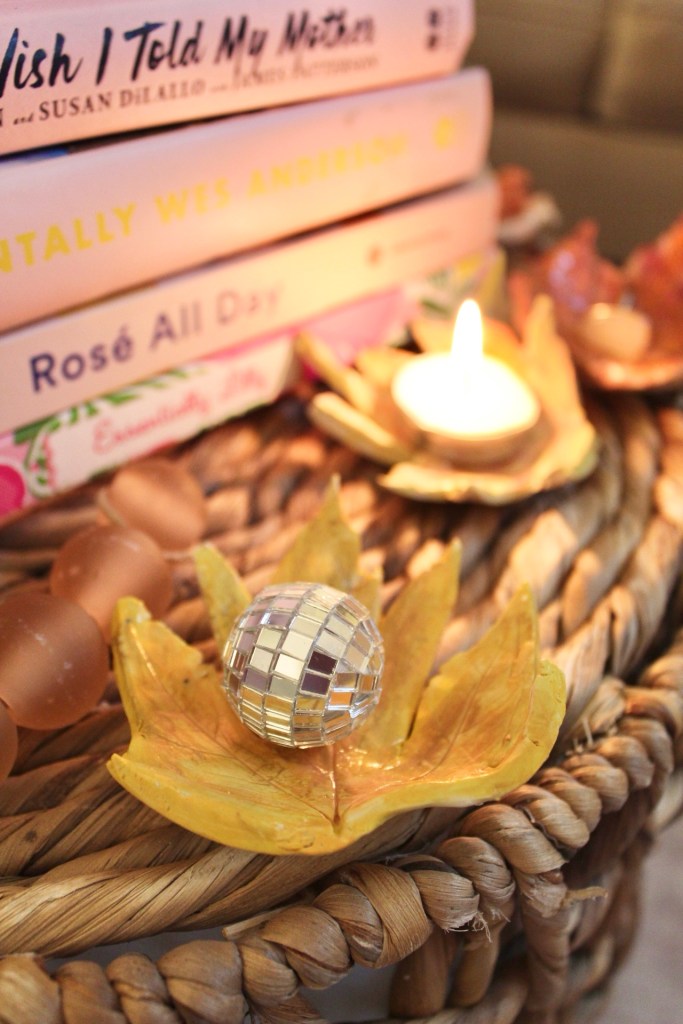
Once they were dried I grabbed a few photos to share. You can use them for rings, clips or even tea light candles. I think they are so cozy and perfect for Fall!

What do you think? Will my guests love them? Stay tuned, I will share the fun details of our Crafternoon!

Pretty in Pink Pumpkin Decor

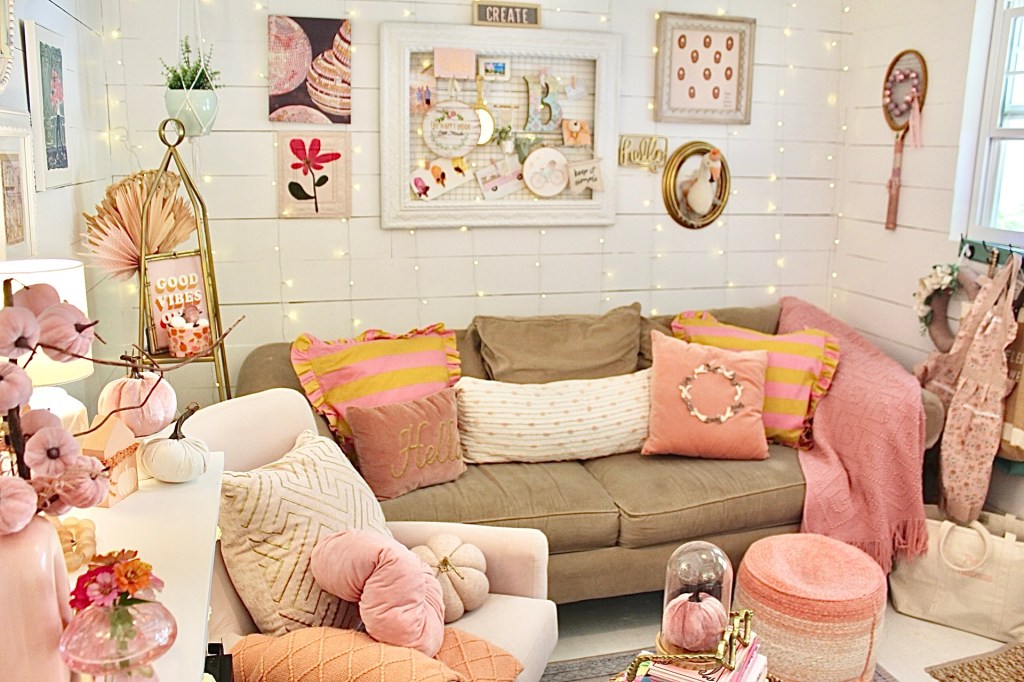
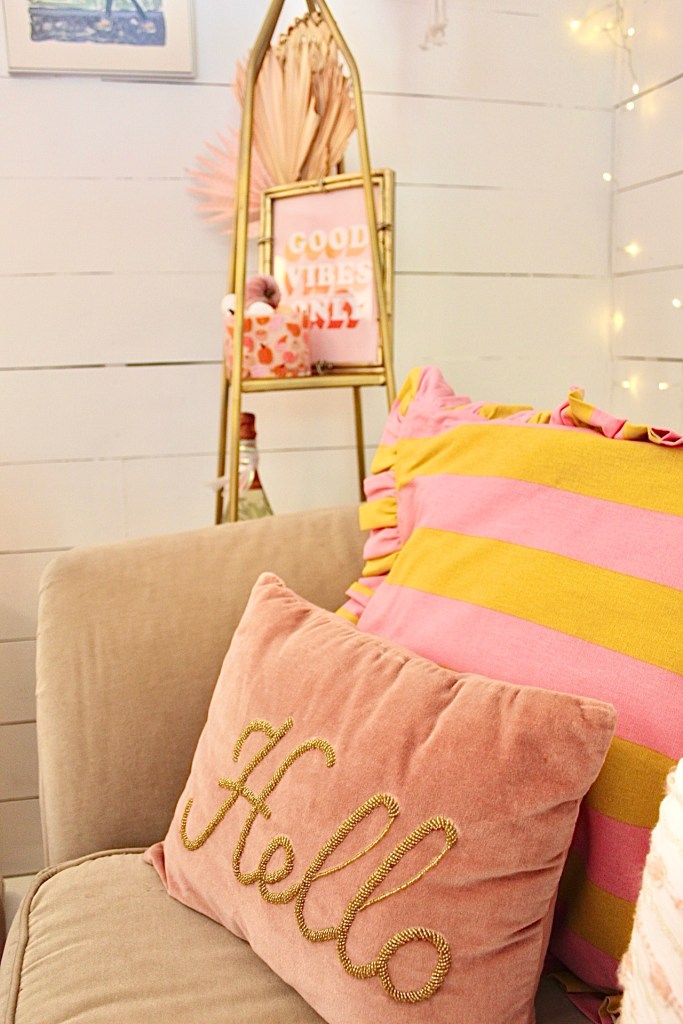
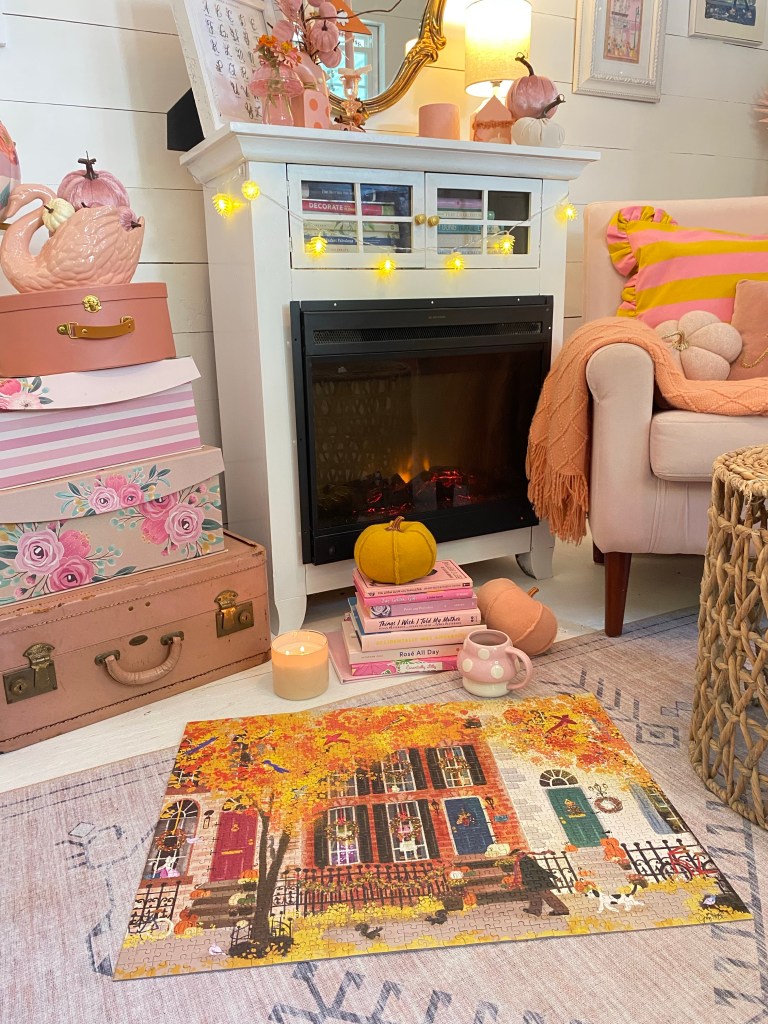
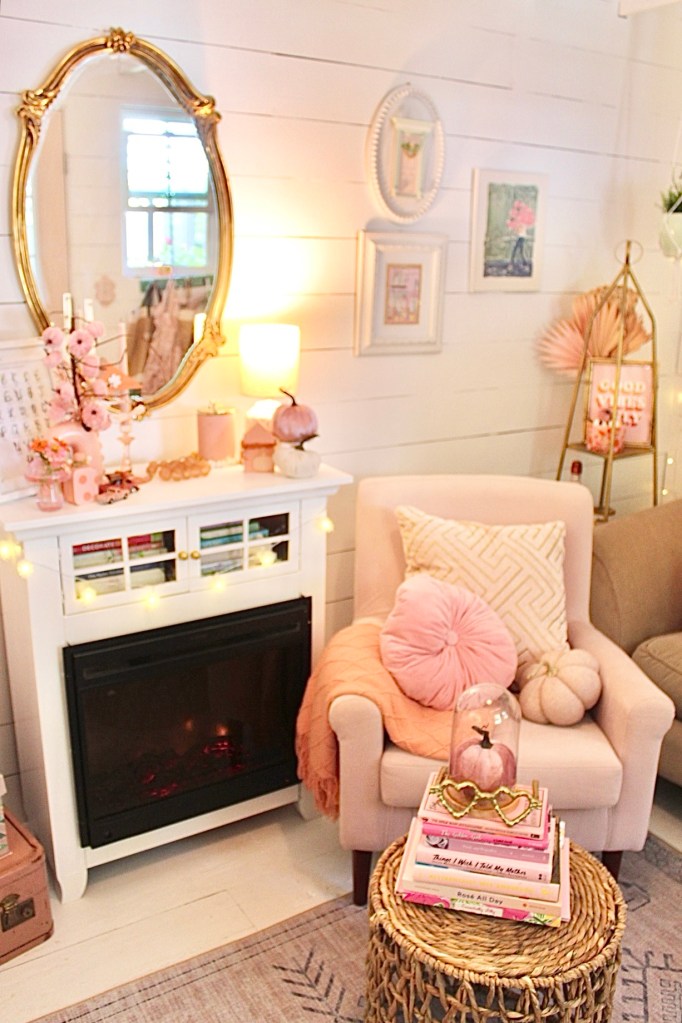
Well, it’s August! So, for me that means it’s time to get out my Fall decorations! My she shed is so fun to decorate for Fall because I can add all the cute pink things I want! This year I really didn’t buy anything new except two pillow covers. But, I still change things up to keep it fun and fresh!

My happy place!

I do have new twinkle curtain lights that I hung on one wall. They add the perfect amount of sparkle and look so pretty at night!

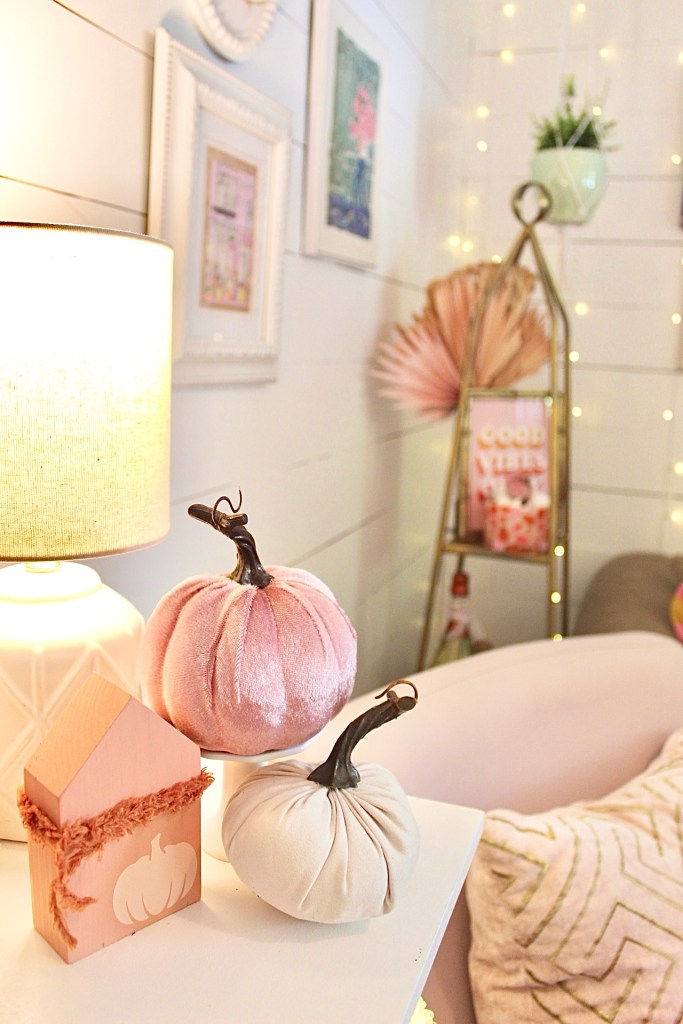
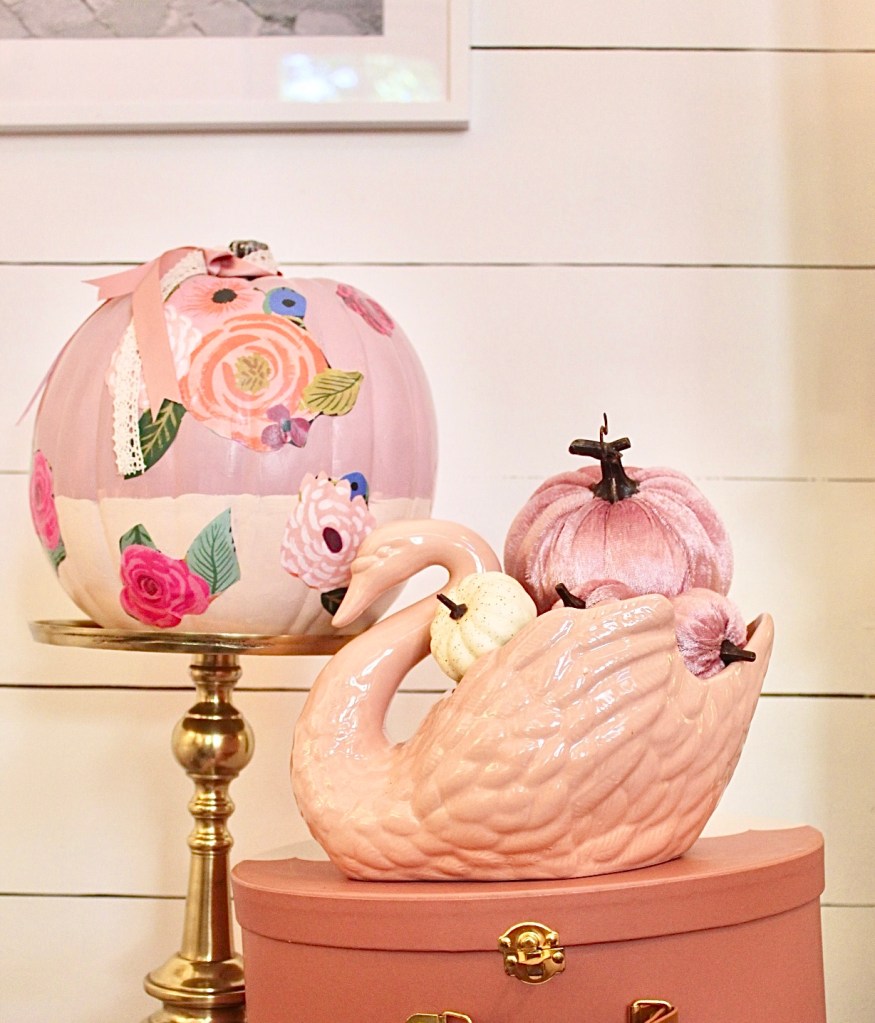
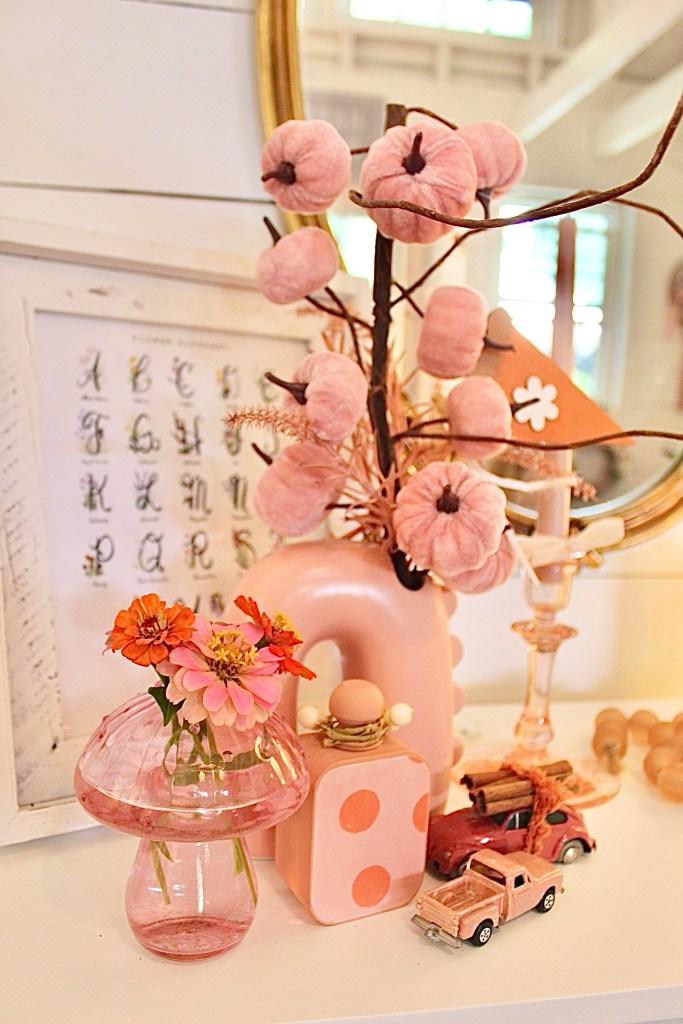
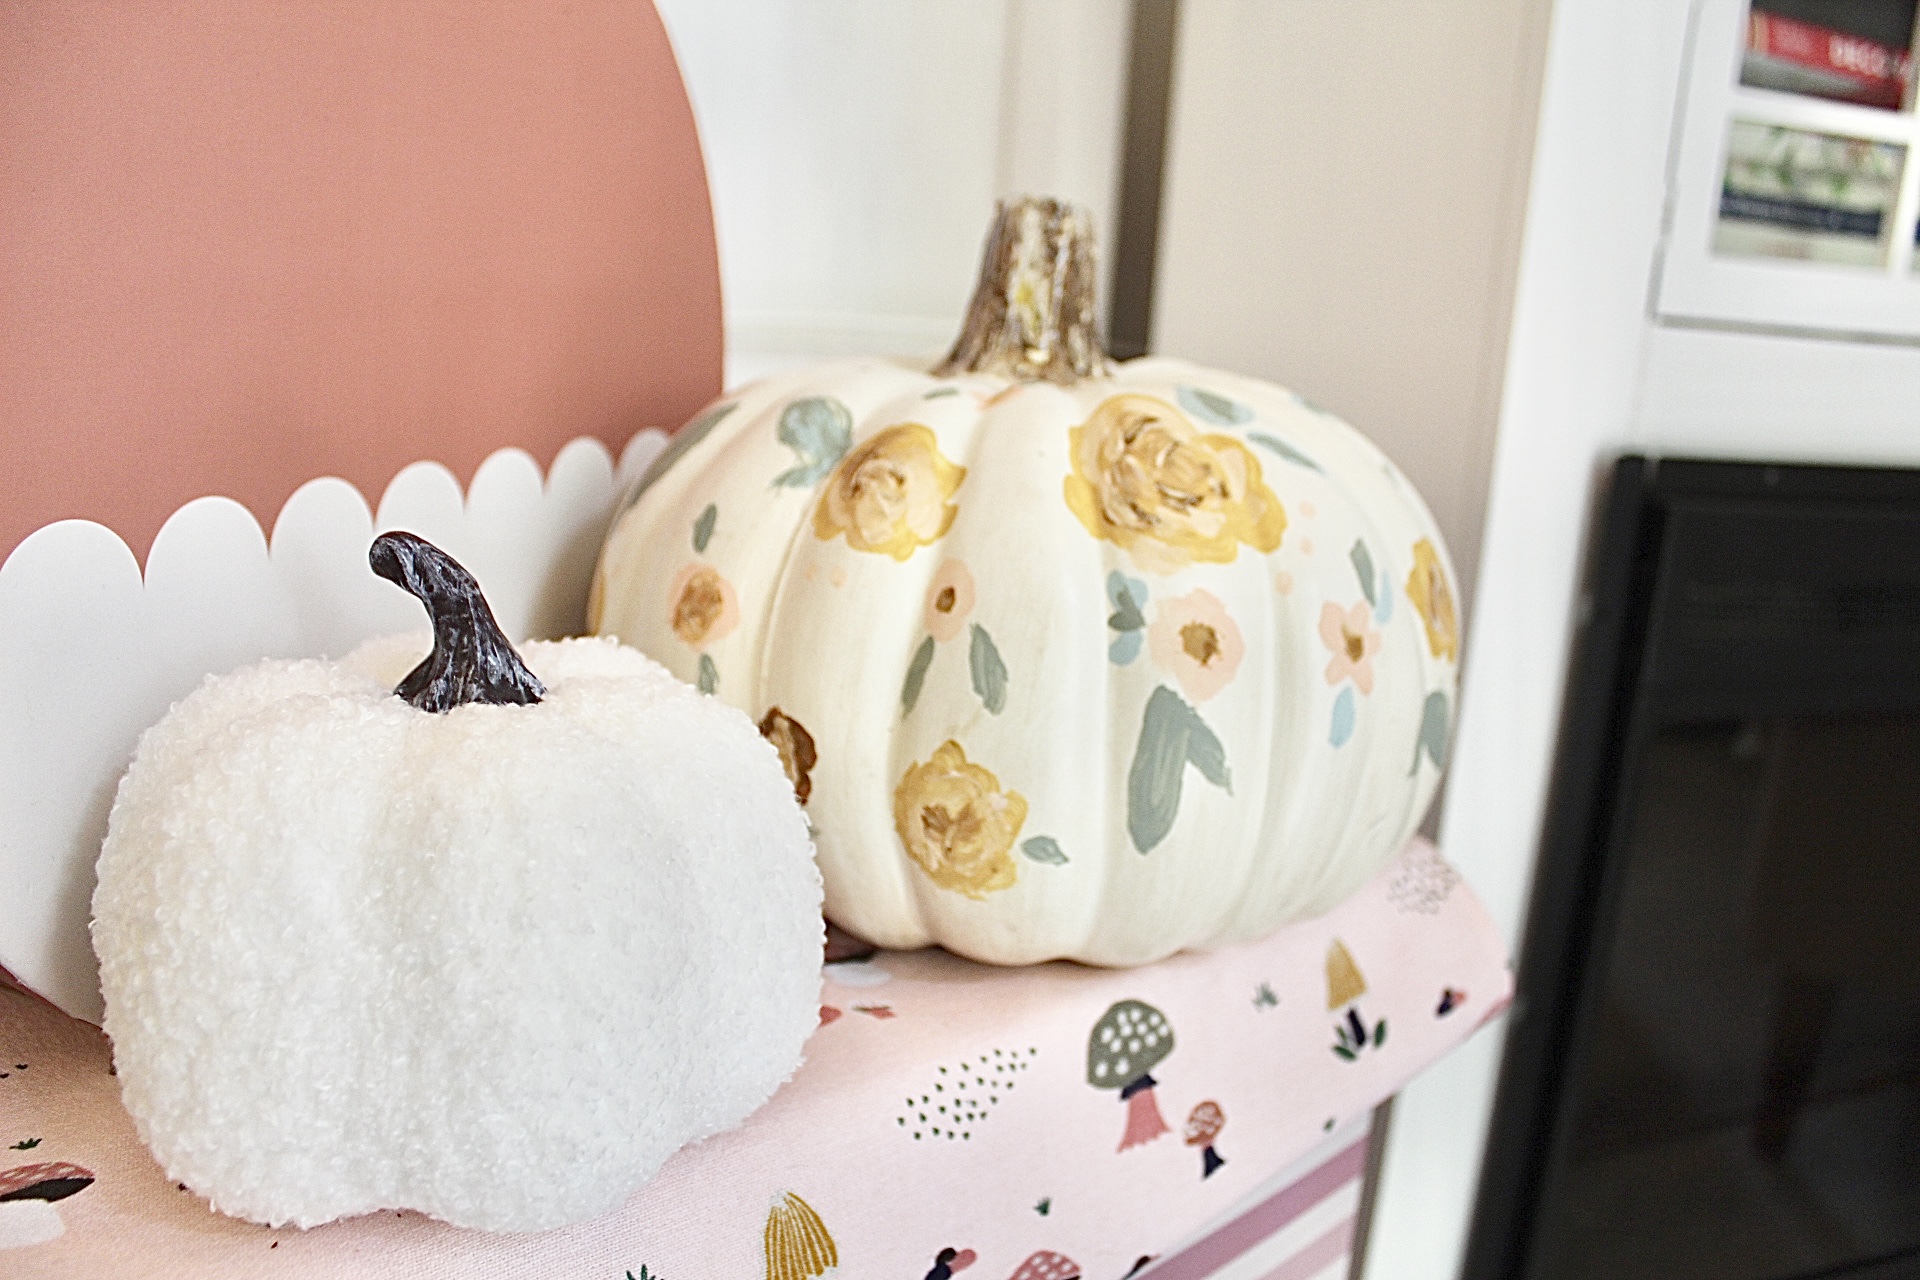
I have collected various pumpkins over the years. The pink velvet ones are from Dollar Tree. I also love this painted and Mod Podged pumpkin I made a couple of years ago. I think it looks cute with my pink swan full of pumpkins.

I found these cute striped and ruffled pillow covers from H&M on clearance for $8.00 each. I think the colors are so cute for Fall or even Spring!

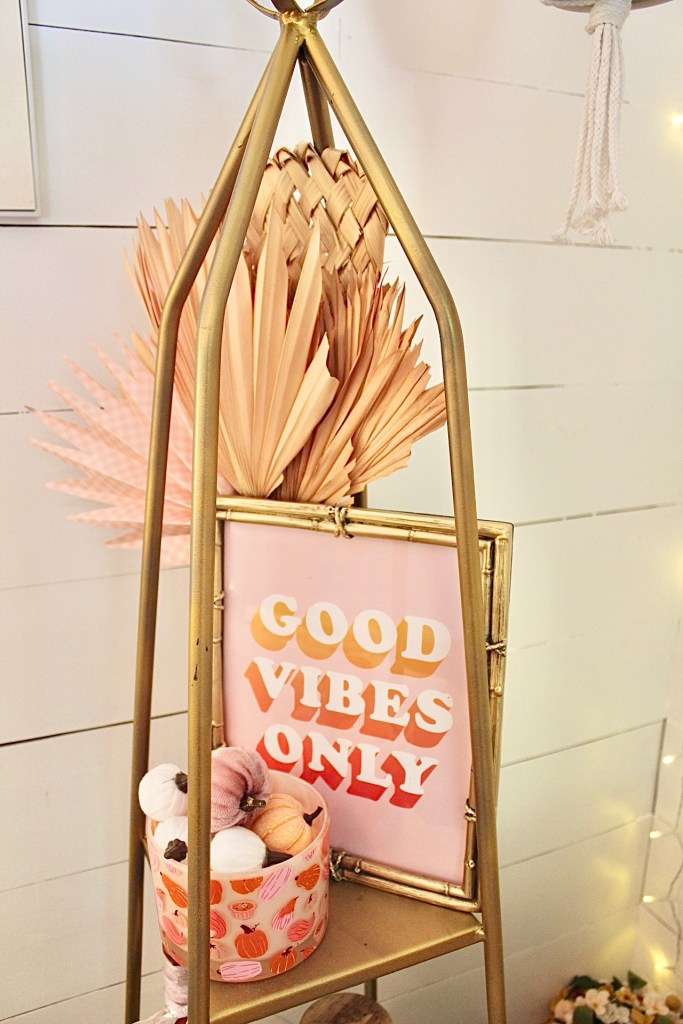
I also got a new print and added it to a frame I had thrifted for .99!

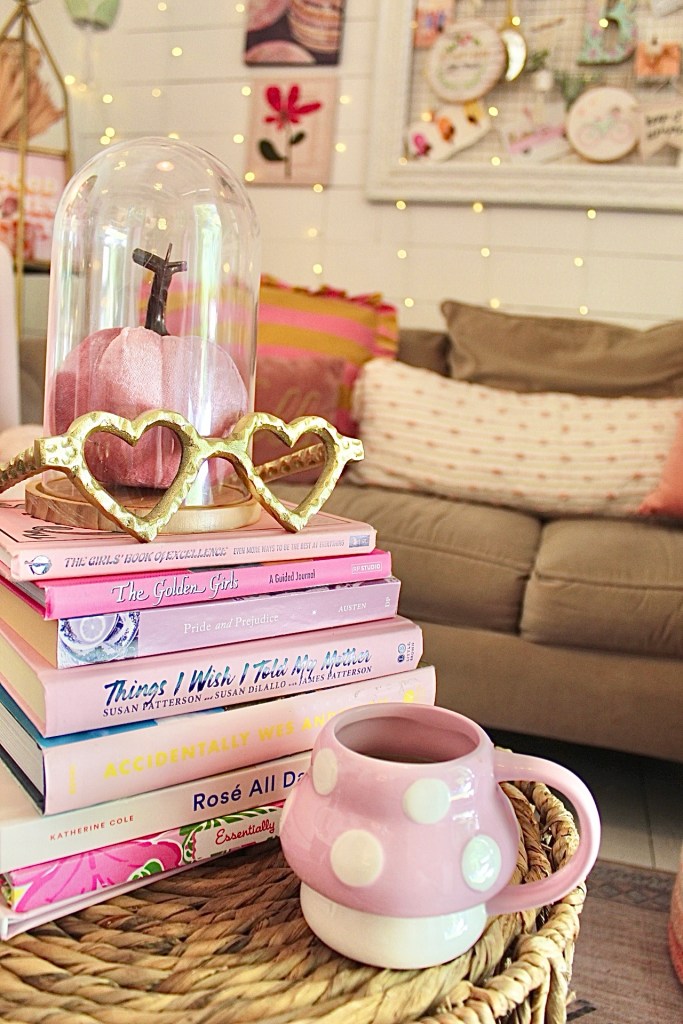
I also got a cute puzzle from Galison puzzles and all the cozy Fall vibes made me so happy!

I have found that using what I have and just moving things around makes things feel new. It’s so therapeutic for me to clean, organize and redecorate a space! I hope you have enjoyed this tour.

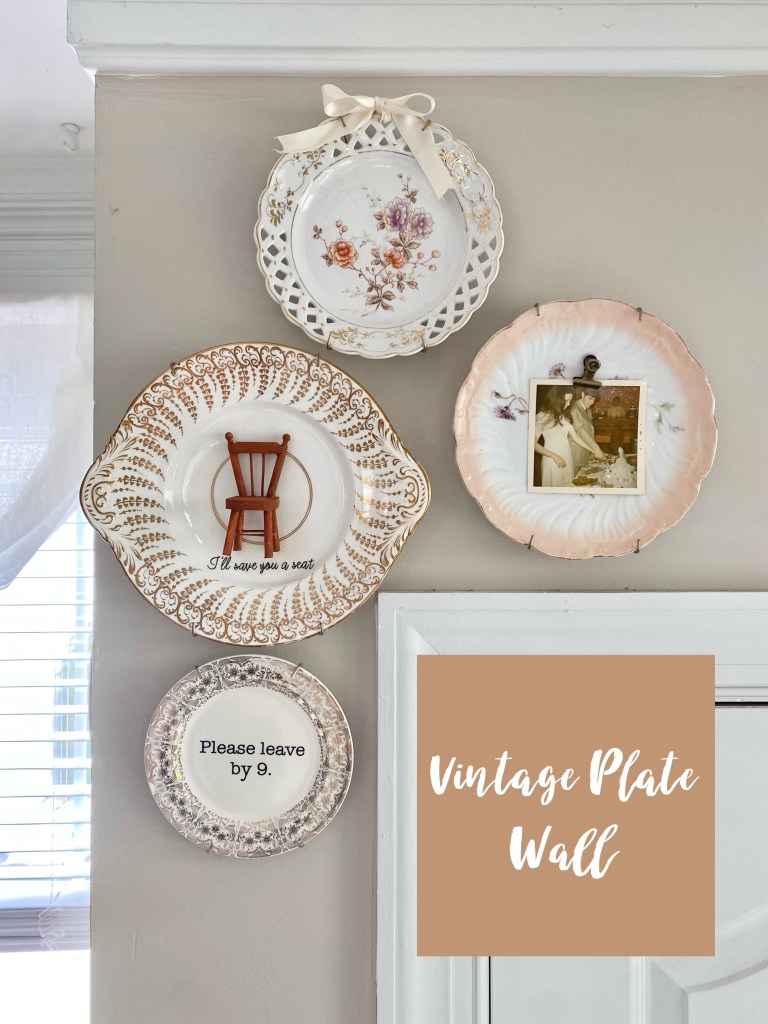
Vintage Plate Wall

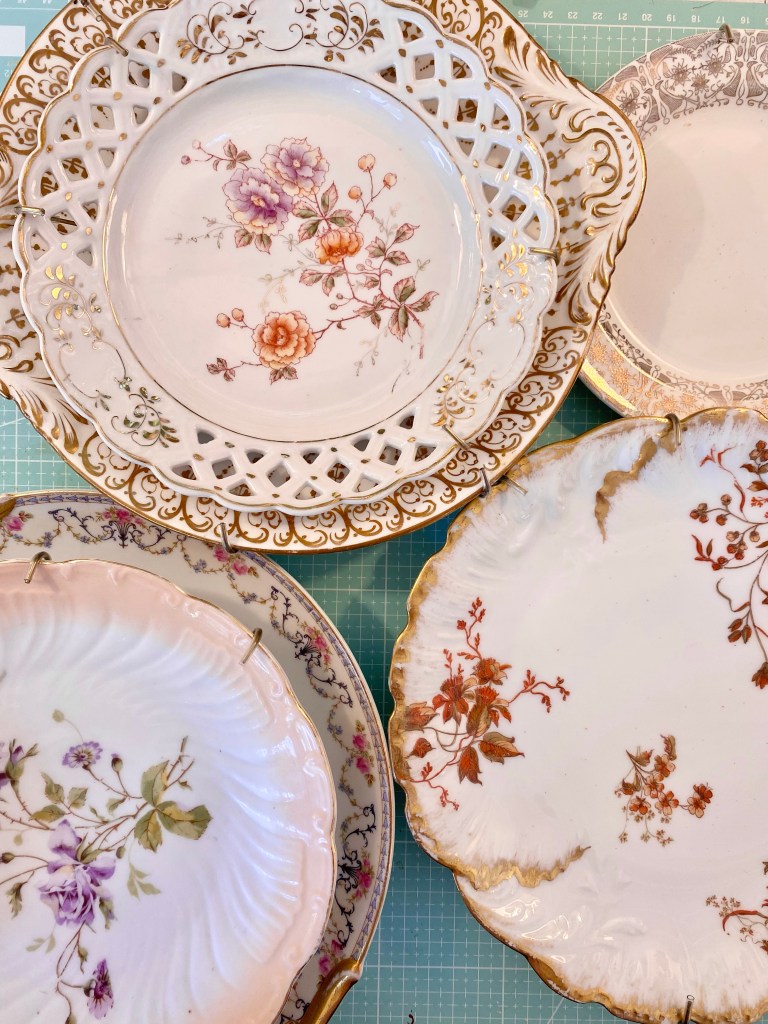
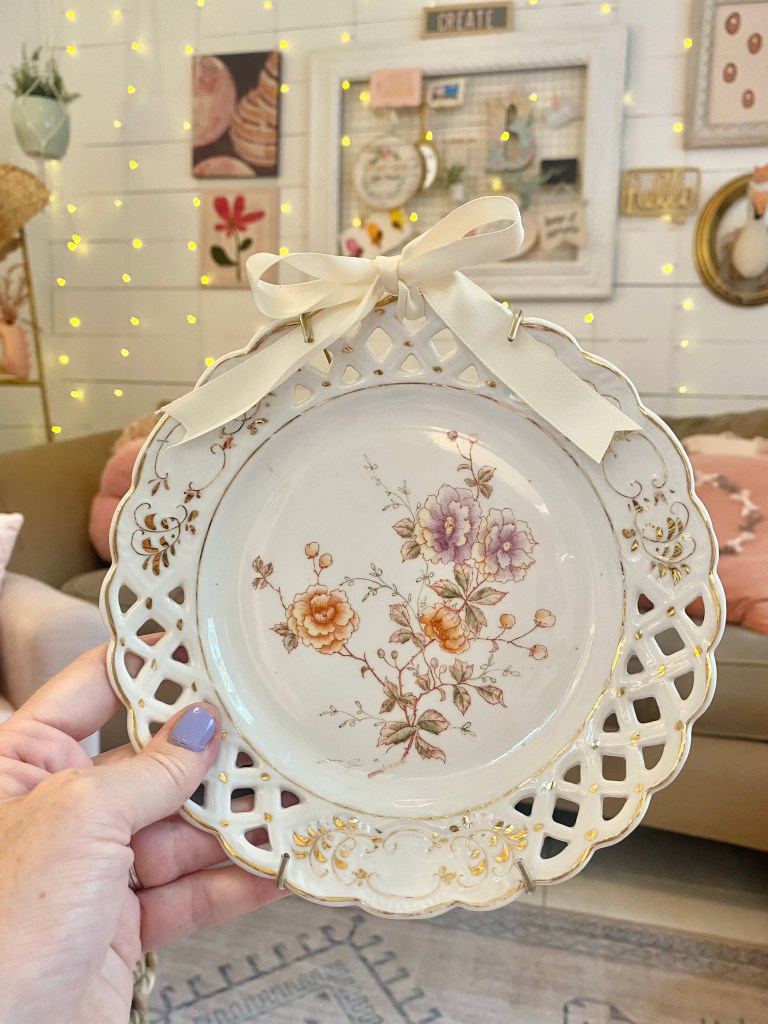
I have been on the search for some vintage plates to do a fun DIY project. I wasn’t having any luck but my friend messaged me saying she was having a yard sale and had some dishes she thought I might like. I jumped in the car and headed right over! She had some beautiful ones and for $1.00 each I couldn’t resist!

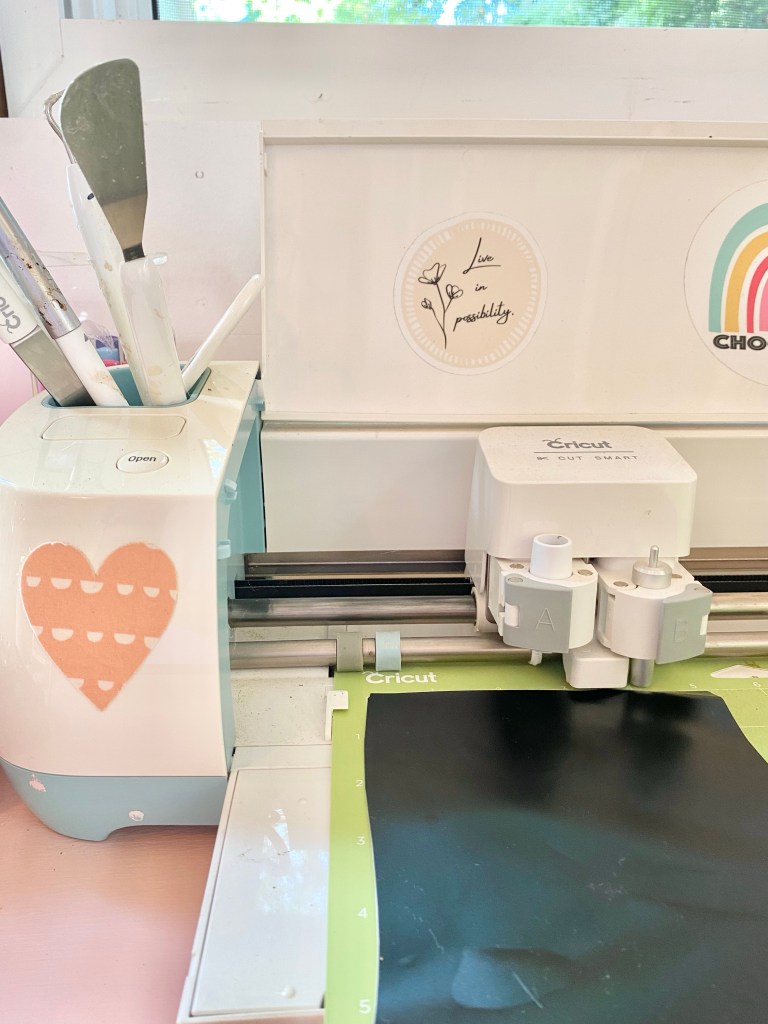
I had a few ideas for updating them and giving them a modern twist. So, I headed into my she shed and started working on a couple of ideas. I used my Cricut machine to create some vinyl decals and grabbed a couple of things at the craft store, too.

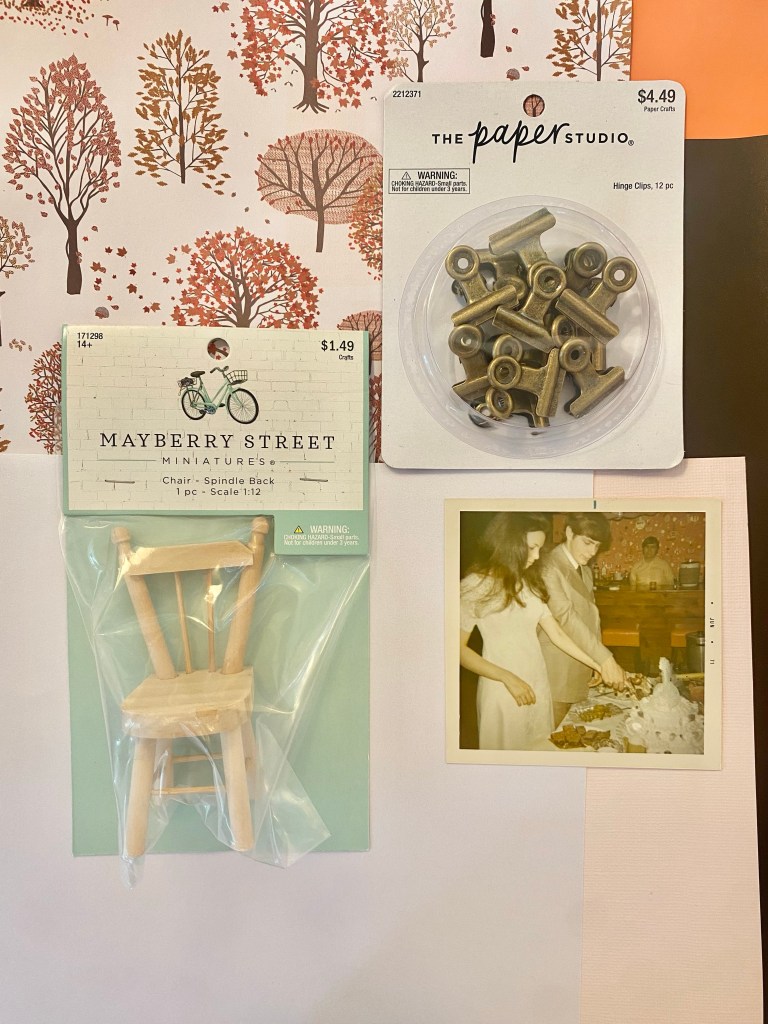
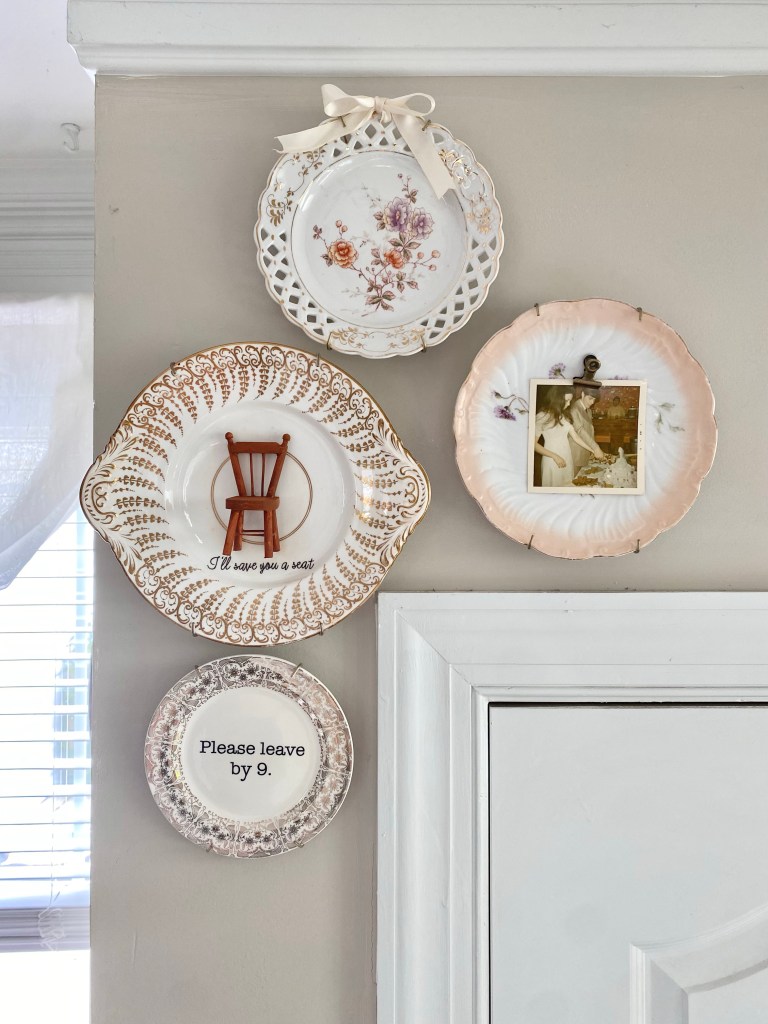
I found this mini chair at Hobby Lobby and wanted to add my parents wedding photo to a plate so I grabbed a bag of clips, too.

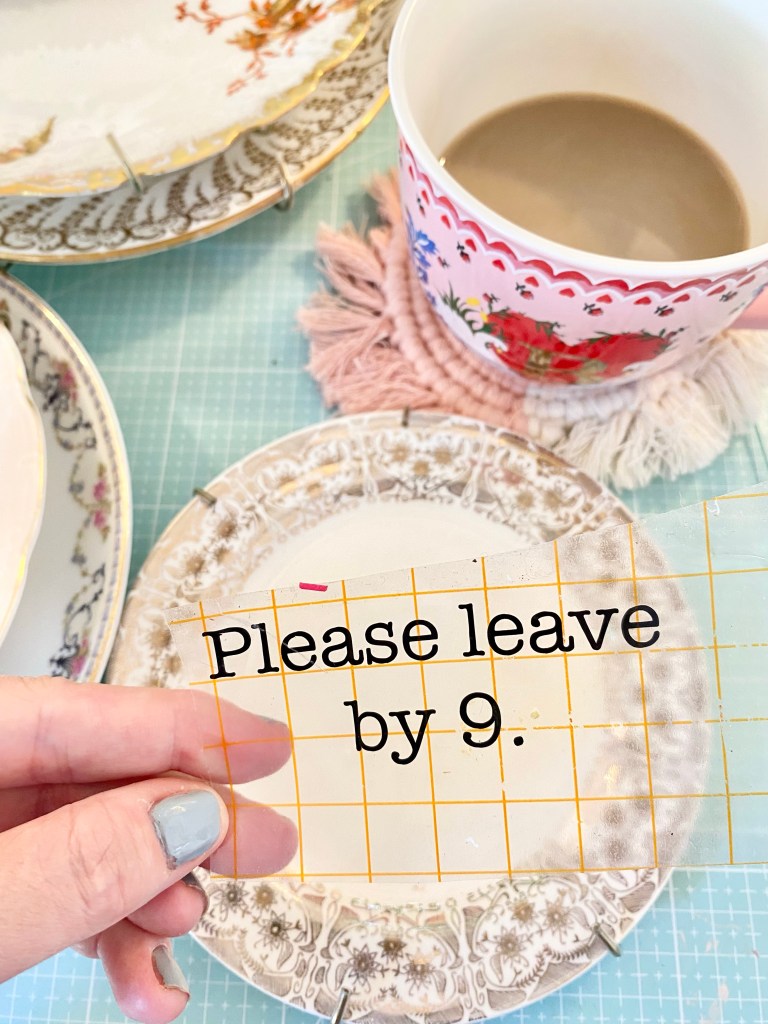
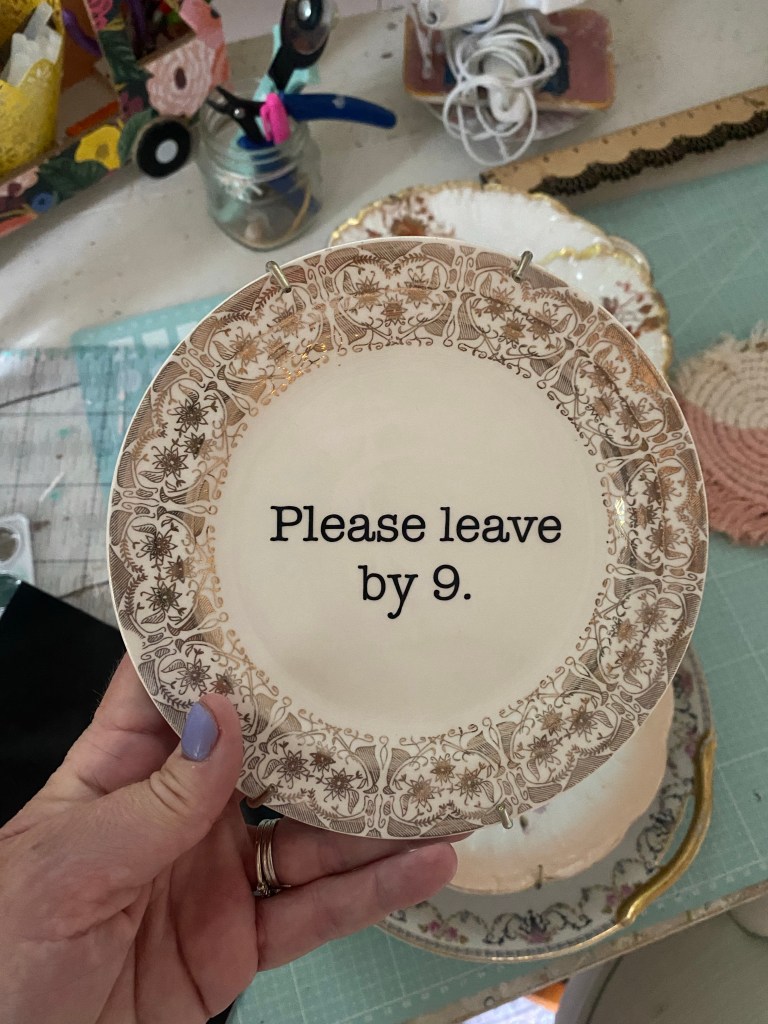
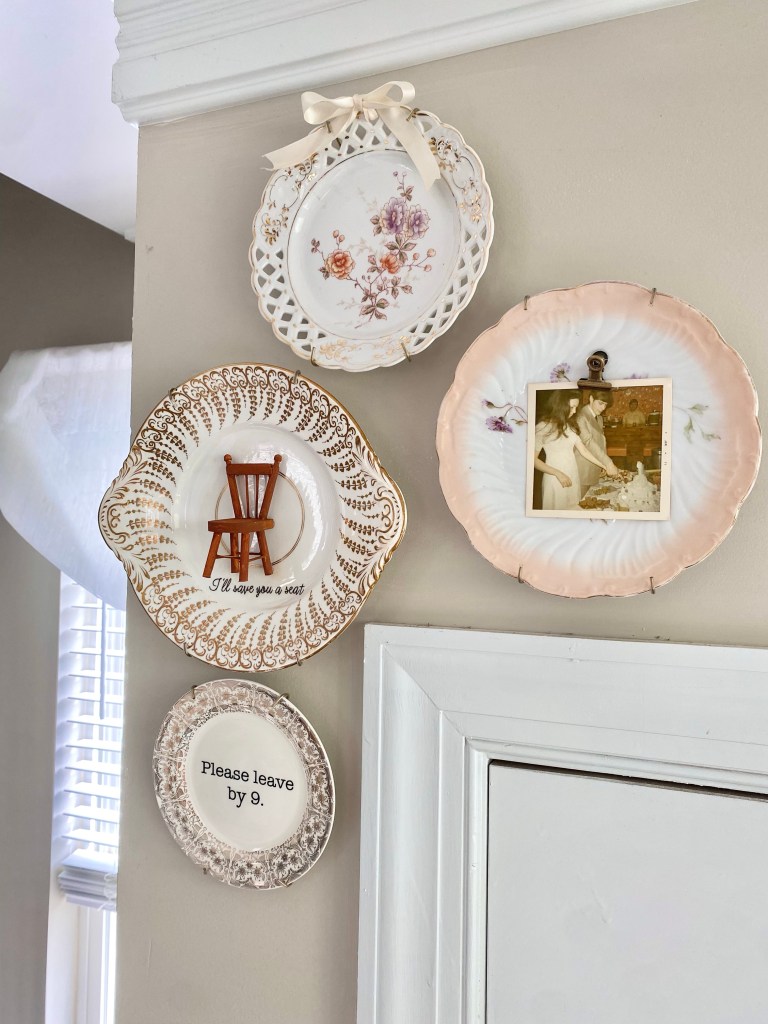
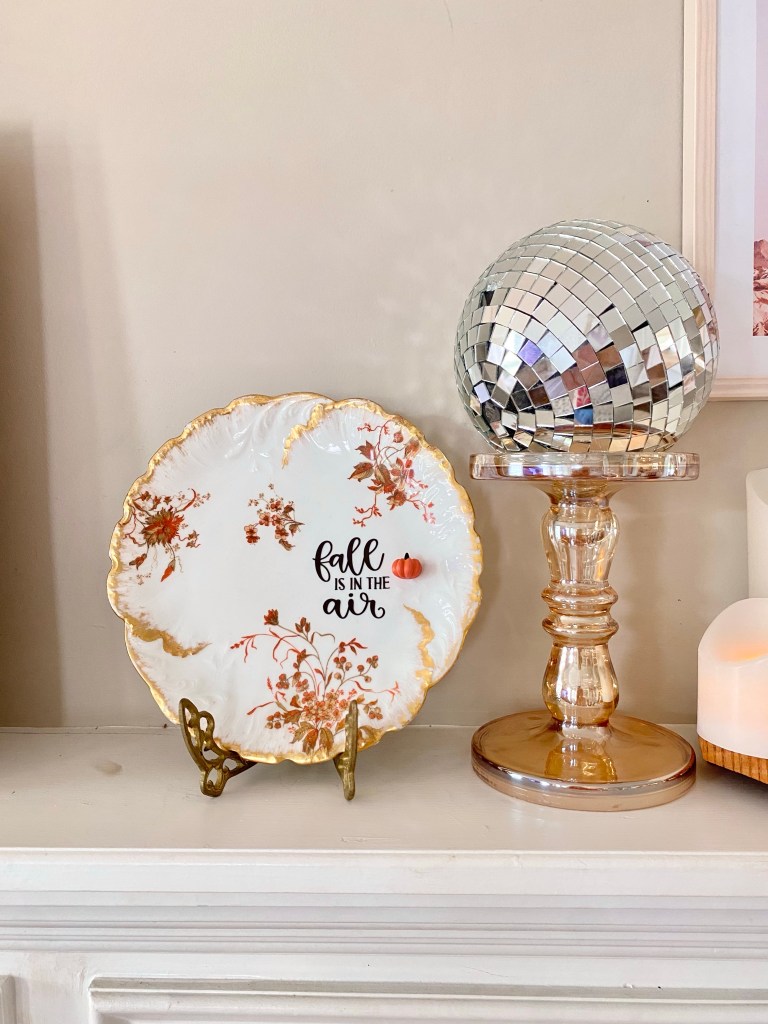
I knew I wanted to make a plate that said “Please leave by 9.” All my friends joke around that they know it’s time to go at about 9pm at my house. I also wanted a fall themed plate so I cut the vinyl on my Cricut for that and added a little pumpkin.

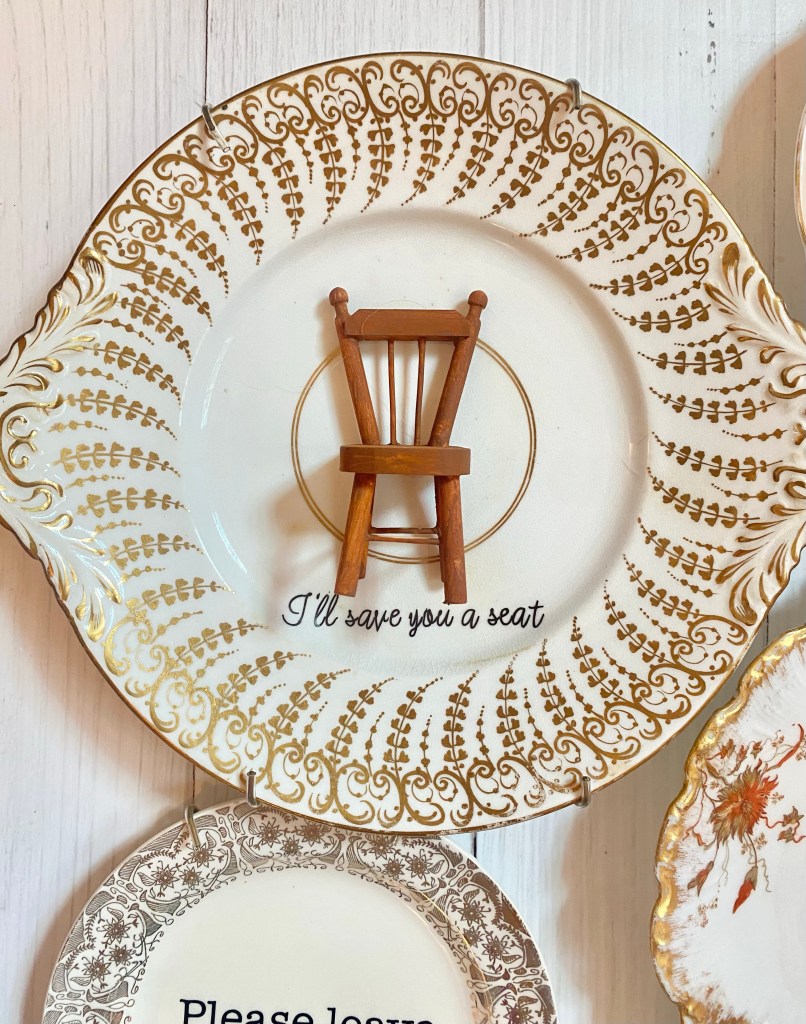
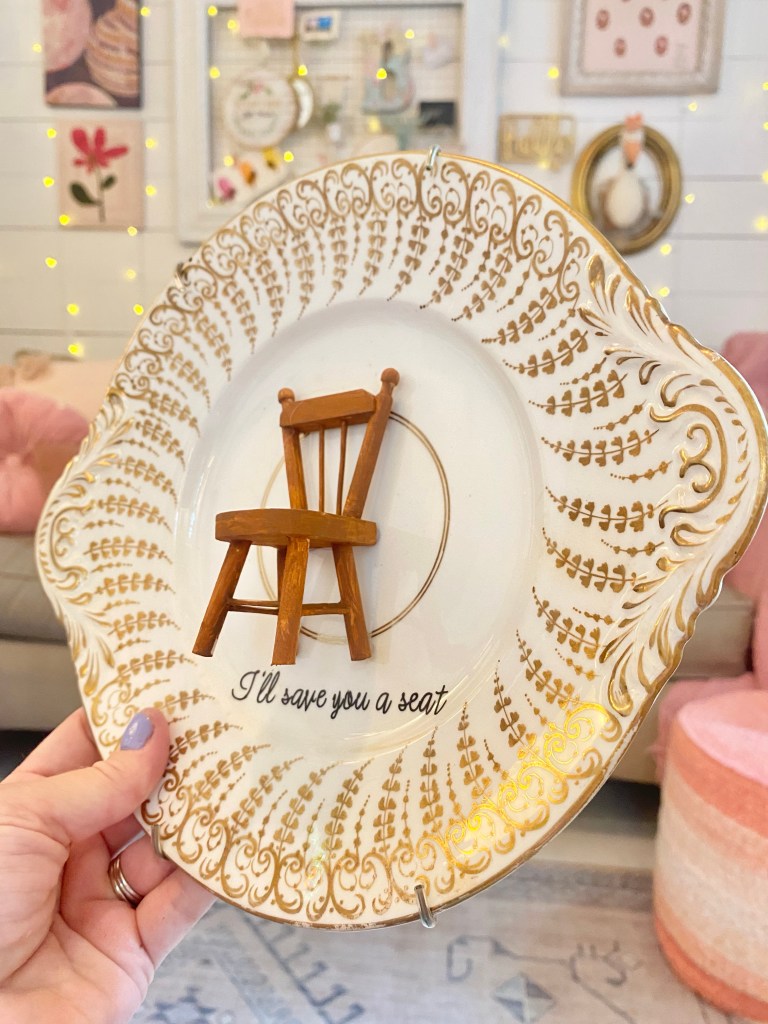
I also cut vinyl that says “ I’ll save you a seat.” I thought it would be cute with the little chair. So, I painted the chair and attached it to the plate with hot glue. I love it so much!

Lastly, I attached ribbon to one plate that I thought was pretty without much more. Then I added a clasp and my parents wedding photo to the last plate!

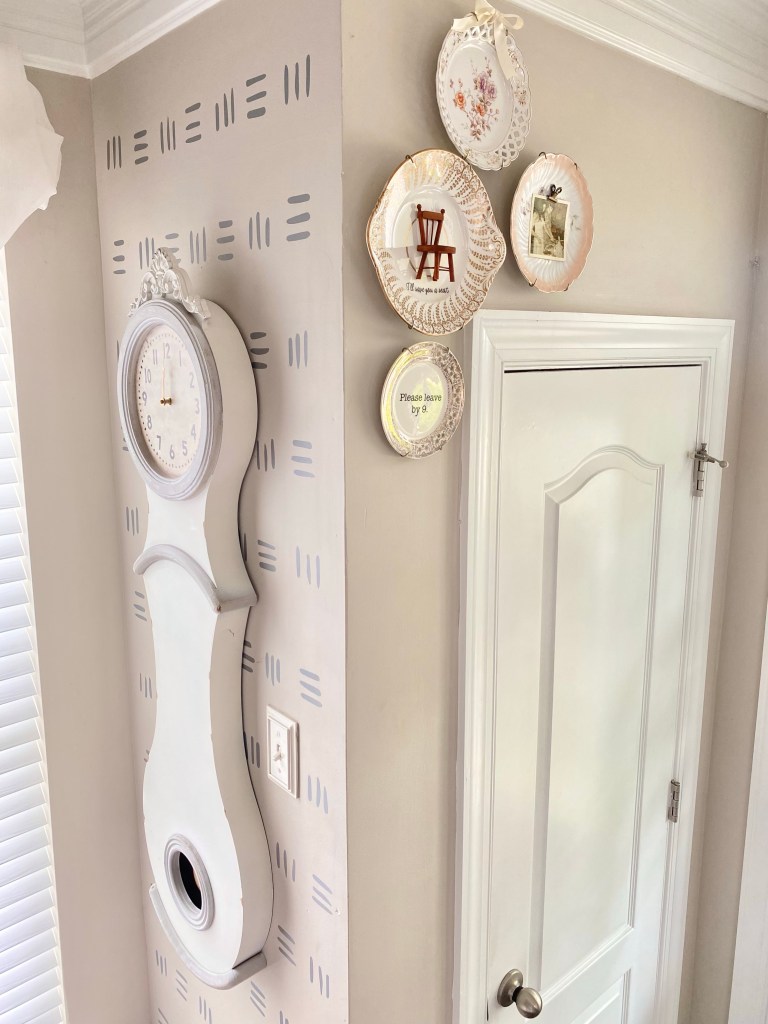
Now that they were finished I had to decide where to hang them. I opted for a spot around the hall closet. Fortunately the plates also came with hangers so I just I had choose a layout!

I will use the Fall is in the Air plate for my Fall decor….which I hope to do soon!

I still have more plates and more ideas, I am thinking of making some as gifts for friends! What do you think? Tell me below!

Coastal Inspired Table

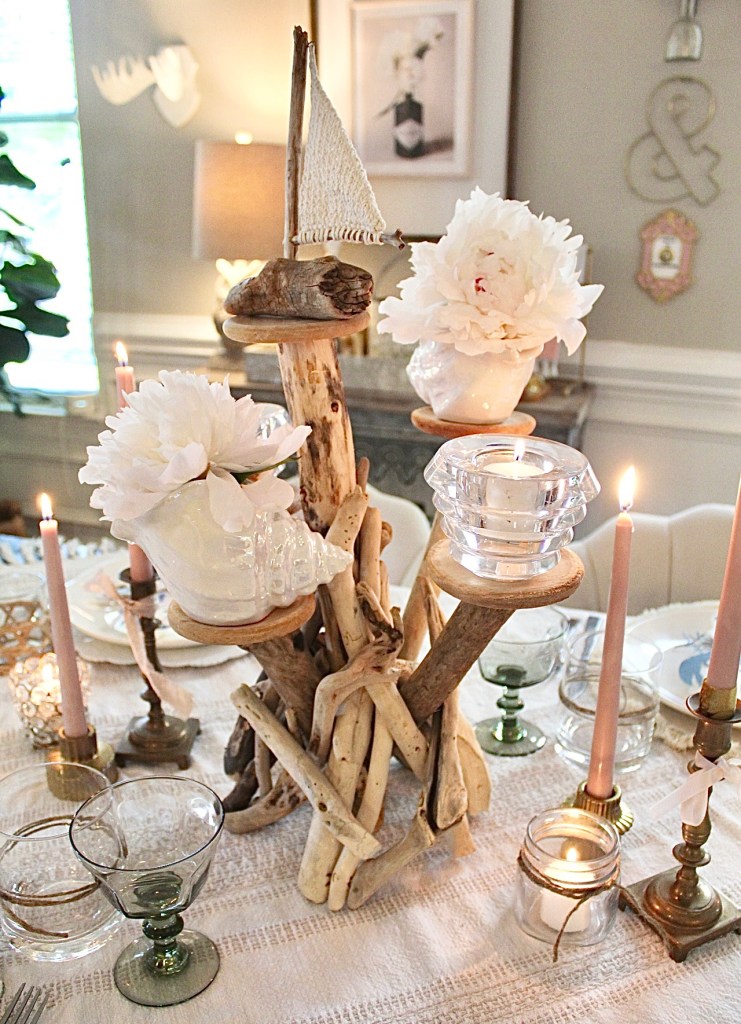
I love planning parties and making special memories. We wanted to celebrate my parents anniversary and I decided to plan a dinner party for them. They love the coast and spend their summers in Maine. So, I decided to create a coastal inspired table. I found a driftwood candle holder for a gift for them and decided to use it on the table and jump off that!

I didn’t want to have to buy much, so I shopped my house for things I had. The only things I bought were plain white plates from the Dollar Tree and the sea shell vases from Walmart.

I used a thin blanket I had as a tablecloth. Since it wasn’t long enough to cover the whole table I layed it down on an angle.

I really love the tablecloth that way. Now that I’ve done that I think I like it better than the traditional look!

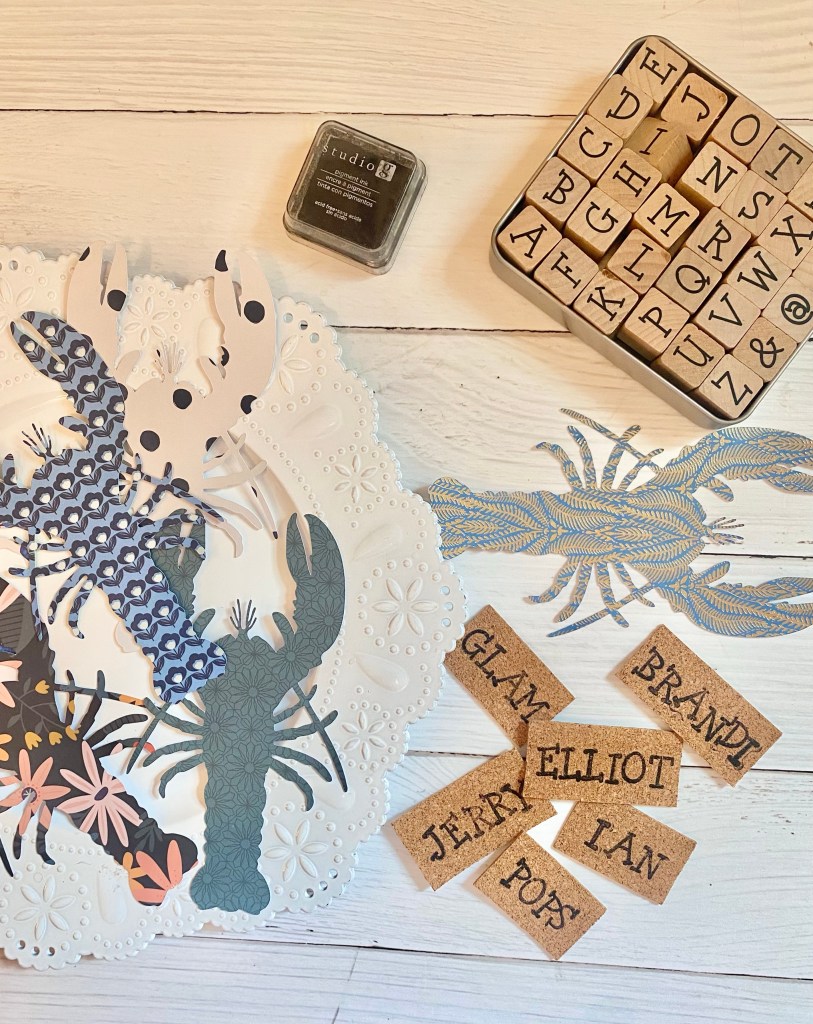
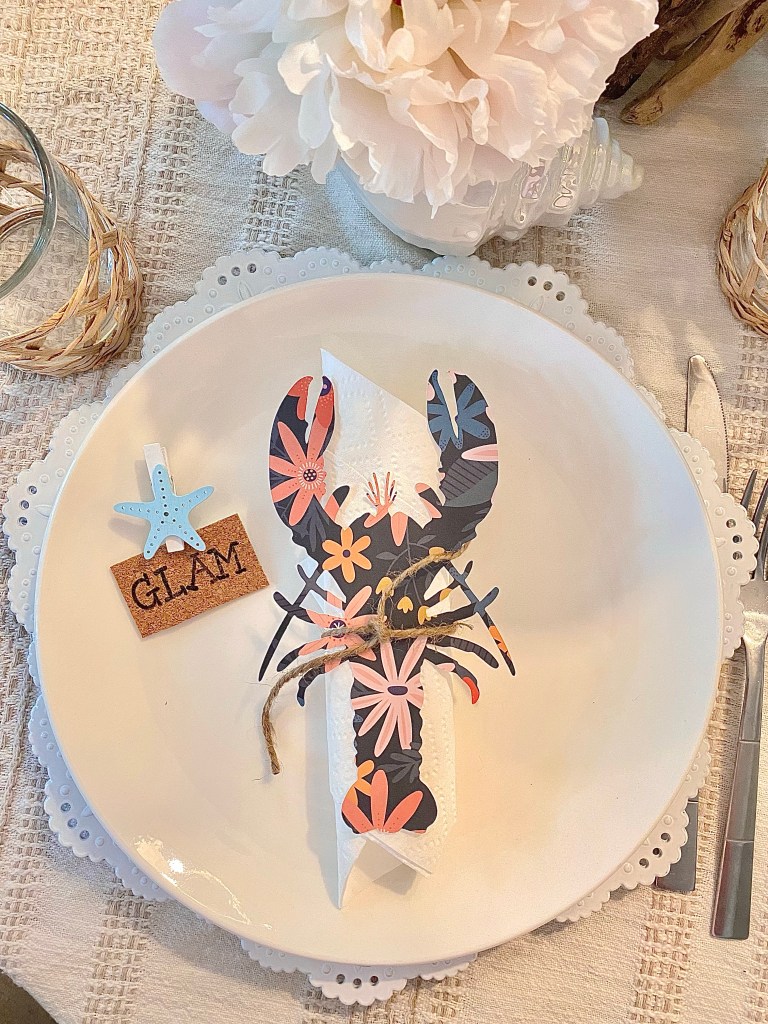
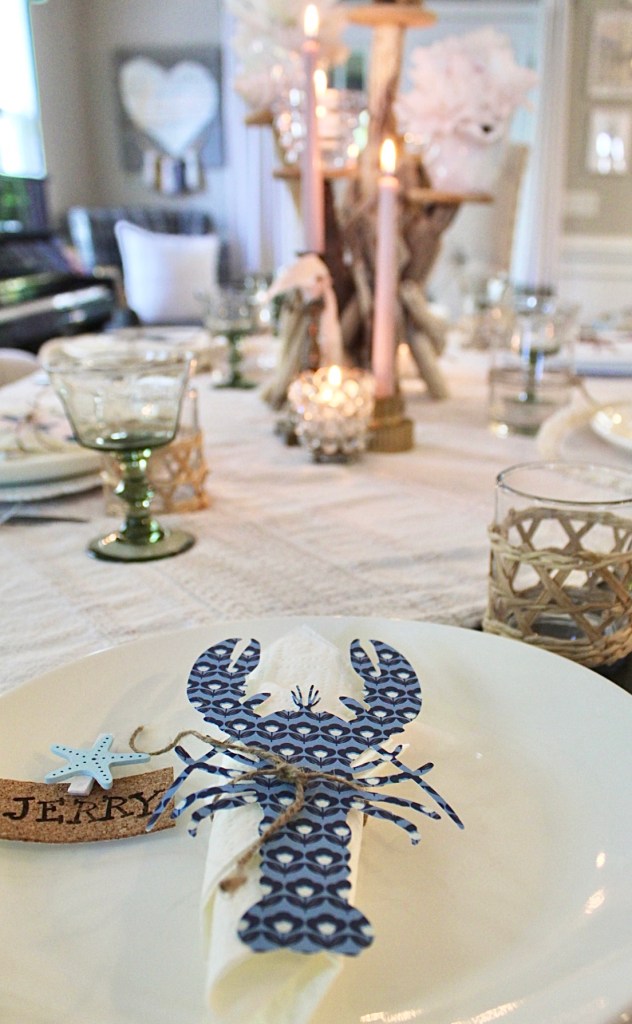
Next up I had made some paper lobster napkin holders on my Cricut machine. I had lots of blue scrapbook papers and used a mix. I then tied some twine around the lobster and napkin . I think it’s such a fun touch! I also found the little starfish clips at Dollar Tree and made name tags on cork board with a stamp.

I filled the seashell vases with peonies and added some votive candle holders to the driftwood centerpiece and then put a little sailboat to the top. I added in my gold candlestick holders with taper candles. I then added some drinking glasses I had thrifted that had a coastal vibe and some cocktail glasses to dress it up a bit.

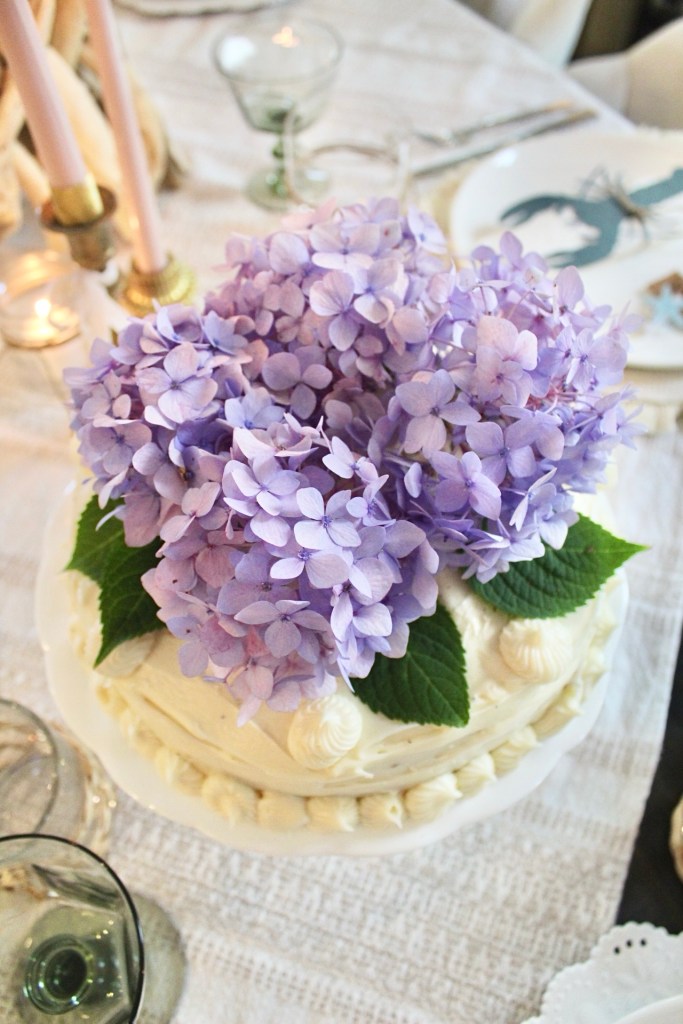
I’m not a fancy baker so I just made a quick and easy cake and topped it with hydrangeas from my yard. I put the stems of the flowers in a straw so the flowers would stand up on the cake.

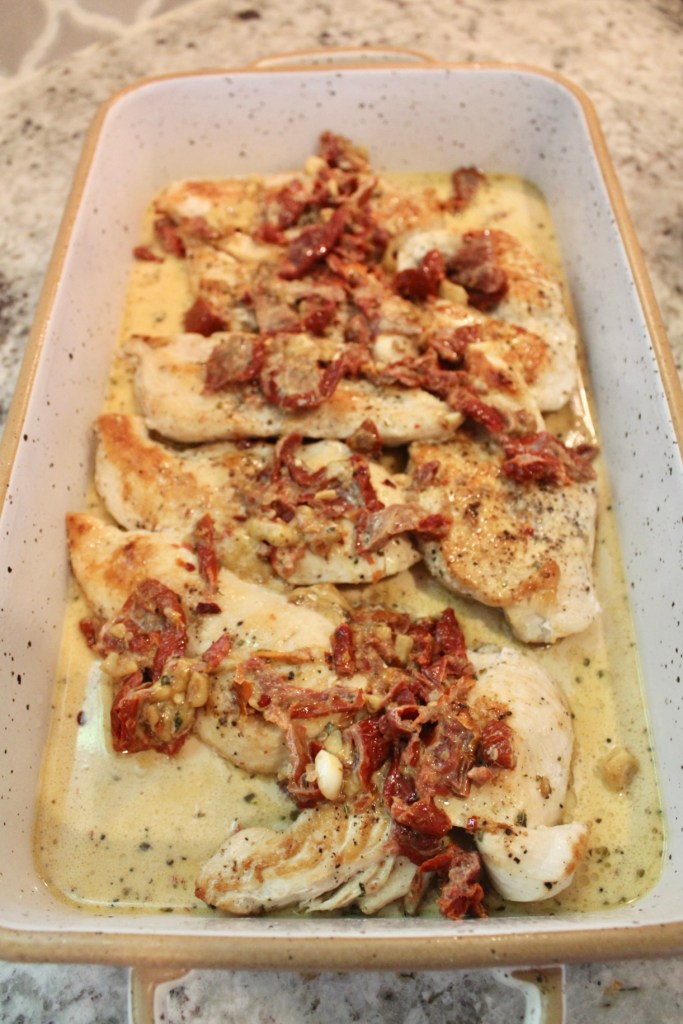
I know you would think I planned a lobster dinner, but I went with something easier. I decided to make Marry Me Chicken , pasta, Caesar salad and bread.

Marry Me Chicken

I also decided to make a cocktail. I made a Jam Cocktail. It was so easy and delicious! I used one tablespoon of strawberry jam, 2 ounces vodka and 1/2 fresh lemon juice. Shake with ice in a shaker, pour and serve.

We had a lovely evening celebrating my parents! I hope you found some inspiration or ideas for your next dinner party!

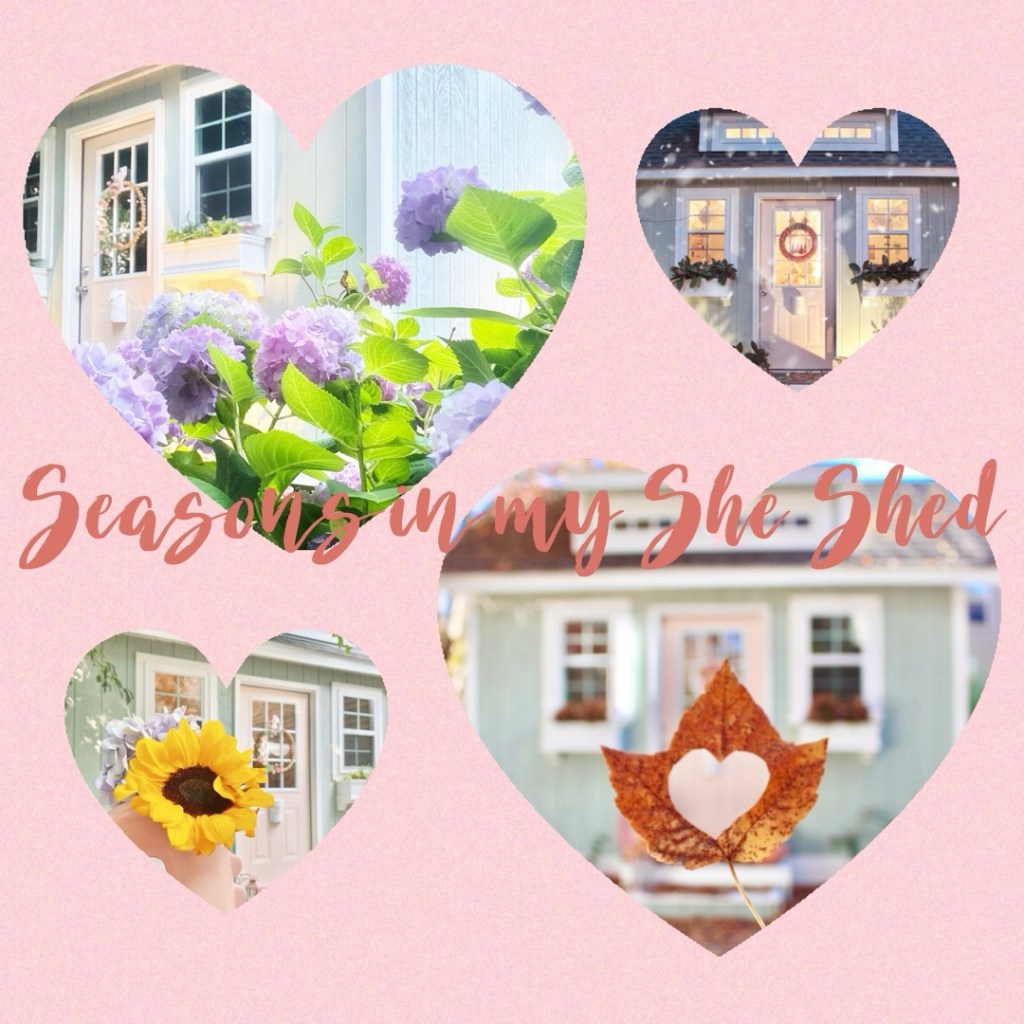
Seasons in my She Shed

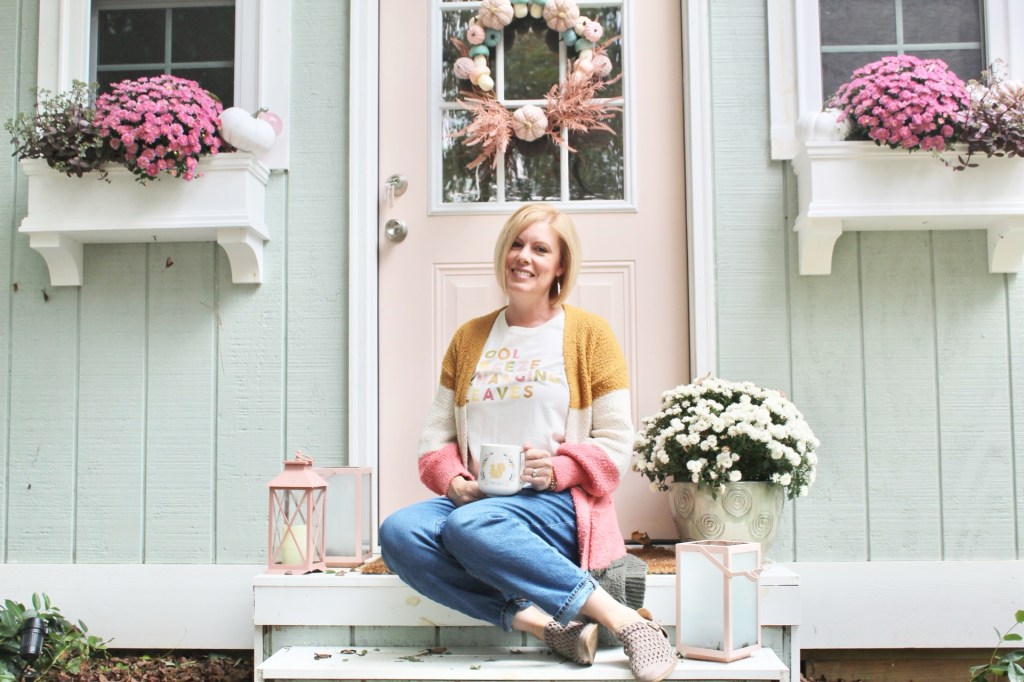
It has been almost two years since my she shed project has been completed! Seasons have come and gone and I have loved every minute of it! Of course, there has been some learning along the way. Regulating the temperature in the heat and cold has been a challenge, but the new insulation has helped quite a bit. The inside roof has not been insulated so some heat/cool air does escape. But, I am not too concerned about dealing with that now. I don’t spend long hours inside so I don’t think the time and money is worth it right now.

Overall, this project has been a dream come true! I thought I would share a few photos of memories of each season. I hope you find some inspiration!

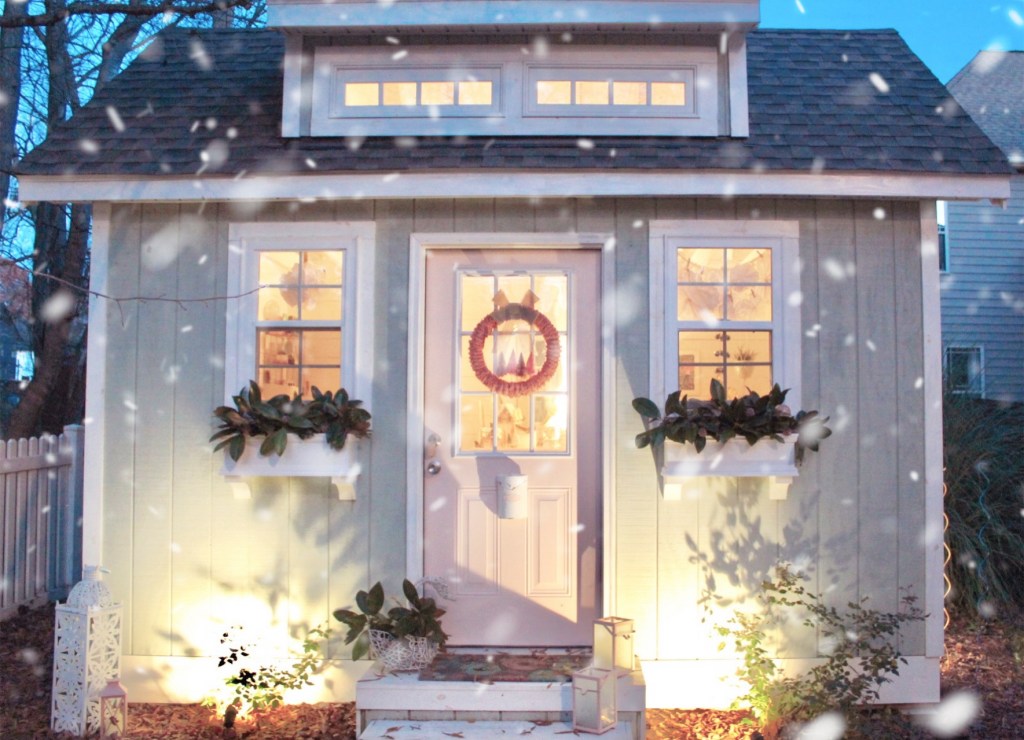
Winter!

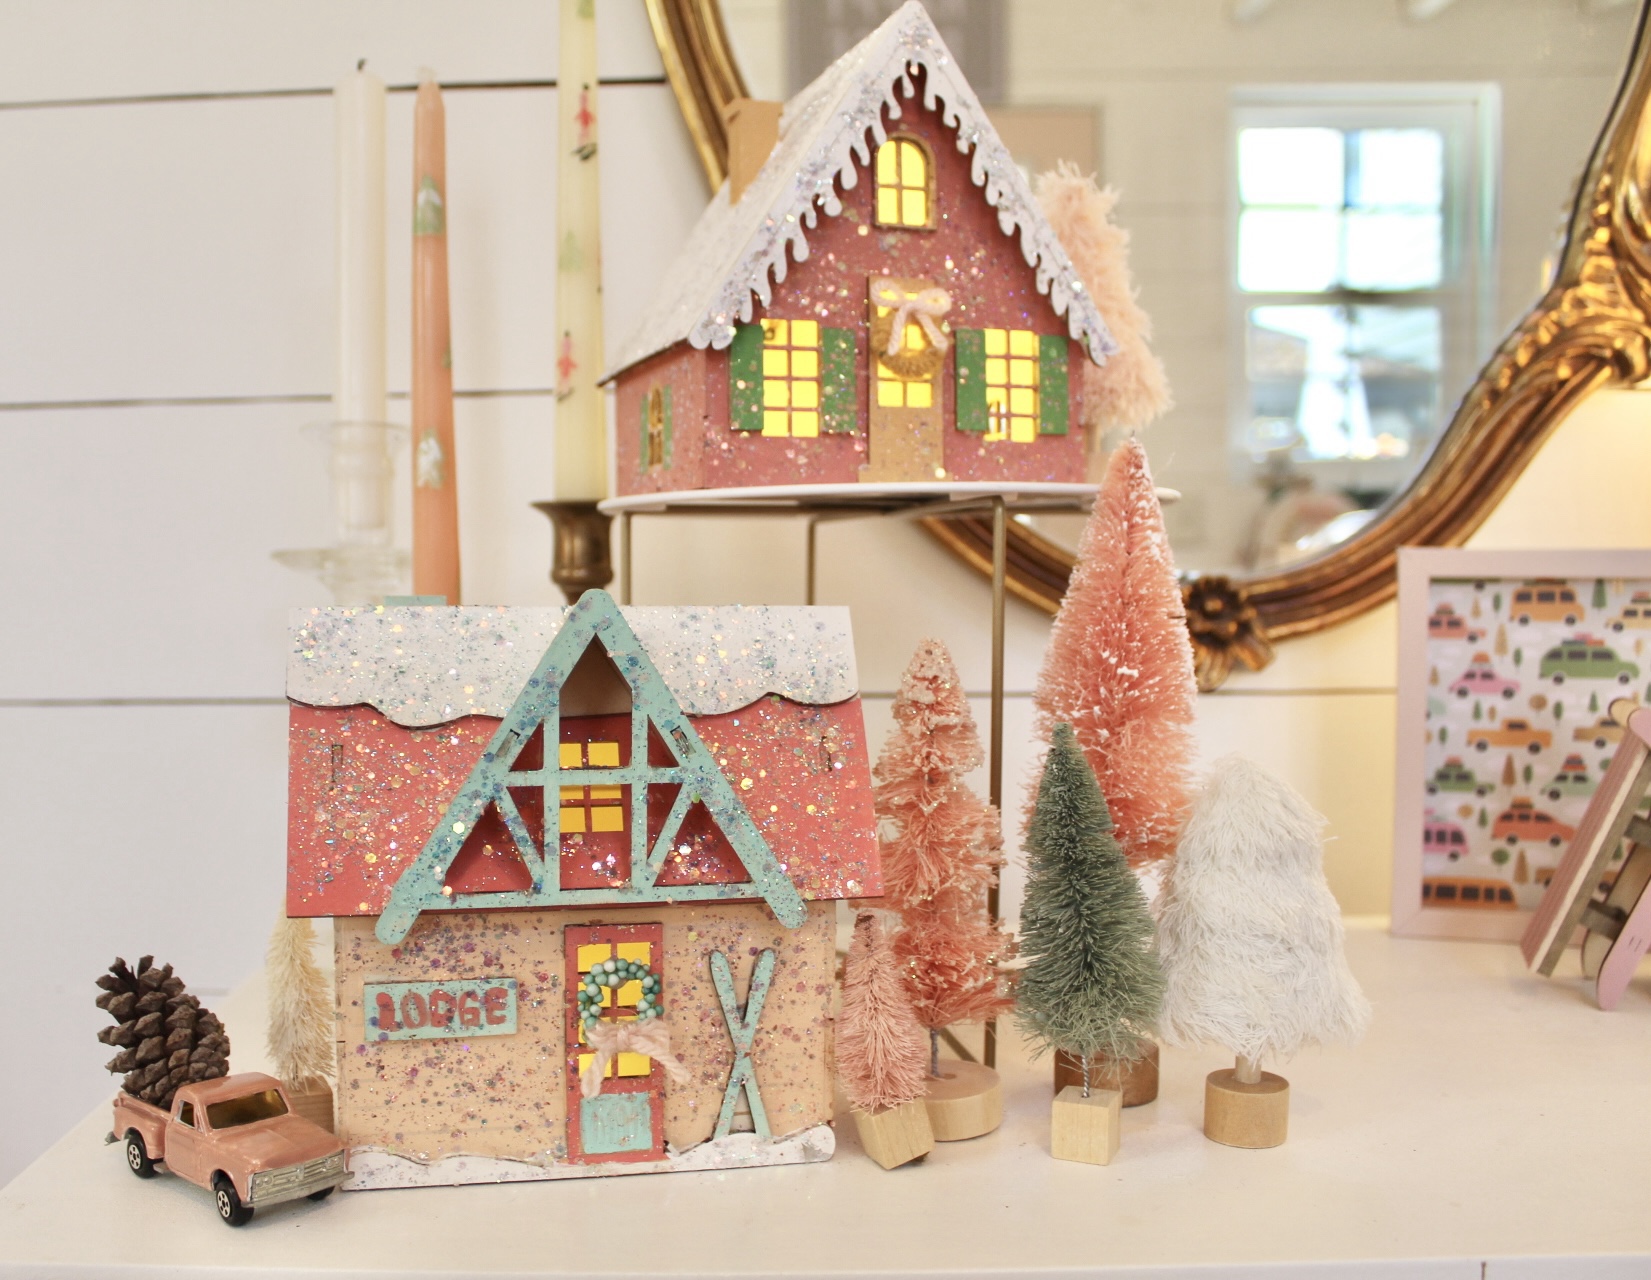
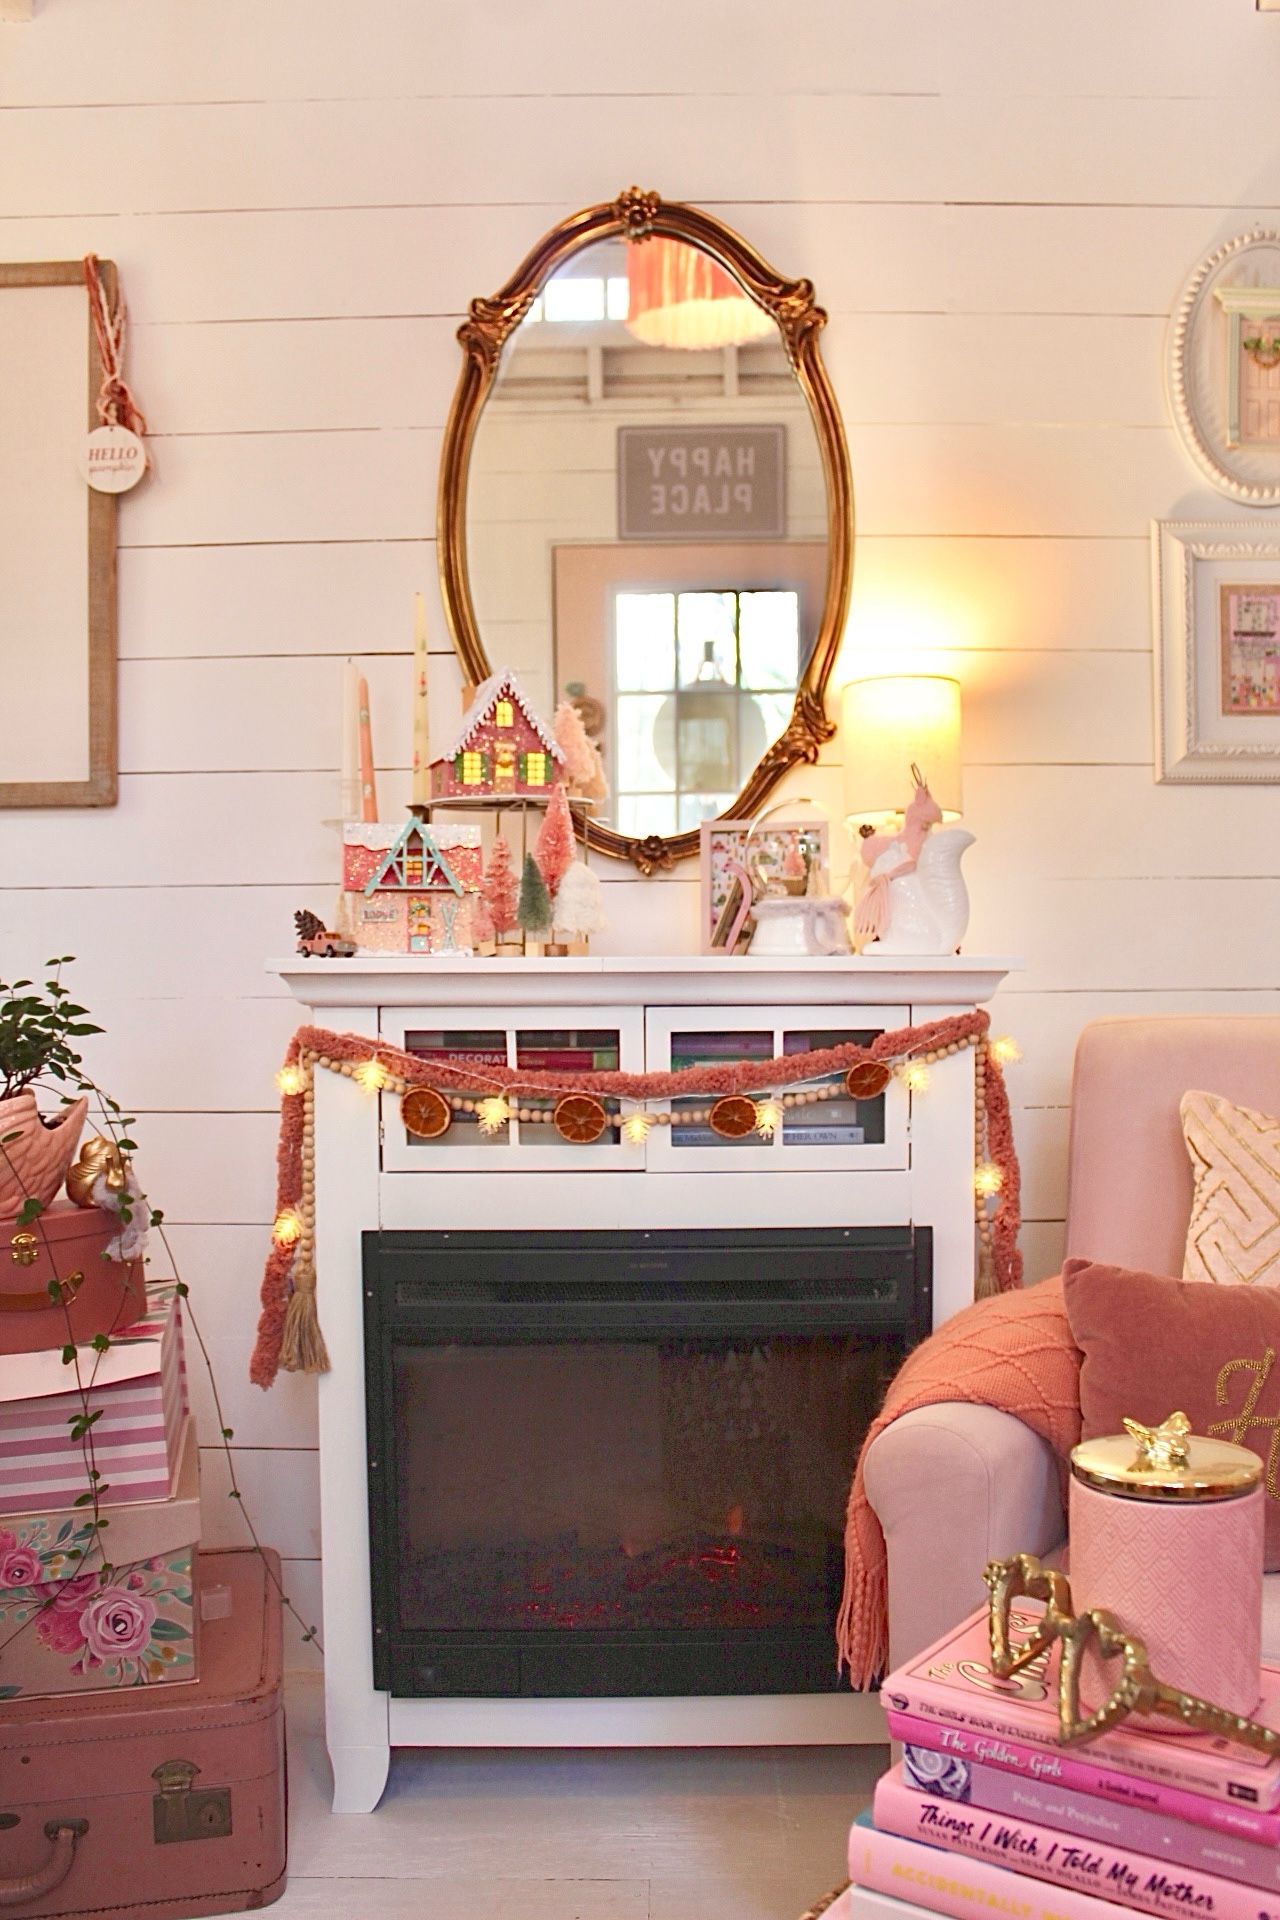
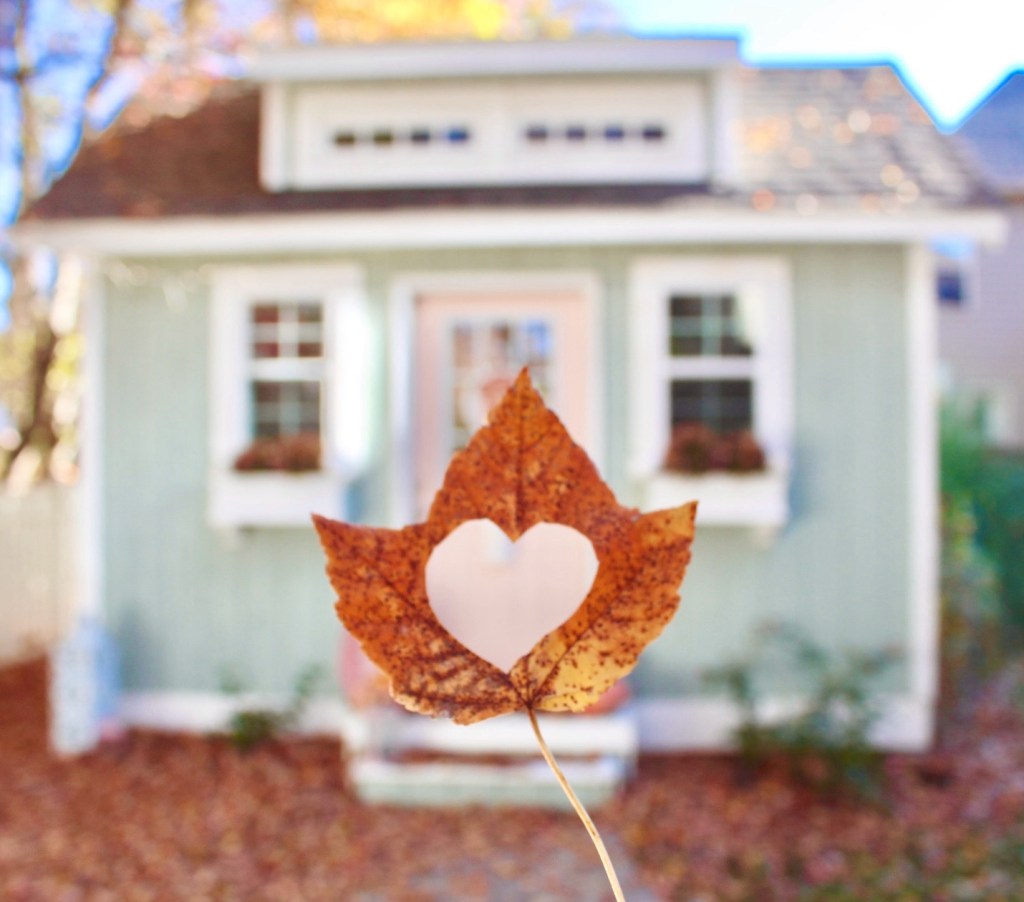
Well, this image is edited! The snow is a filter from an app, but you get the idea! We don’t get much snow here in North Carolina, but I wanted to imagine my shed with snow. The inside has some cute winter touches, though.
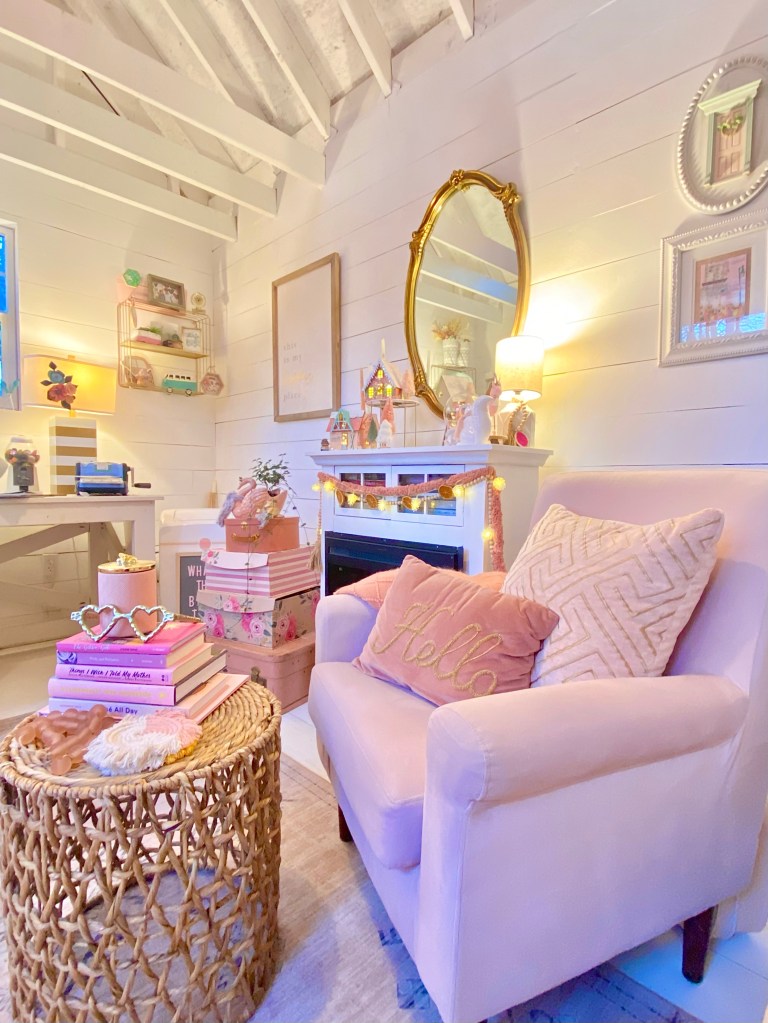
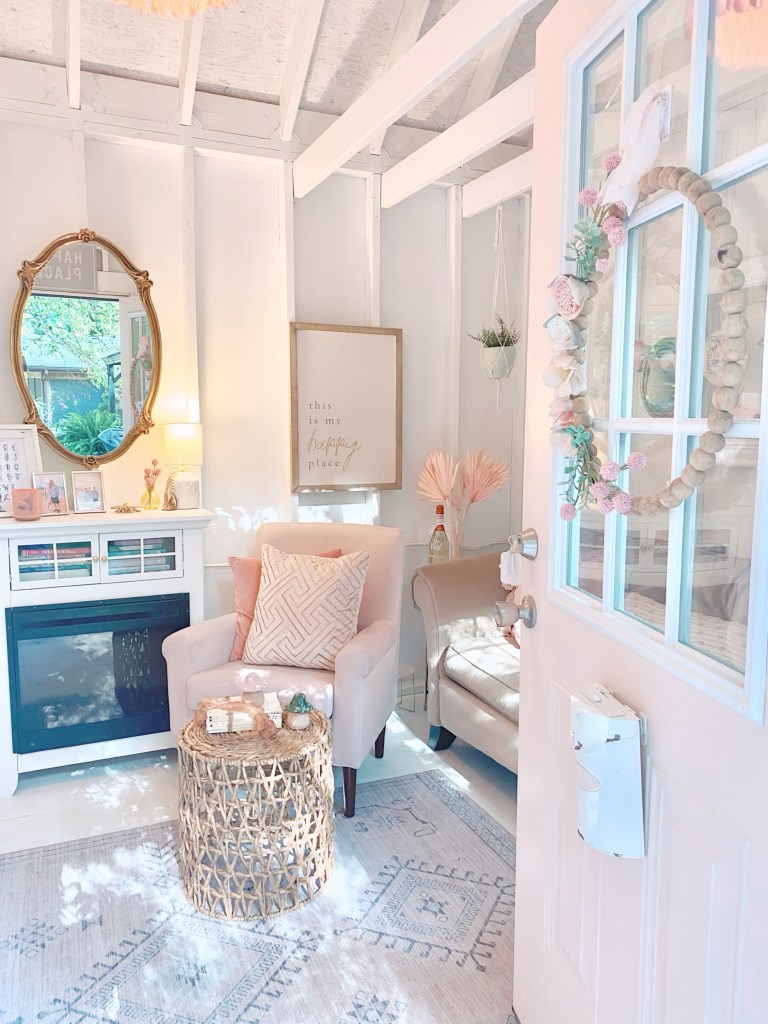
I love adding lots of cozy pink touches. Turning on the electric fireplace makes it even cuter! Next up, my favorite season….FALL!
Fall!

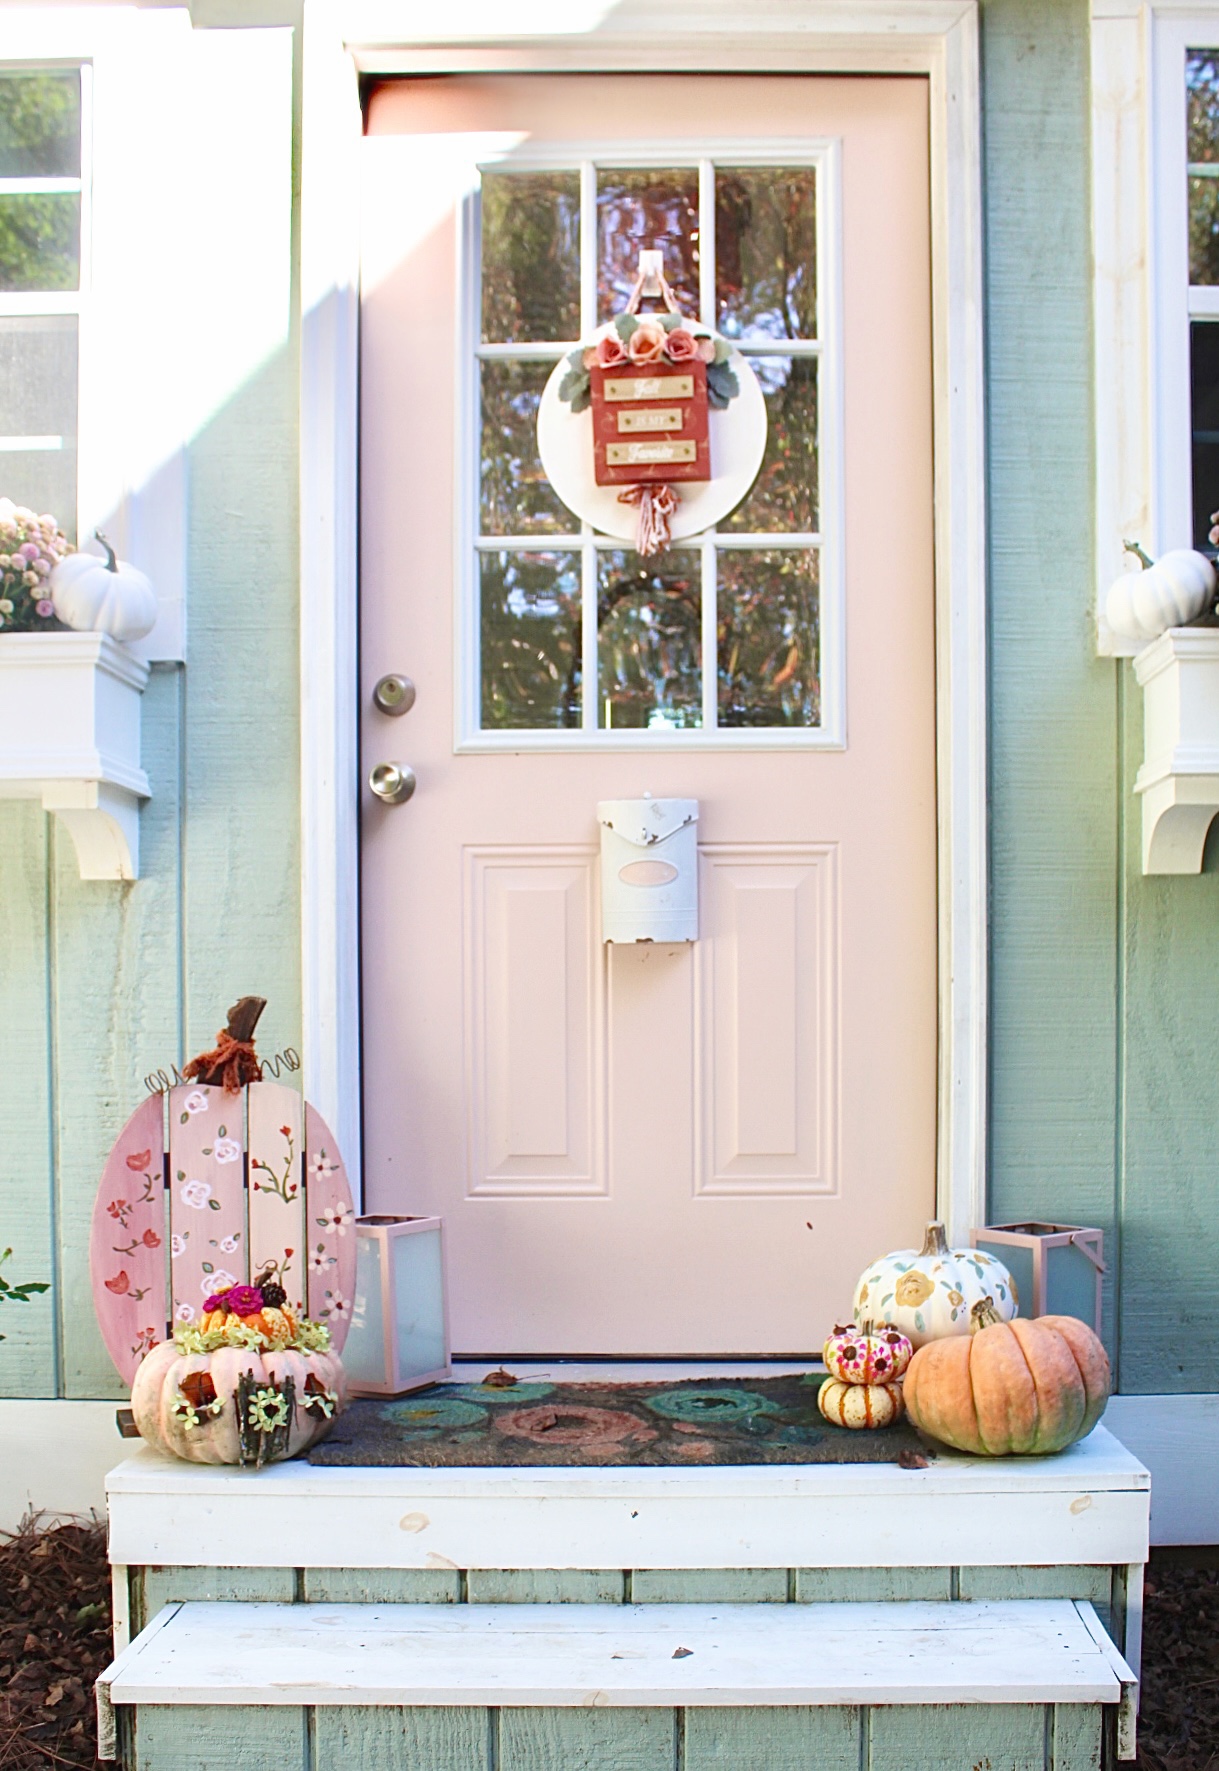
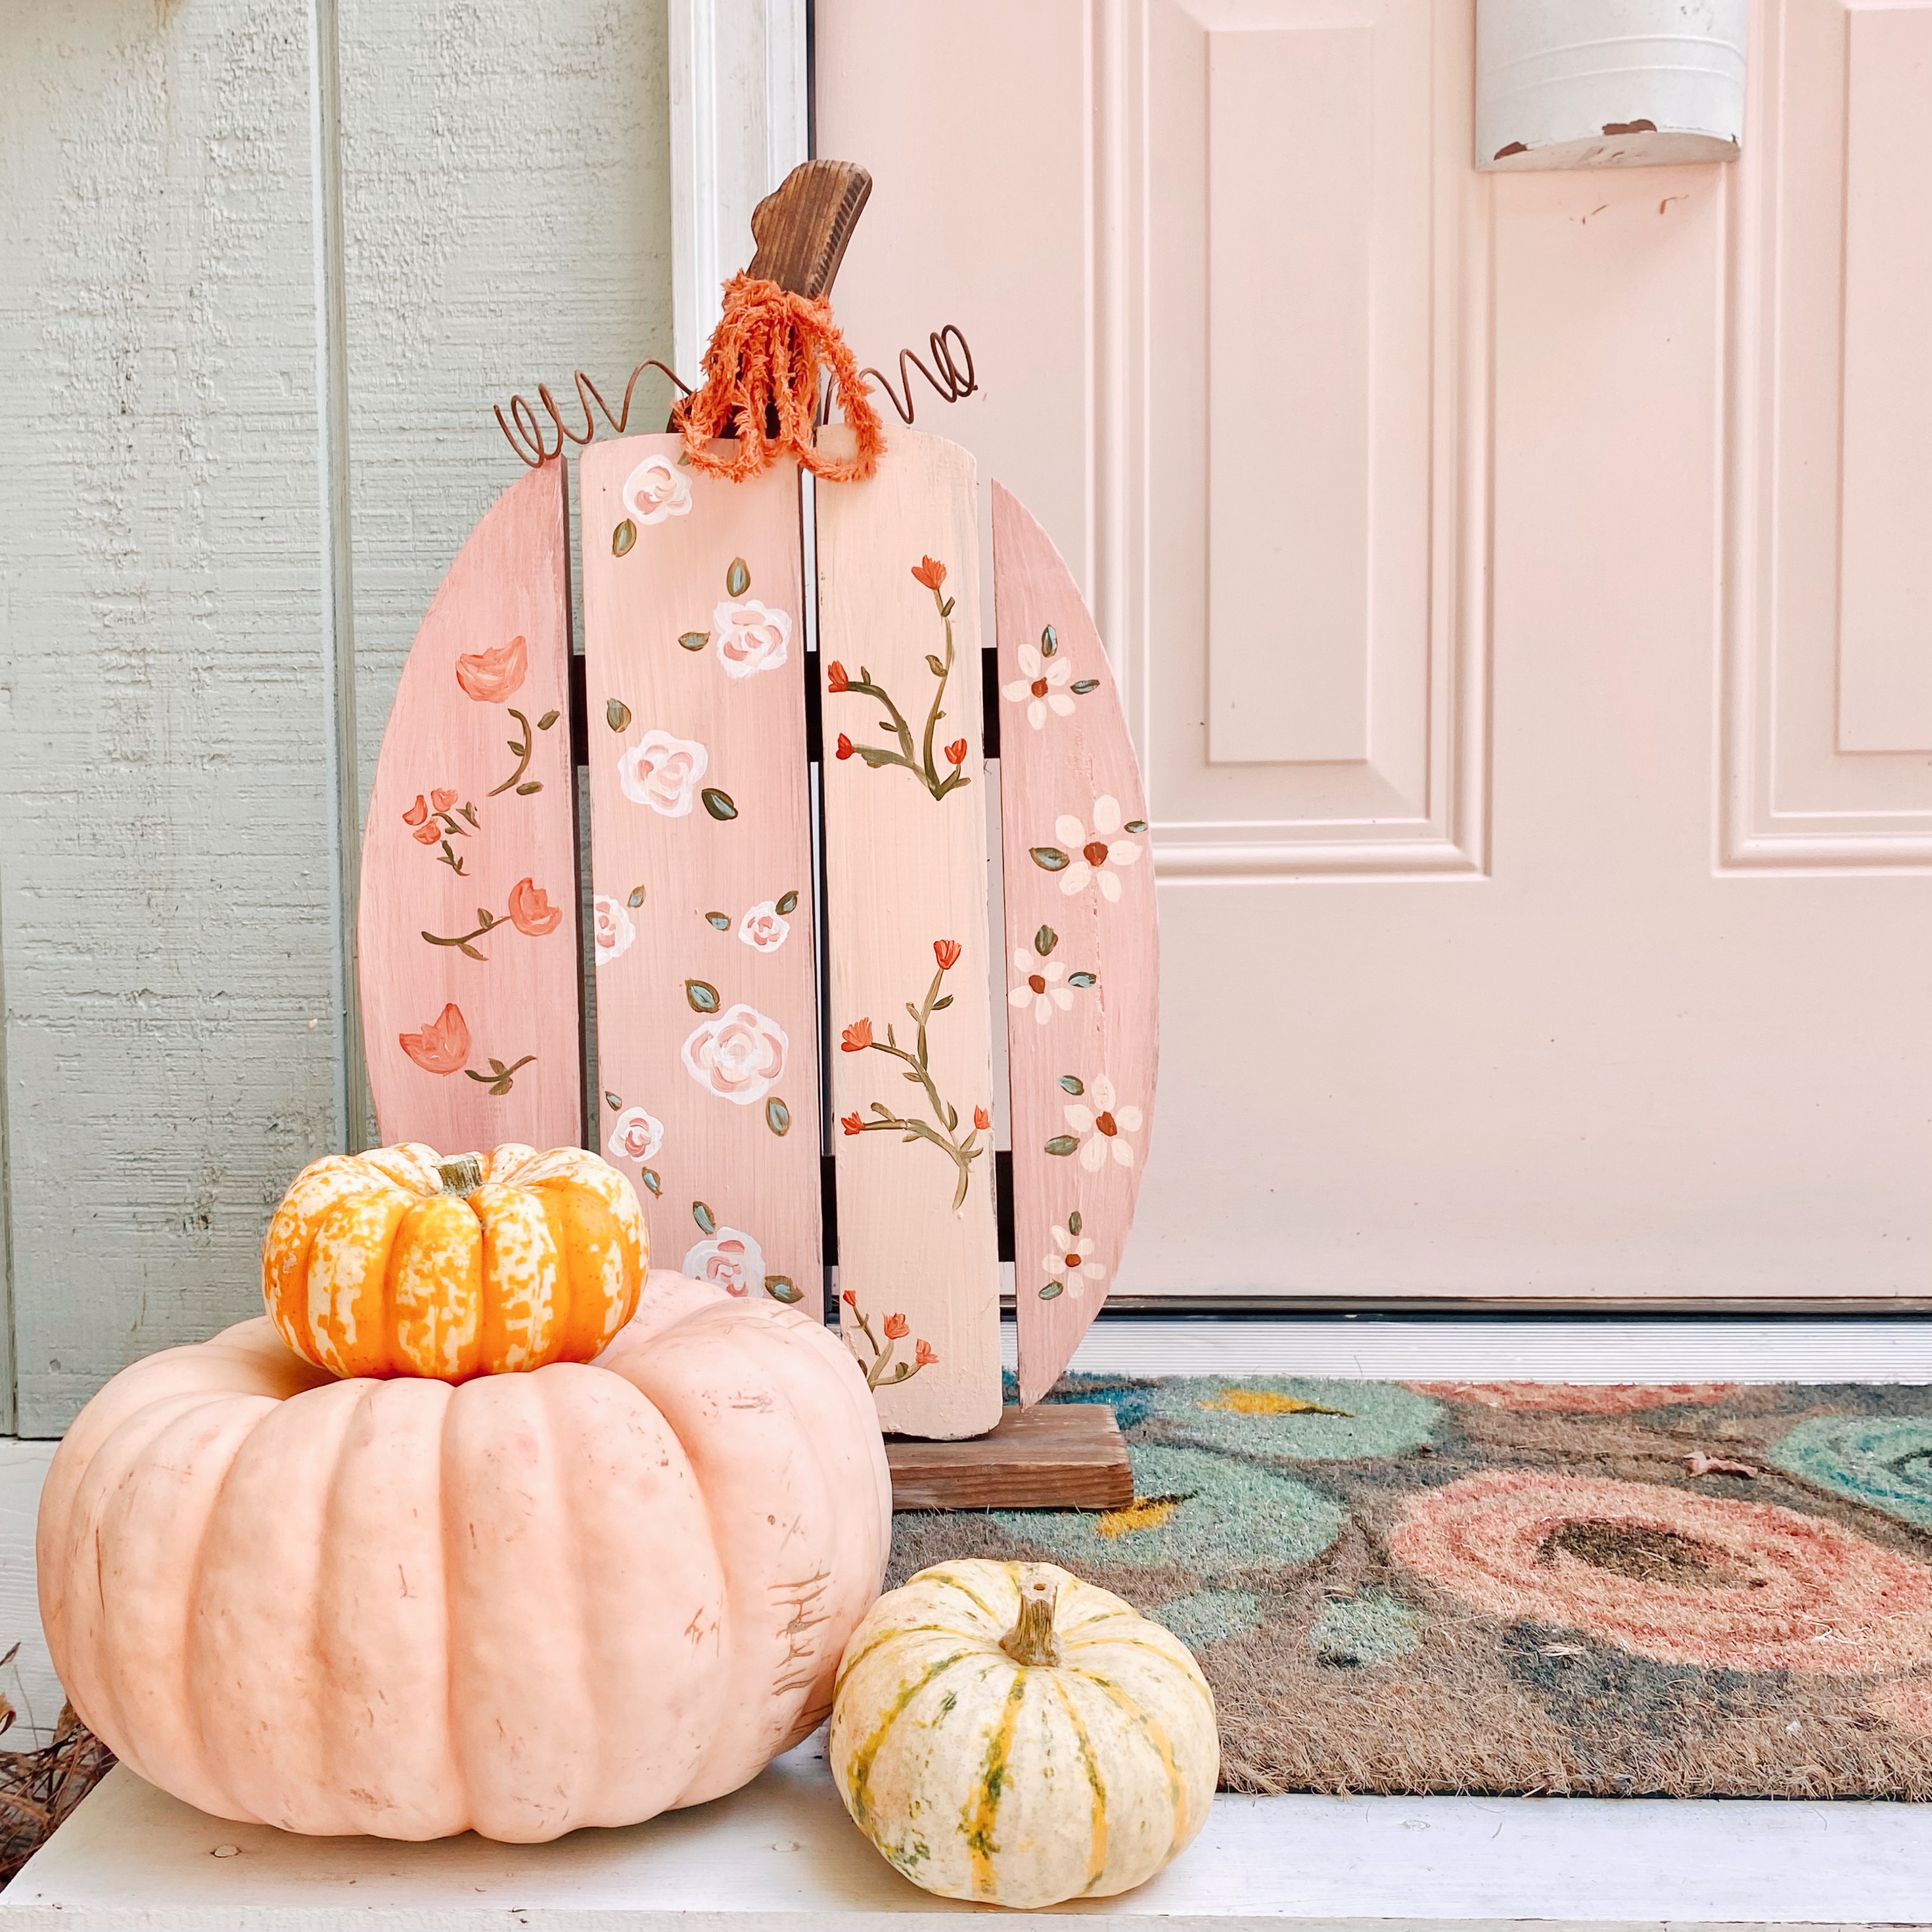
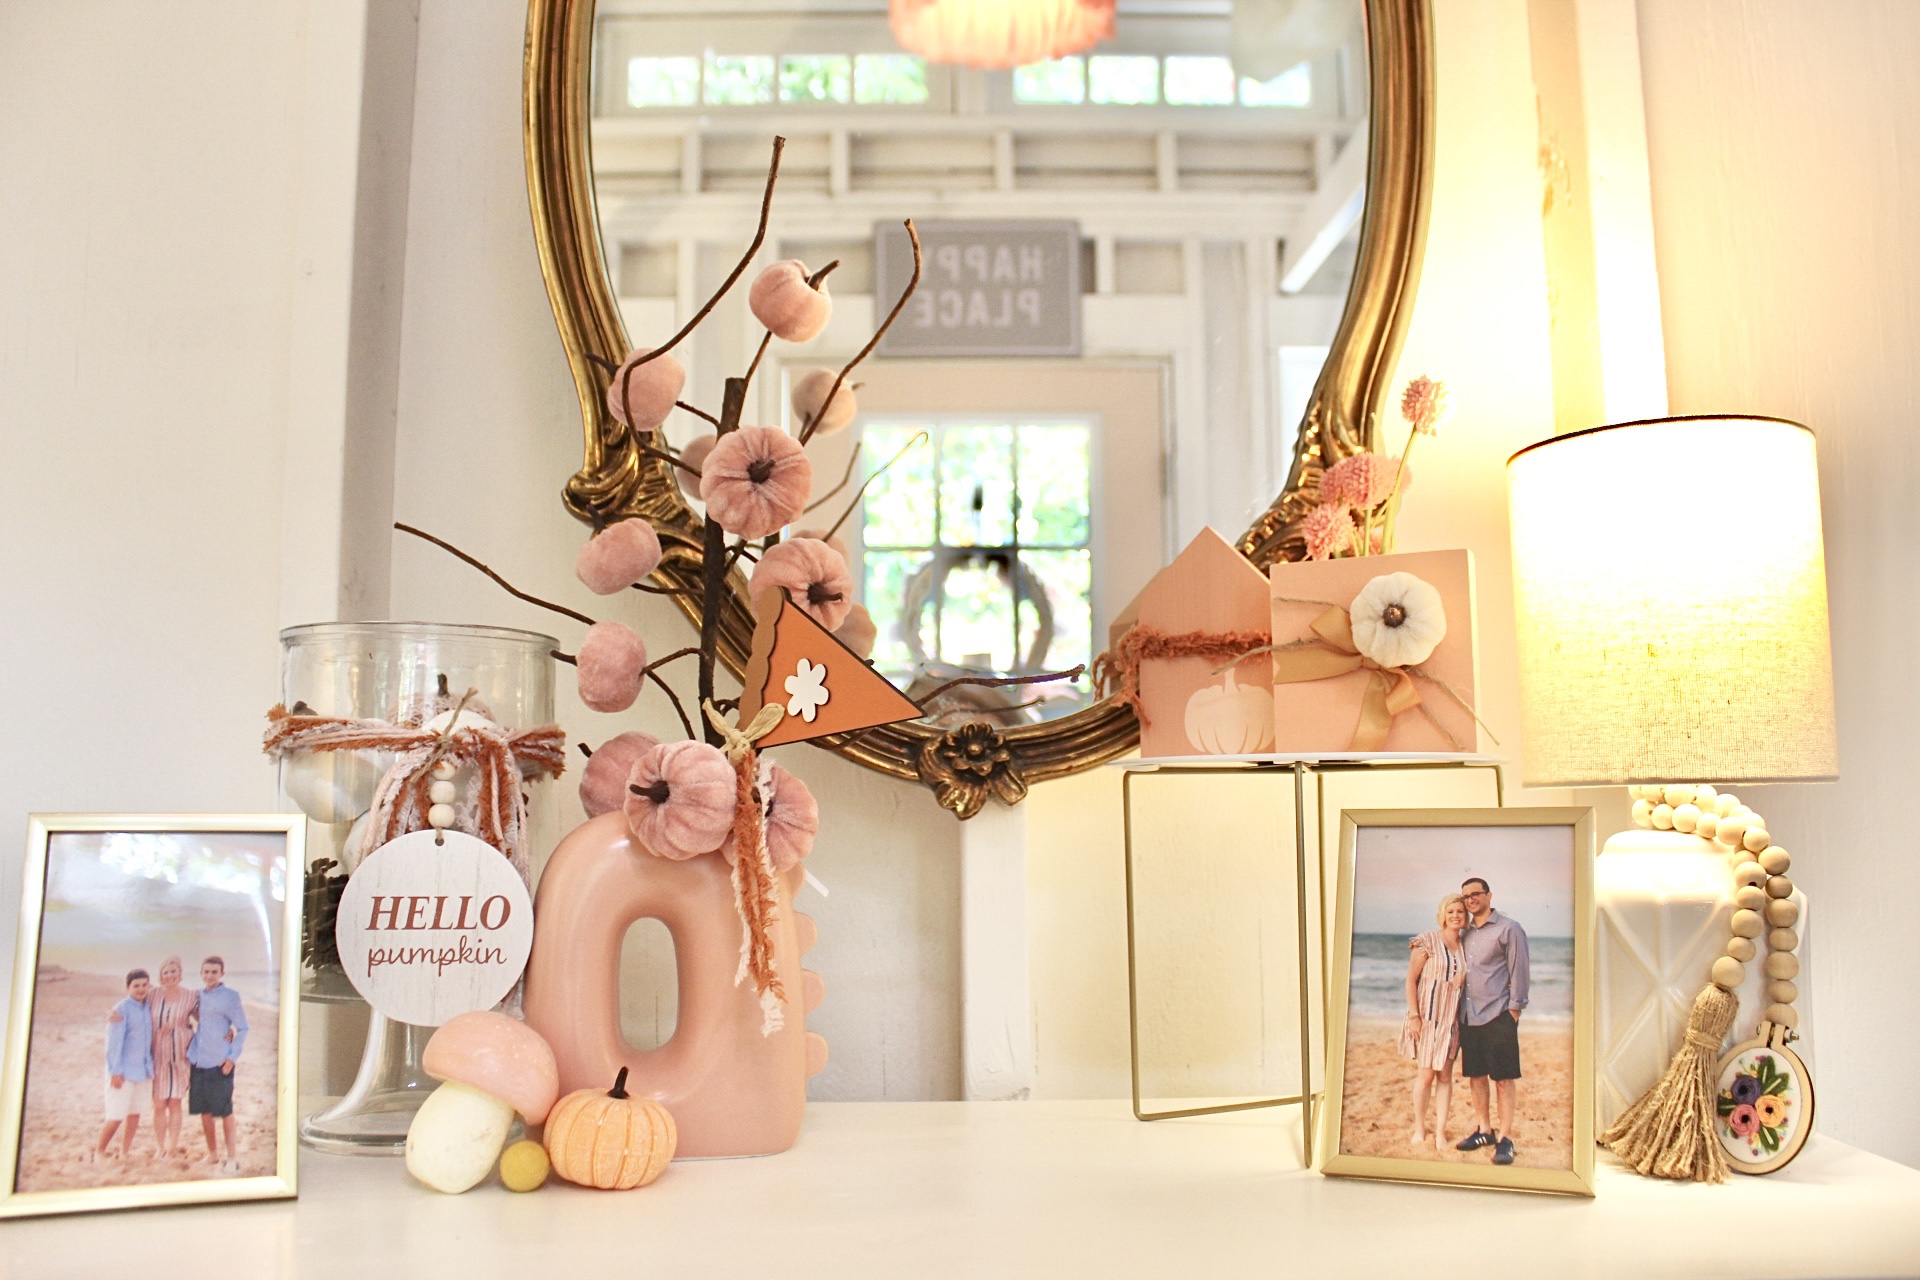
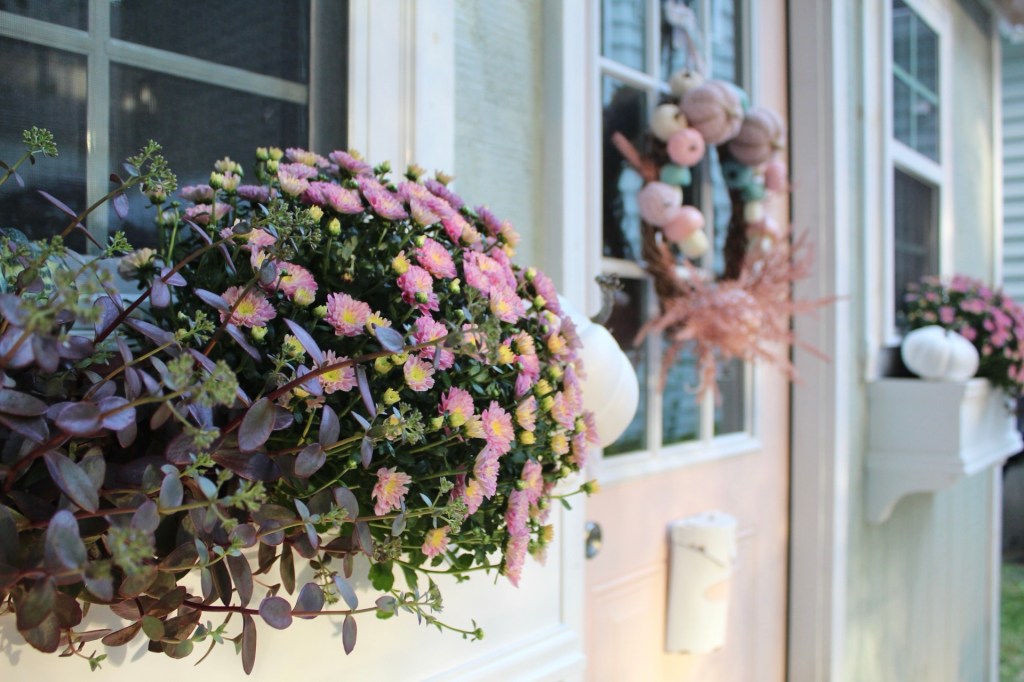
For Fall I add lots of textures! Painted pumpkins, velvet pumpkins and pink mums, of course!

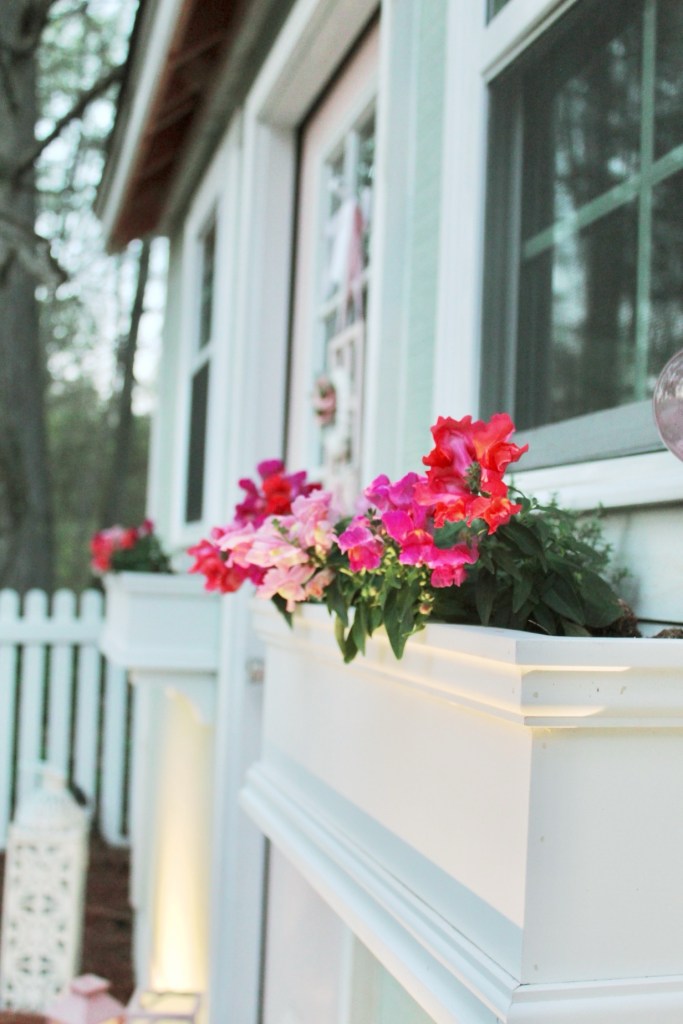
Spring and summer are always fun, I fill my flower boxes and this year I grew zinnias on one side of my shed. I also have hydrangeas that make me so happy. I plan on adding more blooms in the future.

Spring!
I was so happy to grow zinnias this year!
Summer!

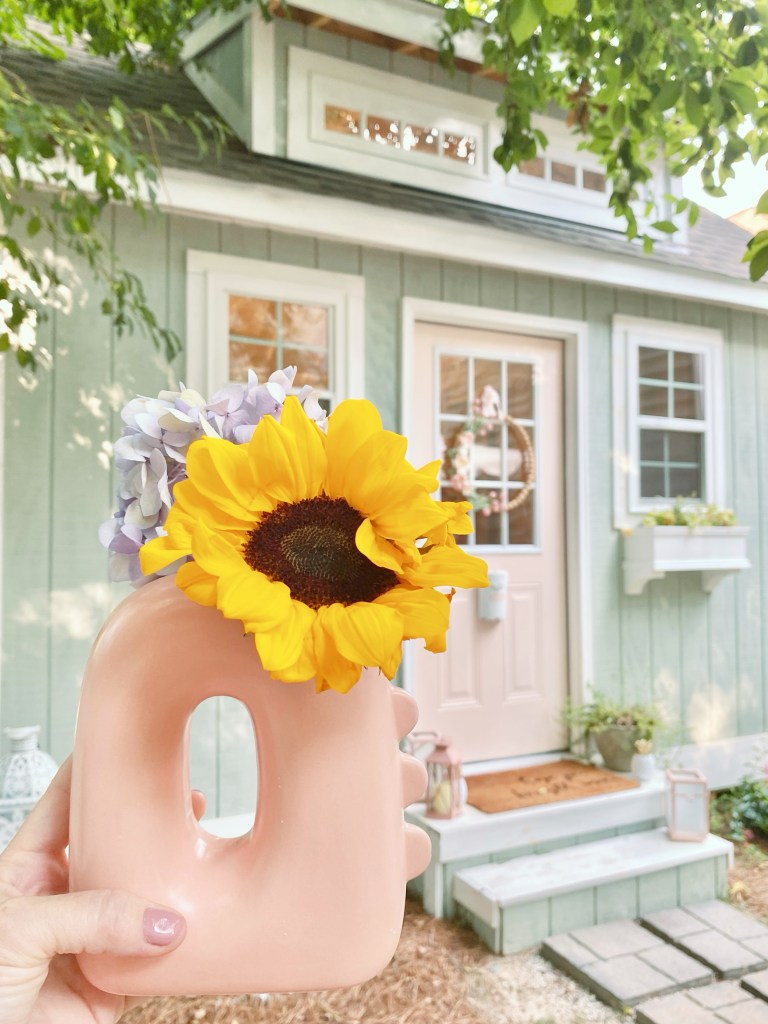
This picture was taken before we added a new paver patio to the entrance of the shed. What an upgrade!

I have so enjoyed this fun space and decorating for each season. Adding cute touches just makes me happy and I’m happy you’ve followed along. Make sure to check back on previous blog posts and details!

So tell me, what is your favorite season?