Peel and Stick Wallpaper

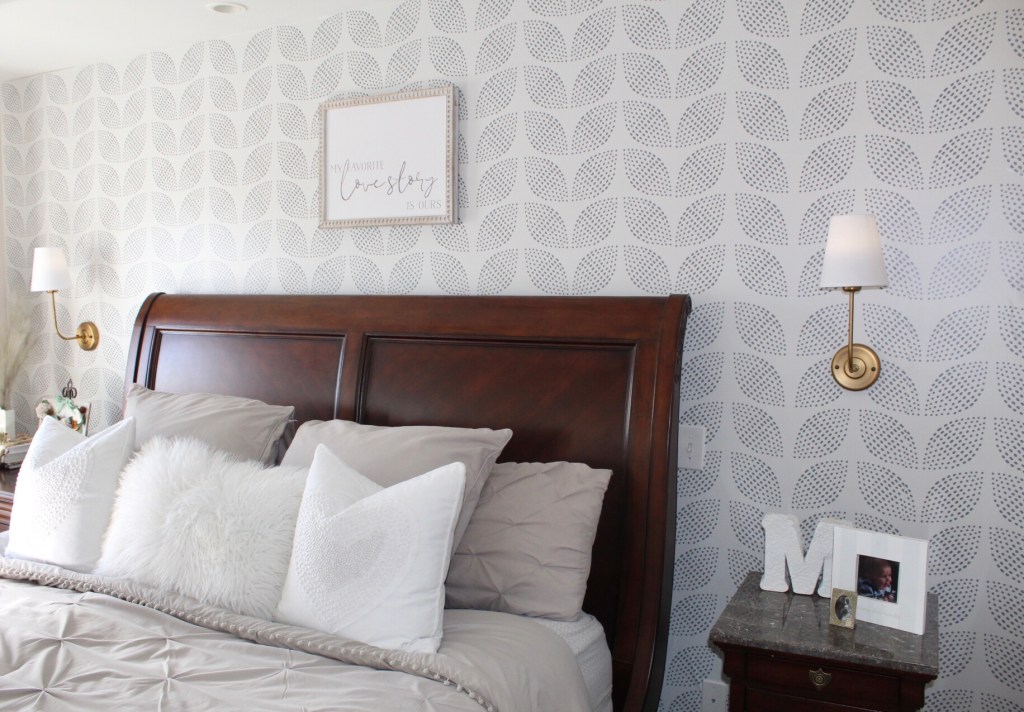
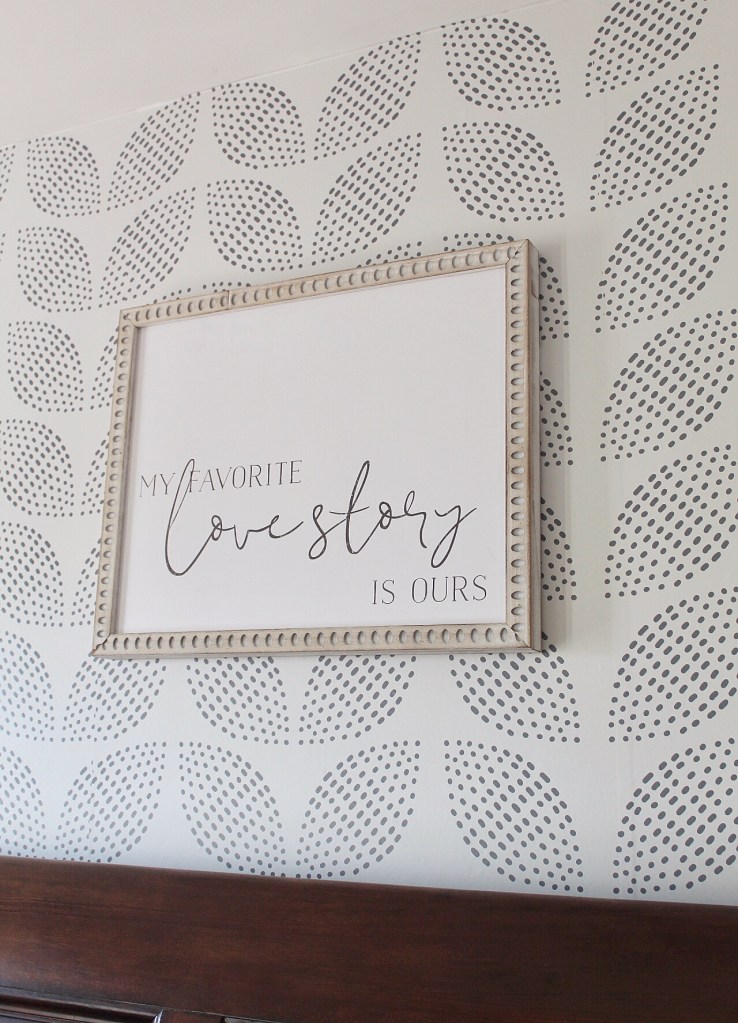
My bedroom was in need of a fresh look. Artemis Walls came to my rescue! They offer a huge variety of peel and stick wallpaper. I love the idea of wallpaper and decided to do an accent wall in the stipple pattern. I liked the fresh, modern look and was excited to try it out!
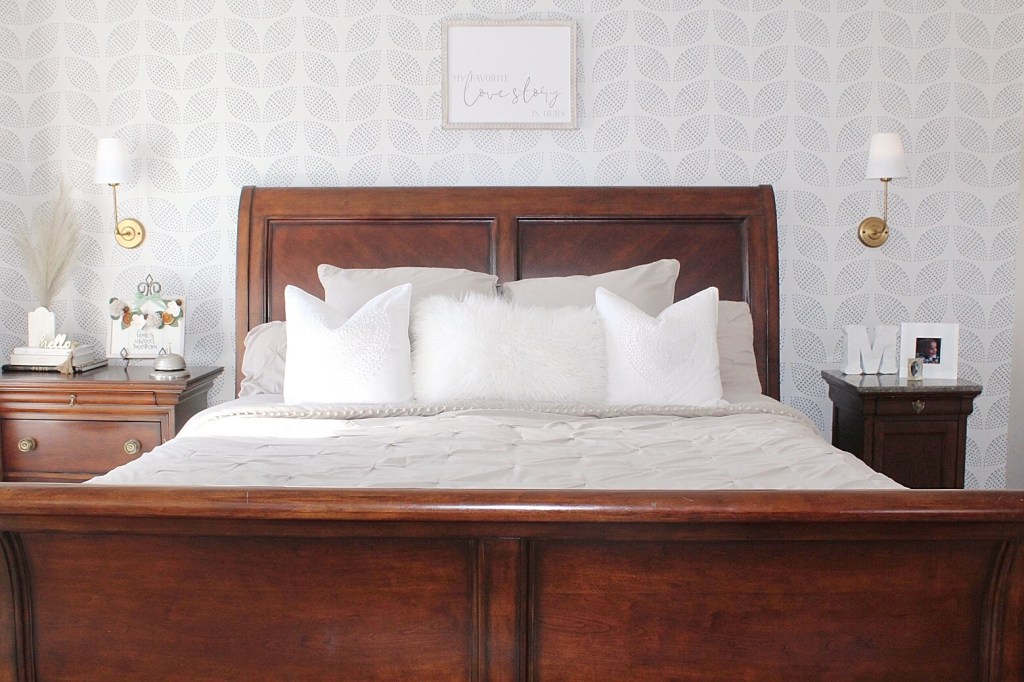
It definitely brightened up the space!
This is the before photo.

So, to start the project you first measure your walls and order the amount of wallpaper needed. Artemis Walls will send you the paper numbered so you know which order to hang the paper. They also send a smoothing tool. You will also need an exacto knife.

You will need to clean your walls before starting. Then start on the left and work your way to the right. Line up your paper and keep moving. If you don’t get it right it’s easy to peel off and start again. I worked in two foot sections, as the directions recommended. So, peel, smooth and continue all the way down. Smooth out your air bubbles as you go. I also took the exacto and sliced out the areas around the plug outlets. Once I reached the end I trimmed the excess from the baseboards and walls. That’s it! For a first timer I am happy with the result!

I grabbed two new pillows from Marshall’s!

I decided I also wanted to do another DIY project I had seen on Instagram. Puck light sconces!

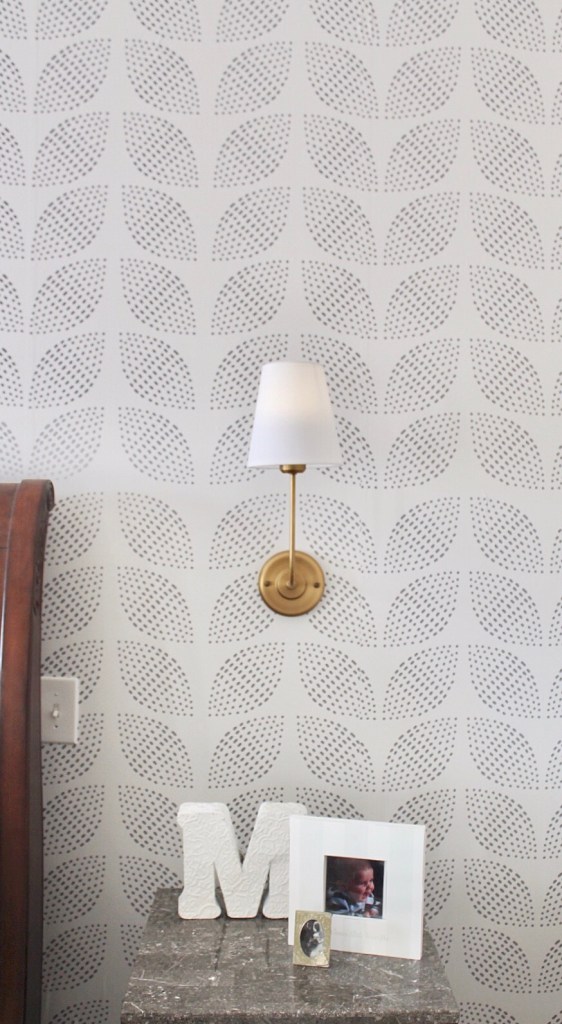
Those pretty new sconce lights give an upgraded look without having to hire an electrician to wire them! It’s an easy project. Pick sconce lights ( I got mine from Amazon!) and then order puck lights with a remote (also from Amazon, linked here ).

So, my husband mounted the lights and just tucked the wires behind the light, in case we ever decide to wire them. I took some Gorilla tape and taped the puck light to the base, where the lightbulb would normally go. And then you can click the remote on and off!
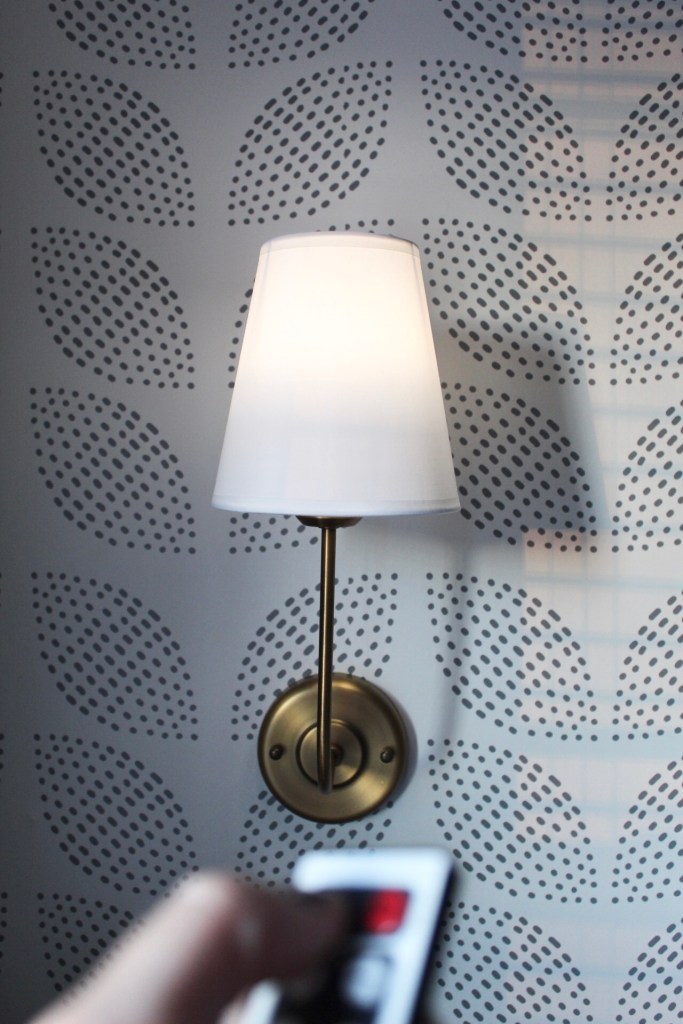
Remote control lights!

I love the look. It is not as bright as if it was wired, but it adds nice ambient light. And for both lights and the puck lights it was only $80.00! I think that is a great deal for a custom look.

I hope you enjoyed my bedroom updates! I hope you consider peel and stick wallpaper! Don’t forget to check out Artemis Walls if you do!

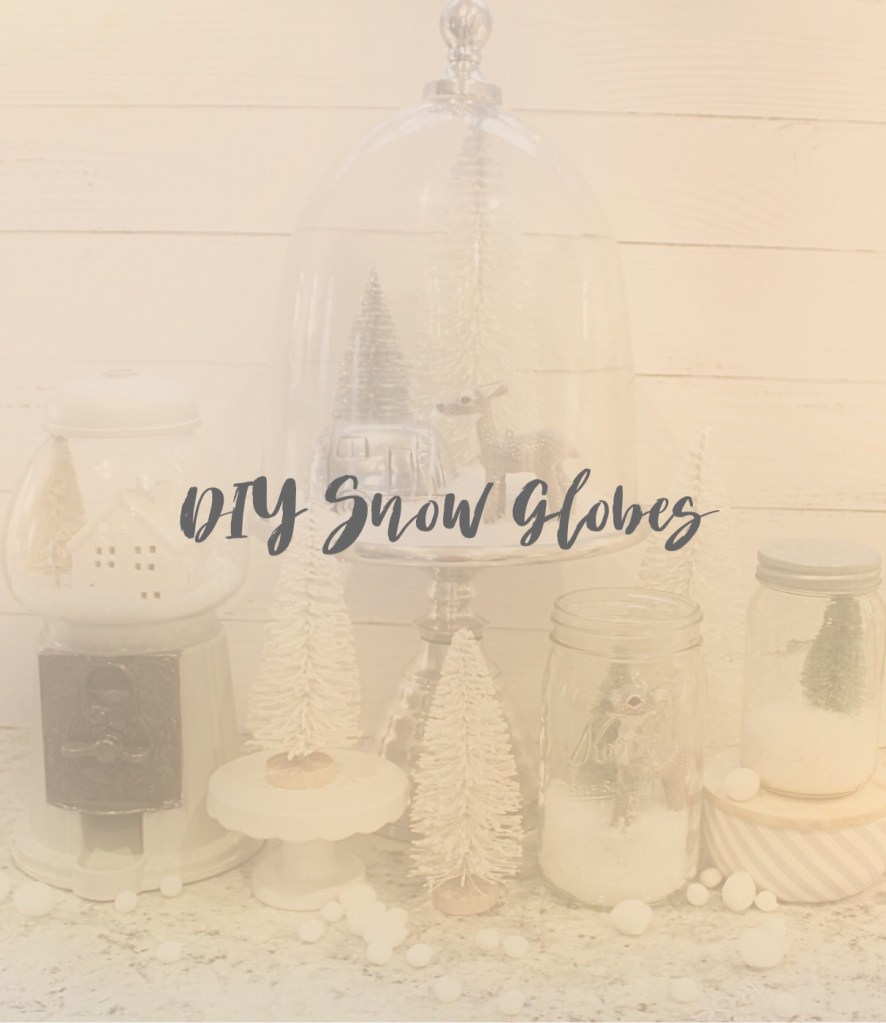
DIY Snow Globes

My kids have a great collection of snow globes. I think they’re so adorable and wanted to have some adult versions for winter! So, I thought I’d share a few ideas with you that are easy to create. They can also be a fun project to do with your kiddos!

This gum ball machine got a fun makeover last year for my mantle!

So, last year I decided to created a gum ball machine snow globe. I ordered the machine from (Amazon ) and basically deconstructed it. I wasn’t planning on using it ever again for gum balls so I just took it apart, taped off the metal area where the money goes and spray painted it a pale gray. I took off the glass top, added the house and put the glass back on. I then added a bottle bush tree and some fake snow from the craft store and voila! A fun winter scene in a gum ball machine!

Keep in mind once you take the center pole out of the gum ball machine the top piece just rests on the glass, it doesn’t screw in to the base. But since I’m just using it for decoration it doesn’t bother me!

I assembled a few other ideas to share with you!

I gathered more supplies to share a few other ideas you could try. One is in a cake stand and the other is in a mason jar.

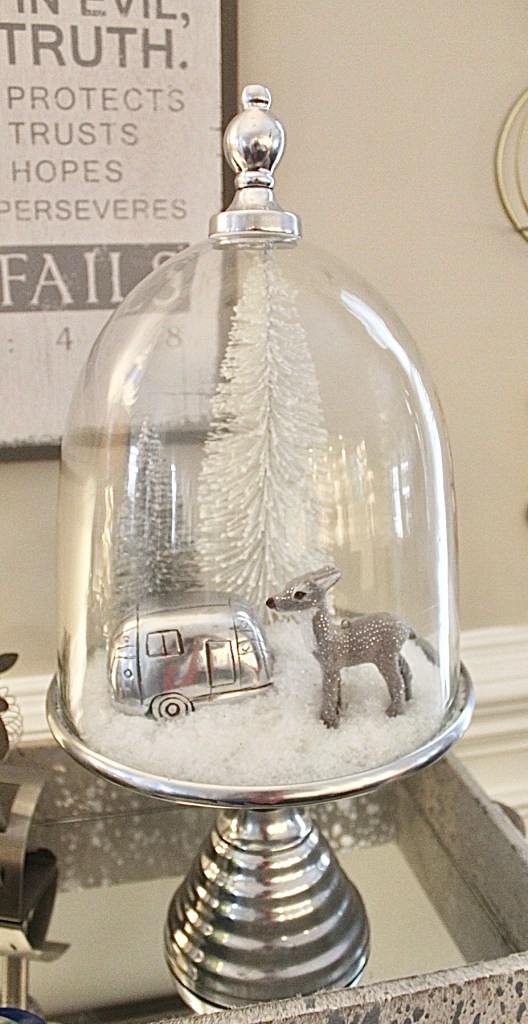
So, the cake stand idea is super easy. Grab a cake stand with a lid, layer some fake snow and accessorize! I added a camper bottle opener I had and covered the opener part with more snow. I added a bottle brush tree and a cute little deer. I added it to my bar area and think it’s so fun!

Lastly, you could grab a few mason jars and add the snow and a little tree or woodland animal! Twinkle lights would also be cute inside.

So, there you go! Snow globes for grown ups! I hope you had fun reading this and maybe even try one yourself! Let me know if you do.

DIY Dried Oranges

I love the look of dried oranges for fall and winter decorating. I had decided I would add some to a few signs I was going to make for my Etsy shop. They were so easy to do! I think I also want to make a garland for my mantle now!

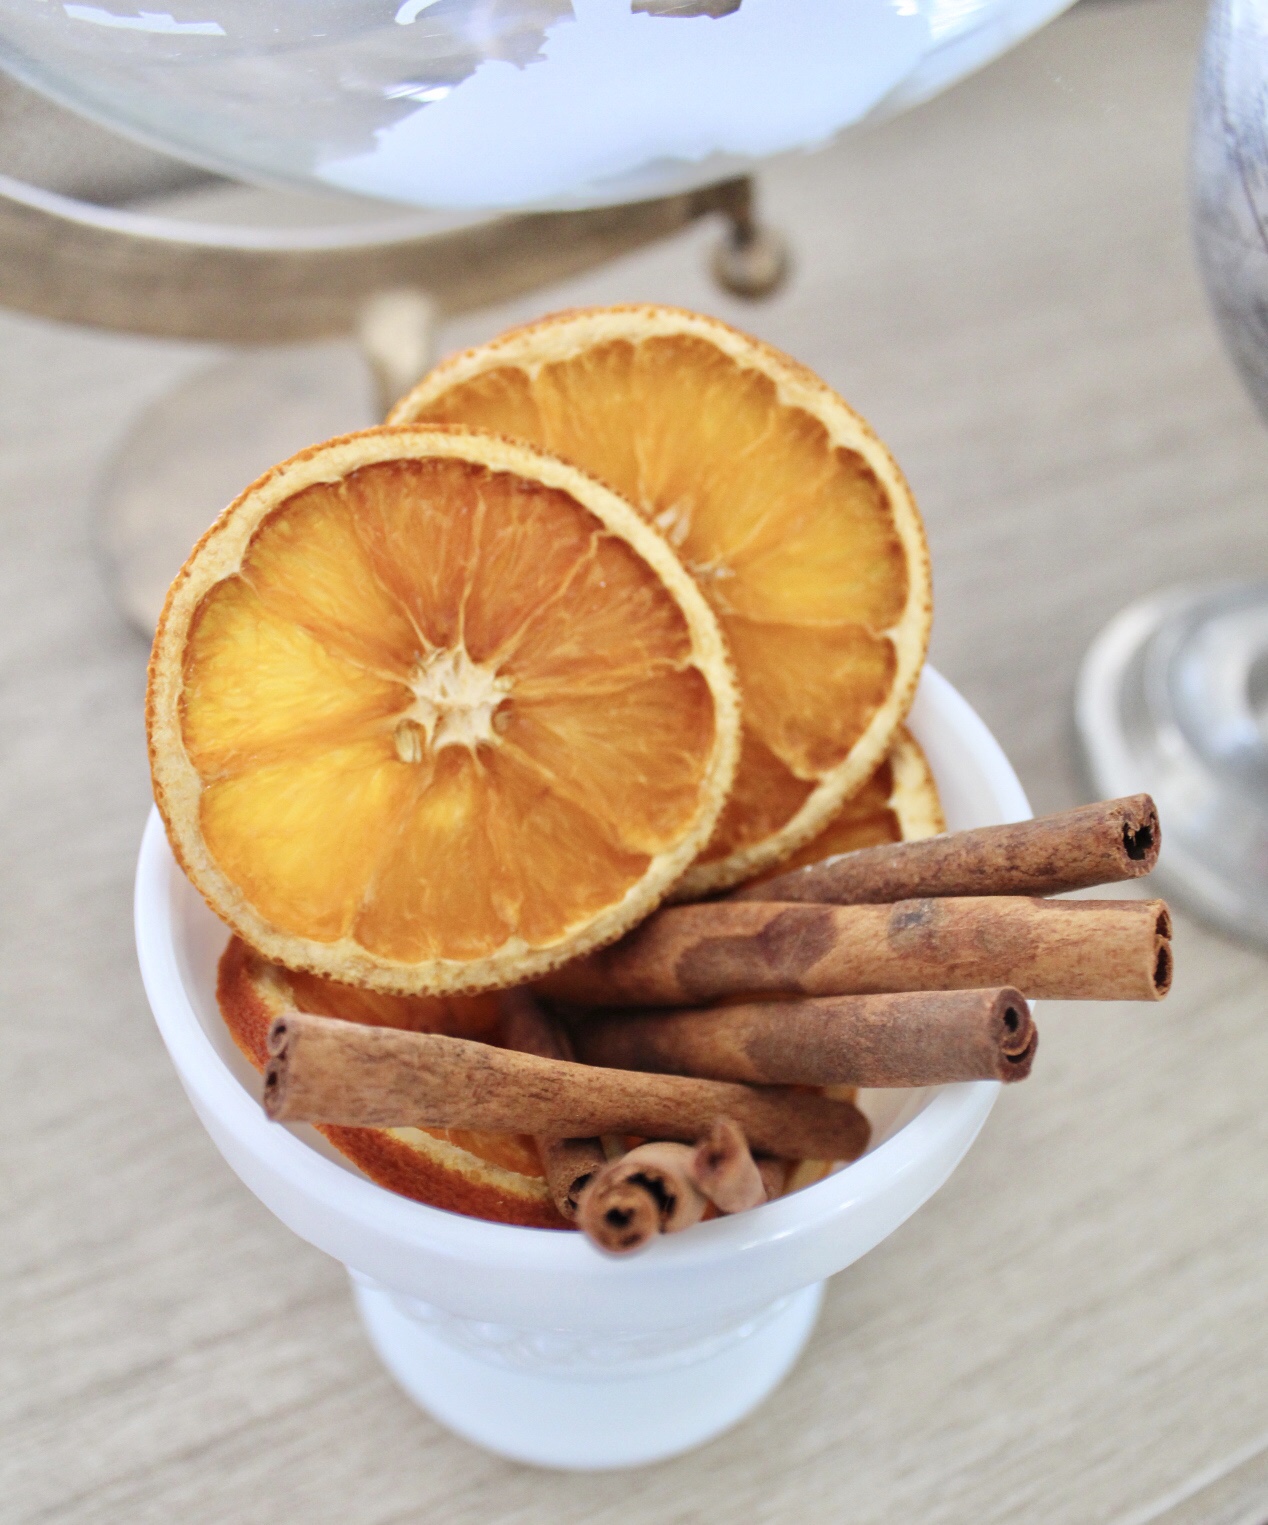
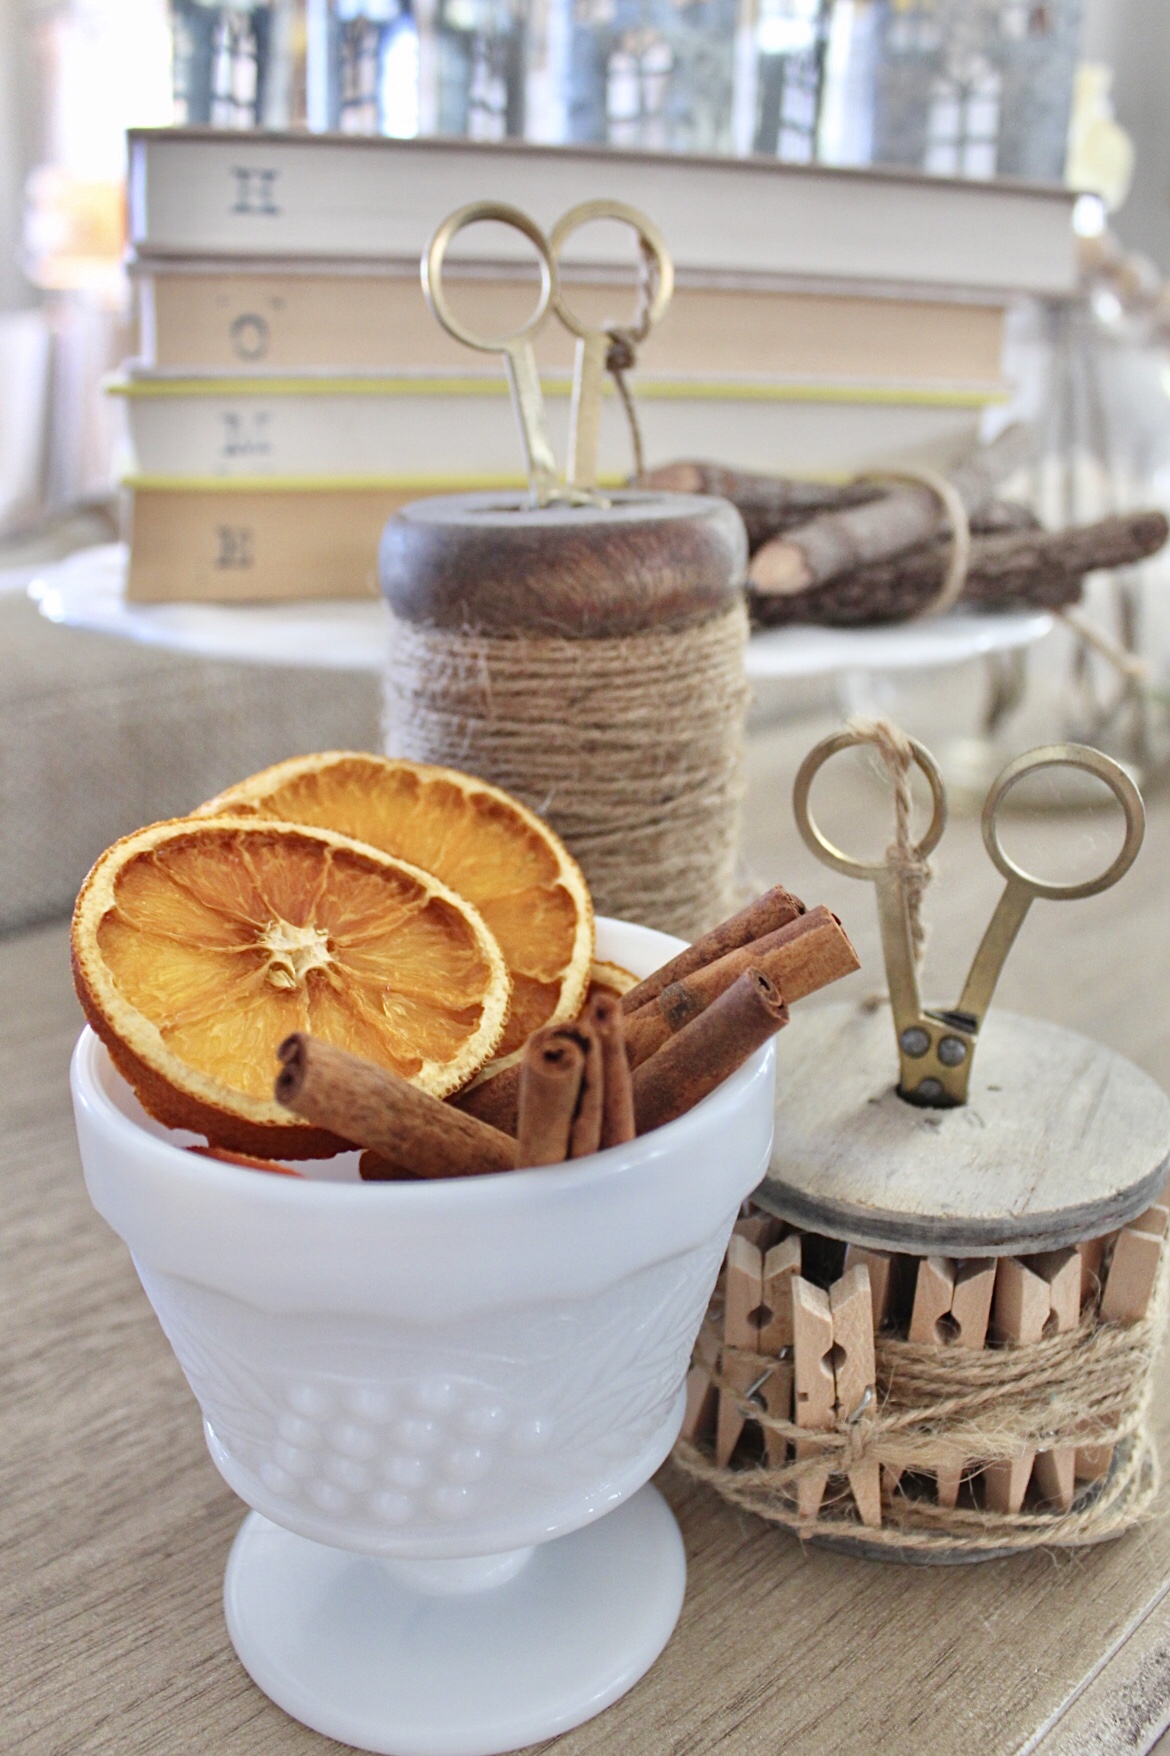
It’s a very simple project. You could string them for a garland, add them to a vase or bowl or add to a wreath!

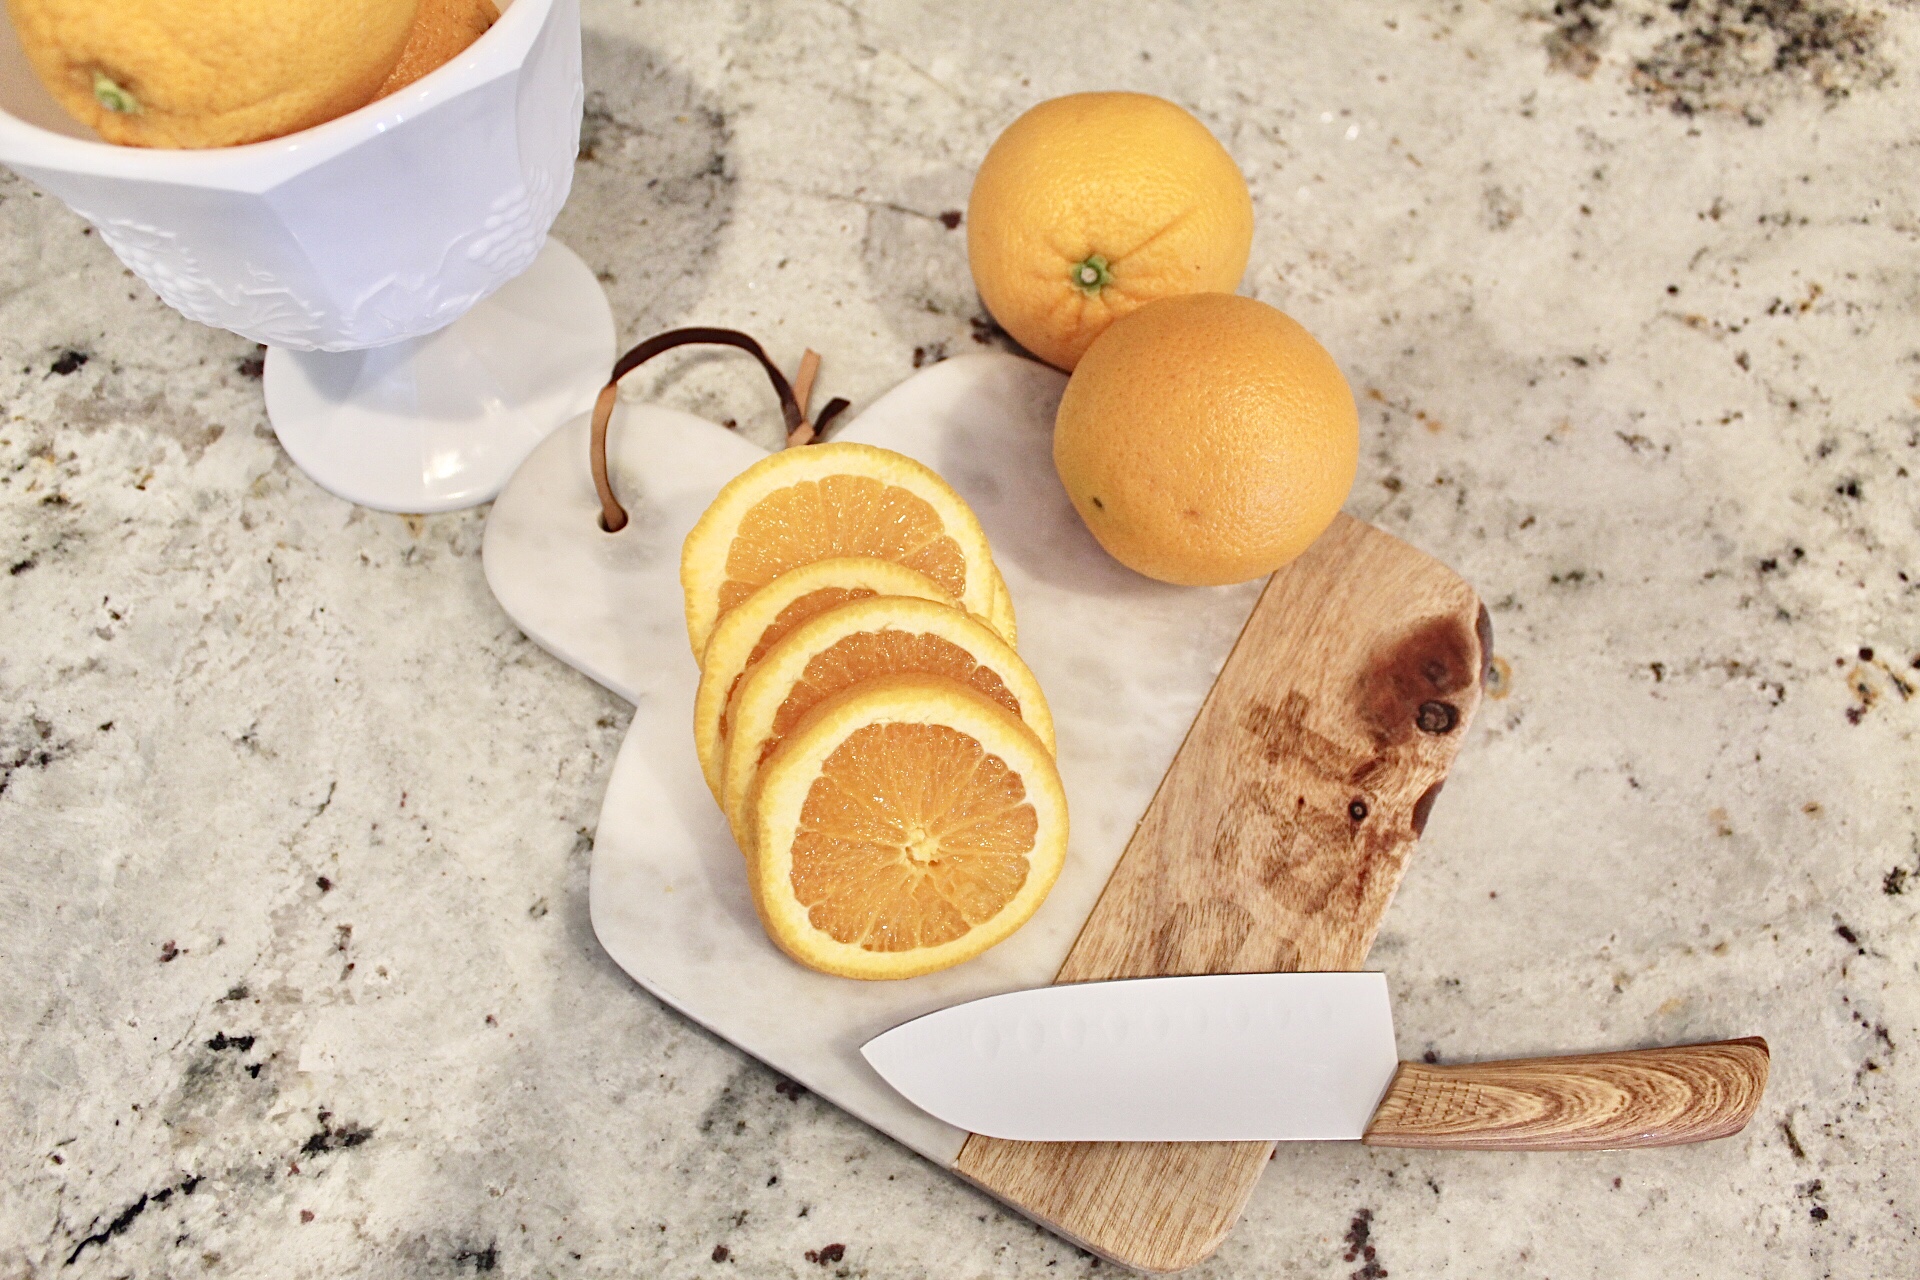
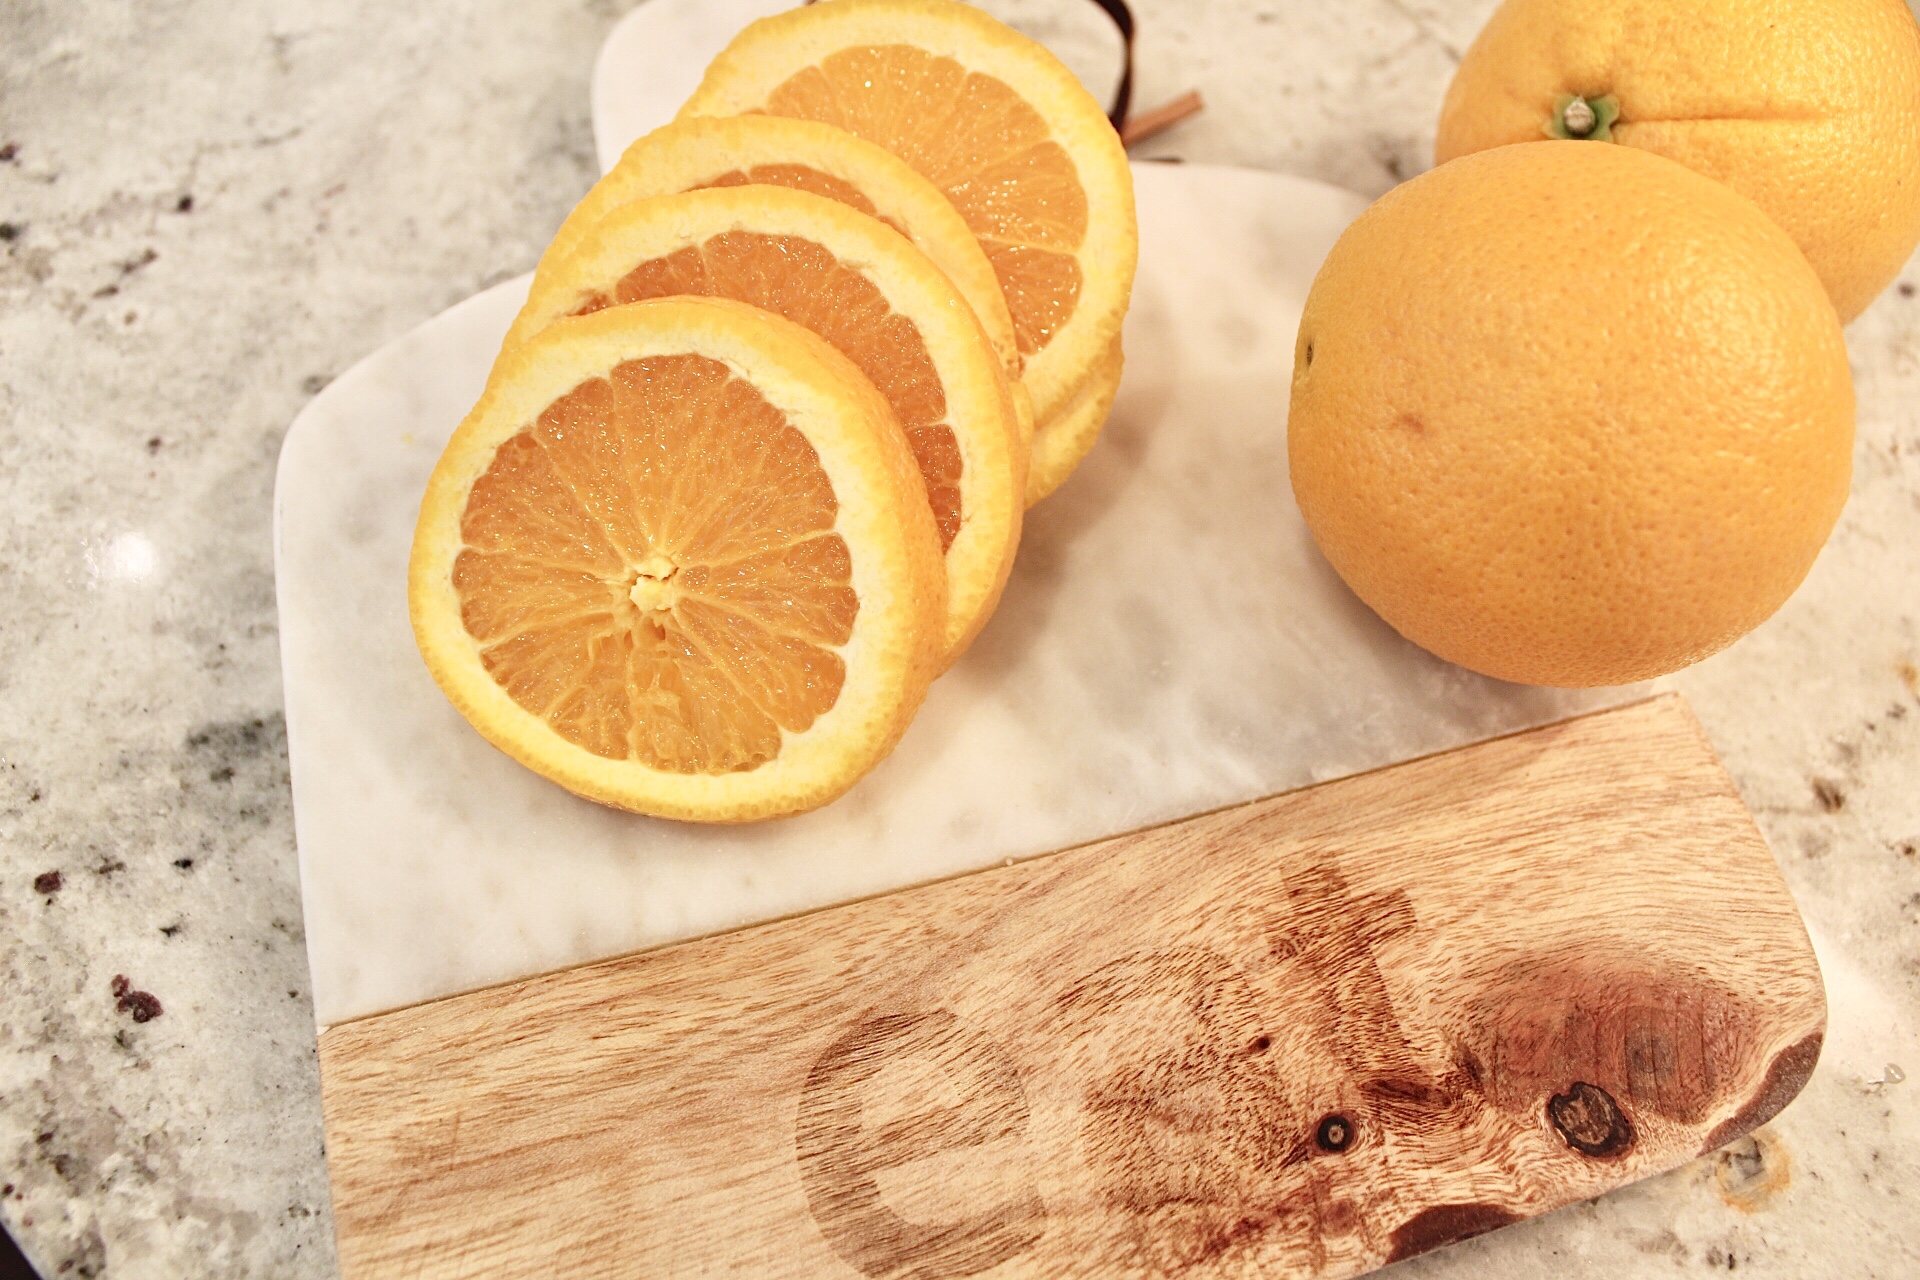
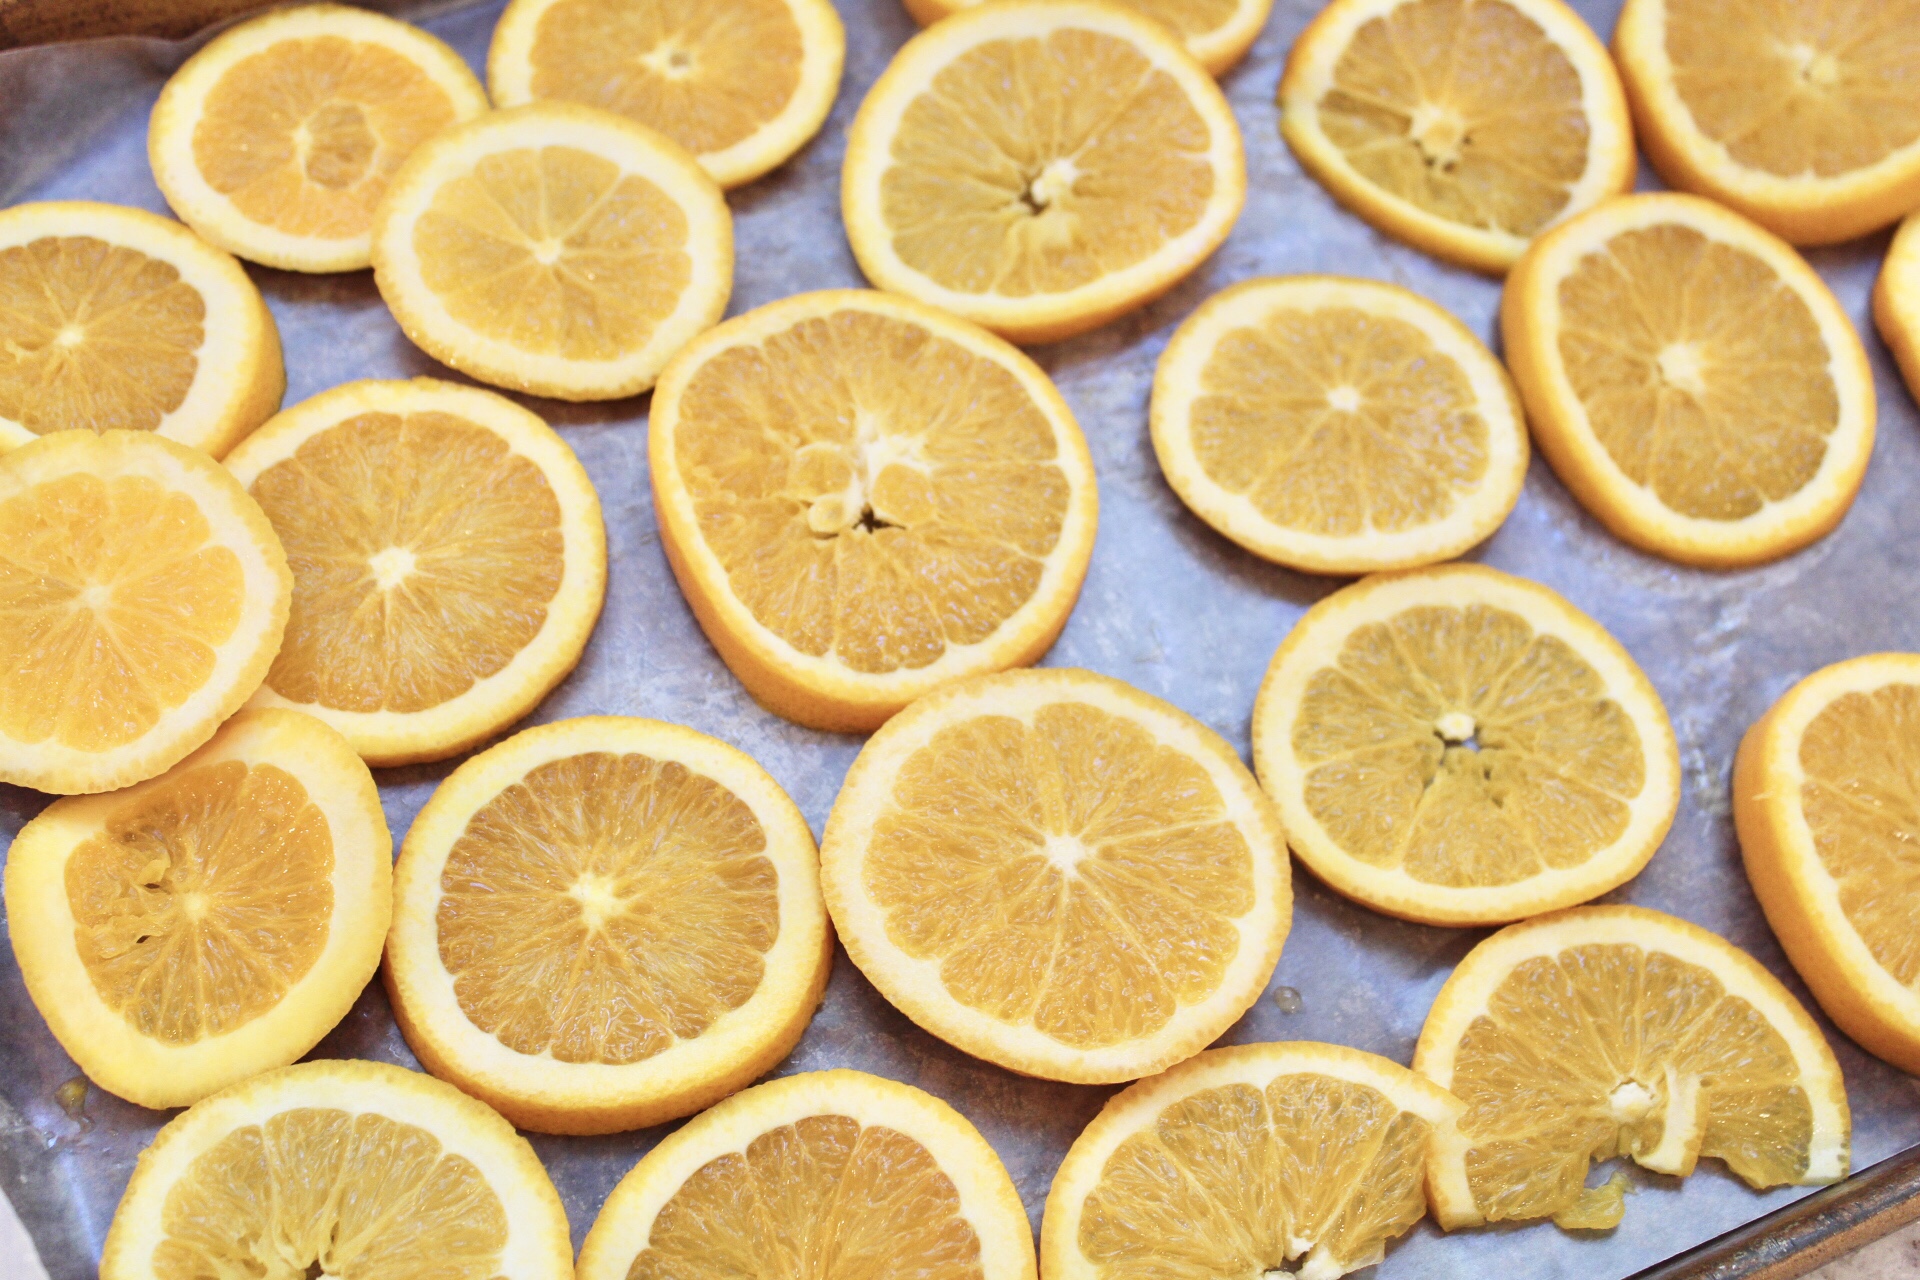
Just grab some oranges and slice them about 1/4 of an inch thick. Line a cookie sheet with parchment paper and place the oranges flat. Bake at 200 degrees for about 5 hours. Let them sit out overnight! Then have fun crafting with them!

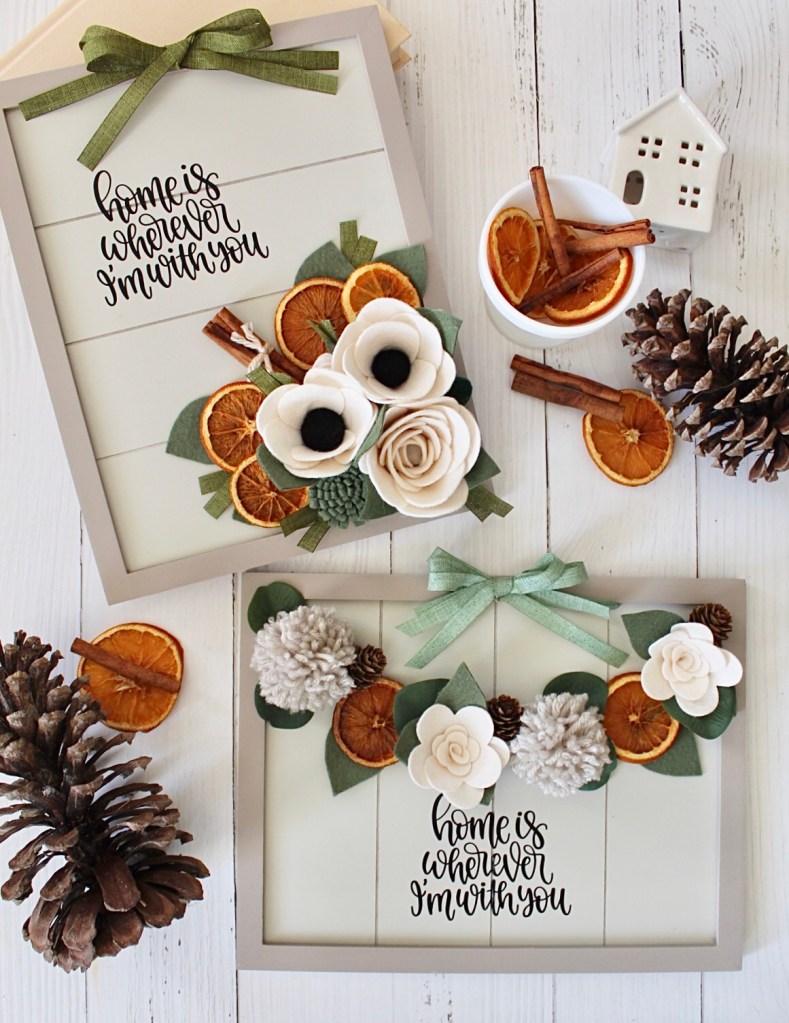
And then I added some to some signs for my Etsy shop! The Happy Door

I definitely think this is a fun project! Kids would even love doing it! I hope you try it out! Let me know if you do!

DIY Scroll Wall Hanging

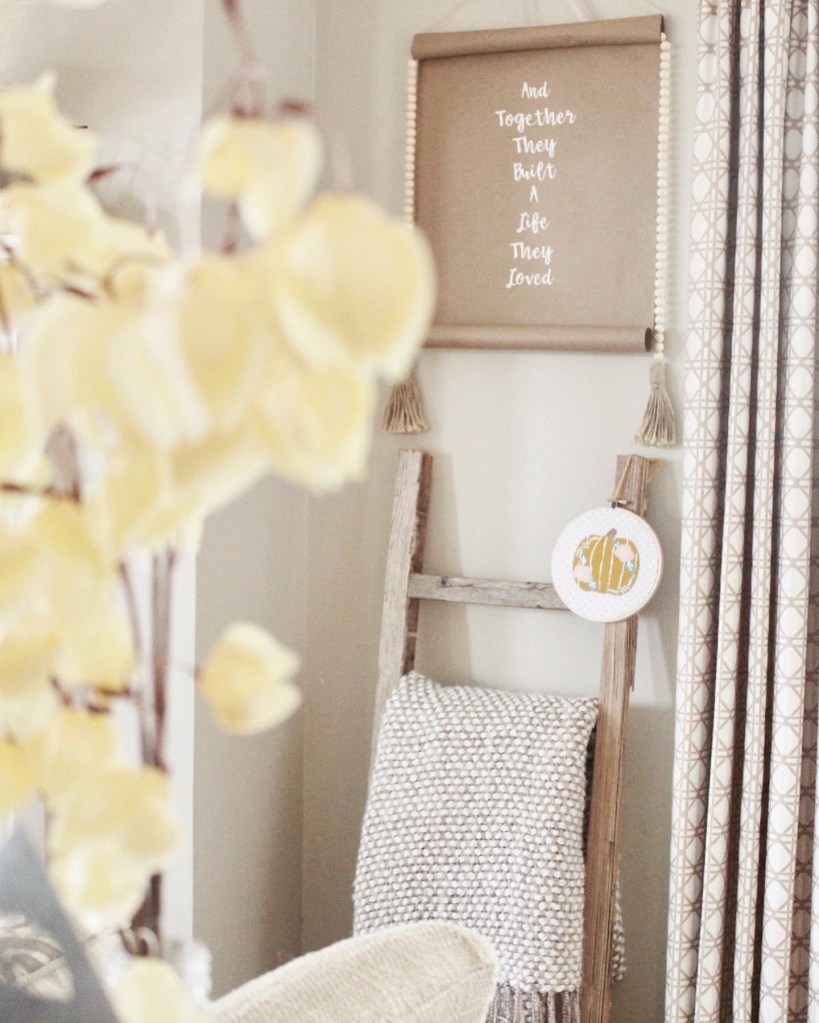
I have seen these paper scrolls in home decorating for awhile now. I love the farmhouse look and how you can use them for different seasonal decor. So, I decided to DIY one myself!

It’s an easy project to do! From start to finish it took me about 30 minutes. I had everything on hand! The best part? The paper is your main supply…and it’s a roll of craft paper from the Dollar Tree! Here are the things you will need for this specific project. Keep in mind you can make it your own! If you don’t want the beaded garland you could add a small bunch of greenery around the top or dried flowers!

  • Craft paper roll (from the Dollar Tree!)
  • Vinyl decal
  • Ribbon/yarn
  • Beaded garland (From Amazon)
  • 4 paper clips
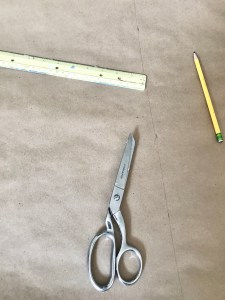
  • Scissors/ruler/pencil

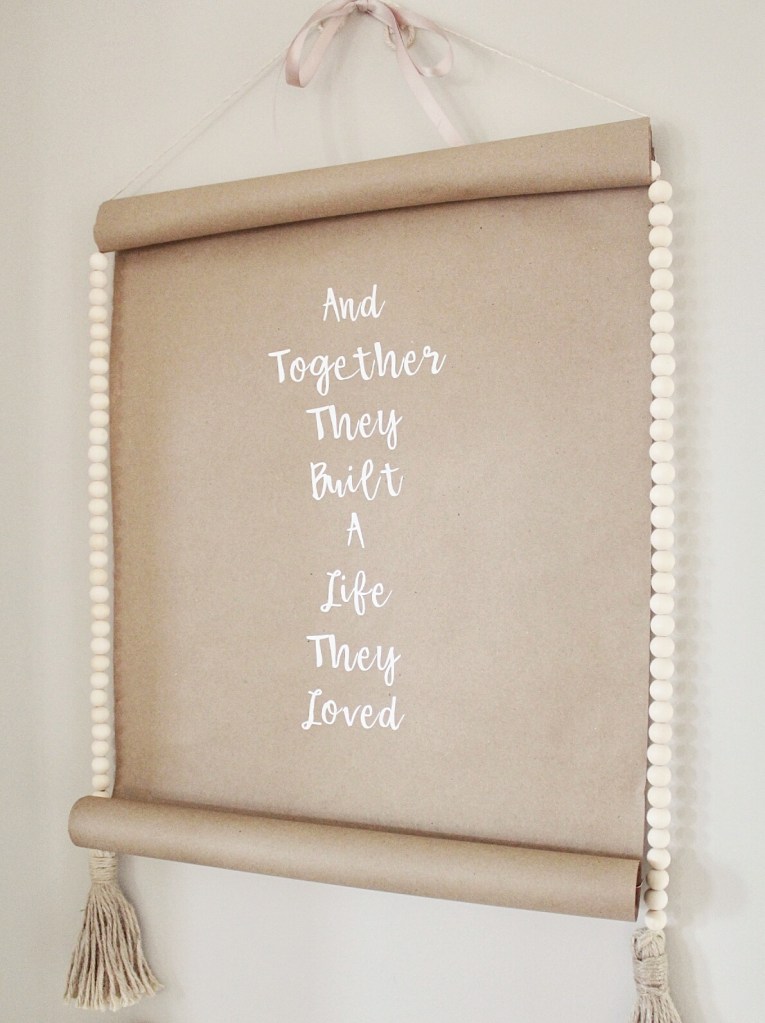
First I decided the size I wanted for my paper scroll. I went with 15 inches wide. I flipped the roll around (so the scrolled/rolled side would be on the front). I measured my lines and cut the paper. I just cut extra for length so I could roll it as much as I wanted and not worry about it being too short. This was approximately 24 inches long.

Then I flipped it back around. I rolled the top and bottom, which the paper naturally did from being rolled on the tube. I paper clipped in each of the corners to hold the scroll in place. I picked a quote and cut my vinyl on my Cricut machine. If you don’t have that option you can find vinyl decals in most craft stores or on Etsy! I then transferred the vinyl onto the paper with transfer tape.

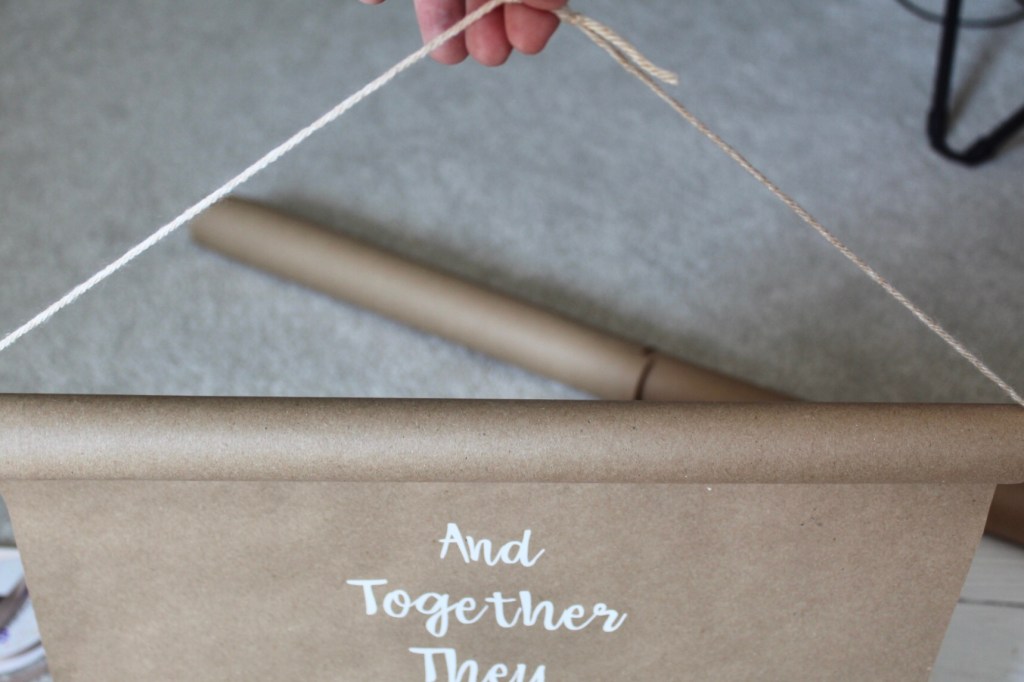
Next up I strung the yarn through the top of the scroll and then attached a little ribbon for hanging.

Lastly, I took my beaded garland and pulled it through the tube carefully. I recommend tying it to a piece of your yarn in the center of the garland to help support the weight. If you don’t use a garland you can skip this step and leave it as is or add some other florals or greenery! You could attach that with floral wire to the yarn easily.

That’s it! Easy and so pretty! Let me know if you try out this project!

Apple Cider Sangria

I love everything about Fall. The food and flavors are something I adore about the season.

I love to make sangria. I have made all different kinds over the years. Once the temps started dropping I decided to make a Fall sangria. I loosely used the by Recipe Girl. I tend to take a recipe I find and add things or take things out. Sangria is easy to do that with, you can dump whatever you like in the pitcher!

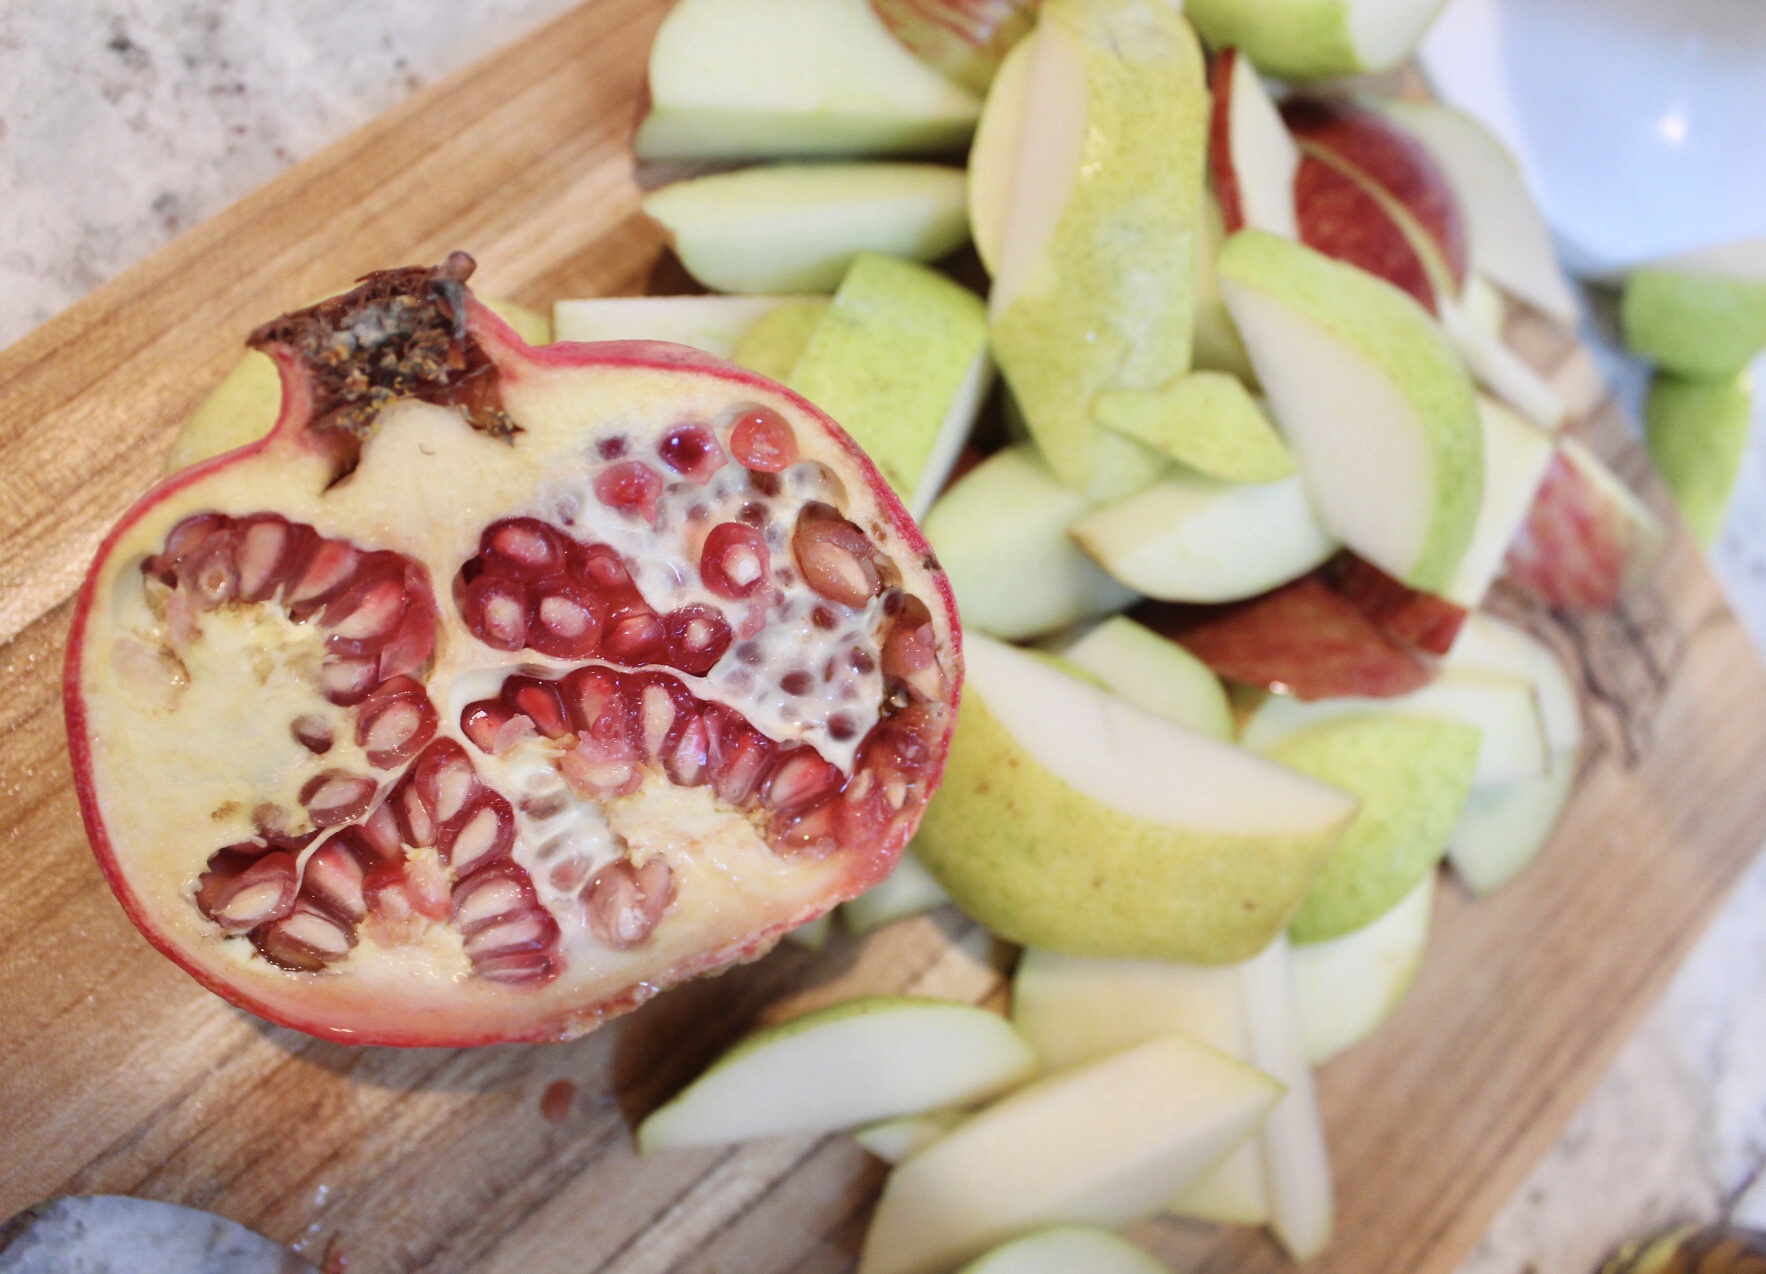
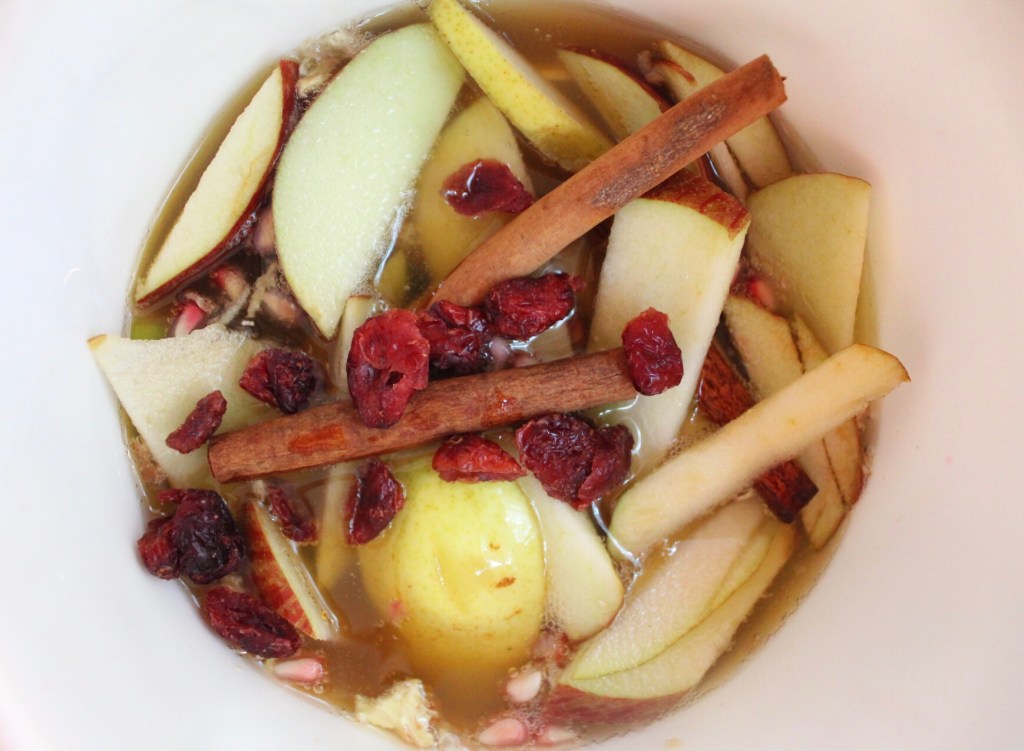
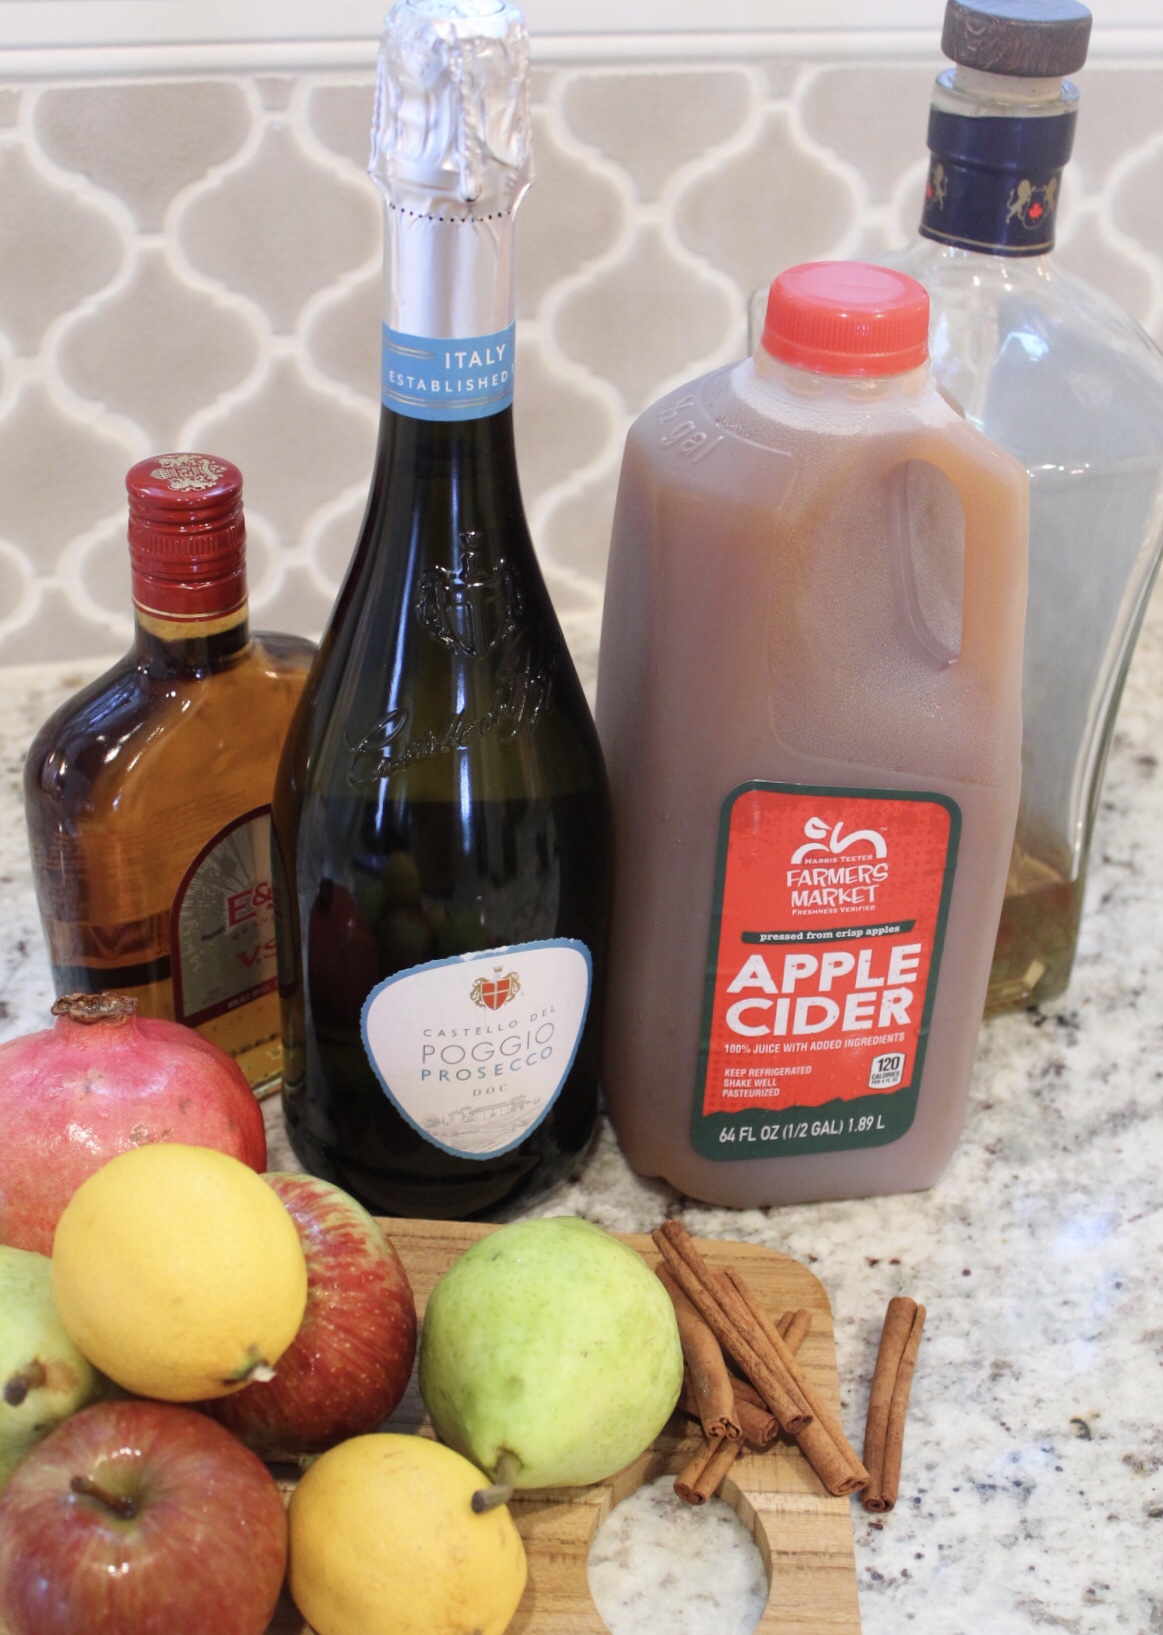
You can use any fall fruits that you like! This recipe has pears, apples and pomegranates. I added some dried cranberries, too.

Apple Cider Sangria Recipe

  • 2 apples chopped
  • 2 pears chopped
  • One lemon, in wedges
  • 1/4 cup pomegranate seeds
  • Handful of fresh or dried cranberries
  • Cinnamon sticks
  • 2 cups Apple cider
  • 2 cups Prosecco sparkling wine (I used a bit more wine 😜)
  • 1/2 cup whiskey
  • 1/4 cup brandy
  • 2 tablespoons molasses
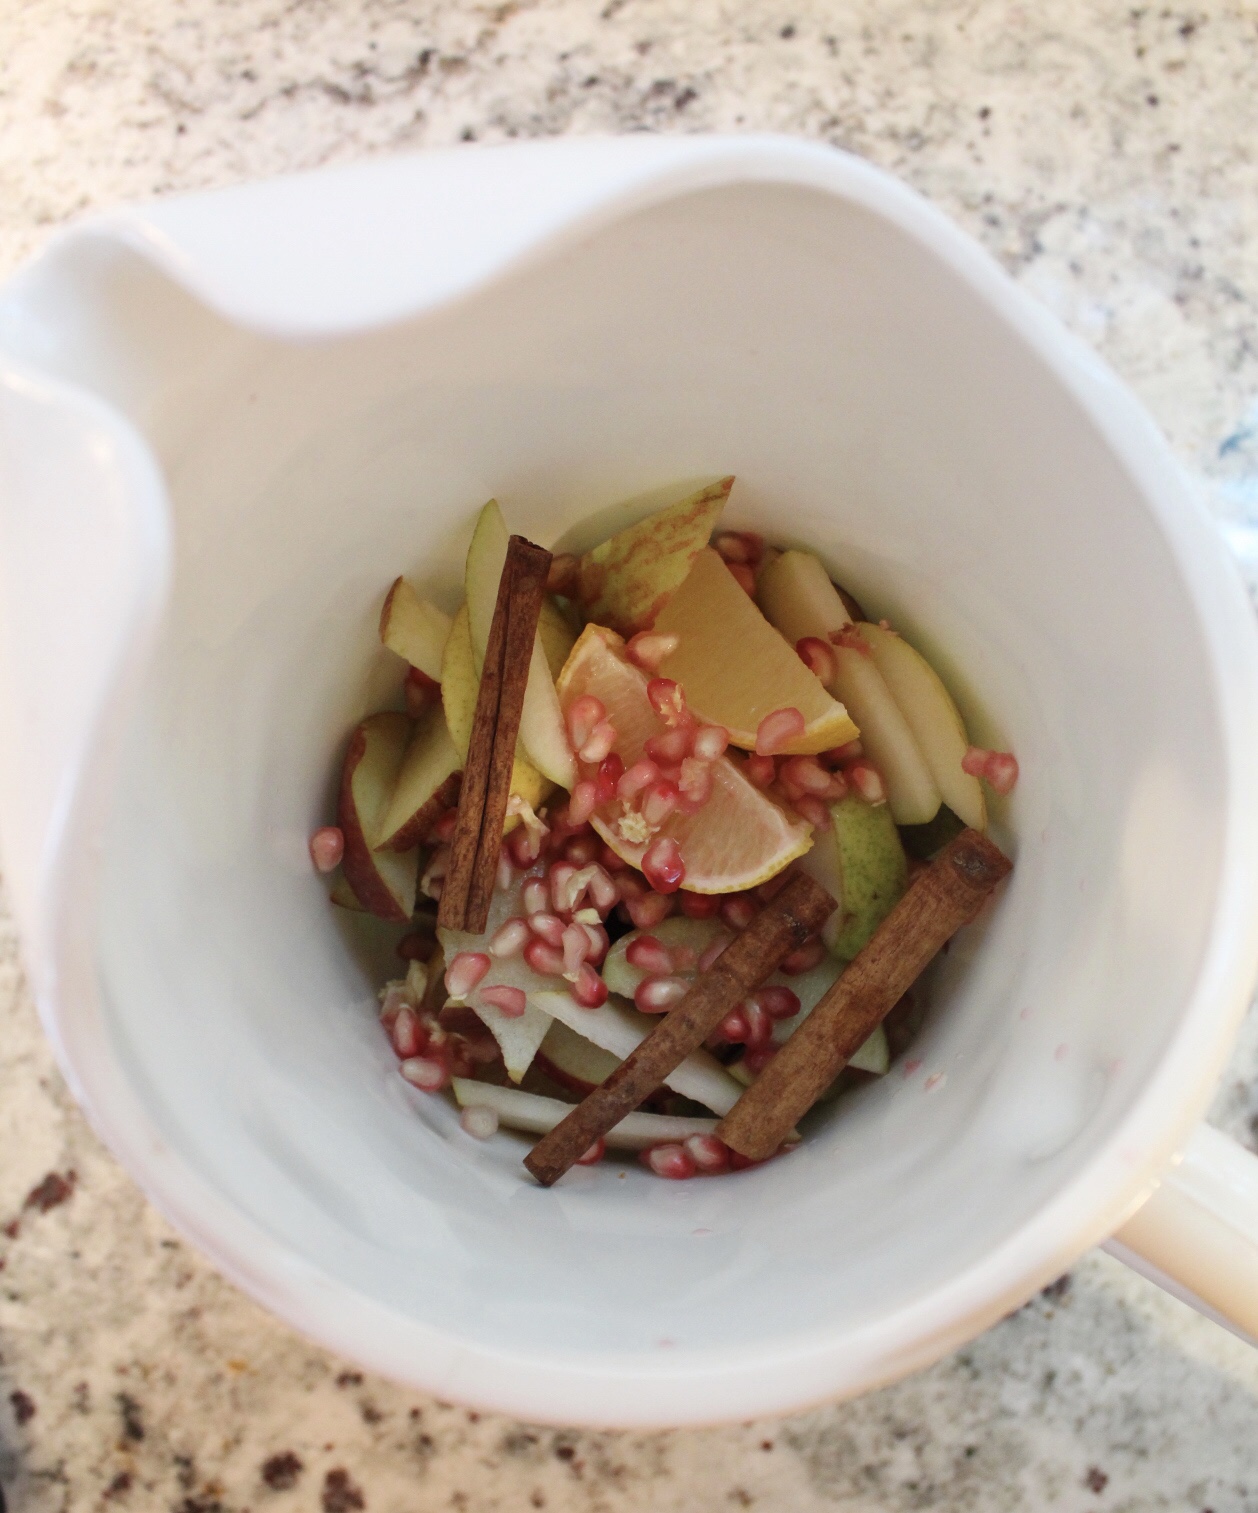
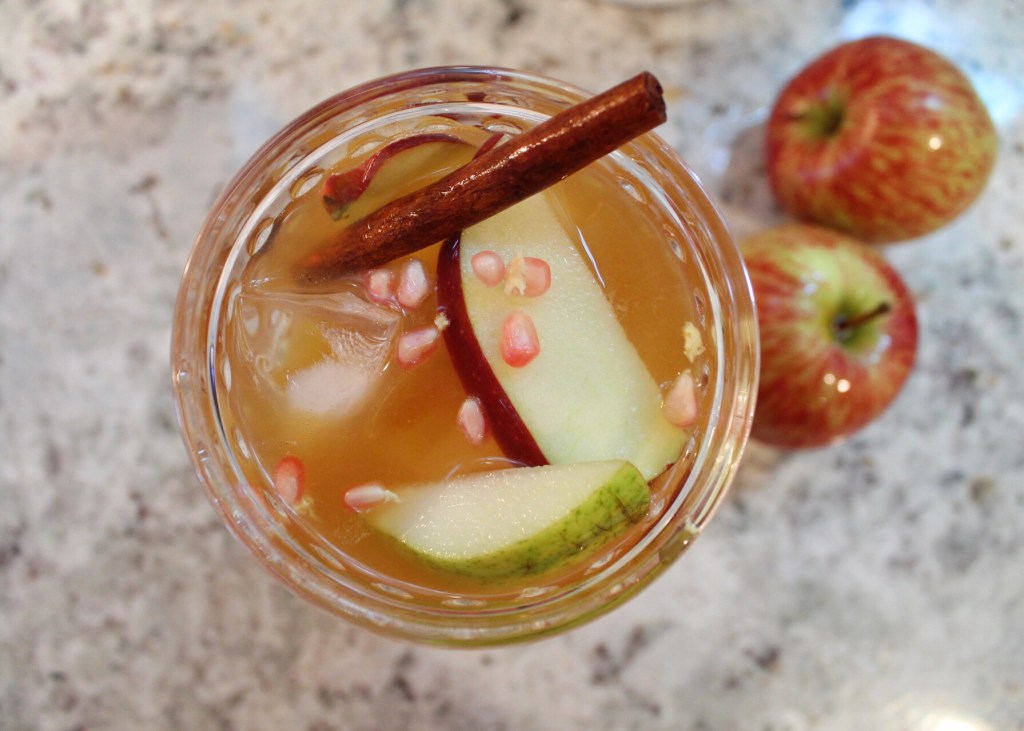
  • Add all the fruit to your pitcher. Add cider, wine, whiskey and brandy. Add molasses for a bit more sweetness. Refrigerate for at least an hour and serve over ice. Garnish with a cinnamon stick. Grab a blanket, relax and enjoy!
All mixed up and looking delish!
It’s so pretty! And it just is screaming fall!

I hope you try it out and enjoy it! Let me know below if you do!
Painted Pumpkins

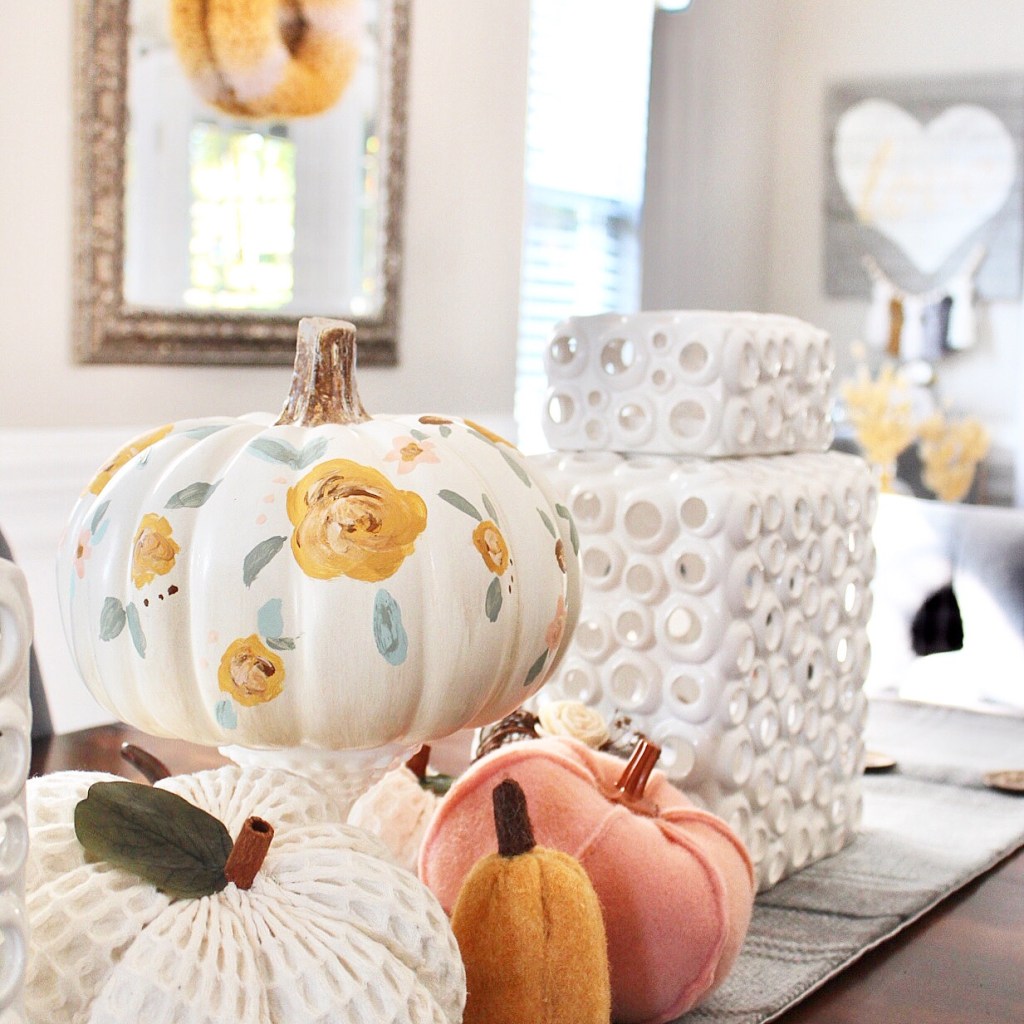
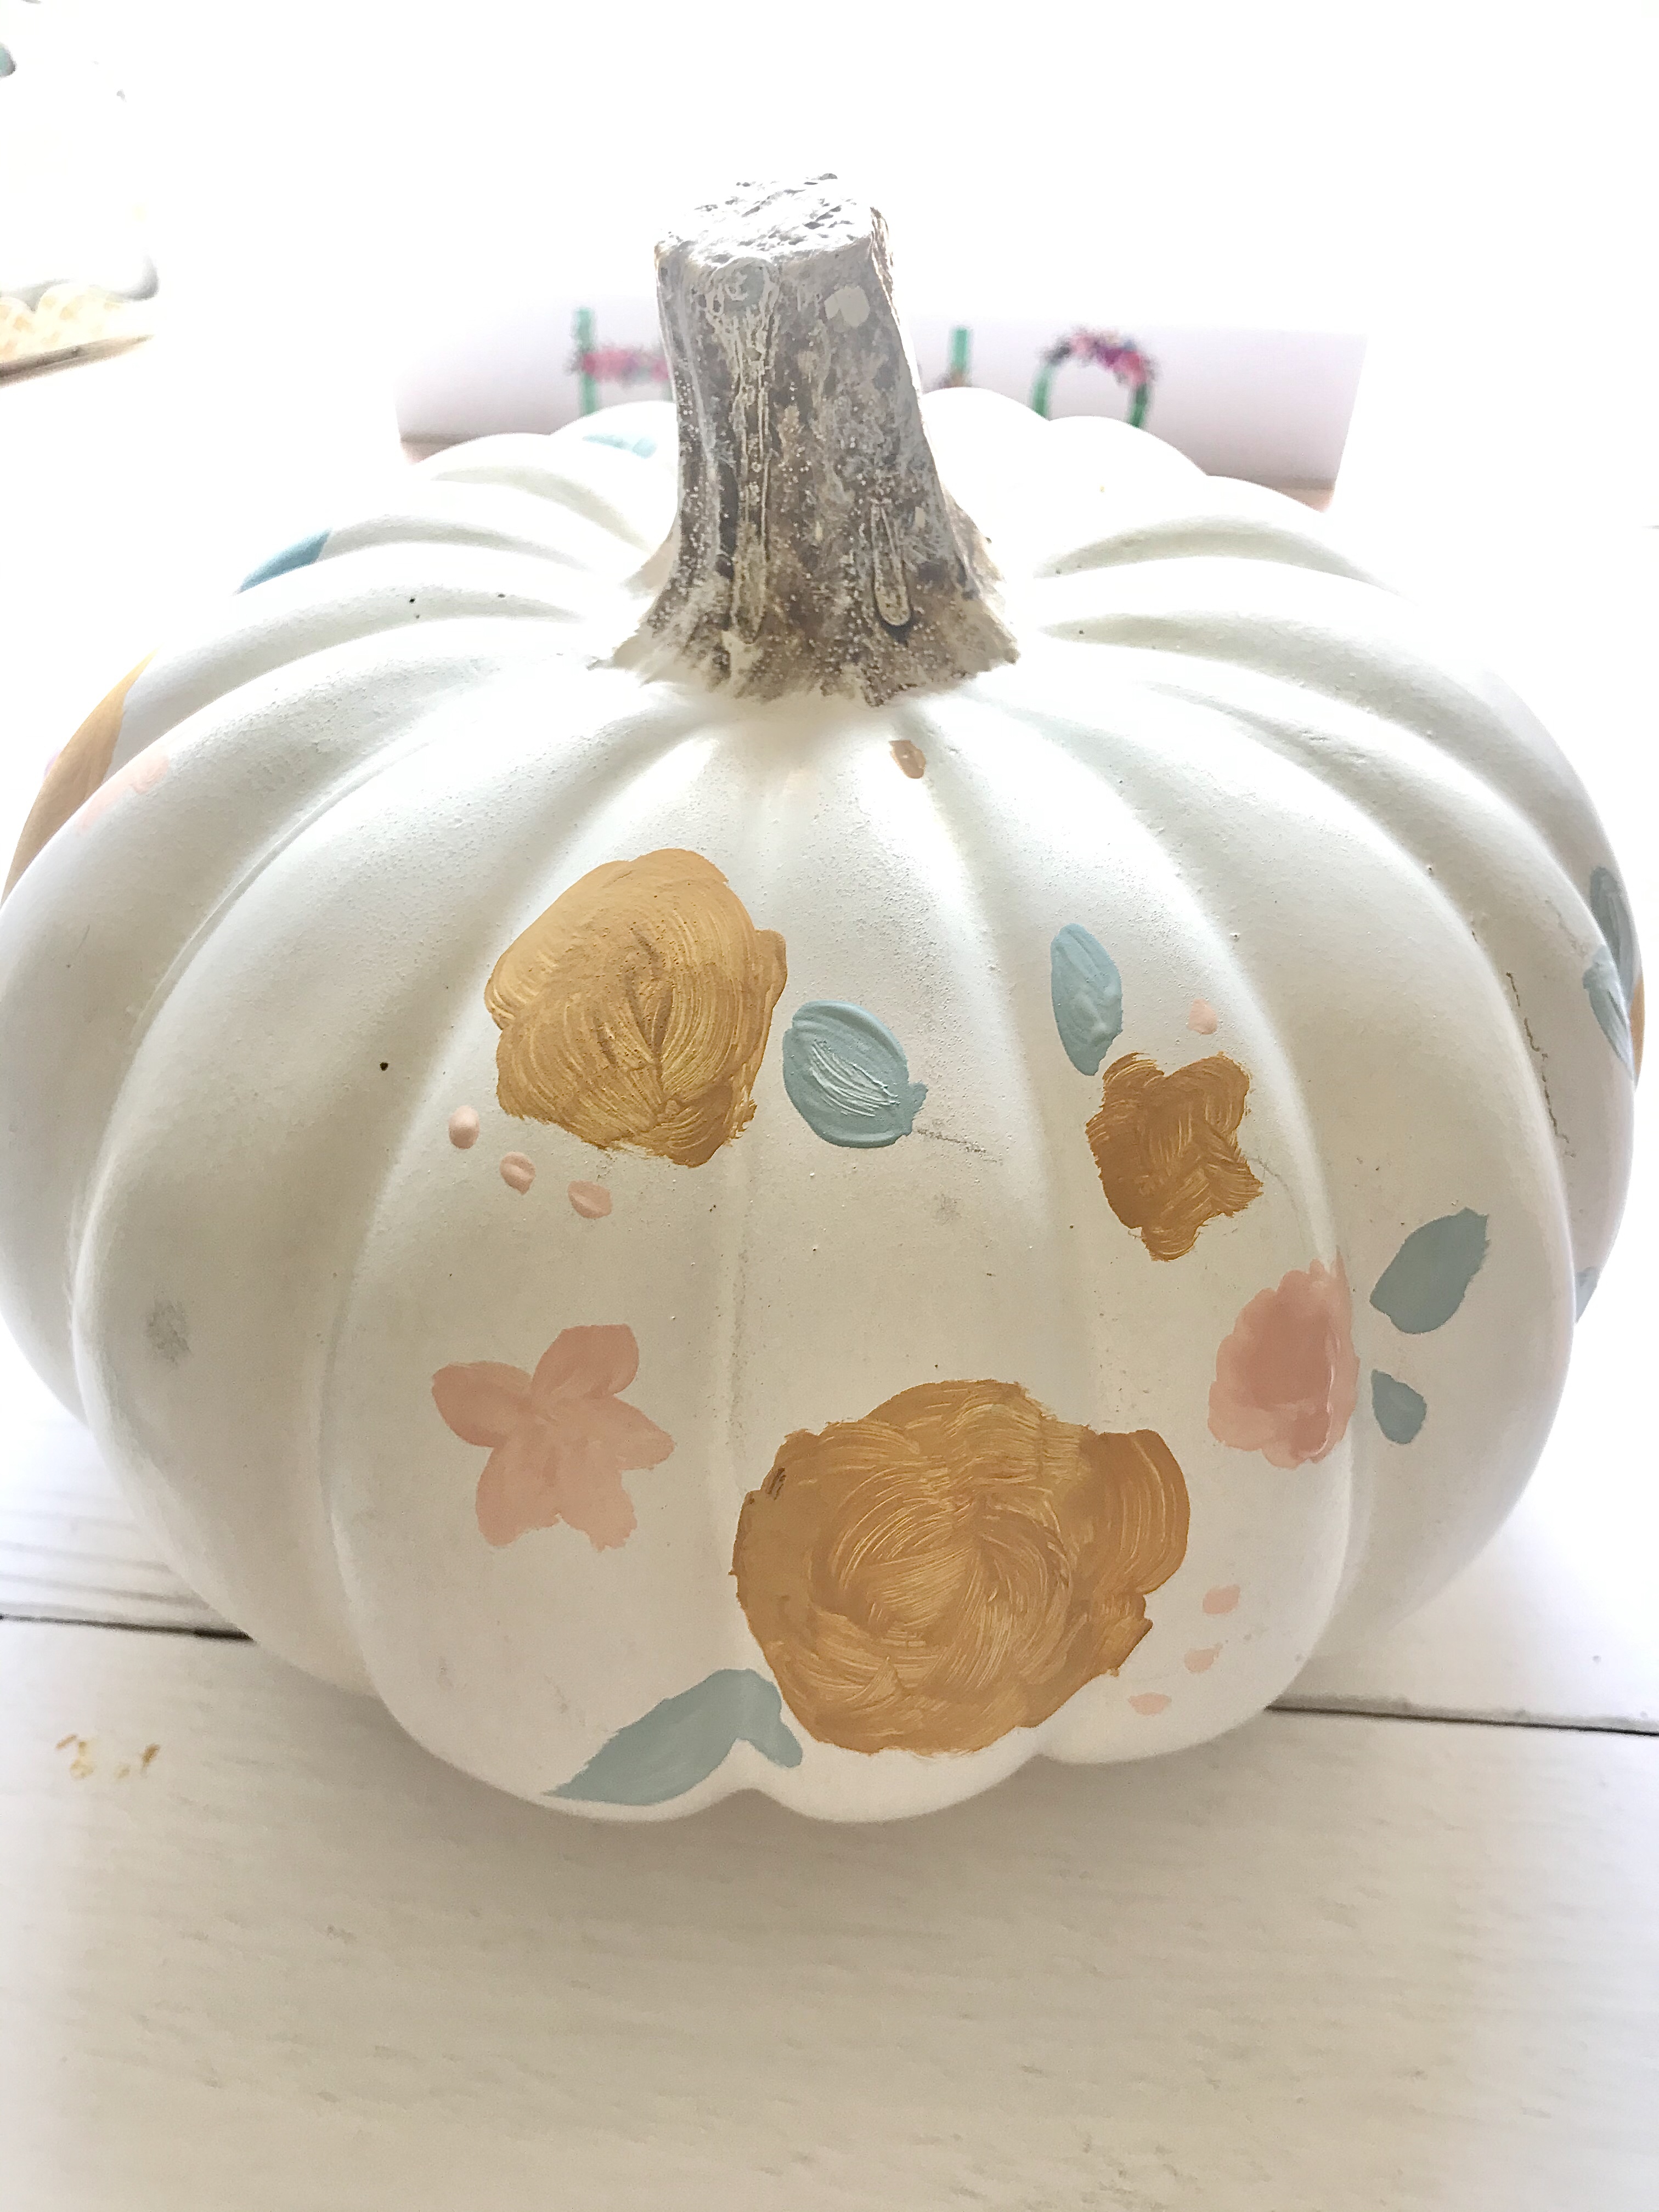
As you may have noticed, fall is my favorite. Pumpkins are part of the reason I adore fall! I love all the different types of pumpkins at the local patch, but until I can go grab some I love faux pumpkins. I love all the textures, too. I’ve done a few fun things with pumpkins over the years, but recently added a painted floral faux pumpkin to my decor. Now I think I may need to make a pumpkin patch full of floral pumpkins!

Here she is! Isn’t she a cutie?

I love lots of crafts, but to be honest the only one I feel confident in is making felt flowers. So, my Instagram feed over at The Happy Door is full of felt flowers. I’m not a painter, but I figured I’d give this project a try!

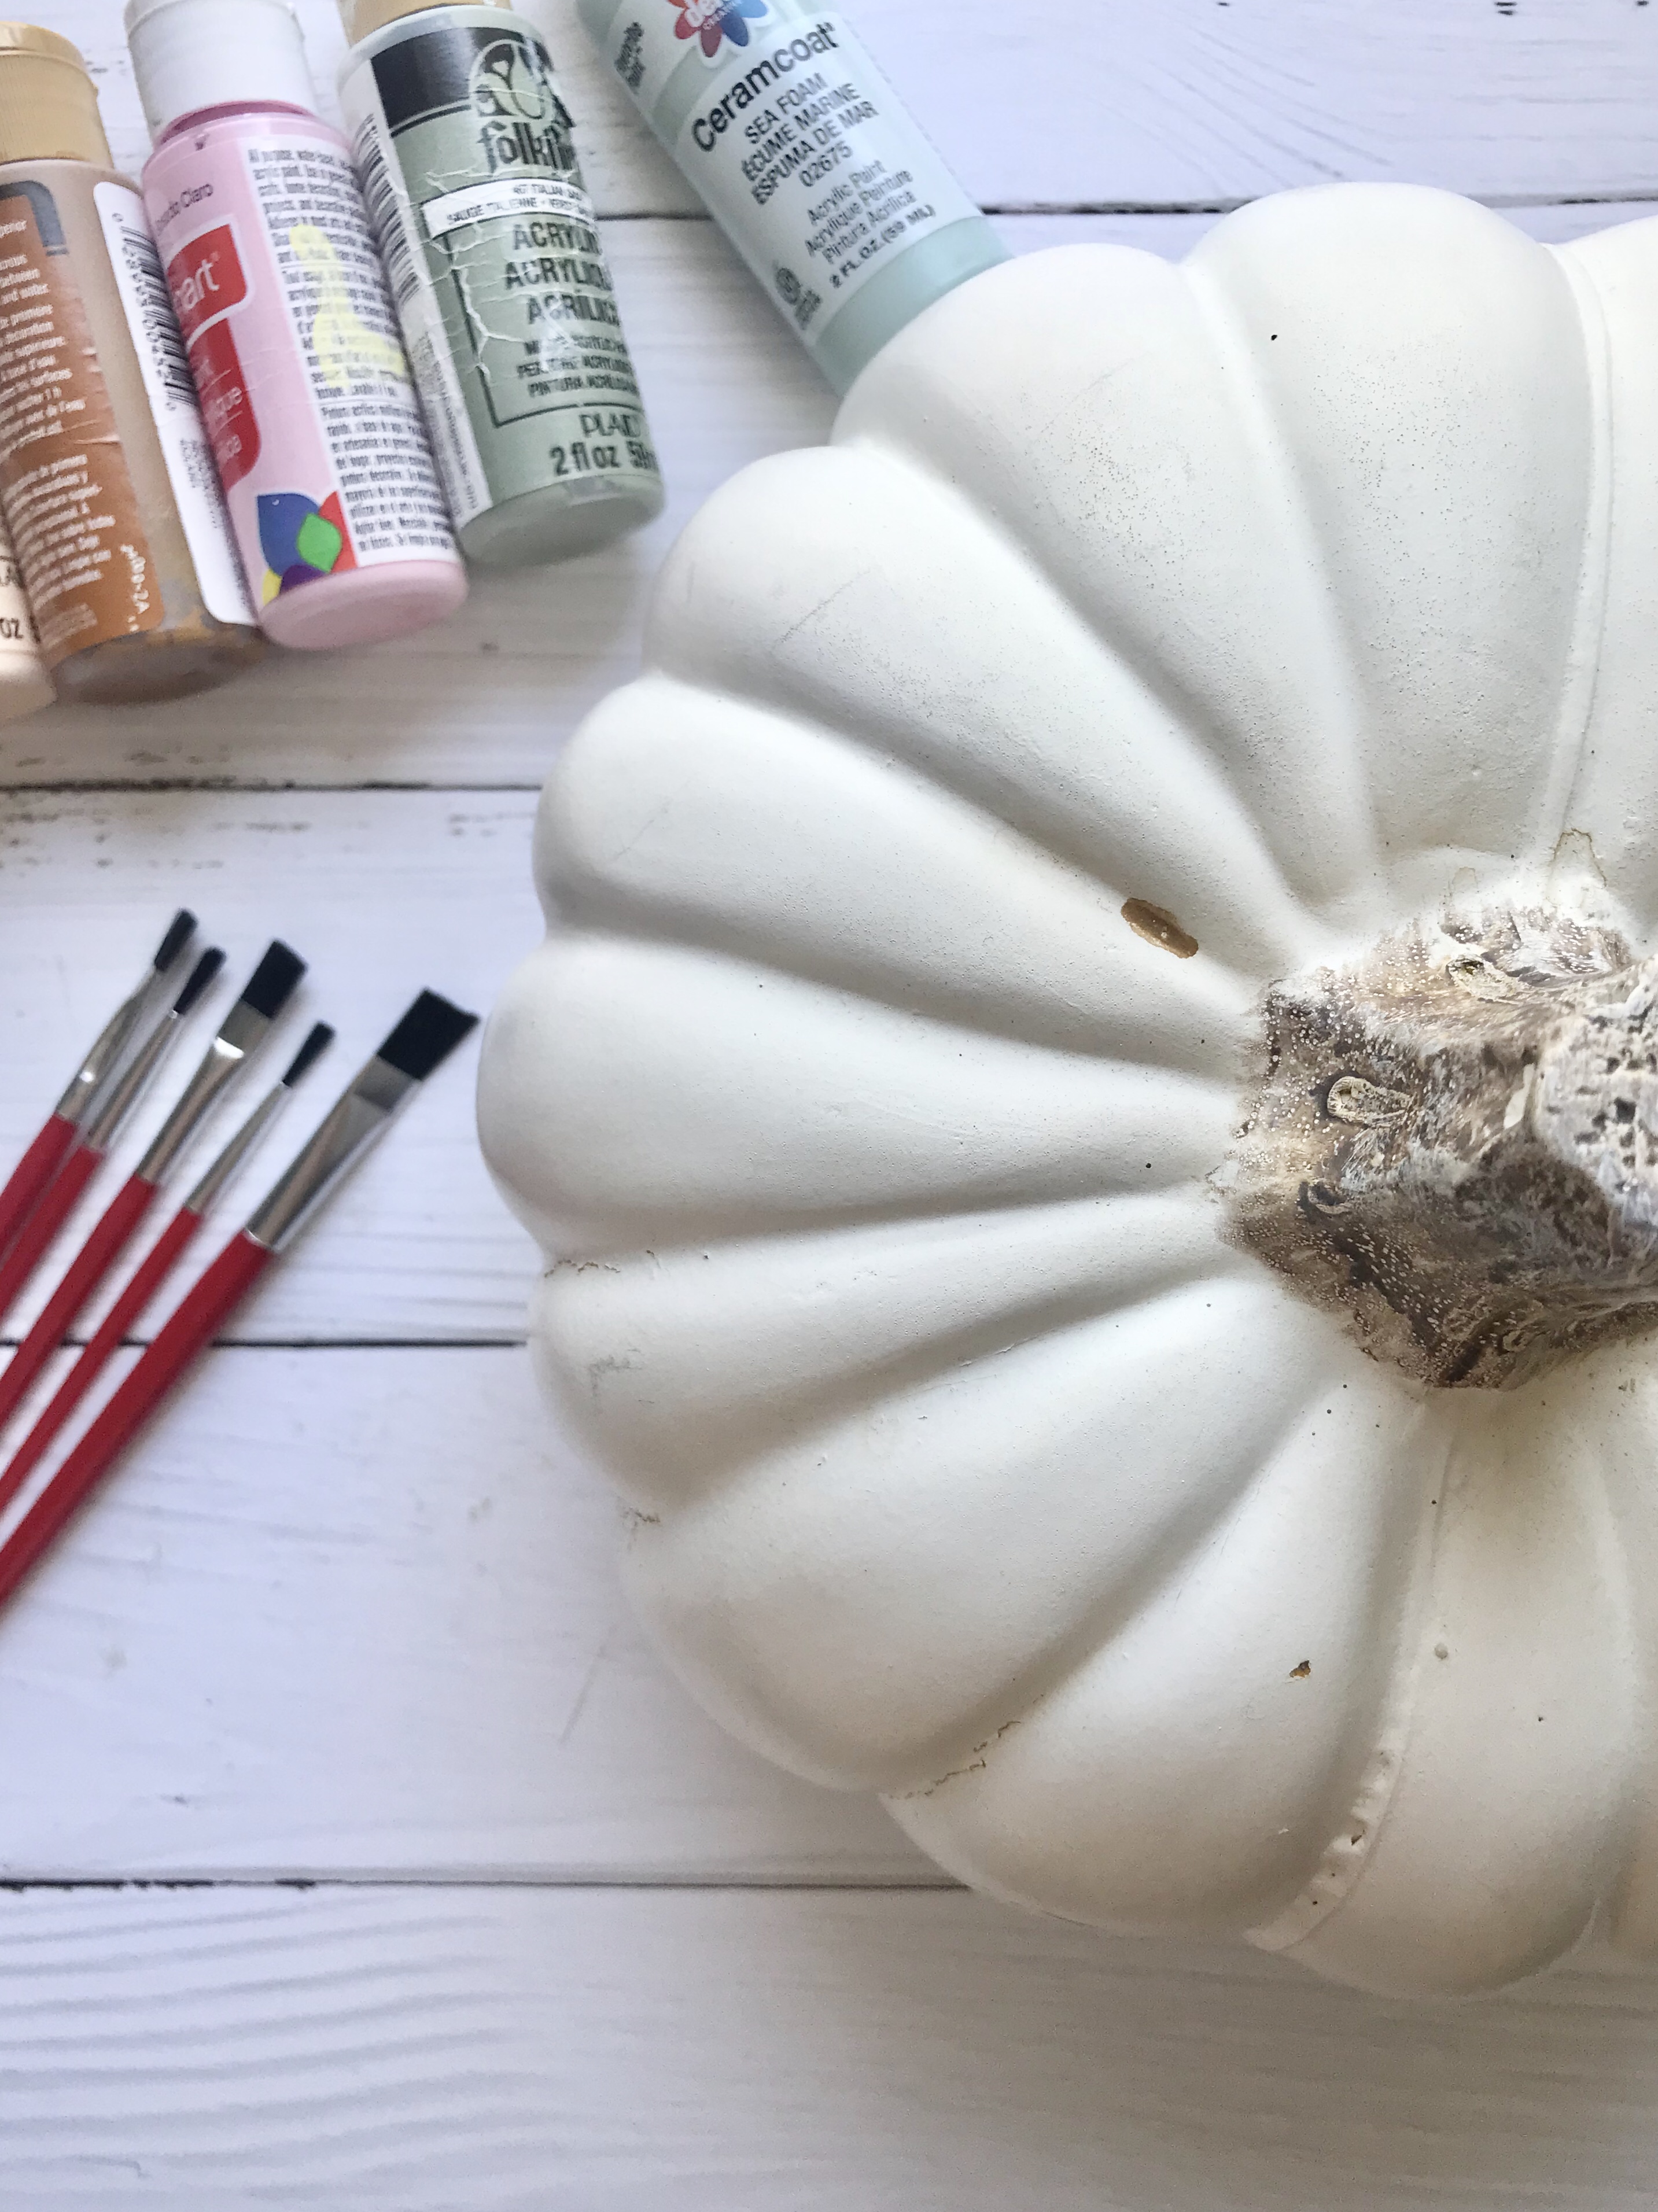
I thought I’d share a little bit of my process. Honestly, it was mostly mixing colors and just swirling little blobs of paint around. (Sounds so professional, right?!) I had the faux pumpkin from a craft store, paint and brushes and got to working!

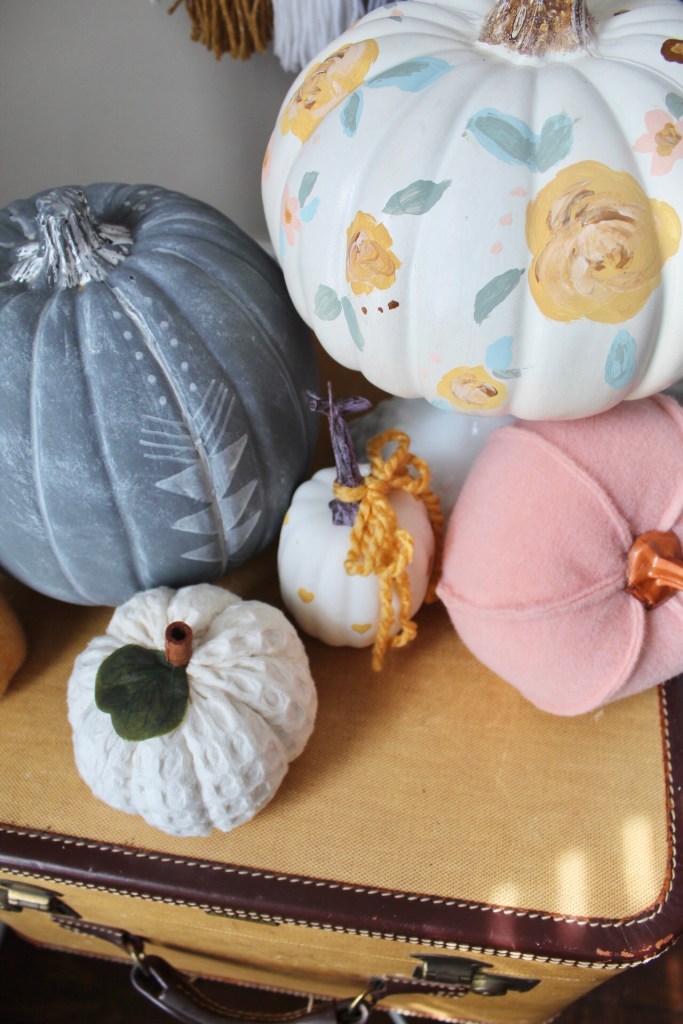
I used mustard, ochre, pale peach, mint green and a sage green. I just blended and mixed until I had a look I liked. I then put her on my dining table with some of my other pumpkins and posted a pic on Instagram. Then, I got thinking I needed to paint another one.

So, another heart painted pumpkin was added!

I used mustard paint and painted little hearts on this mini. I then added a little mustard yarn bow. She’s mini but fabulous.

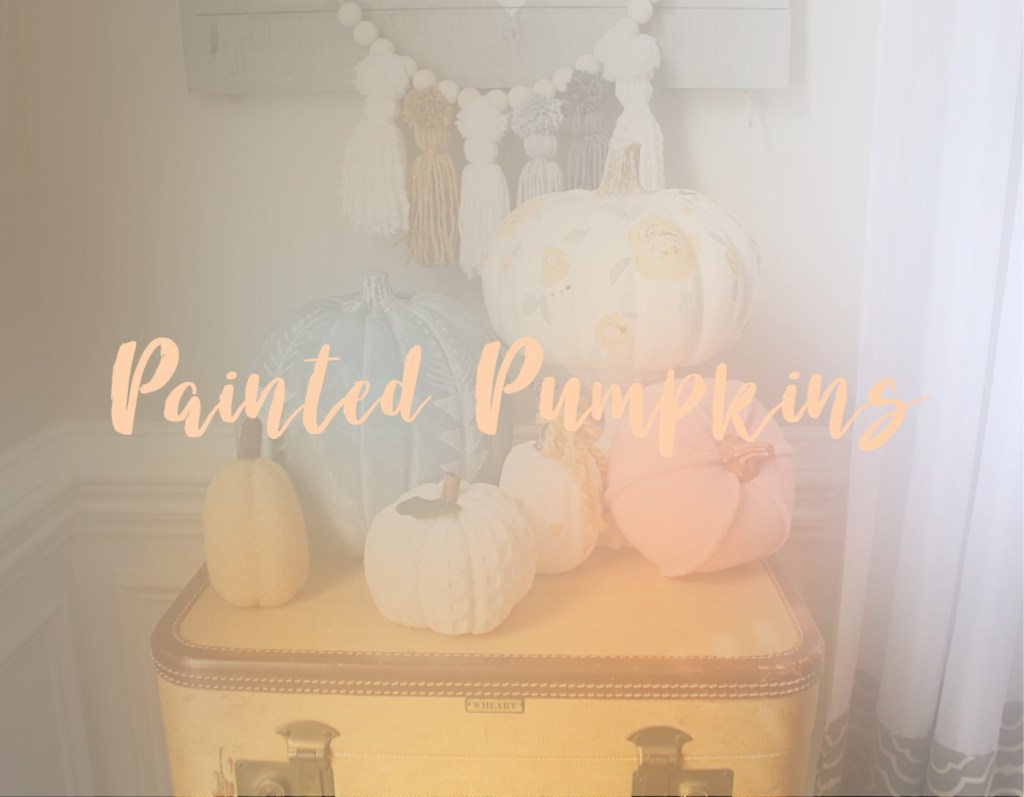
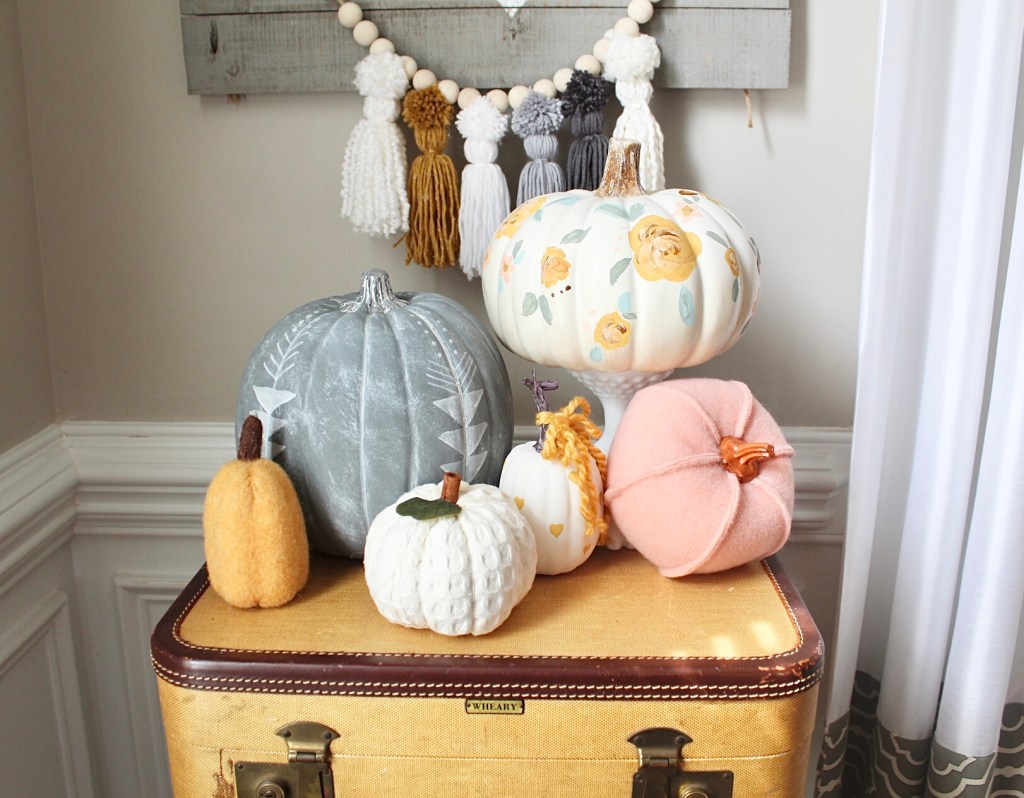
Don’t they all look so happy together?

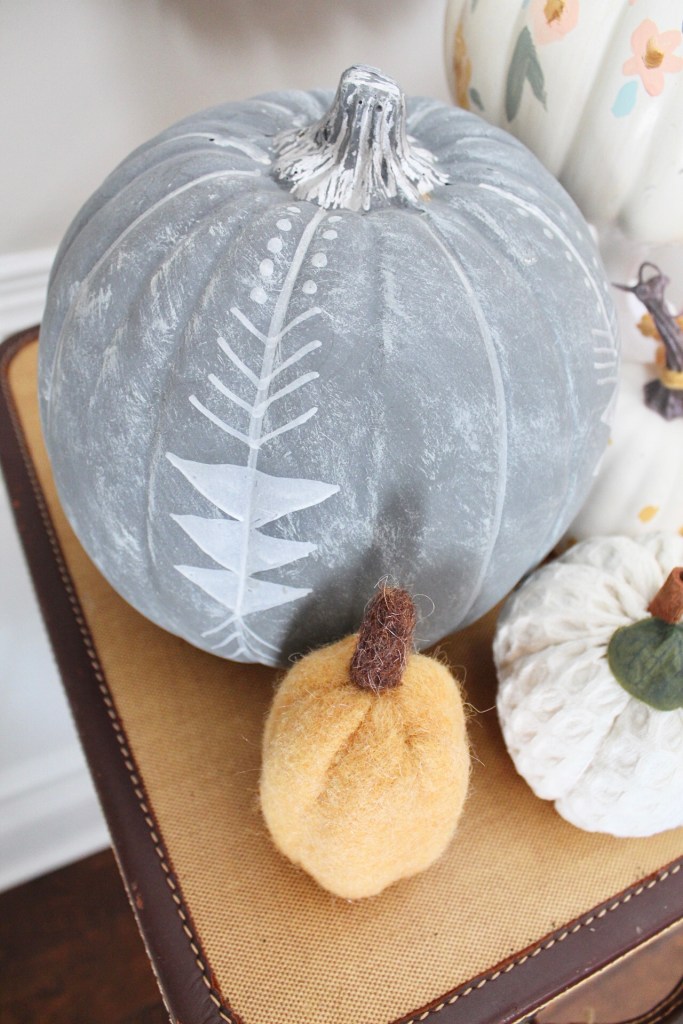
I added in a gray pumpkin to the above photo. I made that one a few years ago. The pumpkin was from Michael’s. I bought a chalk marker and did a bit of an Aztec/Geometric pattern. You could draw any pattern with the chalk marker!

So, there you go! A few easy ideas to paint faux pumpkins. I hope you give one a try. It’s even a fun project to do with kids. I was thinking a girls night would be fun, too!
Let me know if you try one or have done something similar before!

Fall Home Tour

Fall is my favorite season. I love the cooler weather, wearing sweaters, the beautiful leaves and all the delicious fall food.

So, naturally, I love decorating for fall! I normally decorate well before fall starts, simply because I love it so much. Plus, I think you should have your home be a place that you enjoy… and I enjoy fall decor, so why not enjoy it as long as I can?!?

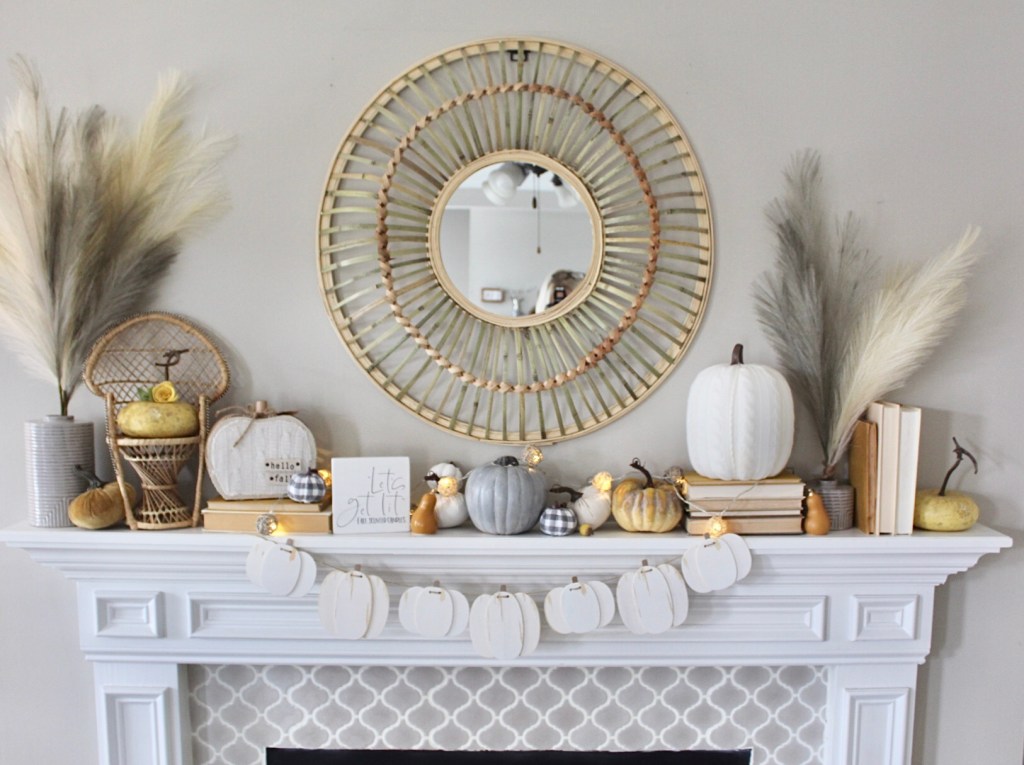
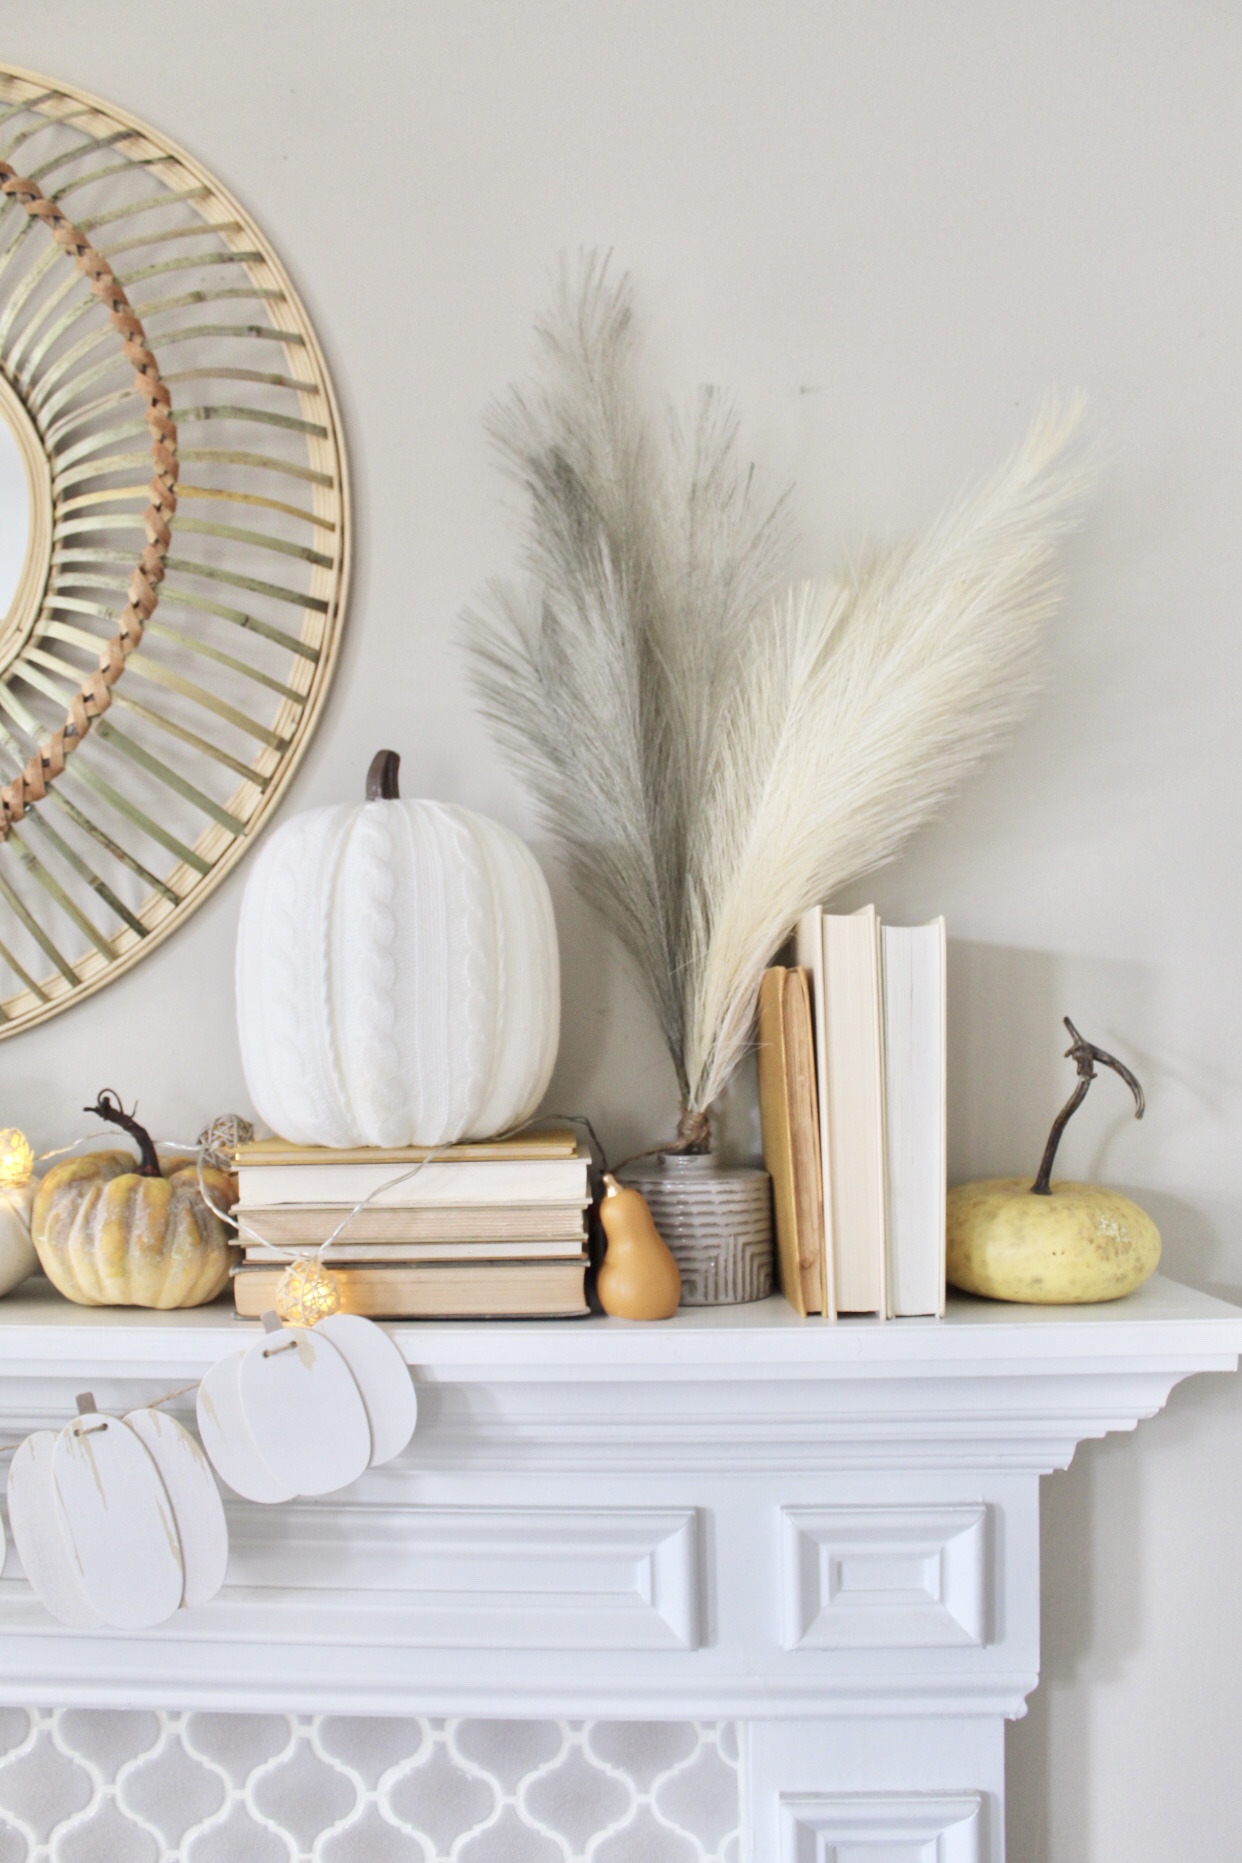
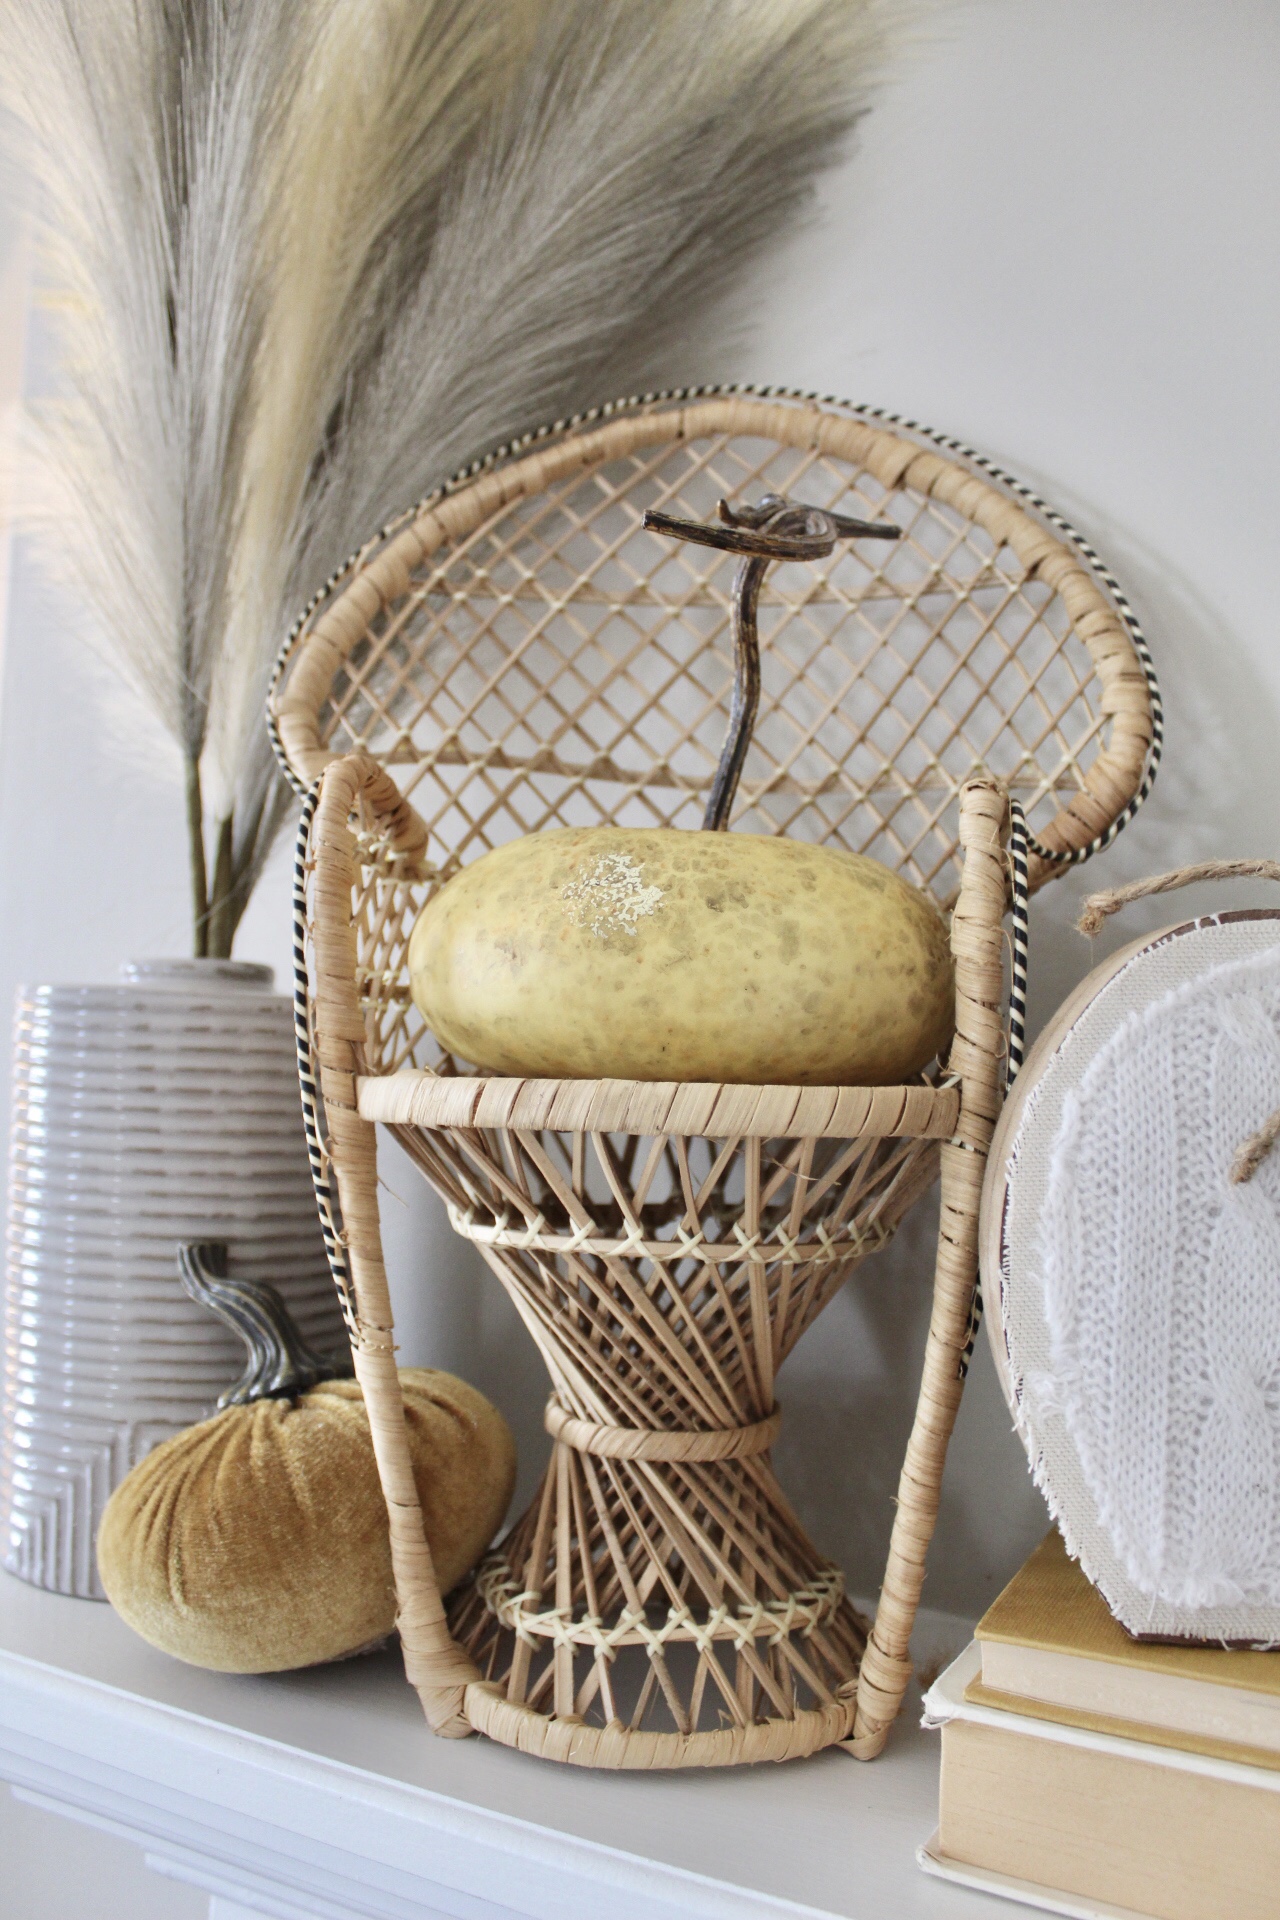
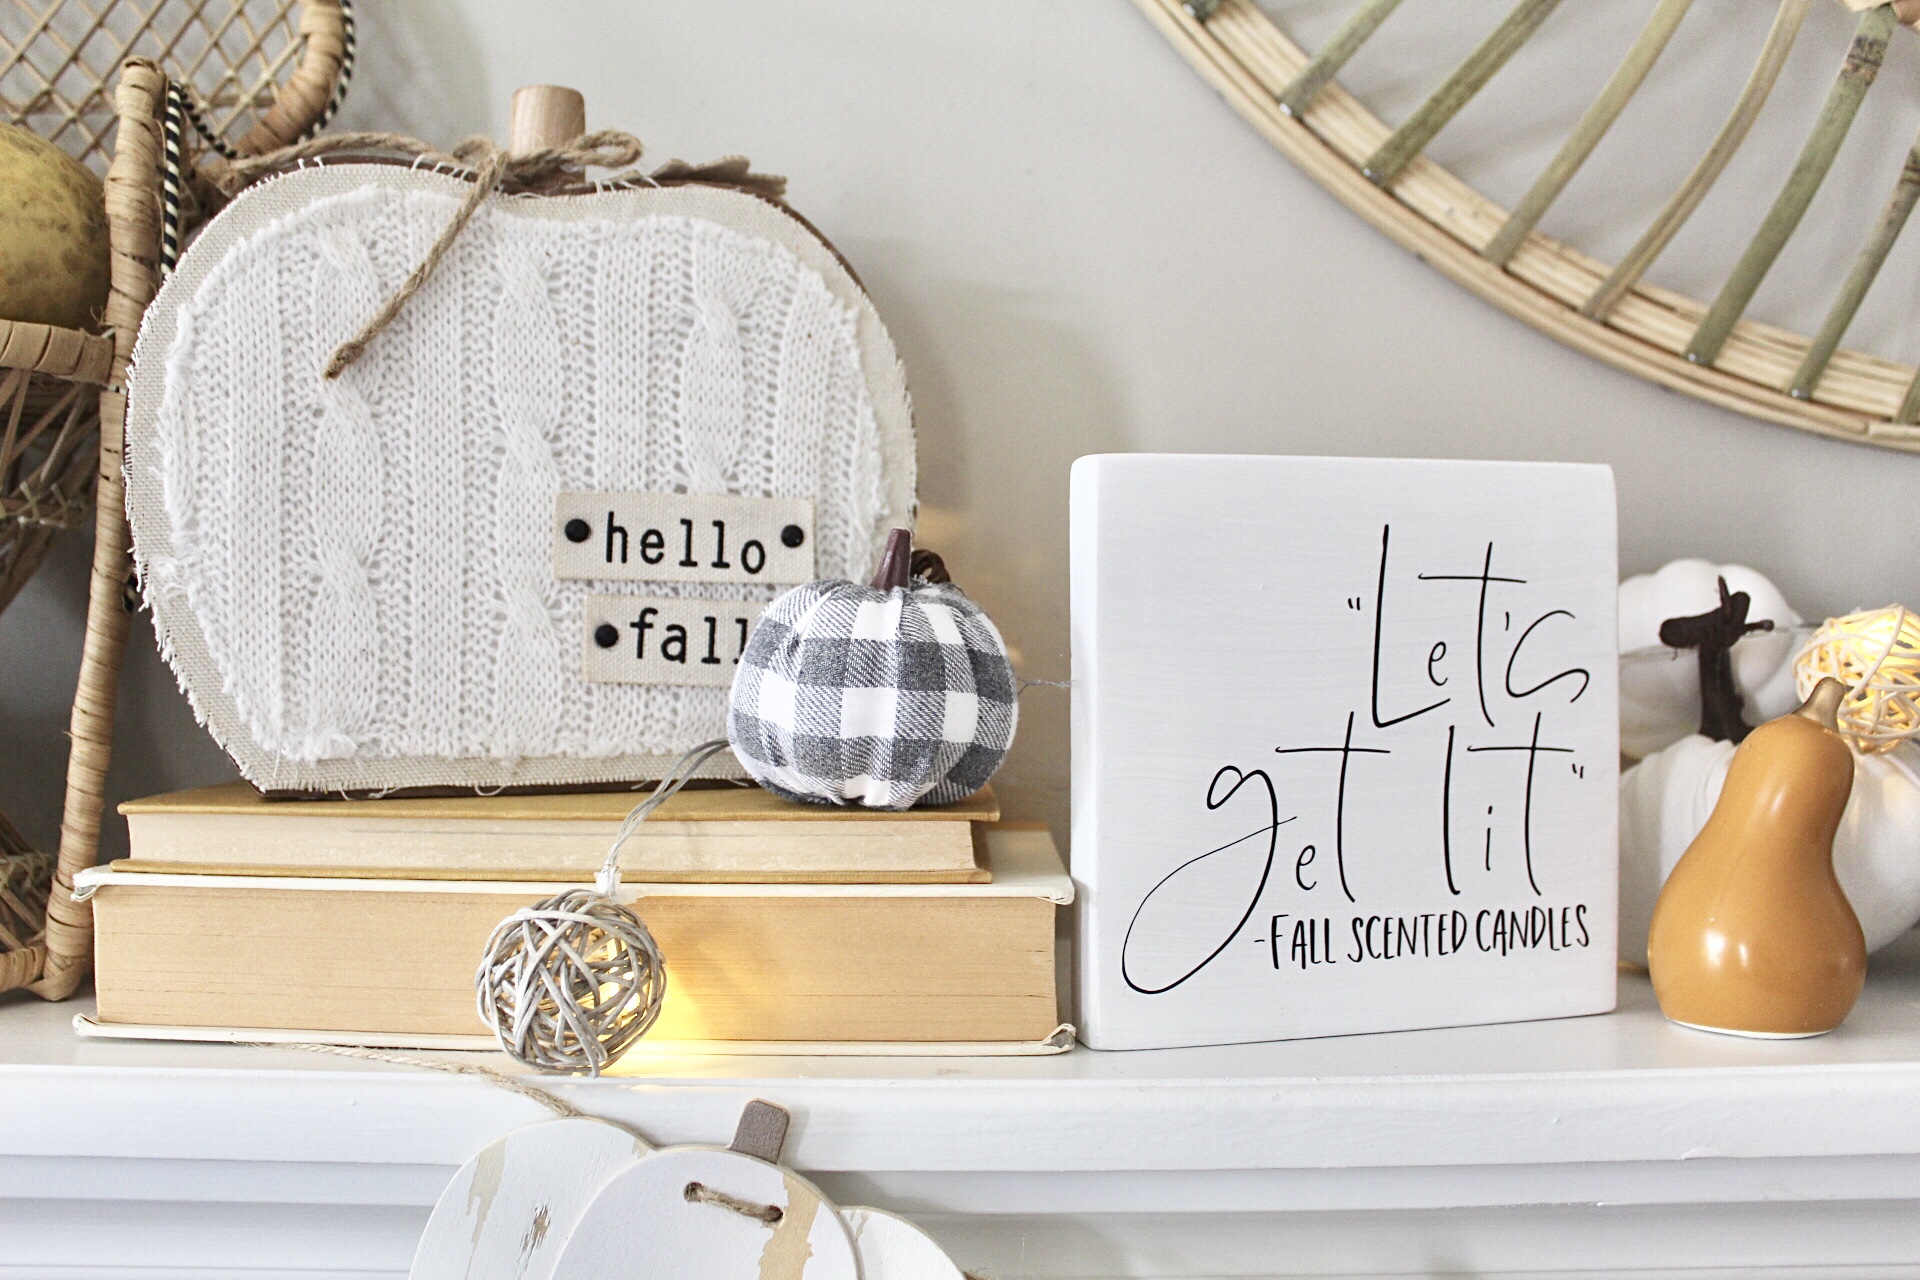
So, first up I decorated my mantle. I have collected faux pumpkins over the years in different shapes, sizes and textures. I have collected similar colors, though. My home is mostly white, cream, gray and yellow so I stick with those colors!

I add different pumpkins in different shapes and sizes.
I found this cute white pumpkin banner at Target.

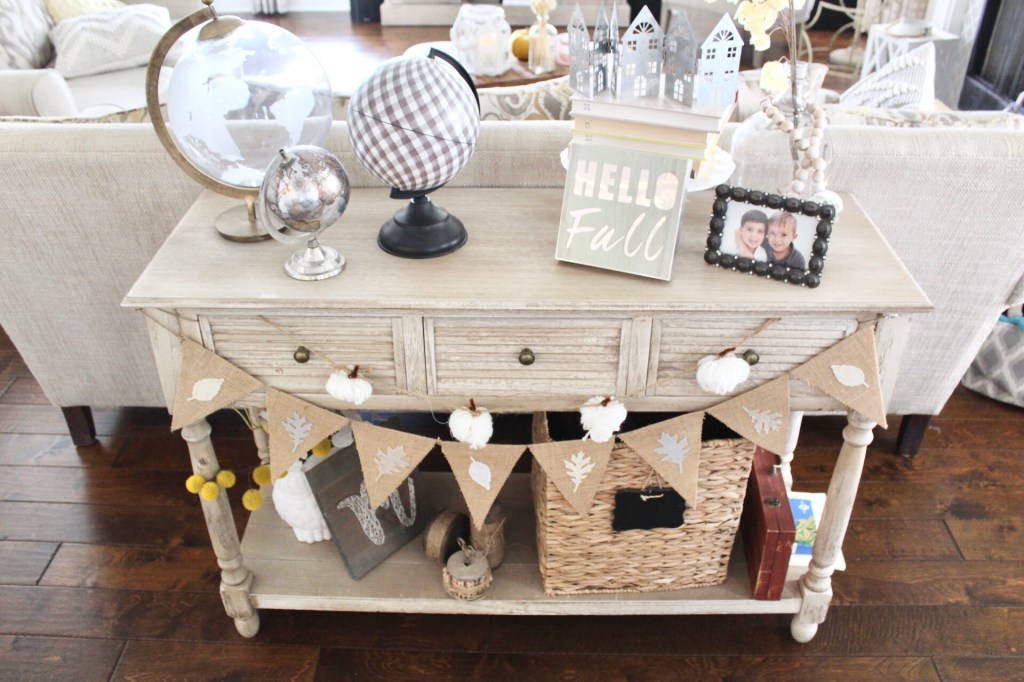
On our sofa table I added a little pumpkin garland I made a few years ago and a banner from a shop on Etsy, Fancy Flamingo Designs.

Next, in my kitchen I have a mini scale that I bought at Hobby Lobby. I added a mini sign from Target and some pumpkins!

A little scale full of pumpkins!

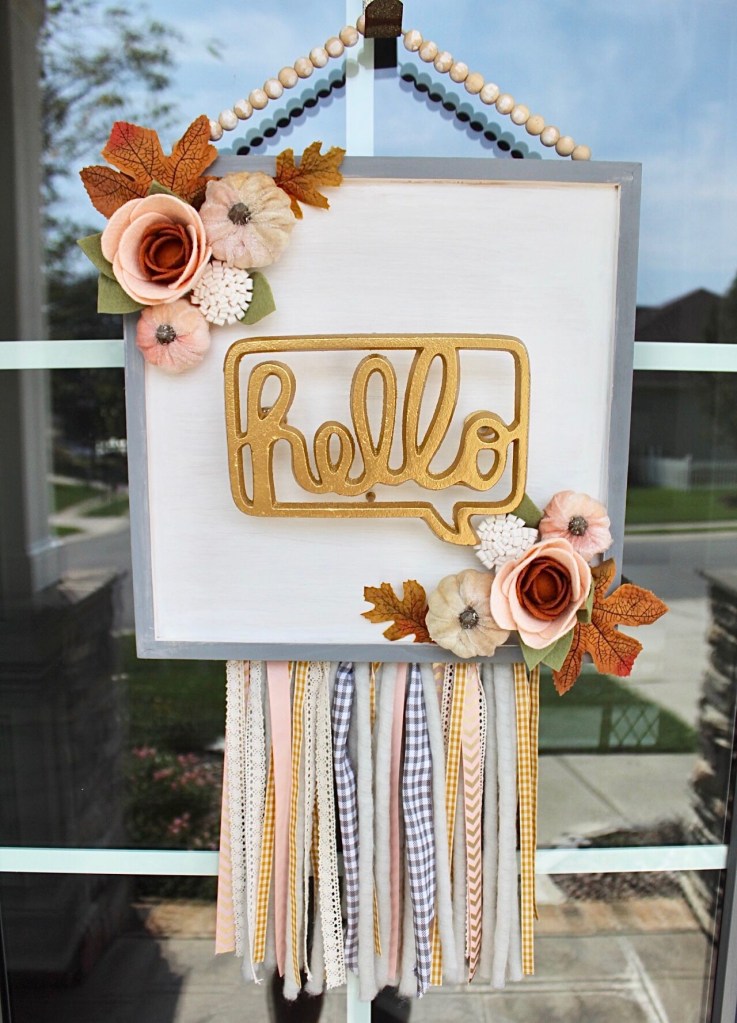
I also think that decorating your outside is important! I layered a mat at my front door and added a wreath that I made to cozy it up!

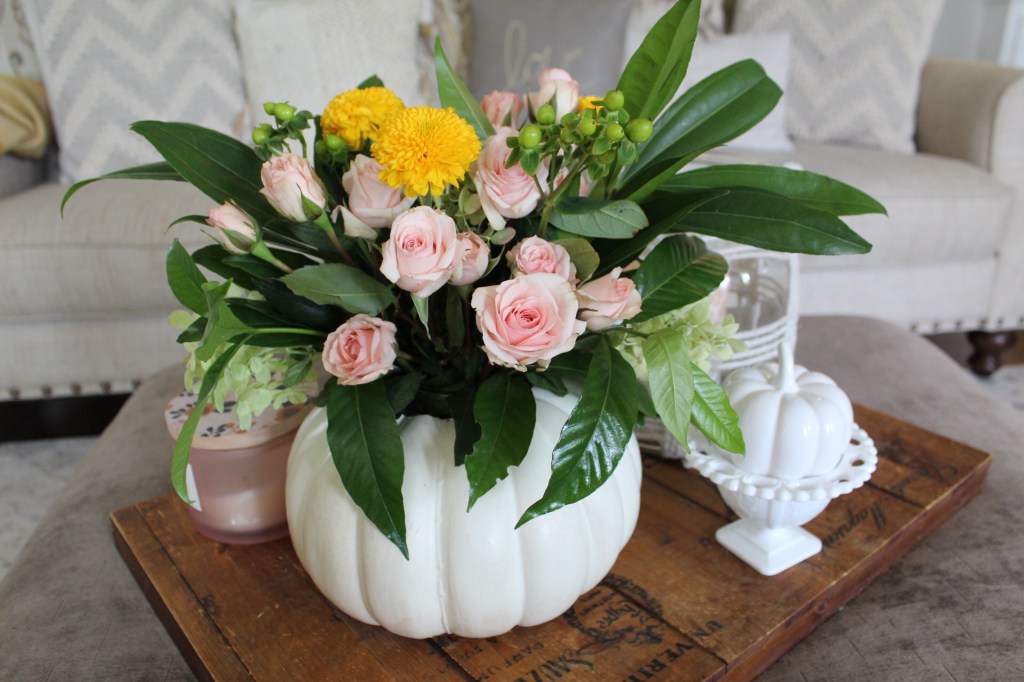
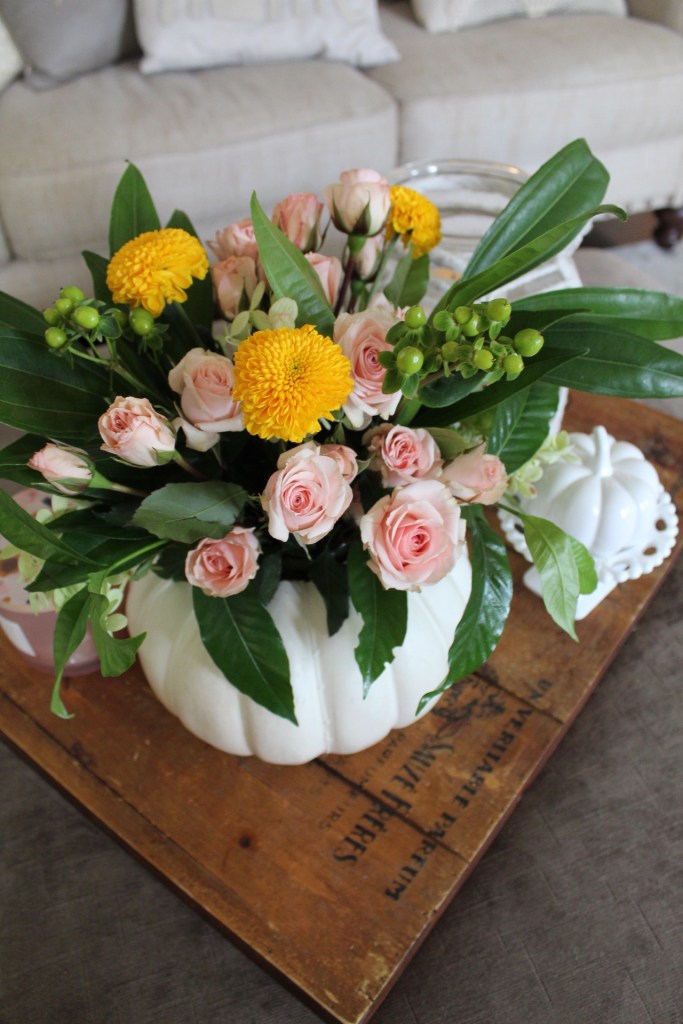
Lastly, I thought I’d share an easy DIY that you could use year after year. This faux pumpkin floral arrangement!

Read below to see how to make this for your home!

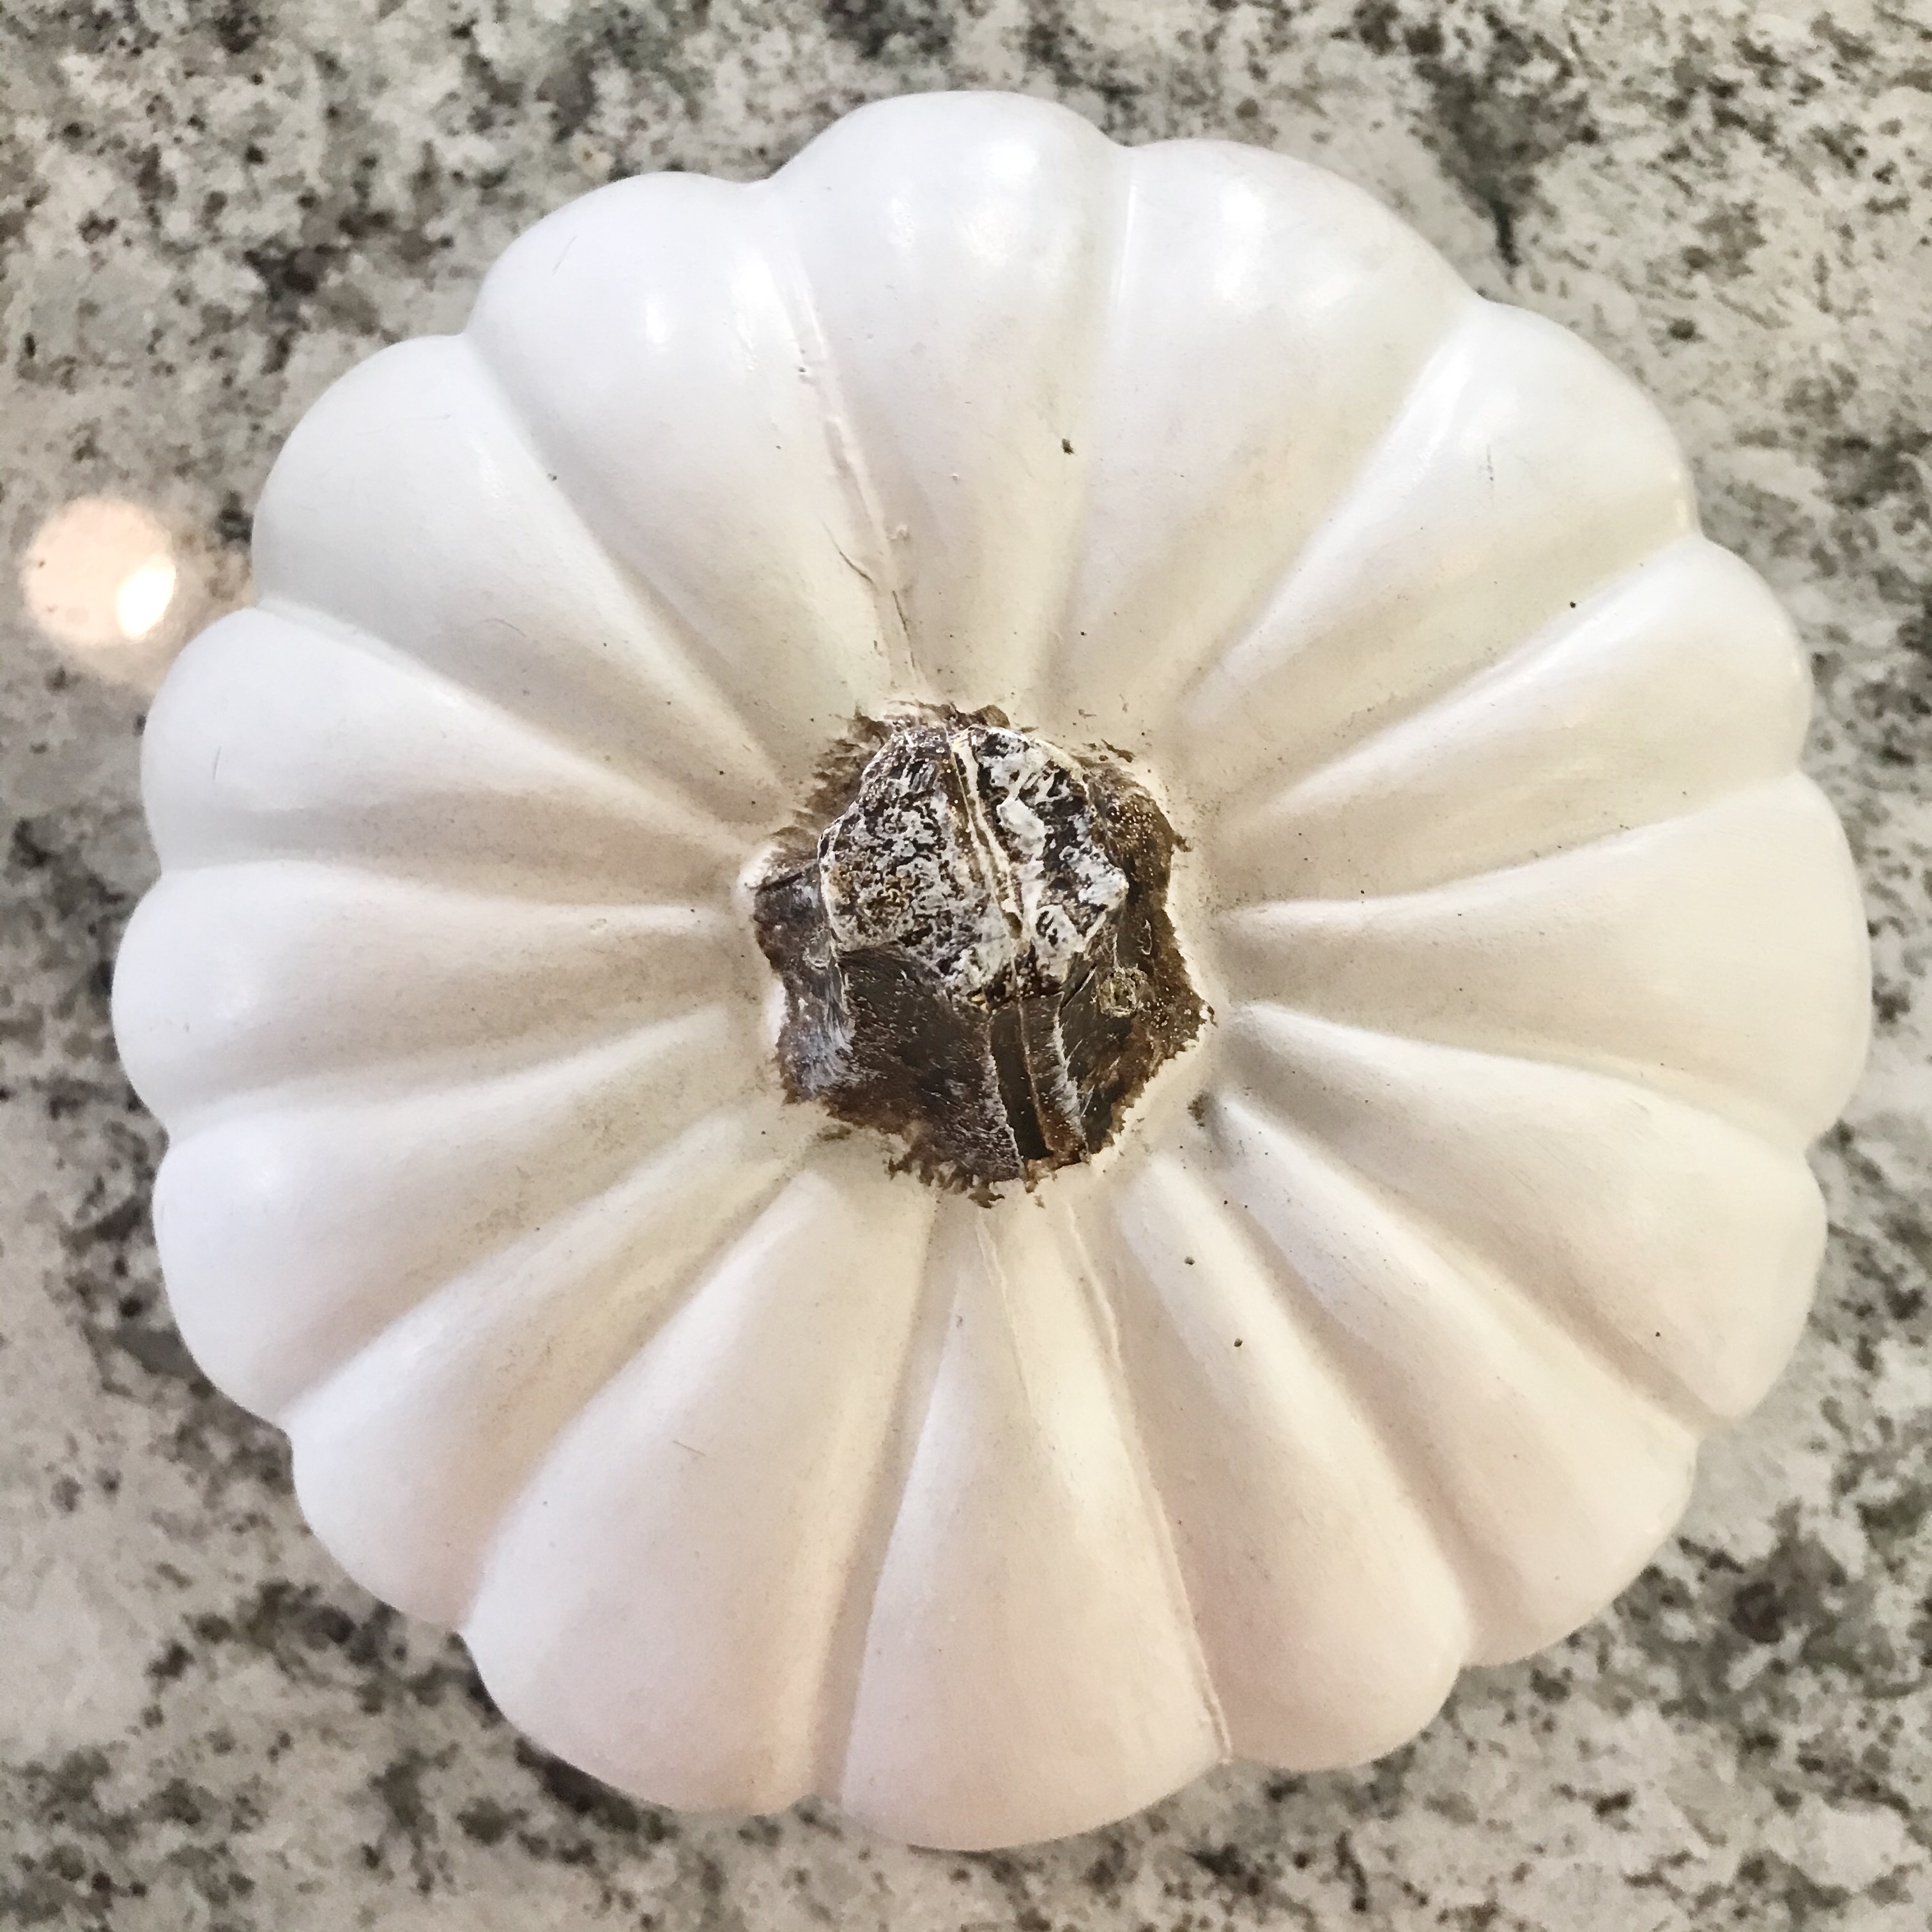
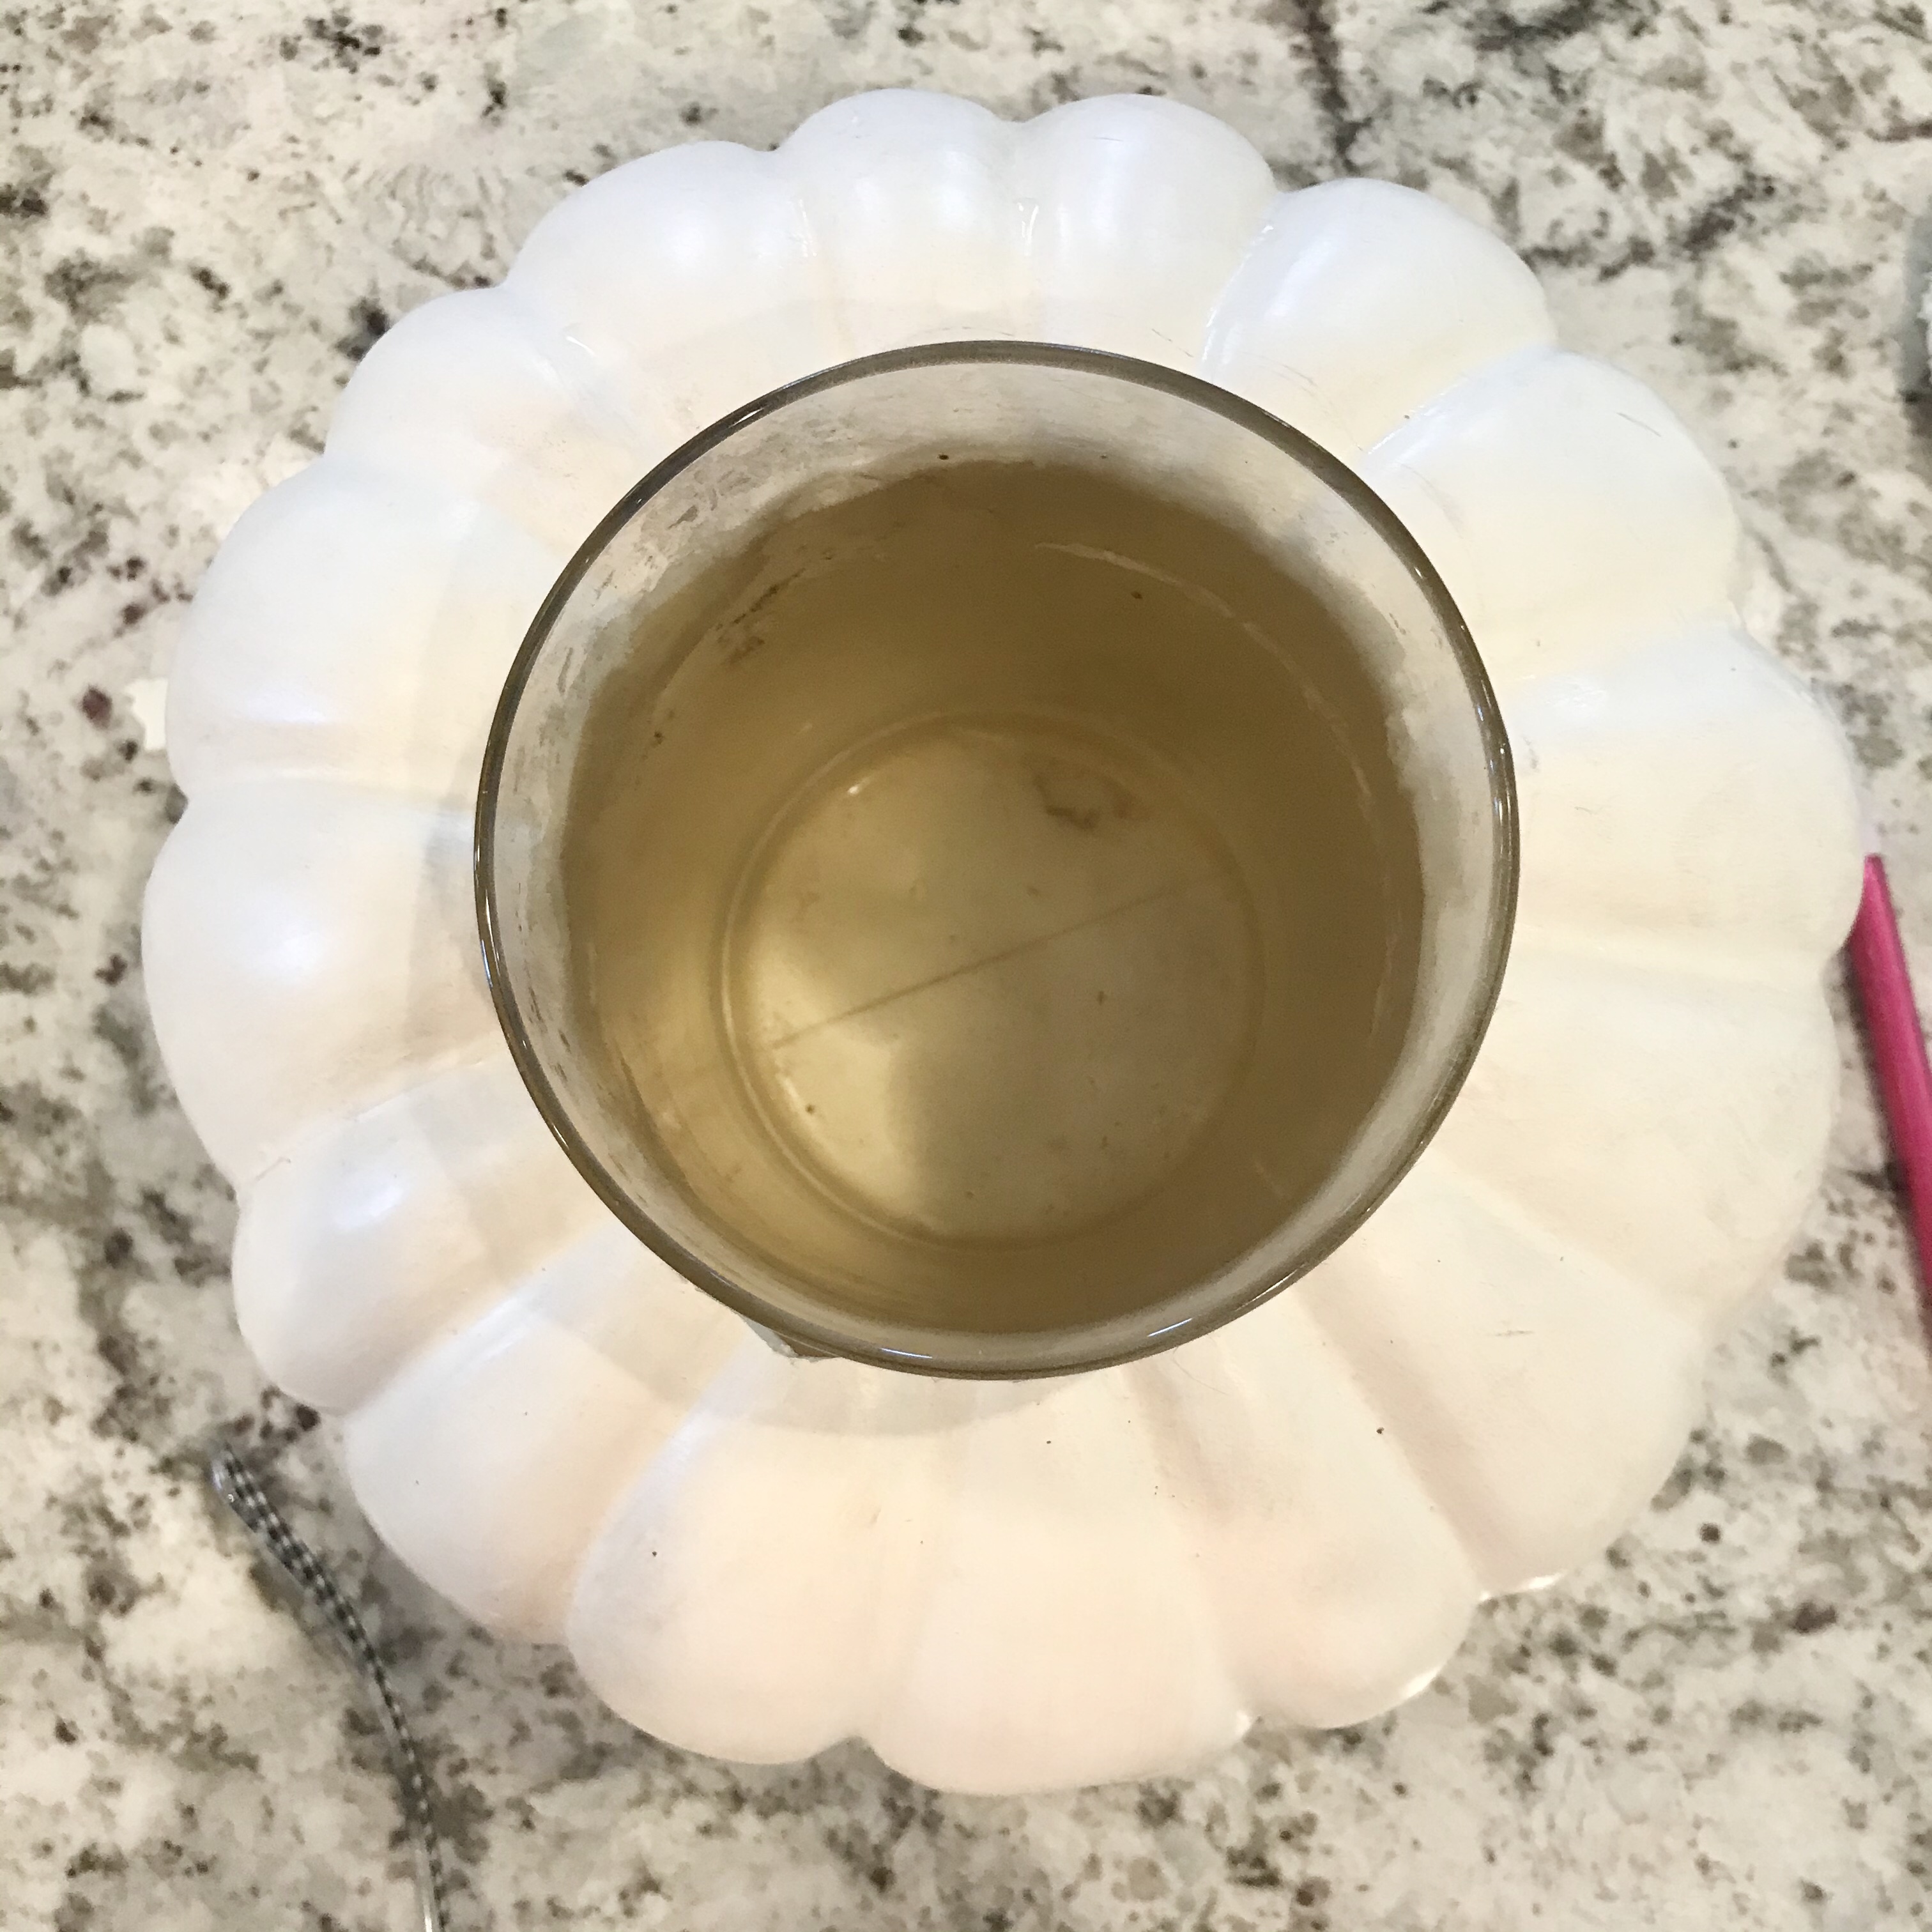
First, buy a faux pumpkin. These are found at most craft stores. I love the white color, but they come in so many colors you can find one that goes with your decor. You will also need a vase or a cup that your flowers will go in. I then trace the shape of the vase on the top of the pumpkin and cut the top off with an exacto knife. You may want to to cut a little extra so the vase will slide in and out easily. Once it’s cut off put the vase in!

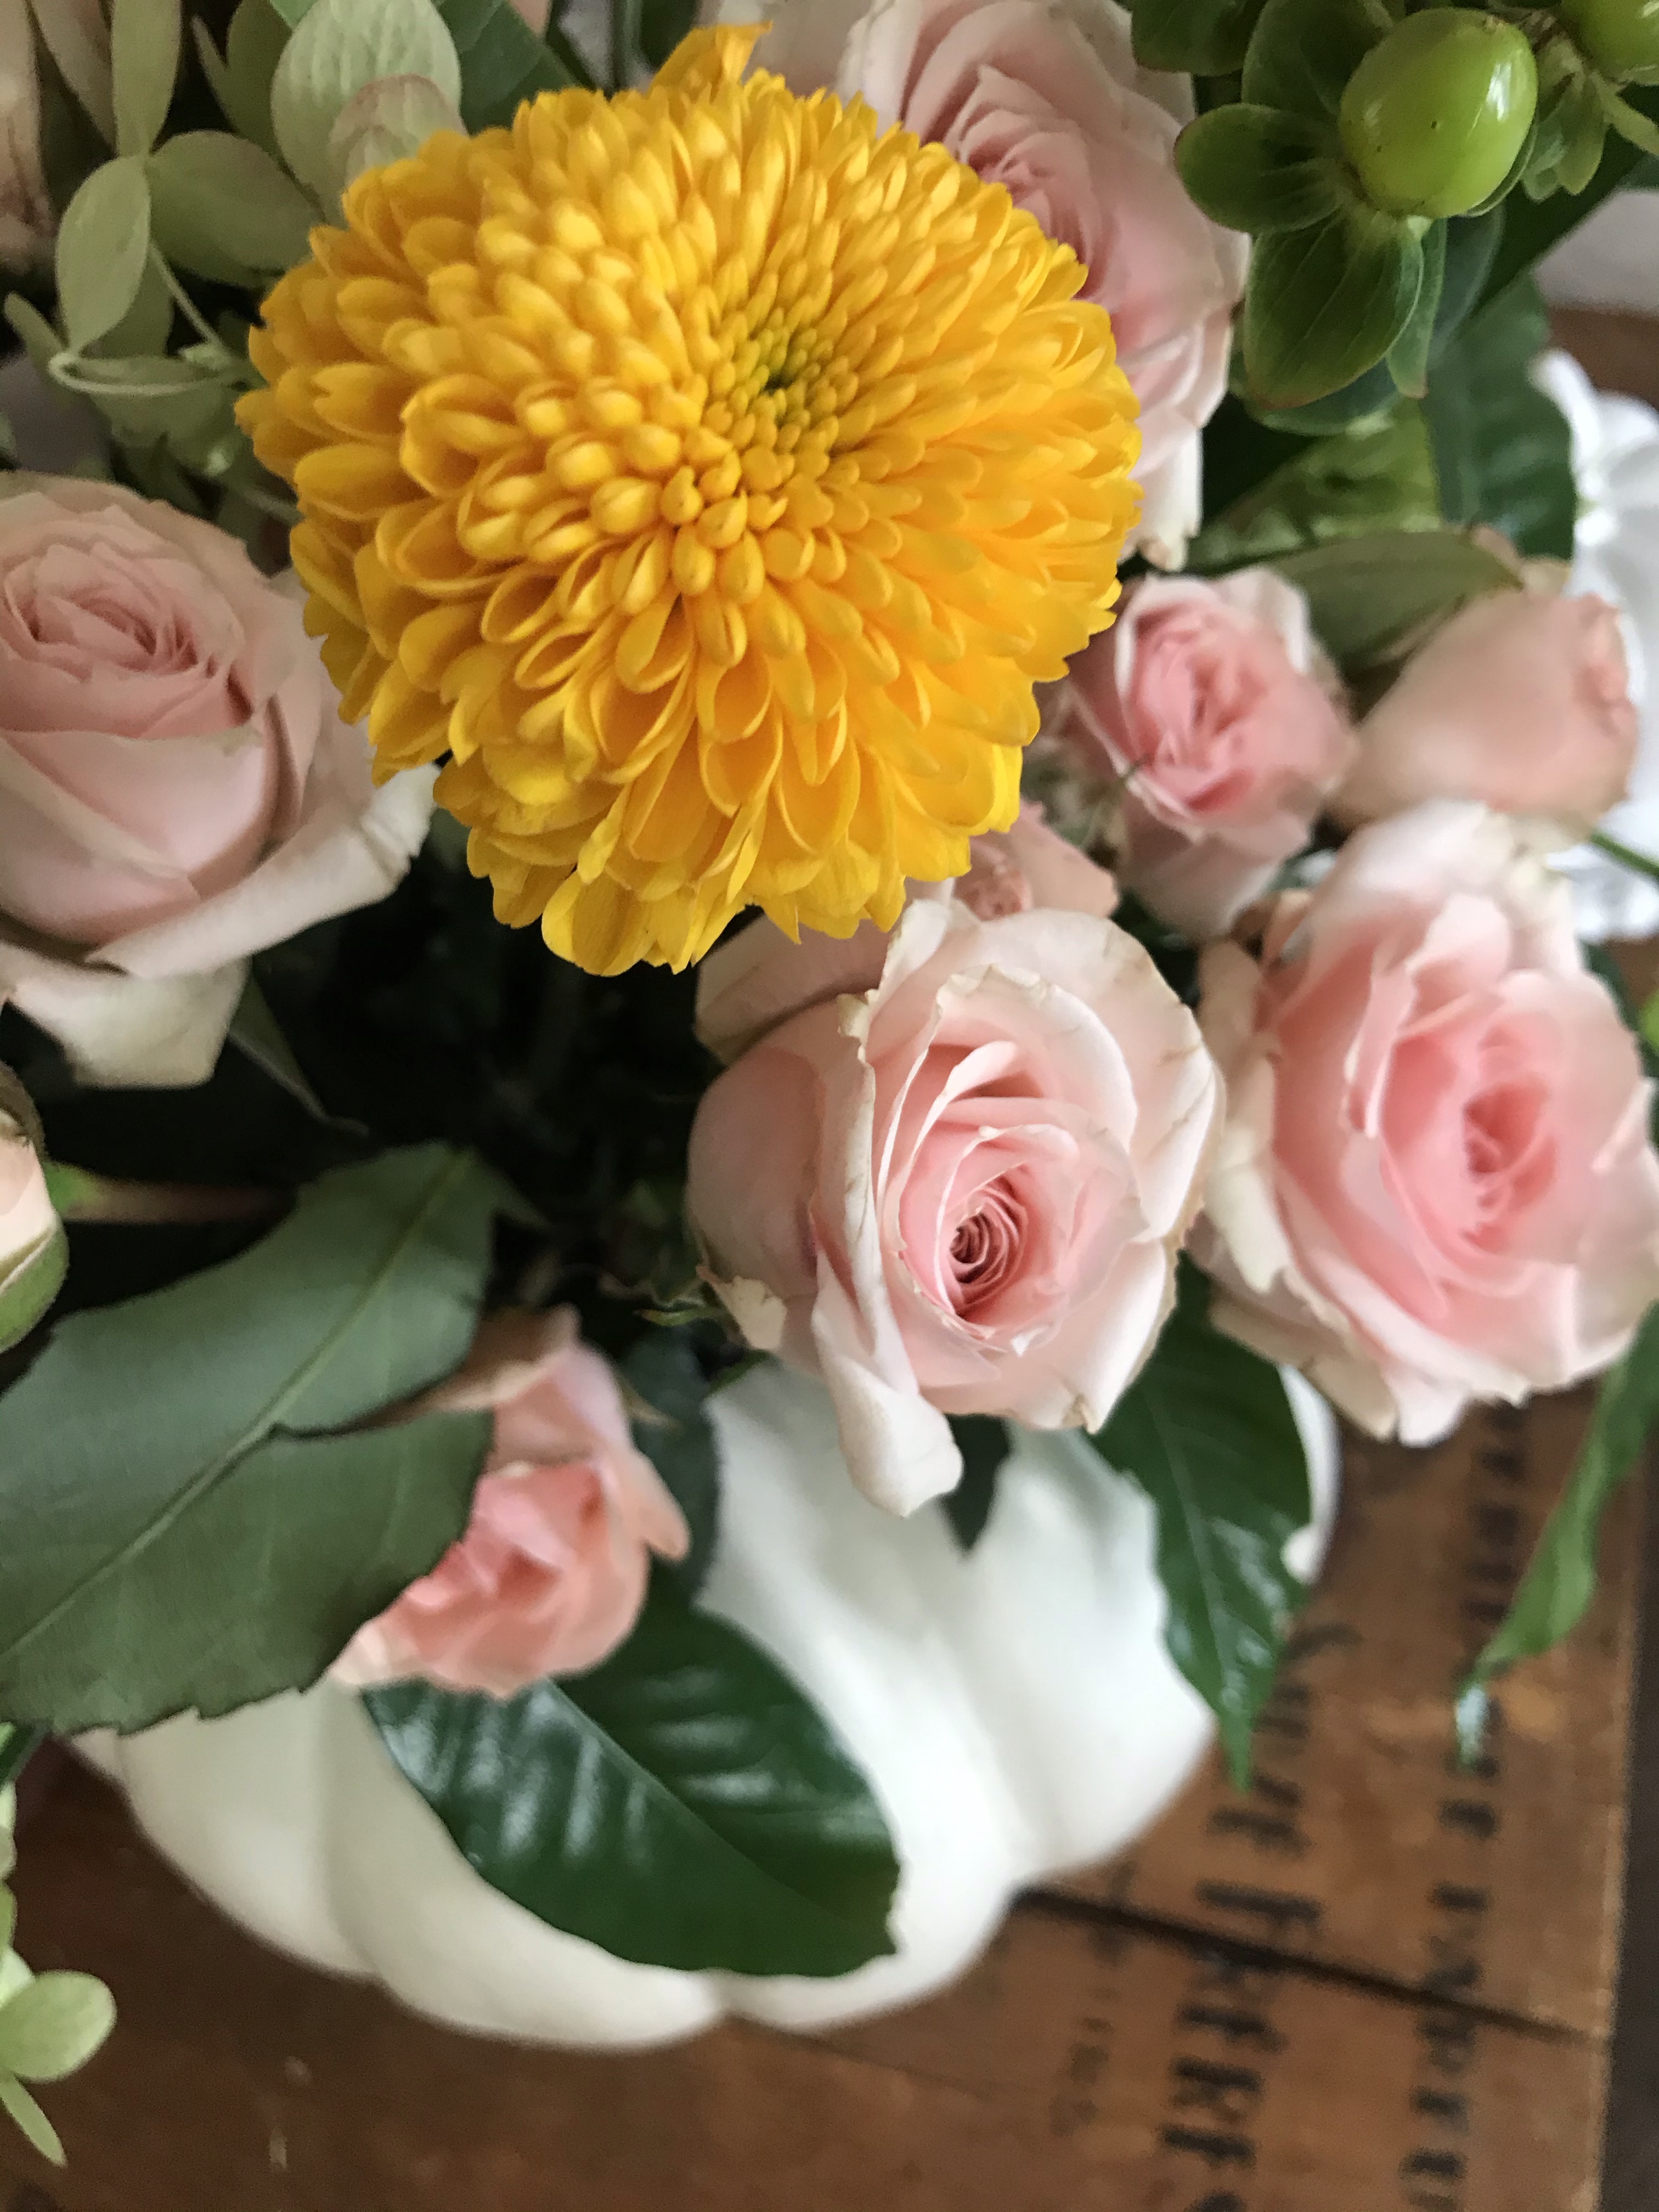
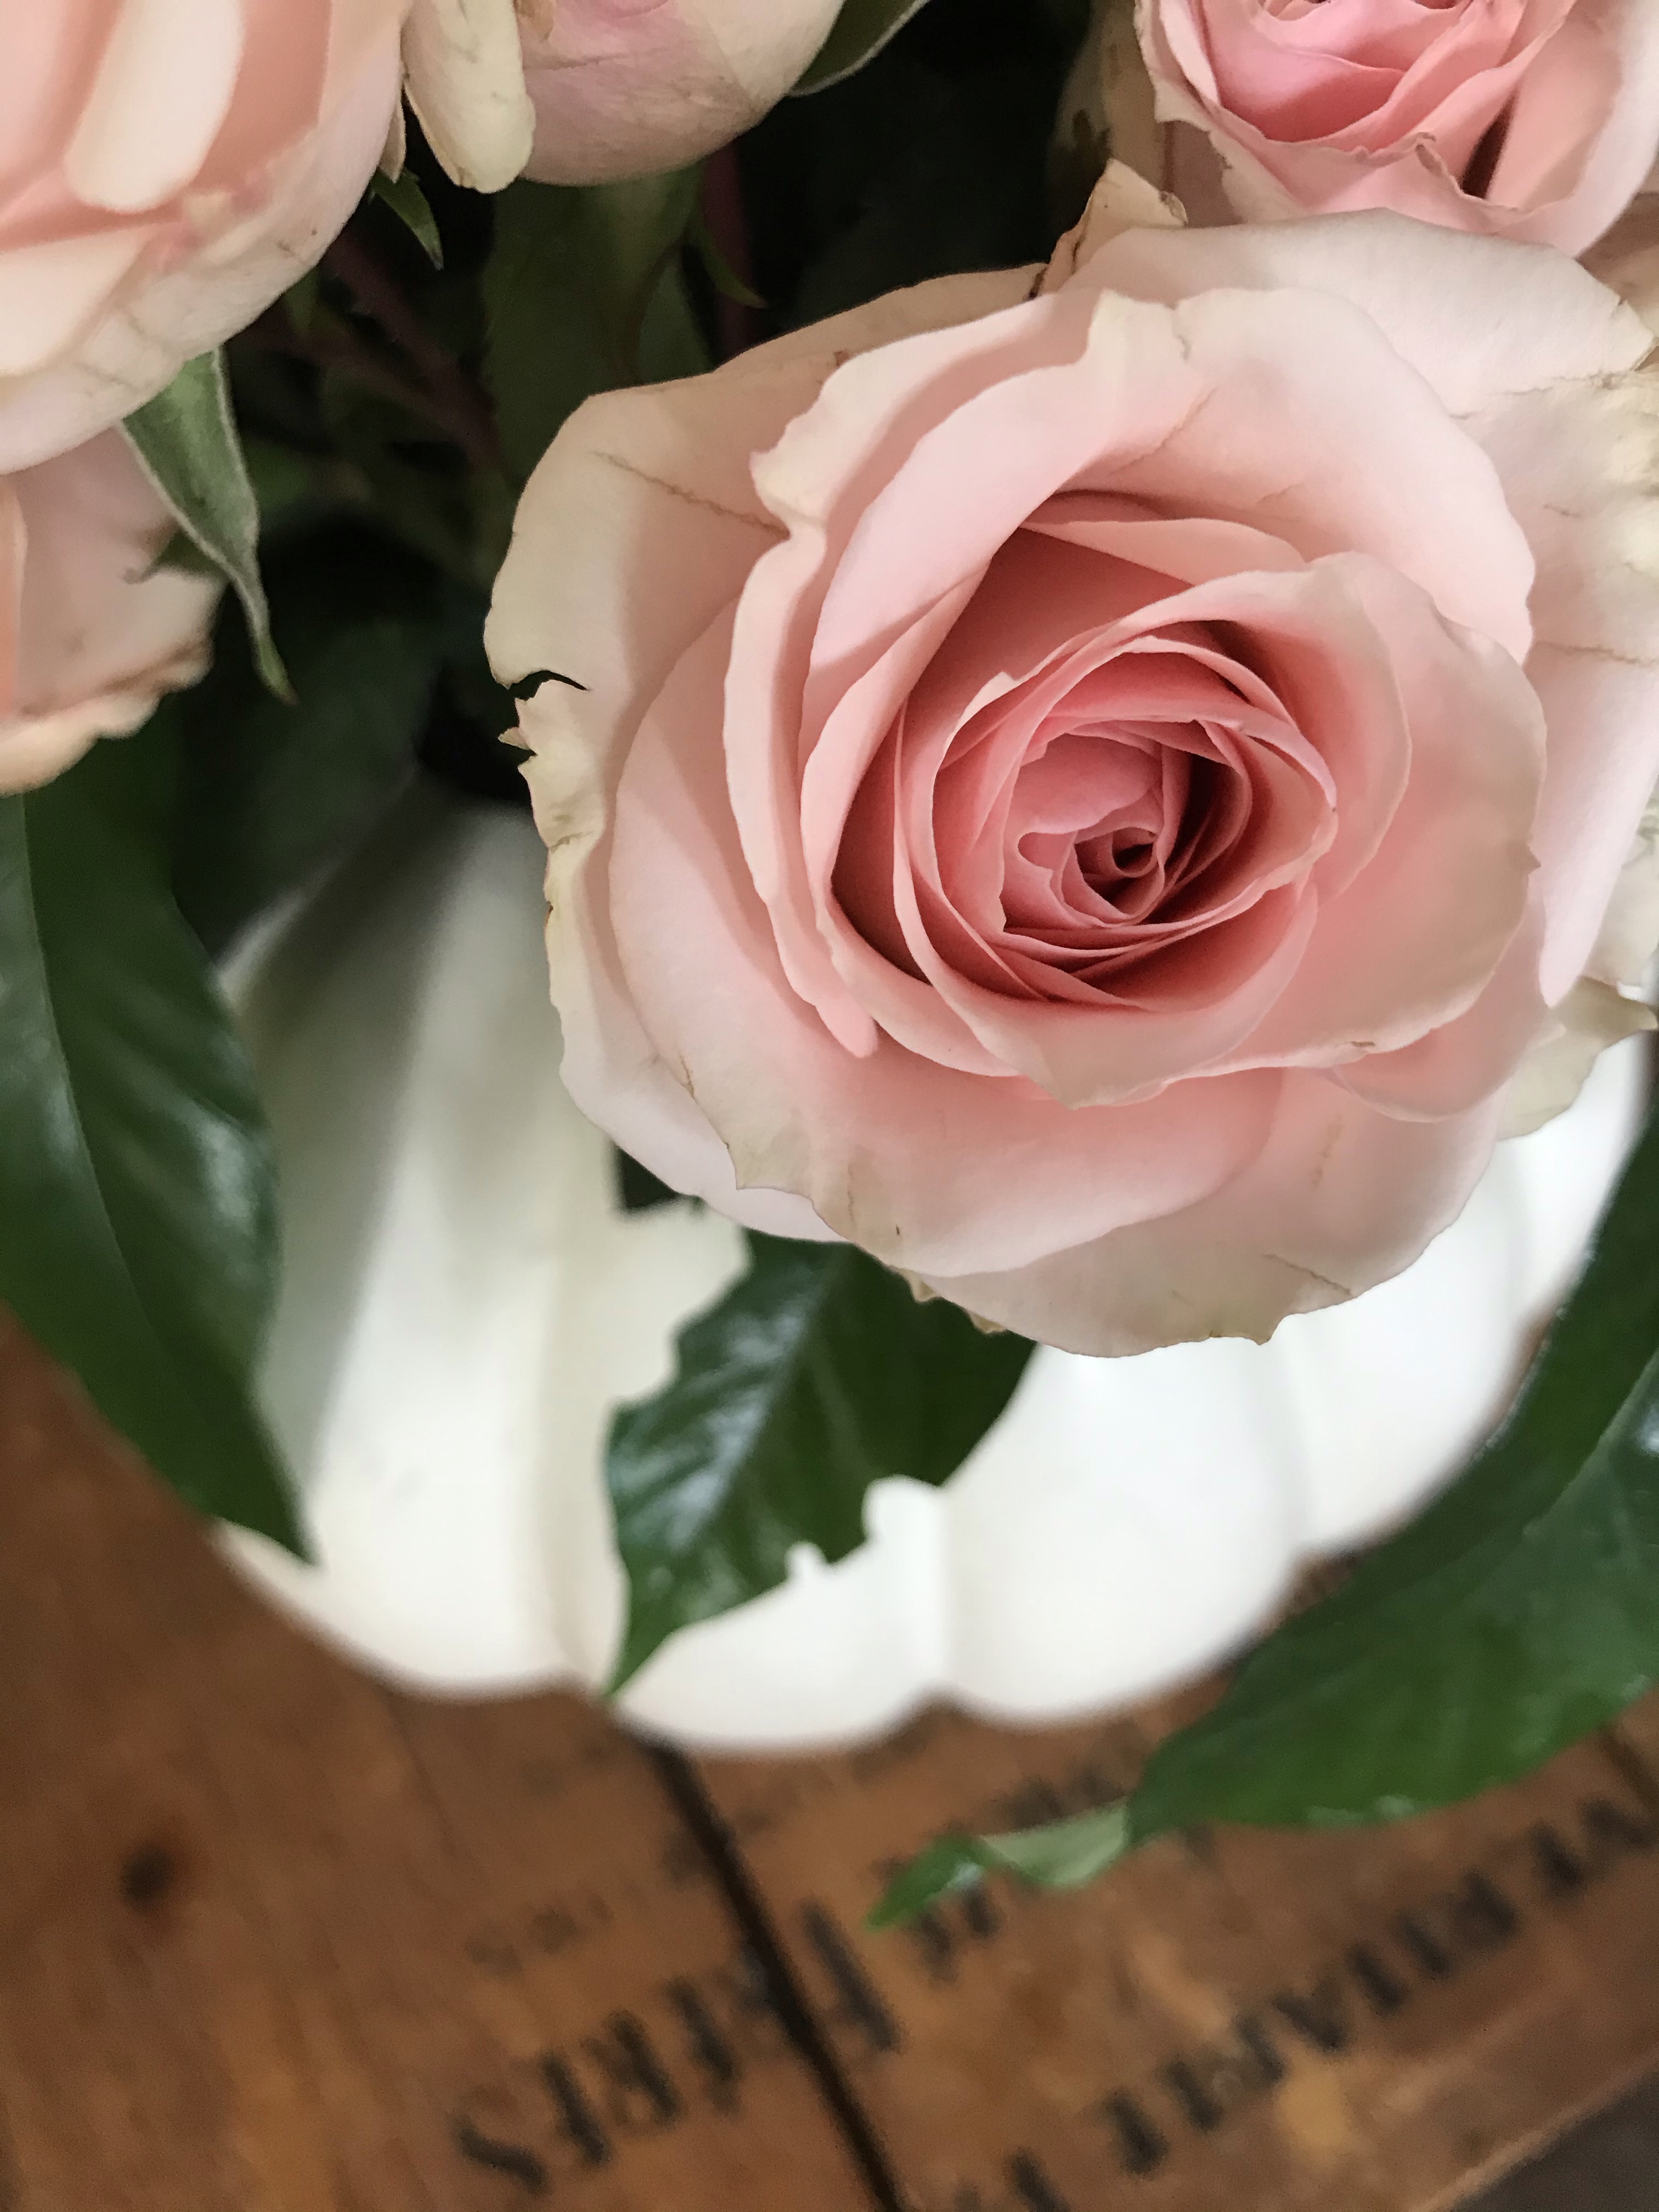
I bought a $10.00 bouquet of flowers at the grocery store to fill the vase. You could also use faux flowers if you’d like! Fill and arrange the flowers in the pumpkin and enjoy!

I hope you enjoyed my fall decorating ideas! Comment below and let me know your favorite idea!

Decorating with Books

I love to read. So, over the years I have collected many books. Some I give to friends to read and some I keep on my bookshelf.

When I saw the trend (thanks to Joanna Gaines!) of adding books to your decor I jumped right on in! I had never thought of books as being decorative, but quickly realized they can add color and texture to a space. And it is affordable! I’ve bought books from thrift stores or even my library and added them to my home.

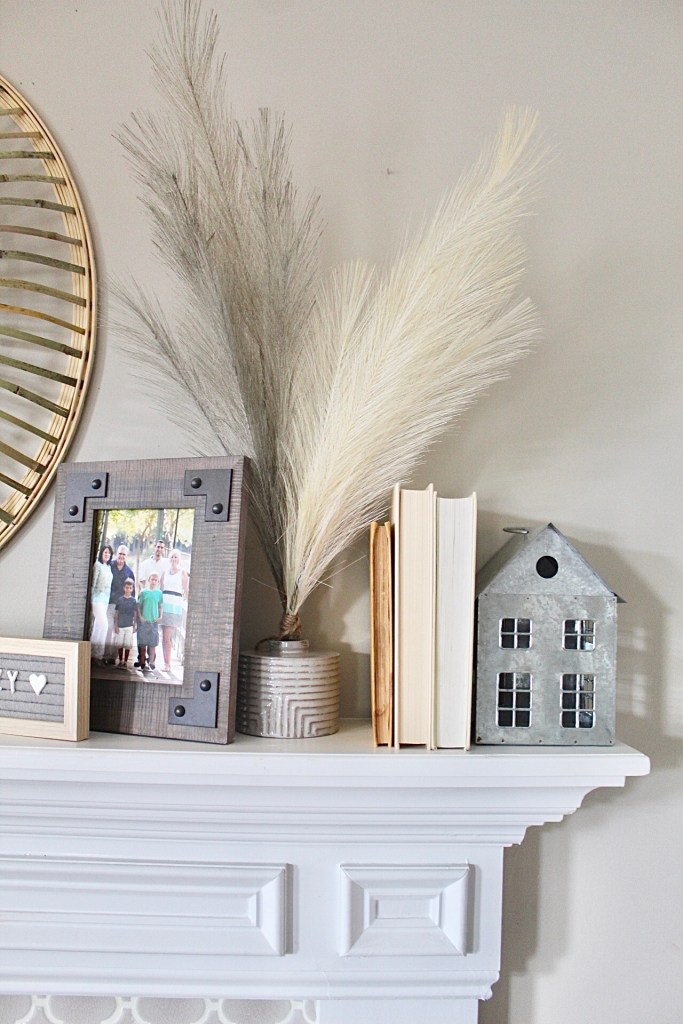
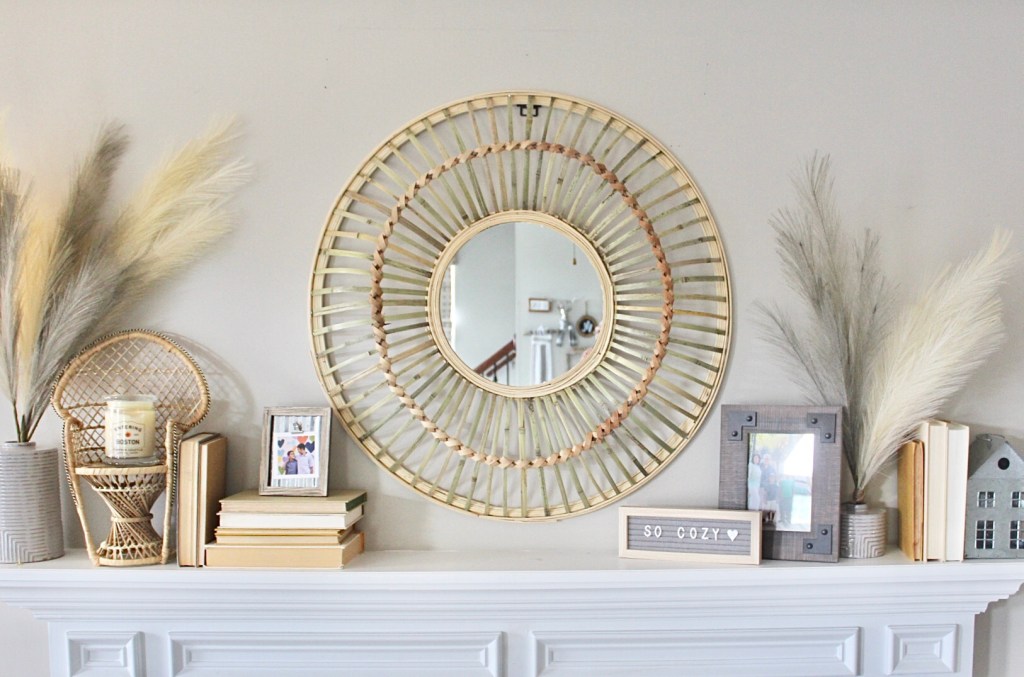
I stacked books backwards on my mantle. Different levels make it interesting!
The books add an extra mix and cozy look!

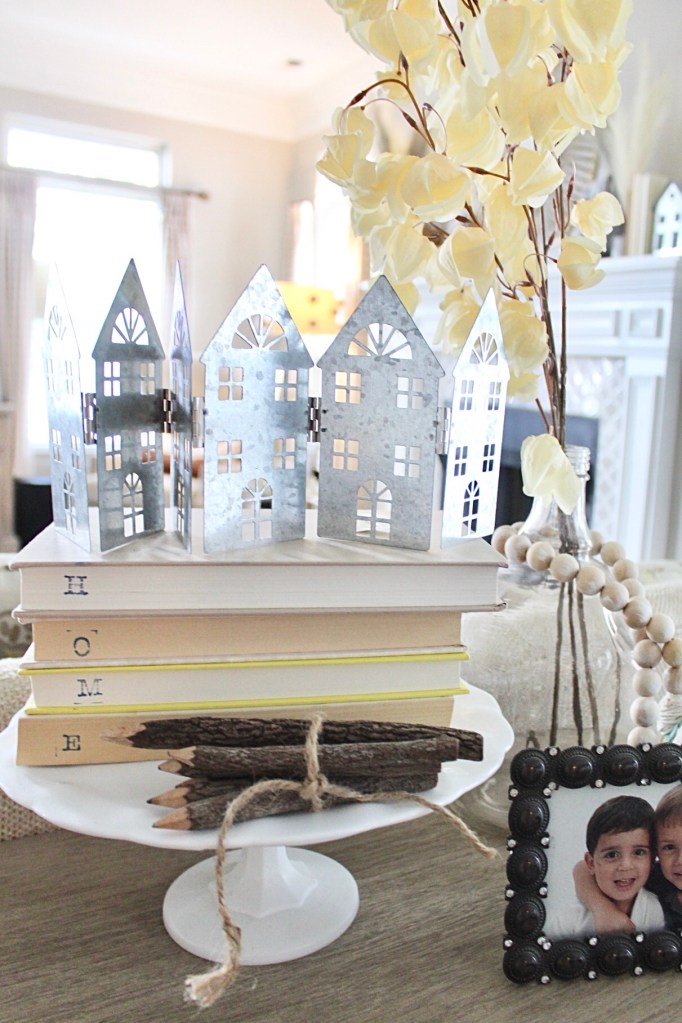
I had seen the stamped book stack and thought I’d try a few of my own. One was easy. I found some books and took a set of stamps and stamped HOME on the spine of my books. I then added the books to a cake stand and added it to my sofa table!

Such an easy DIY!

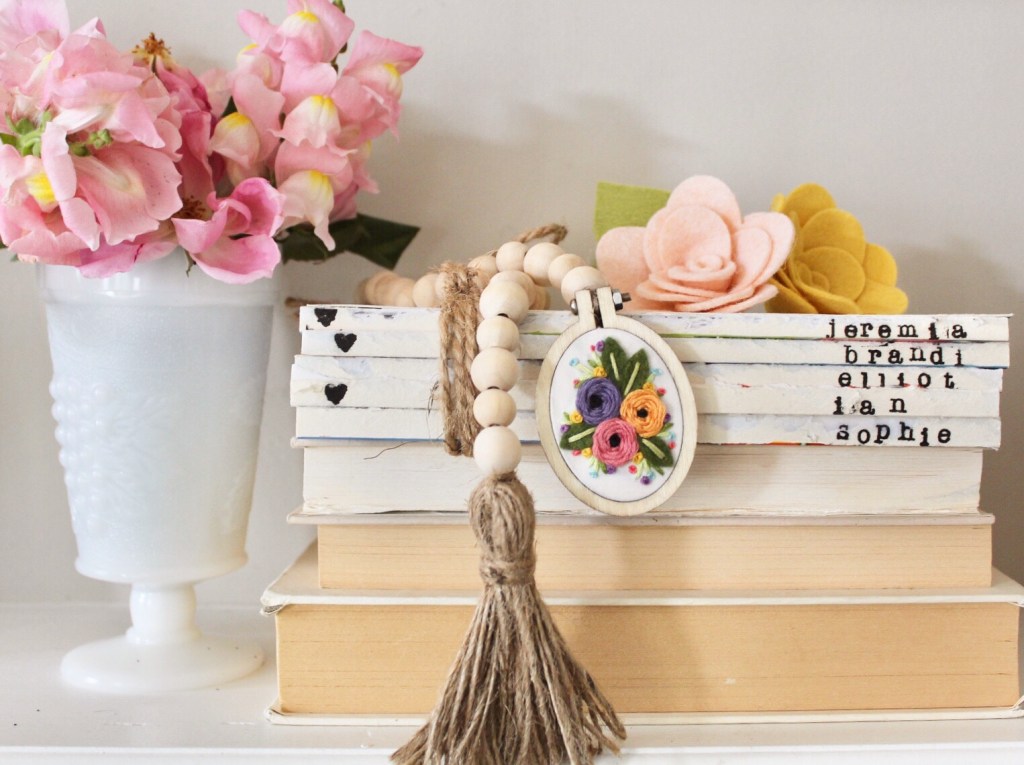
I also made a book stack with my families names ( and dog, of course)! I had an old set of children’s paperback books. I simply ripped the covers off each book and then took my stamps and stamped our names. I tied them all up with twine and they were ready to be added to my decor!

Grab books, rip off the covers and stamp! Couldn’t be any easier! I bought these stamps from my local craft store and used an old set of my sons books. I think these are also great for gifts!

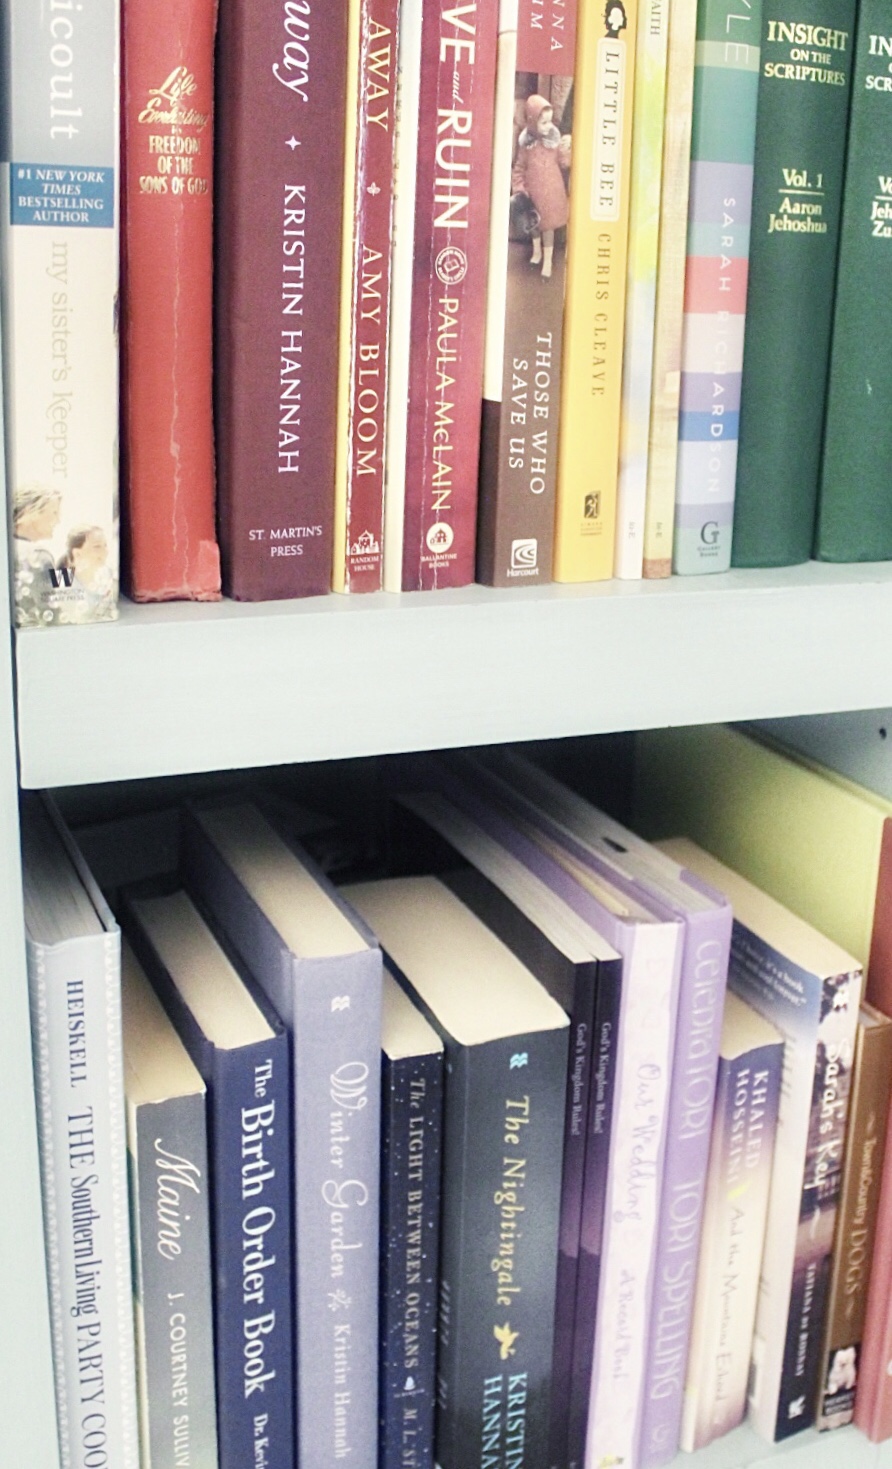
Lastly, I had a bookshelf with random books scattered with no organization. I then saw the idea on Pinterest to organize your books by color and loved it! Rainbowtized books? Yes, please!

This was such an easy way to organize books! Just line them up by color!

❤️🧡💛💚💙💜

So, add some books to your decor! Add a stack, organize a shelf or stamp some! I hope you enjoy adding a few to your home decor!

Gallery Walls

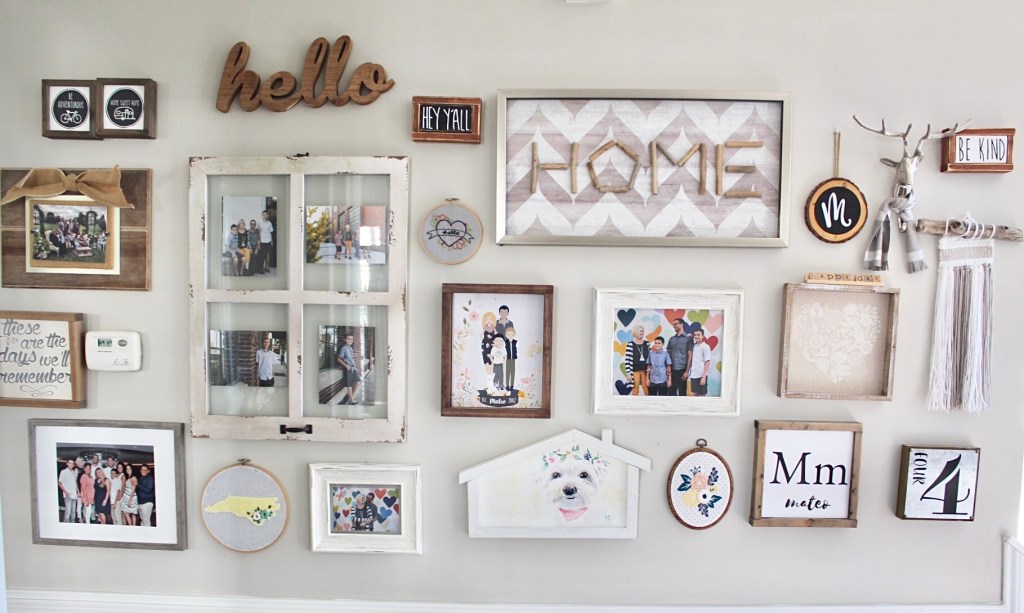
Over the years I have added quite a few gallery walls to our home. Most of the time they have happened unintentionally! I tend to find art, photos or accessories and just keep adding pieces!

I know many recommend laying out your gallery wall before you hang it. Some even trace out their pieces with paper and hang them with tape before you add a nail and hang it for the long term. I am definitely not one of those people! I’m sure it works great, but for me I really don’t start with much of a plan! I start with a few pieces and add things as I find them. Do whatever works best for you! I’ll be sharing a few spots in our house with gallery walls. I hope you enjoy!

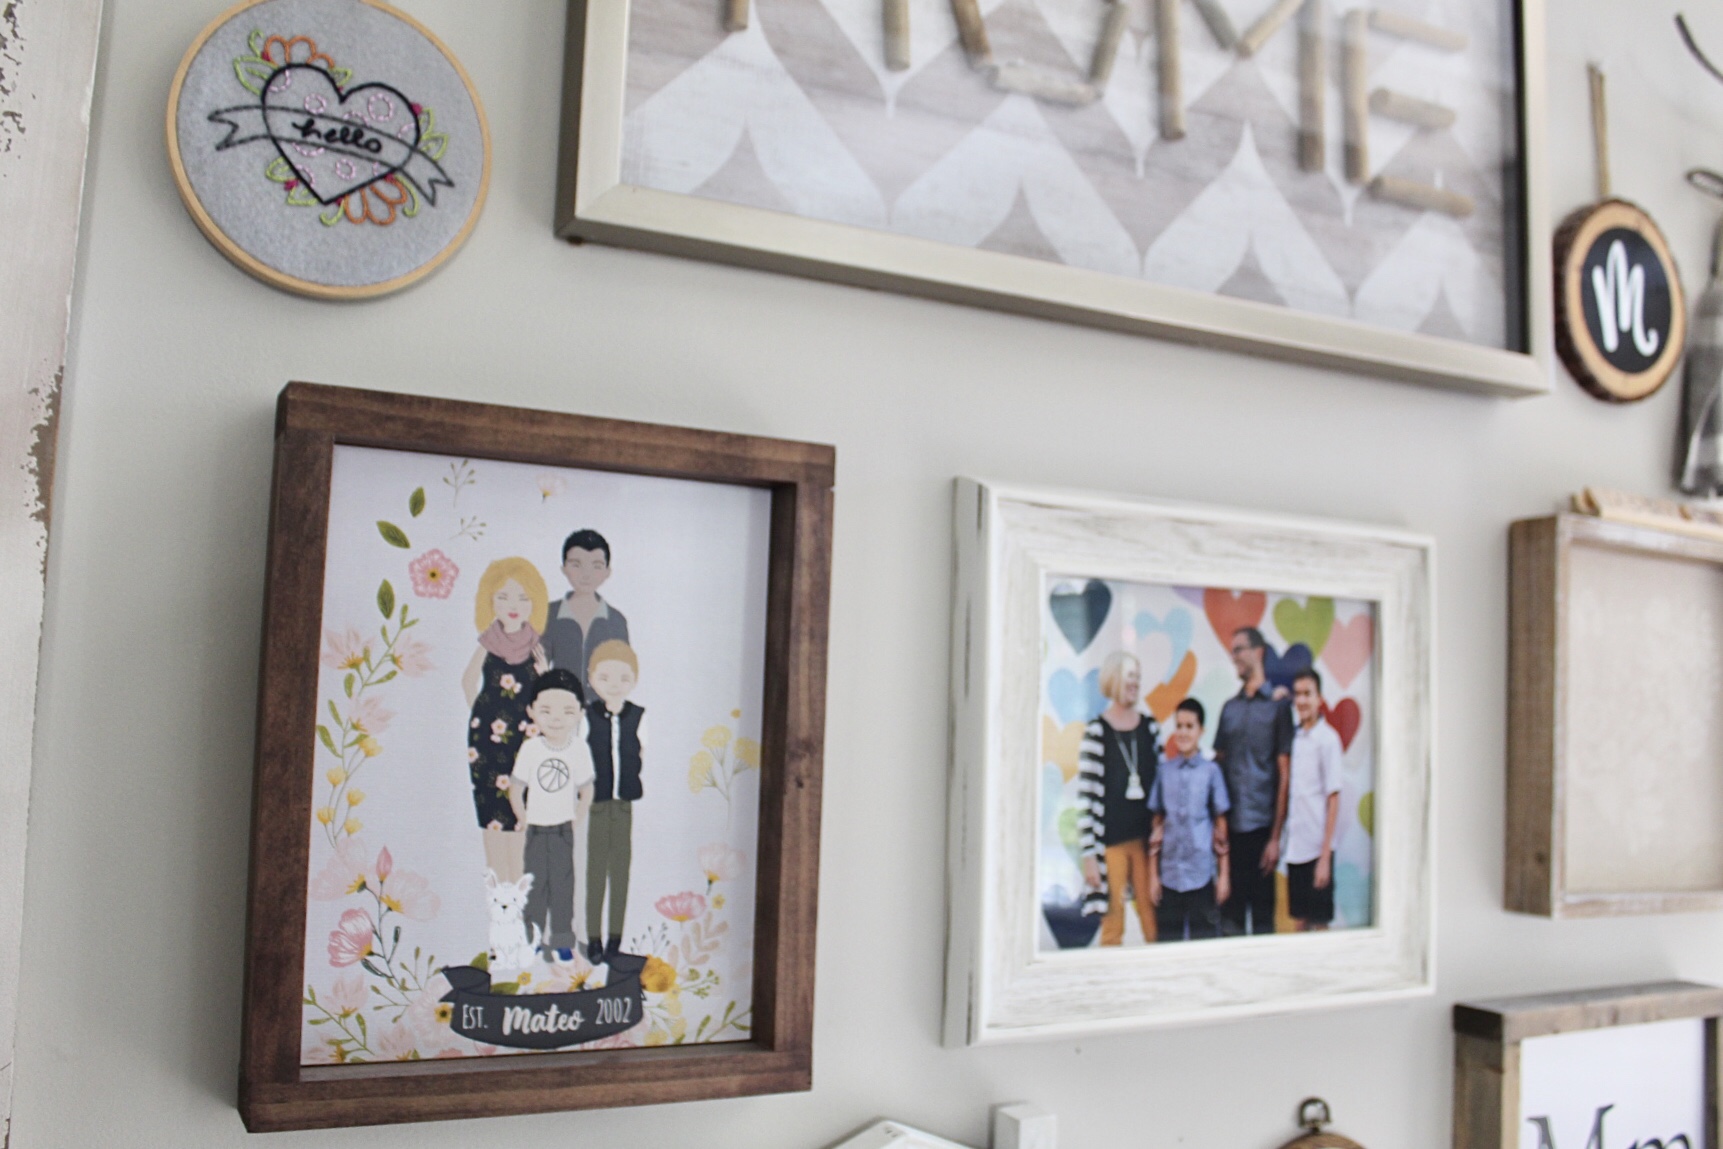
This is the largest gallery wall in our home. It is in our hallway. I’ve added family photos, a painting of our pup and sentimental pieces. It just makes me happy.
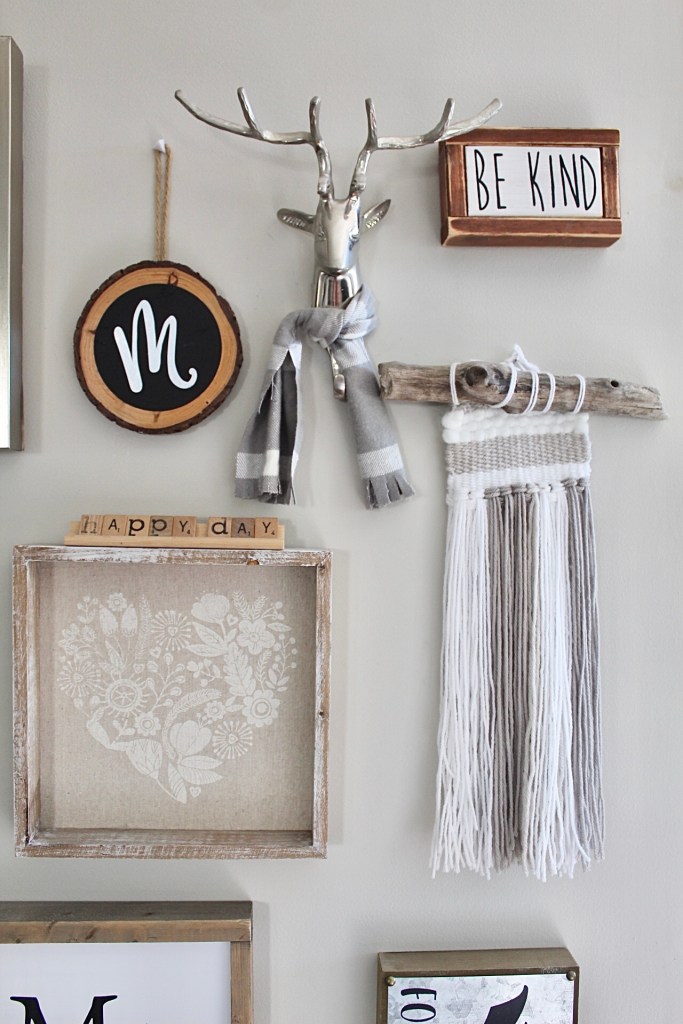
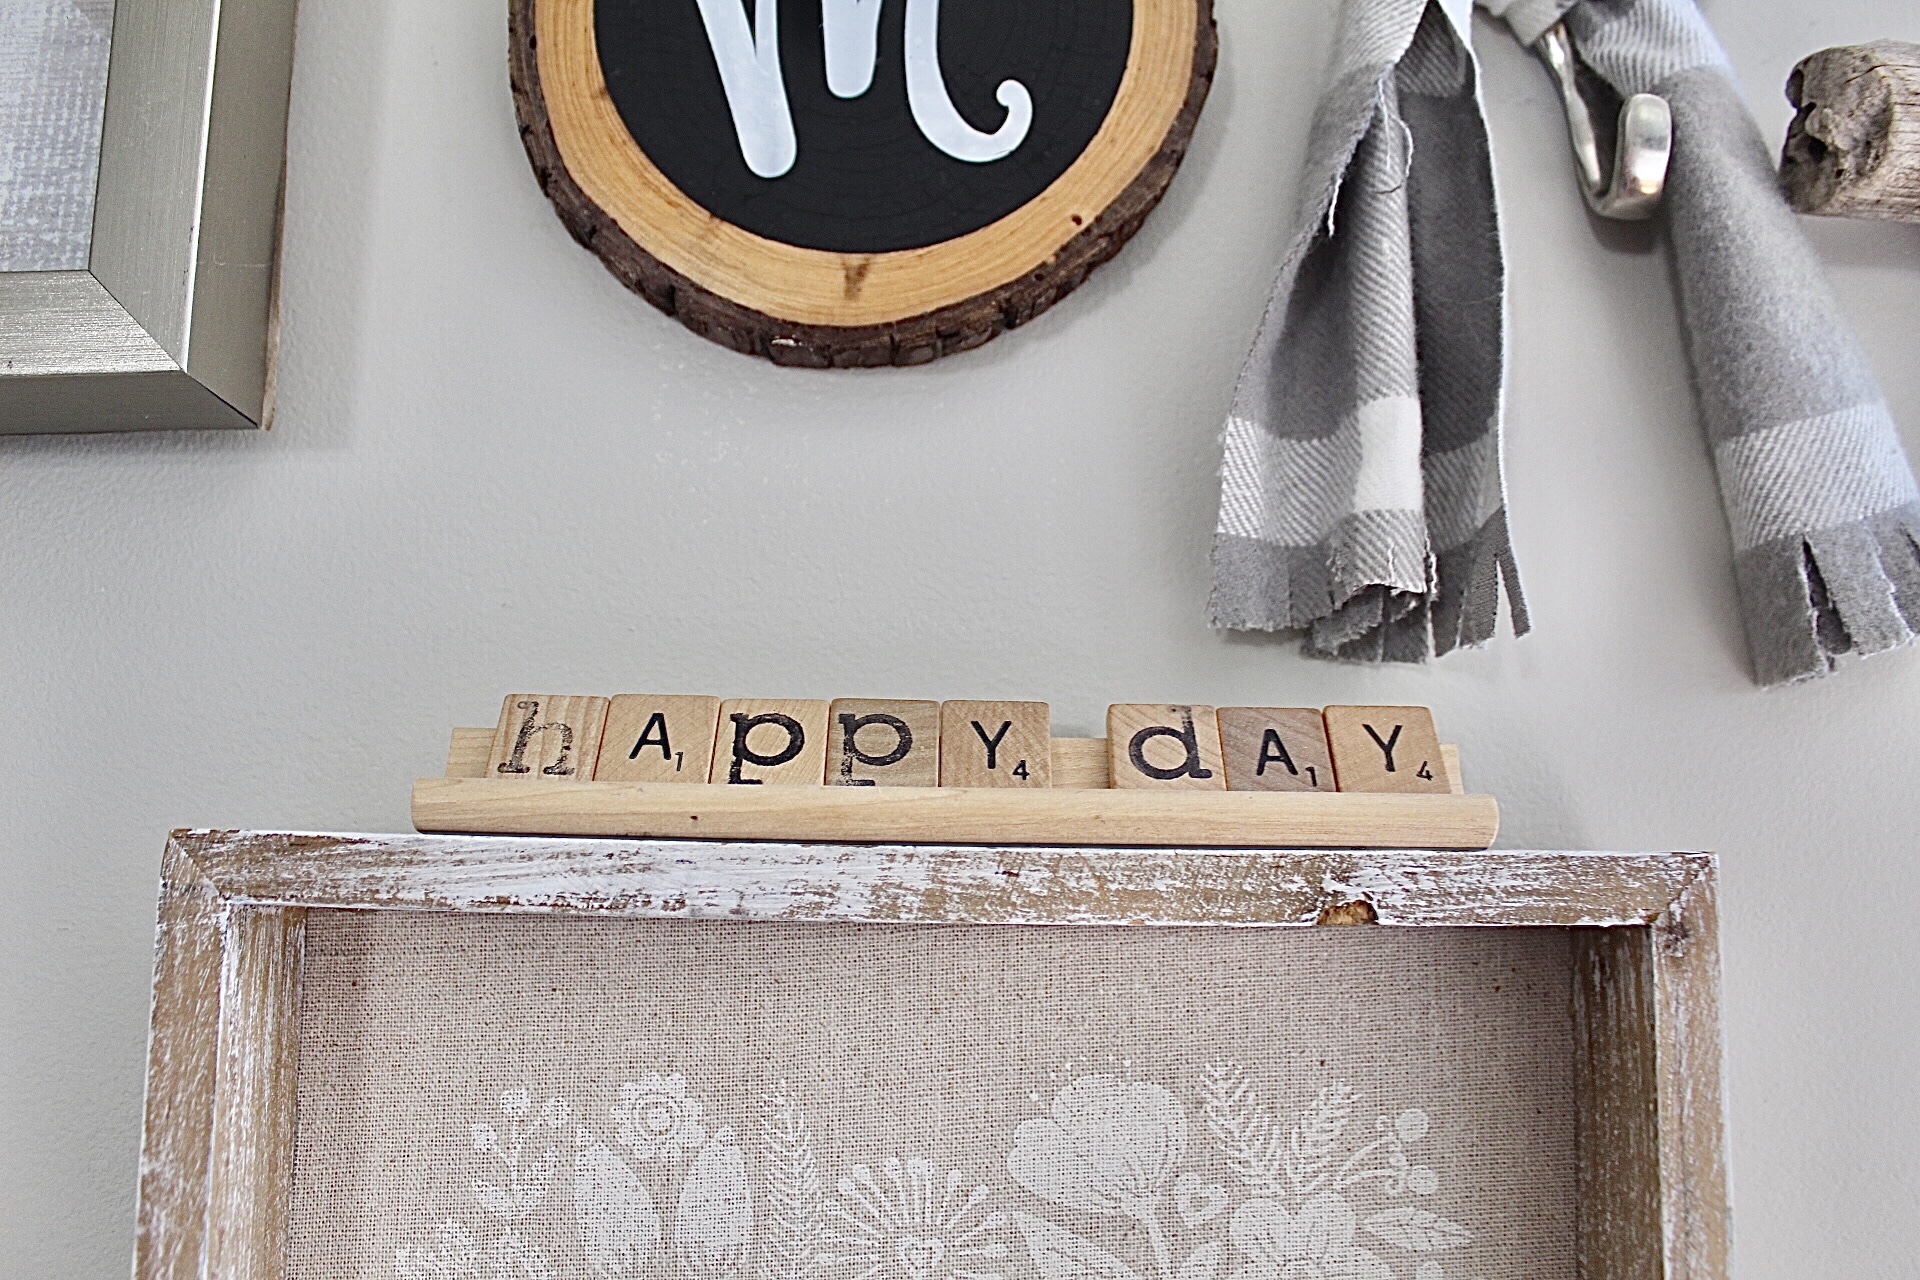
A few pretty pieces I’ve collected. And yes, my deer has a scarf!

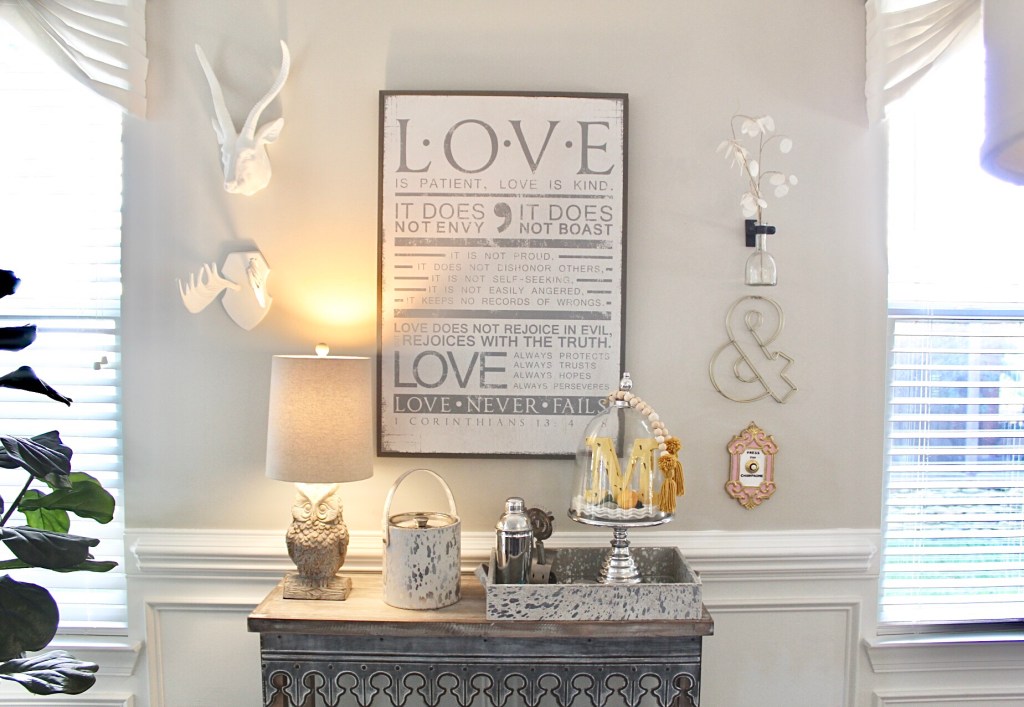
Our dining area has a small bar table and I just added a few pieces of above it to add some fun!

A gallery wall… more of accessories than pictures. That still counts, right?!

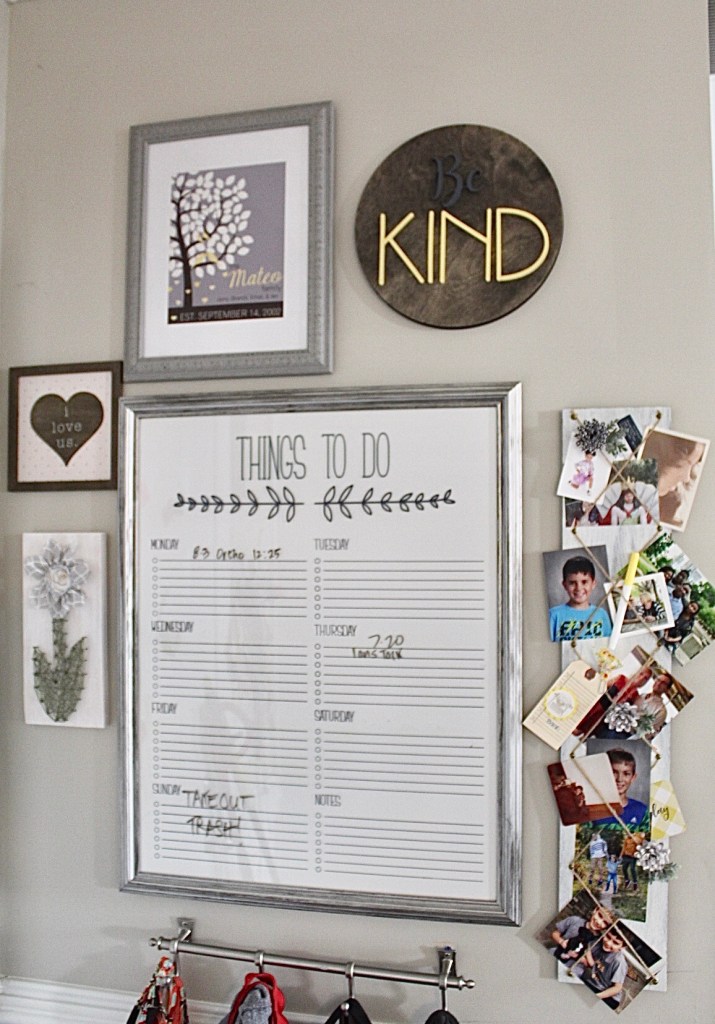
I have also added a command center on a wall when you walk in from our garage.

This spot originally just had the Things To Do sign. Since I have so many pieces I’ve collected over the years, I added them. And I have some space to add more!

Lastly, we have a small loft area at the top of stairs. I added some decor to make a plain area fun!

I displayed our wedding photos here. Apparently my theme always includes some kind of antler or deer! (I didn’t notice this until writing this!)
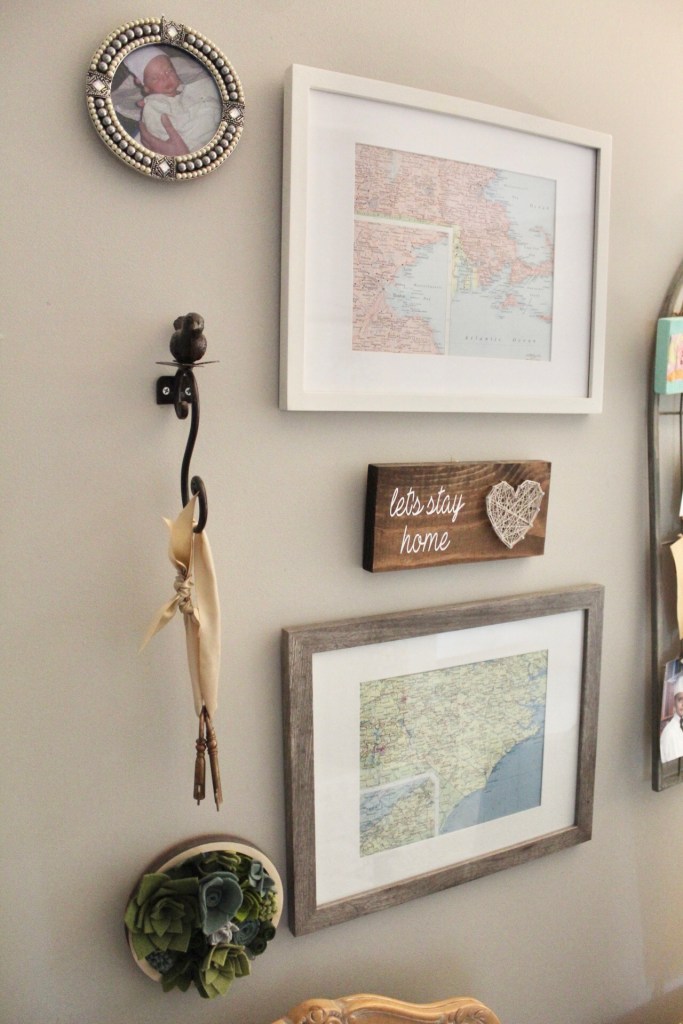
Here I added two maps! One from our original home, Massachusetts and the second from our current home, North Carolina! A cute hook with some faux keys add a cute touch.

I hope you enjoyed this peek into the gallery walls I’ve created! I think adding a mix of textures and items add coziness to your home! I believe making your home a place that makes you smile is so important, so I hope yours does!

Finding Inspiration

It’s always interesting what inspires people. When I decided to start my Etsy shop, The Happy Door, it took me a little bit to think of a name that reflected my business idea.

Beautiful homes have always inspired me. When I decided to focus on wreaths I brainstormed and thought of The Happy Door. It fit since whenever I added a wreath to my door it made me happy. I’ve broadened out from just wreaths since I started, but doors and beautiful homes still inspire me!

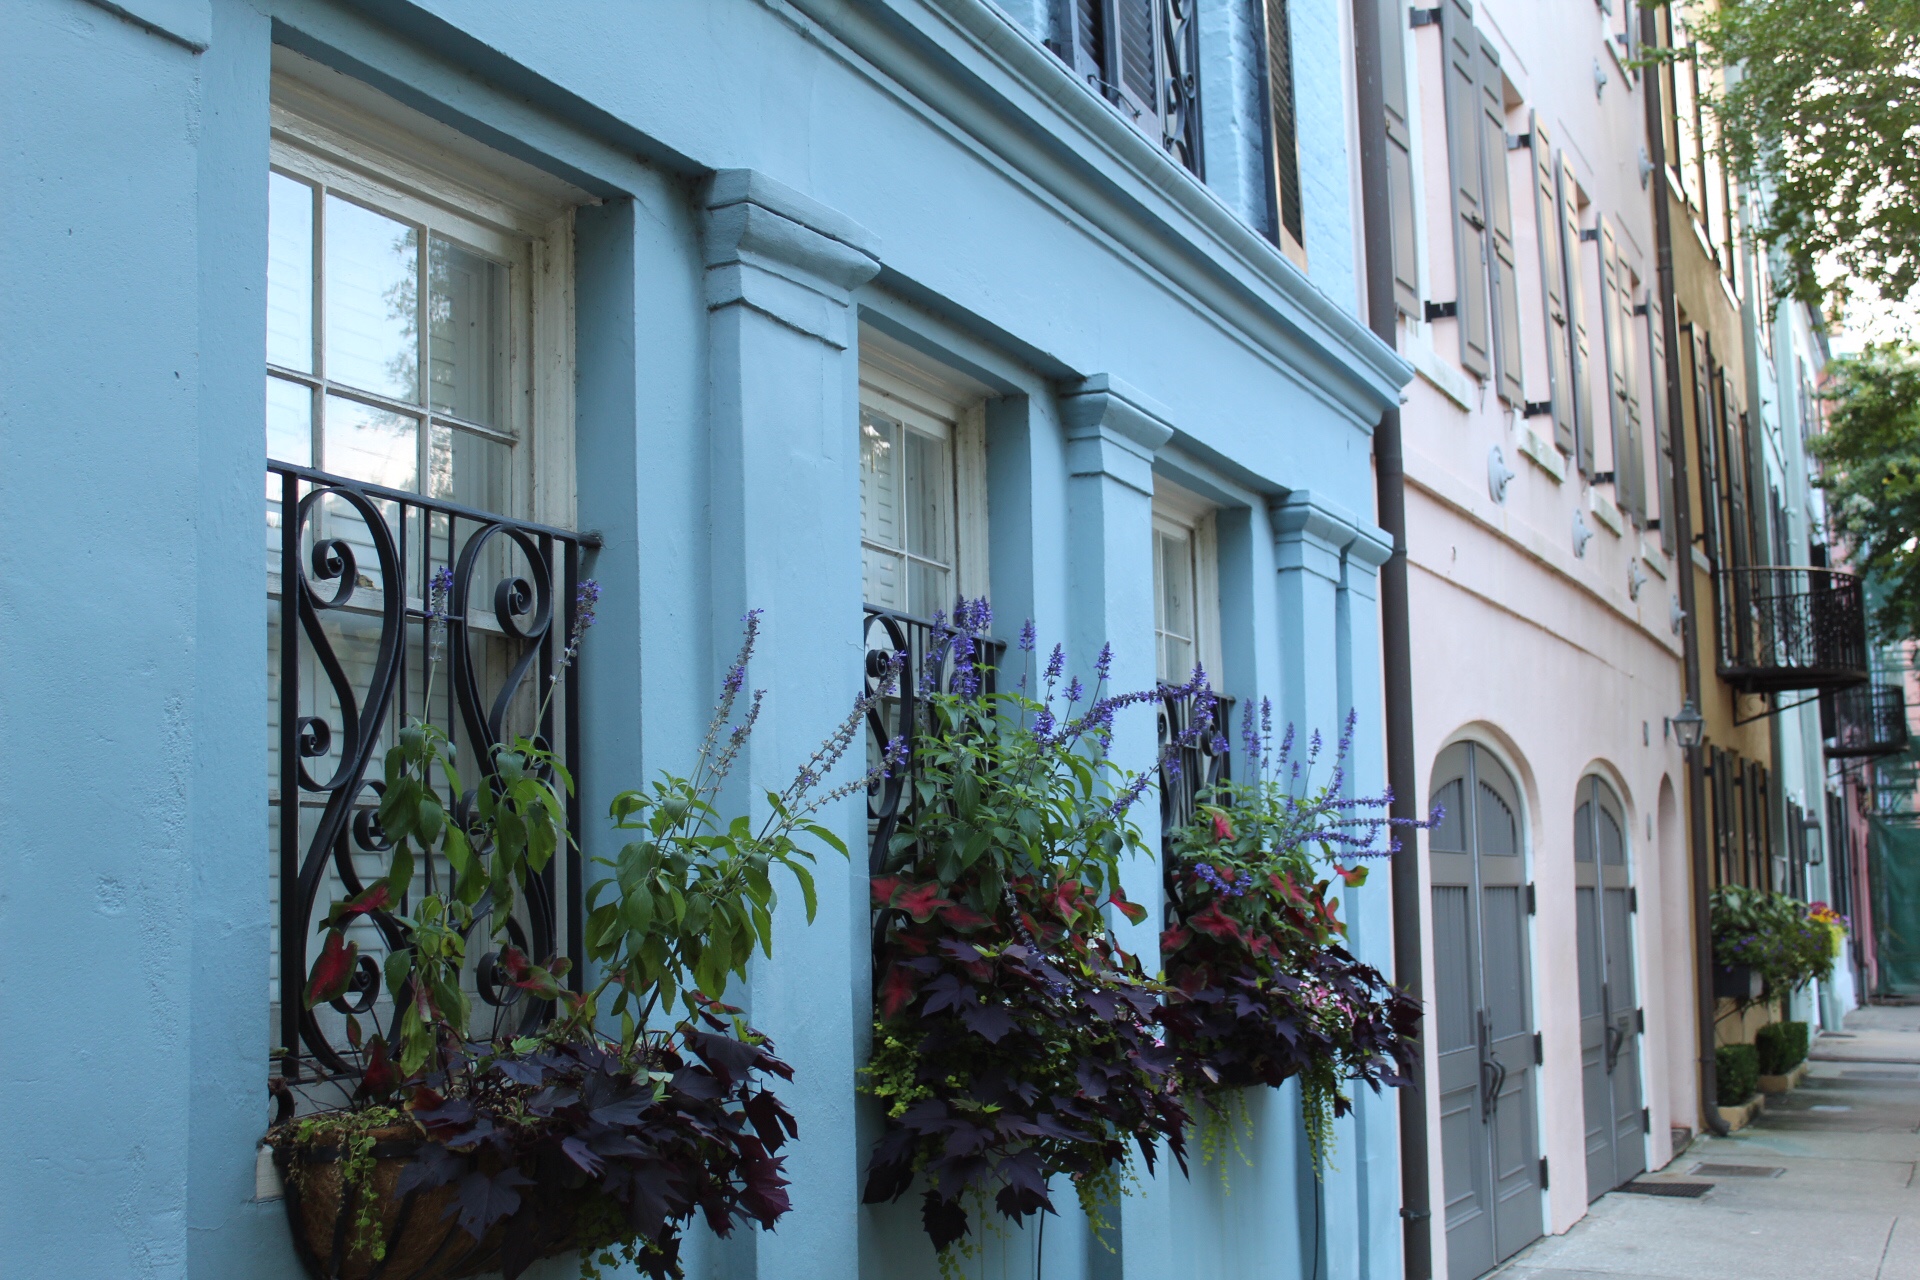
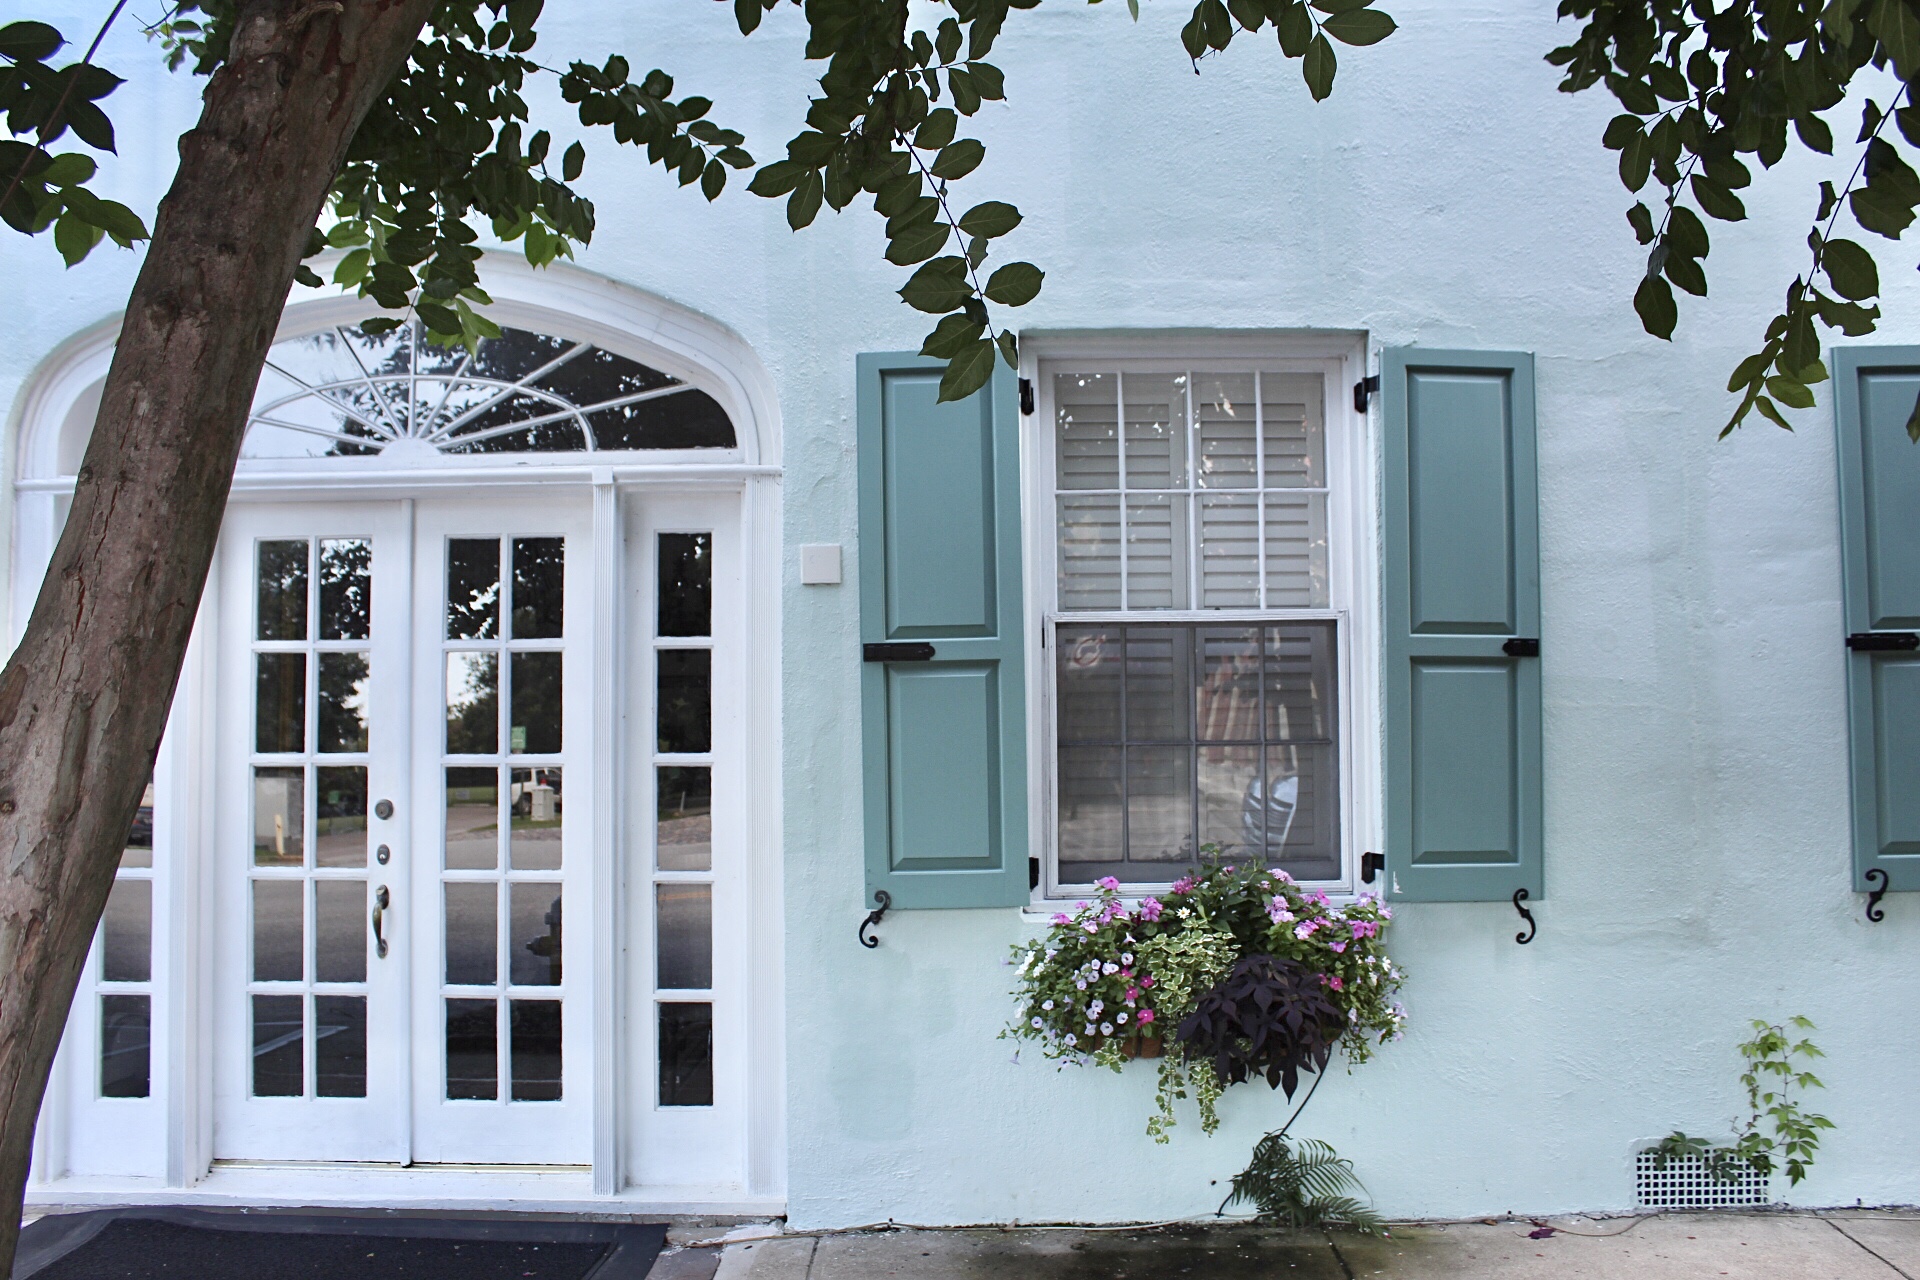
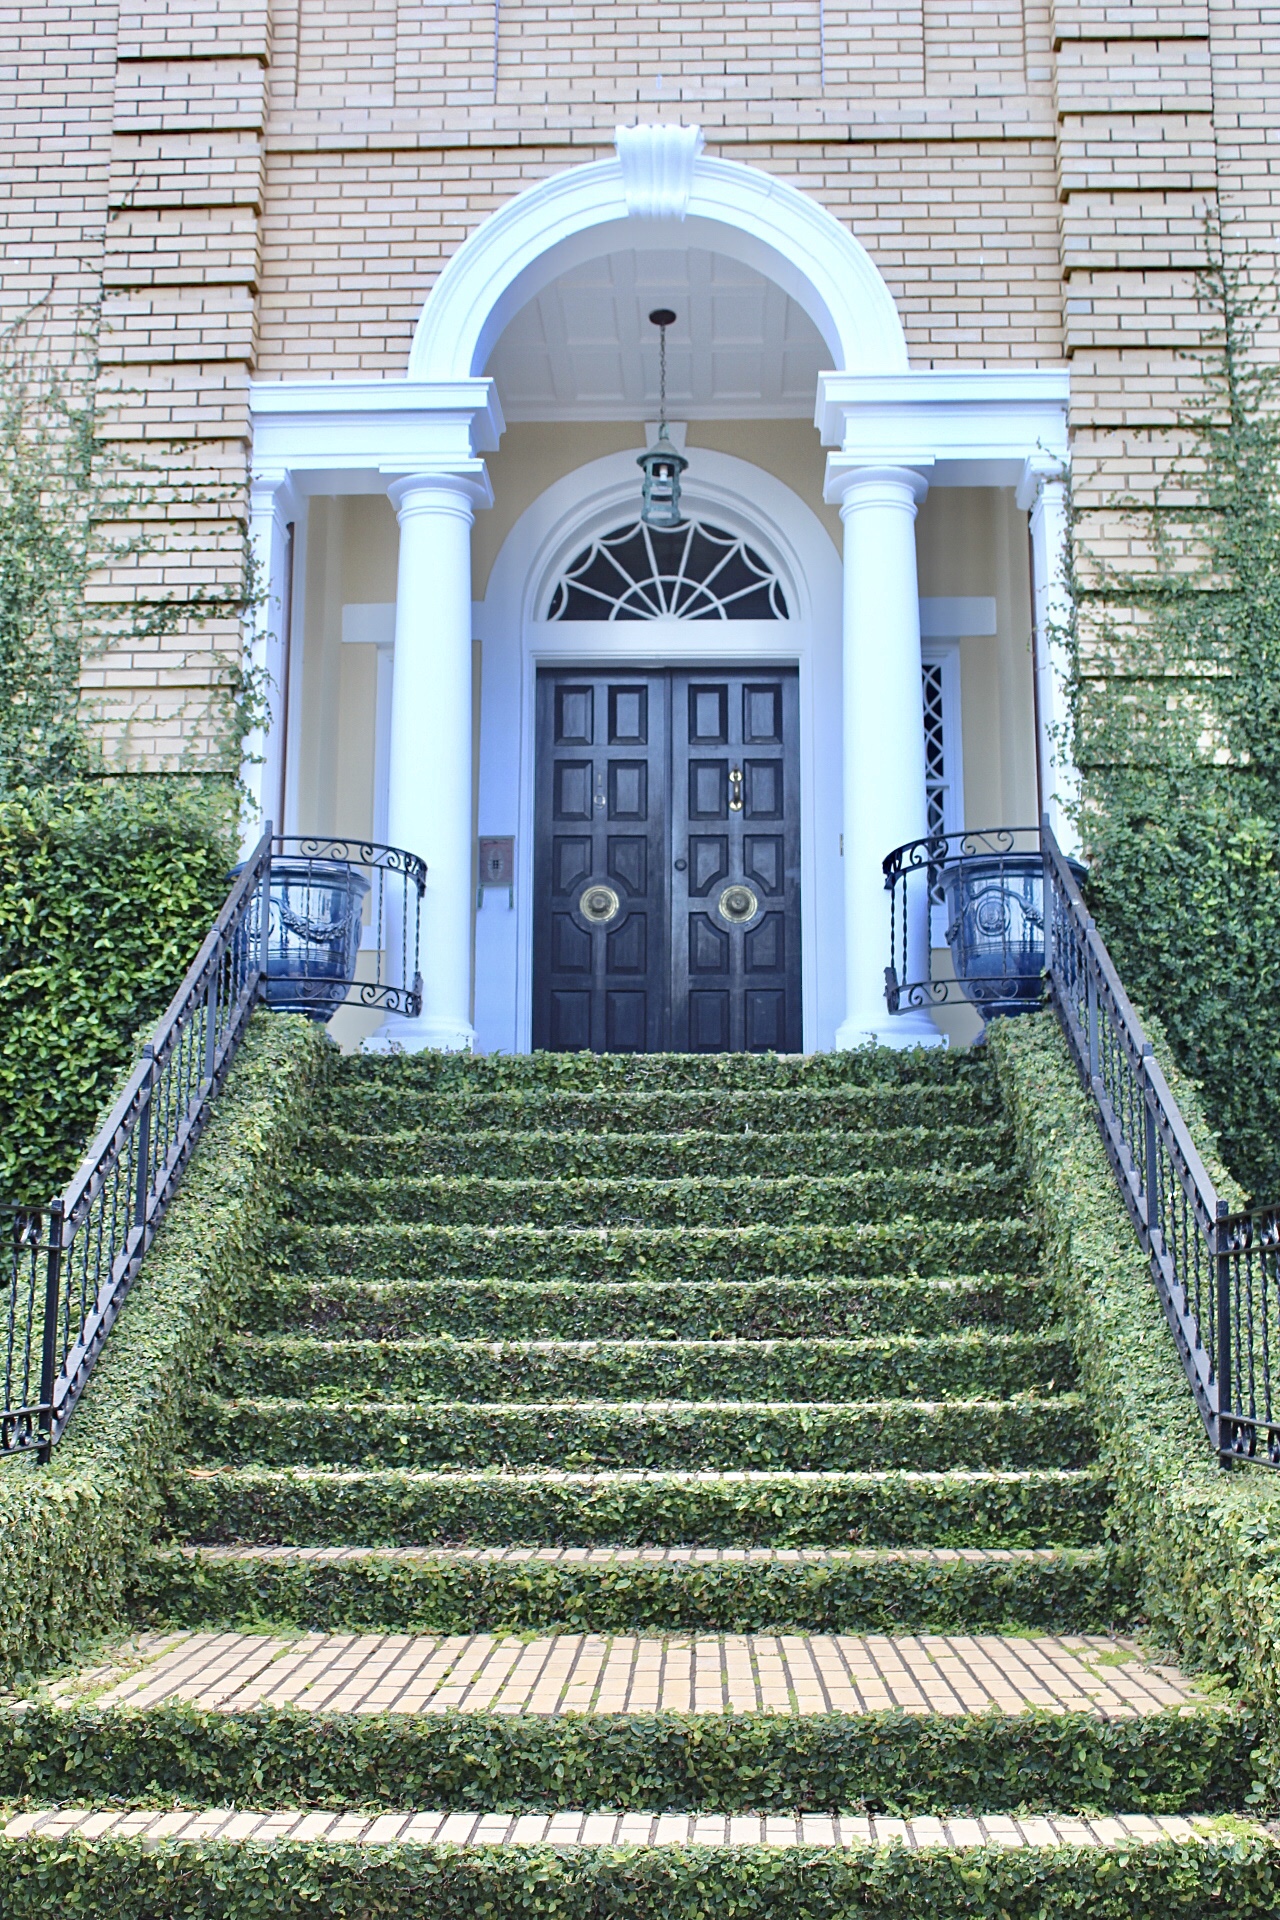
I thought I would share a few photos I have captured in travels with my family over the years!

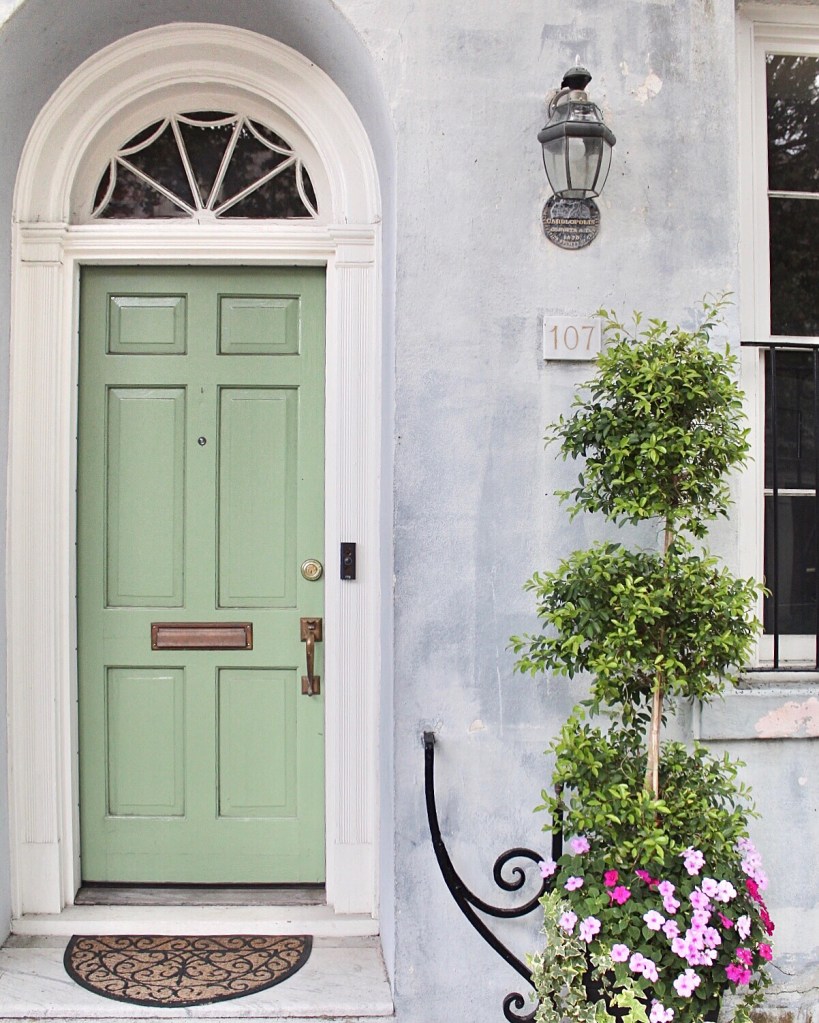
I love everything about this doorway.
Charleston, SC
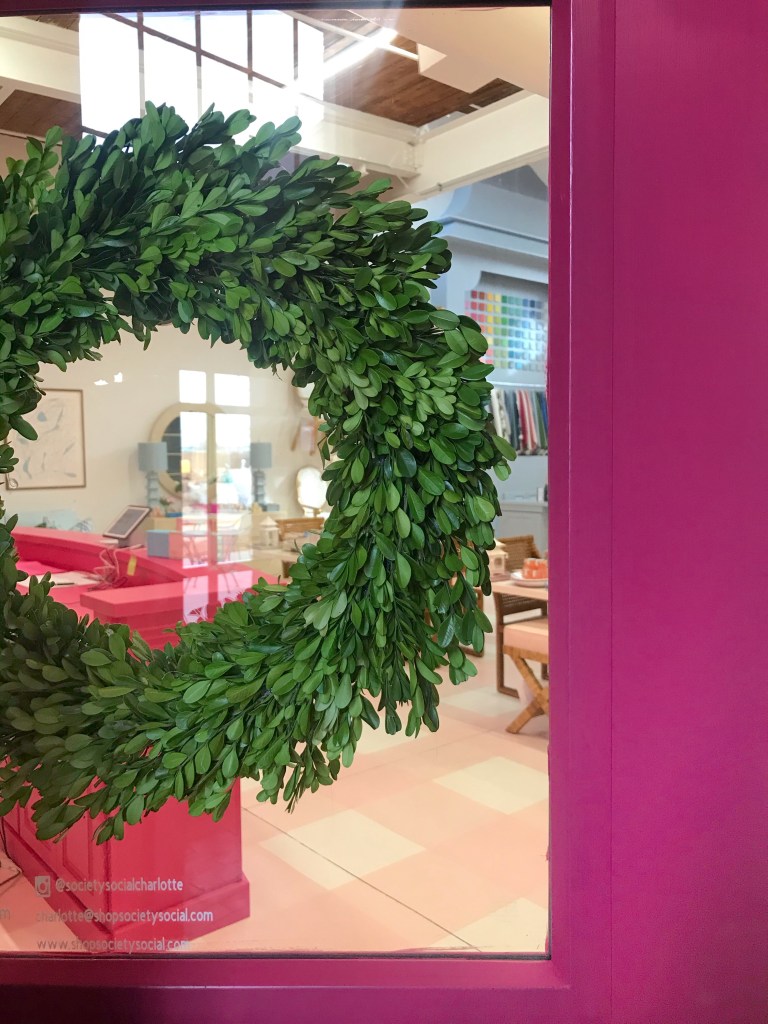
A cute shop in Charlotte, NC. Did you see the pink gingham floors?
Society Social
Charm in Aruba!

Our family is originally from New England. Since relocating to North Carolina one of our favorite destinations is Charleston, SC. The beaches, the restaurants and the beauty of the city keep bringing us back!

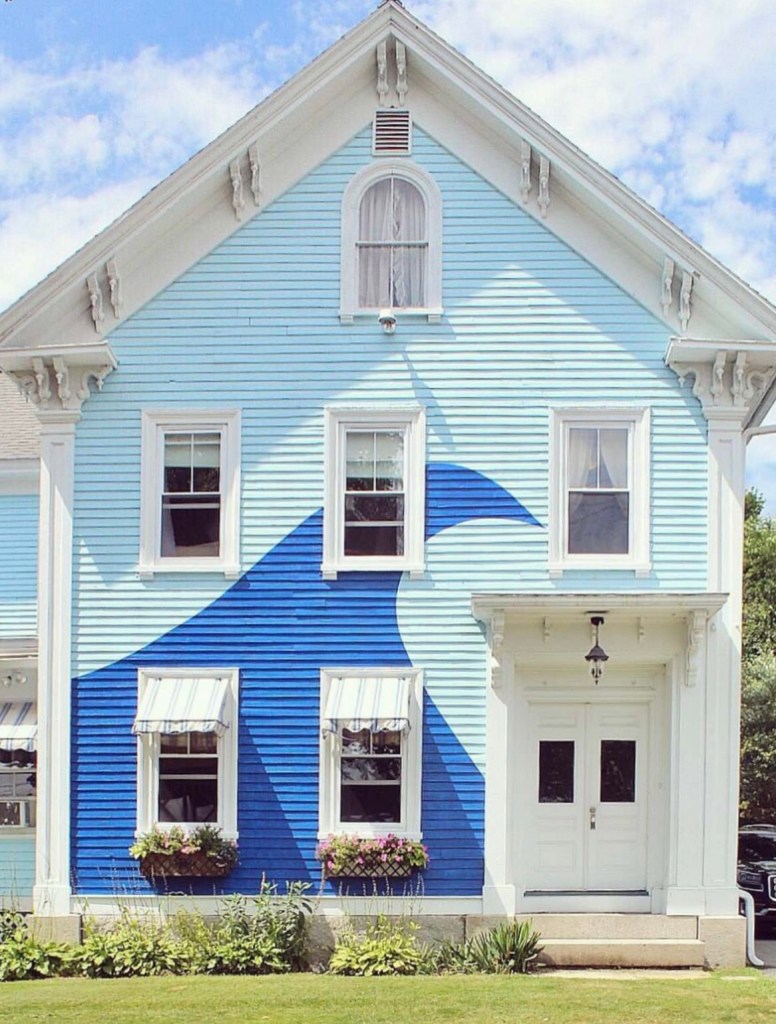
New England has a charm all it’s own! These are all local spots in Wells, Maine. Perfectly nautical!

The cutest house with a wave.
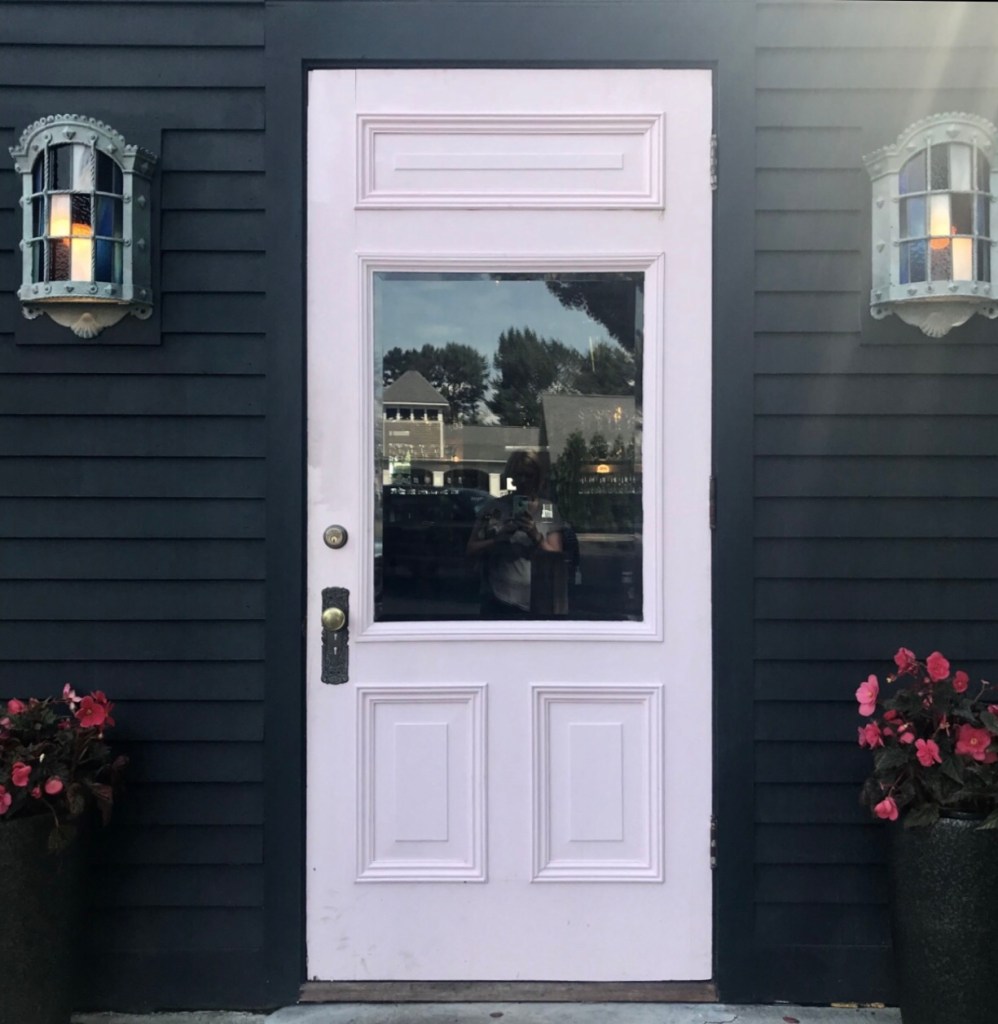
An adorable restaurant with a pale pink door and black siding.
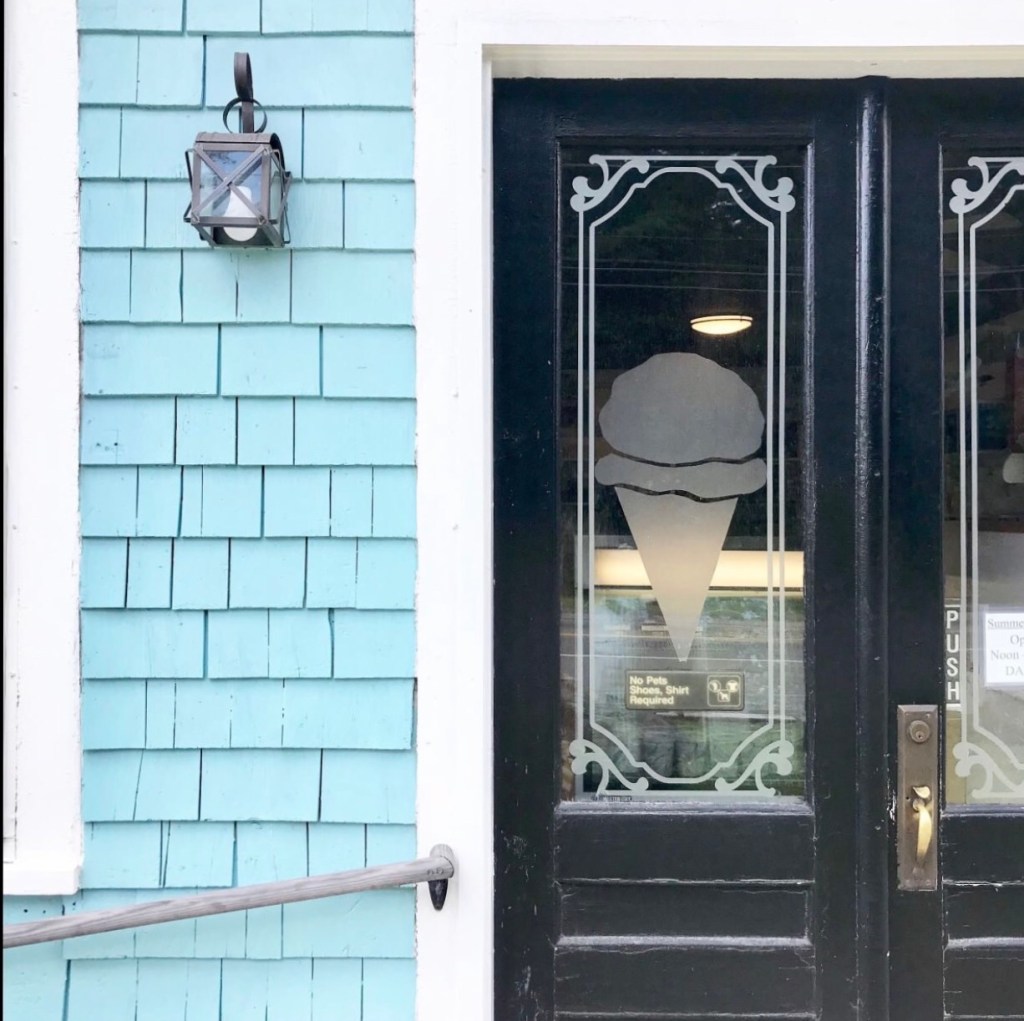
What’s happier than an ice cream cone door?

I hope you were inspired by some of these happy doors!