
Bathrooms can tend to be bland and forgotten. We have a home that has two and a half baths. I have done a few upgrades that didn’t require much of a financial investment but give a great result! So, I’ll be sharing a few fun DIY bathroom ideas.


Project #1~ Stenciled Tile
First I’ll show you a project that I did in my boys that bathroom. I absolutely hated the brown tile floor that came with the house when we built it. (I have to admit I did pick it, but in 2005 brown was so in!) We didn’t have a budget to rip it out the tile, so I used a stencil I received from Cutting Edge Stencils and decided to tackle the tile!

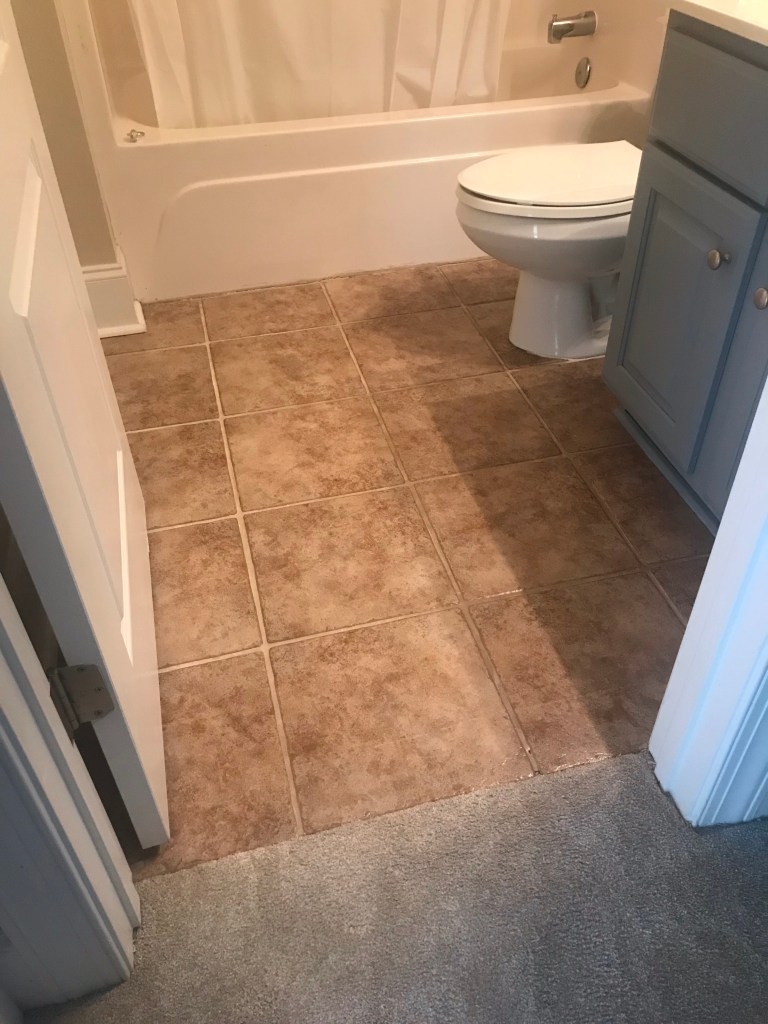
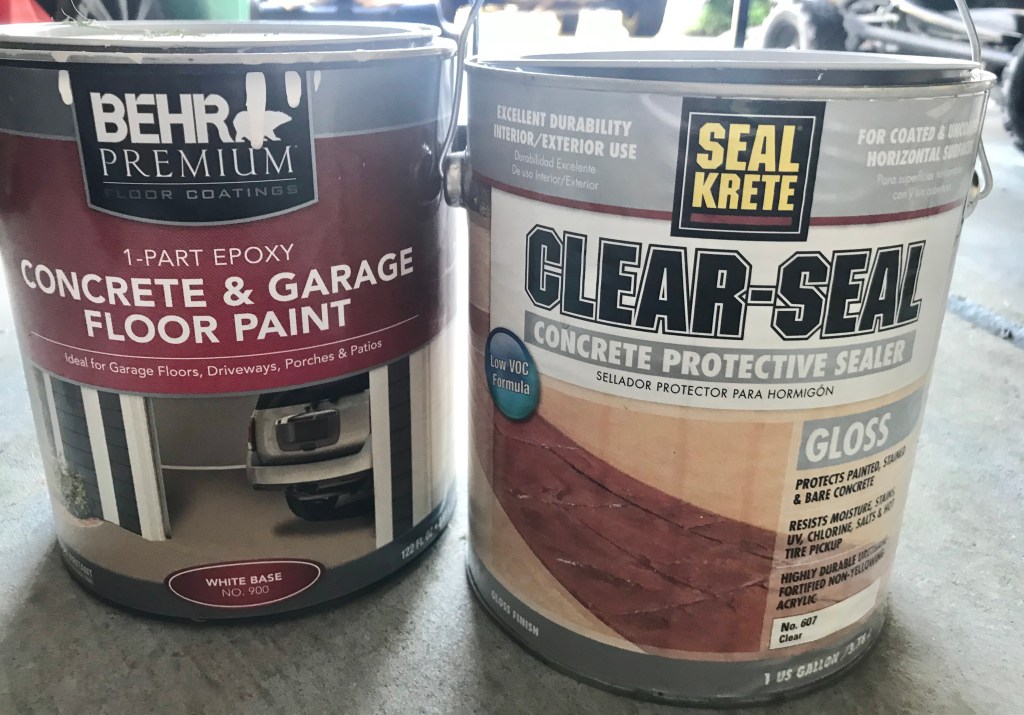
So, this project can be done on a weekend. Get some tunes ready (and maybe a cocktail!) and have fun! The things you will need are: sandpaper, a stencil, paint brush, roller, stencil brush, painters tape, garage floor paint and sealer.
The great thing about the stencil I used is it can be customized to fit the size of your tile. I highly recommend going that route if you want to try this project. The stencil lines up with your grout lines and gives the look of real tile.
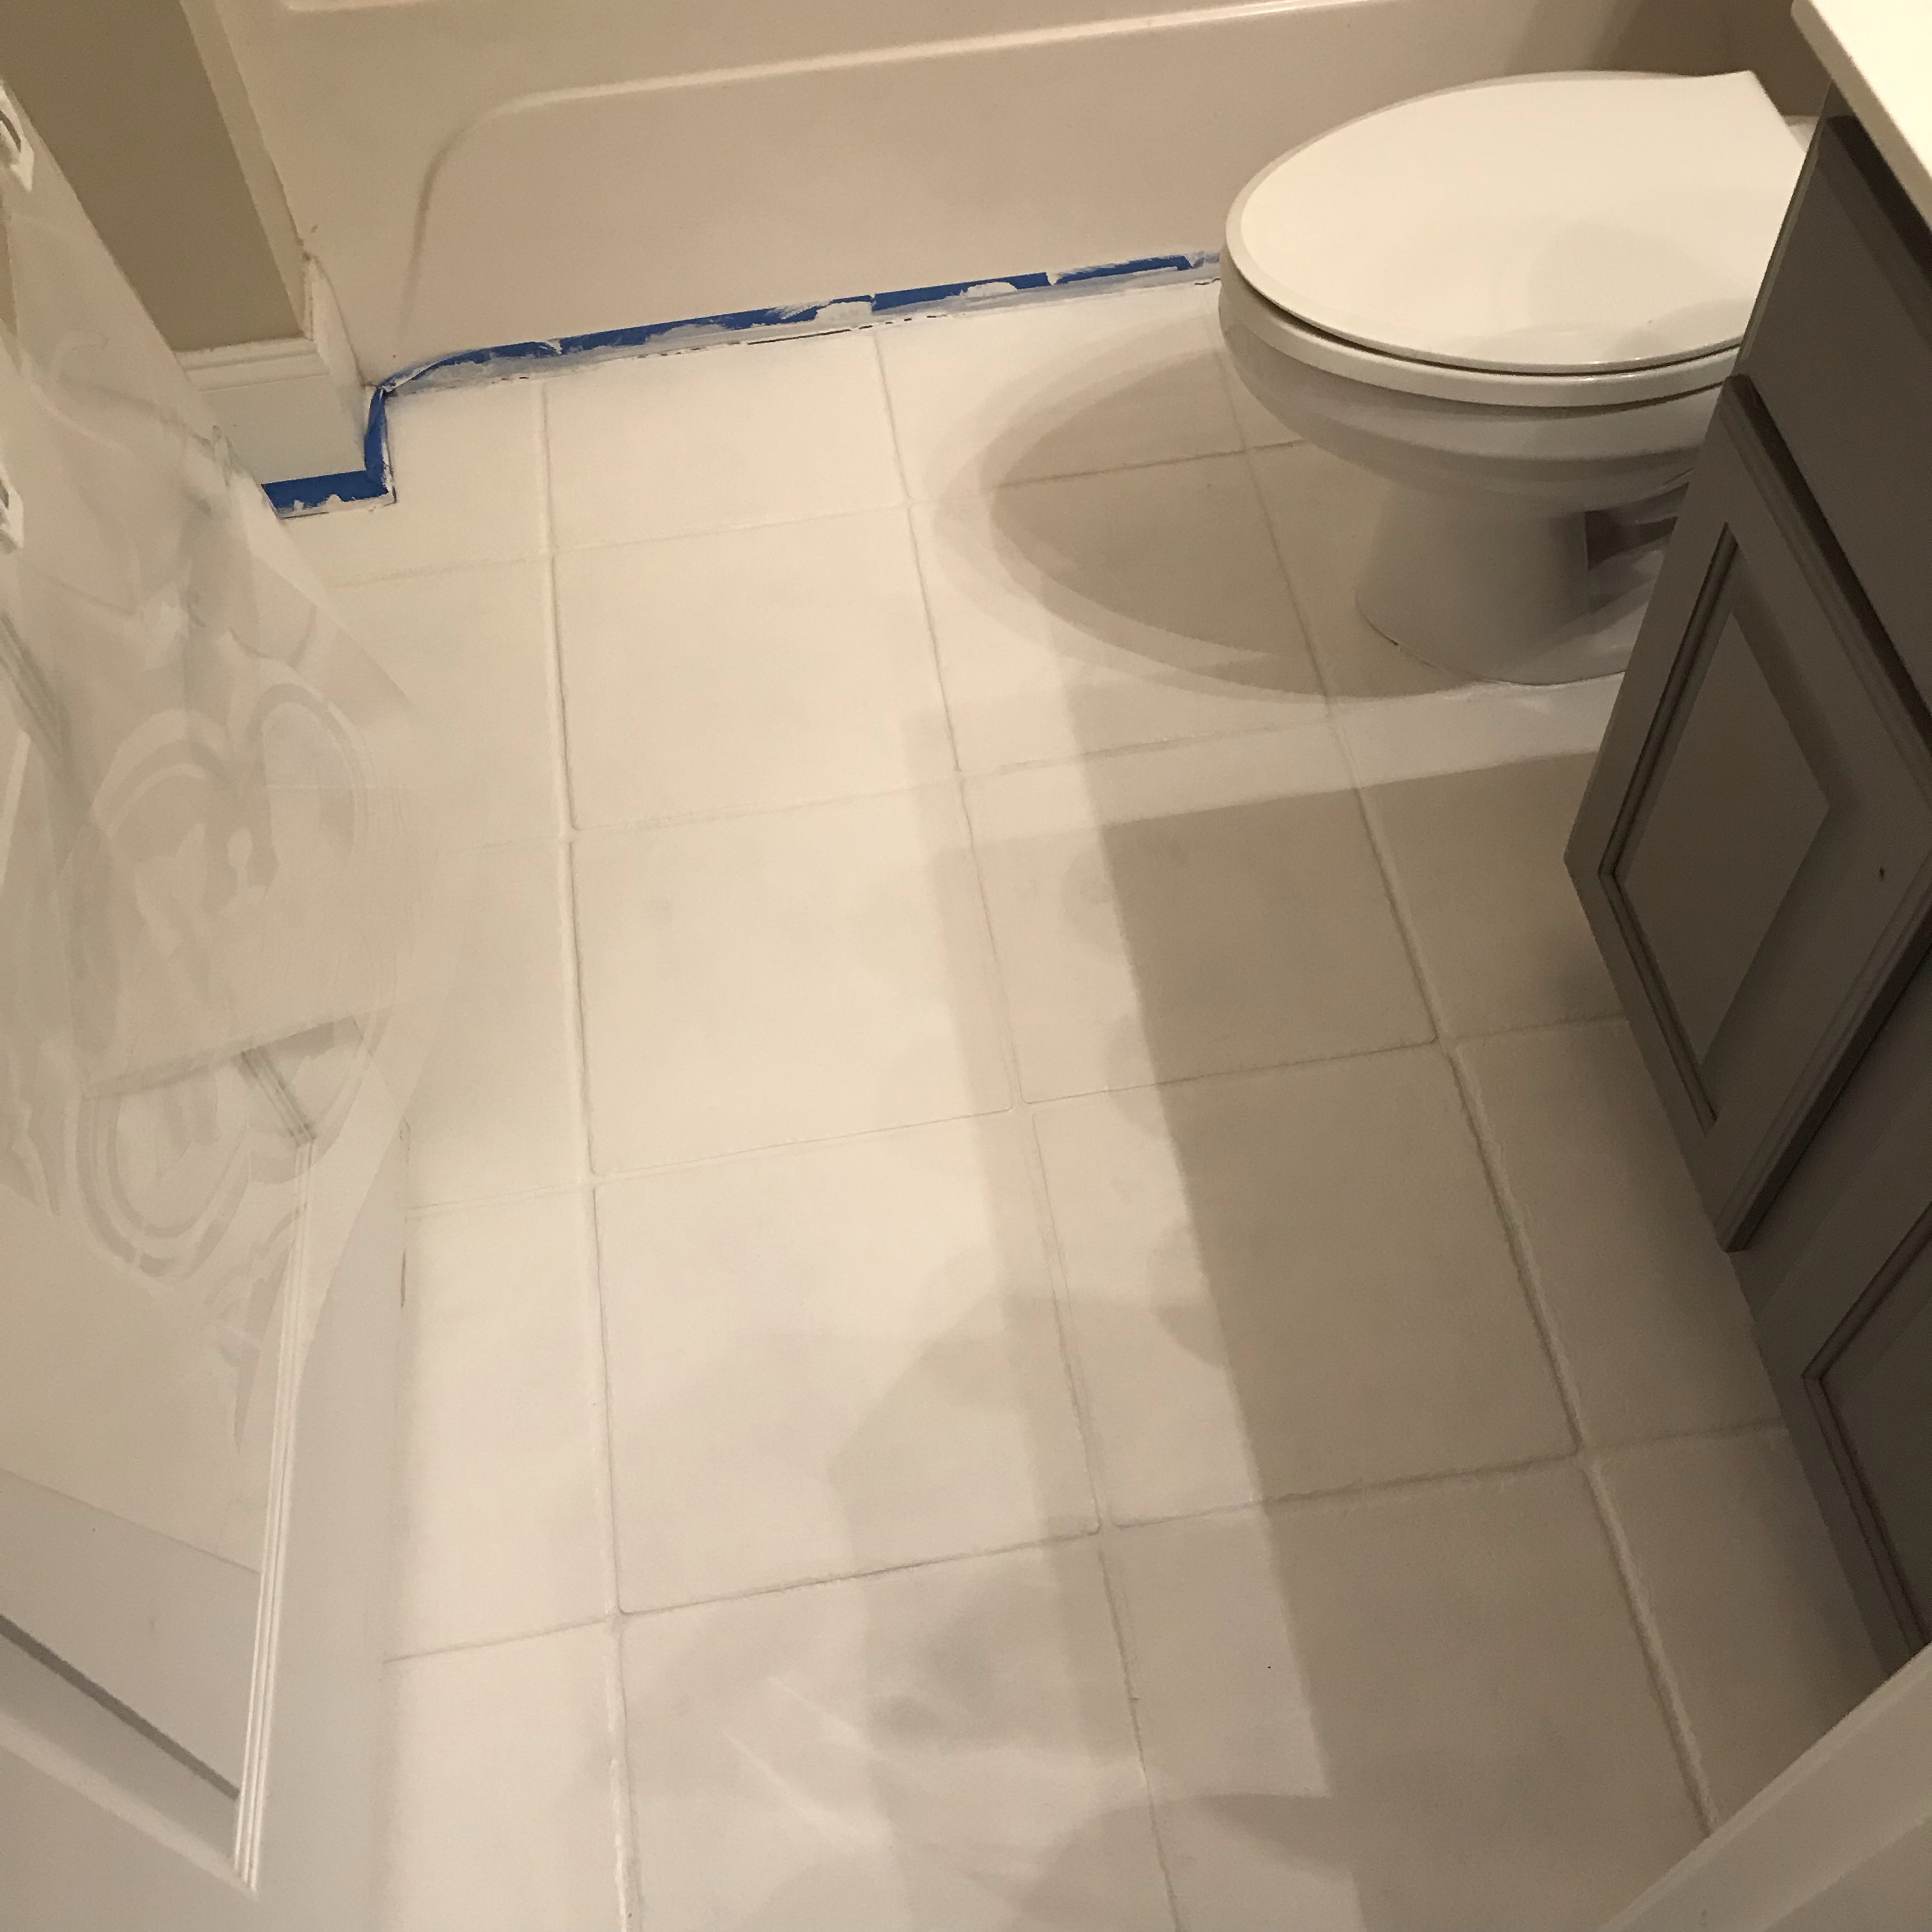
Your first step will be to lightly sand the tile and then give it a good cleaning. Then tape off all your edges. Next up you will roll on a coat of the garage floor paint. Here’s a tip: I had a small space so asked the staff at Home Depot to take some out and mix the color I was going to stencil! So, I had the gallon of white and a quart of the dark gray. (You can also have them tint the paint any color you choose).


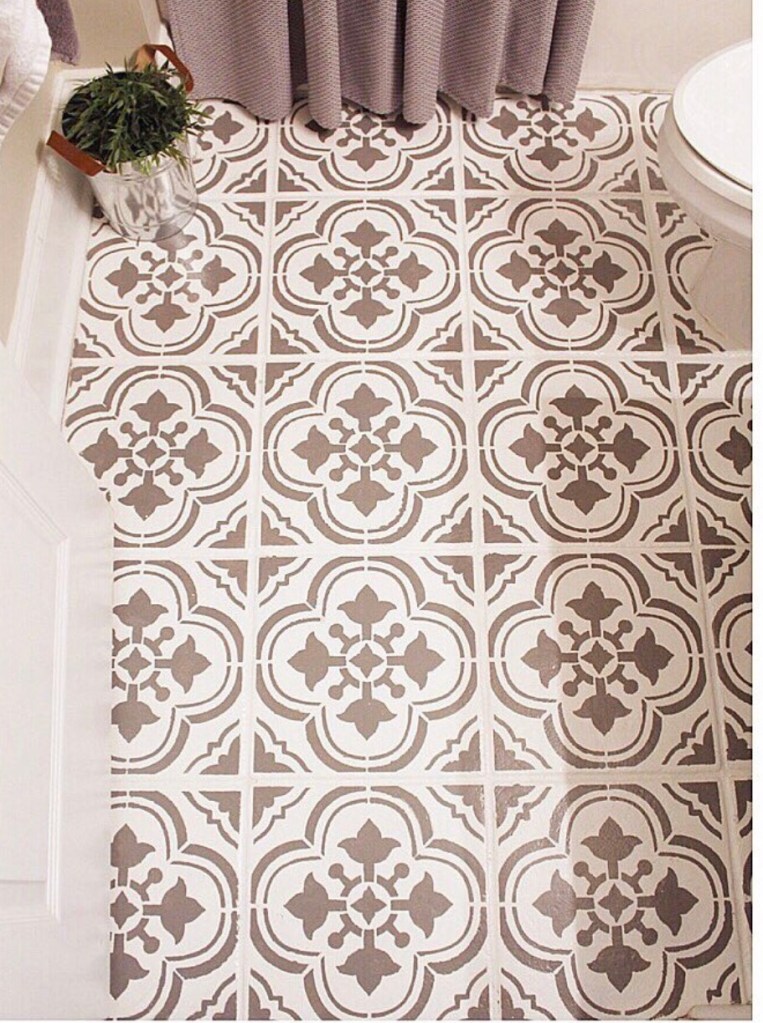
This has held up great! I did it about two years ago and do not have any complaints. Considering this is a boy’s bathroom that gets cleaned often I’m amazed how well it has held up. I’m so happy I did this project, it totally transformed the room.
Project # 2 ~ Bathtub Tray
We have a large garden tub in our master bathroom. There is something so relaxing about taking a bubble bath. I always seem to bring in a glass of wine, a book or my phone and decided I needed a tray!
I found a long unfinished board in Michael’s . It was a bit too long so my neighbor cut it to size to fit my tub! I painted it gray and added a sealer. The same sealer I used on my tile floor!
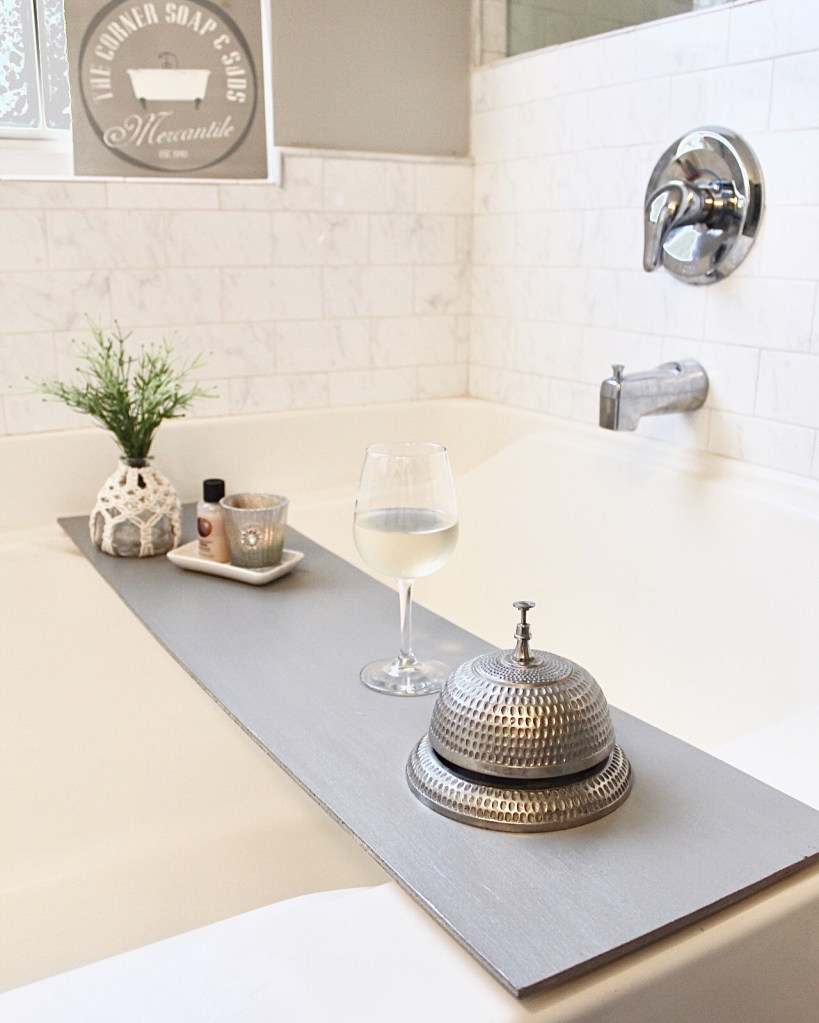
There are so many options for trays. I’ve seen more rustic looks, some with handles or even book holders. Try to DIY one, it was easy and fun!
Project # 3~ Peel and Stick Tile Wall

Lastly, I’d like to share a project I did in my downstairs half bath. It’s a small powder room that our guests use. I found these peel and stick tiles at Target and bought three packs of them, totaling $9.00! Looking back I wish I bought more. I didn’t know what I would use them for, but I thought they were so cute I knew I would find something to do with them.
When I got home I thought I would try them on the wall of the bathroom. I loved it! I wish I had more to do the entire wall, unfortunately all my local stores were sold out. For now, I think it’s a fun update and is easily removable!
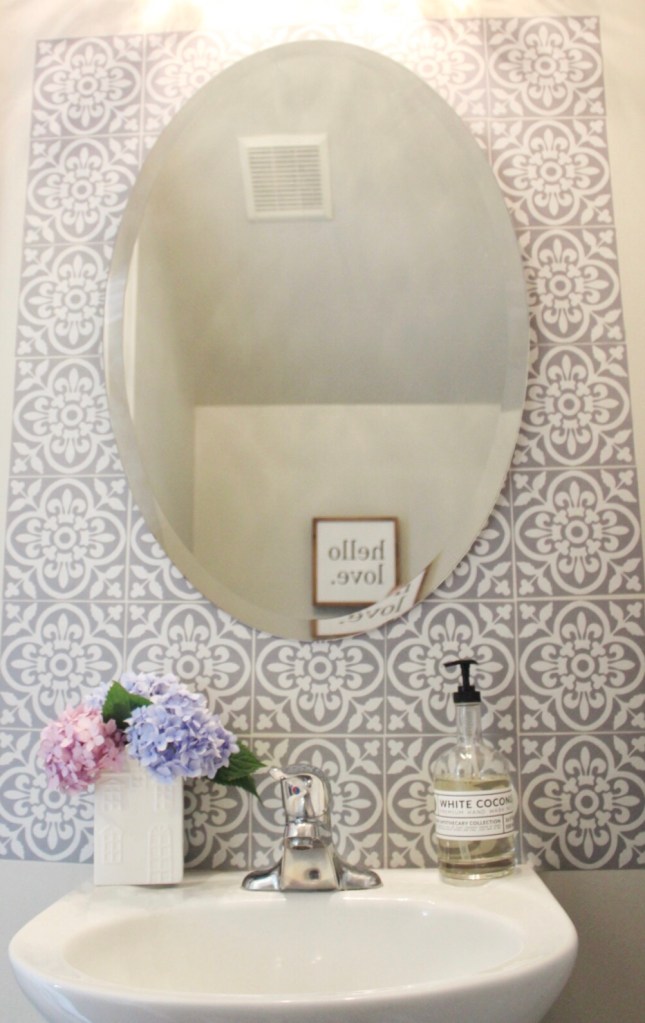
There are many options out there for peel and stick tiles. I have seen them at Hobby Lobby and on Etsy. I’m sure a quick on line search would find even more cute options!
I hope you were inspired by some of my DIY bathroom projects!

The three projects looks amazing! The floor paint one is my favorite! What a clever way to add some rich look to them ! Awesome Brandi
LikeLiked by 1 person
Thanks so much!
LikeLike
Awesome tips!!! Thanks for sharing! 💕
LikeLiked by 1 person
You bet!!! Thanks!
LikeLike
They all look so great! This is inspiring me to update my bathrooms!
LikeLiked by 1 person
Awesome! Thanks!
LikeLike
I admire your hard work in your updated bathroom. Stenciling is NOT for the faint of heart. It looks so good!
LikeLiked by 1 person
Thanks!! Definitely a labor of love!
LikeLike
Omg! Your bathrooms are beautiful 😍
LikeLiked by 1 person
Thank you so much!!
LikeLike