

I have had a love of making felt flowers for years. So much so, I started an Etsy shop ( The Happy Door ) to sell my felt flower creations!
I have had people ask me if I had any tutorials available in the past. Honestly, I felt that there were many more talented felt florists out there and it made me feel intimidated to share. I am learning that you have to start somewhere! I am also embracing the idea of sharing my knowledge and love of crafting. So, here we go!
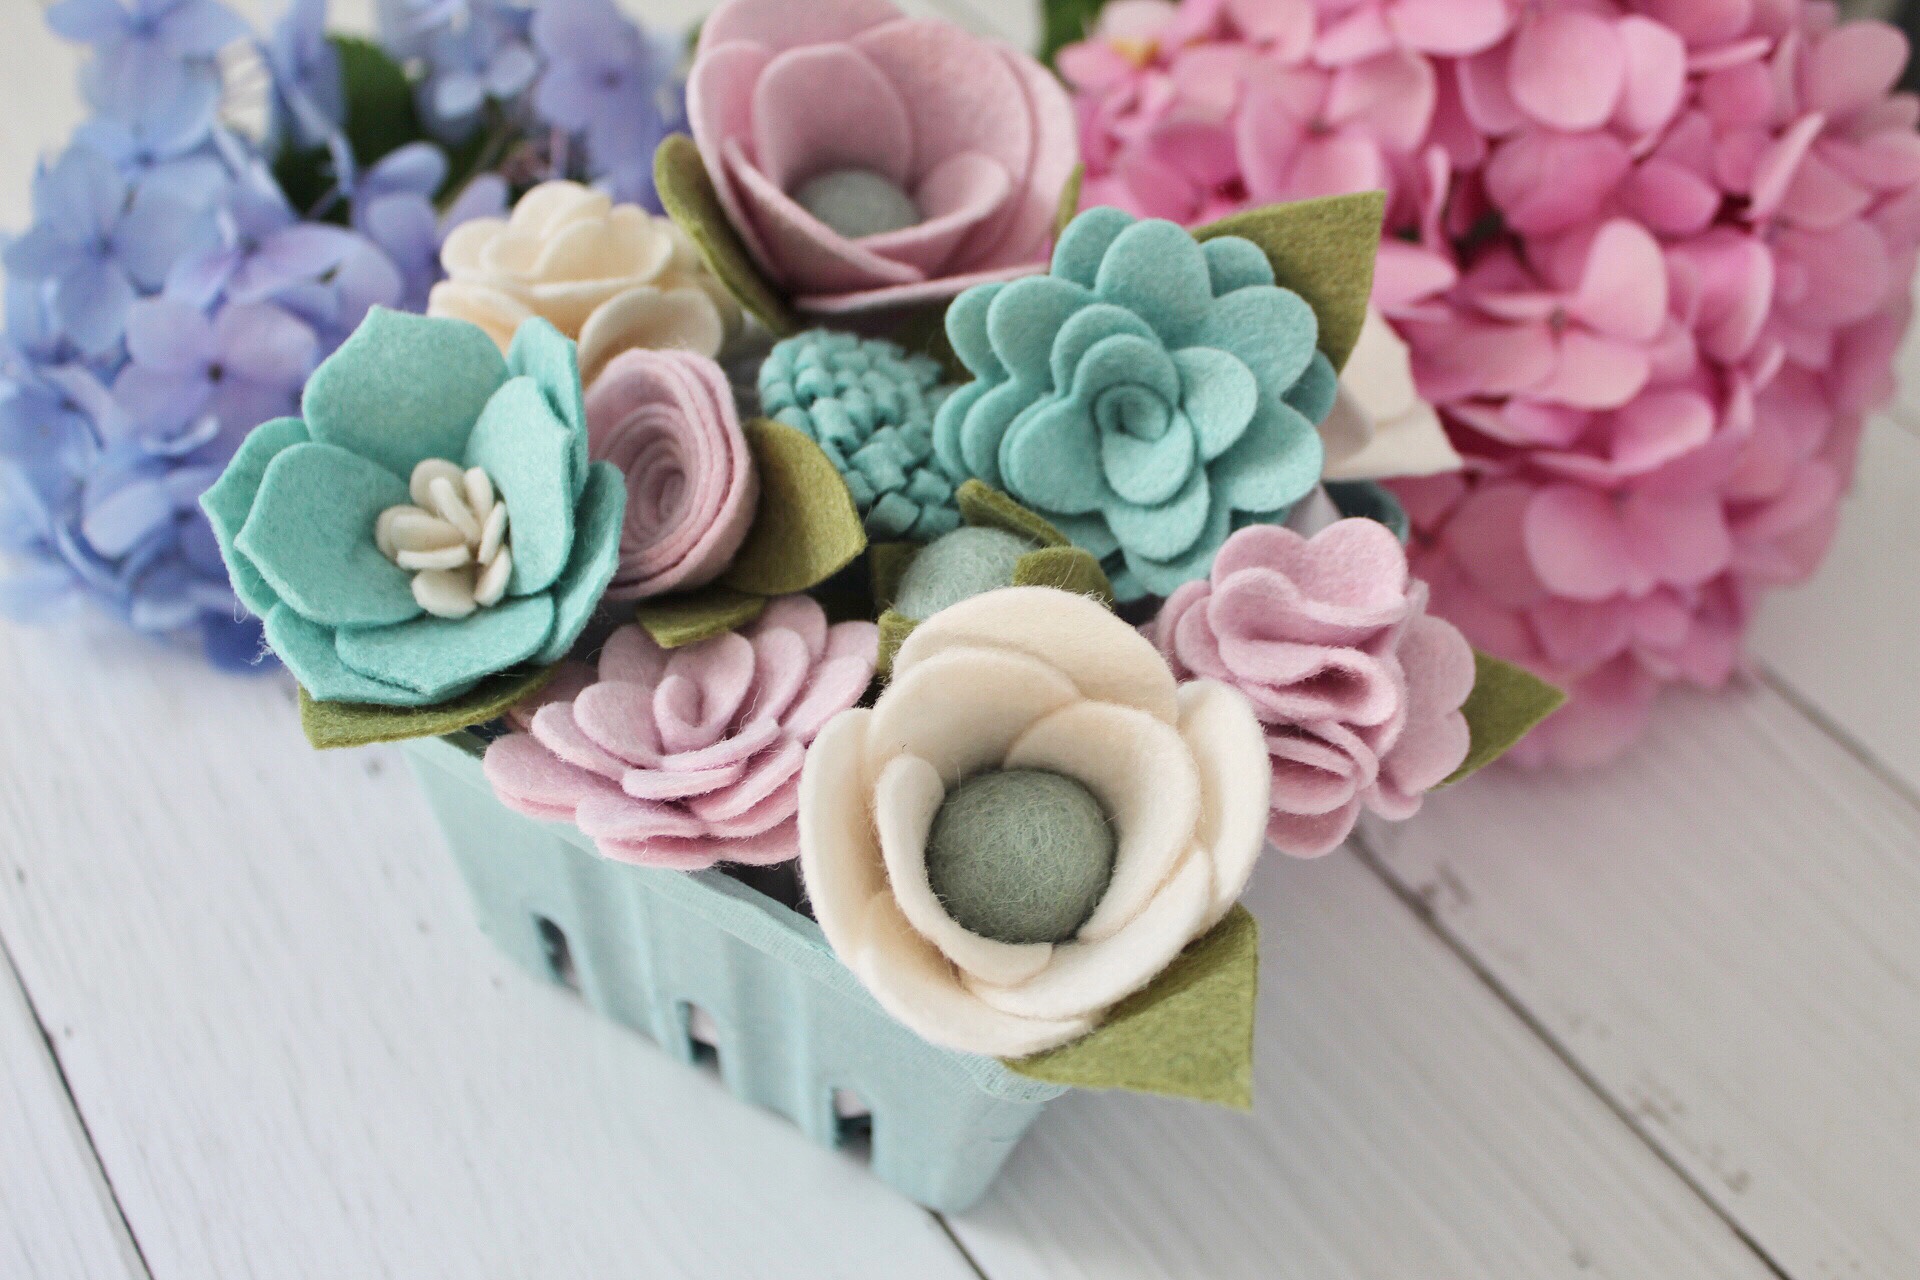

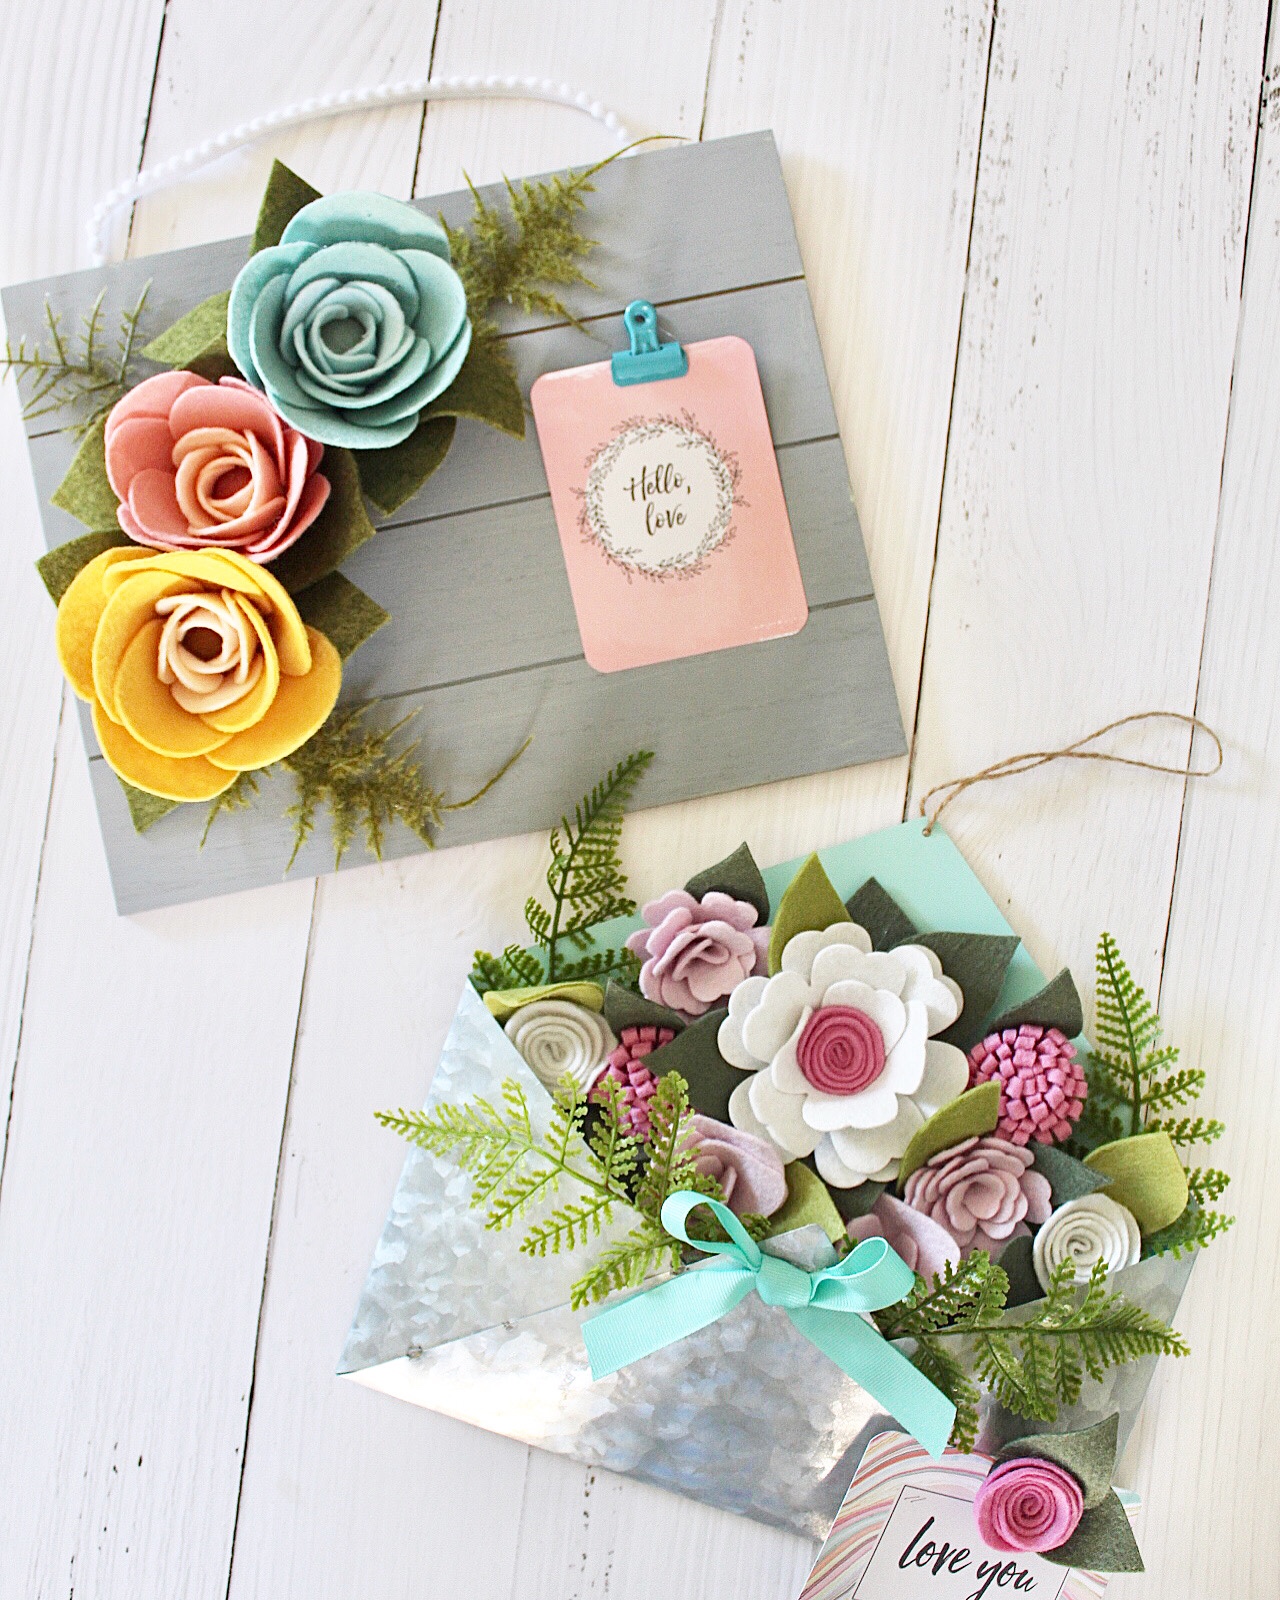
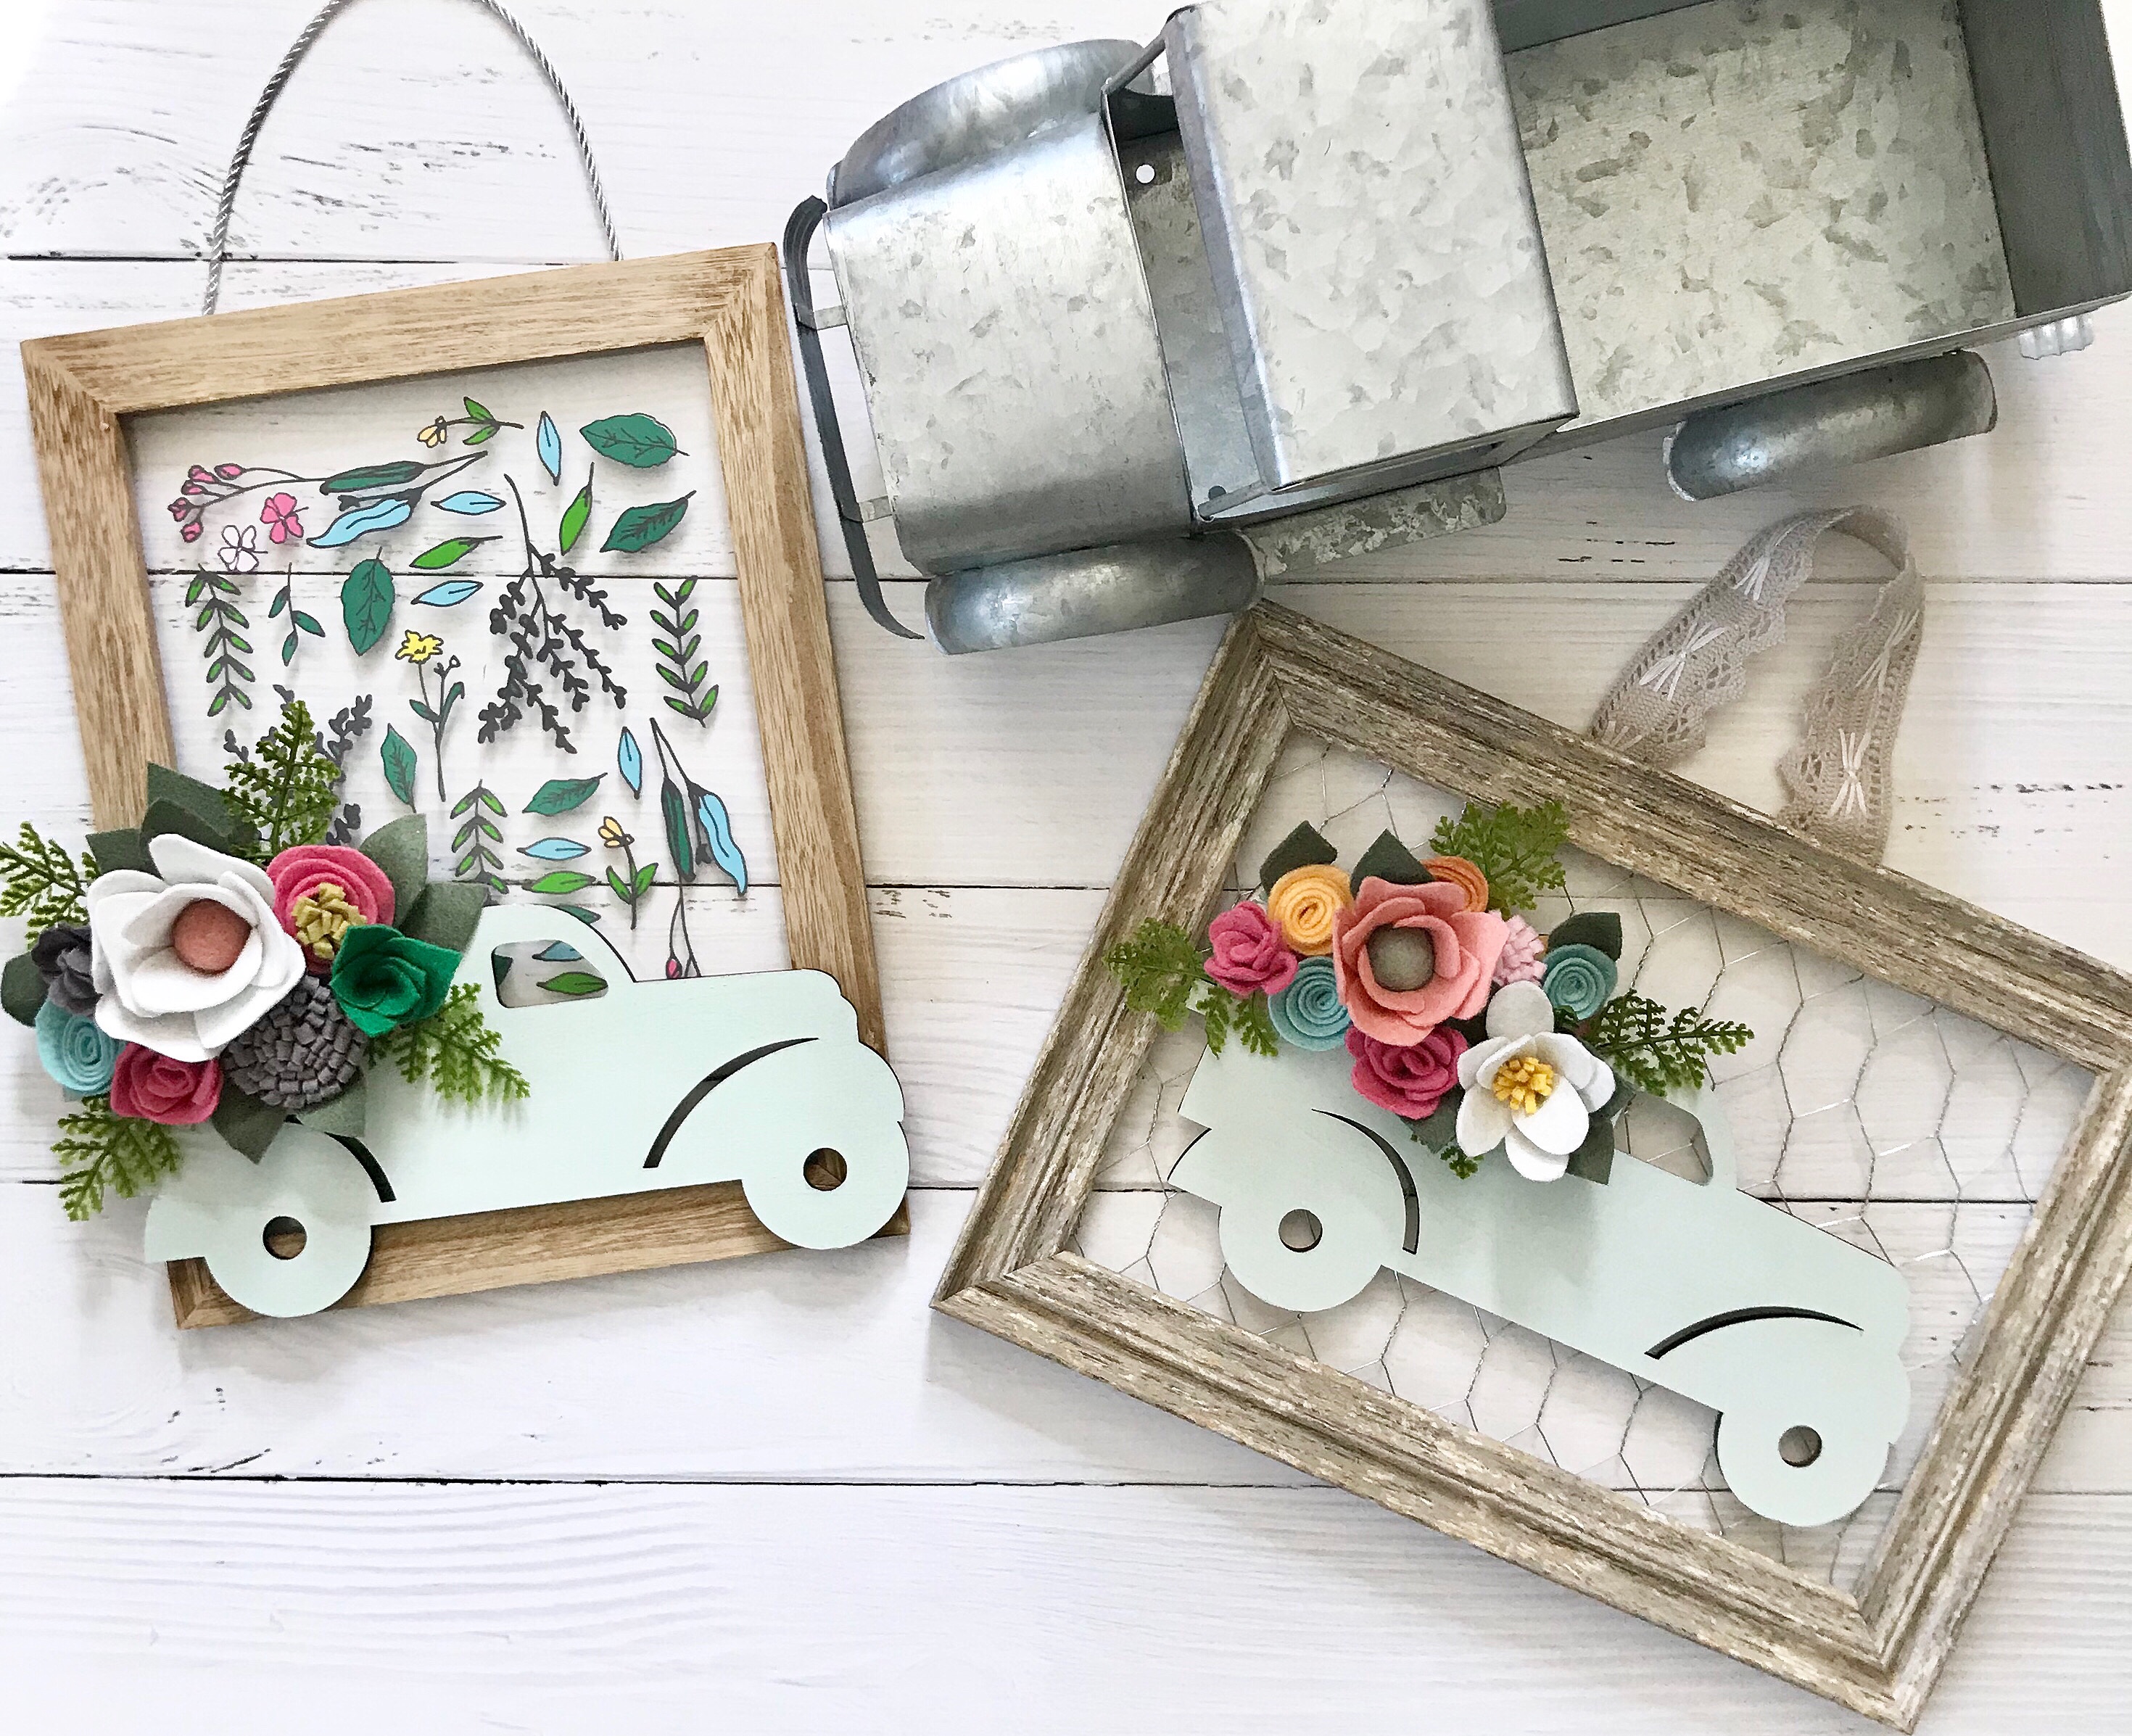

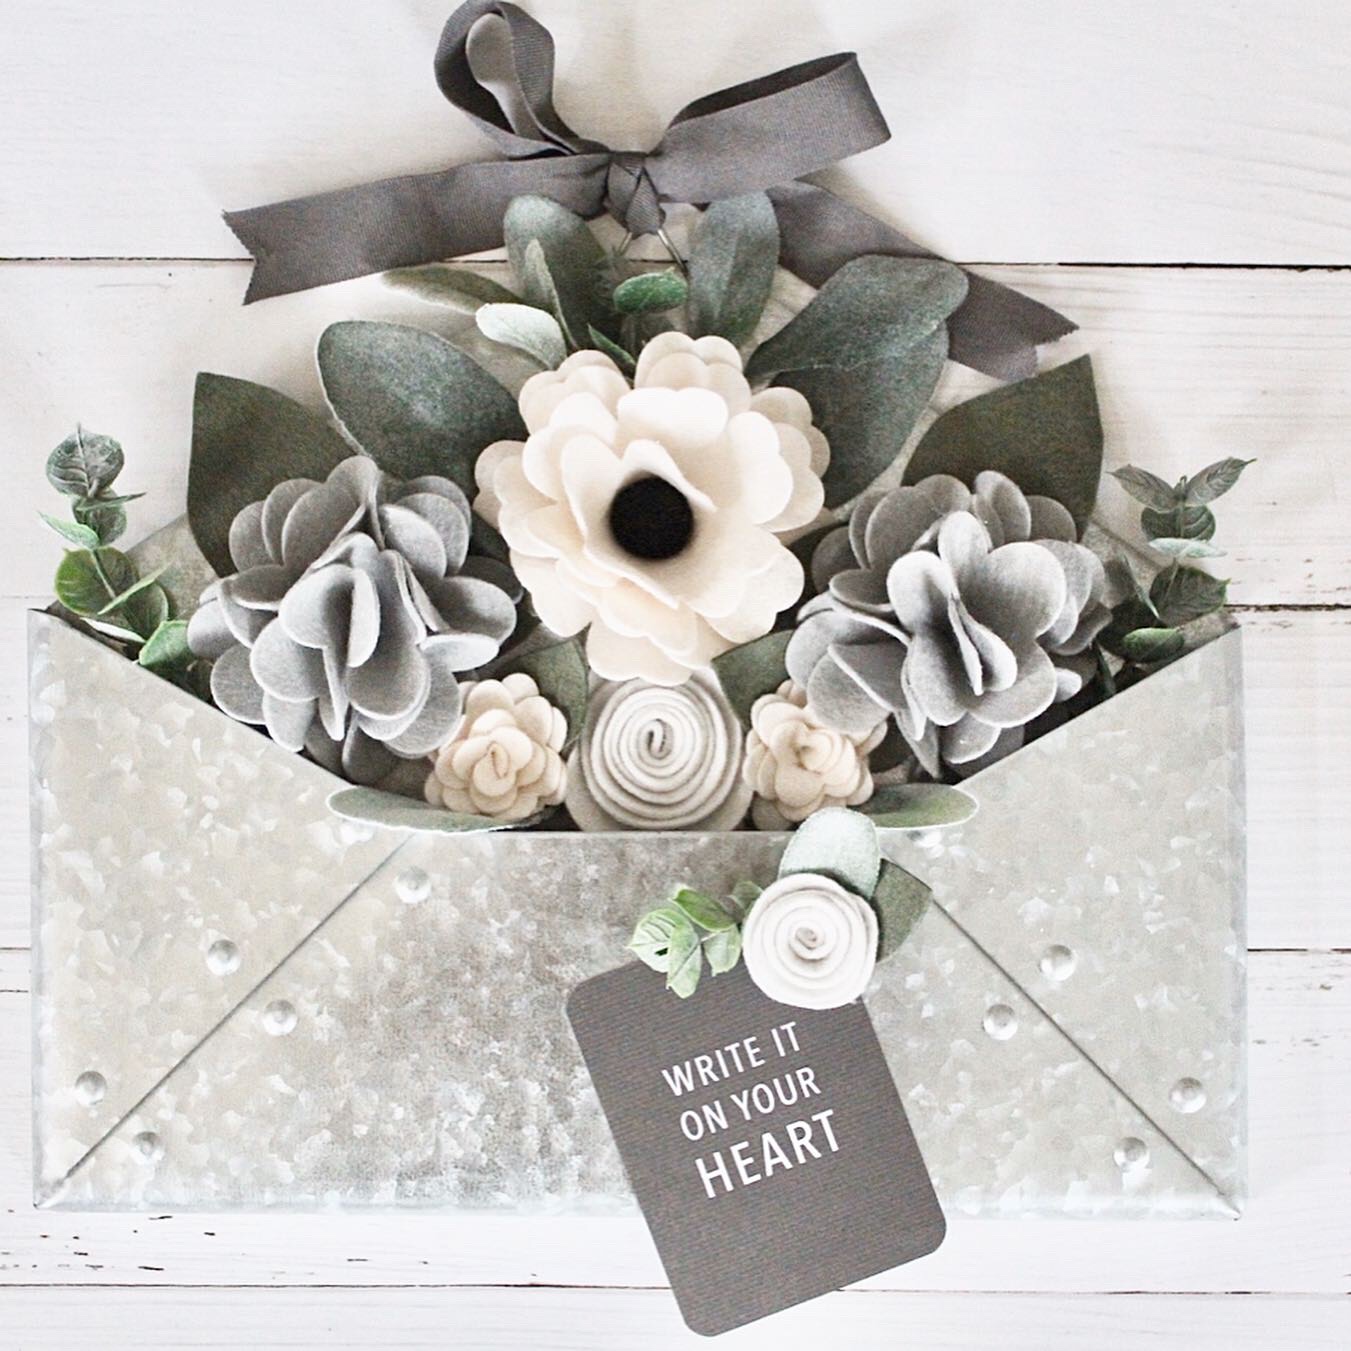
There are many different style of felt flowers. After years of practice I still have lots to learn. There are also many methods and ways of making felt florals. Some I make on a die cutting machine, but many are hand cut.
I thought I would show two different styles that are easy to learn and can be done without any special equipment. You will need felt ( I recommend and wool blend felt, which can be found by searching Etsy ). If you choose not to invest in wool felt you can buy some at a local craft store. I will warn you: the results and colors will not be the same! You can always practice on that type of felt to get started, if you decide to.
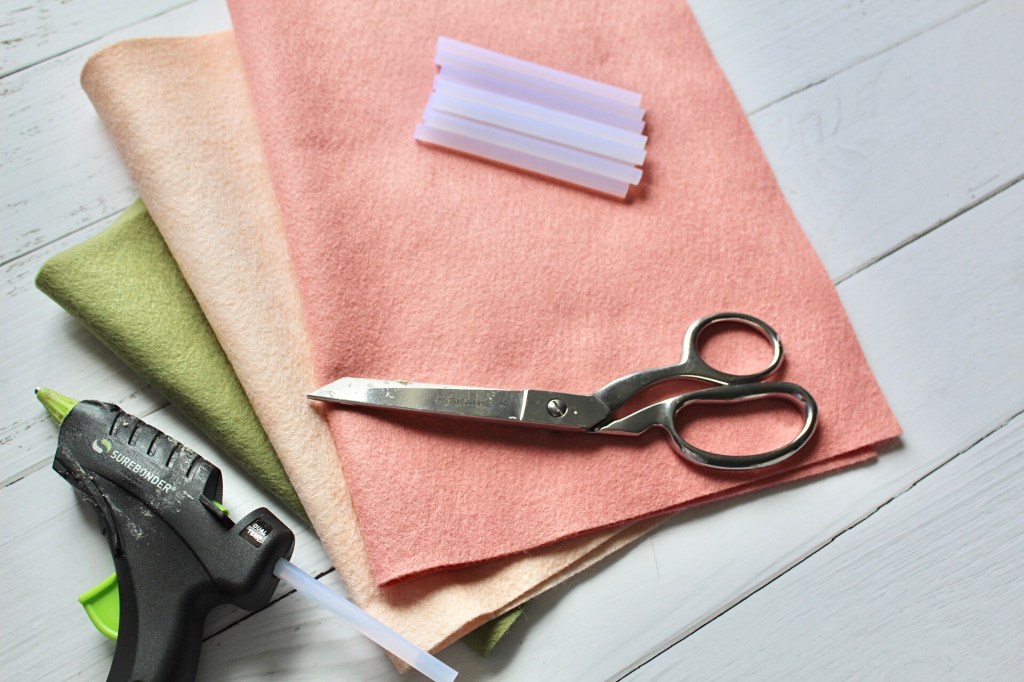
The other supplies you will need are sharp scissors, a hot glue gun and glue sticks.
Let’s make felt flowers!

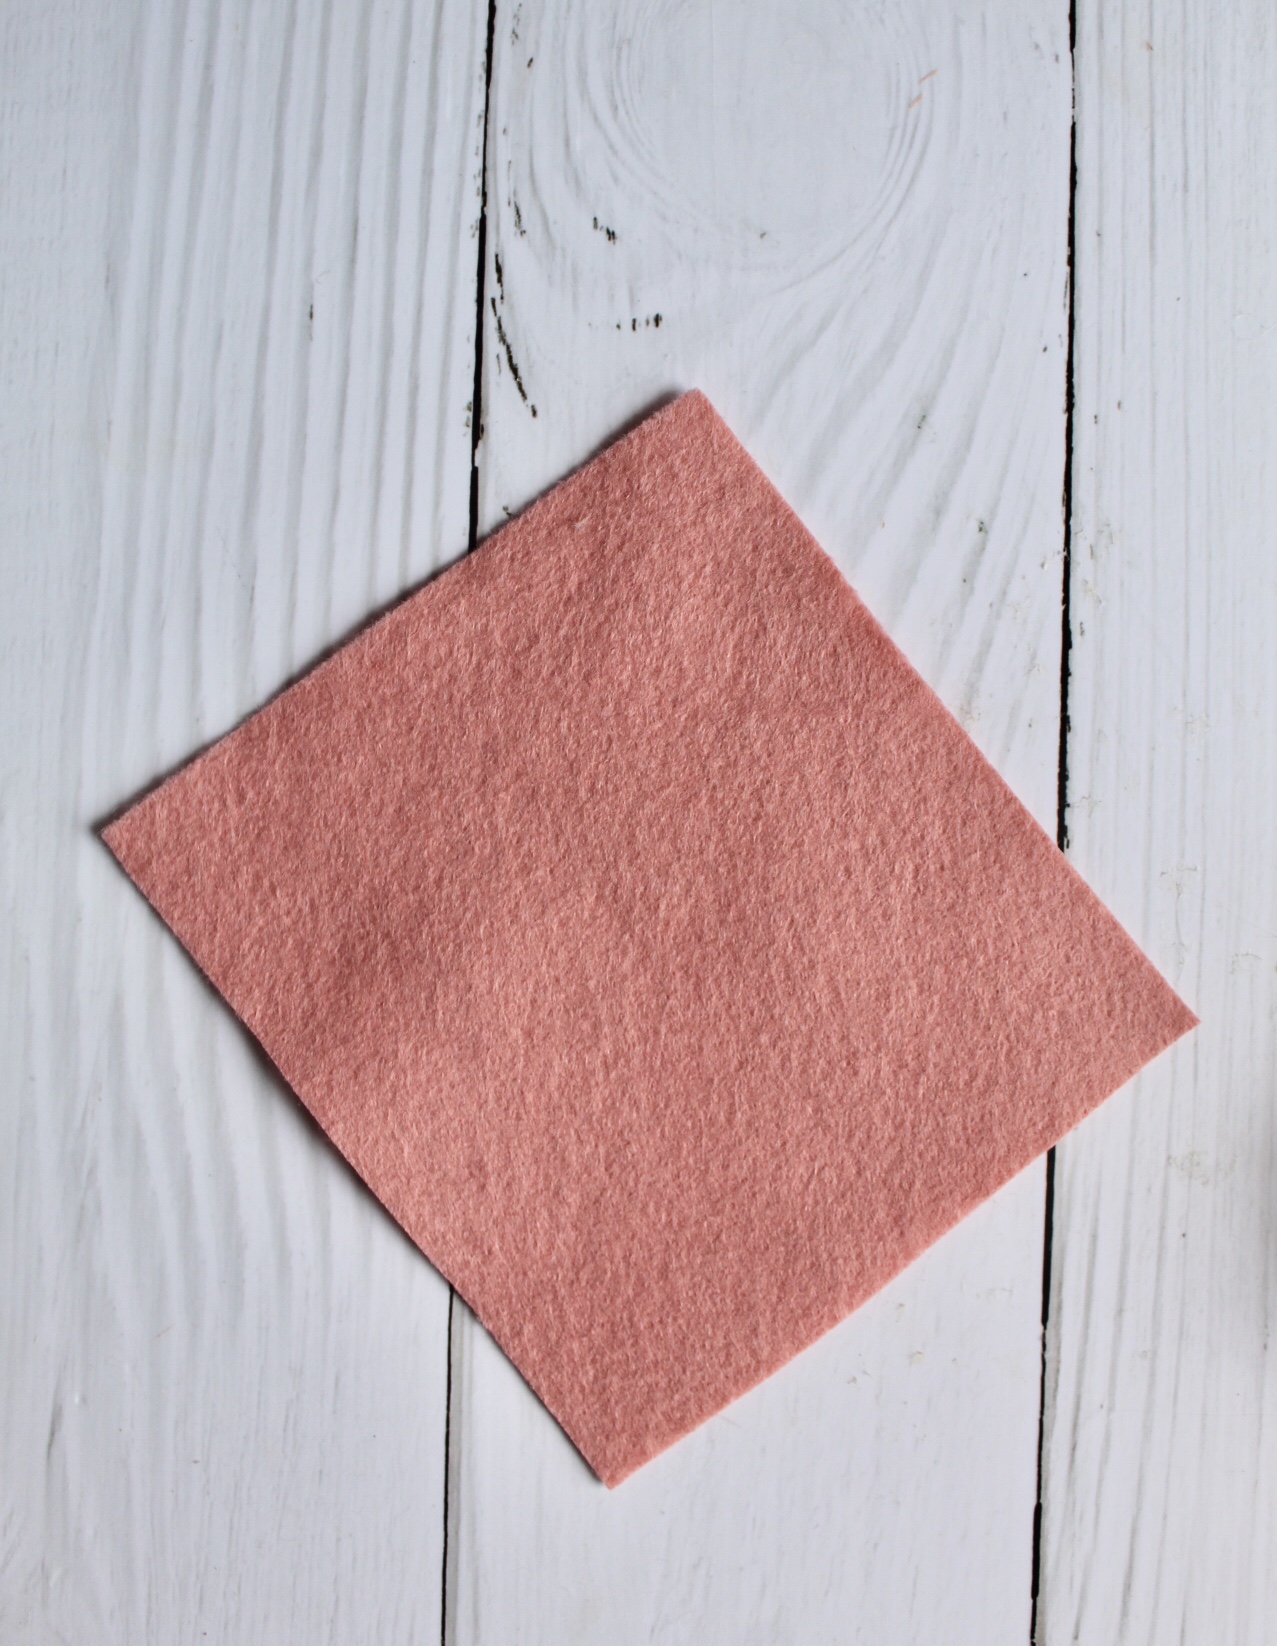
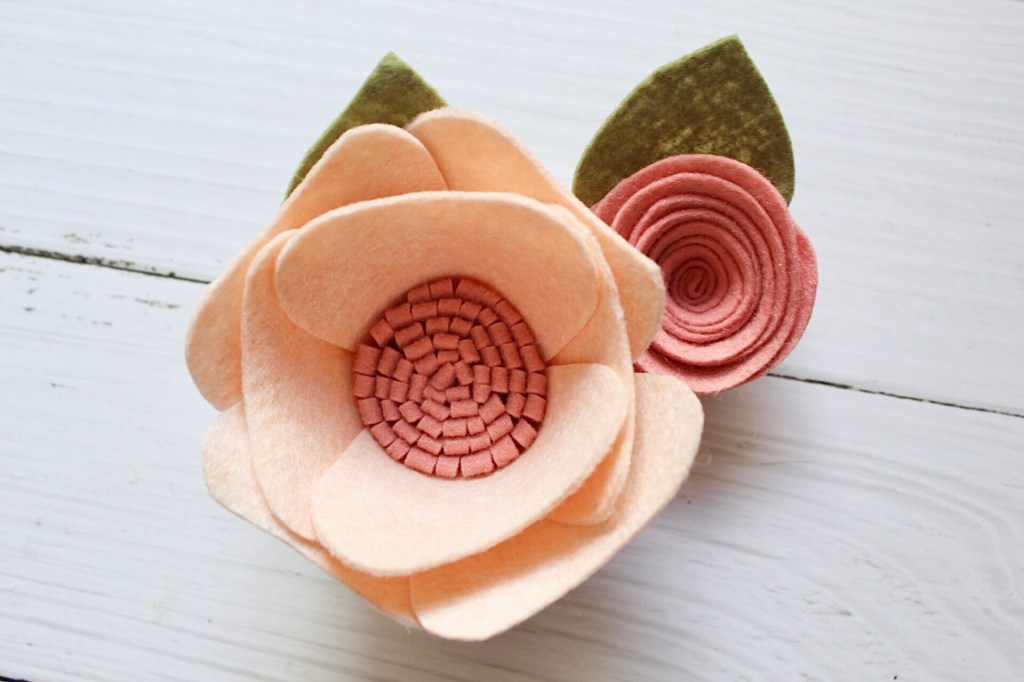
First up we will make the small rosette.
- First cut a square of felt, any size you choose. Mine was roughly six inches. Then take that square and cut it into a circle.
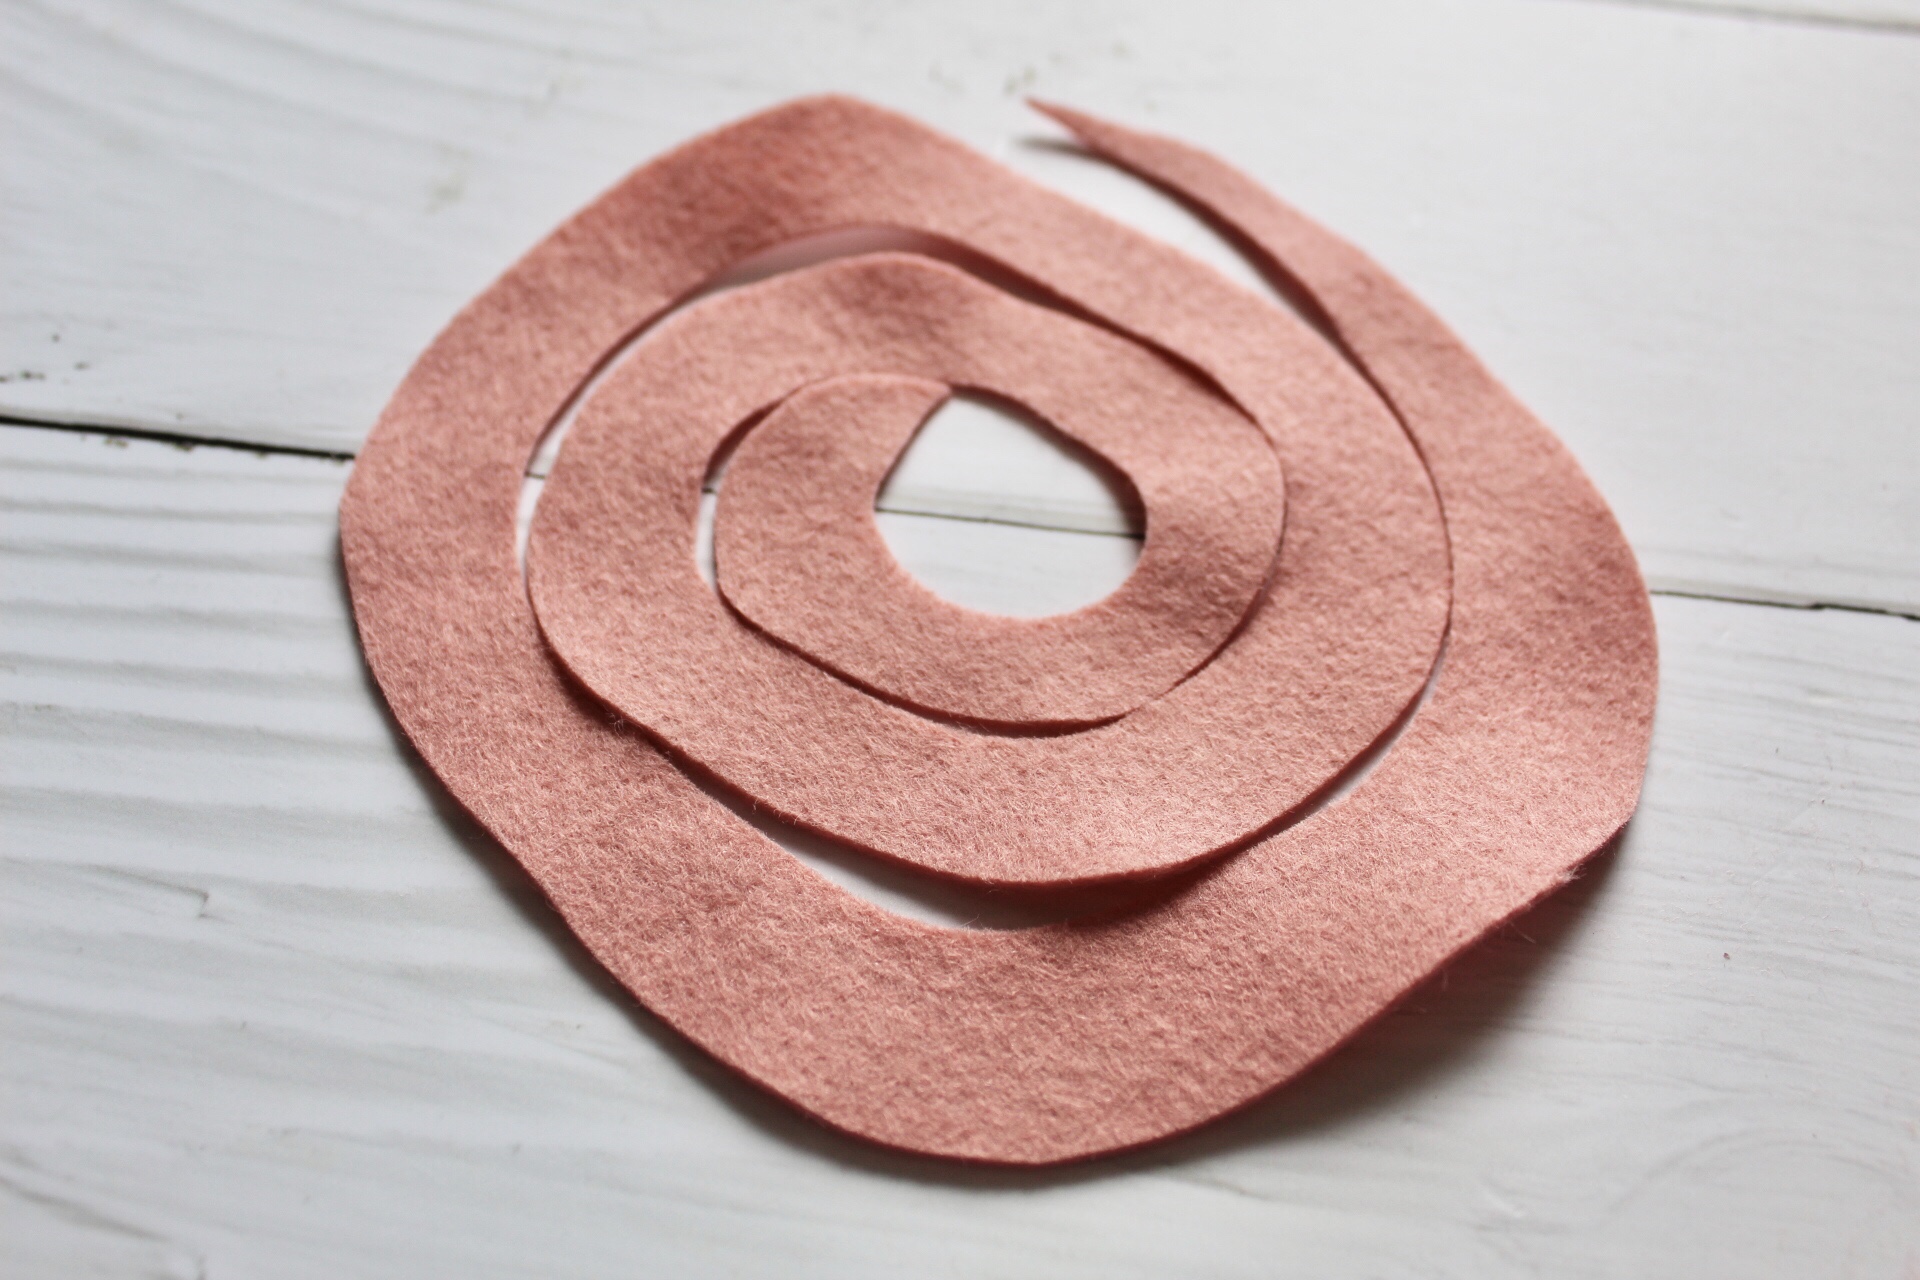
- Next, cut a circle within the circle. Start at one corner and start cutting around the circle. You will be left with a tiny circle in the center that you won’t need.

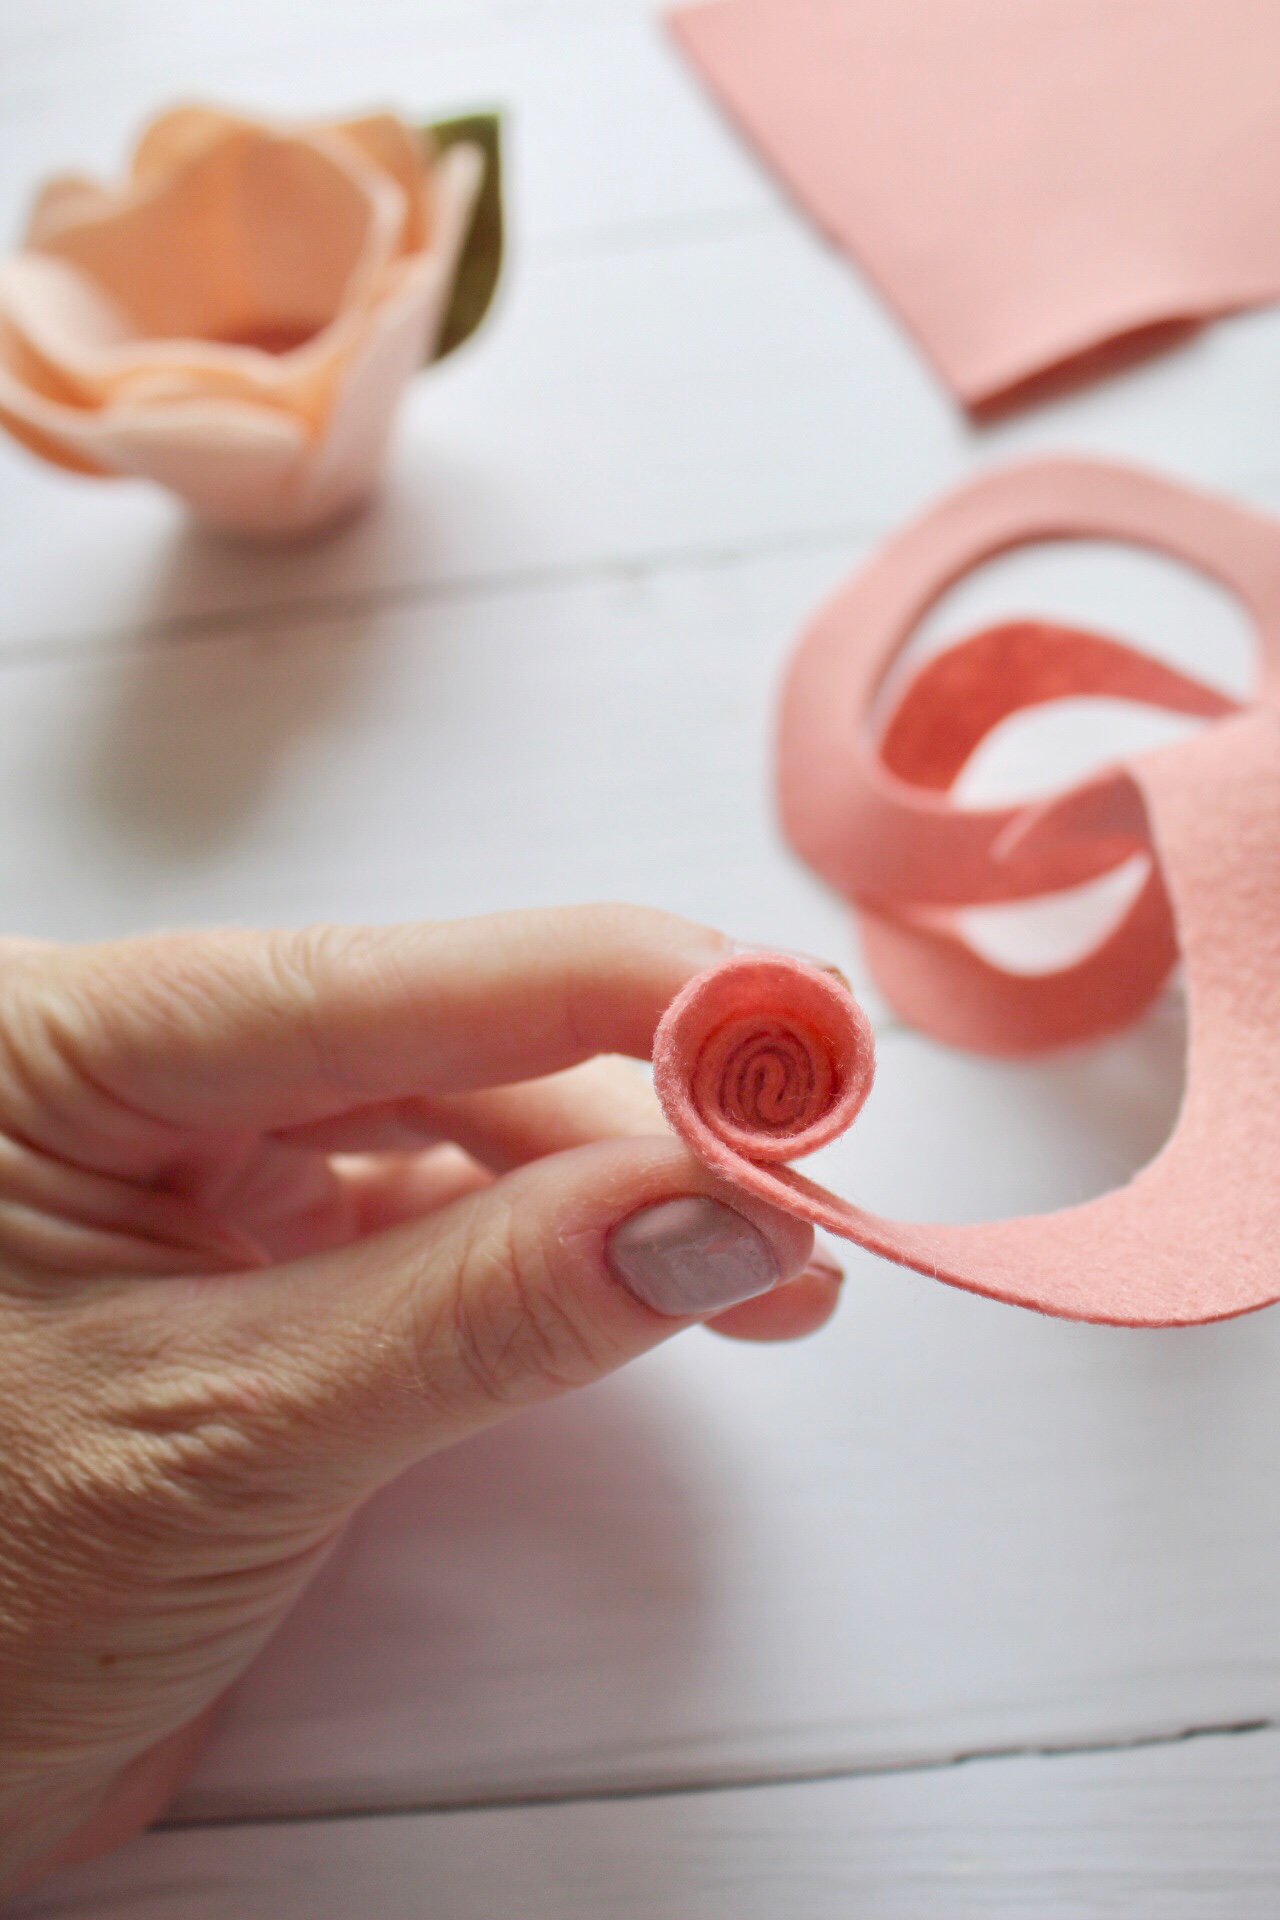
From your skinny corner you will start to roll the felt. First add a dot of glue and then roll. Every inch or so add a bit of glue and continue rolling until you come to the end. Tuck the last bit underneath and glue. Add a felt leaf.

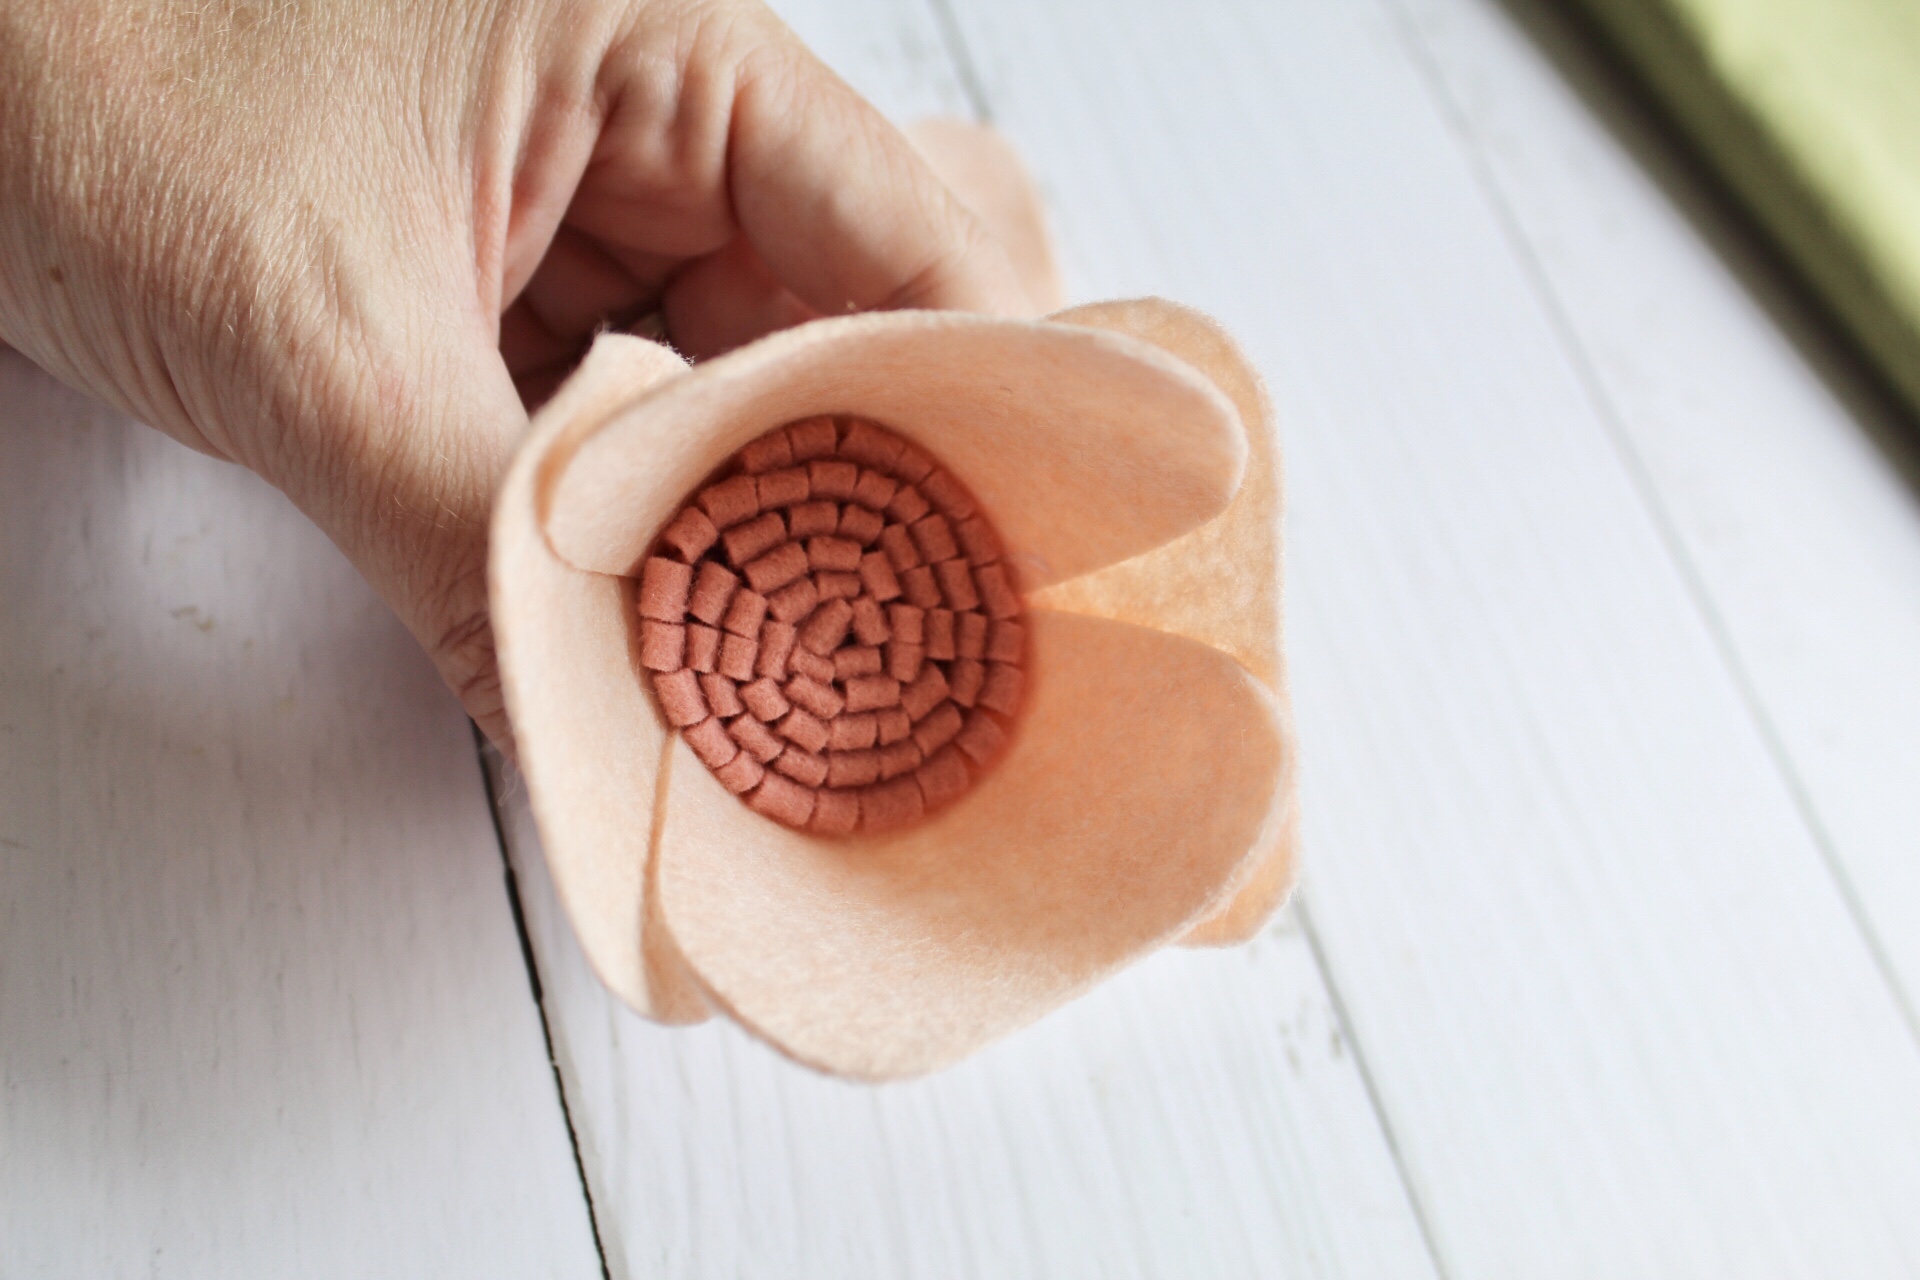
Next we will make the larger flower, I call a poppy. You will create the center first and then place the petals.
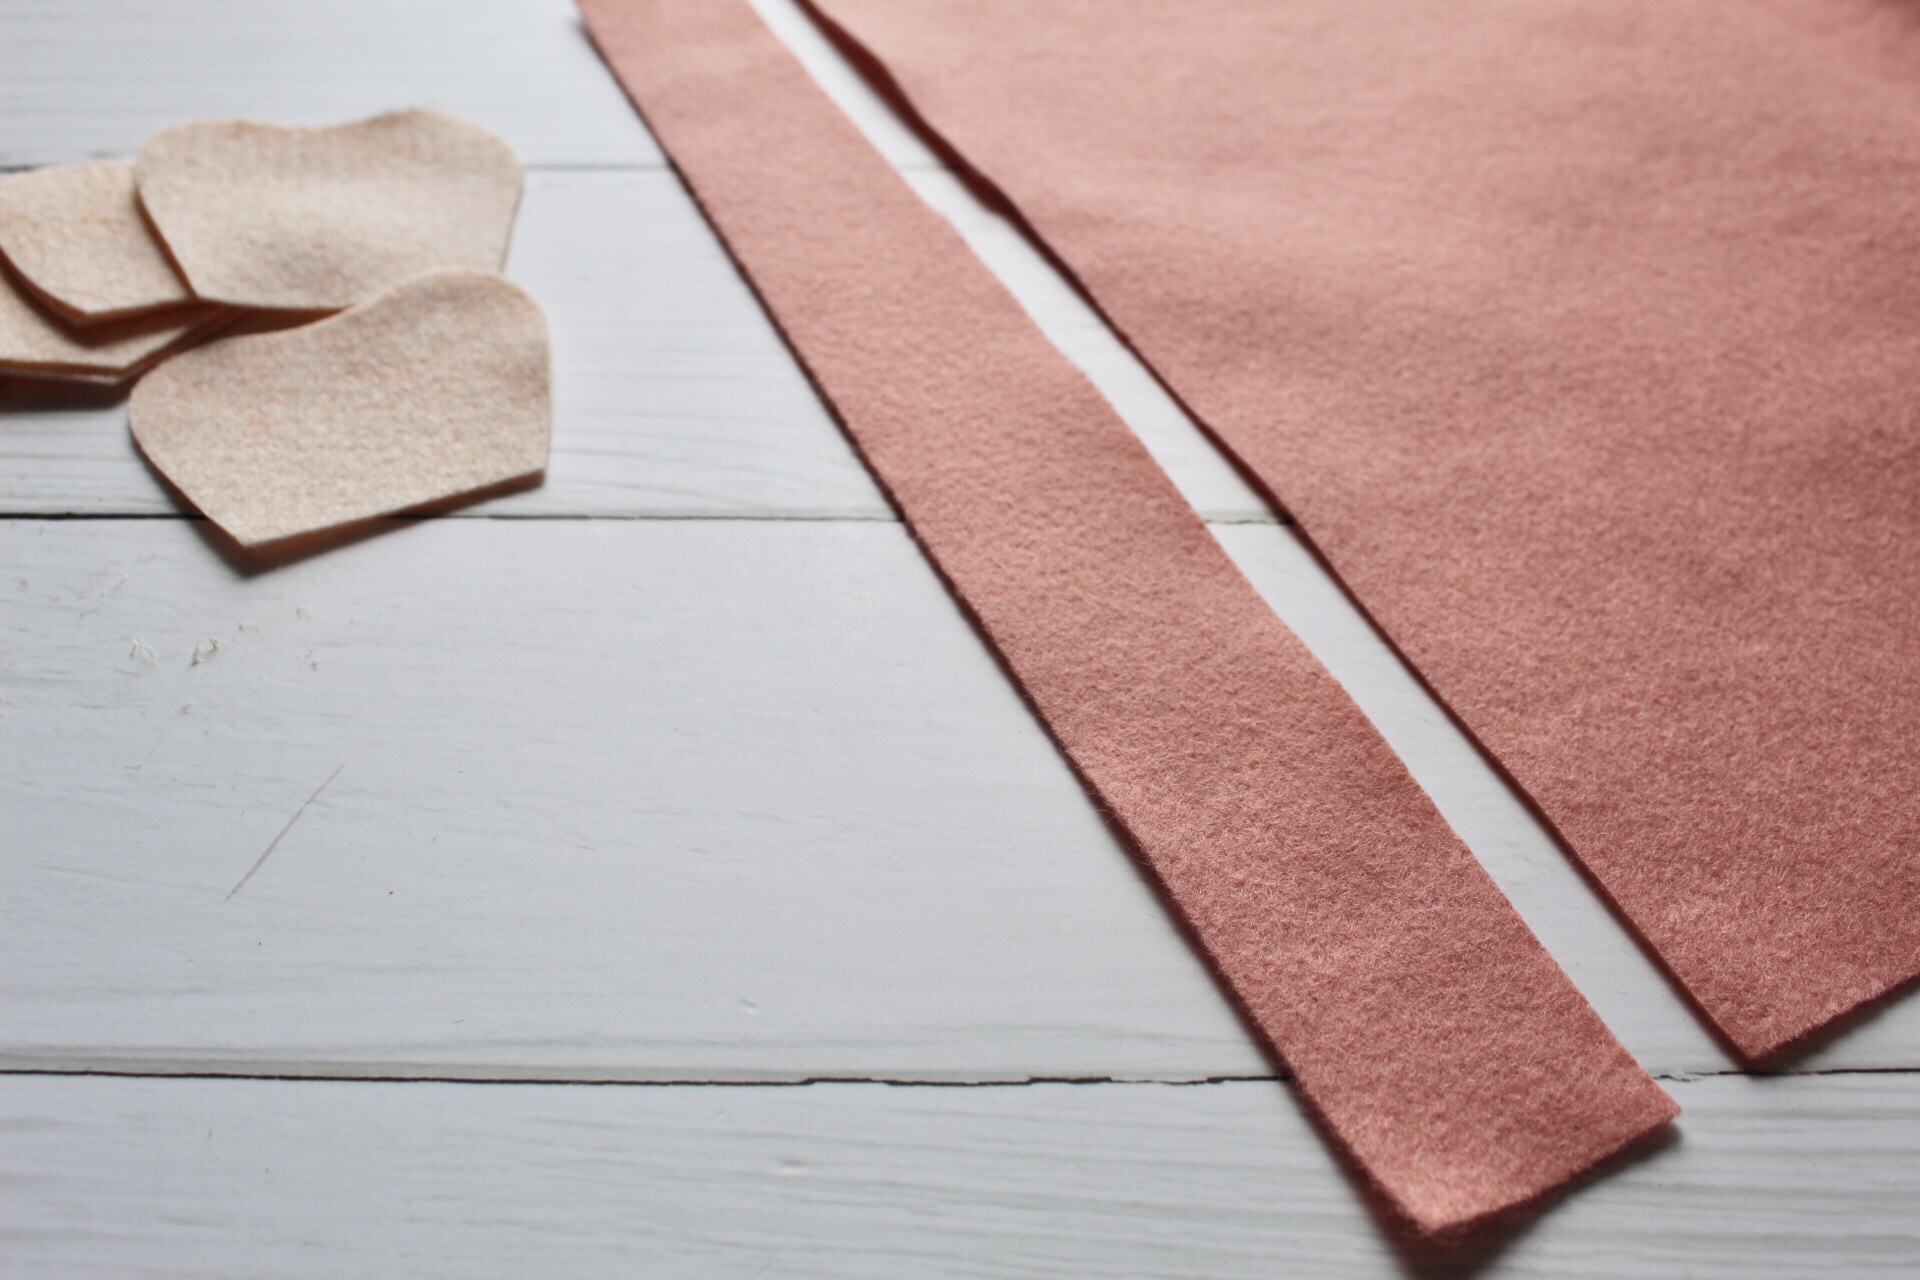
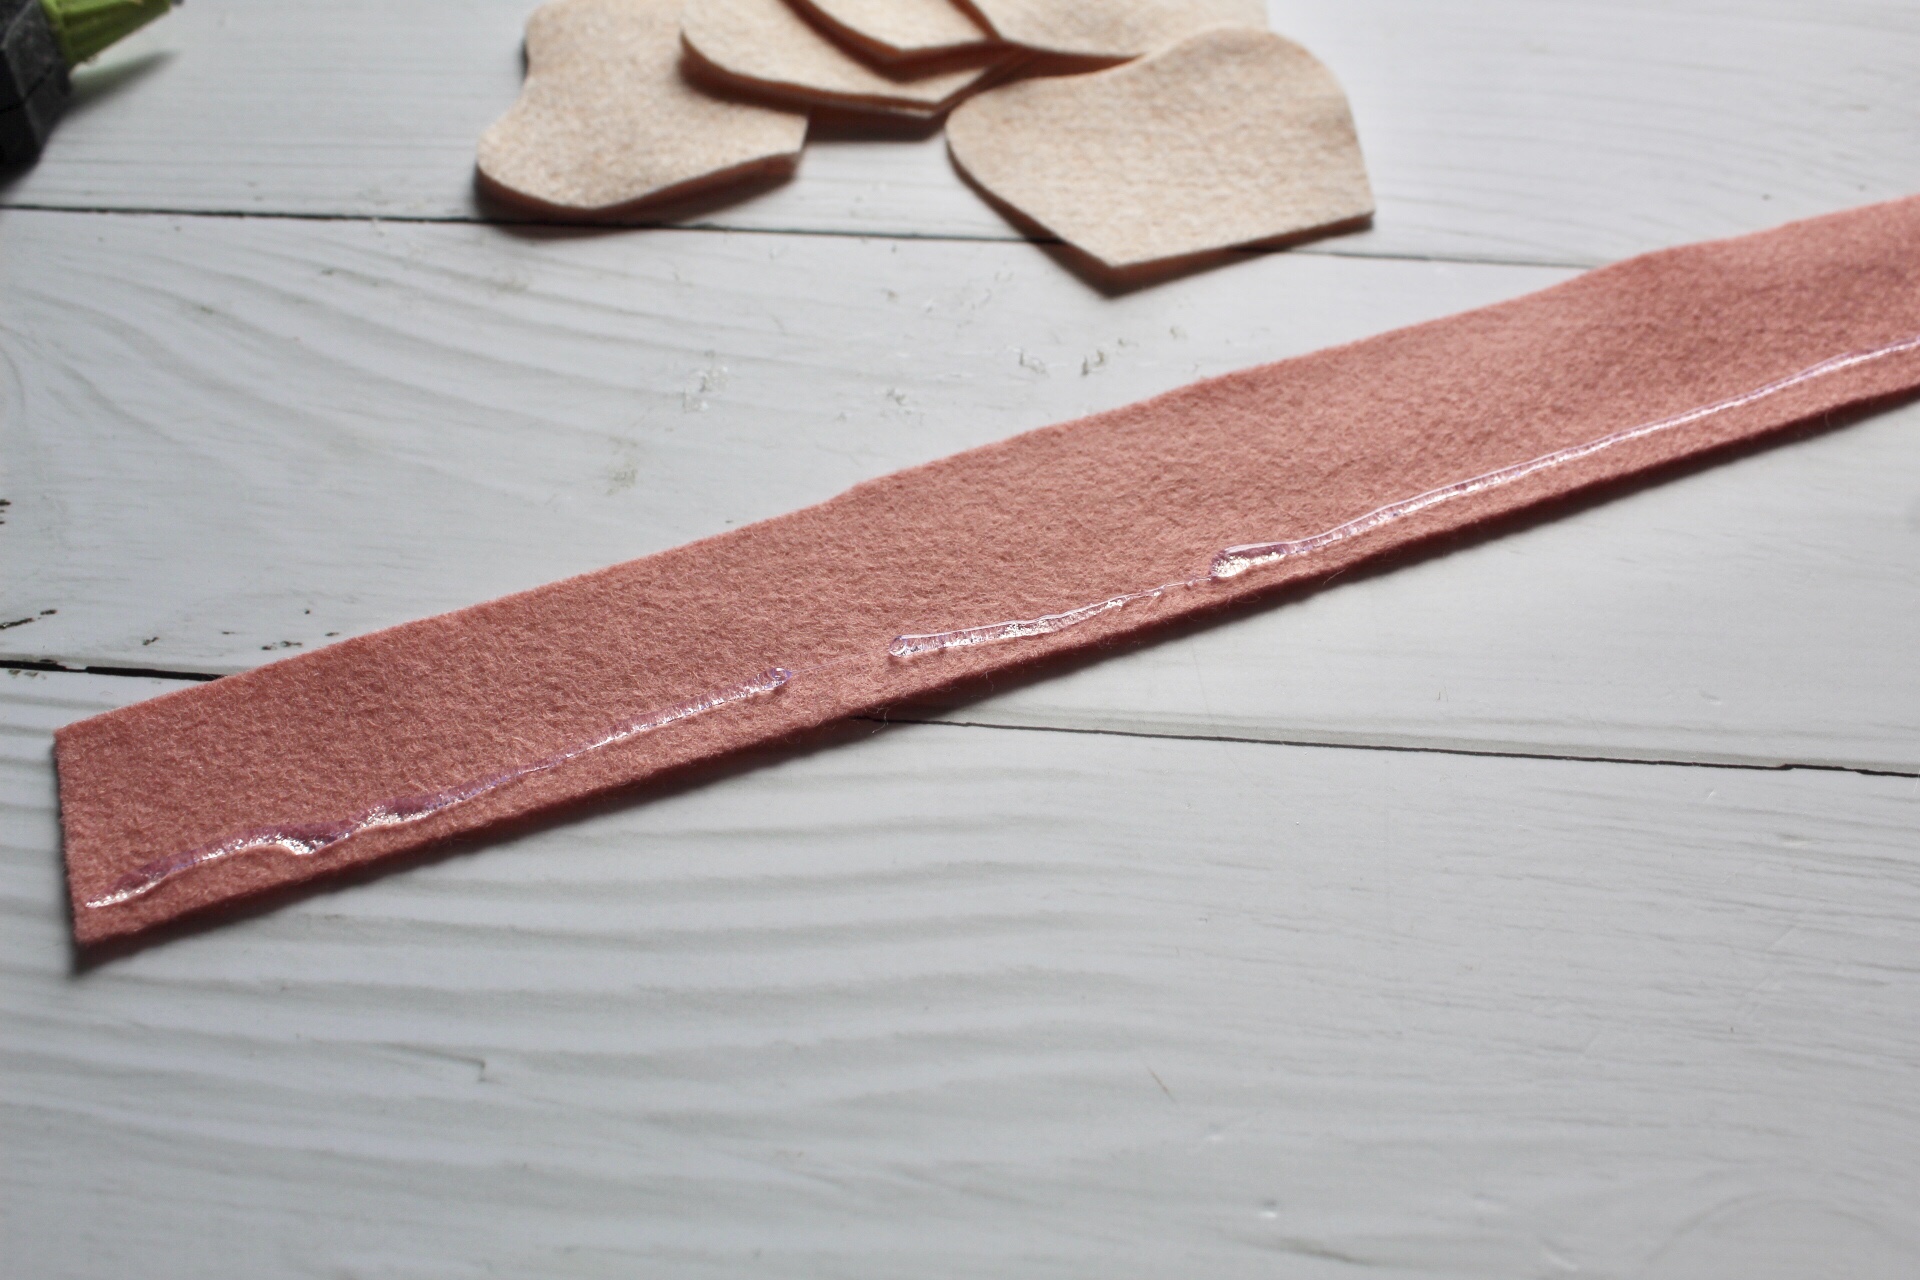
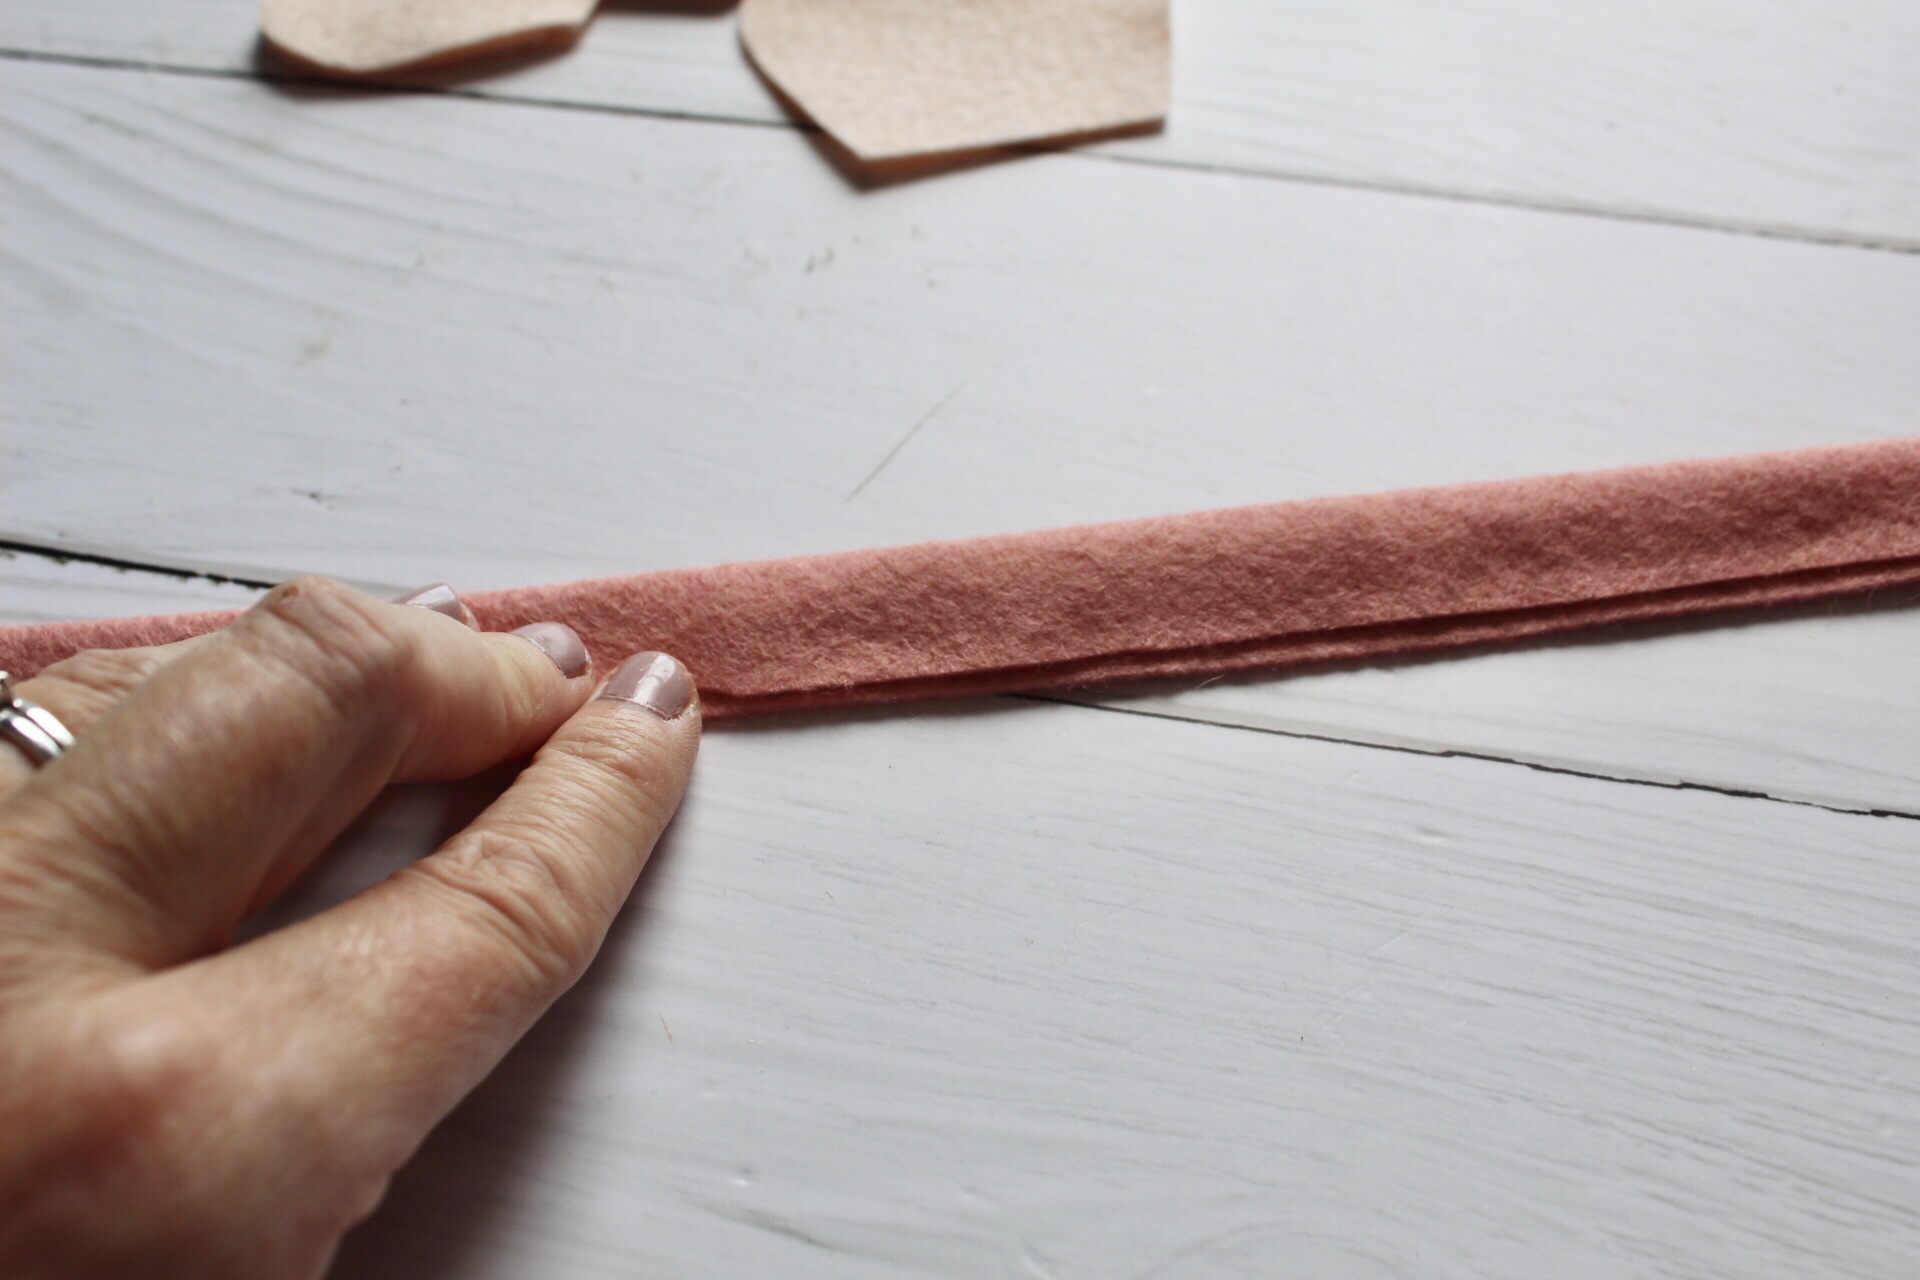
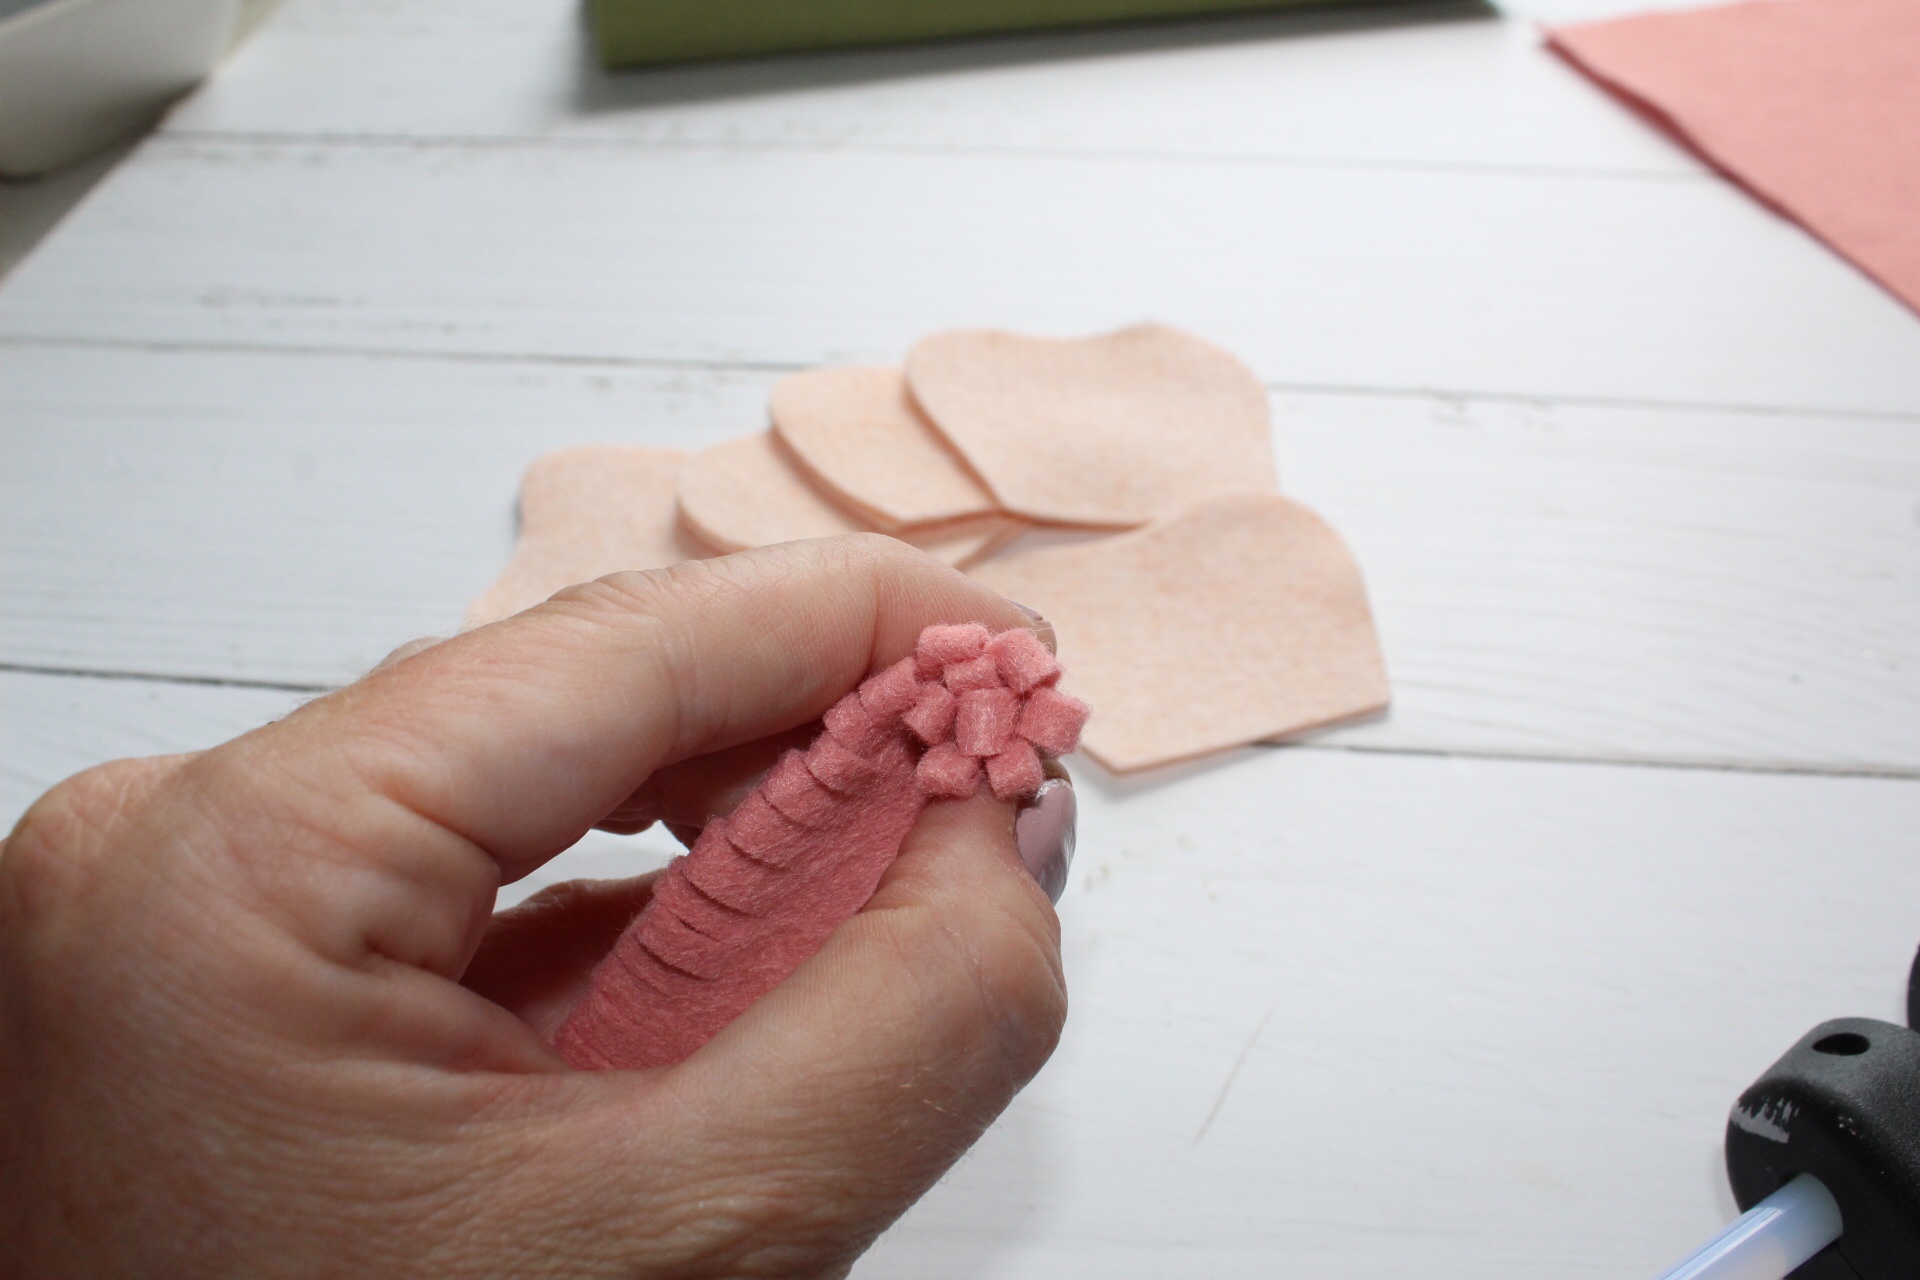
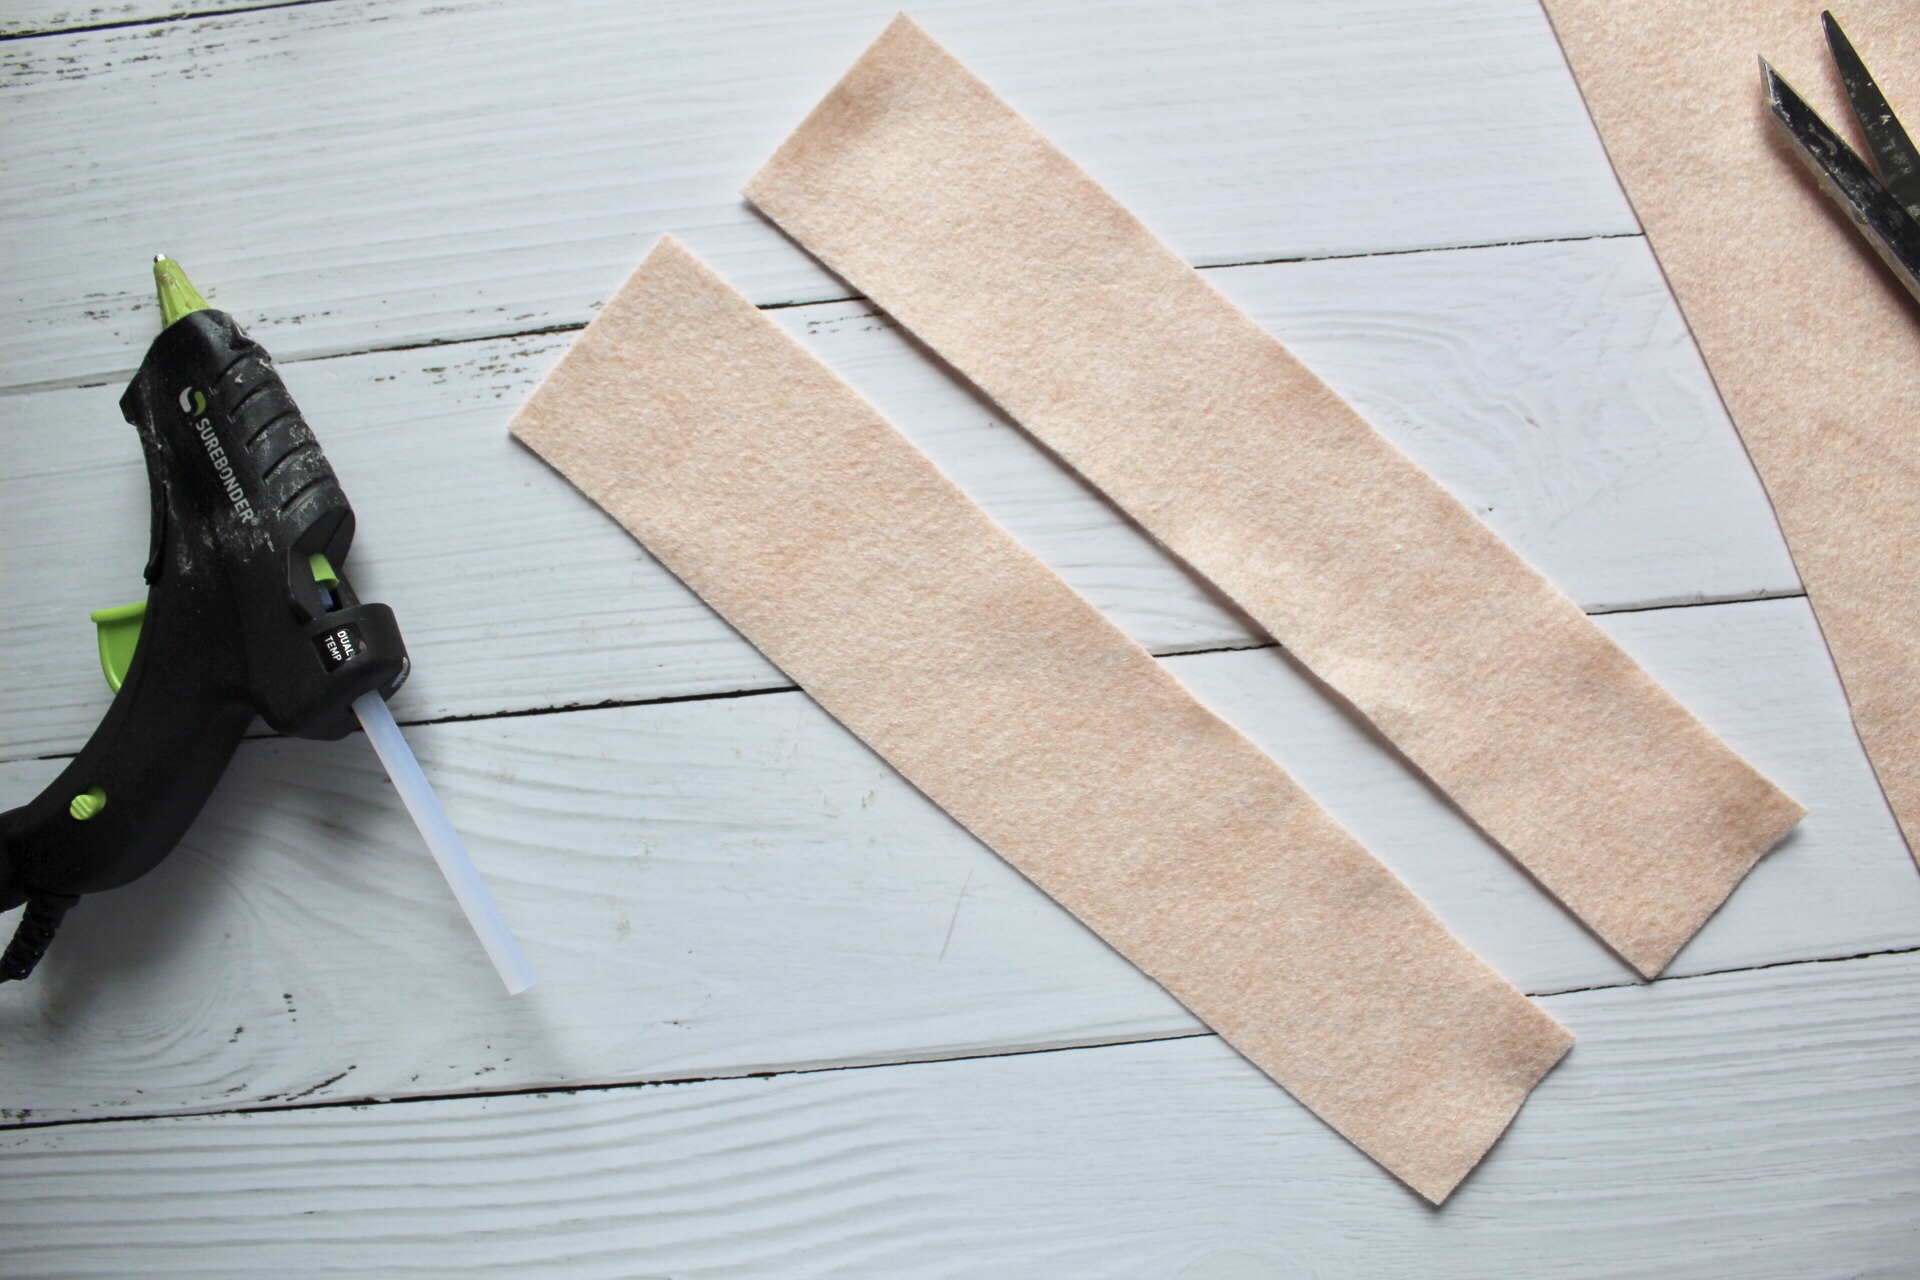
Cut a strip of felt, about twelve inches in length and two inches wide. You will then add a strip of glue and fold the felt in half.
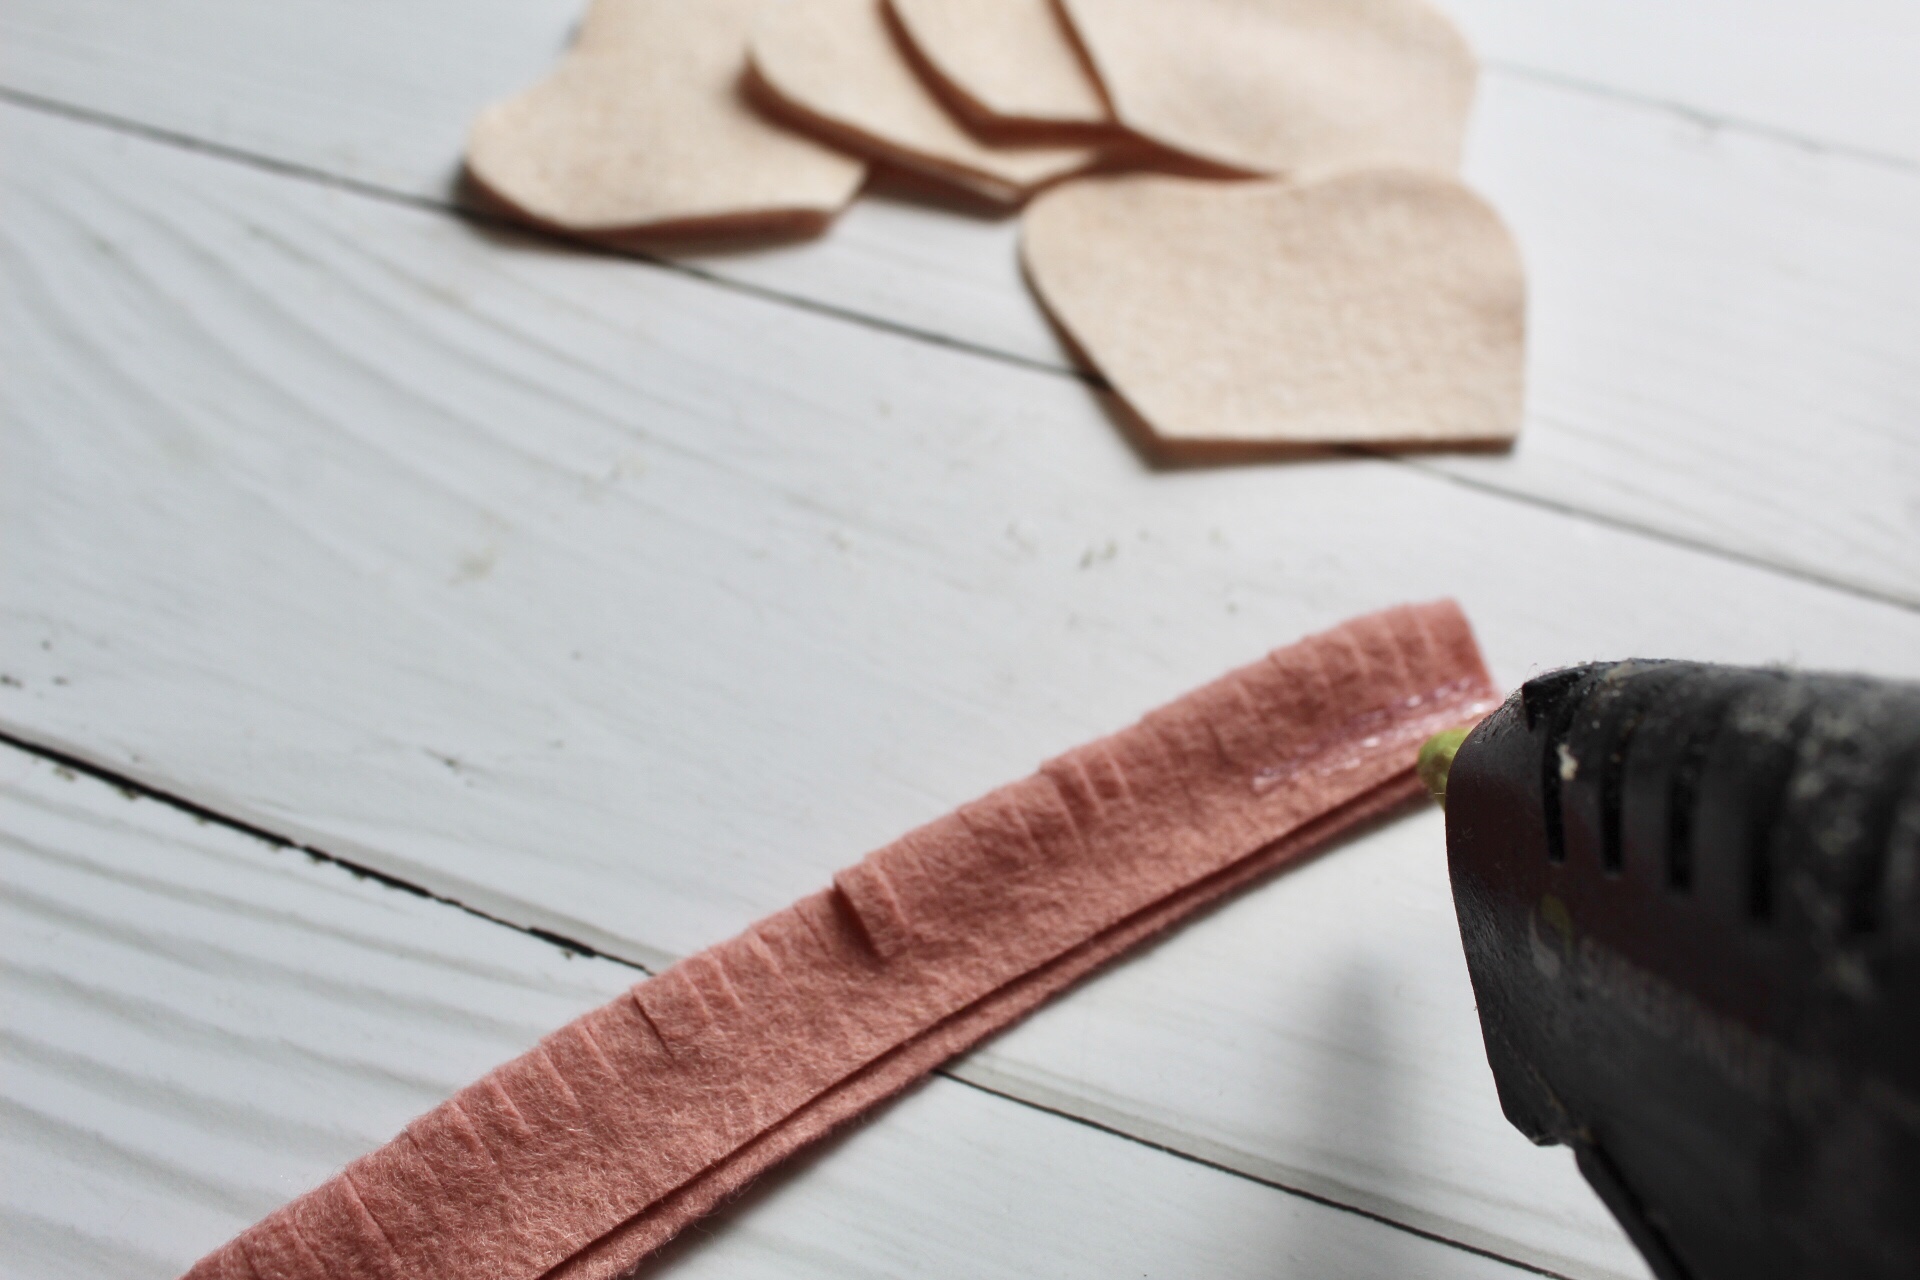
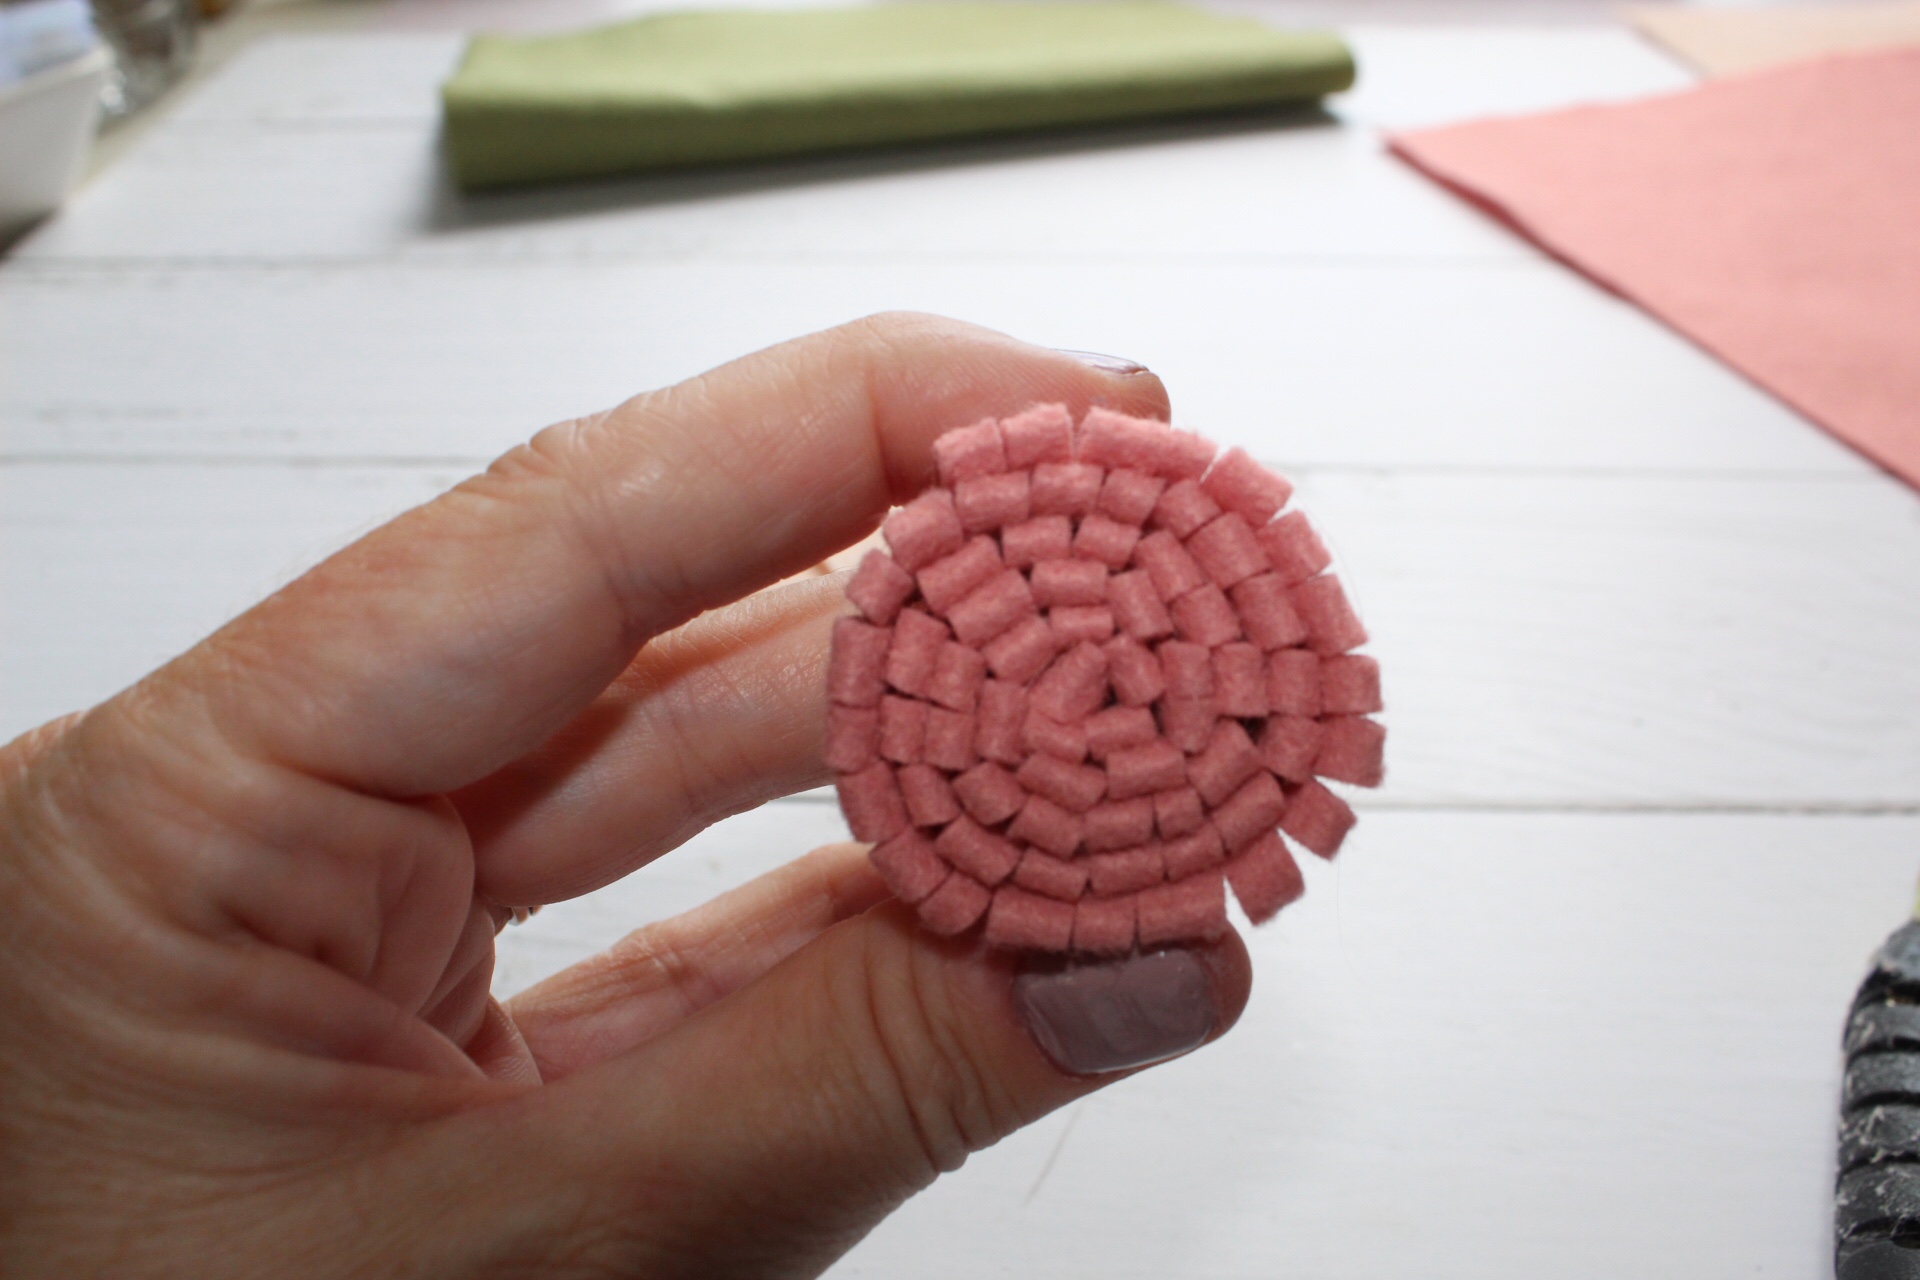
Next make small snips along the length of the felt, not going all the way to the edge. You then start rolling and glueing from one edge to the end.


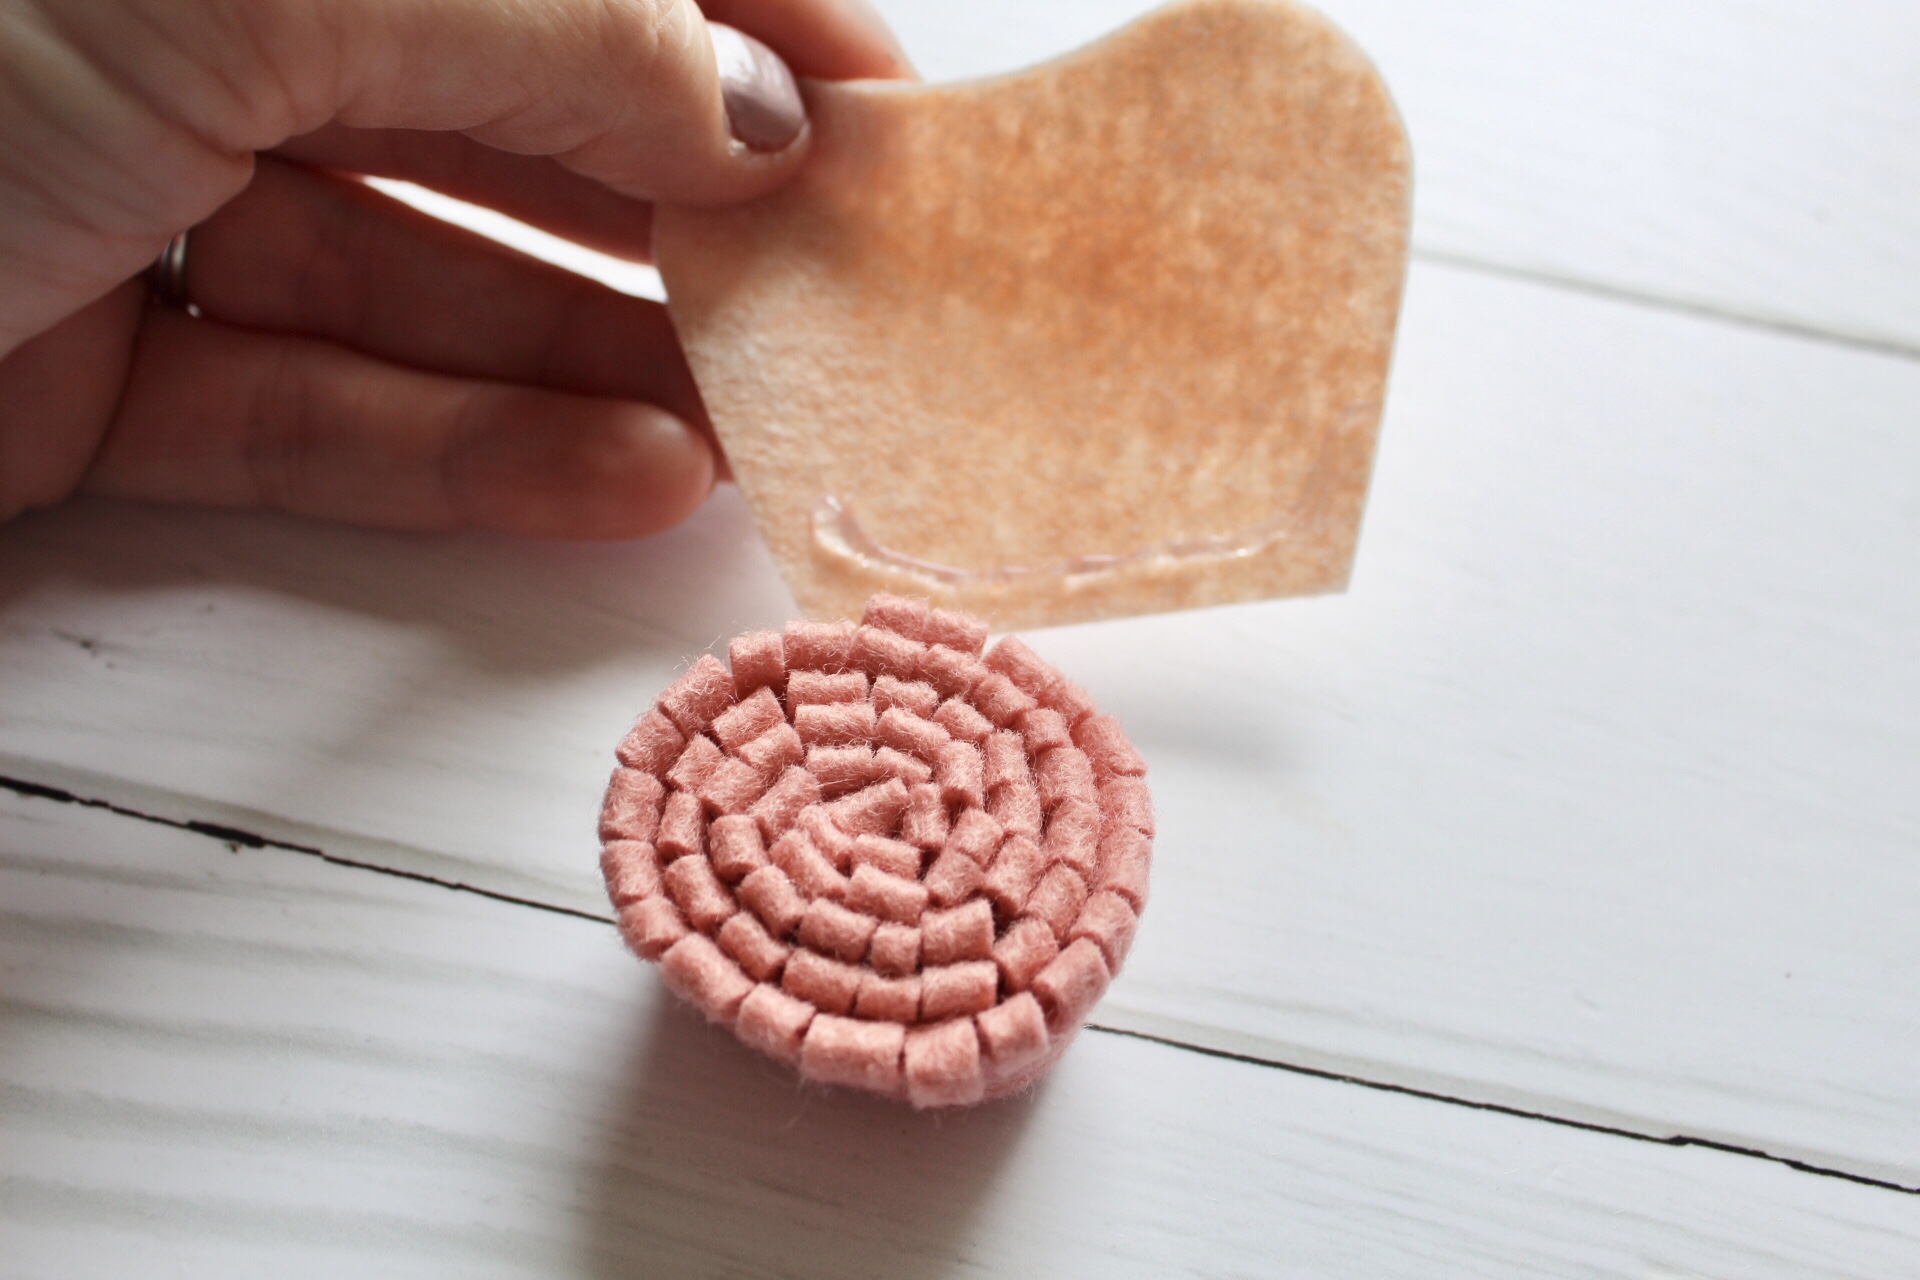
To make the petals you will cut two twelve inch strips of felt and then cut those into eight squares. From the squares cut a petal shape. I did mine all the same shape, you can vary the dips to create a different look.


Next up you will attach the petals with some hot glue. Put a small strip and start attaching them to your rolled center. The first four petals I place evenly around the center. Then add the other four staggered in between your first four petals.


There you go! You’ve (hopefully) completed two felt flowers! Keep practicing, don’t hot glue your fingers, and have fun! I hope you enjoyed this DIY! Comment below with any questions or let me know if you’d like to see more posts like this.
Thanks for getting crafty with me!

Thank you for sharing, how sweet of you to share your knowledge with us.
LikeLiked by 1 person
You are welcome!
LikeLike
It’s so sweet of you to show tutorials. I love making felt flowers since I learned at a craft retreat last year. You’ve got a great eye for colors though – beautiful combinations.
LikeLiked by 1 person
Thank you so much! They are addictive!
LikeLike
Love your pretty flowers! I need to try these out myself! 🌸🌼
LikeLiked by 1 person
Thank you!!
LikeLike
Thanks for sharing!! Easy to follow and great pictures- good job, friend!
LikeLiked by 1 person
Thank you Cara!!
LikeLike
Thanks for sharing! I have made some in the past but honestly is not my cup of tea. I leave that art to the professional like you my friend! Btw I love seeing my flower order on this post. I love them.
LikeLike
Thank you so much sweet friend!
LikeLike