
About three months ago we decided to insulate the walls of my she shed since it was getting too hot in the summer and too cold in the winter. Check out the way it looked when we started here….She Shed Tour . My husband was going to do the project and decided to cut his own shiplap. It was just more cost effective to do it this way. I’ll share some of the details and the final result!
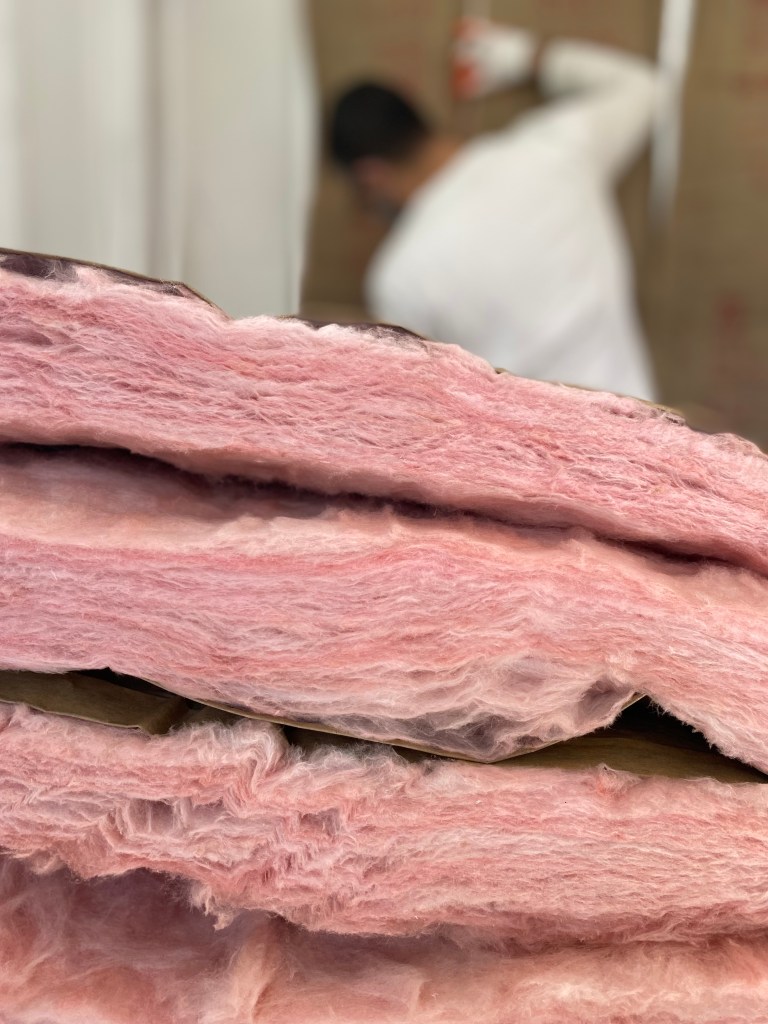
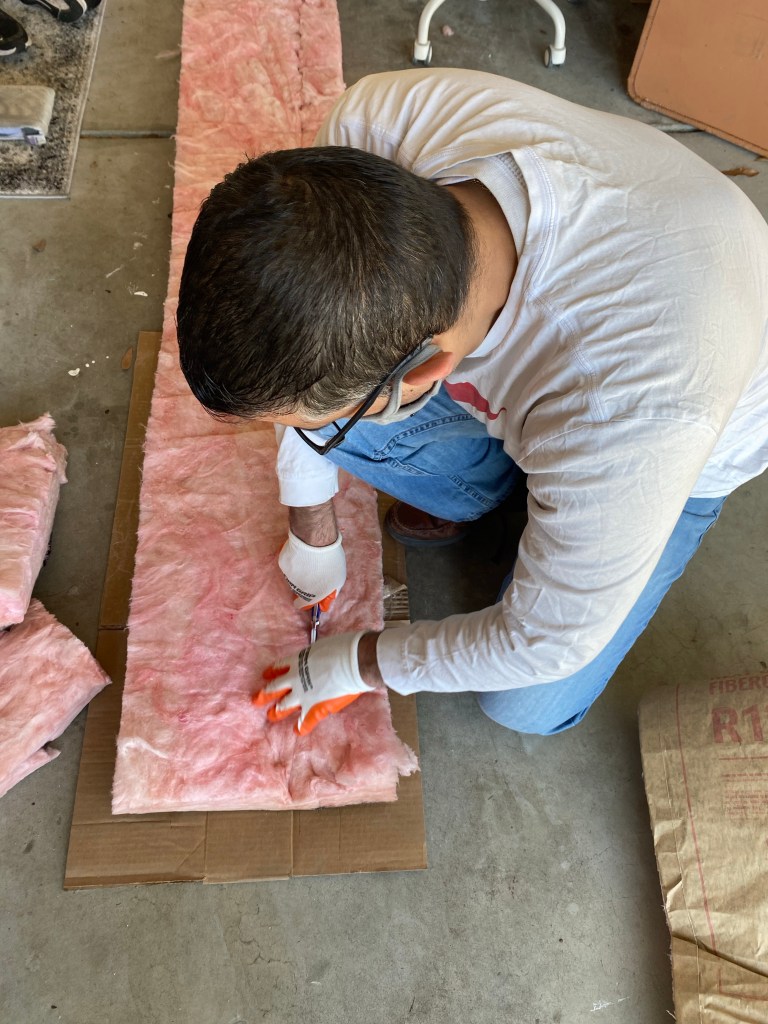

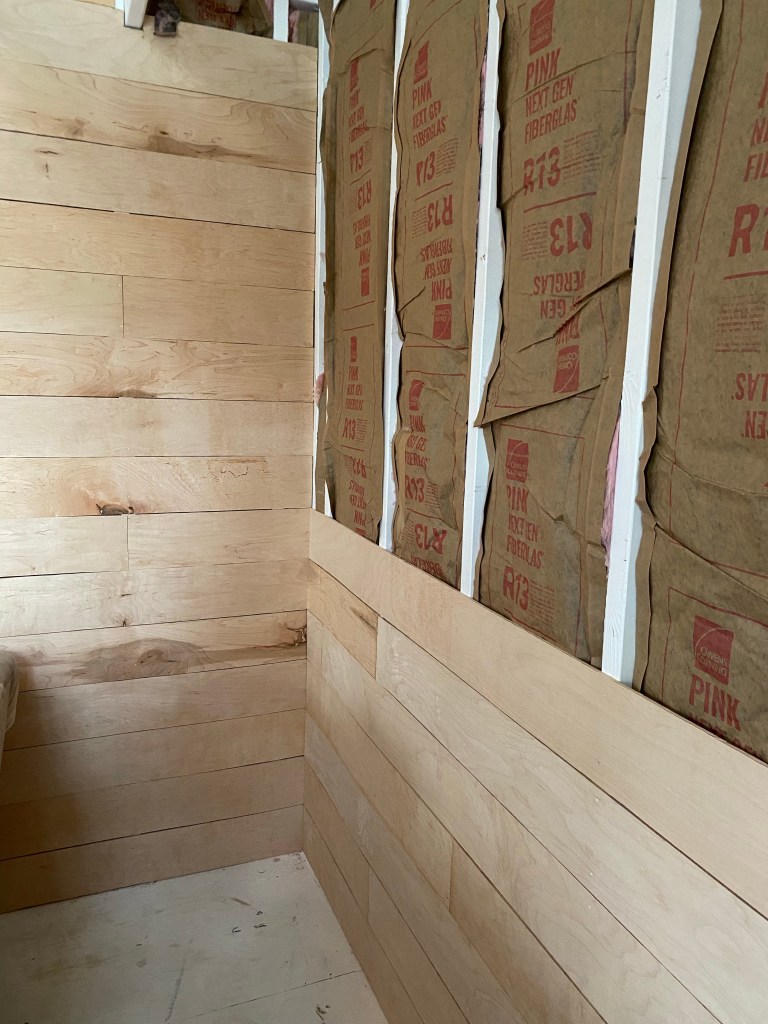
This part was fairly easy for him. He just measured and placed the insulation between the studs and stapled it in place. Of course, wear gloves, a mask and glasses!
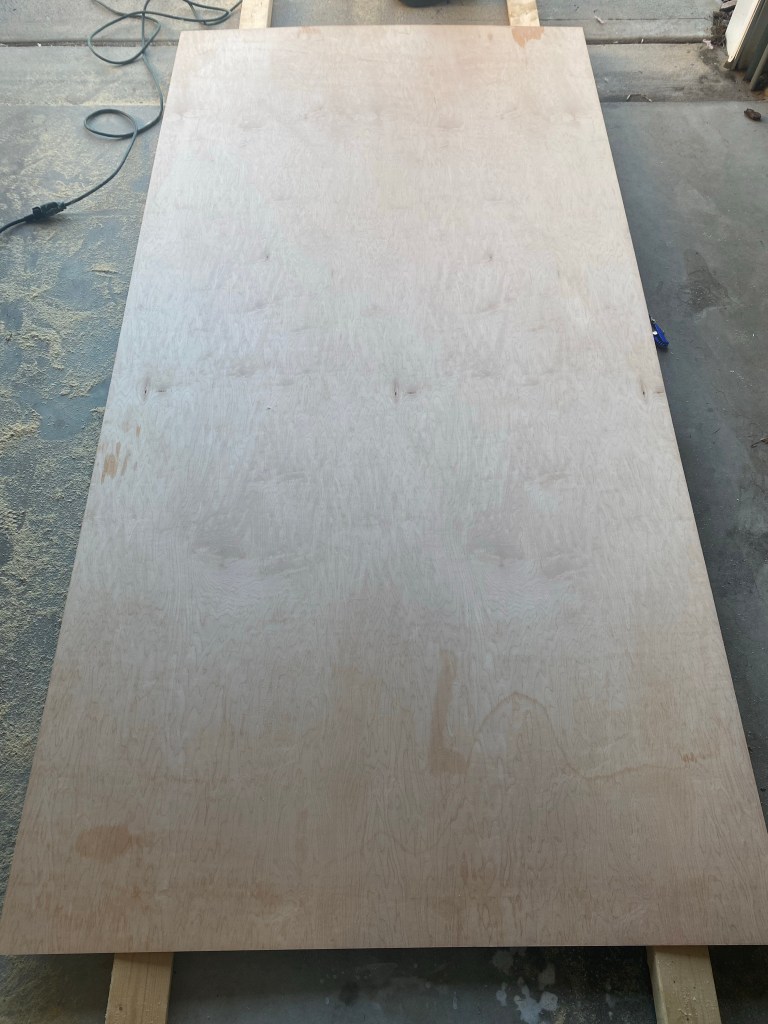
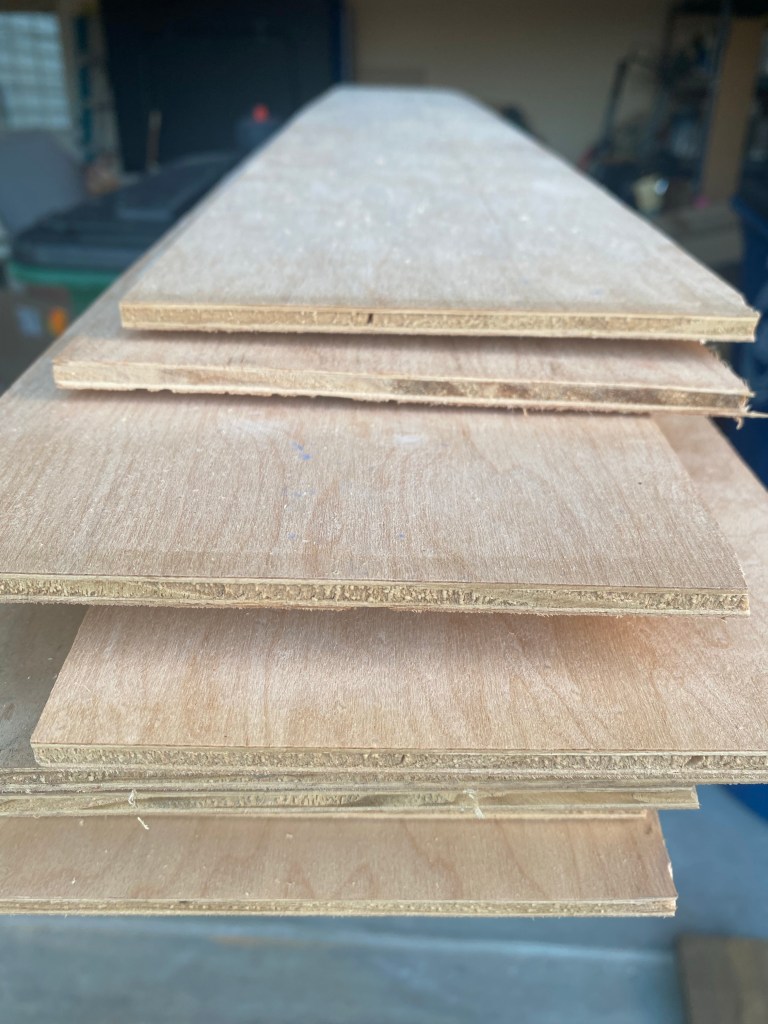
Next up was the shiplap. He priced out buying it from hardware stores but read an article about cutting the wood yourself to save money. I also believe some stores will cut it for you!
Next he measured 6” strips and we marked it off with a chalk line. He then cut the strips and got ready to hang them!


Now comes the part that seemed to take forever! He only has weekends to work on this and we had lots going on, so it took much longer than we thought! It probably also would have been easier to take everything out of the shed, but we didn’t do that!


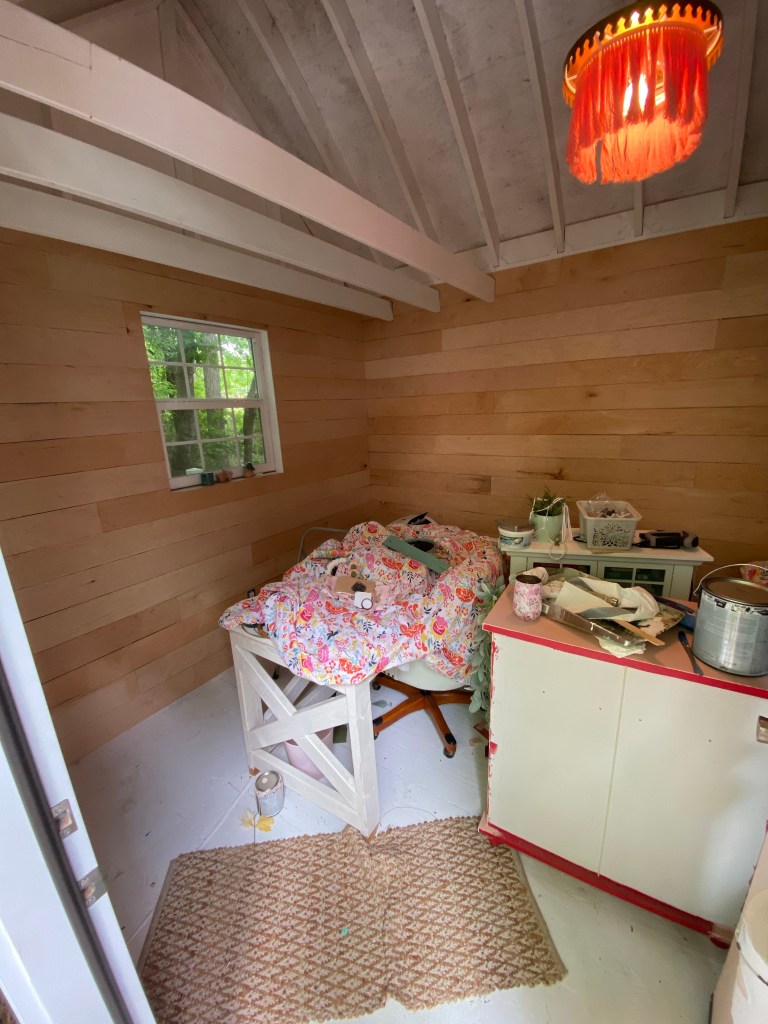

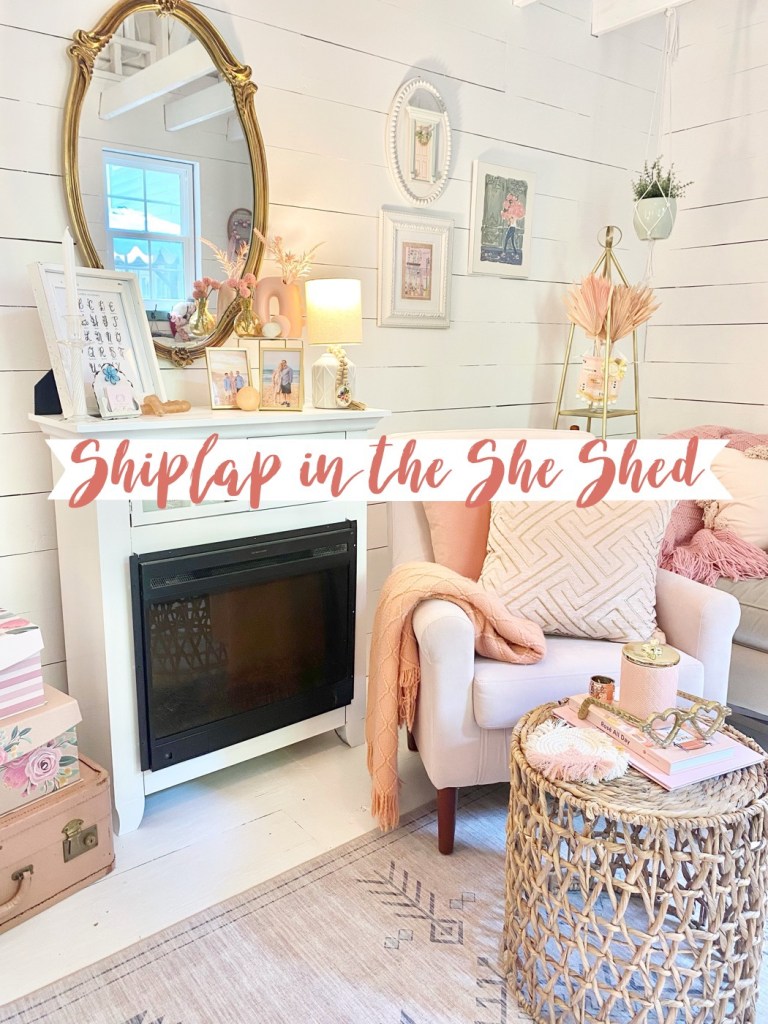
Once he had it all hung I was finally able to paint! I was so anxious to get it finished and get back in my happy space to get creative!
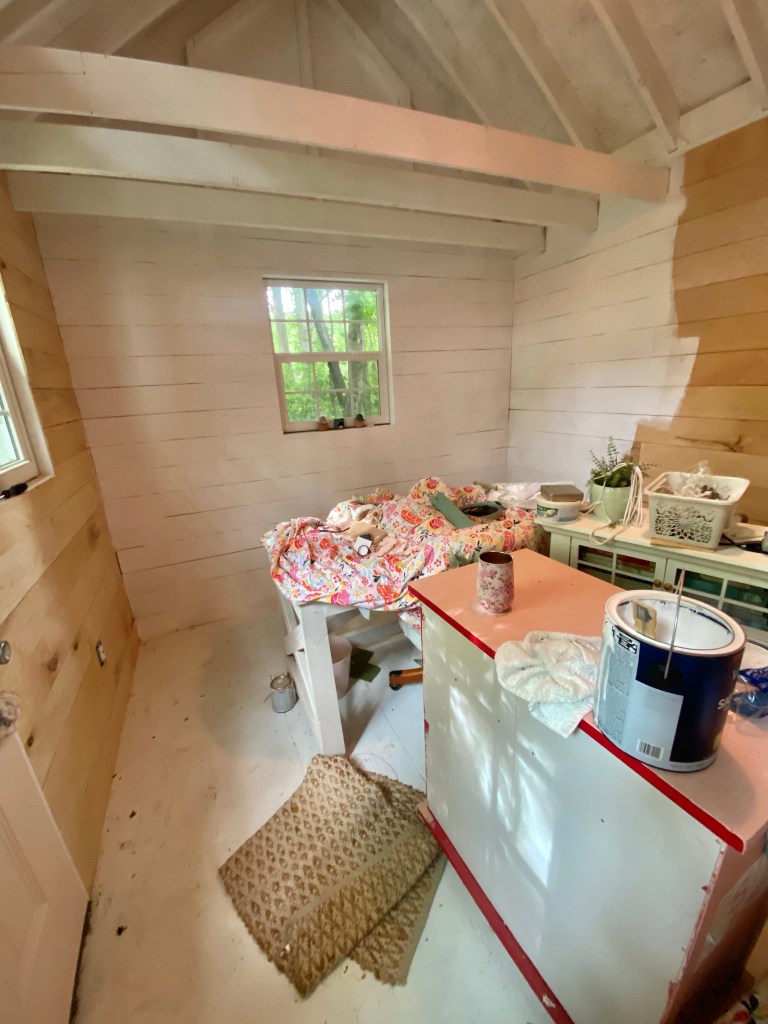
By the way, I really wanted the ceiling insulated and then beadboard sheets hung. My husband just wasn’t up for taking that on, so he said we will try this and see how it feels. I have a feeling that may happen in the future!! But back to the fun part… finishing the painting and putting everything back!
I ended up needing to roll two coats of paint. I decided not to caulk the seams. I like the rustic look and honestly didn’t want to spend all the time doing it!! Since I rolled it there is some paint in the seams (I don’t mind it, I know it may drive some people crazy!) I honestly didn’t think ahead and just rolled, if I didn’t want paint in the seams I probably would have needed to get a small roller and it would have been much more time consuming. I just wanted it to still feel like a shed and I’m so happy with it.

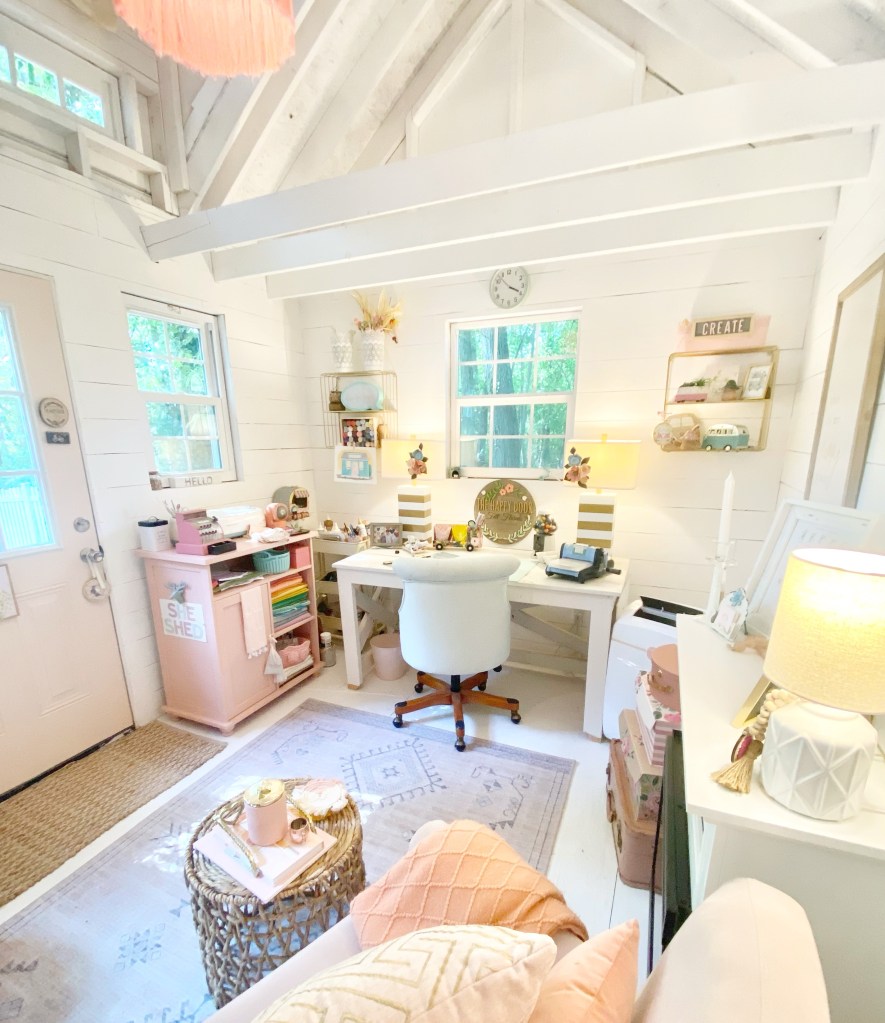
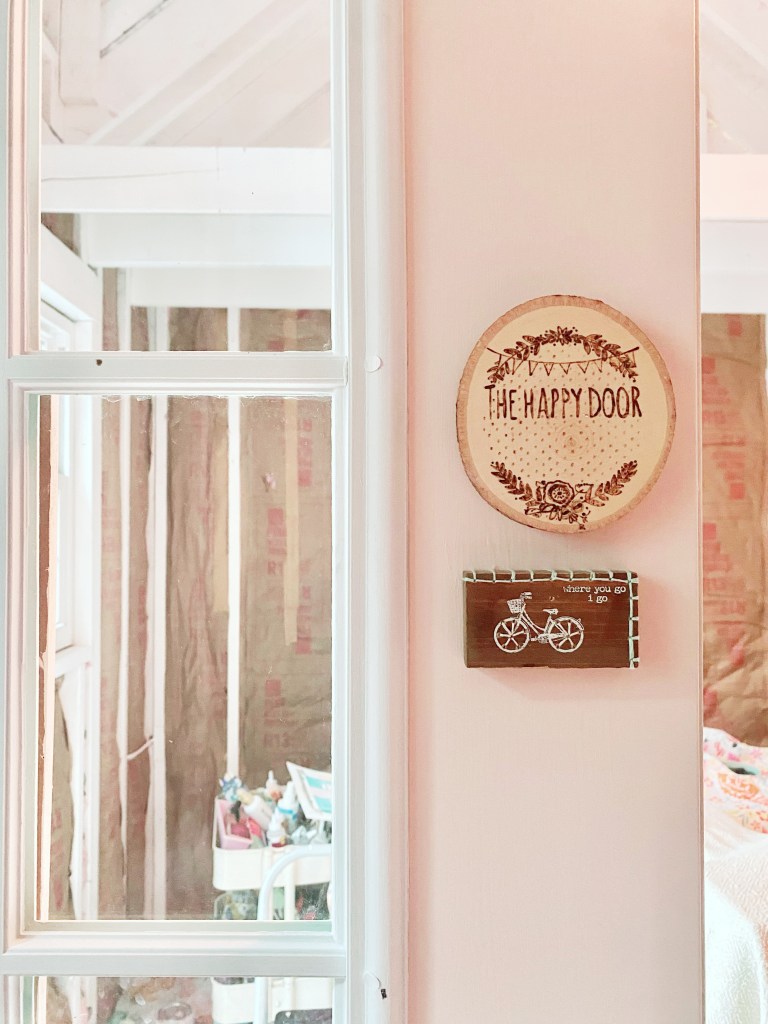
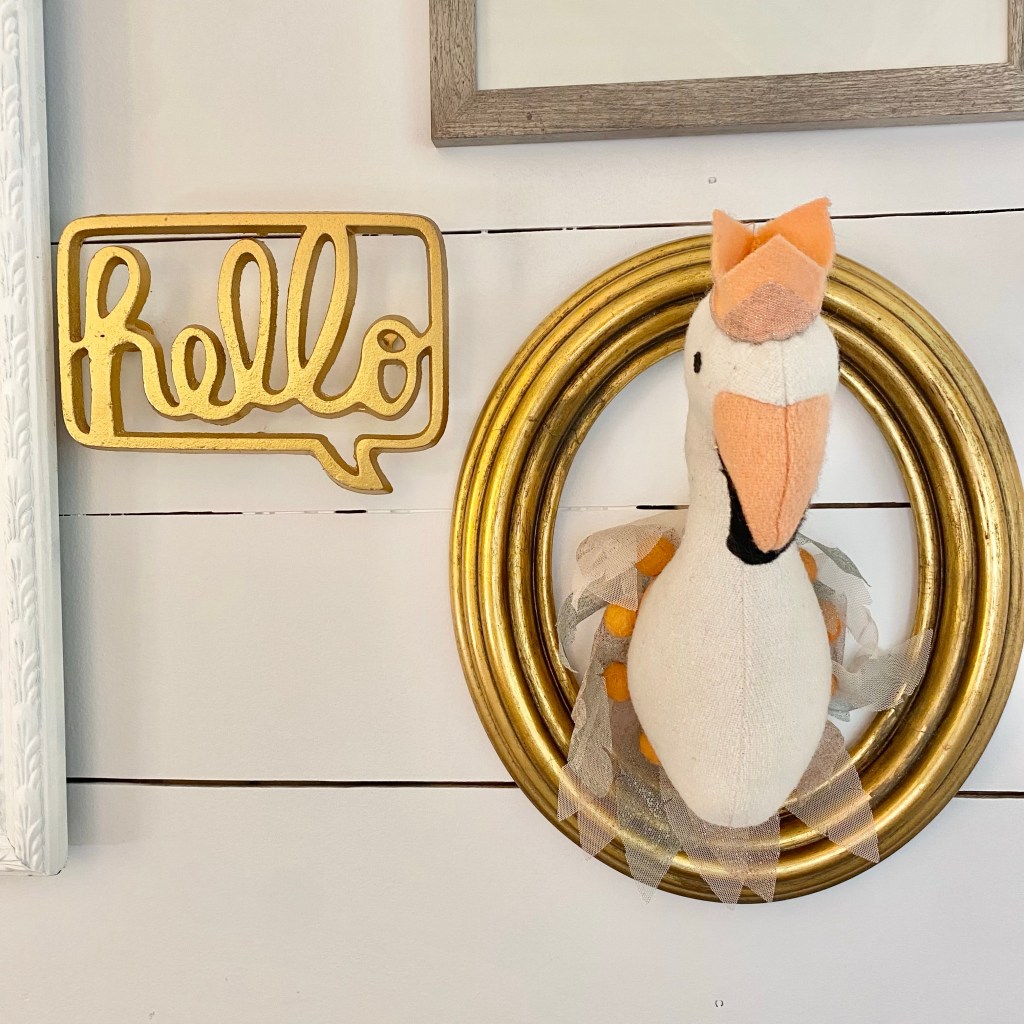
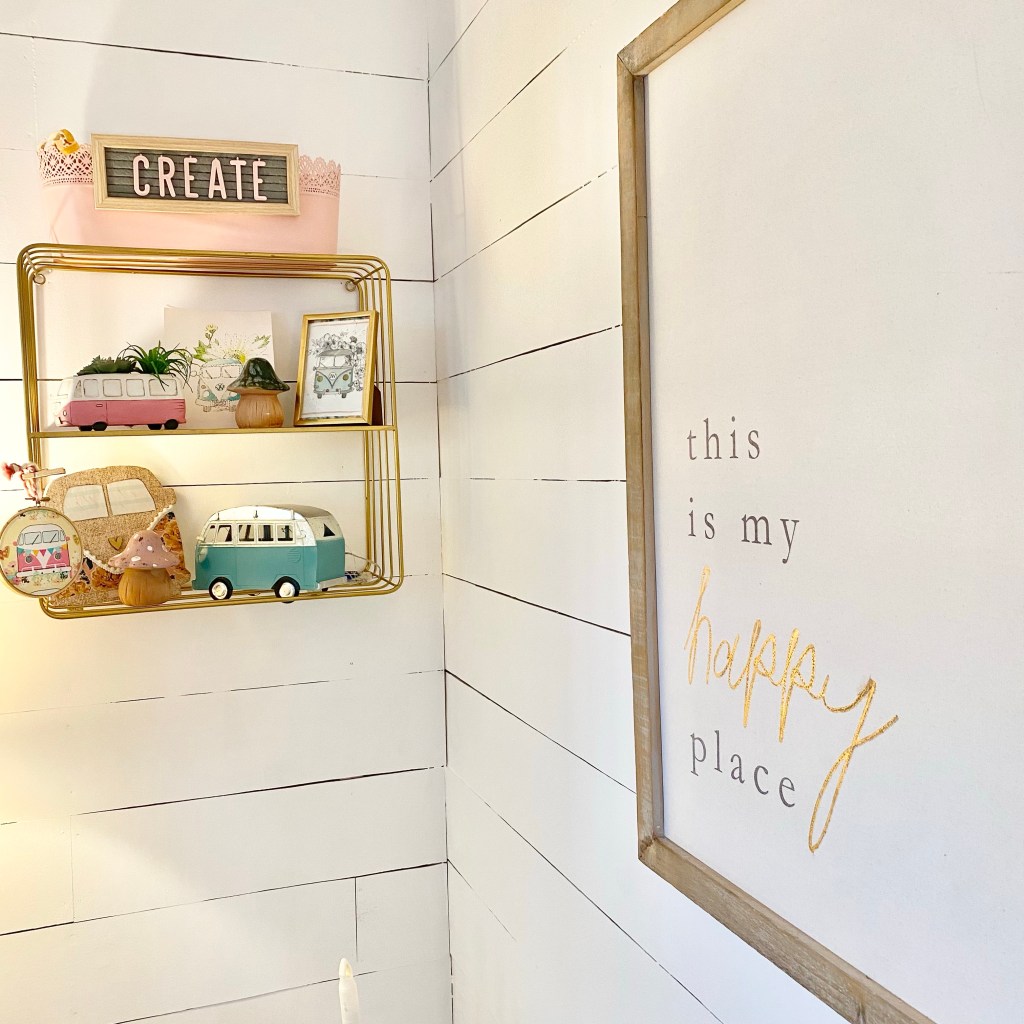
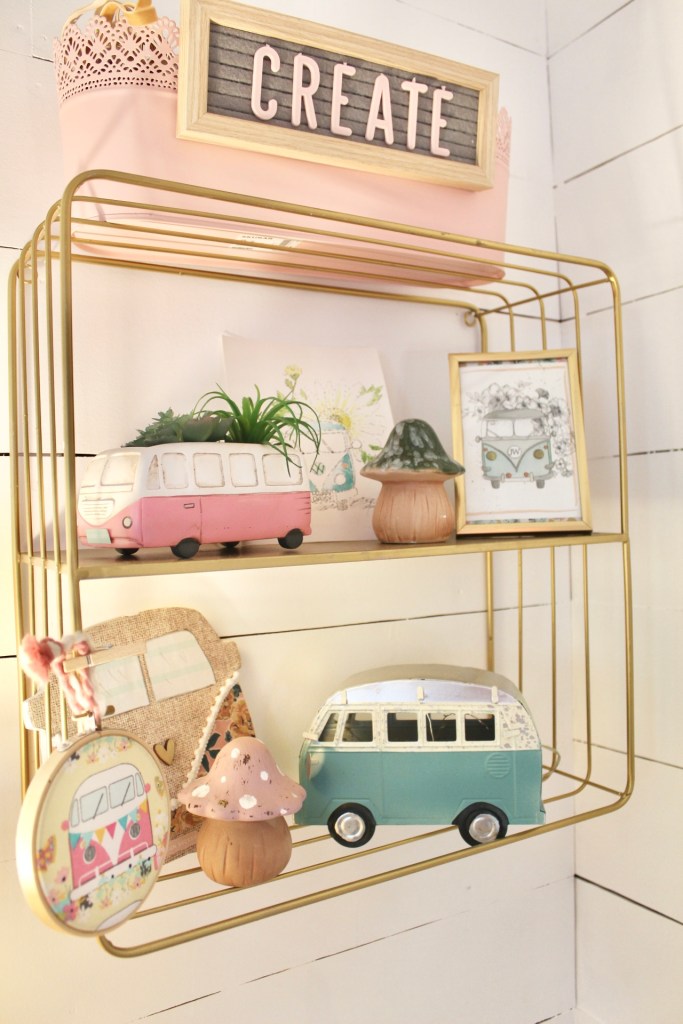
It’s so nice having smooth surfaces to hang things on. Before I had to fit things between or on top of the studs. So, I moved a few things around and reorganized a lot of my areas.


I am so happy to have this space back! I had no idea how much I would miss having my little pink paradise to rest and unwind! Stay tuned for more fun in The Petit Chateau!


It’s beautiful! I love the colors!
LikeLiked by 1 person
Thank you!! It makes me so happy!
LikeLiked by 1 person
Wow!! It looks so good!! I love the way you decorate!
LikeLiked by 1 person
Thanks so much!
LikeLike